
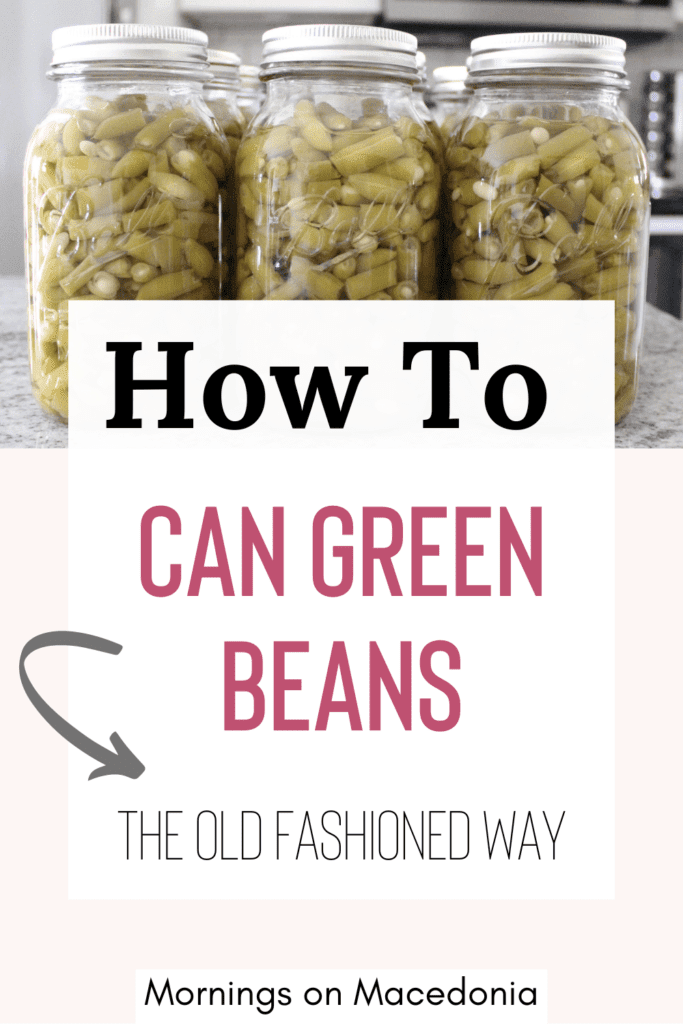
I grew up every summer stringing and breaking green beans in order to can them for the winter. So today I thought I would share with you all the ultimate guide on how to can green beans. Just like the old fashioned way!
I know it can kind of be intimidating in a way, but I am here to show you that really anyone should be able to can green beans effectively. It’s really not that hard once you get the hang of it.
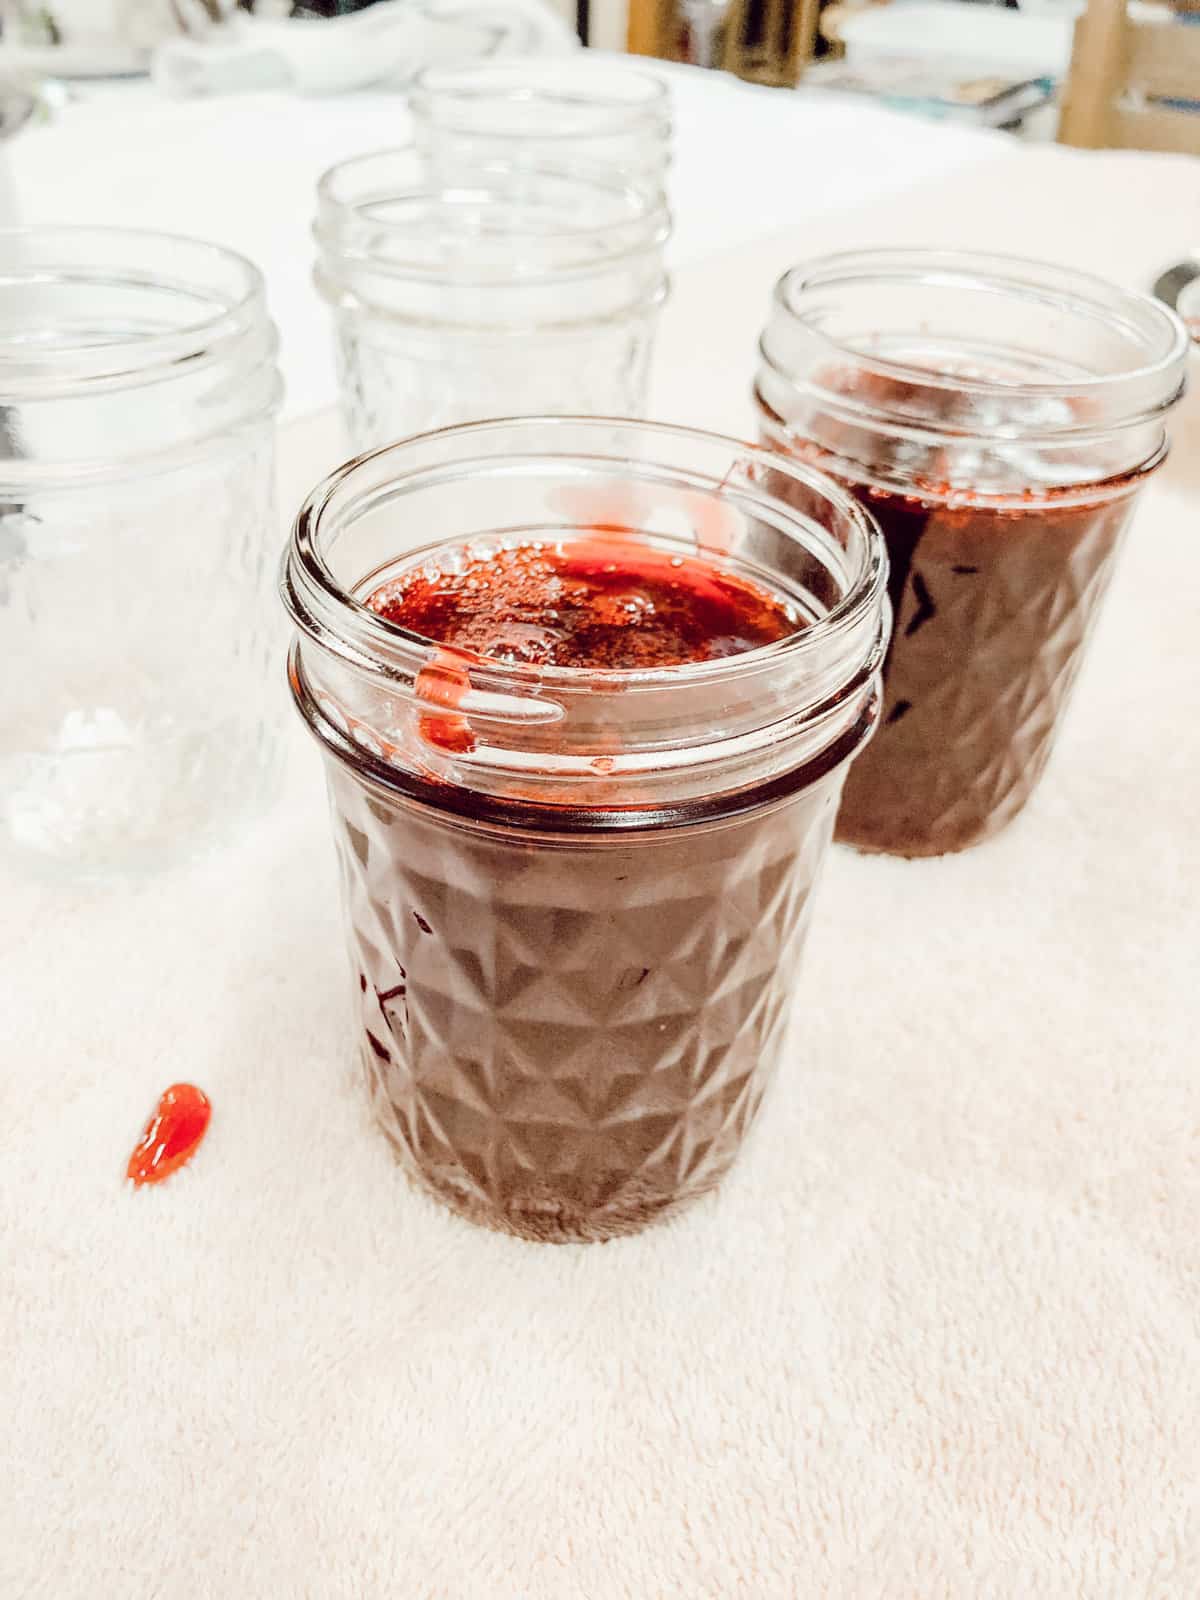
And once you learn how to can, the possibilities are endless! For example, I also love to can homemade raspberry jelly. It’s really so rewarding to be able to can your own food and have a stockpile of it as well!
This post contains affiliate links. Click here to read my disclosure policy.
How do You Prepare Green Beans for Canning?
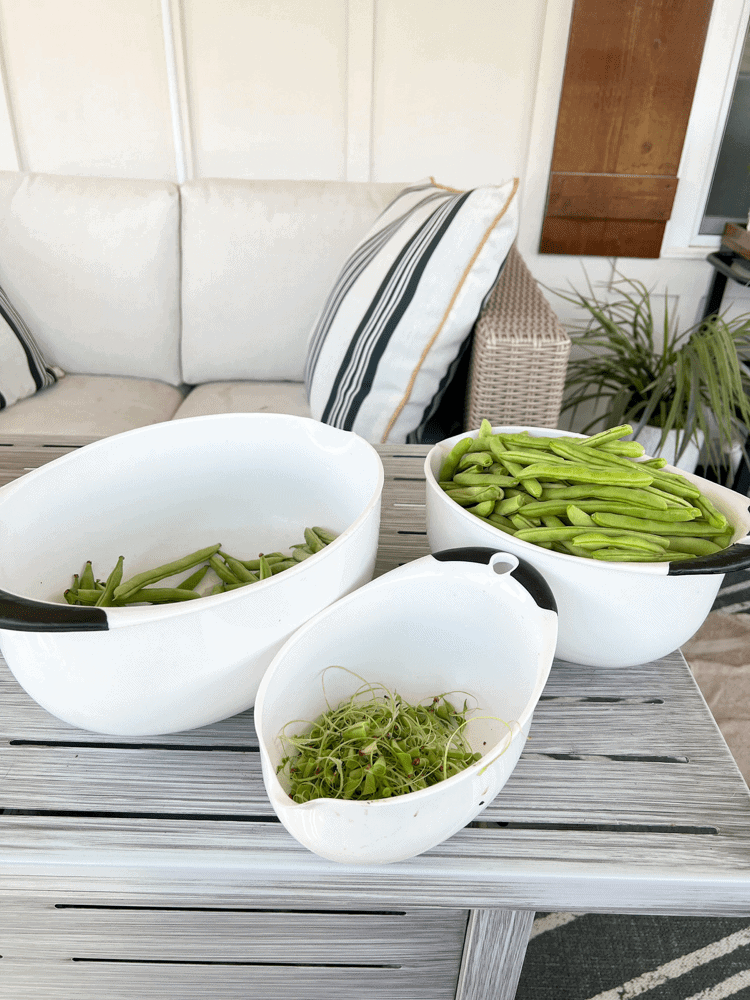
Obviously, to can green beans, there is a lot of prep work involved. But I am here to give you my step by step instruction on how to can green beans easily. You first gotta find some great green beans and string them and break them.
We hunted around to and the best price for a bushel of half-runners and the best we could find was $48 a bushel. We went to our local farmers markets around town to price them out and evaluate.
And, it was kind of a challenge to even find half-runners this year. Most vendors were sold out so a tip is to get there right when they open in order to grab you some. Early bird gets the worm as they say!
Once you have your green beans all broken and ready to go, you need to properly store them if you aren’t planning on canning them right away. I strung and broke the beans for two days before actually canning them.
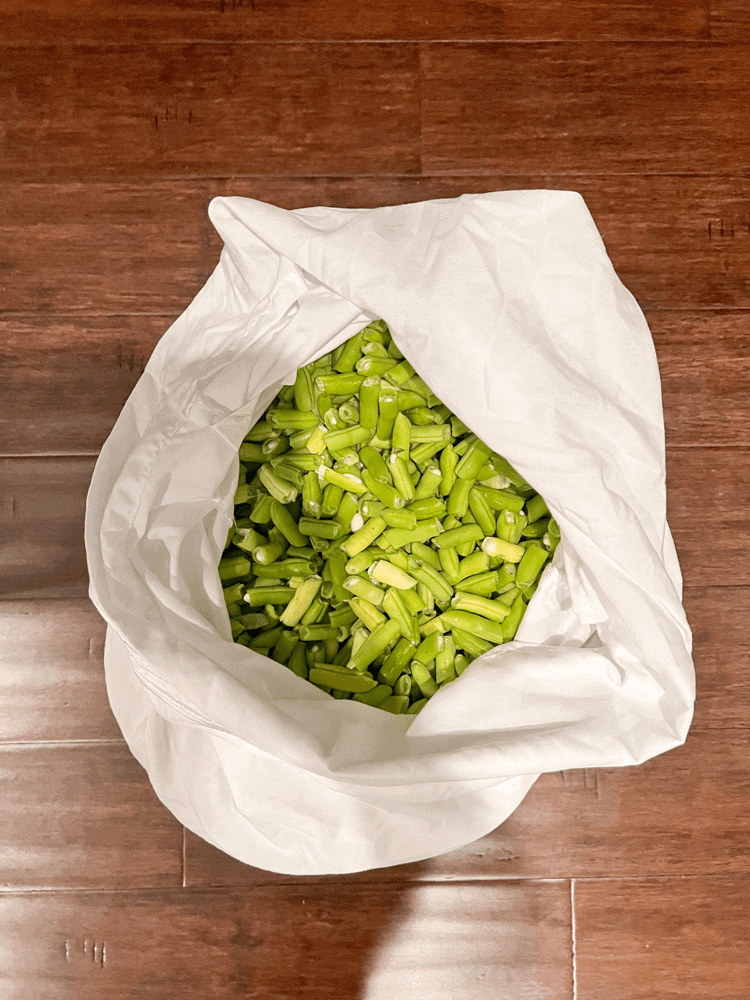
To store them, simply put them all in a pillowcase and place them in the fridge until you’re ready to start the canning process.
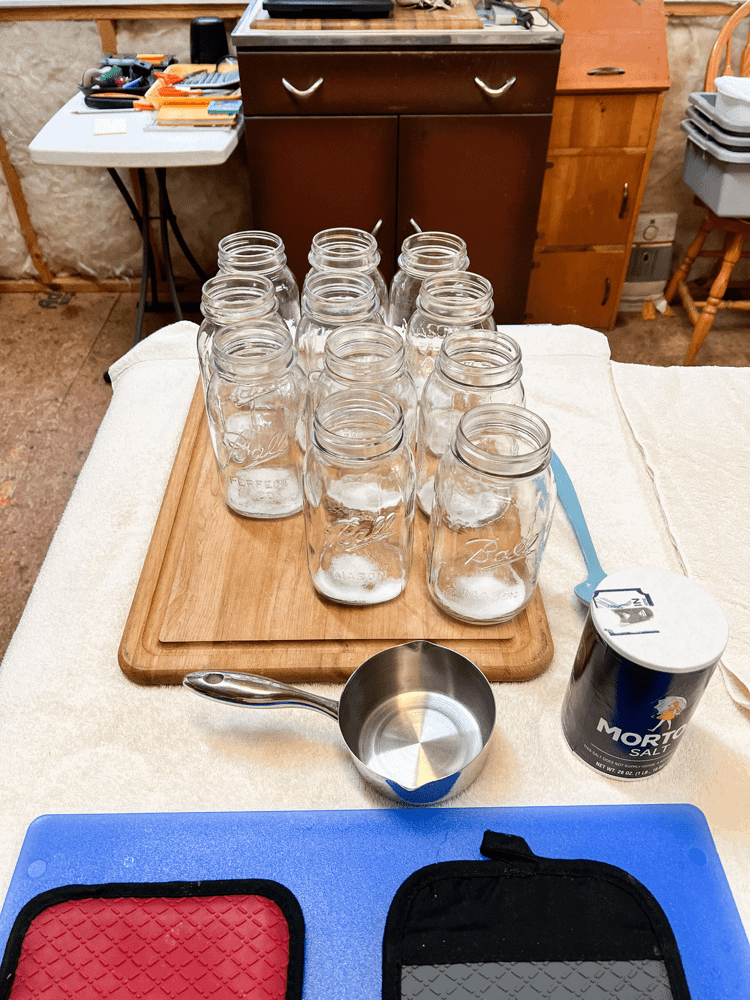
Get Your Jars Ready to Can
After you have your beans all prepped and ready to go, now it’s time to get your jars ready to can! Make sure to throughly wash your quart jars before using them. You can place them in a dishwasher to do so.
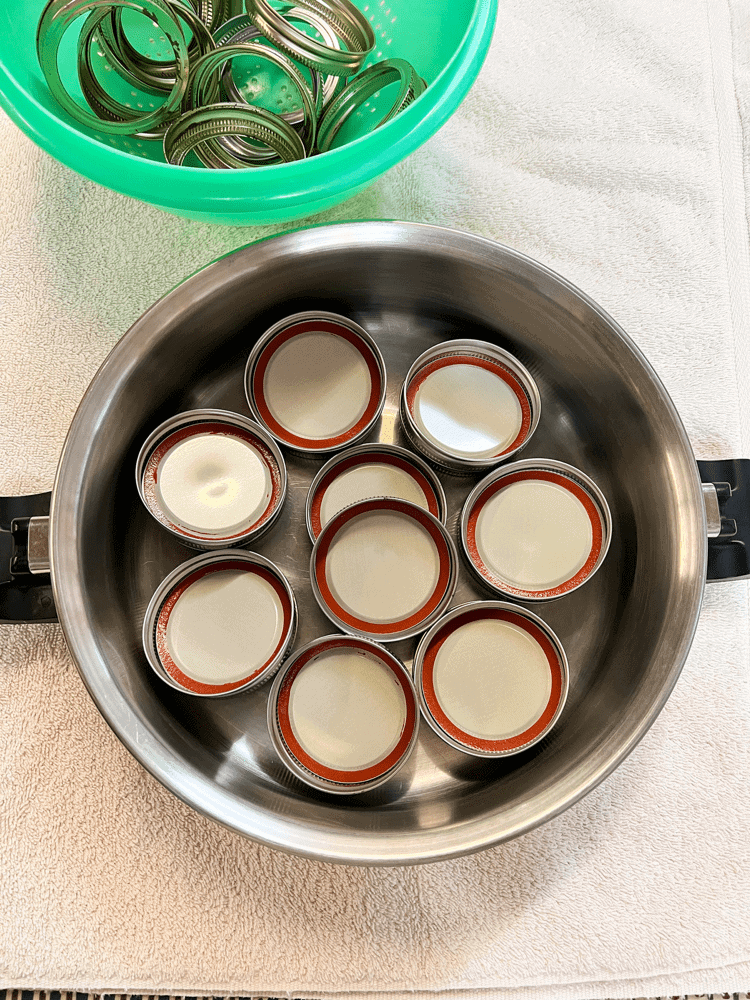
And then, to make sure the lids are ready for the canning process, you want to boil them for a few minutes. Place the rims and the lids together in a pot and pour water over them until they are completely submerged.

Then, place them on the stovetop and boil them for a few minutes.

Cooking the Green Beans
While you are prepping the jars to get them ready, now is a good time to cook the green beans. Like I said, I broke and strung one full bushel of beans so we needed one very large pot and another smaller pot to cook them in.
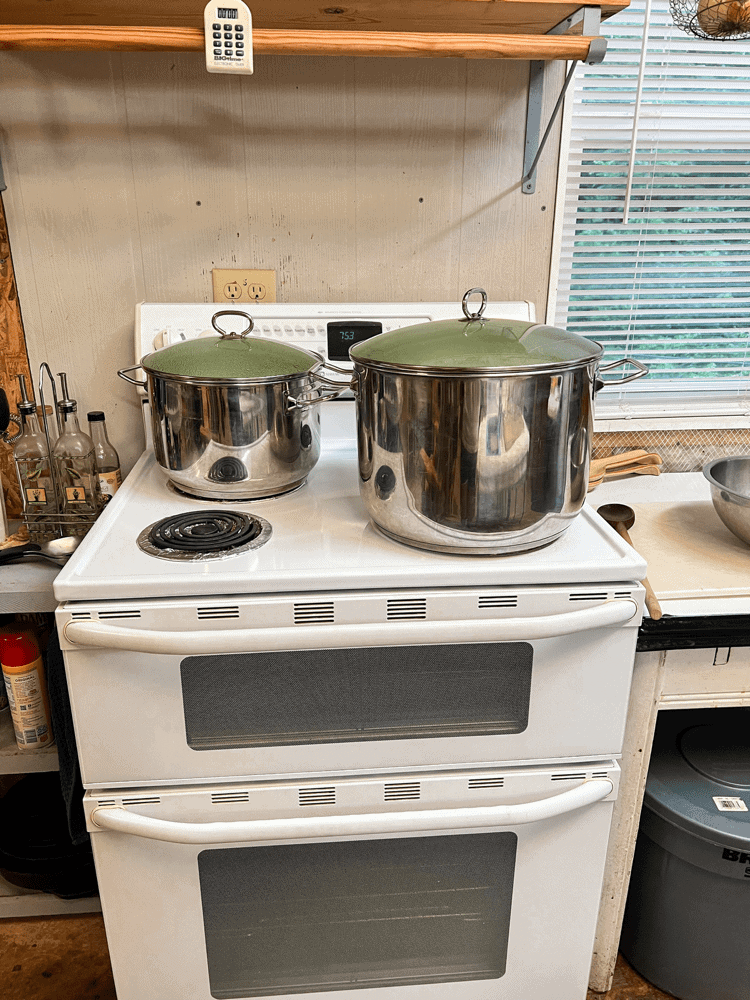
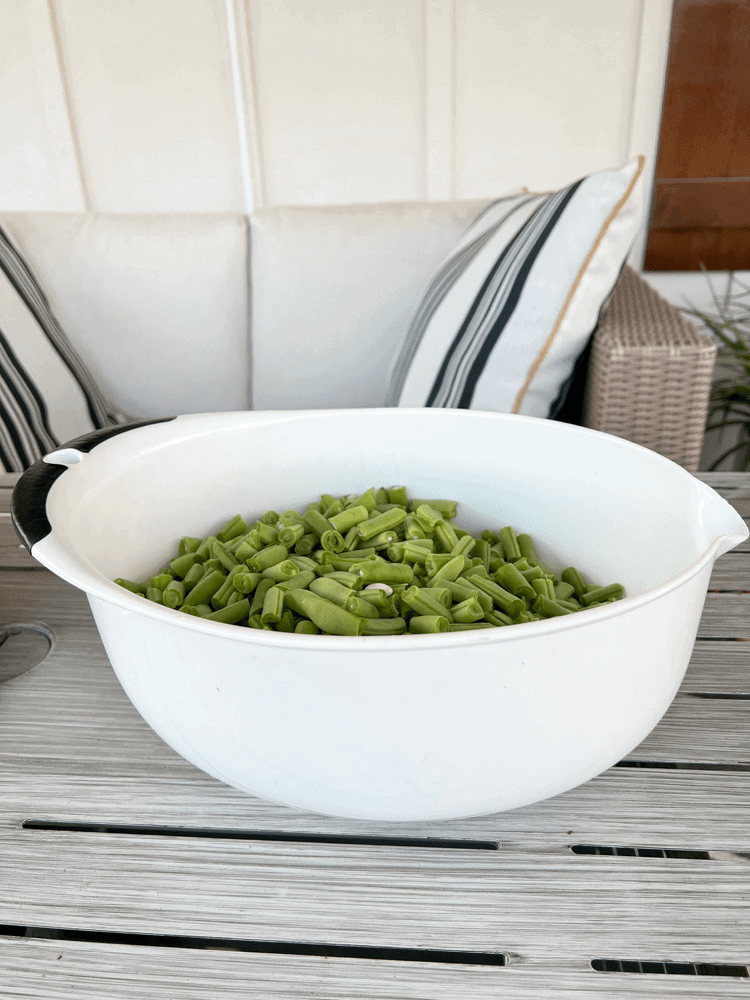
The large pot took about 45 minutes and the smaller pot took about 25 minutes total. You will notice a difference in color when the beans are done cooking.
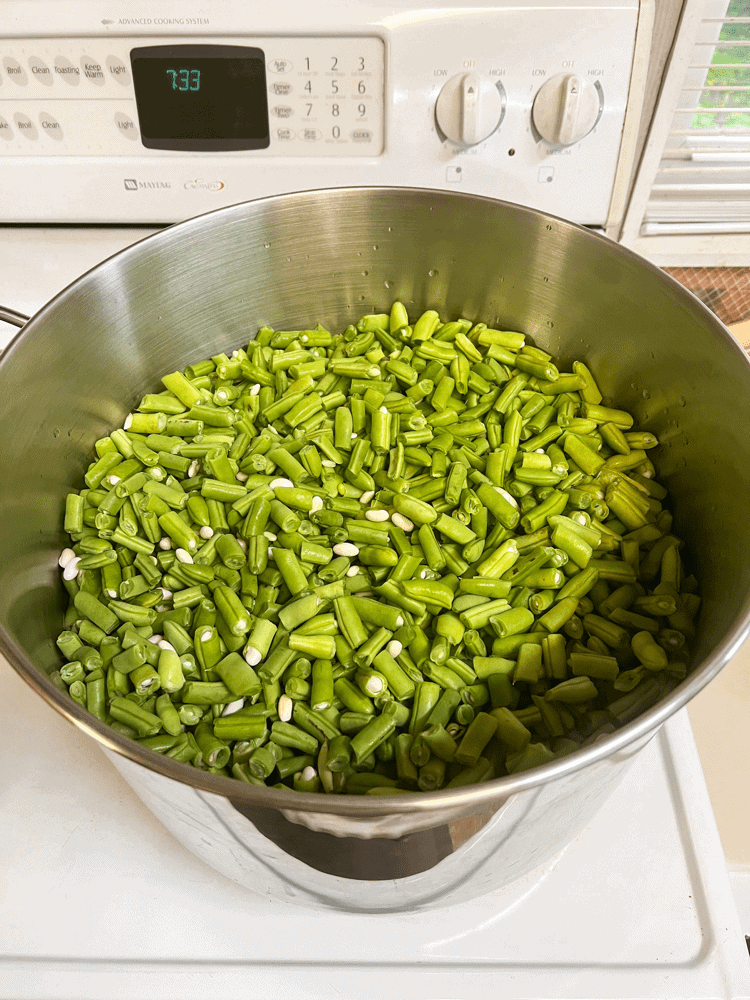
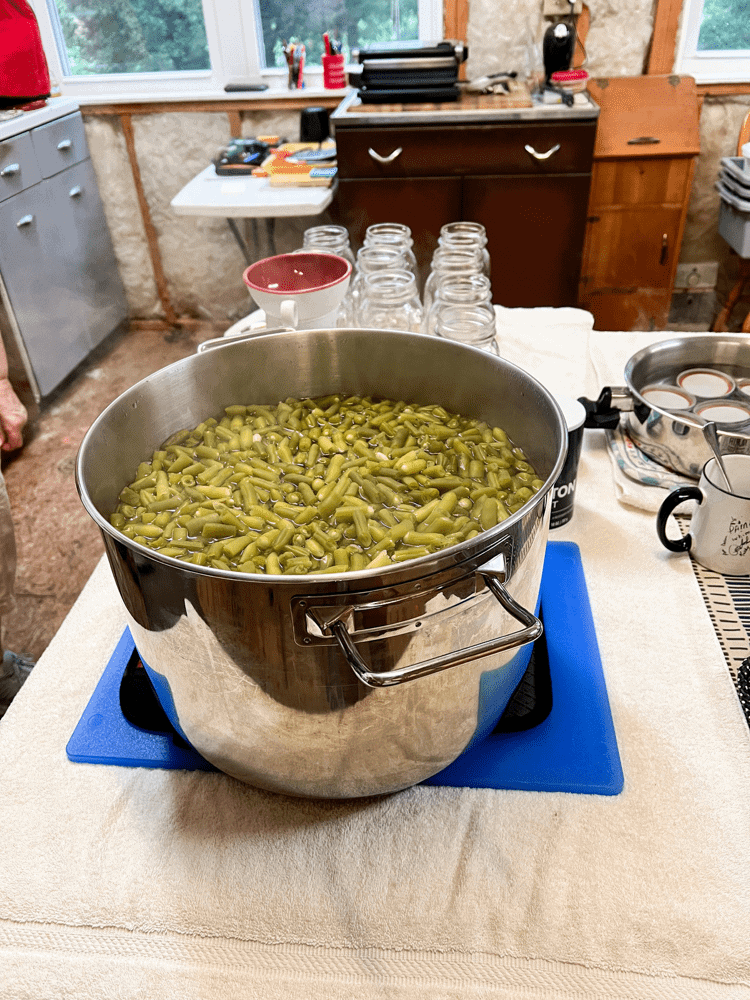
It will all depend on what size of pots you are cooking with, but once you notice the difference in color, like pictured above, you will know they are done.
How do You Can Green Beans the Old Fashioned Way?
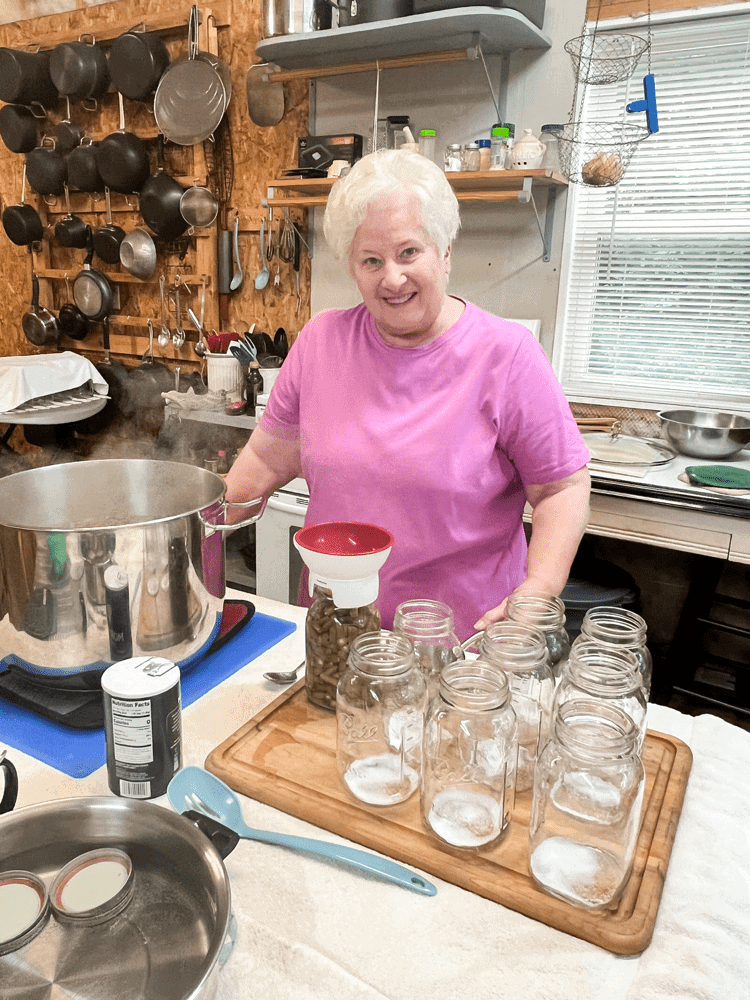
I’m going to call our method of canning green beans the old fashioned way because it has been done this way for many, many generations in our family. Just like when I canned raspberry jelly with my Meme, I canned these green beans with her as well.
She is the one who has taught me everything I know when it comes to canning. Just like she learned from her mother and grandmother too. So trust me when I say, you’re in good hands learning from her too! I tried to take as many notes as possible during the process so I could share them all with you too!
Adding Salt to the Jars
The first thing you need to do is add some salt to the jars. You do this before adding the cooked green beans into them.
And, the kind of salt you use is very important. You want to use salt that DOES NOT have iodide in it. Just like I have pictured below.
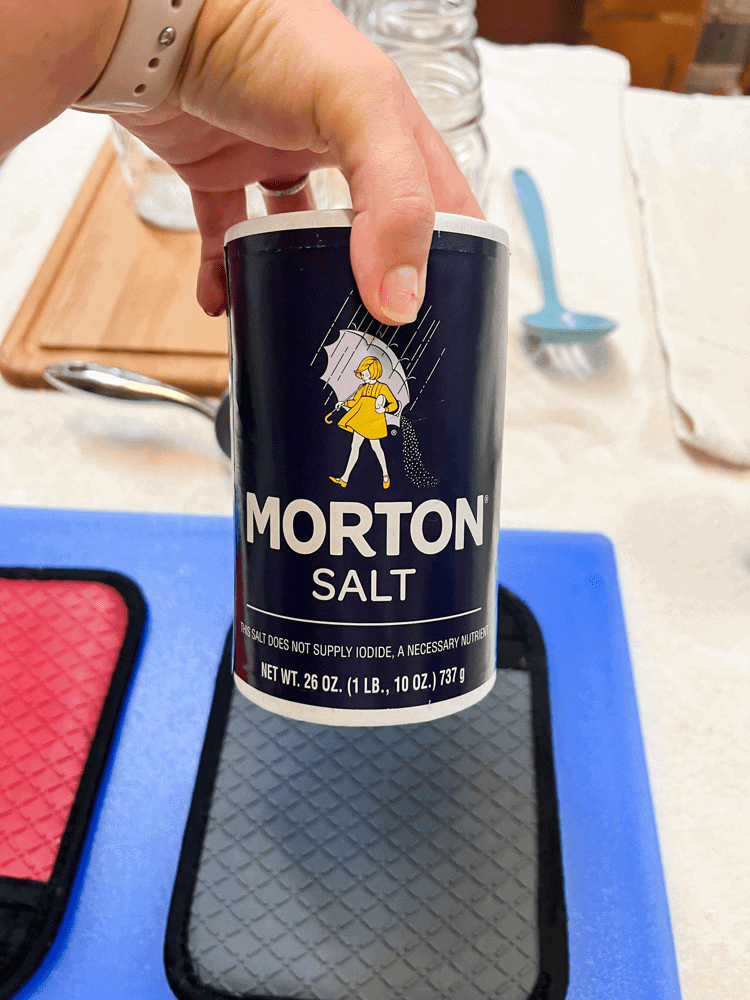
As for the quart jars, you need about a teaspoon of salt in each jar. If you’re canning using pint jars, then you’ll need about a 1/2 teaspoon of salt in each one as well.
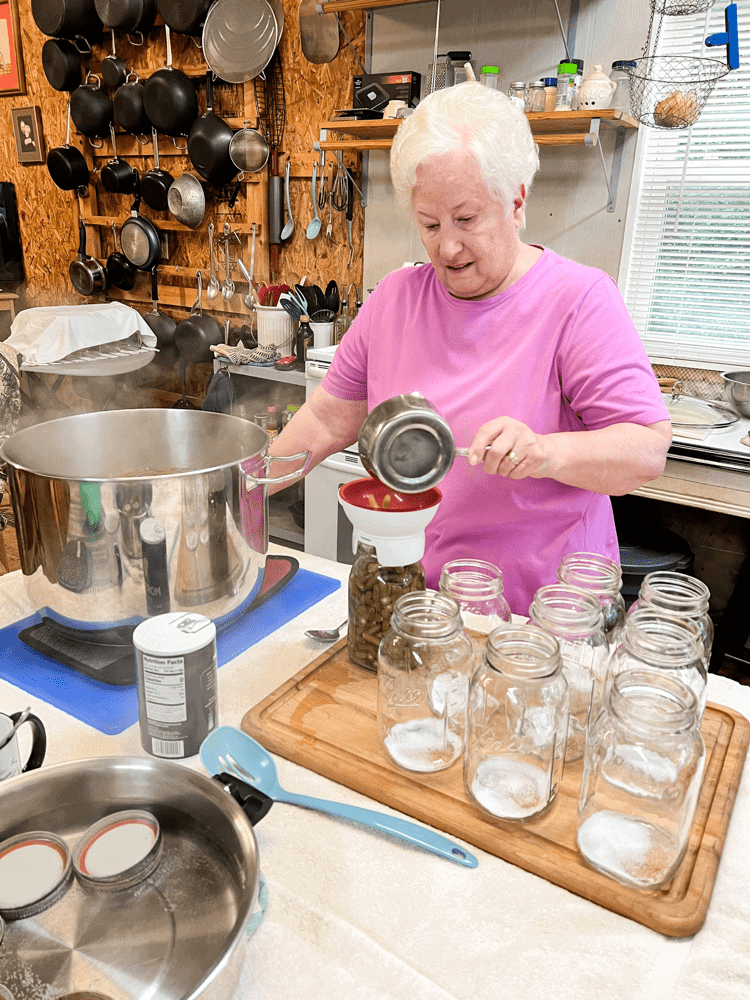
Adding the Cooked Beans to the Jars
Now that you’ve added your salt, you can then begin to add in your cooked green beans. You need to use a canning funnel to help you pour the green beans into each jar.
And you don’t need to pack them tightly in the jar. Just fill them up to the top, and then lightly pat them down into the jar using a spoon.
After that, you can now add the rim and lids to the jar after they have boiled and cooled down for a few minutes. Be sure to use tongs though to lift the lids out of the water because the water will still be hot.
Using a towel, firmly screw the lids into place on the jars. Then, using rubber jar lifter, pick the jar up and get them ready to transport to wherever you are going to cook them.
Canning the Green Beans
We used an old school copper boiler outside sitting on a campfire stove. I should mention that this was turned on while we were cooking the green beans to get the water inside hot enough and ready.
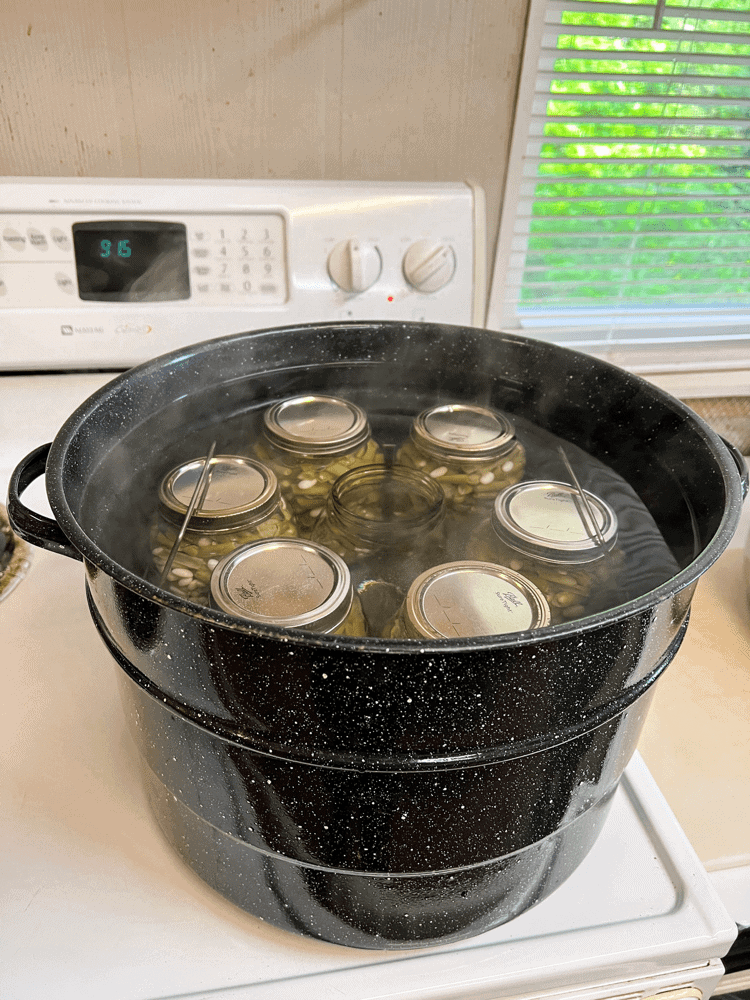
We were able to fit 16 quart jars full of beans in the boiler outside. We cooked them inside the boiler then for about 3 hours. I still had 6 more quart jars left so we decided to cook those upstairs on the stove while the others were cooking in the boiler. And again, we did those for 3 hours as well.
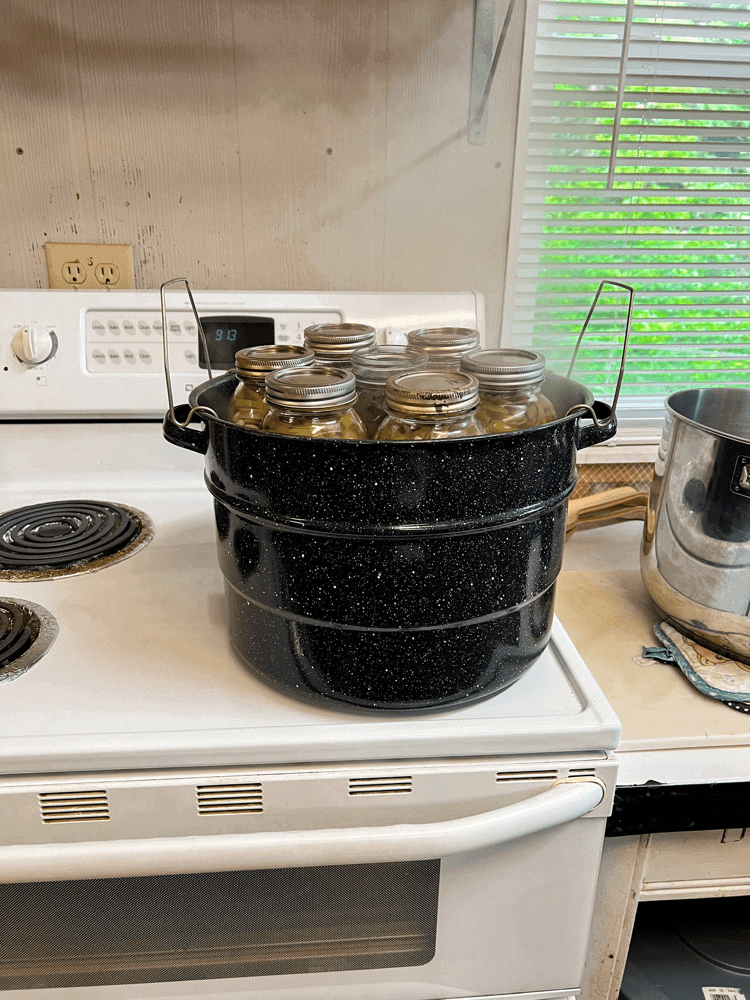
Since I only had 6 jars, we placed a 7th empty jar in the middle full of hot water, to keep the other jars from falling down. And you want to have about an inch and a half of water above the jars when you place them in the pot. Same for the boiler too.
By canning the green beans this way, it is very possible to can them without a pressure cooker. Plus, it is a lot faster this way as well. Since we were able to fit a total of 16 jars into the boiler too!
If you don’t have a boiler, you can definitely use a pressure cooker for this process. It will just take a little longer to do so.
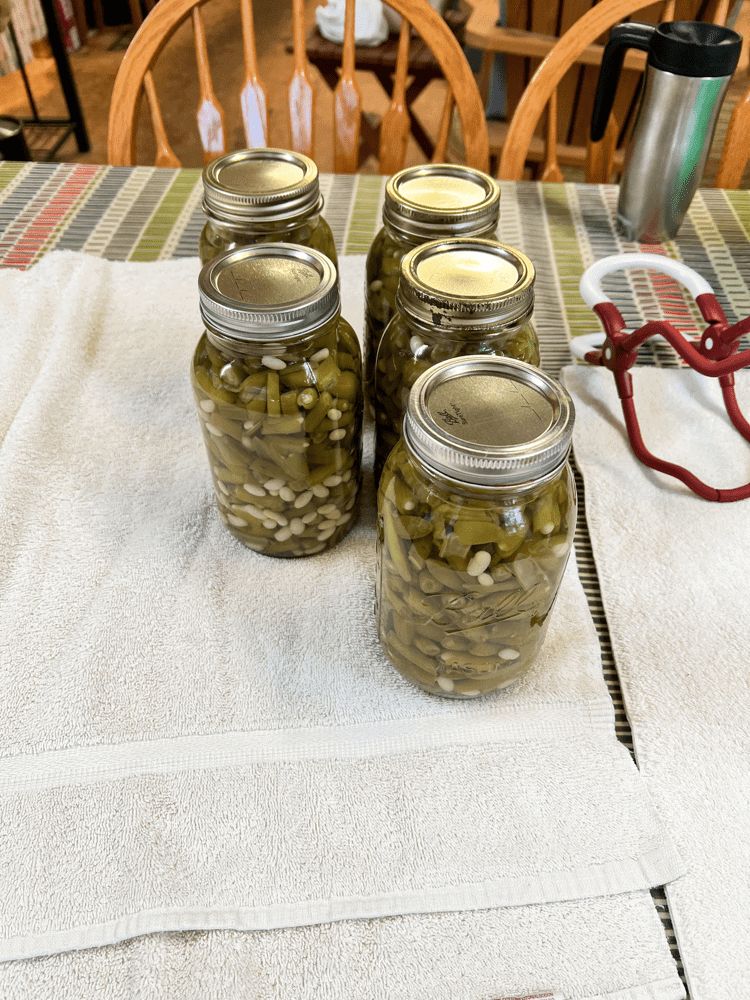
Enjoy Your Green Beans
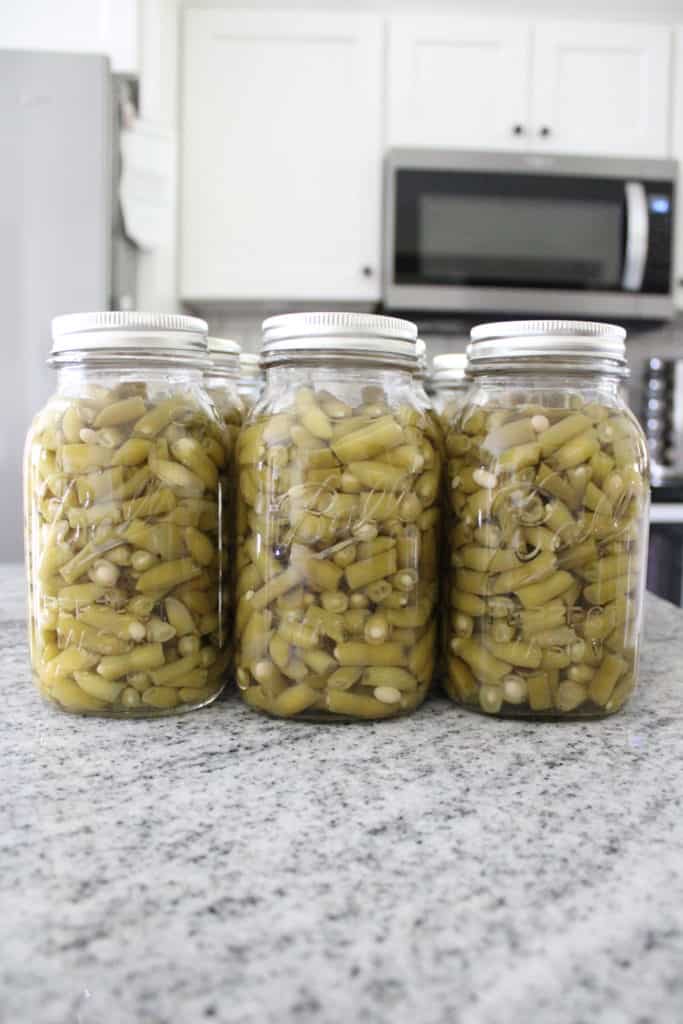
After you have canned them in the boiler, they will be very hot. Use the rubber jar lifters to lift them out carefully. Then, place them in an area to cool. Do not try to move them around during the cooling process.
They will be more likely to break when the jars are hot. Well, I hope this post was very informative for you.
And I hope you learned just how to can green beans easily and effectively. If you have any questions, please let me know! I am by no means an expert, but I can definitely find out from my Meme, who is one!
Have you all ever tried to can anything on your own before too?? I would love to hear any success and/or failures! Leave me a comment below and let me know!
Canned Green Beans
Equipment
- 22 Quart jars, rims, and lids
- Boiler
- Outdoor Camping Stove
- Rubber Jar Lifter
- Funnel
Ingredients
- 22 tsp salt non iodized
- 1 bushel half-runners
Instructions
- String, break green beans. Store them in a pillowcase in the fridge if you aren't going to can them right away.
- Make sure your quart jars are clean, you can run them though the dishwasher.
- Boil the lids and rims of the quart jars for a few minutes to ensure they are clean as well.
- Cook broken green beans anywhere from 25-45 minutes (this will depend on your pot size). Beans are done when you see a difference in color. They will go from bright green to a more muted green and be soft to touch with a fork.
- Add 1 tsp of salt to each one of the quart jars.
- Then, using a funnel, pour in the cooked green beans to the top of each jar.
- Screw on the lids by using tongs to get them out of the hot water. You may also need a dish towel to help you tighten the lids because the beans will make the jars hot.
- Using rubber jar lifters, move the jars to where you are going to can them. We used a large copper boiler on an outdoor campstove. We also canned a few inside on the stovetop as well that wouldn't fit in the boiler. We did 16 in the boiler and then 6 inside. Make sure the water is boiling before you carefully place the jars inside to can.
- Let the jars sit in the boiler for about 3 hours to can.
- Carefully lift the jars out of the boiler using the rubber jar lifters again. Place them in a spot to cool. Do not try to move them around until they are completely cool. They are more prone to break when the jars are still hot.
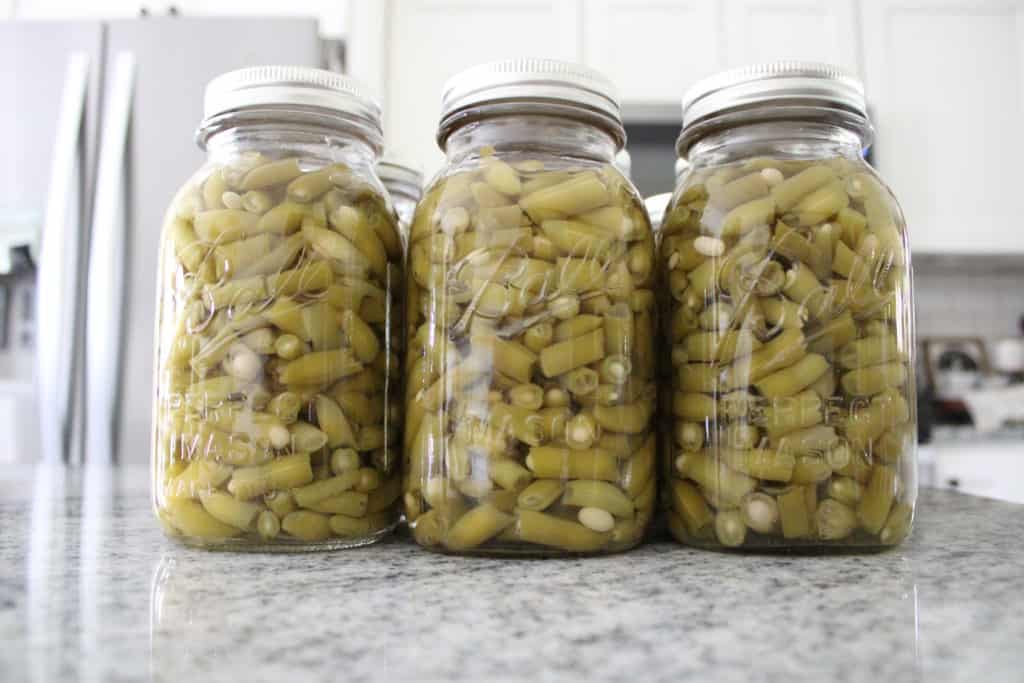
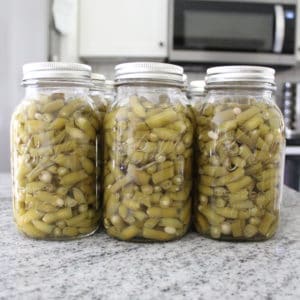
- Store your canned green beans once they are cool and bring them out to enjoy later on during the winter!
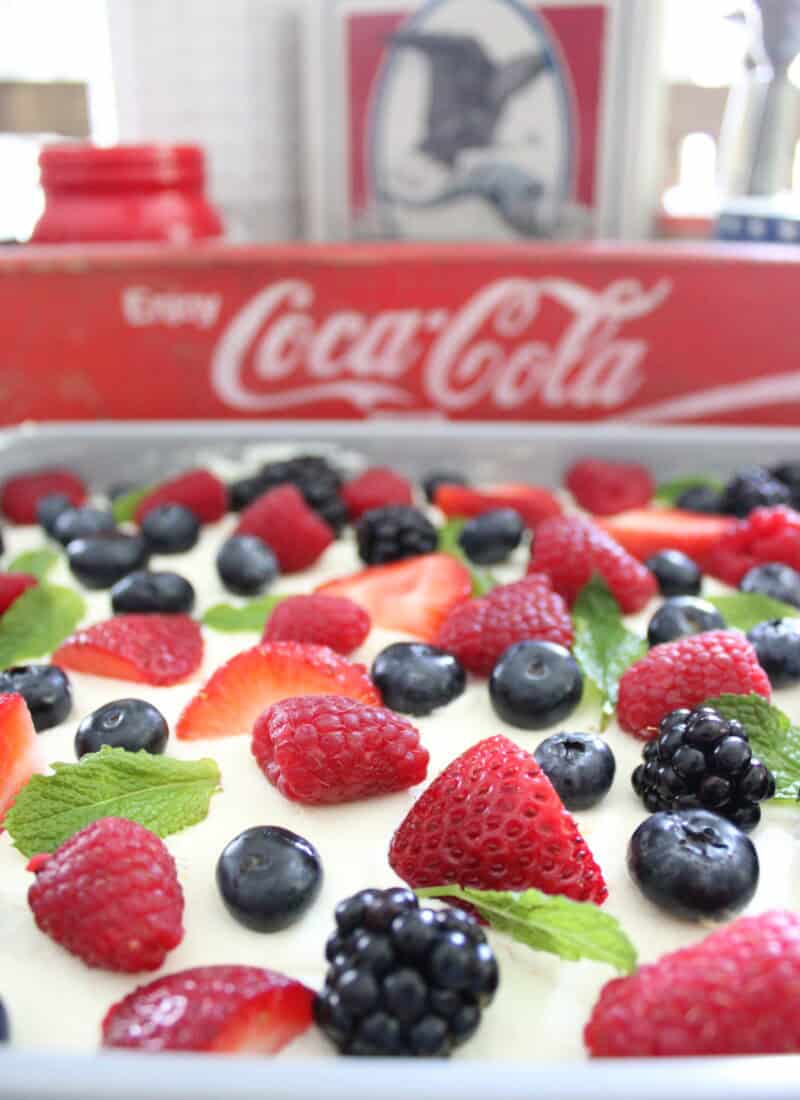
Be sure to check out more ideas on what to cook here too!


Wonderful post Charity! With the price of food in 2022, canning is a great way to save money and have delicious food all year round. I enjoy canning and making jams and jellies as well as freezing berries for use all year round.
Thank you so much! I love canning raspberry jelly too! It is a great way to save some money on food for sure!
I’ve never done any canning, but it’s a great idea. I didn’t actually know what it involved tbh, so thanks for the tips!
Well good! I am glad you found it to be informative then!
I love green beans and think canning them in this way sounds great! My mum makes a green bean chutney that she stores for a couple of months to have in the winter and it’s so delicious. I will have to give this a go — it sounds great!
Thank you so much. You definitely should try it out sometime!
This is interesting, my mom taught me before about this. This is a new way and will share it with my family.
Thank you so much
This is an interesting way to preserve string beans. I personally do not like canned string beans from the store but will appreciate canning my own. What dishes would you use your canned string beans in?
I just use it as a side dish for like chicken and dumplings, chicken pot pie, etc. I just season them with salt and pepper and a piece of bacon and then heat them up on the stovetop for a few minutes.
Oh, this is such a great idea! Such a good way to preserve beans, and also have plenty for the winter x
Thank you so much! I think so too!
We’ve never done any canning, but we find this so fun. Thank you for sharing these tips. Will share it with friends.
Thank you. You should defiantly try out canning sometime though!
We find this so fun. Thank you for sharing these tips. Will share it with friends.
Thank you! Please do!
Such a great post! I’ve never tried canning anything but I definitely want to especially after reading this.
Thank you. You definitely should try it out sometime!
This is such an informative post! I’ve never tried canning anything before but after reading this I’d definitely consider it as an option. Thank you so much for sharing, this was super helpful! x
Awe thank you. I am so glad you thought so too!
Canning is an awesome way to preserve fruits and vegetables for later on in the year. I love to can things like peaches and apple sauce, and the process is definitely very similar to this. 🙂
Thank you so much! It sure is an awesome way to preserve produce for sure!
Such a wonderful post. I can see that canning (jarring) takes a lot of work. 😅
I really appreciate the details you included. Thank you so much for sharing this post. ☺️
Pastor Natalie (ExamineThisMoment)
Letstakeamoment.com
Thank you so much! It is a lot of work, but it definitely is worth it in the long run!
I love canning green beans, but now that I’m an empty nester, I don’t take the time. Your details and photos make me want to get out my jars and canner! I love the photos of your grandmother. What a special thing to share.
Thank you! It sure is! I always cherish being able to spend time with her like this for sure!
Thanks so much for sharing this step-by-step guide on how to can green beans. Very helpful!
Thank you. I am so glad you found it to be helpful then!
Wow what an amazing step by step tutorial on how to can green beans. It was so easy to follow, thank you so much!
Thank you so much! I am so glad you think it was easy to follow too! I tried to make it that way!
OMG me + my husband have been talking so much about starting a garden but I wasn’t sure what to plant +/or what to do with it. I love green beans + this seems like a super easy method + something I could share with others as a gift. Thanks so much!
Thank you so much! You definitely could gift these as well, that’s a great idea!
Canning fruit or vegetables is a great way to preserve foods for a later date, a great post! x
Lucy | http://www.lucymary.co.uk
Thank you. It really is. I love to can!
This is a great way to store the beans. We have found using jars in the fridge for strawberries and other fruit and veg has made it last so much better than in plastic! Thank you for sharing how to work this!
Lauren
Yes! That does make them last much longer for sure! And I am glad you enjoyed it, thanks for commenting!
My mother in law taught me to can green beans many years ago. There’s nothing like opening up a jar of beans during the winter and enjoying the freshness. Plus, it satisfying to know –YOU did it!
Yes! Isn’t that the truth?! It tastes so much better too!!
Thank you for this recipe! I will be trying this out real soon as I am up to my eyeballs in beans. I love them fresh, but want to preserve the extras. 2 questions. Do you pour in some of the liquid from the cooked beans? I’m assuming to base of the neck. Also, can I use pole beans? I’m assuming they are similar. Thanks again
Yes, I am sure you can use pole beans too. I haven’t before, but I would guess the process would be the same for them as well. And yes, I do add liquid into the cans as well!
Thanks for the simple to follow directions! I haven’t canned beans on my own since my grandmother passed away. Can you tell me what the shelf life is for these beans?
Becky
I mean we have used them like up to 3 years or so after we have canned them and they have been fine. I would just open them up and smell them to make sure they are still fine and edible!