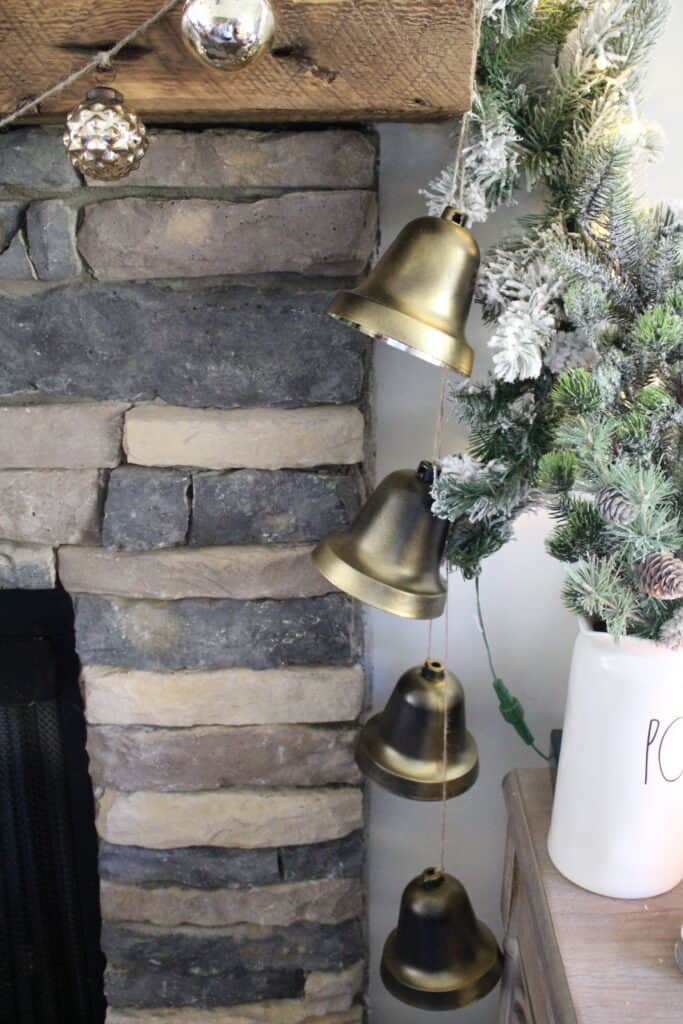
Have you ever seen those cute, rustic Christmas bells from Pottery Barn?? They are super cute, but also super expensive. And I don’t want to spend that kind of money on something I could potentially just make. So I decided to try my hand at making my own DIY Christmas Bells.
And I absolutely love the way they turned out! Not only are they super cute, but super inexpensive as well! You don’t have to spend a ton of money to have beautiful Christmas decor! You can just make your own!
With just a few materials and a couple of hours, I was able to create this Pottery Barn Dupe easily! And you can too. Just follow my simple instructions below and you will be all set!
This post also contains affiliate links, which means I make a small commission off anything you purchase through here, at no additional cost to you. Please read my full privacy policy for more details.
Materials Needed For DIY Christmas Bells:
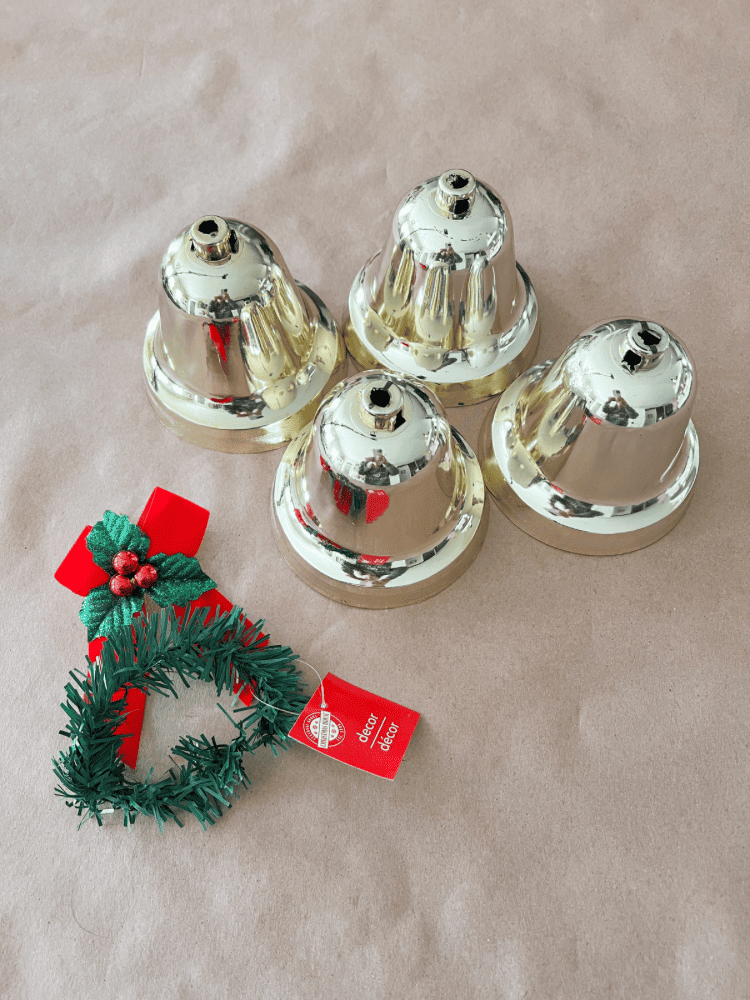
- Cheap Bells, I found mine at the local Dollar Tree!
- Spray Paint, I used matte black spray paint first and then gold after.
- Twine
And that’s it! Just 3 simple materials and you can create these gorgeous looking rustic Christmas bells of your own too! I really cant believe how easy it is!
How To Make Pottery Barn Dupe Christmas Bells
Now that you have everything together, you can make these pretty DIY Christmas Bells! And it is super easy to do so! The first thing I did was to remove the faux wreaths that were around my bells. If you get them from Dollar Tree too, they will probably have that.
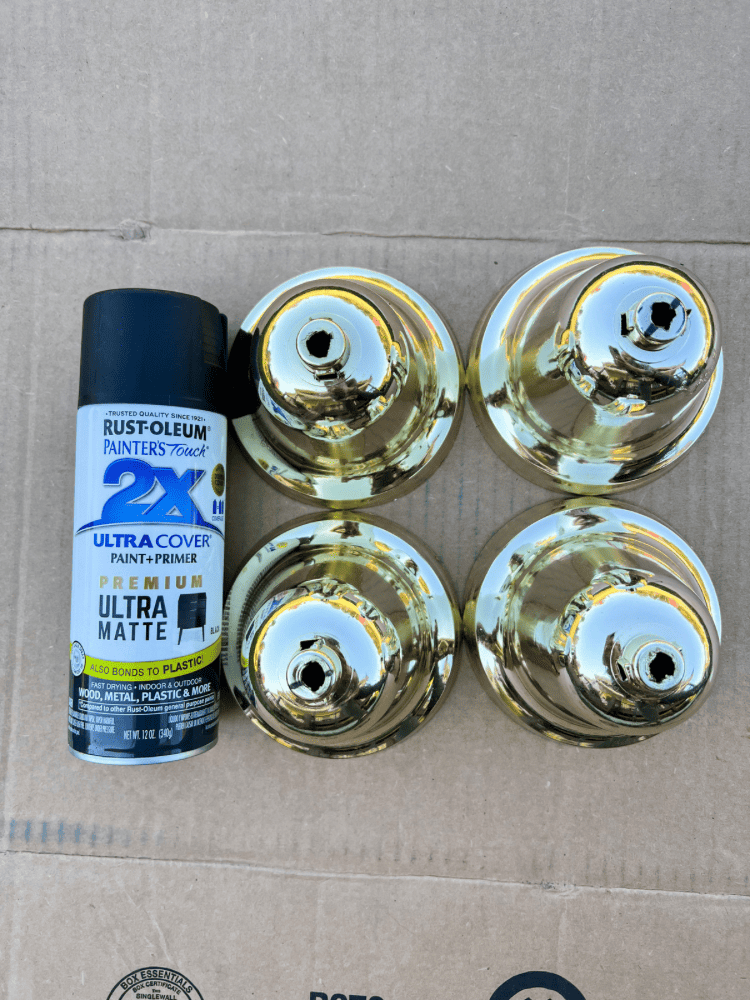
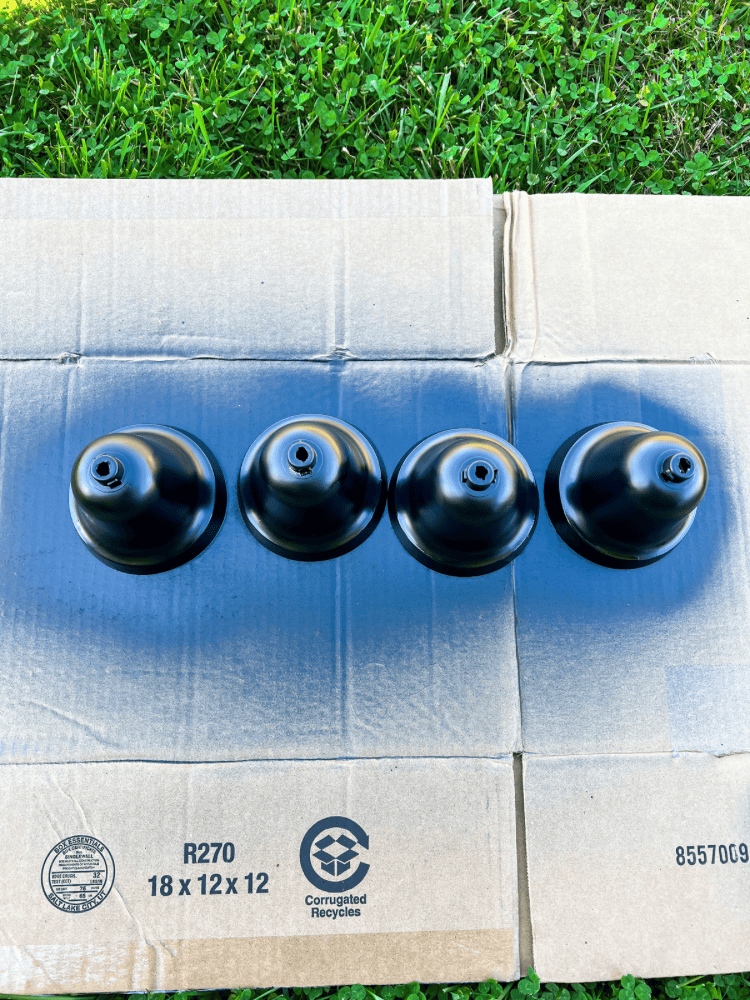
But, they are super easy to remove and not a big deal at all. Even easier if you can find bells with no other greenery or attachments to them! After removing the wreaths, I went outside and applied a layer of matte black spray paint to the bells.
Then, I let that dry completely and came back with gold spray paint. I wanted an antique look here so I didn’t completely coat the bells with the gold spray paint. To make it look more rustic and antique, I simply applied a little gold spray paint here and there, and let some of the black show through.
I didn’t want the bells to look brand new and shiny gold. I wanted to give them a little depth and an old look to them. And I think I nailed it!
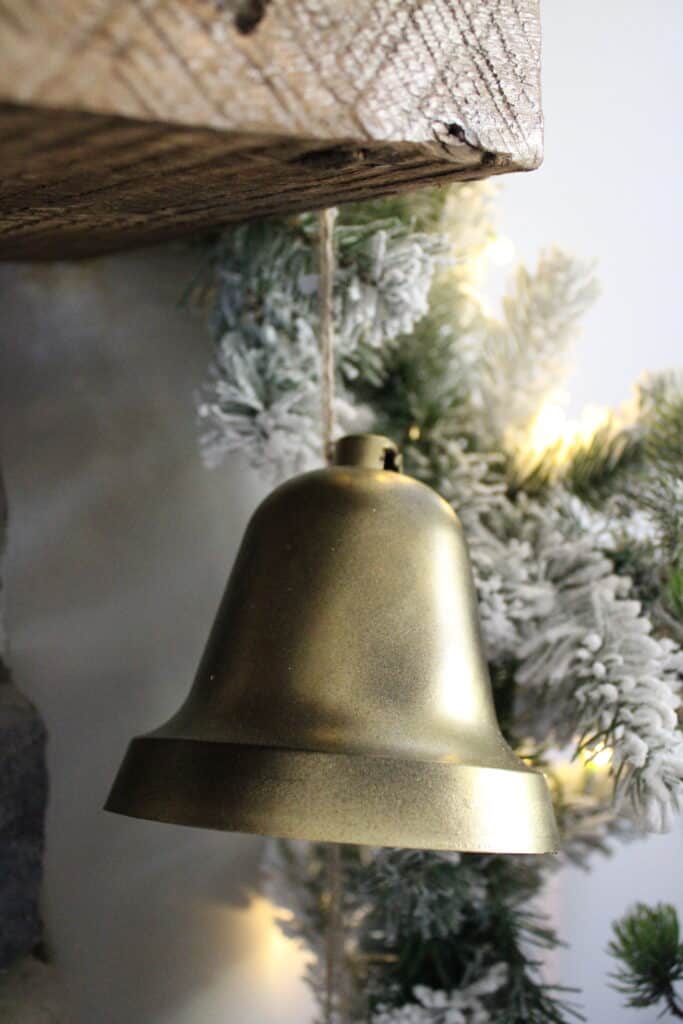
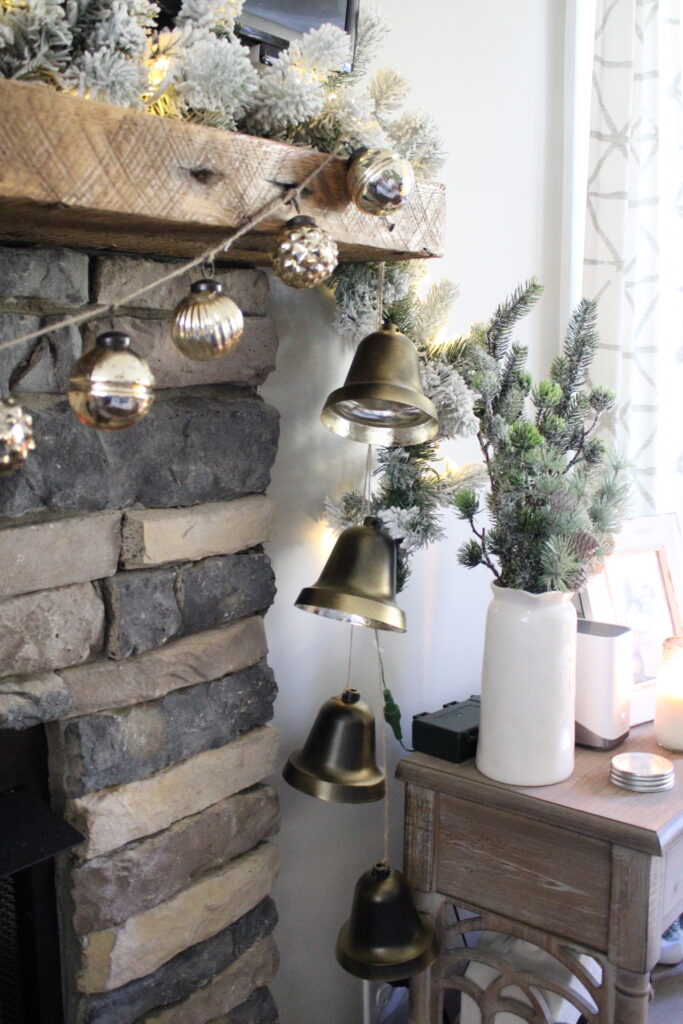
After letting the gold spray paint dry, I just attached some twine to the bells. I wanted to hang these bells off the side of my mantle so I wanted them to be able to drape down beautifully. To do that, I cut a long piece of twine and folded it in half.
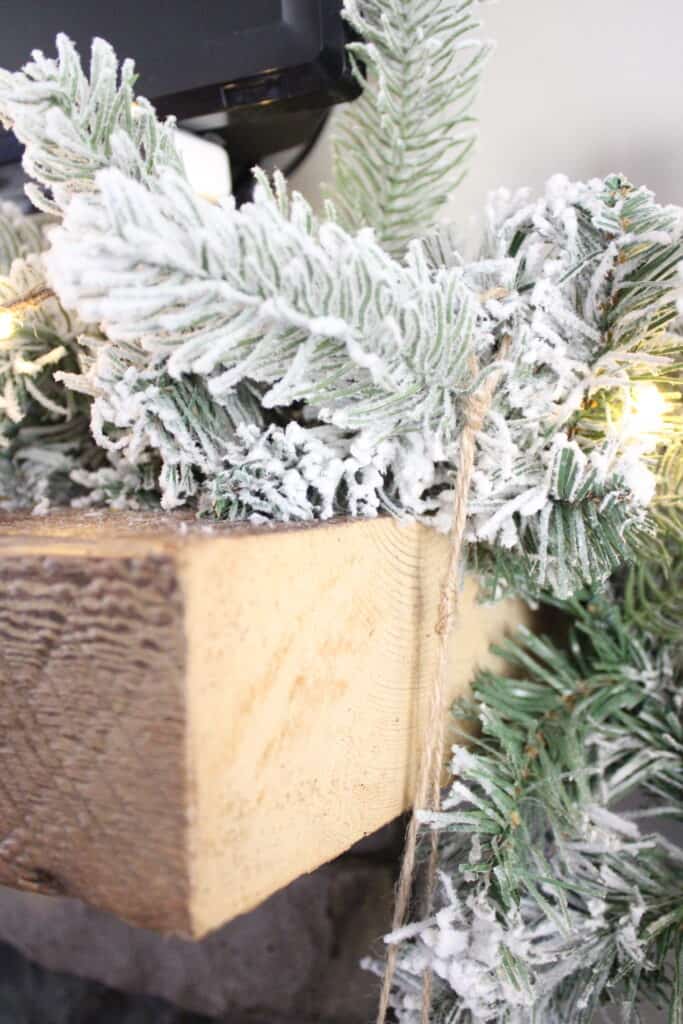
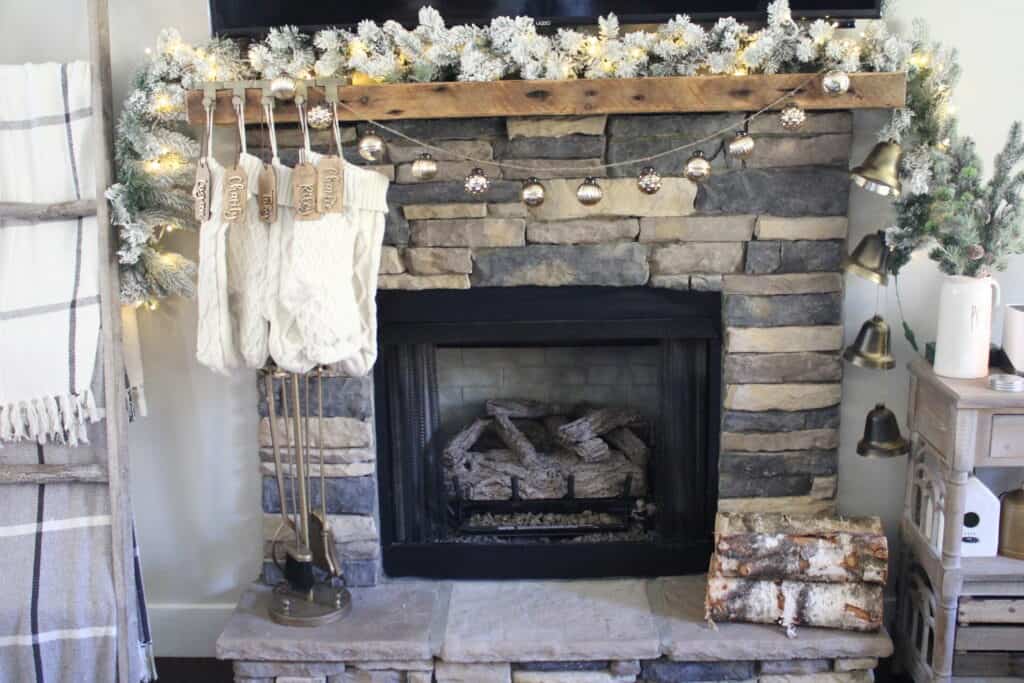
Then I tied two of the bells to each side of the twine, making sure they weren’t tied at the same spots. That way, they could drape easily when being hung up. After that, I just tied the finished product to a piece of my garland on the mantel and voila! I have perfect, rustic Christmas bells that didn’t break the bank!
Enjoy Your Christmas Bells!
Well I hope you enjoyed this super easy tutorial on how to make these DIY Christmas Bells! As you can see, they were so easy to make and I am so happy with the final result! They look so perfect on my Christmas mantel this year!
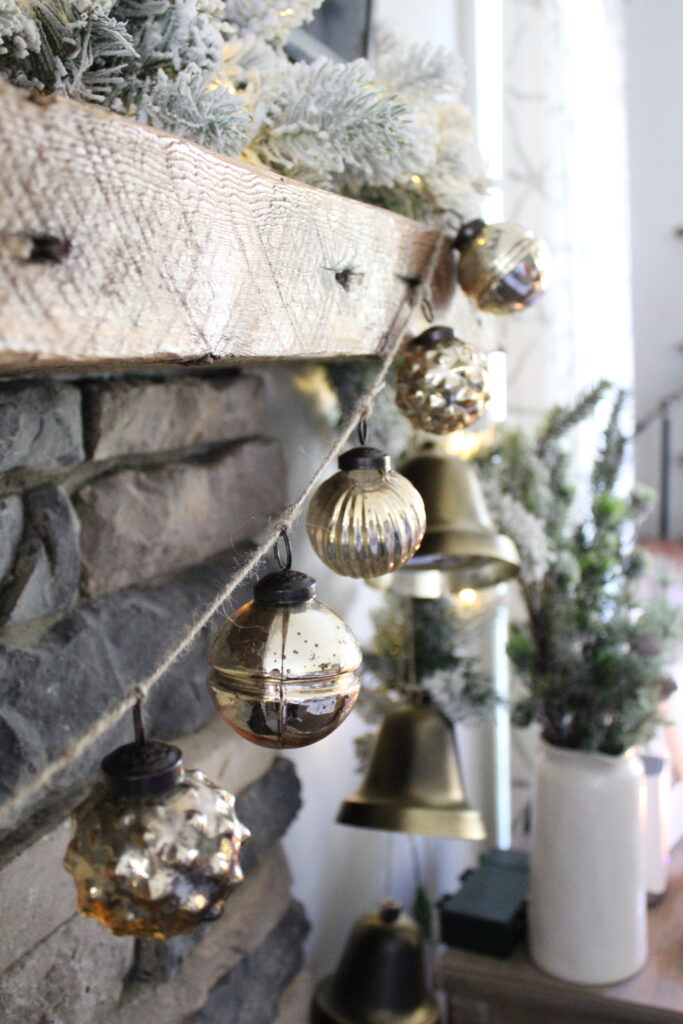
And you can customize them exactly to your liking. If you want to make more Christmas bells and add them to the twine to make it even longer you can totally do that. Or, if you’d rather make it into a garland, you could tie them all in a single line instead of draping them.
The possibilities really are endless and that’s why I just love creating my own Christmas decor. It’s not only cheaper, but you can make it exactly how you want it! Now, go out and make these pretty Christmas bells my friends!!




Leave a Reply