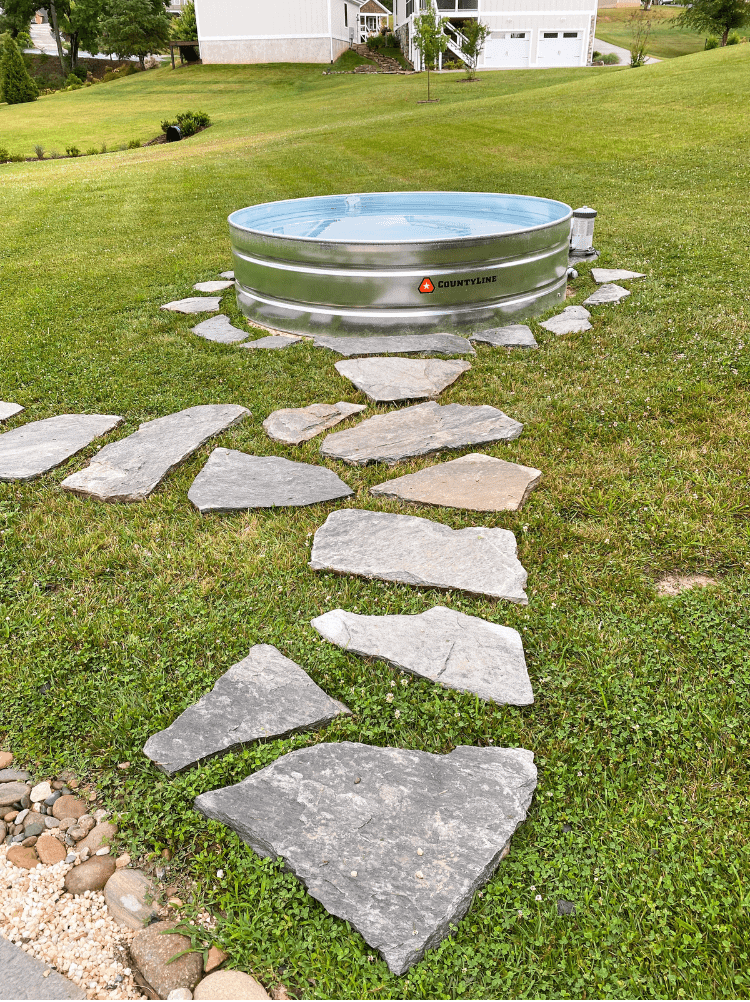
Y’all know all about how we created a DIY Stock Tank Pool this summer. It honestly has been our favorite DIY project to date. I didn’t think it would be possible to make it any better, but my hubby outdid himself again! To improve it, he decided to do a little stock tank pool landscaping.
And let me tell you, it turned out incredible! Even though we are towards the end of summer now, we are still soaking it up and enjoying every minute of it!
This post contains affiliate links. Click here to read my disclosure policy.
Removing the Paver Stones from the Fire Pit Area
The first thing we had to do for our stock tank pool landscaping was to remove the large paver stones in our fire pit. If you remember, a long time ago, I shared all about our fire pit area.
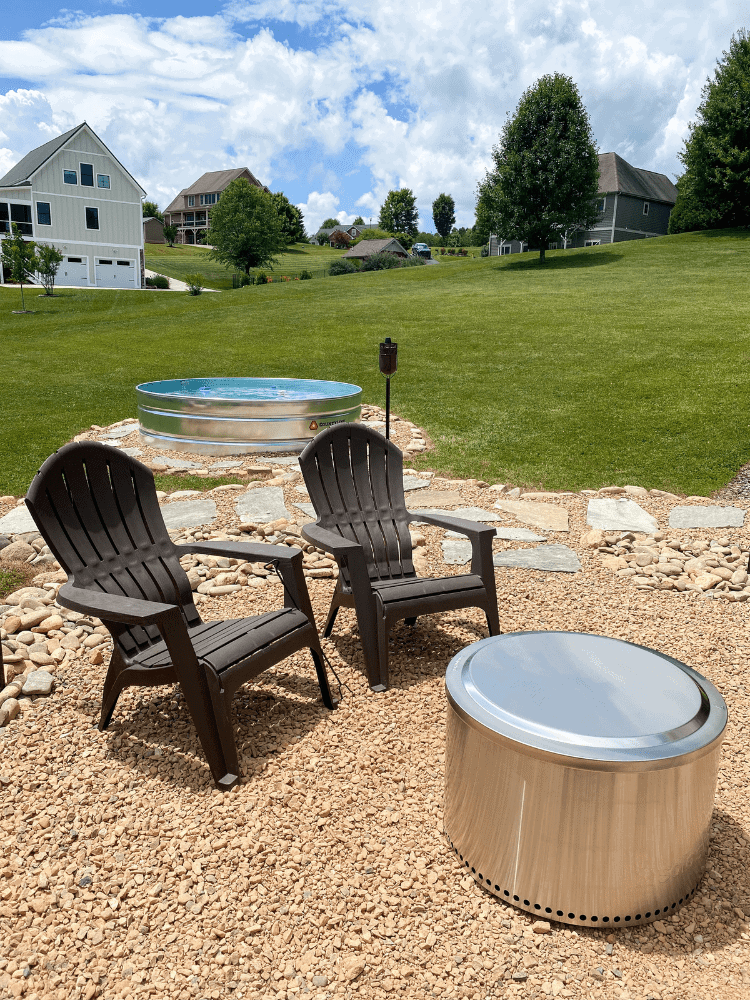
We had a bunch of pea gravel down and large paver stones on top of the space. We decided to take the large paver stones out of the fire pit area and use them for the walkway to the pool instead.
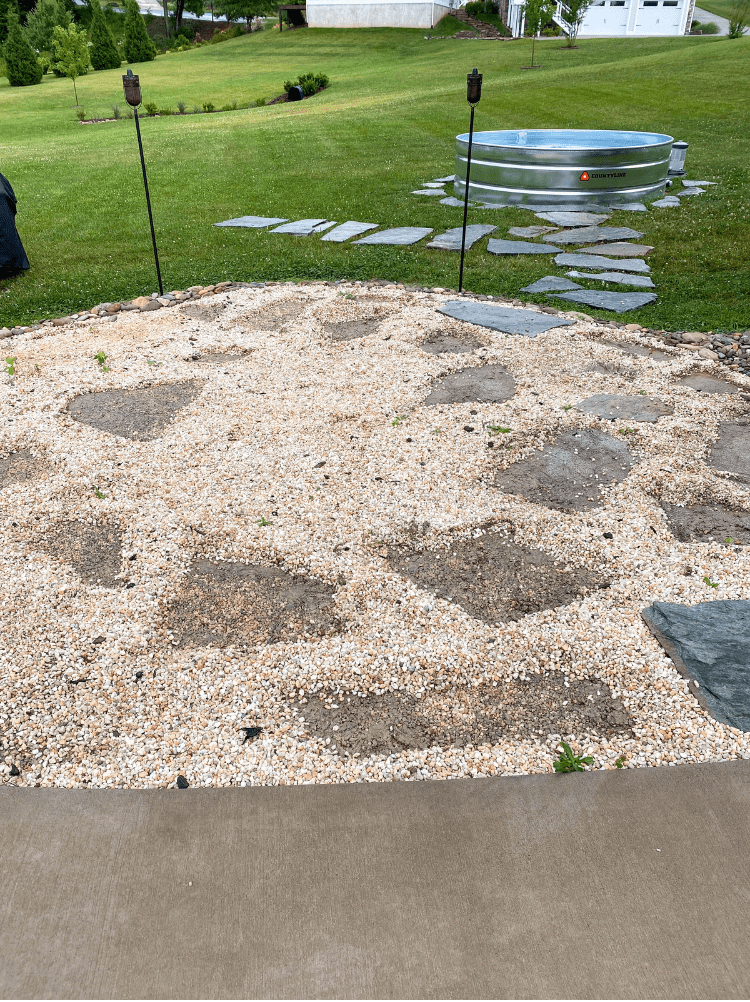
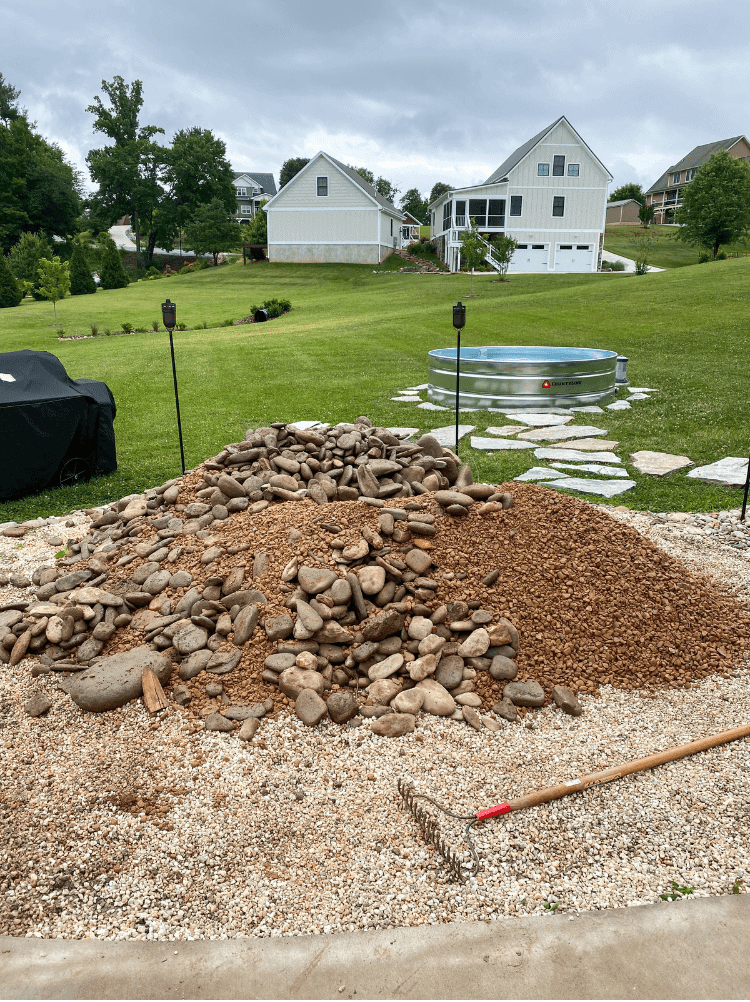
My husband then ordered more pea gravel to fill the void spaces after the large paver stones were removed. We also got more river rock, which is slightly larger than the pea gravel.
We wanted to use this kind of stone to outline the walkway. Then the plan was to fill in between the paver stones and river rock with the smaller pea gravel.
This would give it almost a concrete look without the expensive price tag of concrete!
Planning the Landscaping
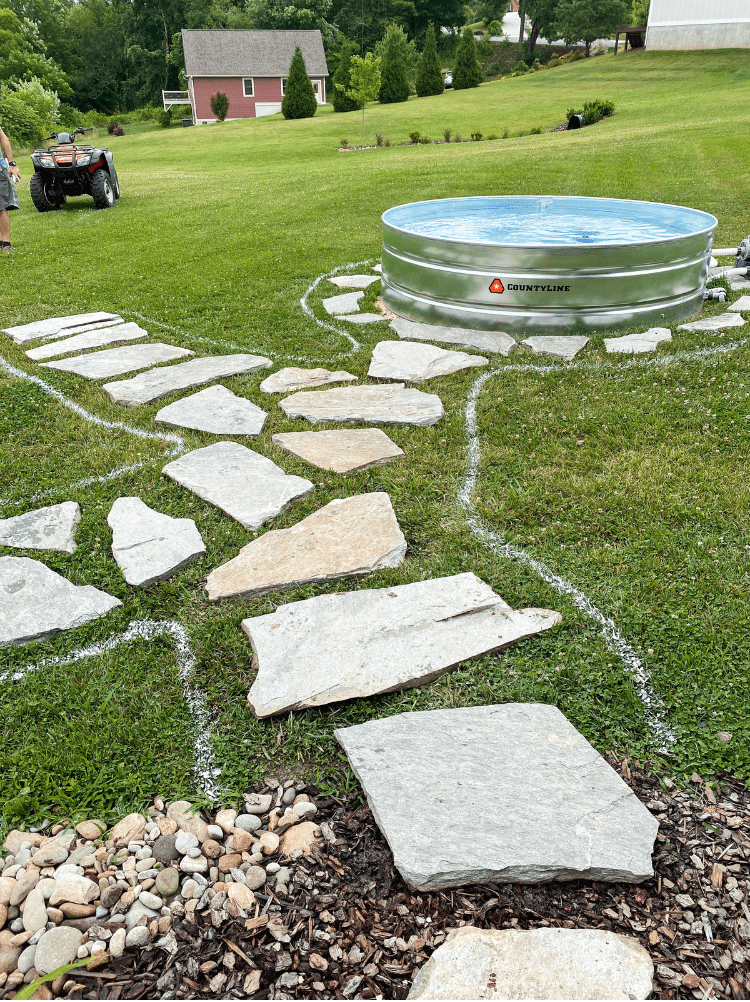
My husband always likes to use a little white spray paint whenever he is planning on landscaping something. It’s easy and cost effective to do.
And that way you can actually visualize it better. Even if you end up not liking it, no worries because the spray paint will eventually wash off of the grass.
So after placing and playing around with the paver stones, he then outlined the walkway area with the spray paint.
After spray painting around the rock, we took a step back to make sure it looked good. Determining that it was perfect, my husband then sprayed grass killer all inside the outlines of the spray paint.
We wanted the grass to die completely before adding pea gravel on top of it. This took about a week to finally die off.
Which was fine because we ended up needing more rock so that gave us time to get the rock delivered in between.
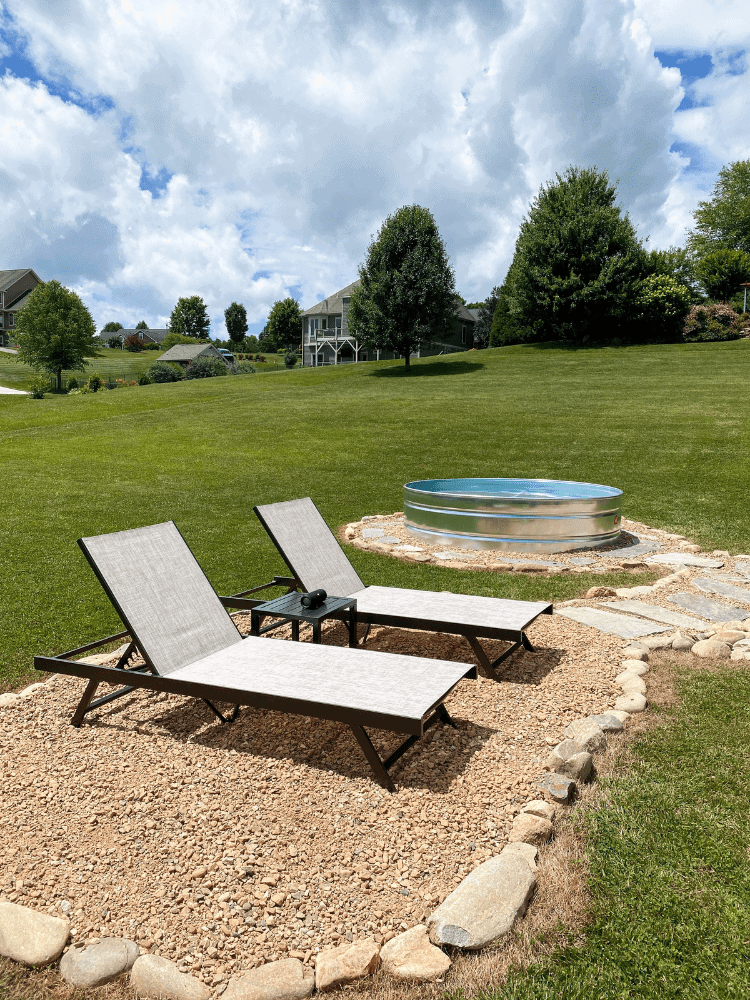
You’ll notice there’s a path veering off to the left side of the pool as well. I wanted to have a little lounge area here where I could put out some pool chairs and enjoy the sun.
So coming from the fire pit area, you can either go directly to the stock tank pool or to the lounge area.
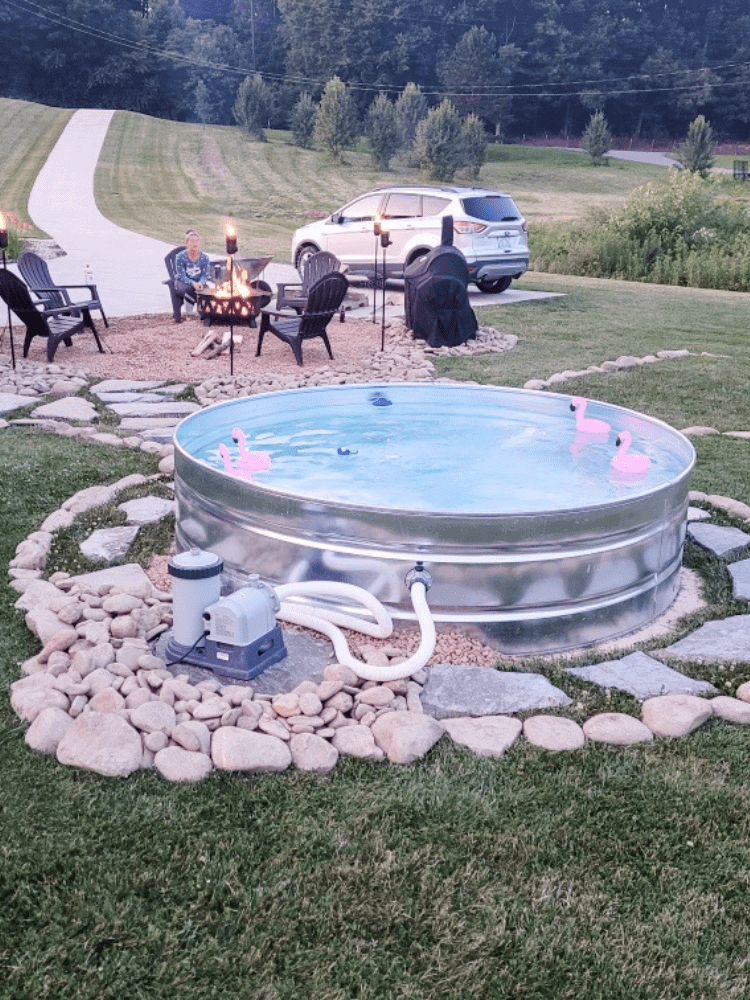
Completing the Stock Tank Pool Landscaping
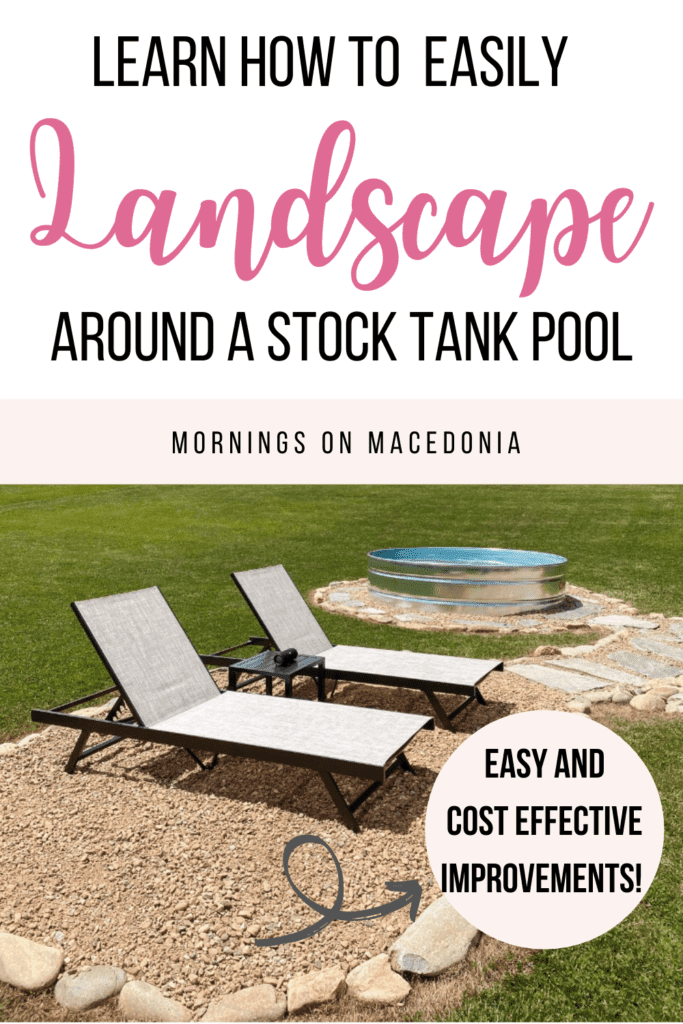
The last thing we did was create a lounge space for our pool chairs to go. Again, this veers off to the side of the pool.
This was very important to me because I absolutely love laying out and reading a good book during the summer.
So we simply just killed the grass in this area too and added the pea gravel on top. Then we just used the river rock again to outline the space.
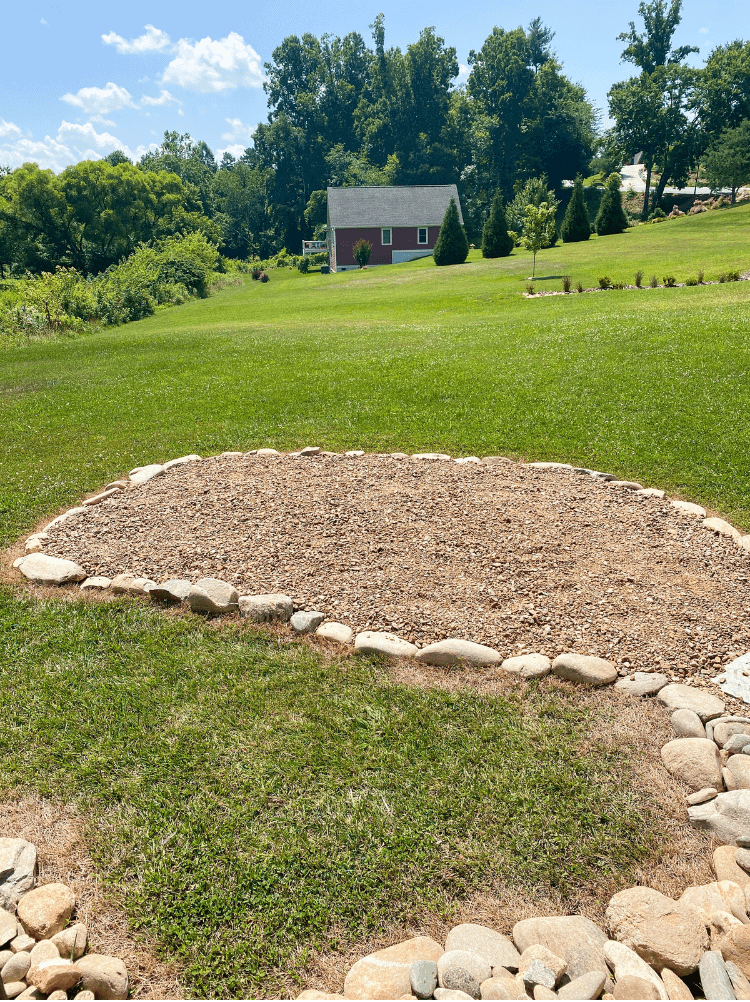
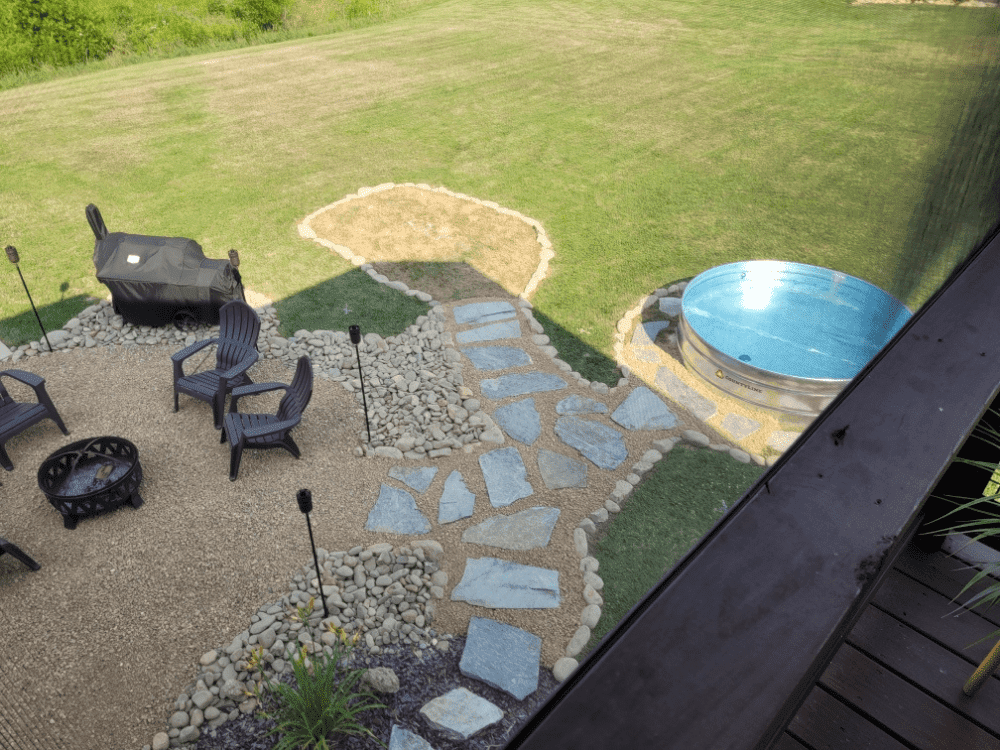
To do this, we just killed the grass in this area too and added the pea gravel on top. Then we just used the river rock again to outline the space. It was so simple and easy to do and I love how it turned out.
And, I absolutely love our pool chairs. I will link them below in case you’re looking for some too. They are cute, sturdy, and comfortable and they even come with a little side table that matches too!
Well, I hope you enjoyed this little explanation of how we did our stock tank pool landscaping. What do you think of how it turned out?!
I wanted to do a little more down here, like add in some tropical looking plants and build a little deck around the pool.
But, this summer completely flew by and I can’t believe it’s almost fall now. We will spend the fall and winter coming up daydreaming about some more improvements we can make to this space come next summer! Any thoughts or ideas about that as well?! Let me know below!


this is amazing and very informative, thank you for sharing, btw it looks amazing
Thank you. I am so glad you think so as well!
Some really great ideas about landscaping around a stock tank pool! x
Lucy | http://www.lucymary.co.uk
Thank you. So glad you think so as well.
Great post! I remember reading your diy stock tank pool post a while back and really enjoying it so it was really interesting to see what you’ve done with it since – it looks amazing! Thanks for sharing x
Awe thank you so much! That means so much to me!
I feel like we are still in the heat of summer, so I love that you have jazzed up your pool for further enjoyment before autumn! I am inspired by how easy and effective your outlay is but still think the pool itself is the most genius.
Thanks for sharing!
Thank you so much! It is still very hot here- it was 90 degrees today! So I feel like I still have plenty of time to enjoy it before it gets too cool as well.
I love how this looks. Wish I could get away with one in the UK but we’d probably only get to use it once in a blue moon!
Thank you so much. I appreciate it
What a great idea – and DIY too! I am happy that your pool turned out to be such a success. Enjoy xx
Thank you! We definitely are enjoying it so much!
I really loved reading about the DIY tank pool on the previous posts and am so glad to see it turned out so great! Really love the landscaping and the space looks like something that can be used and shared to make many great memories x
Thank you so much my friend. I am so happy with how it turned out
I’m so glad you’ve been enjoying this project, and this is a great insight into the landscaping process 🙂
Thank you, I am so glad you think so too!
This is a cool DIY. Good for those who have family. I’m sure kids will like this.
Well its also good for those without kids. We don’t have any but we enjoy it just as much
What a lovely way to make this area more beautiful! You are both so creative and visionary! Thanks for sharing.
Thank you so much Jodie. I appreciate that
Wow! I truly love the look of it. You are so creative and it shows in the magical things you create around your house. Great post xx
xoxo Olivia | https://www.oliviaandbeauty.com
Thank you so much. I really appreciate that sweet compliment
Great DIY! This looks really good and I also like the pool chairs! Thanks for sharing this!
Thank you so much. I love the chairs too!
wow this is awesome and very picturesque
~B
Thank you. Glad you think so too
I love what you did with this, it looks fantastic! Your land is massive and gorgeous!
Awe thanks so much Jenny. I appreciate it
This is a great idea you can adjust something around the house and change as you want.
Thank you so much
What a gorgeous spot in your garden and a really great idea!!
Thank you. I appreciate it!