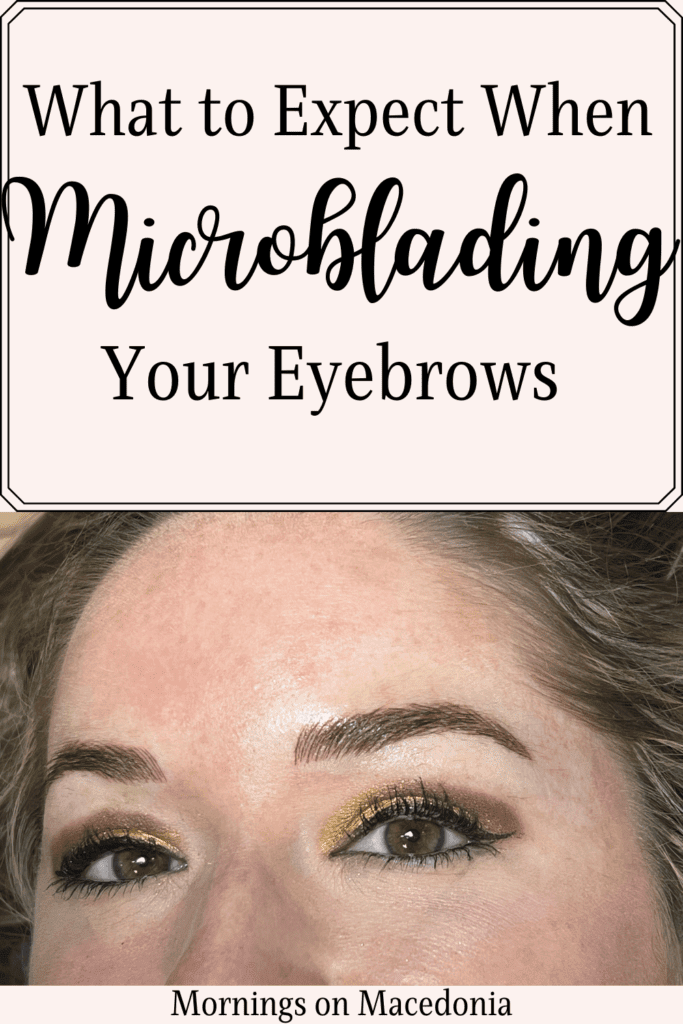
Over Thanksgiving break, I decided to do something a little out of the ordinary for me. I got my eyebrows microbladed! I have always been a little curious about the procedure, but I decided to just go for it.
So if you’re like me and curious, I thought I would create a comprehensive post on what to expect when microblading your eyebrows!
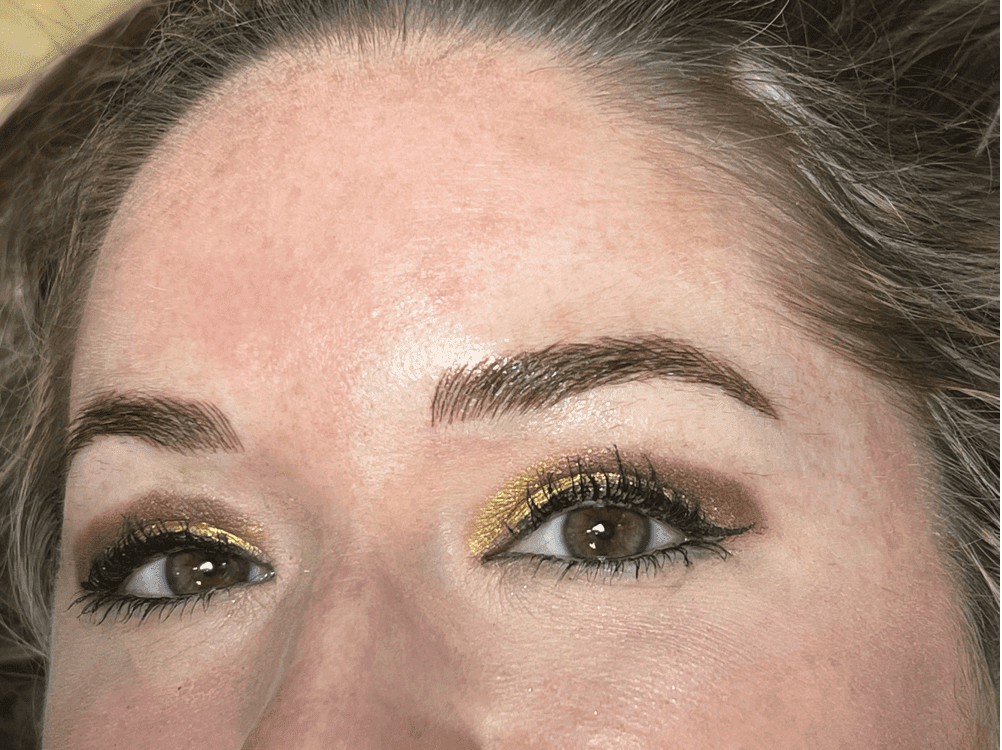
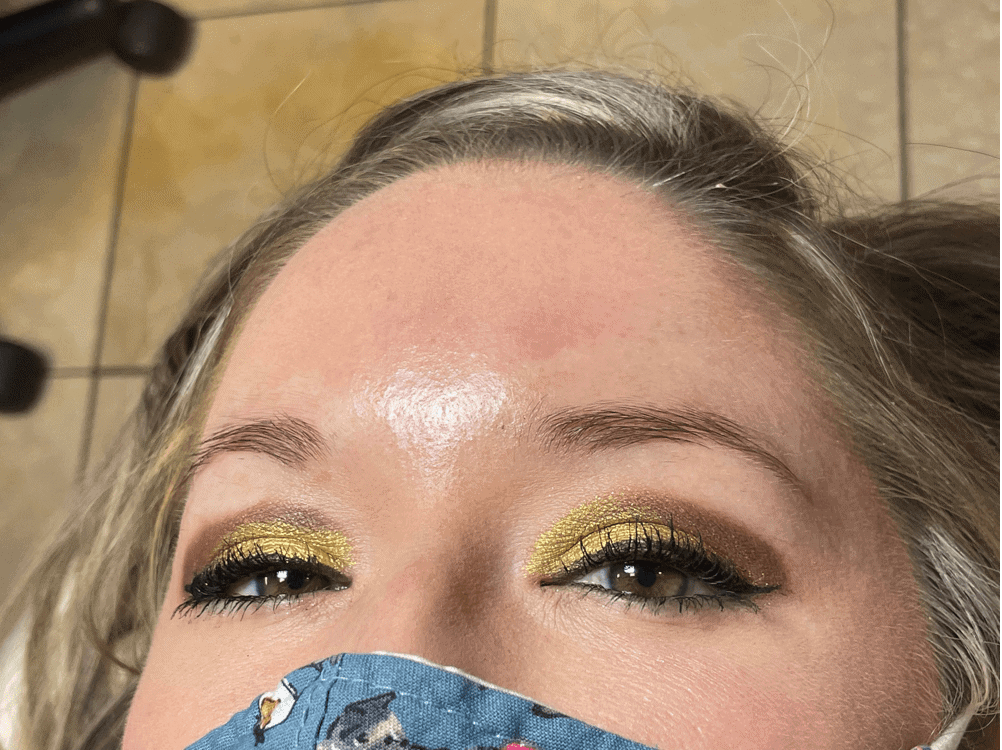
That way, you are all prepared for the process when you go. I am sharing completely raw and unedited photos with you all so you can really get a good idea of the full experience!
I went to see Stacie at the amazing Asheville Microblading and Lash. She did a phenomenal job and I was super impressed with how easy the appointment was and how wonderful my brows turned out to be afterwards.
What is Microblading?
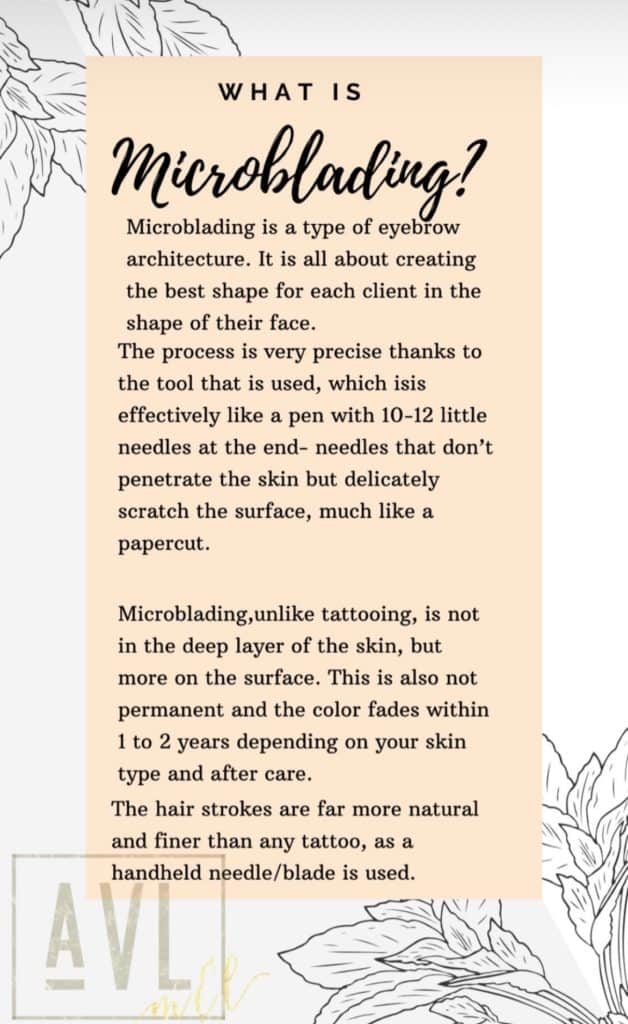
First of all, I am going to start off with what even is microblading? You may have heard of it before, or you may not even know anything about it.
Either way, I am here to give you a run down of what it is and what to expect.
What To Do Before Your Appointment
- No coffee, caffeine, alcohol 24 hours before appointment
- No Aspirin, Niacin, Vitamin E, or Ibuprofen 24 hours before appointment
- Don’t tan or have intense sun exposure before appointment
- No waxing 2-3 days before your procedure
- No chemical peels, dermabrasion, laser or any other intense treatments for 2 weeks prior
If you read online, it may say not to wear make up to your appointment as well. But Stacie told me it was actually best to come in with your make up and your brows completely filled in.
That way she can see how you like to do your brows and can mimic how you would normally do them as well.
Is Microblading Painful
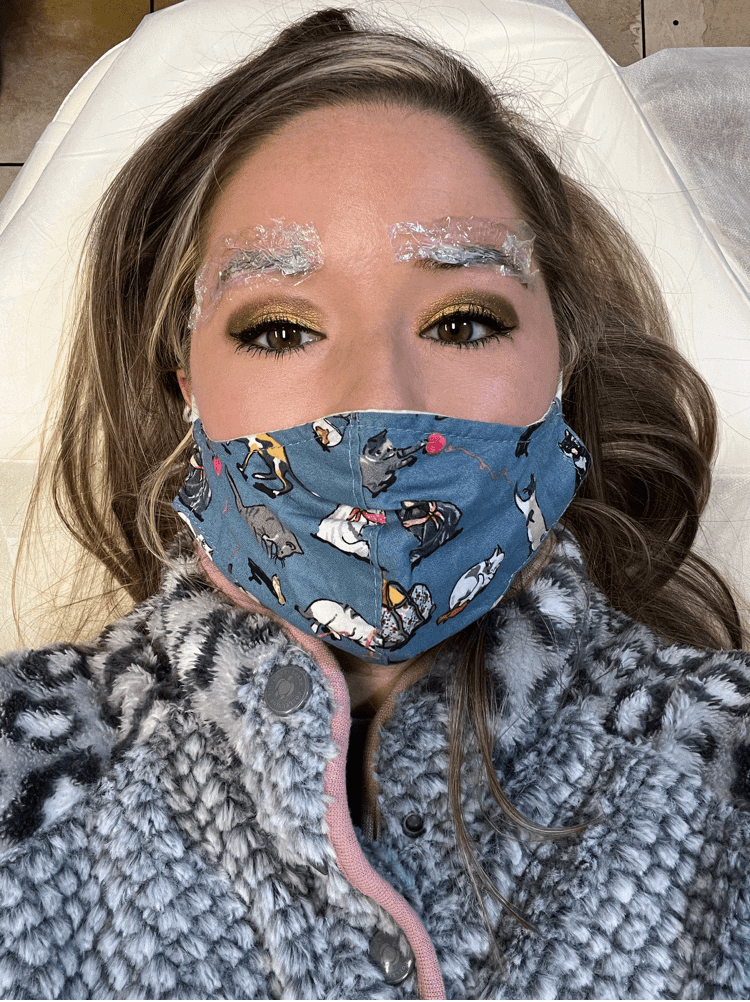
In my personal experience, I did not think it was painful at all. She applied a numbing cream on my eyebrows as soon as I walked in the door and started filling out paperwork.
That definitely helps a lot and really the only thing I felt was a slight sting here and there. But on a scale of 1-10, I would say it was just a 2 at most.
Some people are more sensitive though so they may tell you otherwise. But in my experience, it wasn’t bad at all.
What To Do After Your Appointment
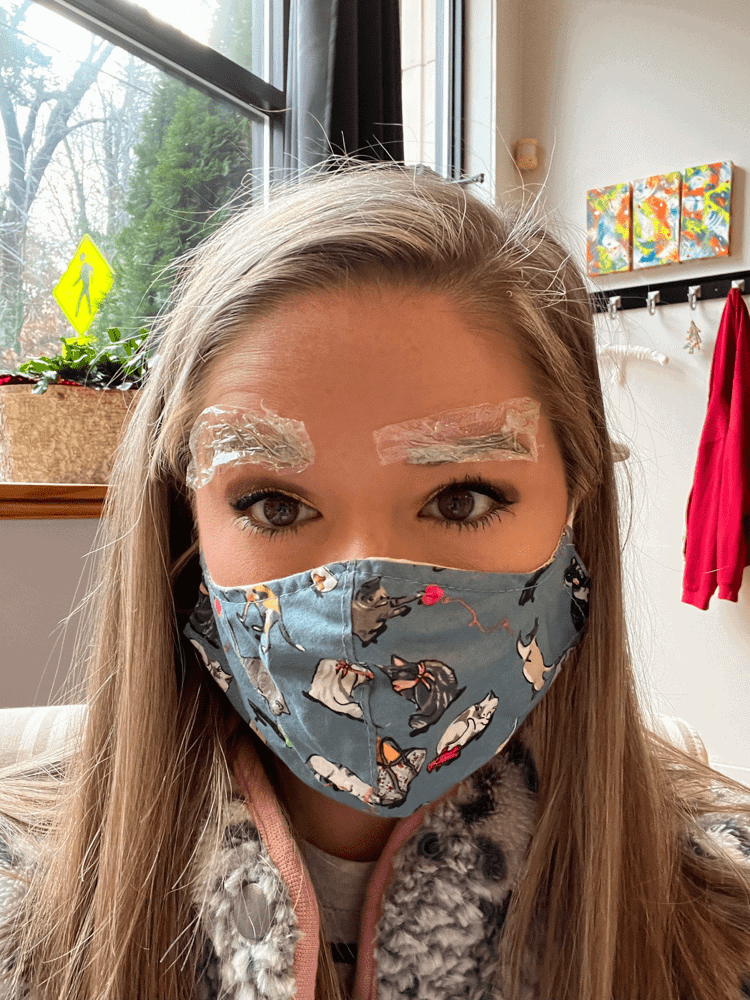
- Clean area with an esthetic wipe as needed for lymphatic fluid
- Apply a thin layer of ointment (given to you on the day of your appointment) on your eyebrows twice a day for four days. Always apply with clean fingertips or an applicator.
- Do not let area get wet for 2 weeks. Apply the ointment before showers.
- Do not rub, touch, scrub, or pick at scabs, this will cause pigment discoloration and scarring
- Do not apply makeup, lotions, creams, or anything else on treated area until fully healed
- Avoid heavy sweating for the first 10 days after appointment. This can cause the pigment to blur or fade out due to the salt in your sweat.
- Avoid tanning beds and direct sunlight for 3 weeks after
- Avoid sleeping on your face for the fist 10 days after. A satin pillowcase is also recommended while healing.
What to Expect When Microblading
So now that I have given you a little background on what microblading is and what you should and shouldn’t do beforehand, now I am going to give you my first hand experience at it!
I tried to document the first several days right after my appointment so you could get a very clear idea on what to expect when microblading and how the healing process really is.
Day of the Appointment
I’m breaking down everything that happened during the actual appointment day here and the steps taken after the procedure was done the first day.
Mapping out Your Eyebrows
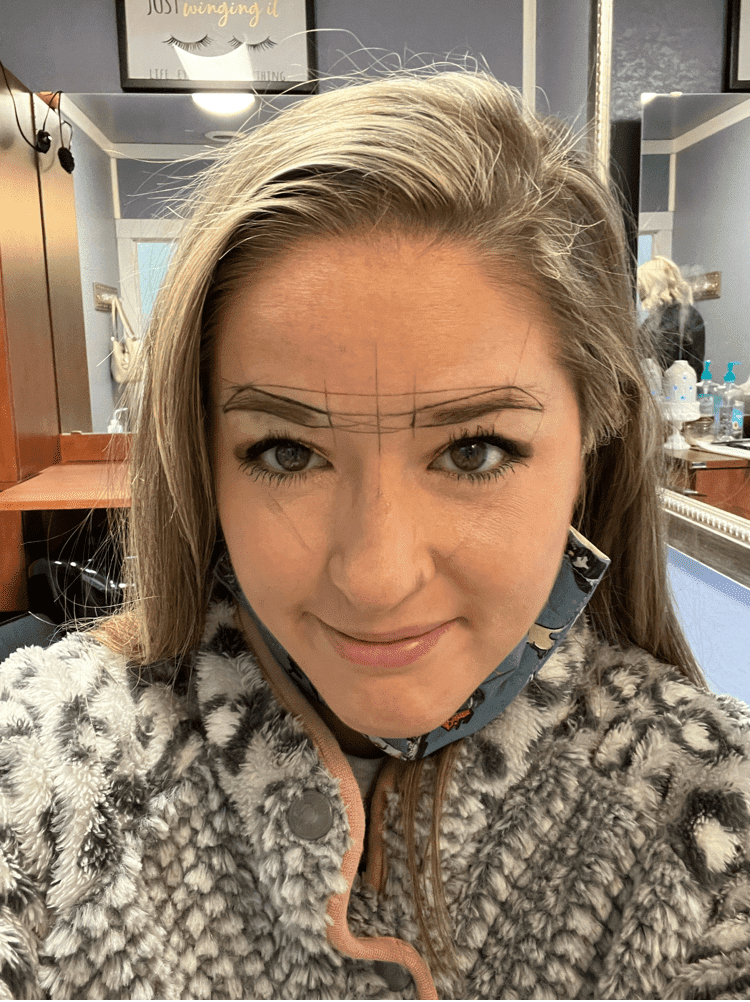
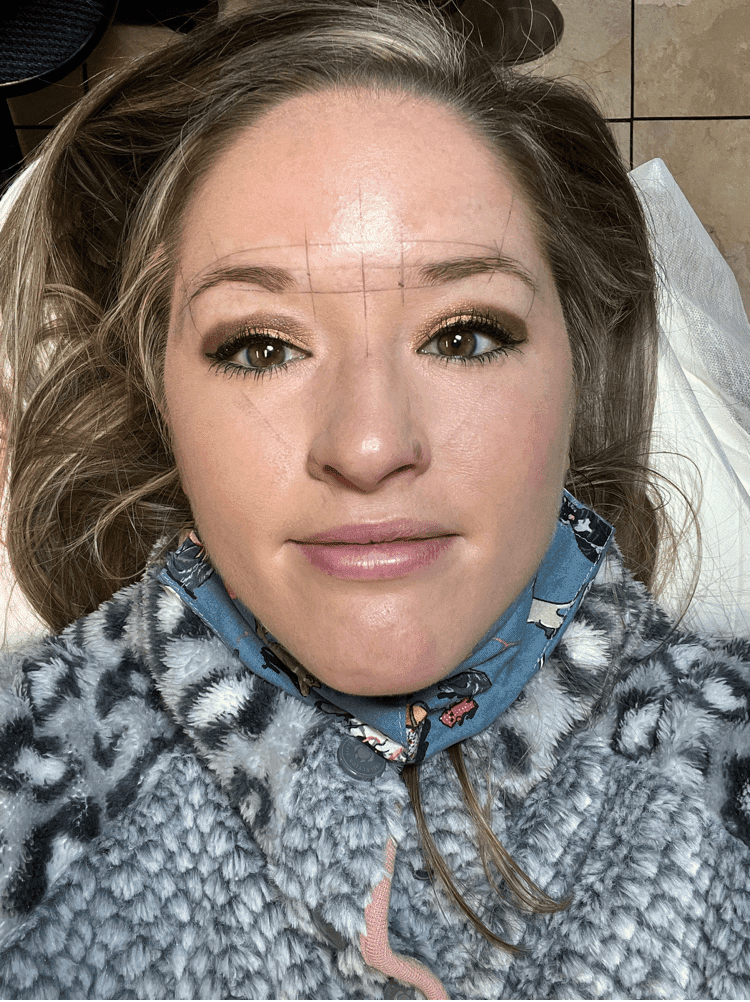
The first thing Stacie does is measure your entire face and then map out where your eyebrows should be.
She definitely does an incredible job with this and is really good about listening to your input as well.
As she says, you’re the boss in this situation and she wants you to be happy with the outcome so she was great to work with.
I didn’t have any problems or concerns with how she mapped them out and I was ready to get started!
Applying the Microshading
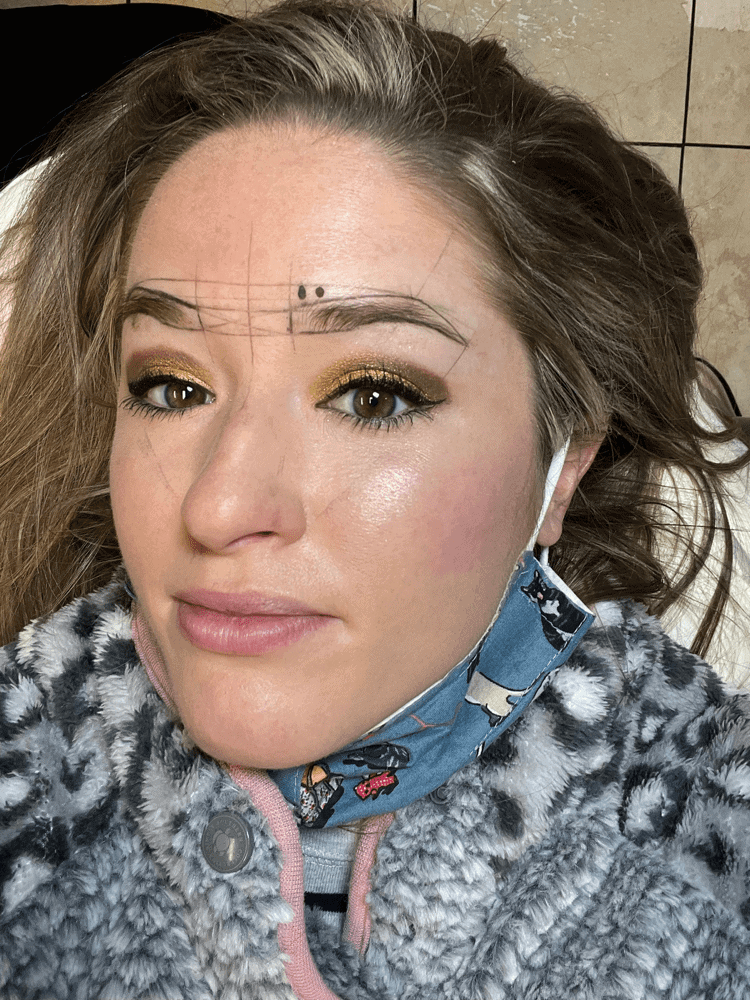
After they are all mapped out, she begins to choose a color for you. She will apply a little dot above your eyebrow to test it out first to see how it dries and if you like it or not.
We ended up doing a mix of those two colors pictured below and I am very happy with how it turned out. We went with a combo of Killer Brunette/ Midnight Sun by Jen Boyd inks.
I like my brows to be a little darker so that’s what we went with. But if you like your brows to be lighter, then she will definitely do that for you too!
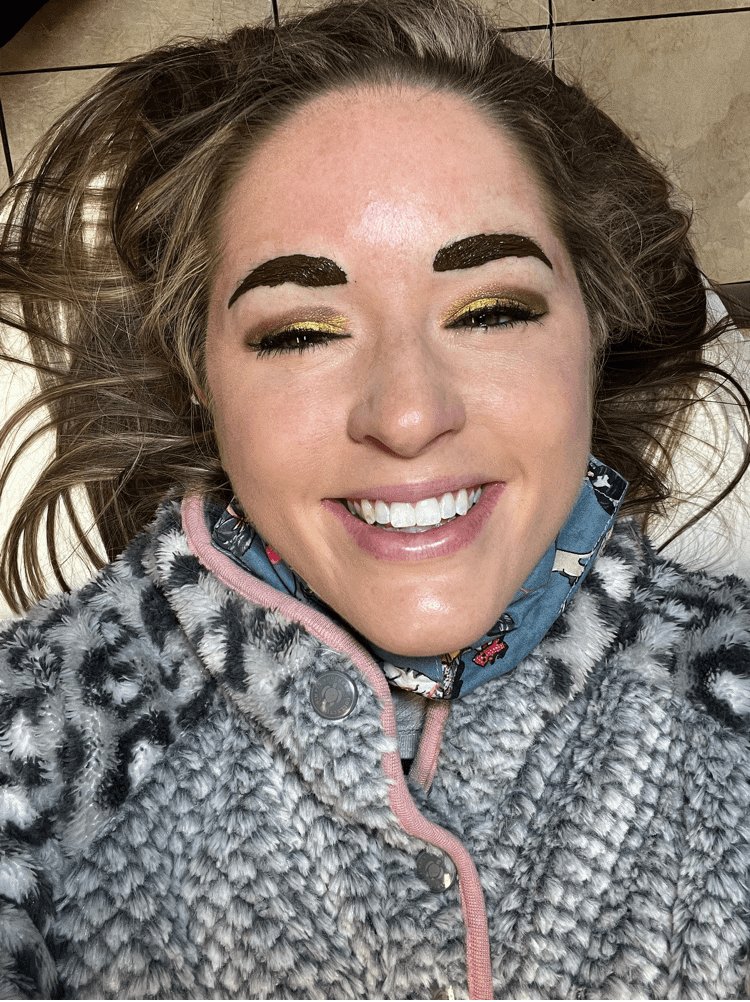
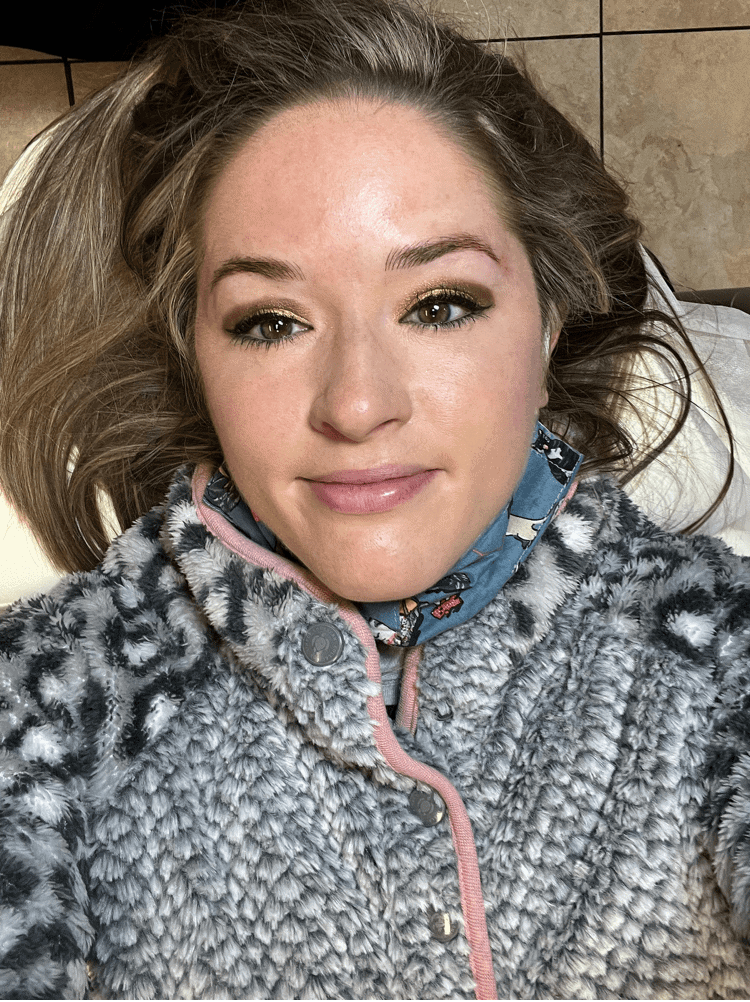
And don’t be scared by the picture in the middle! That’s just the color being added to the brows. Obviously the excess will wipe away and that is definitely not what microblading is.
A lot of people Google about the process and see pictures like that and freak out. Not knowing that this is really not the final result at all! In the last photo, you can see just how good they look after!
After the Procedure
Like I said above, the day of the appointment was fine and not painful at all. She gives you some ointment that you need to apply on your brows twice a day after the procedure for four full days.
She already put some on my eyebrows before I left so I didn’t have to apply it but once on the first day.
I was told to wash the area carefully with clean hands and a mild soap. I use Dove White soap and that was fine. But also Cetaphil and Cervue would work just fine too.
The hardest part for me during the whole healing process was just the fact that I couldn’t sleep on my face. I am a stomach sleeper so trying to just sleep on my back or lightly on my side was miserable!
I was paranoid and afraid that I would accidentally roll over in my sleep and sleep on my face. So because of that as well I was a little restless and couldn’t sleep that well.
But all in all, it was only for 10 days and it was totally worth it in my opinion! But I will say, I was super glad for those 10 days to be over!
Day After the Appointment
So I loved the way my eyebrows looked after the initial appointment. I was blown away by the shape and color of them and thought they looked perfect.
I will tell you though that day 2 is a different story! Thankfully Stacie warned me ahead of time and told me you will probably hate them the next day.
I am so glad she told me that because I would have definitely been freaking out!
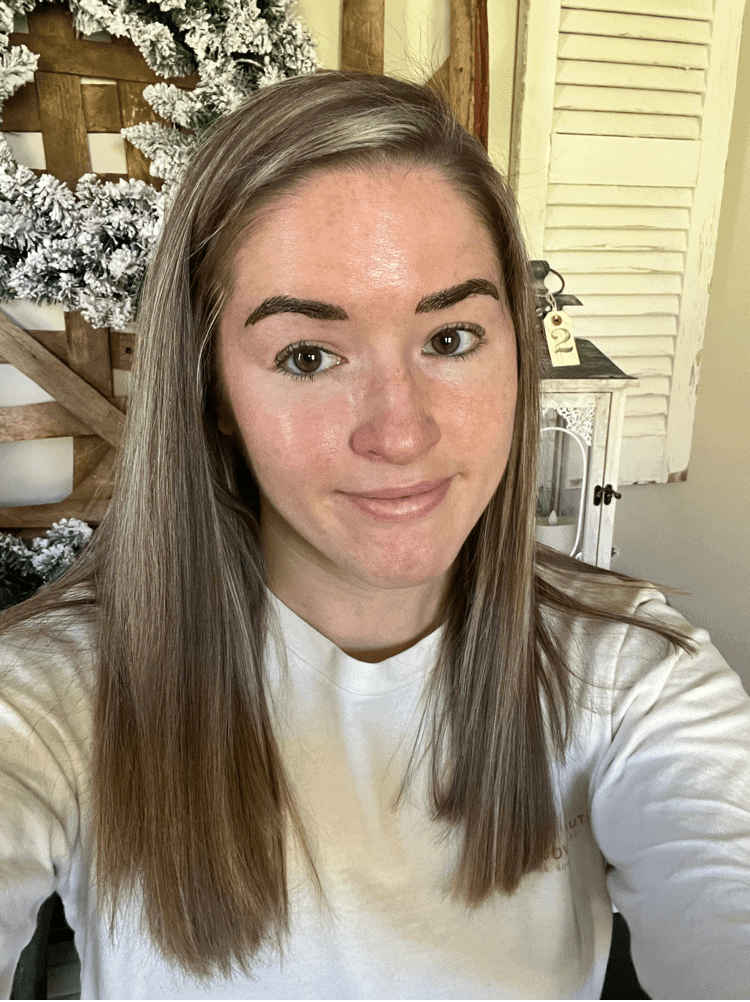
They were a lot thicker and bushier and darker than they originally were the first day. So this is something very important to expect when microblading.
It can be a roller coaster of emotions and it isn’t just perfect from day one. It is a process and you should be aware of that before you do it.
I will show you guys a picture of how I looked below. If you’re fans of The Office, it definitely gave me a Pam’s Halloween Costume vibe of Charlie Chaplin, if you will!
But thankfully, the bushiness only lasted a day and by day 3 it was already looking much better!
Day 3 and 4 After the Appointment
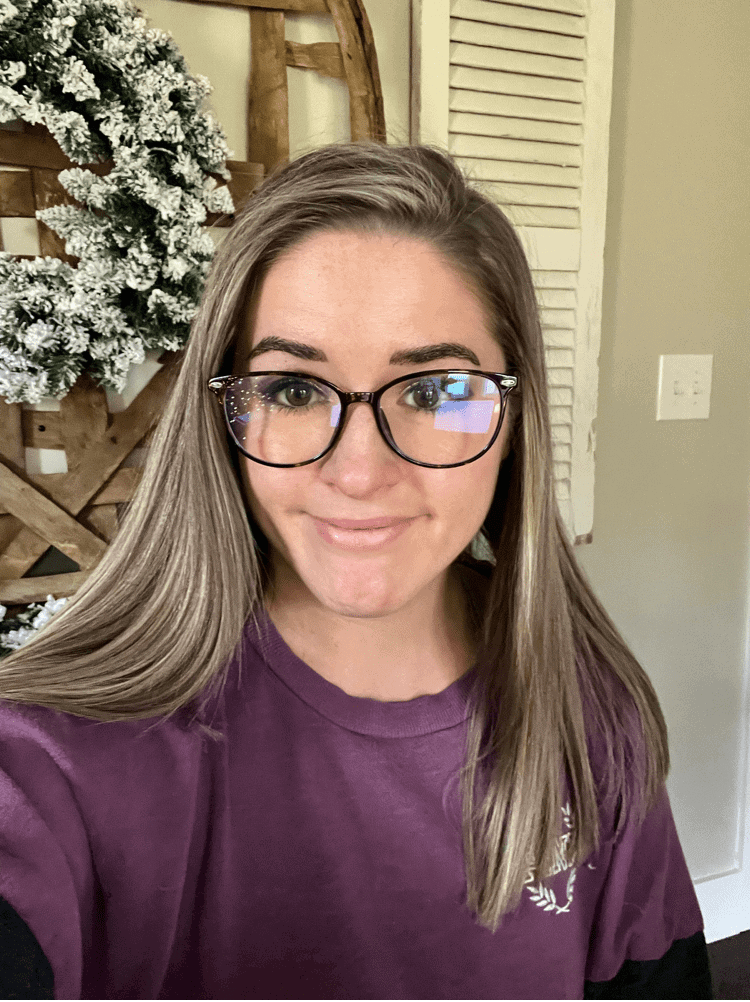
Thankfully, as I stated above, I was looking much better the third day after. And again, still having no pain or other side effects other than slight itchiness.
It started more so on the night of day 3 and all day on day 4. But once I got through that, that was the worst of it. It’s only bad because you can’t technically reach up there and scratch it!
I would raise and lower my eyebrows a lot whenever they felt itchy and that usually would take it away or at least get my mind off of it.
Days 5-7 After Appointment
So now I am going to cover what to expect when microblading about a week after the initial appointment. I was told that these next few days I would experience some flaking and scabbing in the area.
But in all honesty, I didn’t really notice anything too extreme. They were feeling much, much better at this point and definitely not as itchy at all. Although, I am still hating sleeping on my back at this point!
Days 8-10 After Appointment
At this stage you will experience what they call “milk skin” because it does start to fade out after healing.
You will notice it starts to disappear a little bit as the days go on after the initial appointment.
I noticed it was fading more so on my left side which made since because I usually sleep on that side more.
Days 14-28 After Appointment
At this stage of microblading, you will notice that they are starting to come back in. Although they may appear a little patchy at first.
I also still noticed some dryness/flakiness at this point as well. I would say that was the only annoying thing going on at this point.
I just made sure to stay mega moisturized! Once you get through this stage, you are almost all set because it is almost time for your touch up appointment!
4-6 Weeks After Appointment
Time for your touch up session! She will perfect your eyebrows at this session and after that, you will be all done for awhile. You won’t have to bother with them again for about a year and a half to two years!
So in my opinion, it is totally worth it! I hope this post really helped you with what to expect when microblading if you were on the fence about it.
You should honestly just do it because I am sure you will be so happy with your results like I am!
And if you have any more questions for me about the microbladning process, I would love to answer them for you below!




Your eyebrows look fab! I’ve wanted to try microblading. I currently get my eyebrows tinted, which works well for me but obviously they need to be topped up really regularly. My only apprehension with microblading is that my eyebrows are SO fair (as in, if they’re not tinted, you can barely see them) so I’d worry they’d look too out of place. Maybe something I’ll look into! Thanks for sharing your experience!
No problem at all! You should definitely try it out, I am so happy with mine!
Your eyebrows look great! Thanks so much for walking us through the procedure!
–Sue
https://susanberkkoch.com/blog/
Thank you so much Sue. I am so glad you think so!
Thank you for sharing this experience 🙂 I love hearing about these things before deciding whether I want to give them a go myself x
Yes, it definitely helps reading about the process first before actually doing it yourself!
Wow! Your eyebrows look great! I naturally have really thick, dark eyebrows (which I hate!) so I’ve never considered microblading, but it seems like people also use it to help shape their brows rather than just for color and thickness.
Yes you can definitely do it just to shape them! You don’t even have to add color to them if you don’t want to!
Your eyebrows look fab lovely! I’ve always debated having microblading and this post really helped me so much! x
Lucy | http://www.lucymary.co.uk
Thank you so much Lucy. You definitely should. I am so happy with how mine turned out!
I’ve always been really interested in the idea of microblading, there’s so much misinformation out there so I really loved that you posted this 🙂 Btw, your eyebrows look incredible! xx
Awe thanks so much Caroline. There is a lot of misinformation out there, so I wanted to be as detailed as possible when explaining the process to everyone! It was totally worth it for sure!
Your brows look amazing! I just would be so scared to get it done. I’m a bit of a wimp!
Lol it didn’t hurt at all. I promise. It was totally worth it!
I’ve been contemplating having microblading as well so your post has been extremely helpful to learn about the process and what to expect. I love your brows! Thanks for sharing.
Oh good. I am so glad this post helped you then!