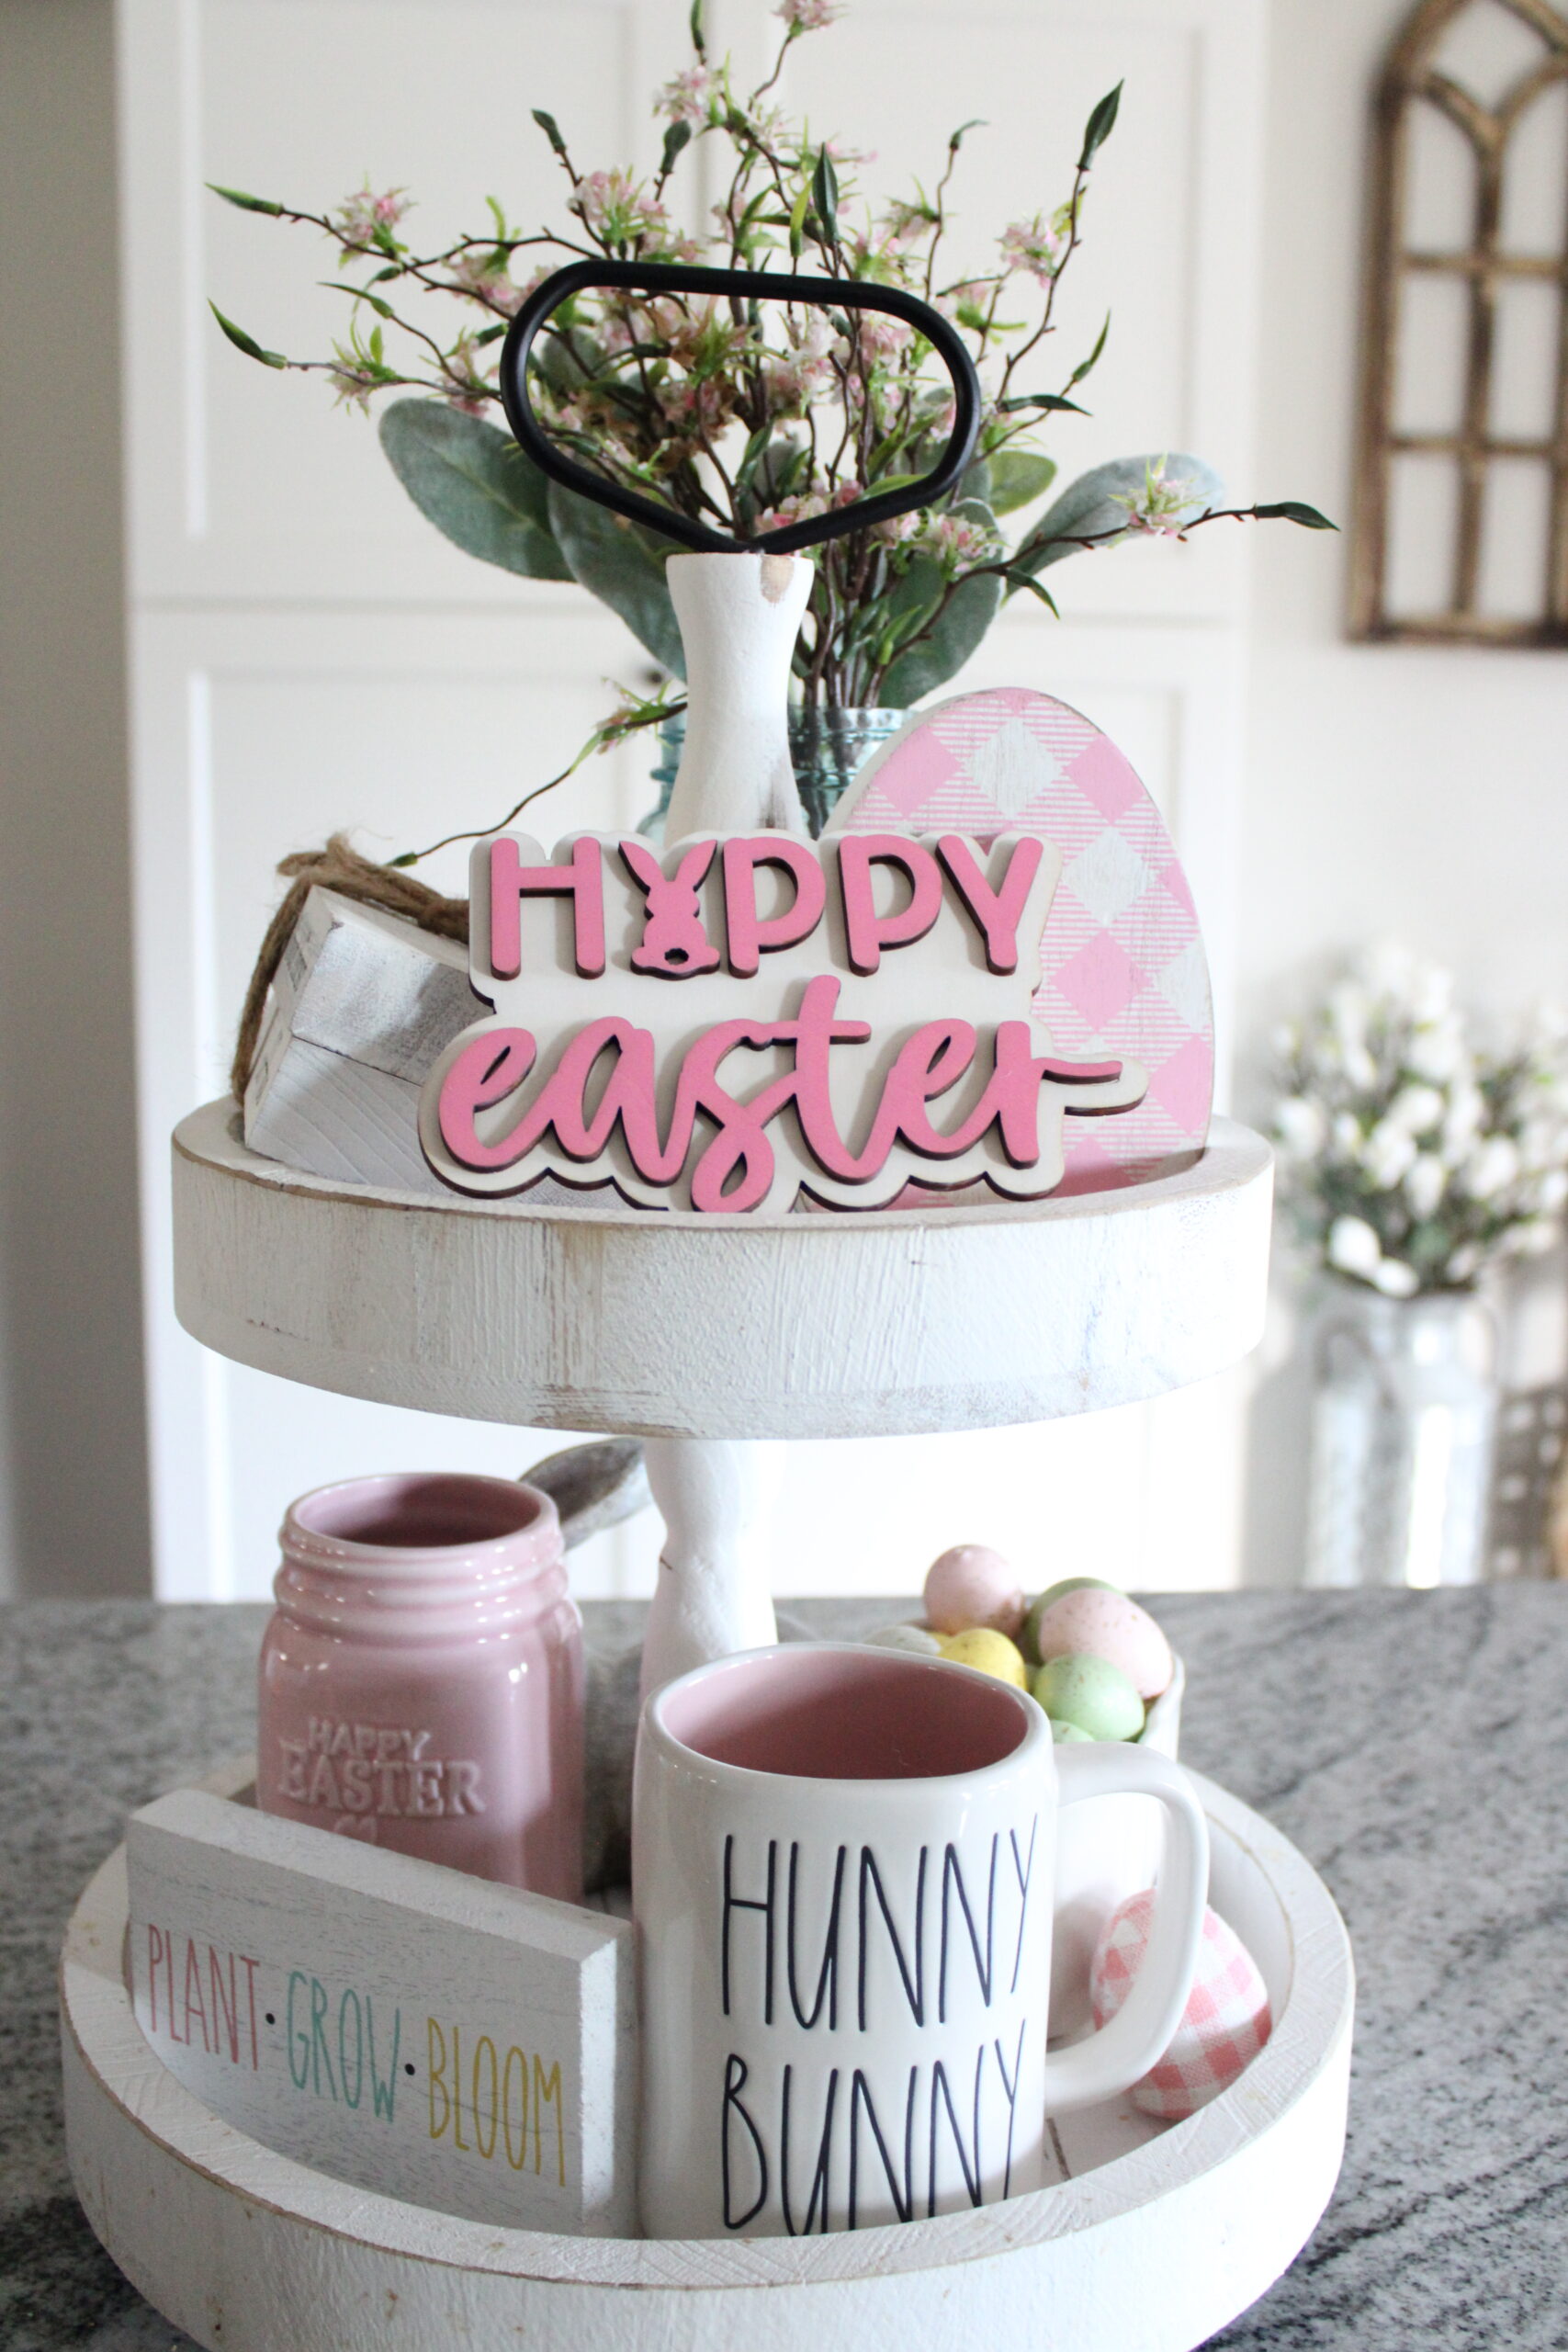
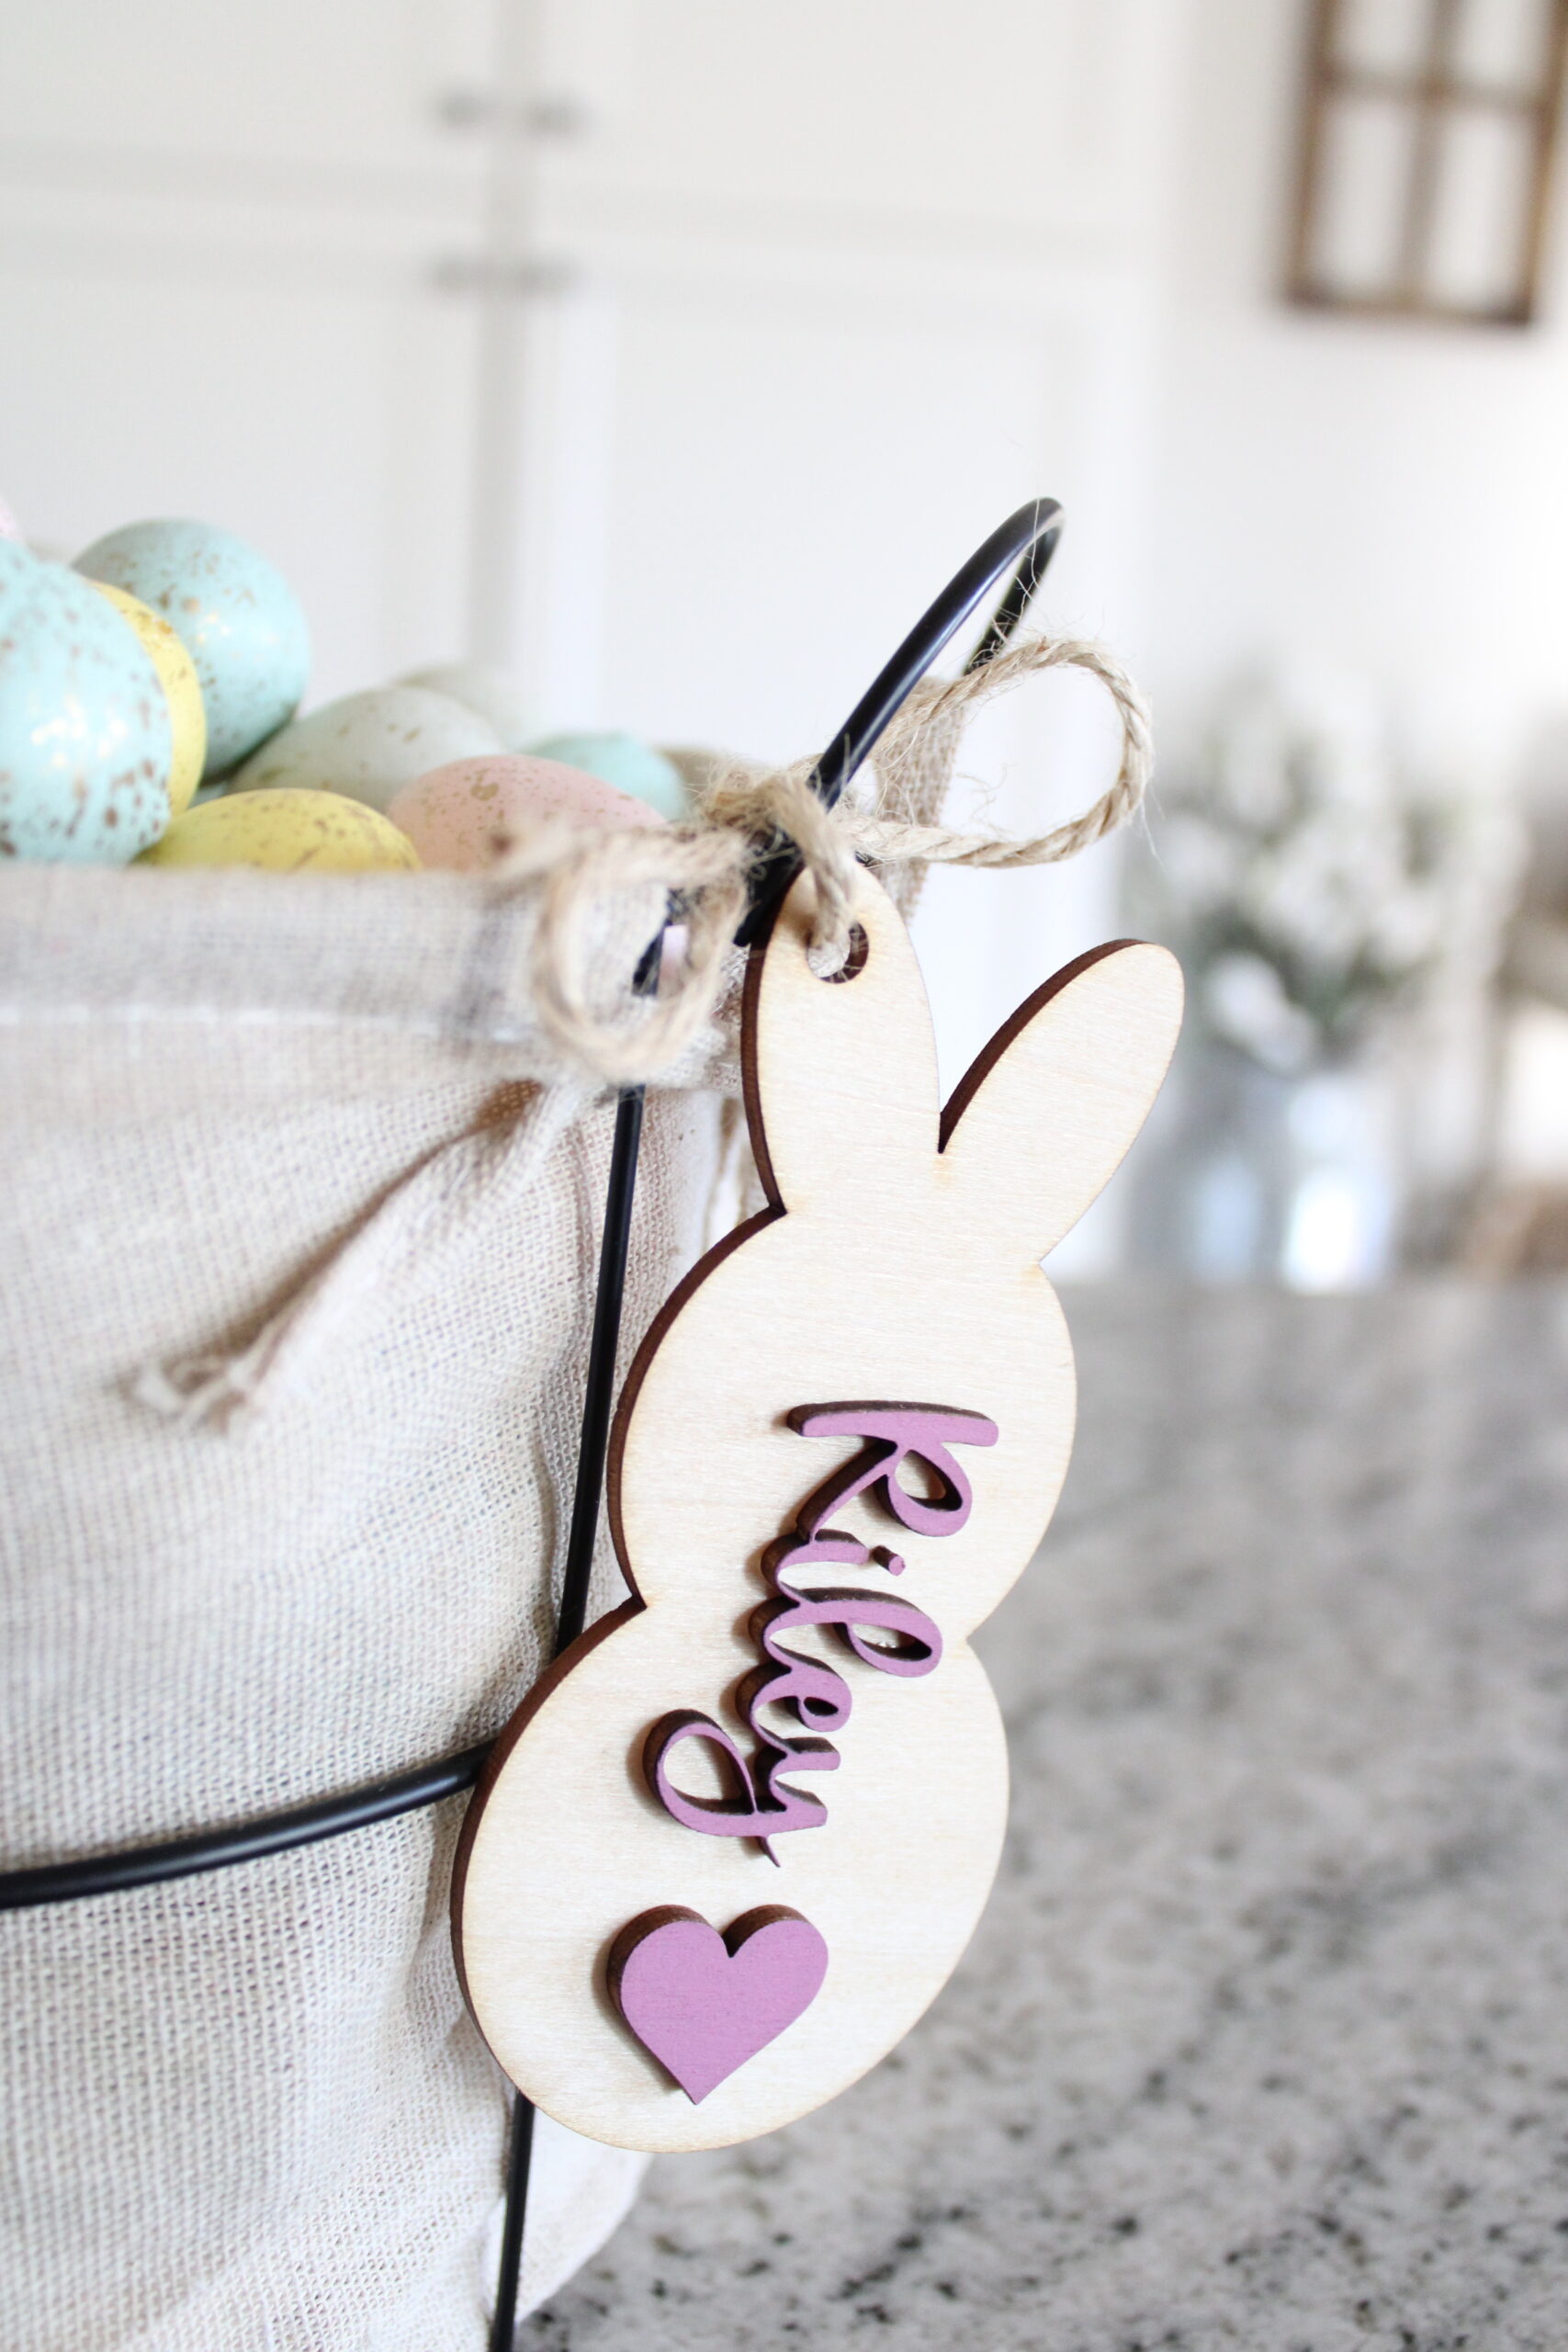
Well hello my friends! I am coming at you with another fun DIY project thanks to my handy dandy xTool machine. Y’all may remember that I shared those cute and adorable Easter Basket Tags with you a few weeks ago. Well now, I am sharing all about how to make DIY Easter signs for tiered trays using the xTool machine too.
Basically, all the same steps apply here to when I made the tags too. But, I figured I could walk you all through it. That way, if you’re new to laser cutting, you will have an easy step-by-step guide to follow everything out with.
I am absolutely loving this xTool machine! It can cut out my designs so fast, which is ideal for a crafter like myself! If you love making your own tiered tray signs and decor too, then you definitely need this machine too!
Come with me and see just how easy it is to style an Easter tiered tray, filled with your own creations! I bet by the end of this post, you will be wanting an xTool P2 machine too!
This post also contains affiliate links, which means I make a small commission off anything you purchase through here, at no additional cost to you. Please read my full disclosure policy for more details
Materials Needed for DIY Easter Signs
Choosing an Easter SVG File
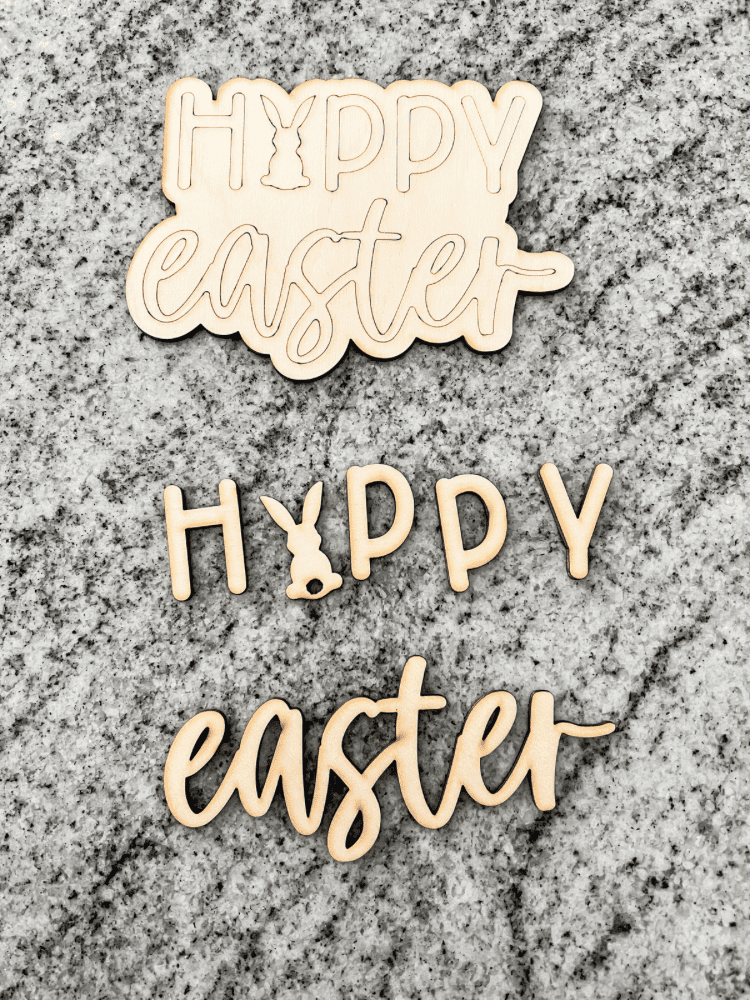
Just like with the Easter Basket tags, I used a SVG file that I purchased off of Etsy. Again, ideally, I would love to create my own SVG files. But, I am just not there yet.
I have been taking some classes trying to learn, but it is a big learning curve for me! So for now, I will just stick to letting the professionals make the files for me. Plus, they aren’t too expensive at all. And the one I used for this project came with several different signs.
So it was a great bundle seeing as how you can make more than just one sign with it. I will link the exact SVG file I used below. Just click on the picture to get it yourself too!
Printing Out The Design
Once I chose a SVG file I liked, I opened the XCS software and uploaded there. Everything was very straight forward with the instructions. Just like last time the following instructions were true for this file too:
- Red Lines- Cut
- Blue Lines- Score
- Green Lines- Engrave
And I loved how they had everything already designed to fit as much as possible on your board without wasting much space at all. To print it out I placed a 3 mm basswood plywood sheet into my xTool P2 machine.
I used the same settings it recommended automatically for a 3 mm basswood piece. And everything came out perfectly. I will say, you do need to click on the layers toolbar to the side and make sure everything is correct when it comes to settings.
I have noticed that sometimes when I want it to “Cut” it automatically uploads into the system as “Score” instead. So just double check everything before printing it out and you should be good to go!
Painting Your Signs
As usual, I am always impressed by the speed of this machine. It really cuts out everything so much faster than my Glowforge does. Cutting all this out on my Glowforge would probably take over an hour, whereas this took a little over twenty minutes.
The only thing that takes more time is when you engrave something. And really, the timing is not bad at all considering the SVG file consisted of 5 total signs, plus a garland too!
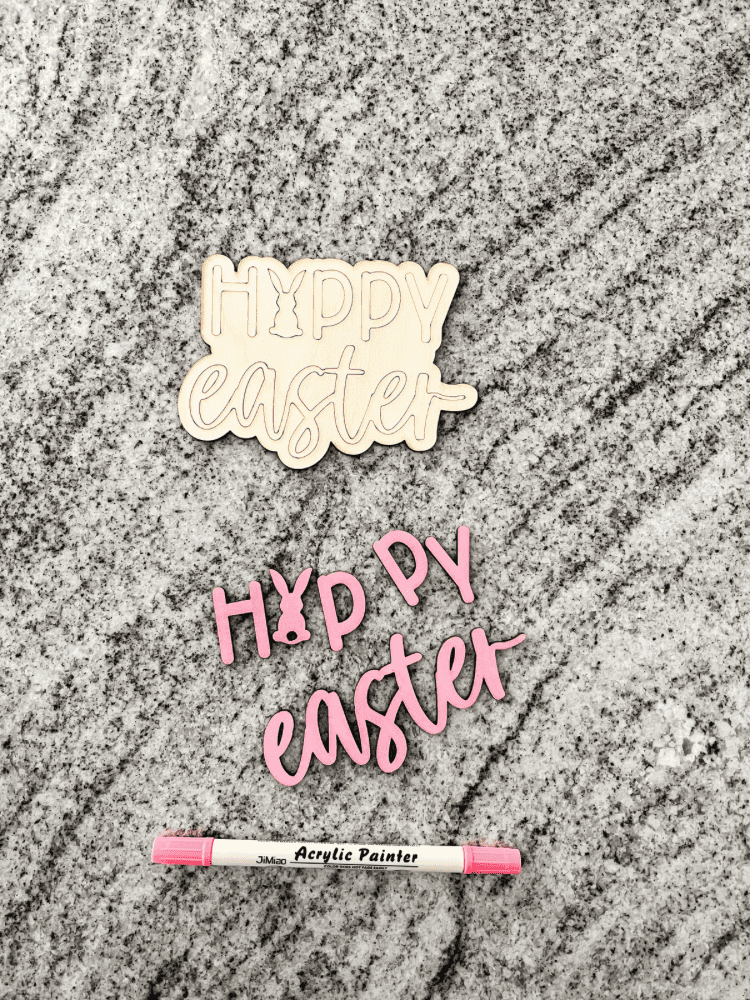
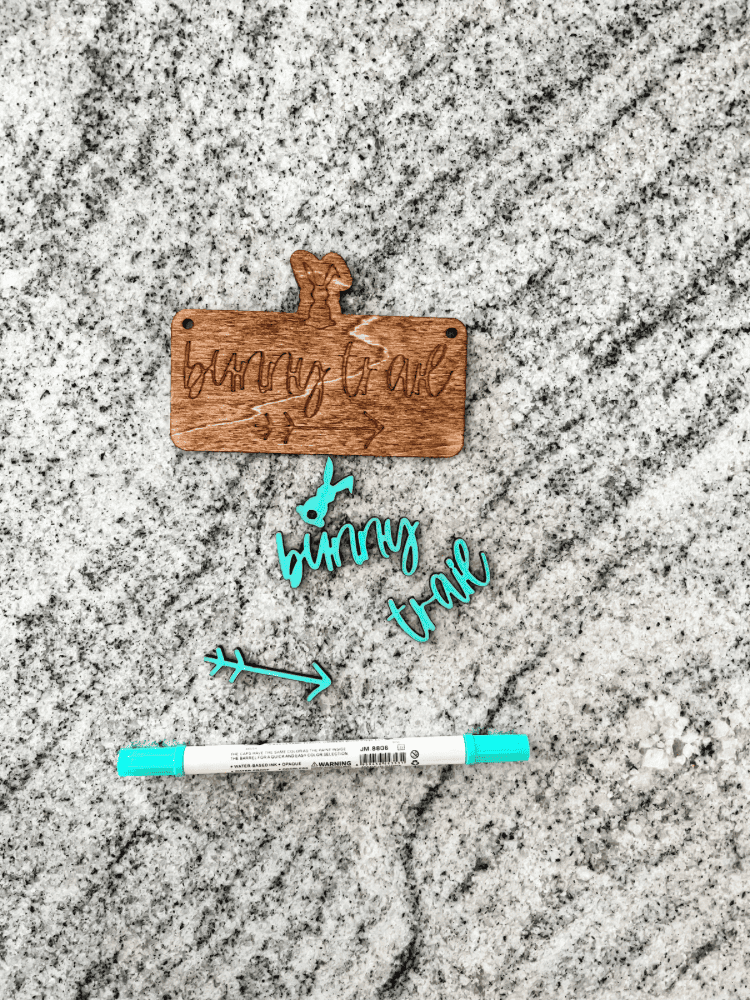
My favorite part after printing everything out on the xTool machine is putting it altogether! I absolutely love painting the signs. And I have shared these multiple times before, but these acrylic paint pens are the bomb!
They make painting small signs like this so easy and I love the dual tip to them as well. Plus, the colors are very vibrant and look so beautiful when done! I also did something new this time with these DIY Easter Signs.
And really it was by accident because I messed up one of the signs. I started spray painting the back of one of the signs white, but then I realized I accidentally spray painted over the engraving. I thought it was just scoring and I thought I had cut out pieces to glue on top of it so I didn’t think much of painting the whole background.
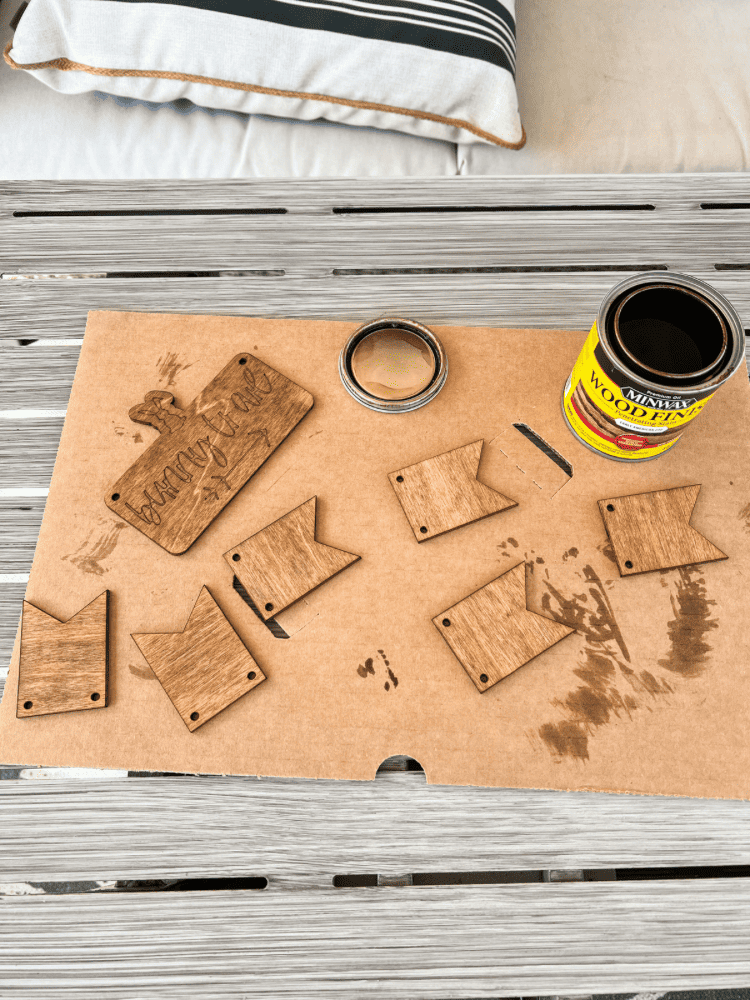
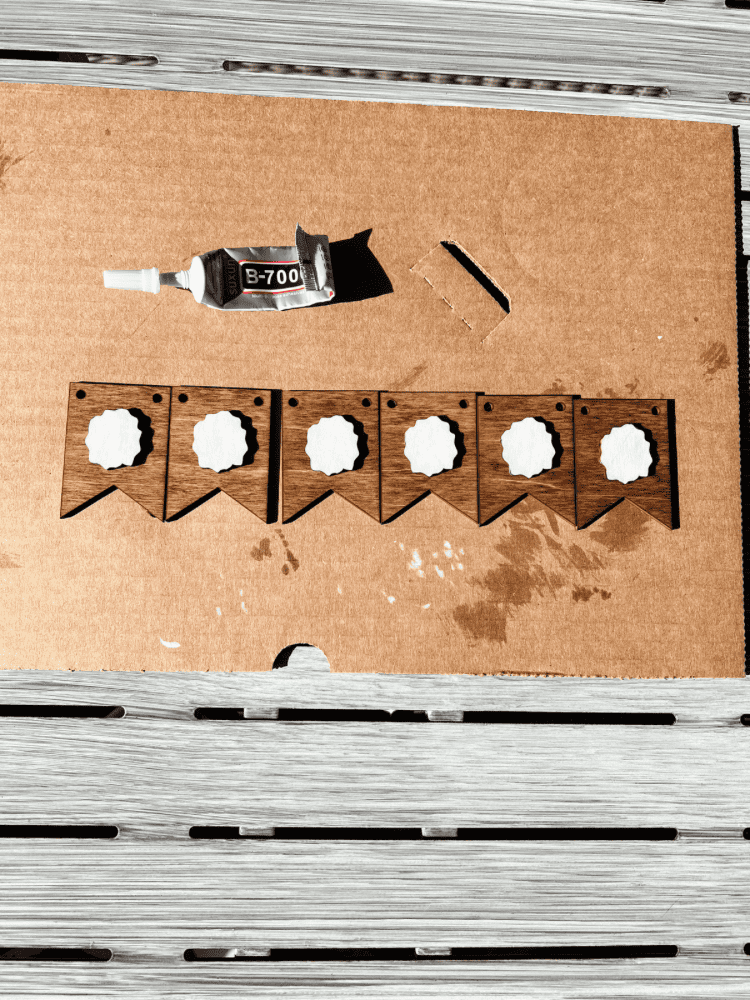
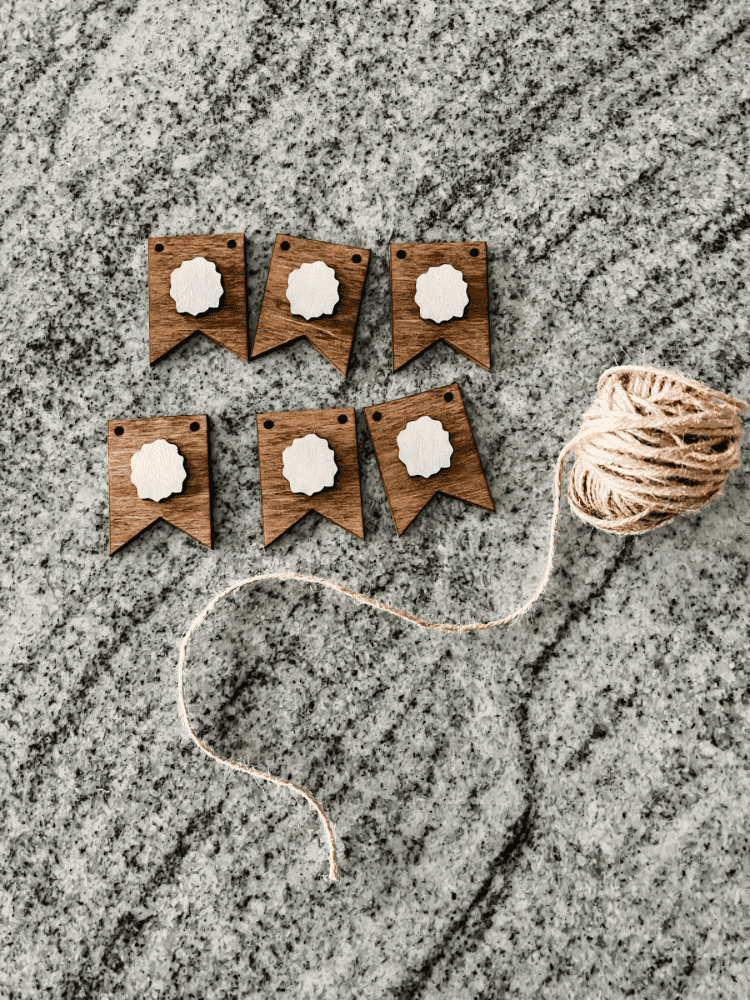
Once I realized my mistake, I just flipped the sign over and re-printed that one. And once it was done, I used some wood stain instead of paint. That way, the engraving shows through the stain way better than paint.
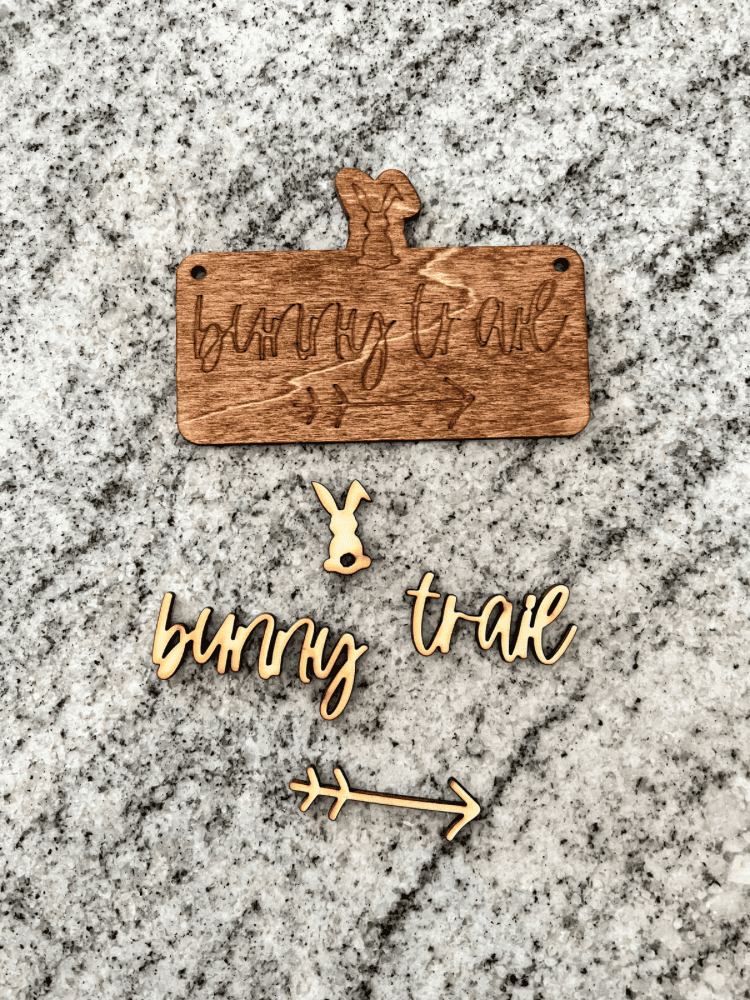
I used my favorite stain, Minwax in Early American, for a couple of signs and for the bunny tail garland too! It gives the wood a nice, rich color that pops perfectly against the acrylic paint.
Assembling the DIY Easter Signs
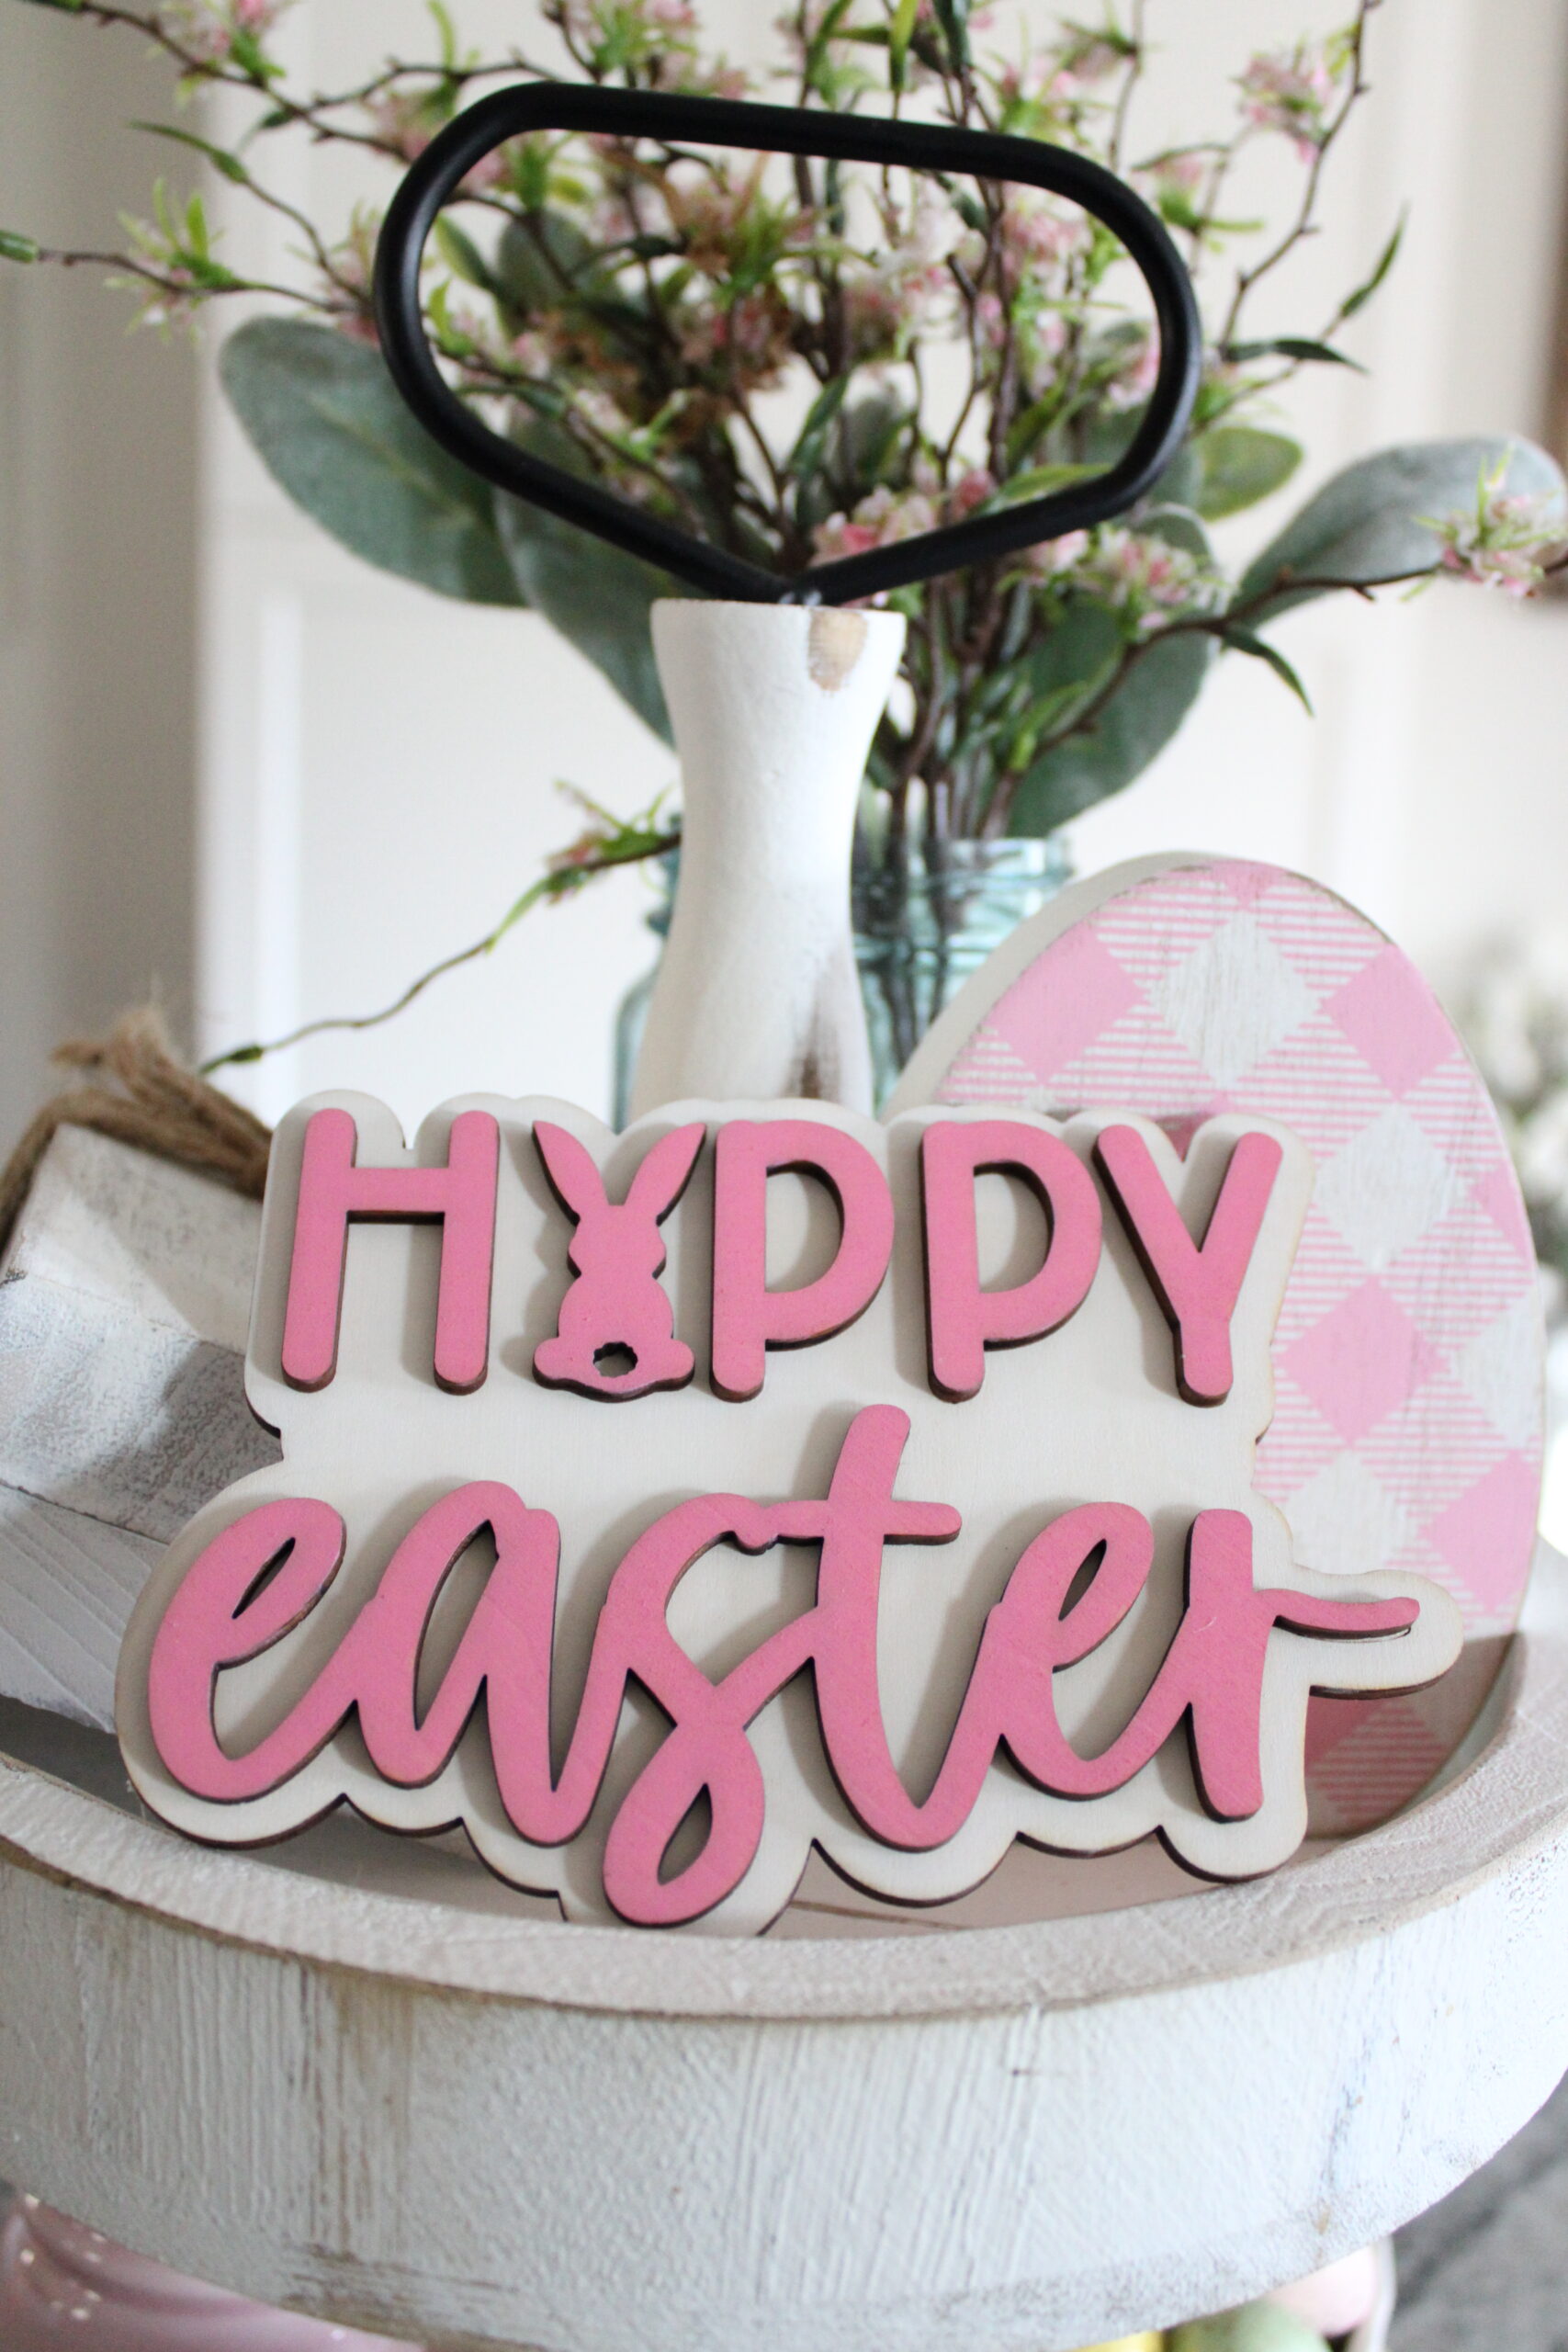
After everything is painted and stained and dry, now it’s time to assemble the signs! To do this I use my favorite B-7000 glue. I like this glue because it gives you a little wiggle room and doesn’t automatically set up like super glue. So no worries if you make a mistake!
Be sure to give it a few hours though to set up and cure. I usually like to let it sit out overnight before I try to move the signs or style them. Just to make sure the glue is all set up and nothing will move around on me!
Then, I love to put these little signs on a tiered tray or an open shelf. They make for the perfect little display of Easter decor. Plus, I love the fact that you can paint them to whatever colors you are using for Easter. They are easily customizable!
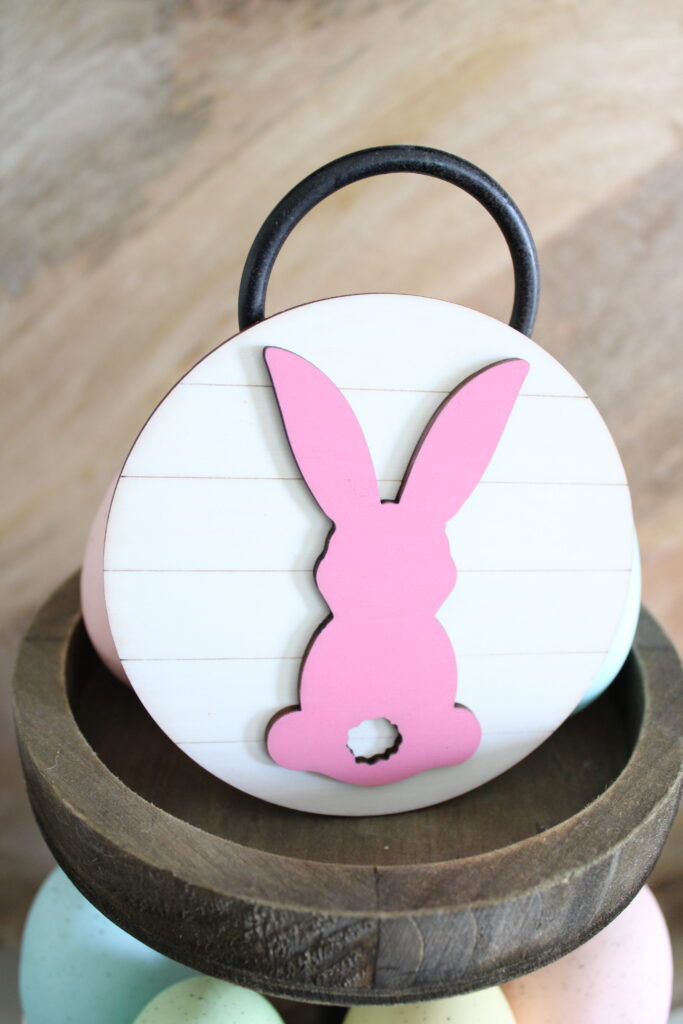
As you can see, I created these beautiful DIY Easter Signs that look just like they came from the store! I love being able to create my own pieces like this and customize them however I want!
So if you’re on the fence about ordering an xTool P2 machine, I highly recommend that you bite the bullet and do it! It’s so worth it with all the amazing stuff you can create. And I’ve only scratched the surface! I know there is so much more this machine can do that I haven’t even tried yet too!
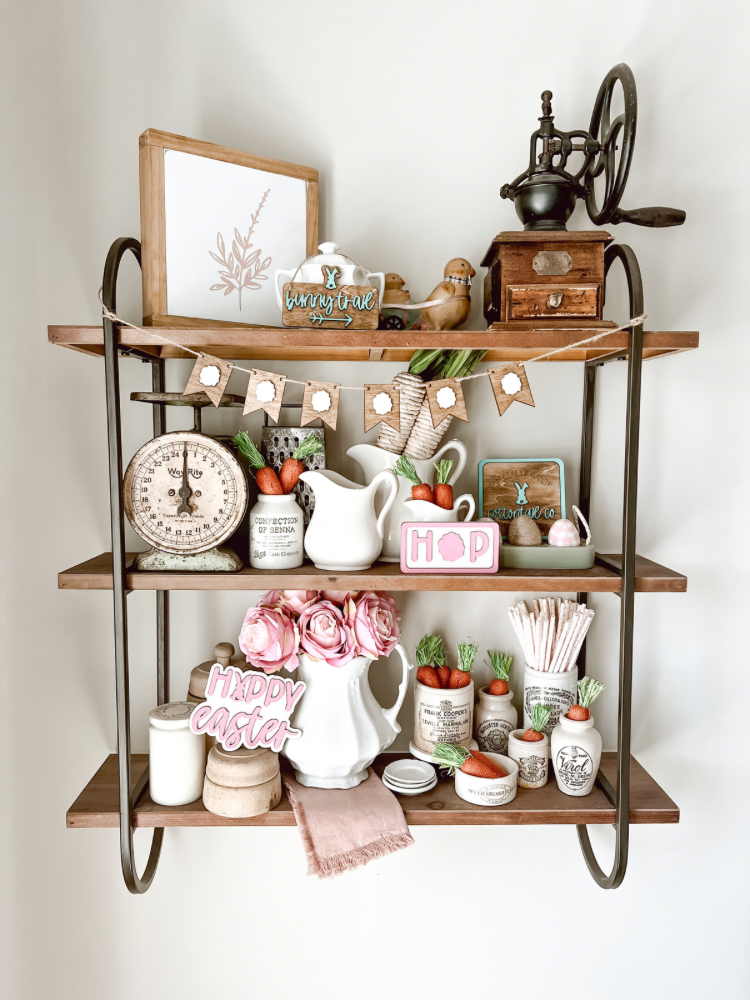
But, if you’re not there yet either, no worries! I list some of these pretty creations in my Etsy shop, so I would love to make some Easter signs for you and send them over your way!
And now that I have this bad boy machine, be sure to keep checking back there for all the seasonal decor and signs! Like I will be a kid in the candy store when it comes Christmastime! Making and creating all the fun, seasonal signs!
I hope you enjoyed this post and that it was helpful and informative for you. And please let me know if you have any xTool questions at all! I will try my best to help you!

Love these Easter signs, Charity!
I can’t wait to get a laser machine
Don’t forget to join us over at the Creatively Crafty Linky Party every Wednesday through Sunday
https://creativelybeth.com/creative-crafts-linky-party/
Followed and Pinned!
Creatively, Beth
Thank you so much! I hope you get one soon! You can do so much with them for sure!