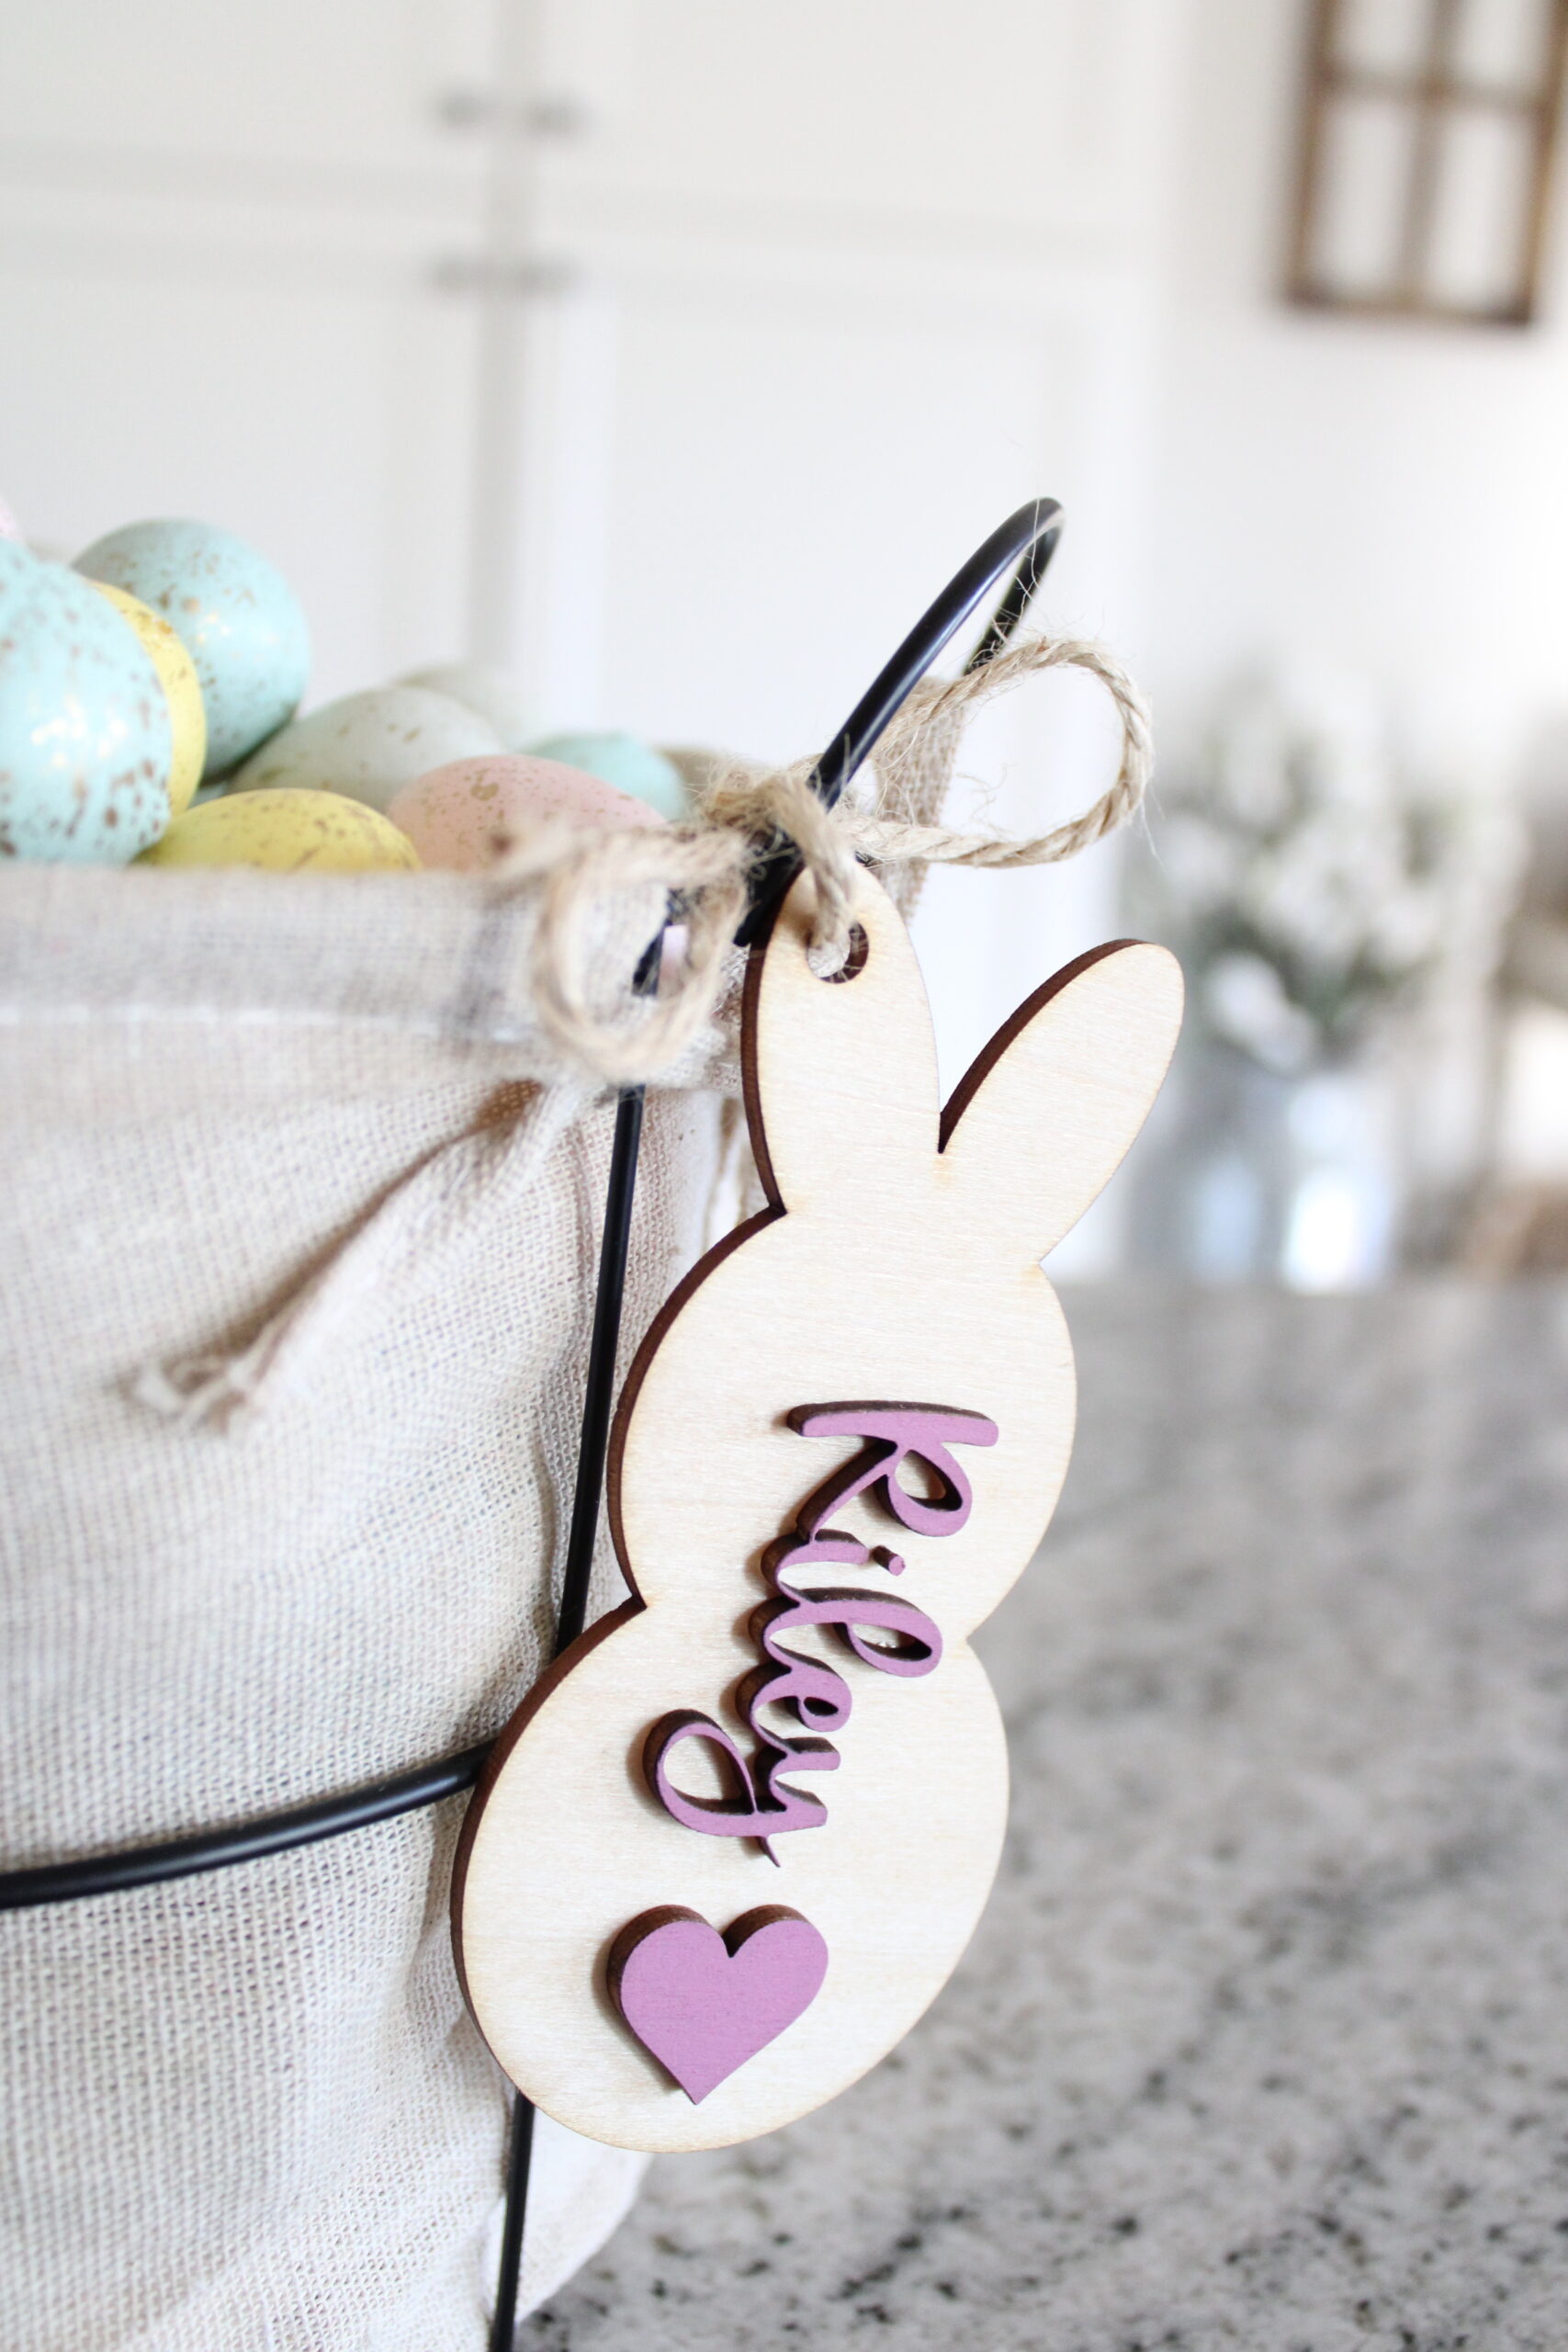
So y’all know that I recently got a brand new xTool P2 machine and I have been having so much fun creating things with it. I figured I should share my most recent project and explain how to make DIY wooden Easter basket name tags with you all!
These have been so fun to make and personalize. And the best news is, the P2 laser makes it so easy to make these cute little name tags! And literally no time at all. I am amazed by the cutting speed on this machine!
And again, for reference, I am still a beginner when it comes to this powerful machine. But, I am learning as I go and want to share the whole process with you all as well. That way, you can learn how to navigate this awesome laser with me!
Be sure to keep on reading below on just how to make your own DIY wooden Easter basket name tags. This would be such a fun project to make for your kids or even your pets like I did here!
This post also contains affiliate links, which means I make a small commission off anything you purchase through here, at no additional cost to you. Please read my full disclosure policy for more details.
Materials Needed for DIY Wooden Easter Basket Name Tags
- xTool P2 Laser
- 3 mm Basswood Plywood Sheet
- Easter Basket Name Tag SVG
- Acrylic Paint Pens
- B-7000 Glue
As you can see from the list above, this is a pretty basic beginner project for your xTool machine. I recommend starting out with something like this to dip your toe into the world of laser cutting.
This was actually my very first project I created with my laser too. It gave me the confidence I needed to start trying to create other things too! And no worries if you are already overwhelmed, I will be explaining how to do each and every step below!
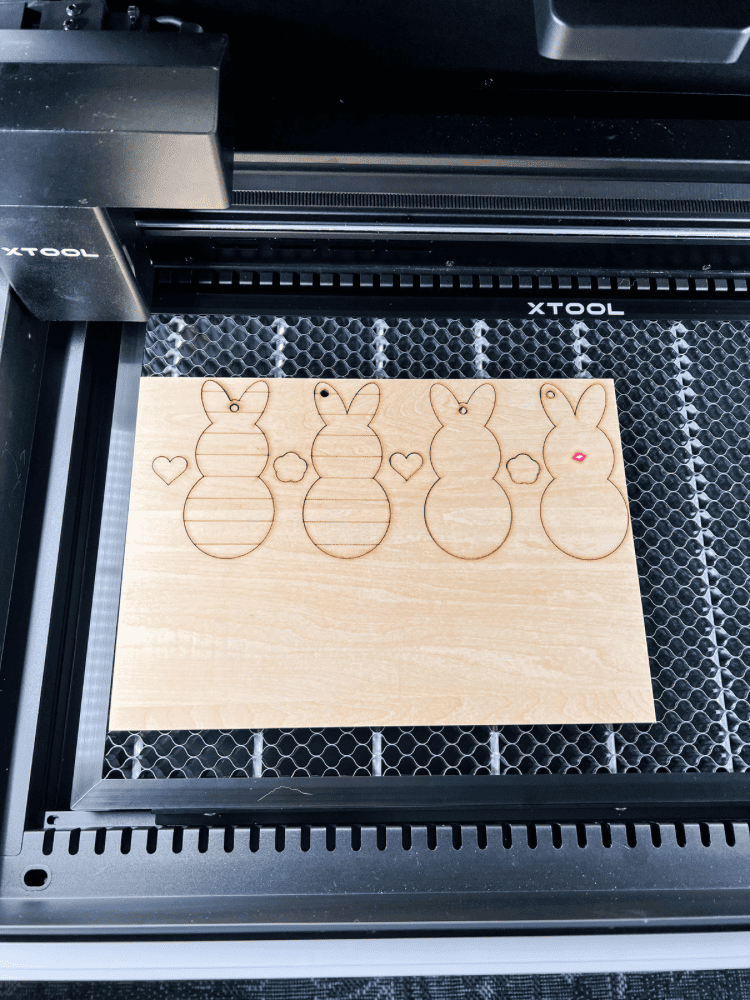
Pick Out A Name Tag SVG
So first things first, pick out a name tag SVG file you like. You can find several on Etsy or if you’re up to it, you can create an SVG file yourself. Unfortunately, I don’t know how to do that just yet. I would ultimately love to learn that in the future, so keep your eyes peeled for that!
Until then, go to Etsy and look around. I linked the exact Easter Basket Name Tag SVG I used here for your reference too. That way, if you want to use the same one as me, go for it!
Once you purchase your SVG, it will send you the file to download. Then, open up your xTool Creative Space Software (XCS) and upload the SVG into the system. It should already come prepared to cut and everything.
But, most shops send you a downloadable PDF with detailed instructions too. So be sure to check those out if you have any questions before cutting. I have noticed sometimes that it will automatically set a design to “Score” instead of “Cut” so be sure to double check before printing!
You will find that most instruction include the following details below:
- Red Lines = Cut
- Blue Lines = Score
- Green Lines = Engrave
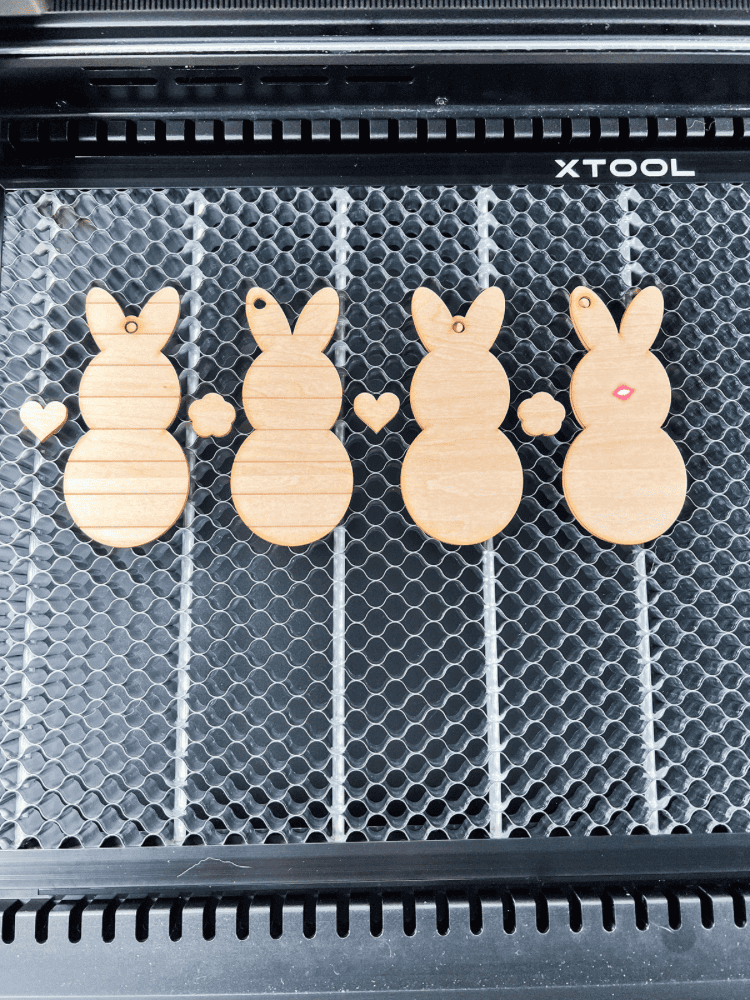
So just make sure those settings are showing up correctly before you cut out your design! I used 3 mm basswood plywood to cut these tags out. But, you could use whatever wood you have on hand or prefer. I used the pre-made settings for the basswood that is already in the XCS system and it worked just fine!
Picking Out The Font
Here’s another thing you may not realize, you have to purchase some fun fonts that the SVG uses and/or recommends. Now, you definitely don’t have to. You can use some fonts that the XCS already has on file.
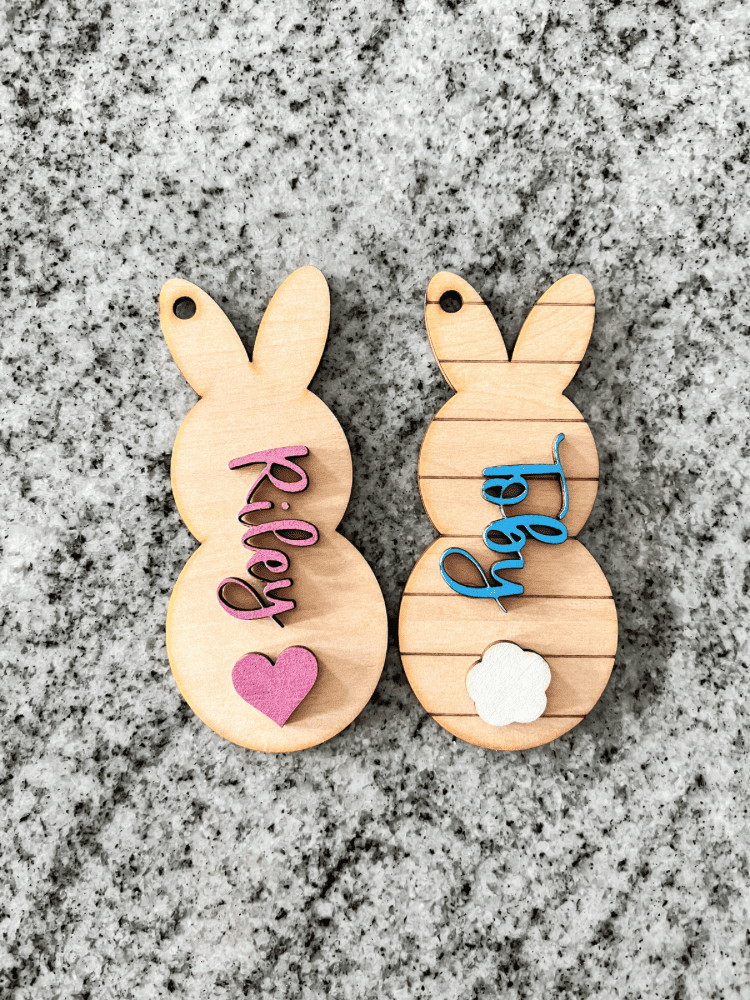
But, I love me a pretty font. Especially a pretty cursive font! So I used the font called “Festive” from Creative Market. And once you purchase the font, it will automatically appear in the XCS system too.
Another thing you need to know is that you have to combine and unite each letter. Especially with a cursive font like this one. You can easily do this in the XCS, and I will link a tutorial video here to show you just how you can do it!
Assembling Your Wooden Easter Basket Name Tags
Now for the fun part, assembling the DIY wooden Easter basket name tags! With the SVG file, you will notice there are several different ways to assemble them. It comes with two different bunny shapes, as well as different backing options.
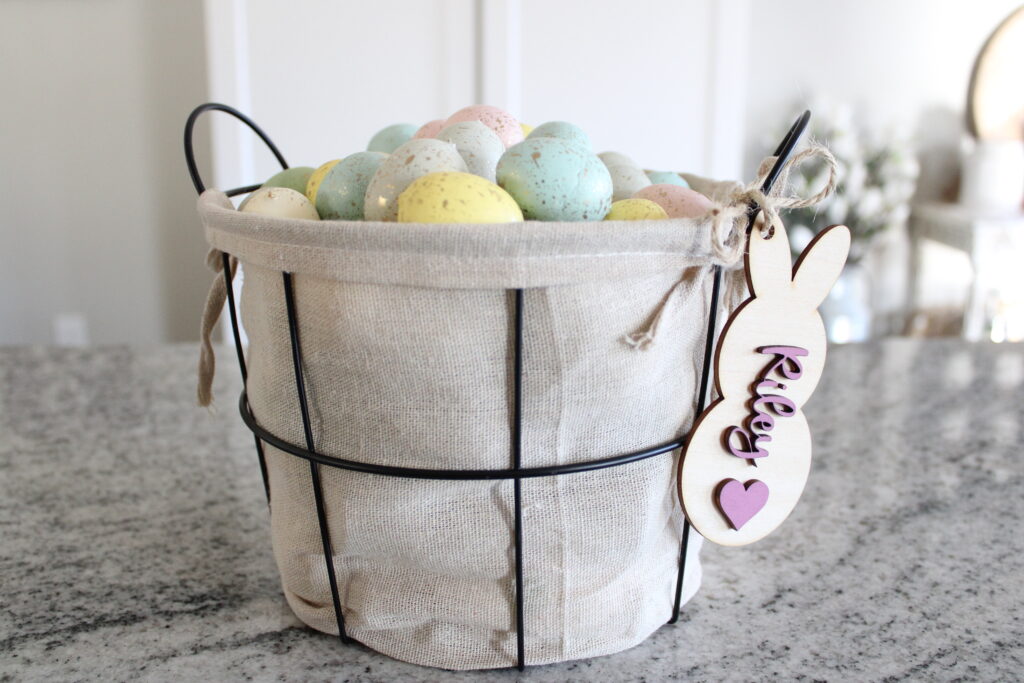
You can do a solid backing or a shiplap backing. And there’s an option for a regular bunny tail or a heart bunny tail! So just play around with it and come up with the perfect Easter name tag for your kid!
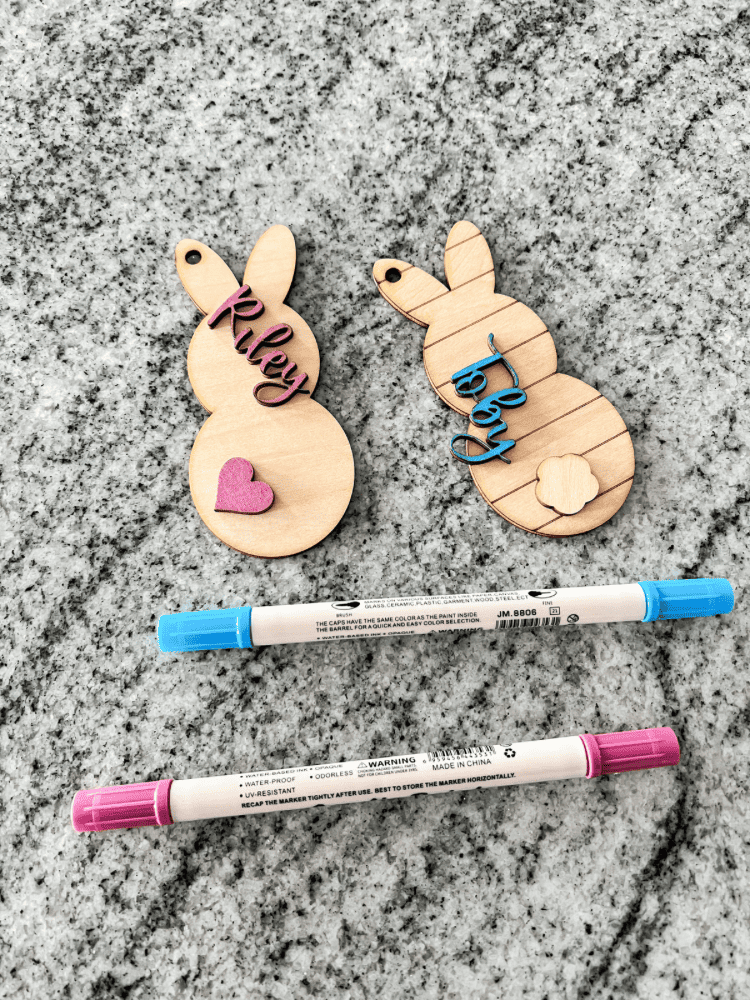
For the name, I used my favorite acrylic paint pens! They make it so much easier to paint a delicate item such as a cursive name. I couldn’t imagine using regular paint and a paintbrush for this! After a couple of coats, and letting the name dry, I applied it to the Easter bunny.
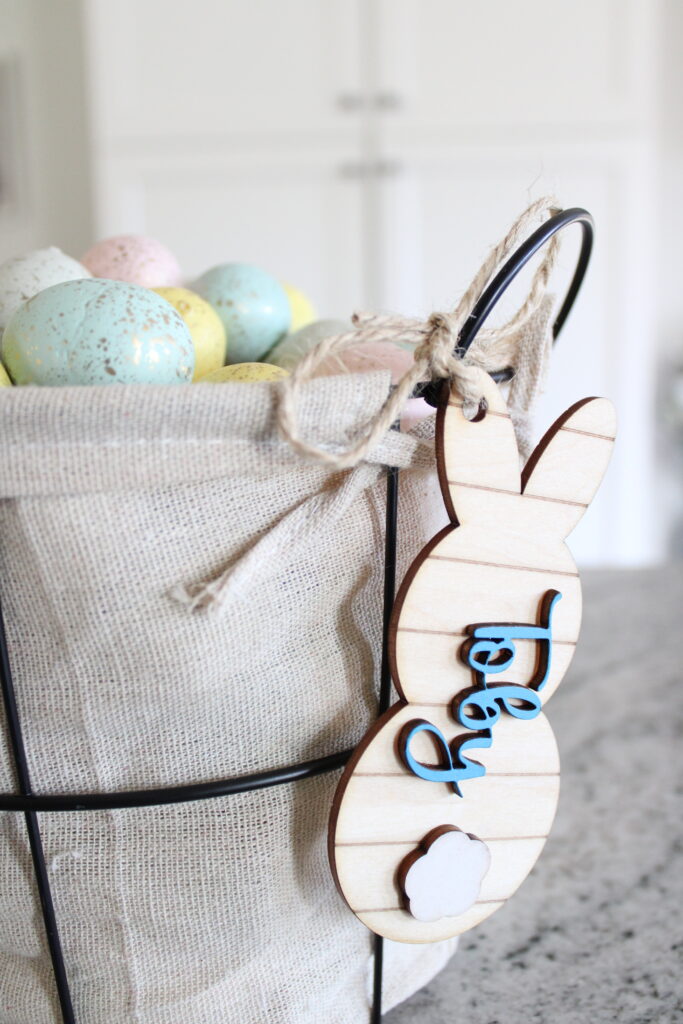
To do this, I used my handy dandy B-7000 glue. Y’all probably know by now that I use it in a ton of my DIY wooden projects like this! I like using this glue because it gives you a little wiggle room to move the piece around with. It does automatically set up like hot glue does. Which is nice in case you mess up!
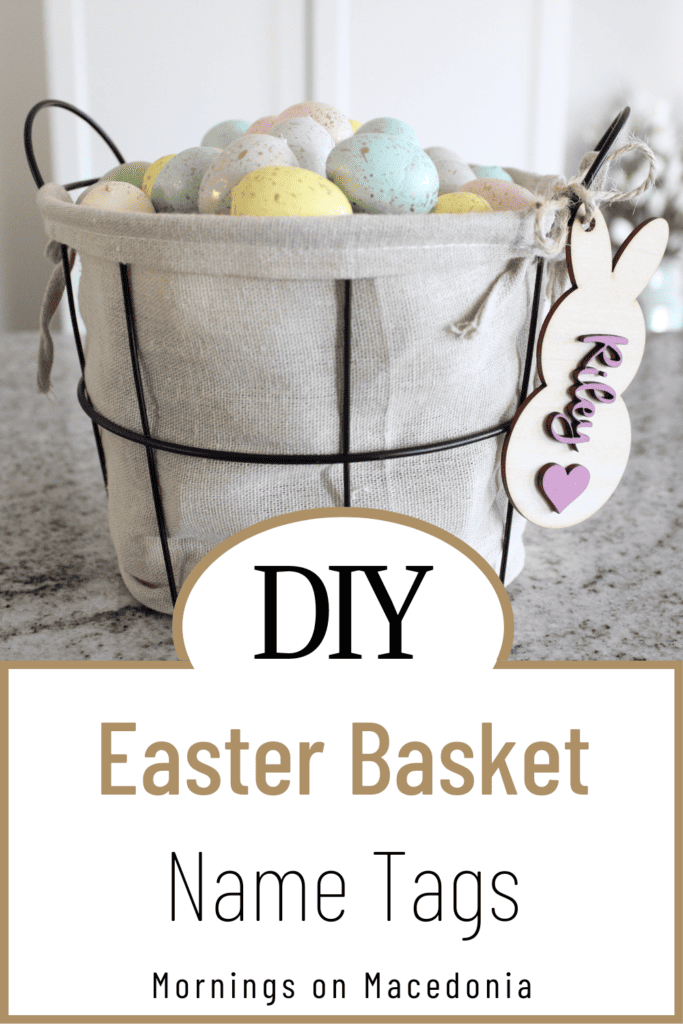
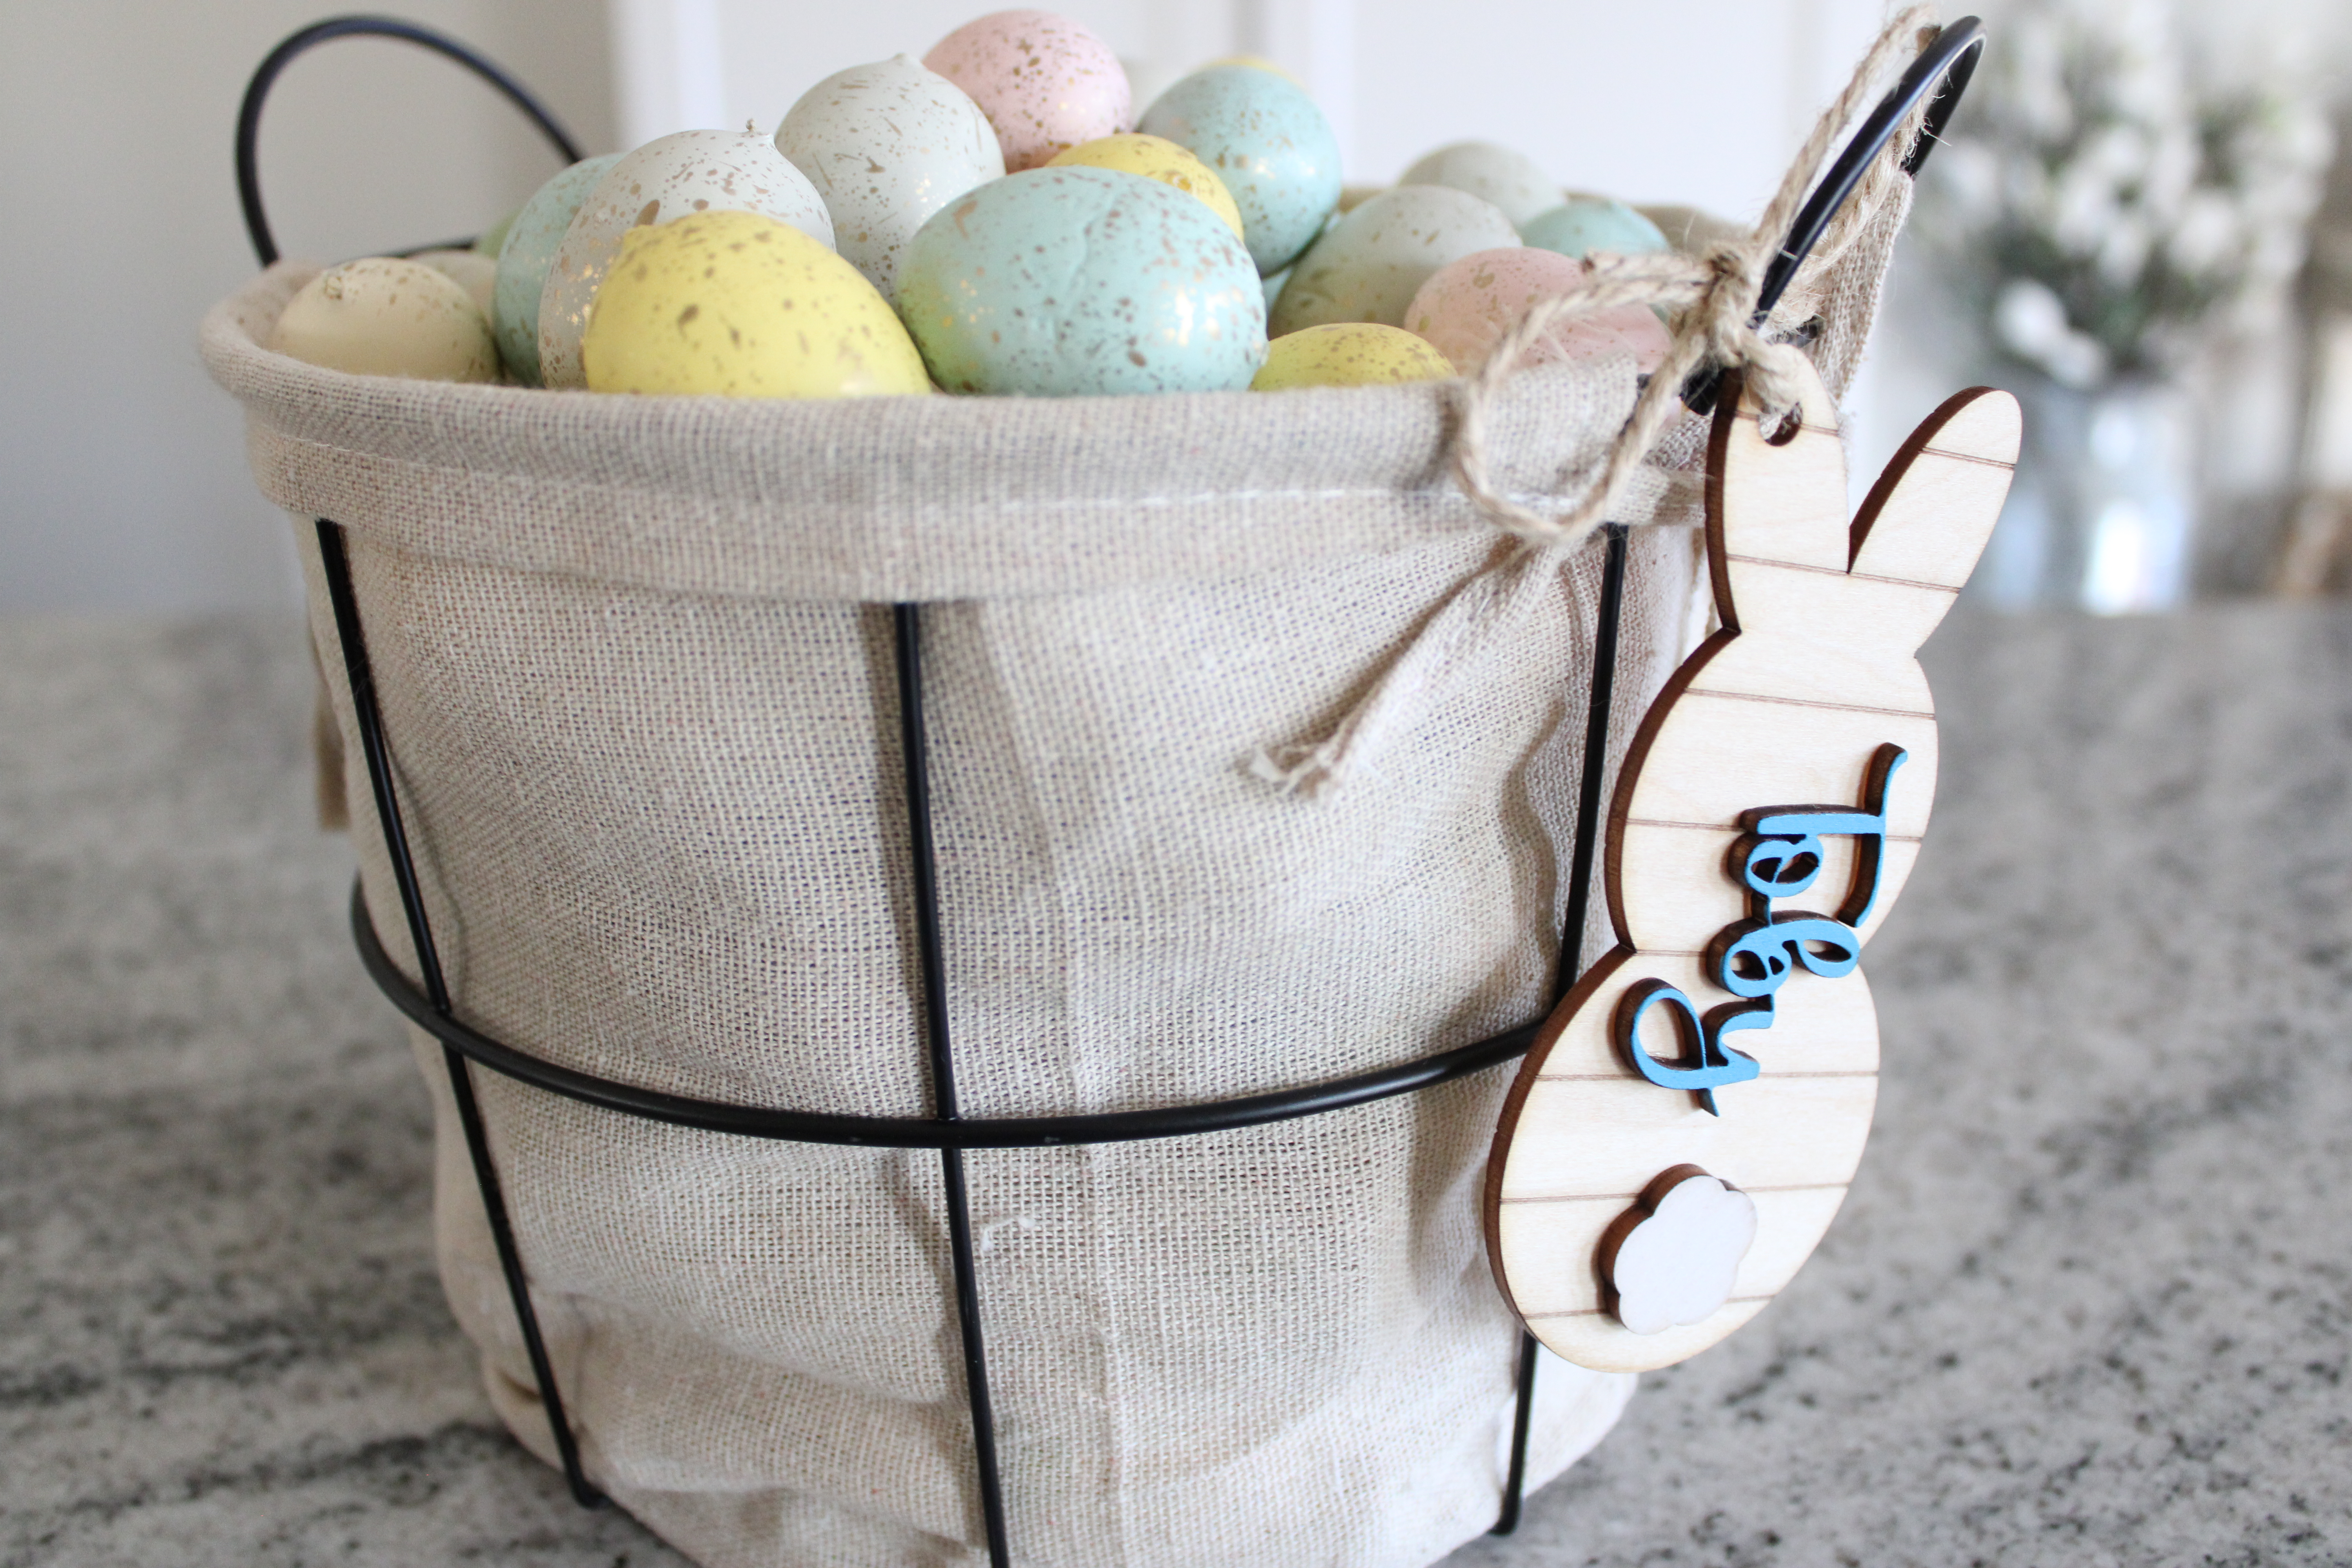
Then, I let the glue cure overnight. Once everything is completely dry, I attach a piece of twine to the hole cut out on top of the bunny. That way you can easily attach it to an Easter basket! How simple and cute is that?!
And, if you love these Easter basket name tags, but don’t feel like making them yourself, or don’t have your own laser- no worries! I have them all listed in my Etsy shop! So be sure to go over there and place your order so I can make some for you before Easter gets here! Just click on the picture below to order!



What a fun Easter craft. Getting that special personalized tag on an Easter basket will make the experience even better.
Thank you, I think it is too!!