
I decided to make this cool DIY fire bowl for our backyard patio this past weekend. I’ve been seeing them all around and decided I needed one too!
And honestly, it was so easy and simple to make! This DIY fire bowl would be perfect for your pool area, or in our case, our hot tub area.
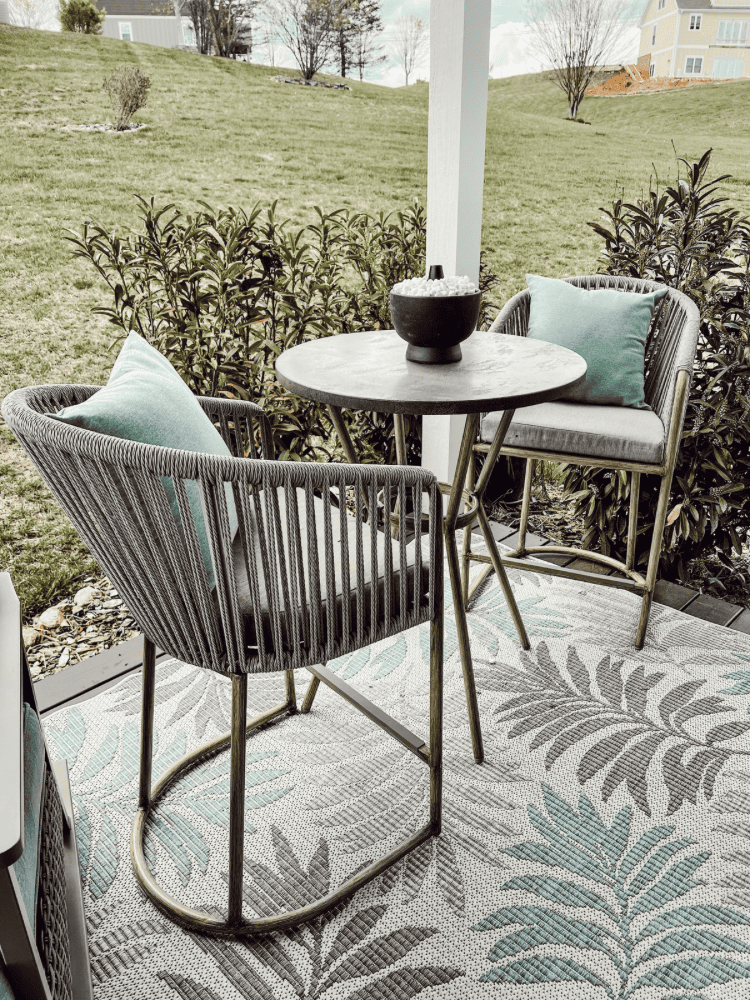
Basically, anywhere you want it to be in your outdoor space! I thought it would look good on our patio set tabletop. That way, we can enjoy it while we’re sitting outside enjoying the fresh air.
Or even while we are sitting in the hot tub too! With just a handful of supplies and a few minutes, you can make this DIY tabletop fire bowl as well!
This post also contains affiliate links, which means I make a small commission off anything you purchase through here, at no additional cost to you. Please read my full disclosure policy for more details.
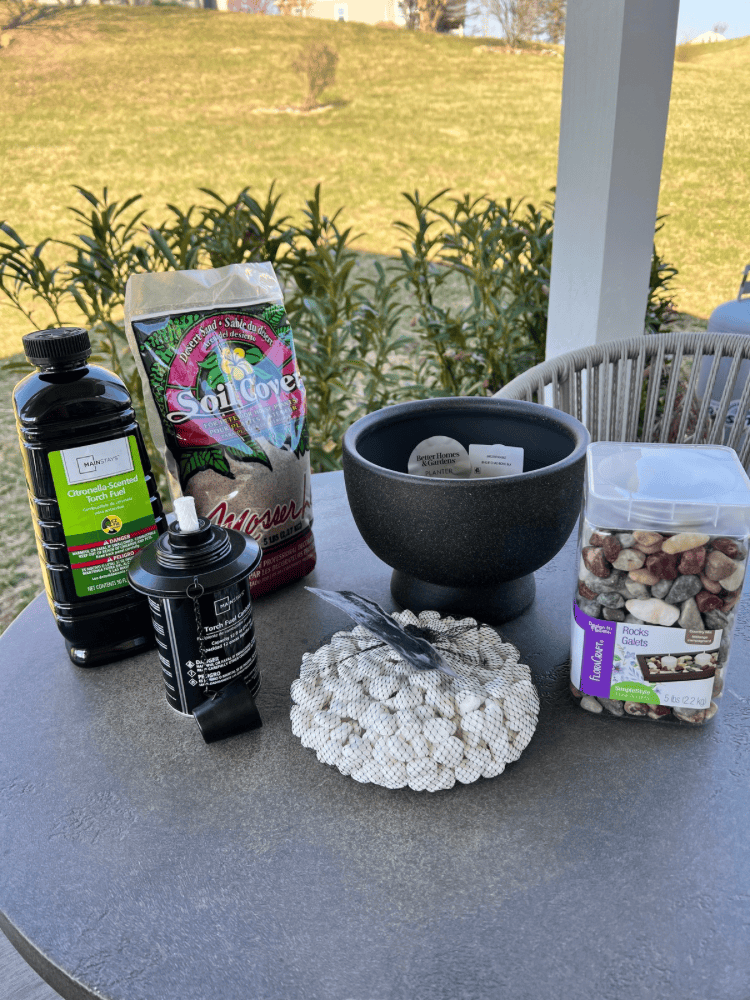
Supplies Needed For DIY Fire Bowl
I got all these supplies from Walmart pretty cheap. I will link everything I used exactly below for you. But, you could also find these items at your local Home Depot or Lowe’s Home Improvement Stores too!
Choosing Your Planter
When deciding what bowl or planter to use, you want to be sure that it will cover the fuel canister completely. The one I linked above was an 8 inch concrete planter.
You could do a bigger one if you wanted, but I am not sure if a smaller one would work. Unless you got a smaller gel fuel canister.
But really, you could make any kind of planter or bowl work because you could fill the bottom up with sand, which is what I did to make sure the top of the canister would be visible from the planter.
I wouldn’t recommend using plastic planters though since we are dealing with a fuel source here you know! Anything stainless steel or concrete would work just fine.
You could even re-do an old planter you have on hand with some spray paint and give it a completely new look too!
There are so many possibilities when it comes to making these pool fire bowls! And it doesn’t even have to be a planter, you could just use a concrete bowl too. Whatever you have on hand!
Choosing Your Rocks
You could use whatever rocks you wanted for this project too. Whether it be lava rocks, fire glass beads, or Mexican beach pebbles, there are endless options to choose from.
Depending on how big your planter is, you may need more or less rocks than what I used here.
And here’s a tip, you can always fill the inside of the bowl with a cheaper rock since you won’t be able to see it. And then just stack on the pretty, decorative rocks on top to finish it!
How To Make DIY Fire Bowl
Once you have all your supplies together, now you can start making your fire bowl! First, start by layering some sand into the bottom of your planter.
Then, fill up your torch canister with some torch fuel. I always like citronella oil since it helps prevent mosquitoes from flying around.
Be sure to fill up the canister before filling the bowl with the rocks and sand. Ask me how I know this! I made the mistake of placing it and making everything pretty and nice, before I realized I forgot to put the fuel in it!!
So unfortunately I had to shift it around a little to open the top of the canister back up. It’s much easier if you do this beforehand!
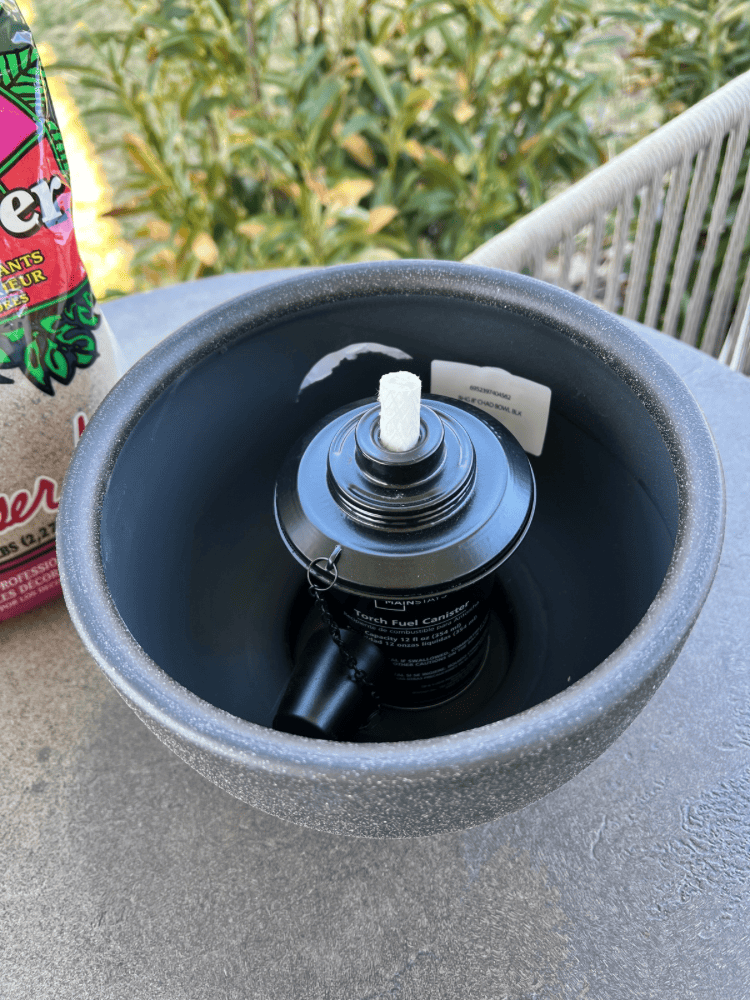
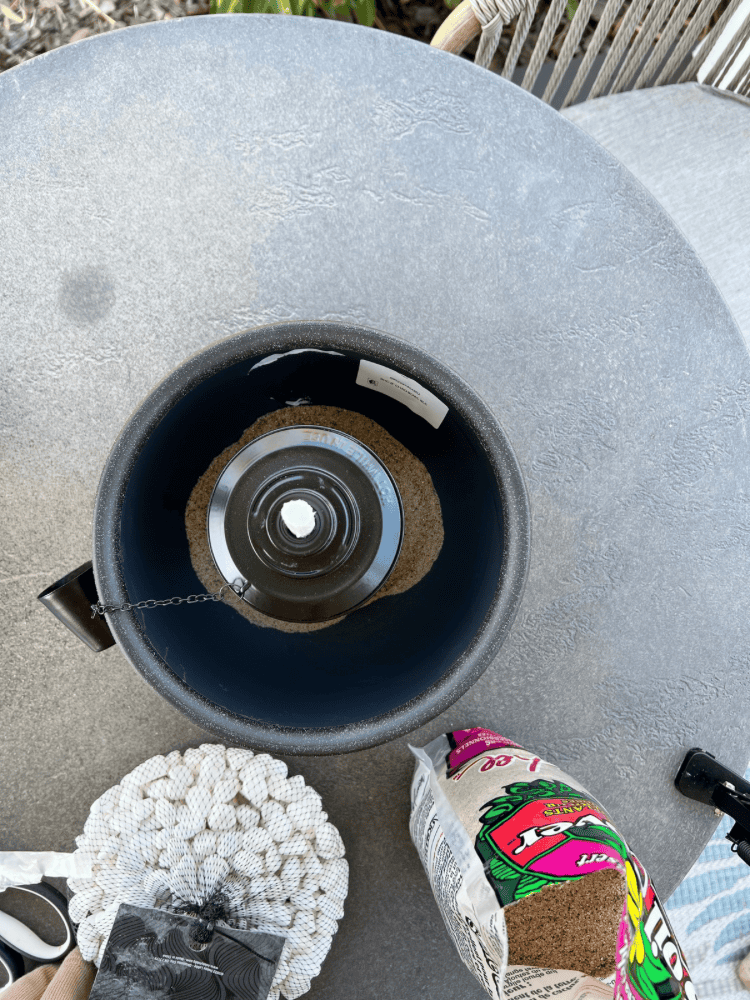
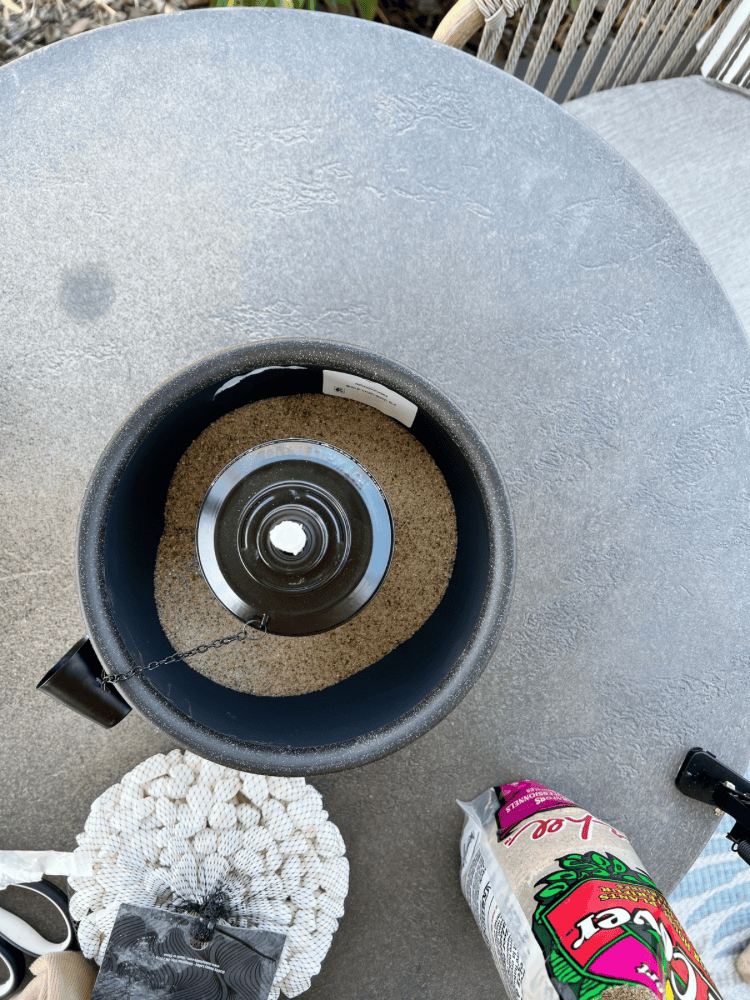
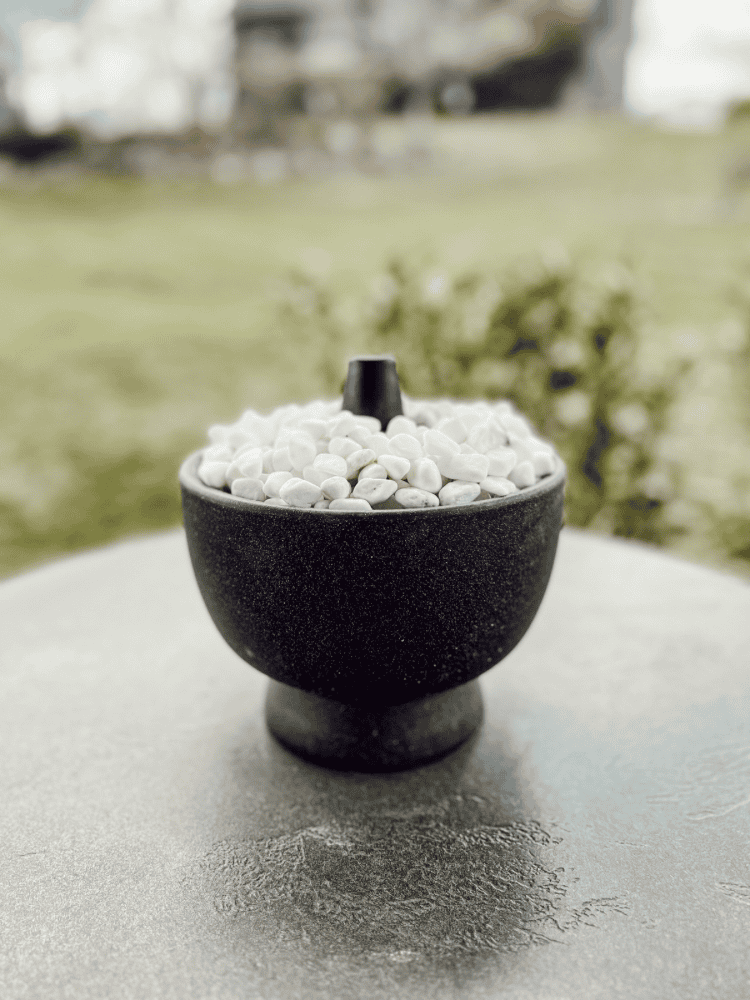
Although, make sure you can easily access the lid for the next time you need to re-fuel the canister too. Place canister inside of bowl and pour more sand around it to secure it in place.


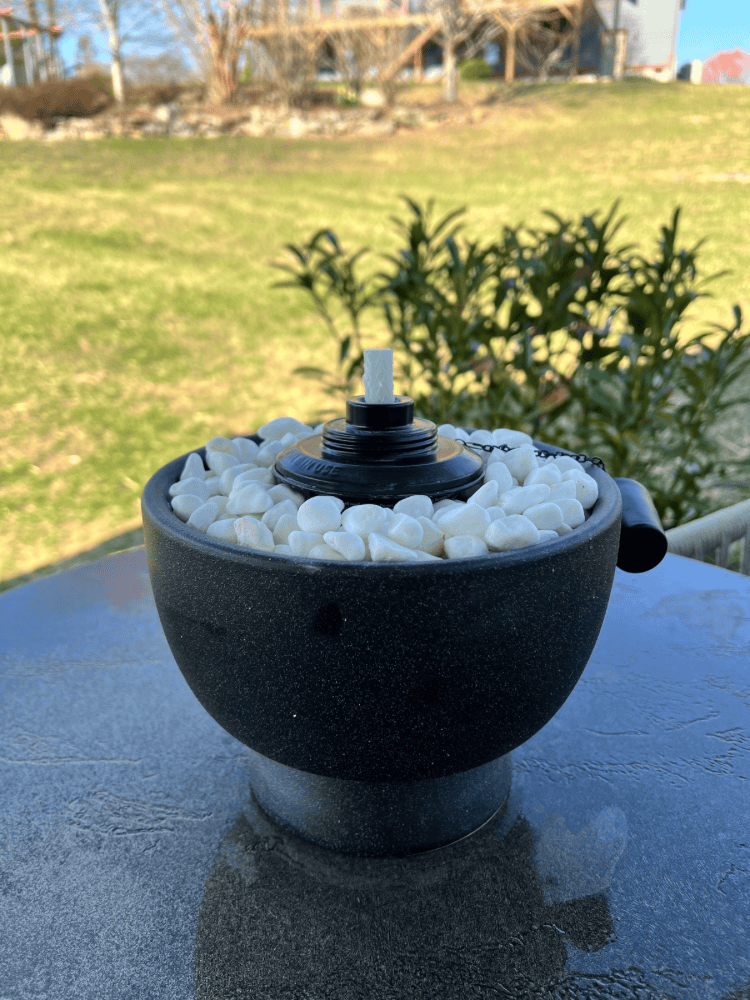
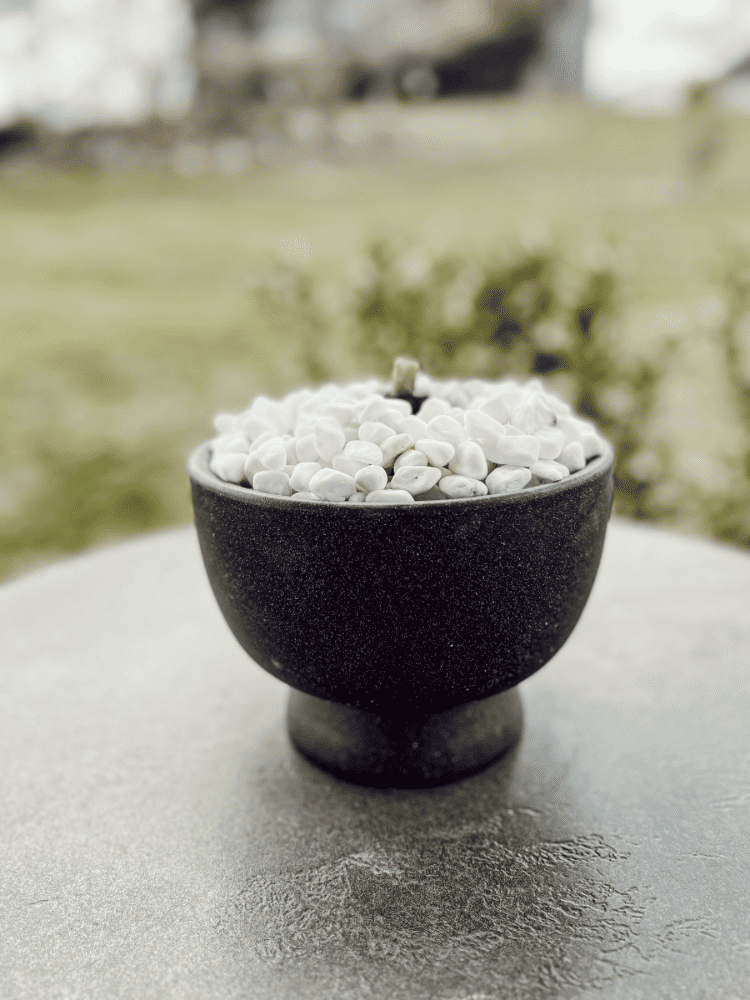
The next step is to pour the rock around the canister, filling it all the way to the top of the bowl. And that’s it! The whole thing took me less than 10 minutes to create. How easy and simple is that?!
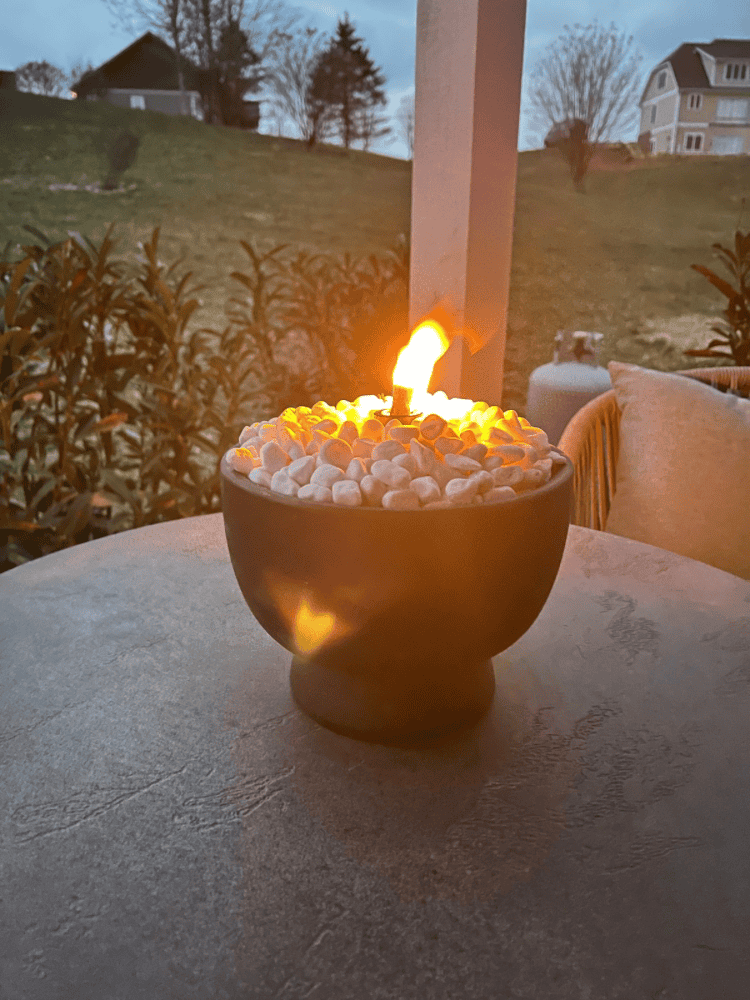
Enjoy Your DIY Fire Bowl!
I hope you’ll consider making this easy DIY project for your porch! It’s perfect to enjoy all summer long! In fact, I like it so much, I may make some more for our other outdoor spaces as well.
I’m always prone to mosquito bites so if these will help me repel mosquitoes, I am all for it! It’s a great way to not only repel mosquitoes, but enjoy the warm evenings outside as well!
If you make one of these too, let me know how it goes for you. I’d love to hear all about it! I hope you enjoy it as much as I do!
And on a bigger scale, I’ll be sharing all about our new DIY fire pit area soon too so stay tuned for that coming up!

This is a really great idea, and so easy to put together! I like that it can be customised a bit; it looks lovely!
Really cute idea! I love that planter, I have a couple of them and they look so high end