I have seen several people do a tomato cage Christmas tree and I thought why not try one out myself this year?! So I will be sharing all the steps to my little DIY tomato cage Christmas tree I made. Tomato cages aren’t just for vegetable gardens anymore yall!
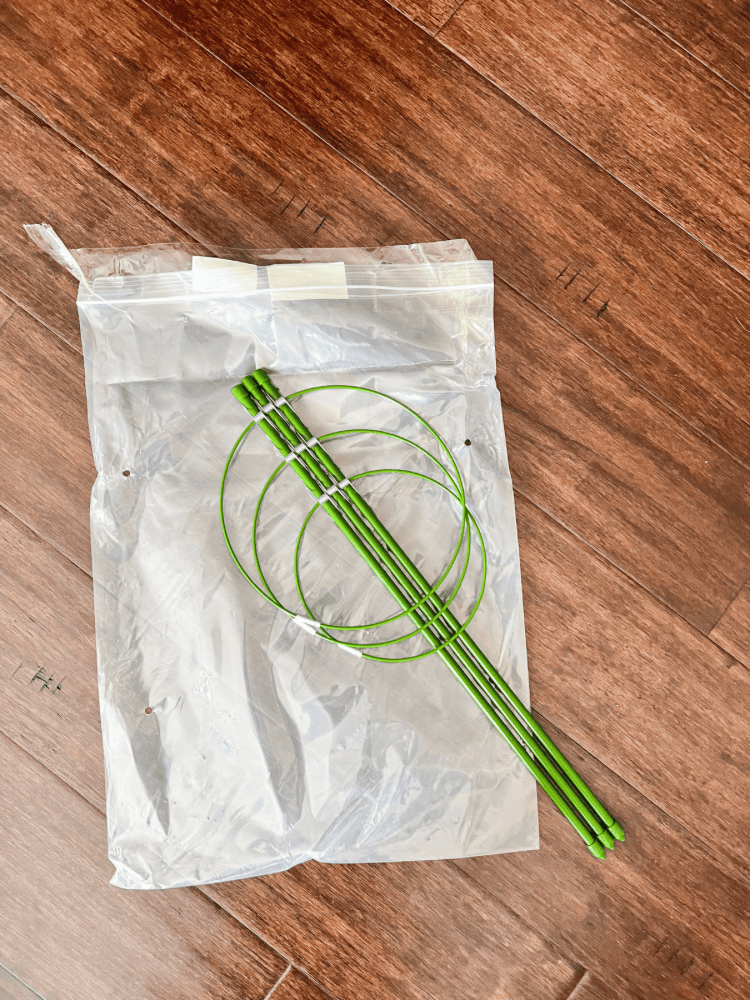
Keep in mind though, finding a tomato cage this time of the year can be tough! Since they are considered a seasonal item, my local Lowe’s store did not have any on hand! So, I went to my back up, Amazon, and ordered some through there.
However, I did not realize how small the tomato cage actually was until I got it. But, it turned out to be perfect. It’s more of a mini little Christmas or tabletop tree, and I am totally fine with that!
Plus, you just need a few more materials to create this tree with and you’re all set! It’s not a hard or complicated process at all! Keep on reading for my full tutorial!
This post also contains affiliate links, which means I make a small commission off anything you purchase through here, at no additional cost to you. Please read my full disclosure policy for more details.
Materials Needed for Tomato Cage Christmas Tree
Zip Tie/Twist Ties/Floral Wire, Etc.
Miscellaneous Ornaments/Decoration/Tree Topper, optional
Make The Tomato Cage Tree
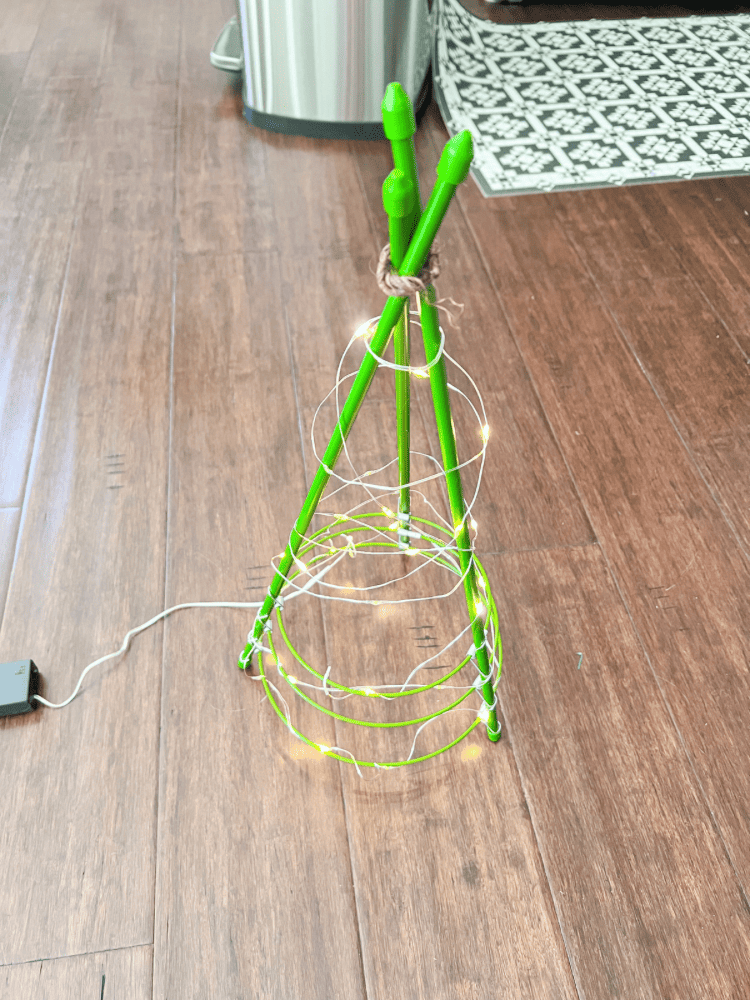
The first step is to attach all the posts of the tomato cage together at the top so it resembles more of a Christmas tree shape. To do this, I secured them all at the top of the tree with some wired twine. I just continued to wrap it around and around until it was secure and set.
Then, you can start making the tree! Using a string of Christmas lights or battery operated lights, wrap them around the tree over and over until it is covered. Since my tree was so small, I just used a pack of battery operated string lights.
My original plan was to use regular Christmas outdoor lights and place this tree on the front porch. But, since it ended up being much smaller than I anticipated, I decided to leave it inside as a small tabletop tree instead.
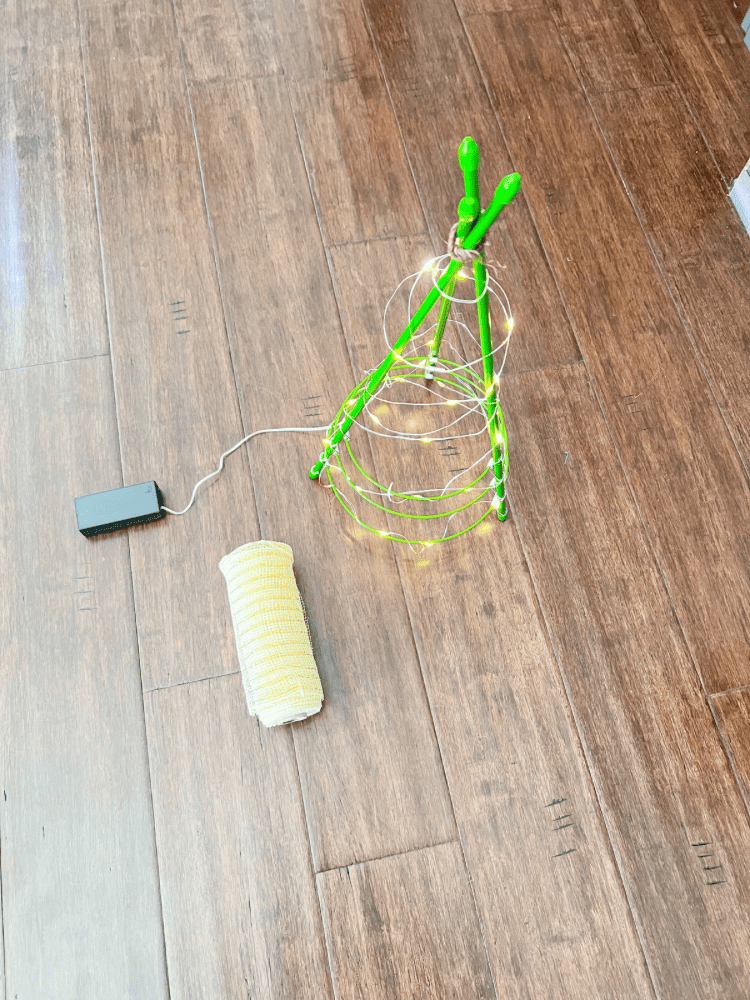
I like for my trees to have lots of lights and since this cage was so small, one pack of lights was perfect for it. Otherwise, if it were any bigger, I probably would have added more lights to it.
Adding The Deco Mesh
Once you got the lights all added in, now is the time to add in the mesh. I got this pretty gold deco mesh from the Dollar Store and it took me a total of 6 rolls to completely cover the cage with. I cut out the mesh in approximate 6′ inch squares, trying to keep them all at the same length and size.

Then, taking two at a time, I bunched them up at the center and then twisted the two pieces of mesh together. I held them securely together by using some floral wire. You could also use zip ties, a pipe cleaner or twist ties here. Whatever works best for you!

Then starting at the the bottom of your tree, add the deco mesh ribbon pieces on, one by one. This was the most time consuming part of the whole process. You could probably use a glue gun here too to attach the ribbon to the cage with. But, I liked using the floral wire, that way I could easily move the pieces around if I needed to.

Keep doing this process from the bottom of the tree all the way to the tip of the cage. You can also go back after you’re done and add in a few more pieces if there are any bald spots in your tree.
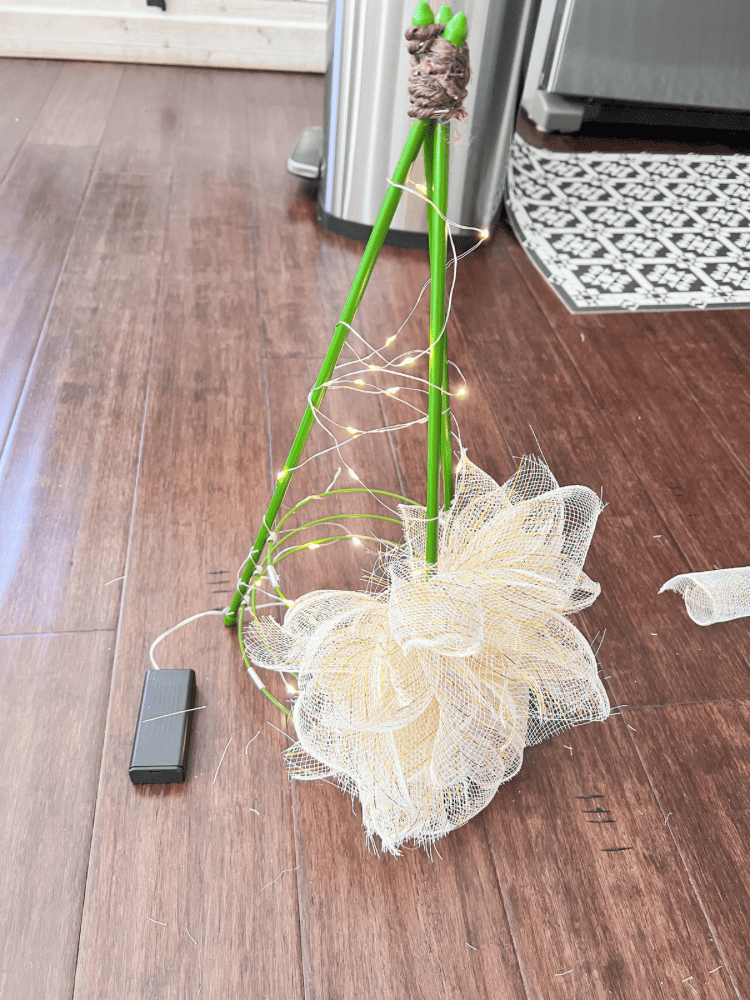
To finish, add a tree topper or bow on top of your tree. You could also make it more of your own tree and add in different ornaments and decorations to it too!

Enjoy Your Tomato Cage Christmas Tree
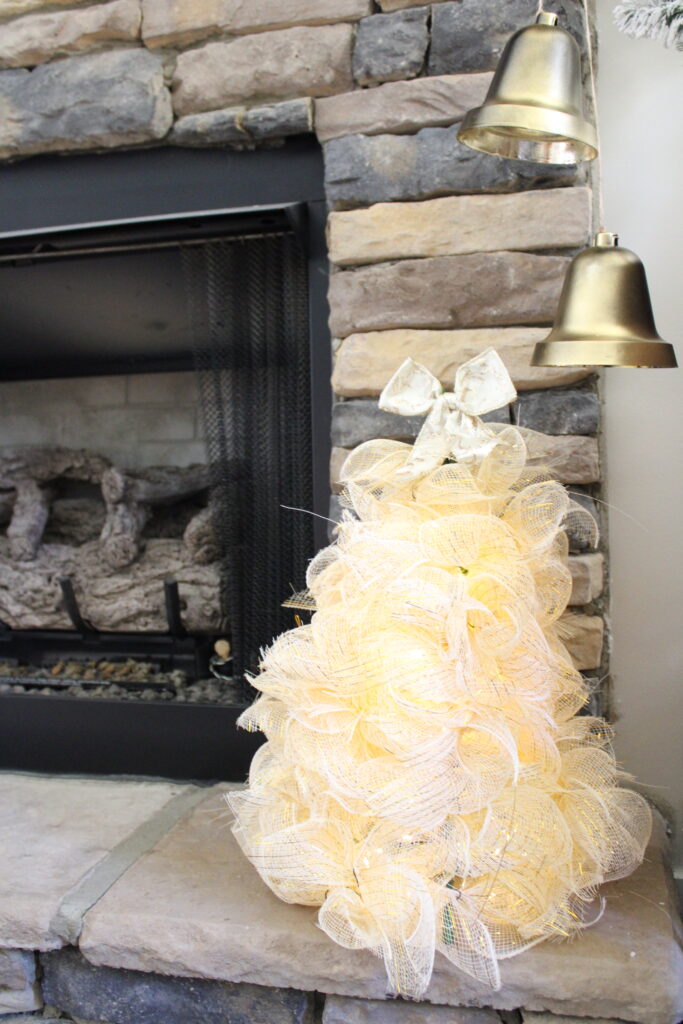
I decided not to add in any extra ornaments or anything like that to mine. I wanted to keep it simple, focusing on just the golden shine from the ribbon itself! And it looks perfect on the hearth of my fireplace, next to our big tree that’s done in all gold ornaments! It’s the perfect little holiday decoration for that spot!

This was such a fun and easy DIY project and I love how it didn’t cost much at all to make either! Have you made any DIY tomato cage Christmas trees during the holiday season before? If so, I’d love to hear all about it below! And let me know what you think of this cute little project idea too!
If you’re looking for more DIY Christmas Content, be sure to check out my DIY Mercury Glass Ornaments or my DIY Christmas Candles posts too!





This is such a great idea, and the Christmas tree turned out well! I also love that you added string lights!
Awe thank you so much! Glad you think so as well!
This is such a wonderfully festive and easy to achieve Christmas-themed homemade decor idea! I love how it looks, and think it would look so lovely in my sitting room. Thanks for this, I’ll have to try this out.
No problem at all, you definitely should my friend!
This DIY Christmas tree is amazing and I’m glad it turned out the way you wanted it to! x
Lucy | http://www.lucymary.co.uk
Thank you Lucy!
This is a great idea. Simple and beautiful. Thank you for sharing.
Thank you so much! I am glad you think so too!