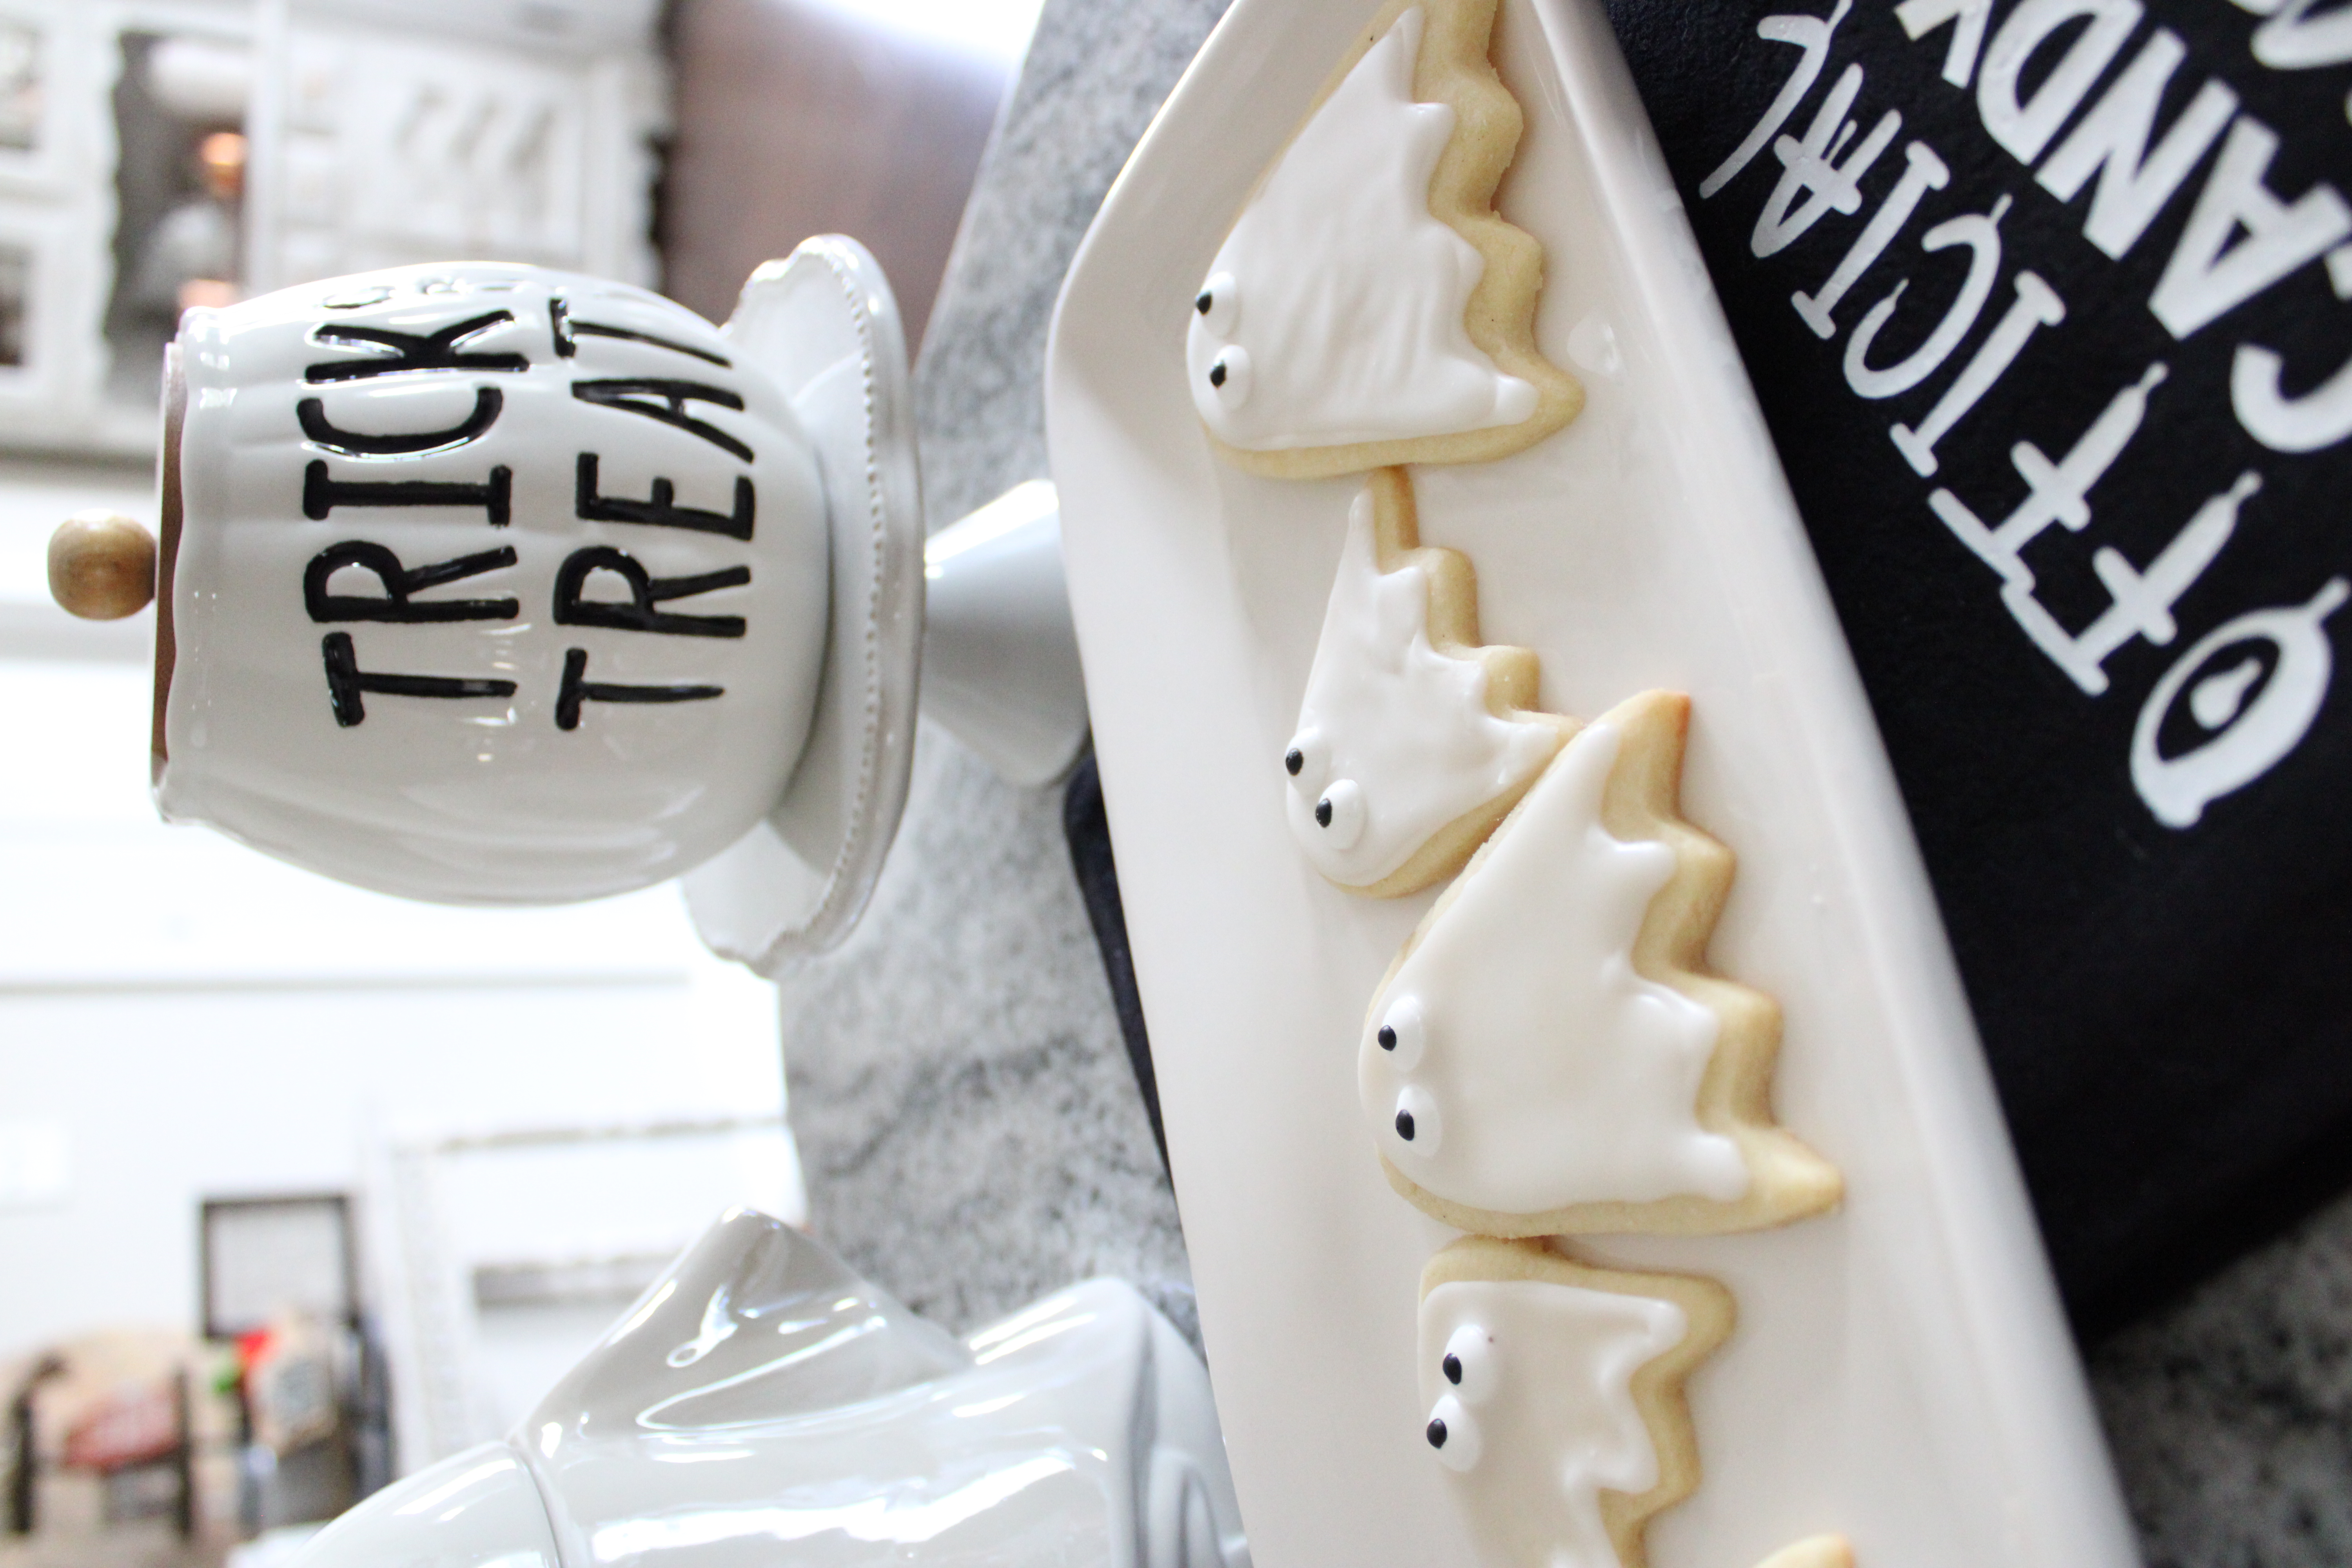
If you have been around here awhile then you know I am obsessed with making cookies. Especially seasonal cookies. I go all out for Christmastime and I thought why not do the same for Halloween this year too. So in today’s post I am going to share with you all how to decorate Halloween cookies easily!
You may remember I shared this process back awhile ago with my Easter sugar cookie recipe, but I figured it was time for an update! So if you’re wanting to make these cute cookies for a Halloween party, or just for some good ol Halloween fun, you’re going to want to try this recipe out.
Keep on reading to see just how you can create these easy Halloween sugar cookies yourself too! You don’t have to be a professional cookie decorator in order to make some super cute sugar cookies like this!
This post contains affiliate links, which means I make a small commission off anything you purchase through here, at no additional cost to you. Please read my full privacy policy for more details.
Bake The Halloween Cookies
Before decorating the cookies, obviously we need to bake them first! I like to use my favorite sugar cookie recipe for this. It is my tried and true favorite. Anytime I make Christmas sugar cookies, I use this recipe too. It is not overly sweet, so it is a perfect recipe for when you want to decorate cookies with. And the sugar cookie dough is easy to work with and roll out.
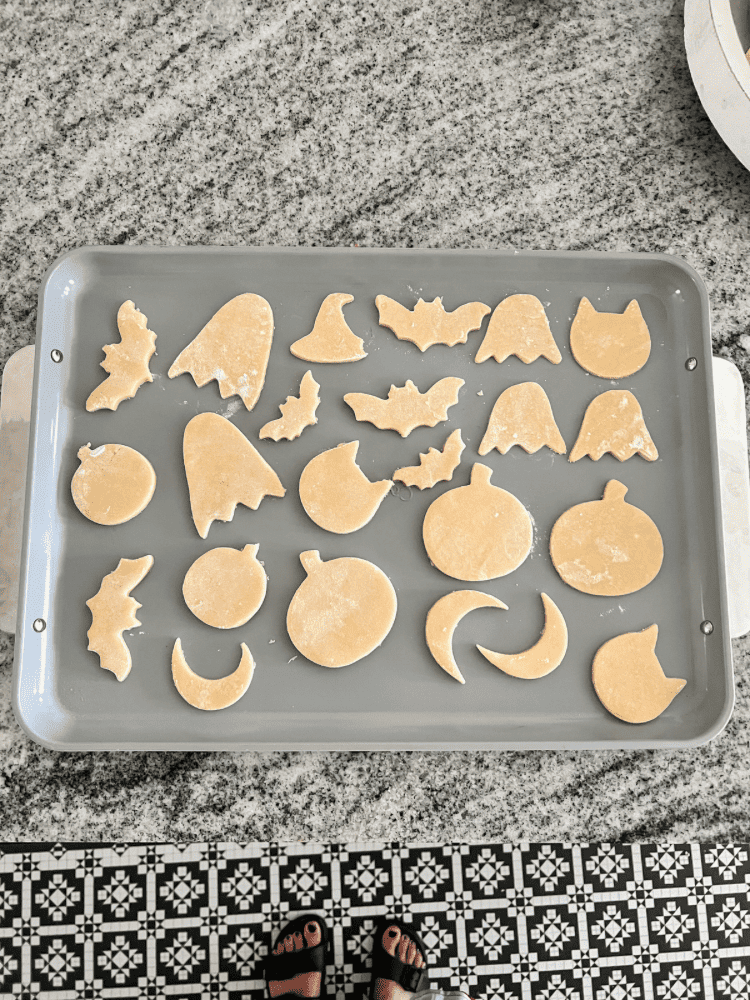
This recipe makes for the perfect cut-out sugar cookies. I think the key is to freeze the cut-out shapes before baking them, that way they retain their shape. Which makes it perfect for decorating! I used some cute Halloween cookie cutters to make the cookie shapes with.
Then, I placed them on a cookie sheet in the freezer before baking them. Be sure to check out the recipe and read through all the tips and tricks. But definitely don’t skip out on freezing the shapes before baking them.
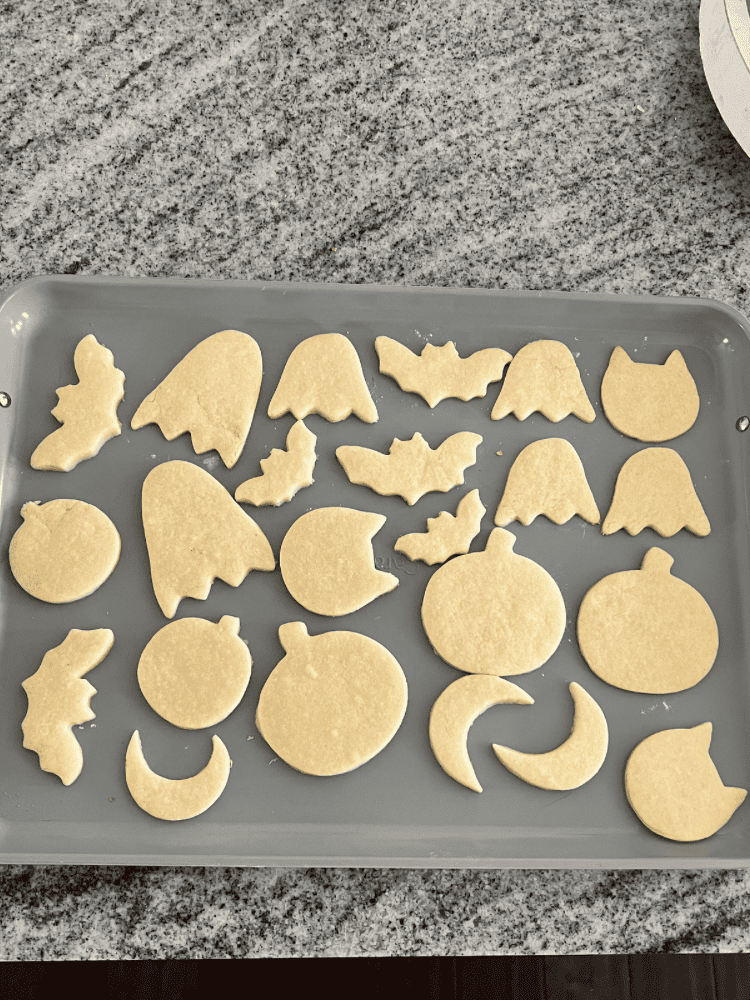
After you bake these easy Halloween cookies, I let them cool on a wire rack before decorating. You definitely want to make sure these cookies are cool and at room temperature before you try to ice them. If you try to ice them while they are still hot, all the icing will just melt away or run down the cookie and we don’t want that!
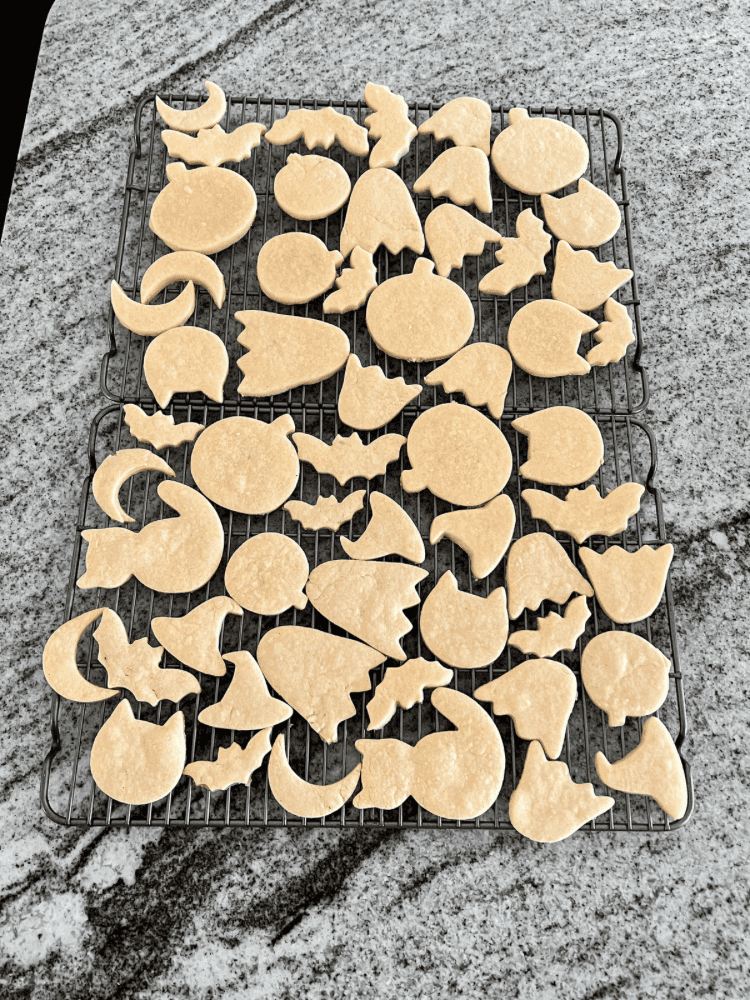
How To Decorate Halloween Cookies
After the cookies are all cooled down, now is the time to decorate them. We are going to make some icing using some powdered sugar, milk, vanilla extract, and/or almond extract. I make a “border” icing, which is a thick icing that the cookies are outlined in.
Then, I make a “flood” icing that I use to fill in the outlines with. This icing is thiner and can easily “flood” the cookie shape. The key is to get each icing to the right consistency to make decorating the cookies easier. I think this is a much easier way to ice cookies, rather than making a buttercream frosting.
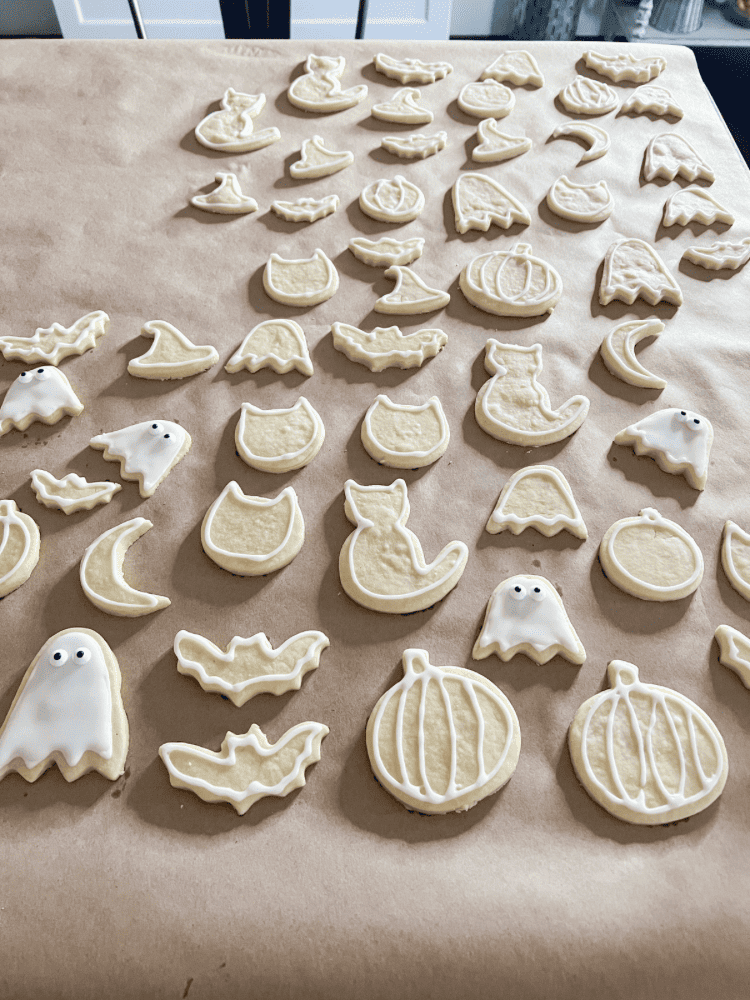
Make The Border Icing
To make the border icing, In a large bowl, mix together one cup of powdered sugar and 1-2 tablespoons of milk. You can also use water too. Then, add in 1/2 a teaspoon of vanilla or almond extract. I like to use almond extract when doing the border icing.
I keep my border icing white, and I’ve noticed that if you add vanilla extract to the mix, it causes it to turn darker and not be a true white icing. Whisk the ingredients together well, making sure to scrape the powdered sugar off the sides of the bowl as you go.
To make decorating the Halloween cookies even easier, I use plastic squeeze bottles. This is such an easy way to ice cookies with! You can also use a disposable piping bag with piping tips to ice the cookies with too. But, I have had these squeeze bottles for years now and I love the fact that I can just reuse them season after season to decorate cookies with!
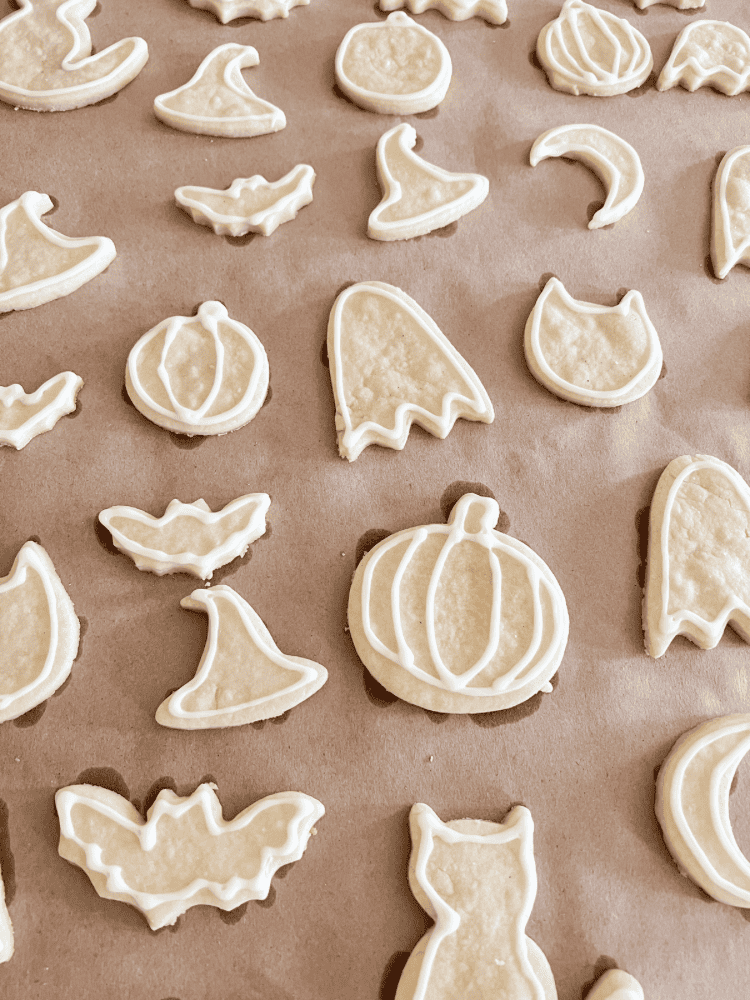
To pour the border icing into the bottles I use a funnel to make sure I can get it all in there. I then go over each cookie and ice an outline with the border icing. The border icing will act as a barrier when you pipe the flood icing onto the cookie as well.
But, before you do that, you want to make sure the border icing is completely dry. I usually wait about 1-2 hours before making the flood icing and piping it onto the cookies as well.
Make The Flood Icing
To make the flood icing, in a separate bowl, mix together one cup of powdered sugar, 2-3 tablespoons of milk or water, and 1/2 teaspoon of vanilla or almond extract. The flood icing needs to be a little more “runnier” than the border icing so therefore you need to add a tablespoon or two more of milk to the mixture.
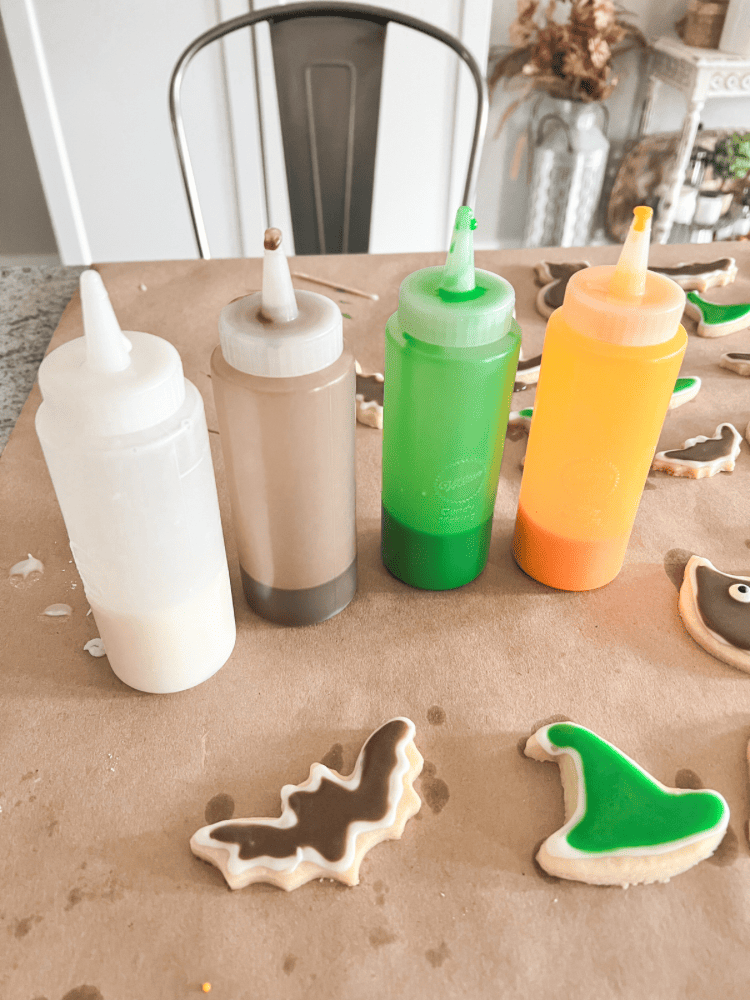
I like to make different icing colors with the flood icing using gel food coloring. I ordered an icing set off Amazon that had several different colors in it, however, it didn’t come in time for when I was making these cookies unfortunately. So I just used what I had on hand instead.
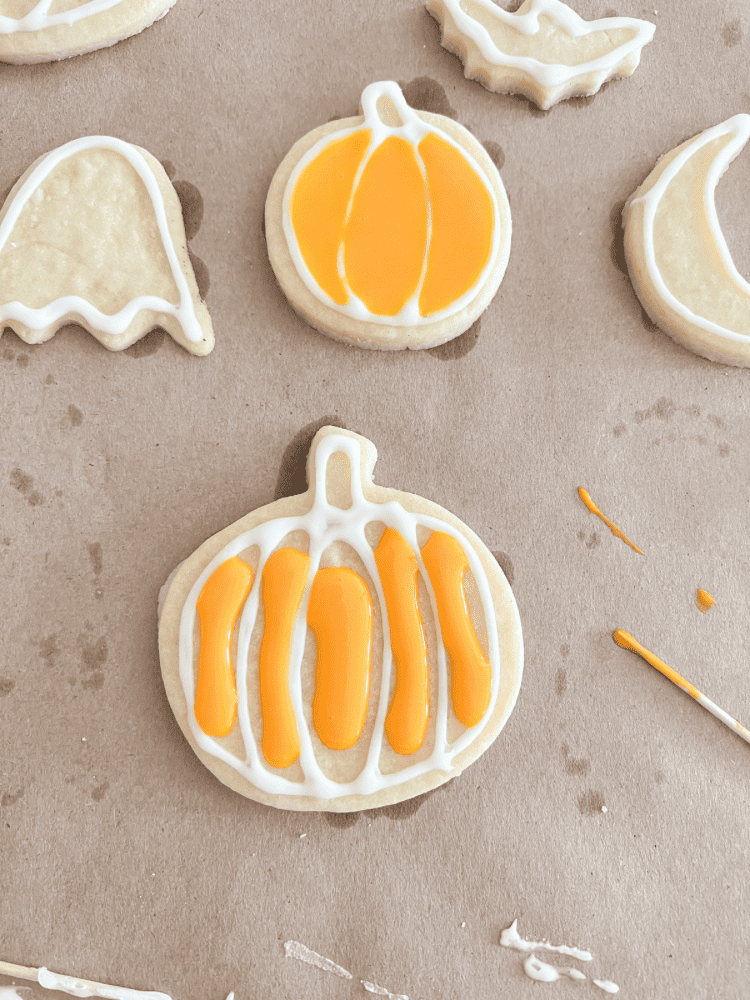
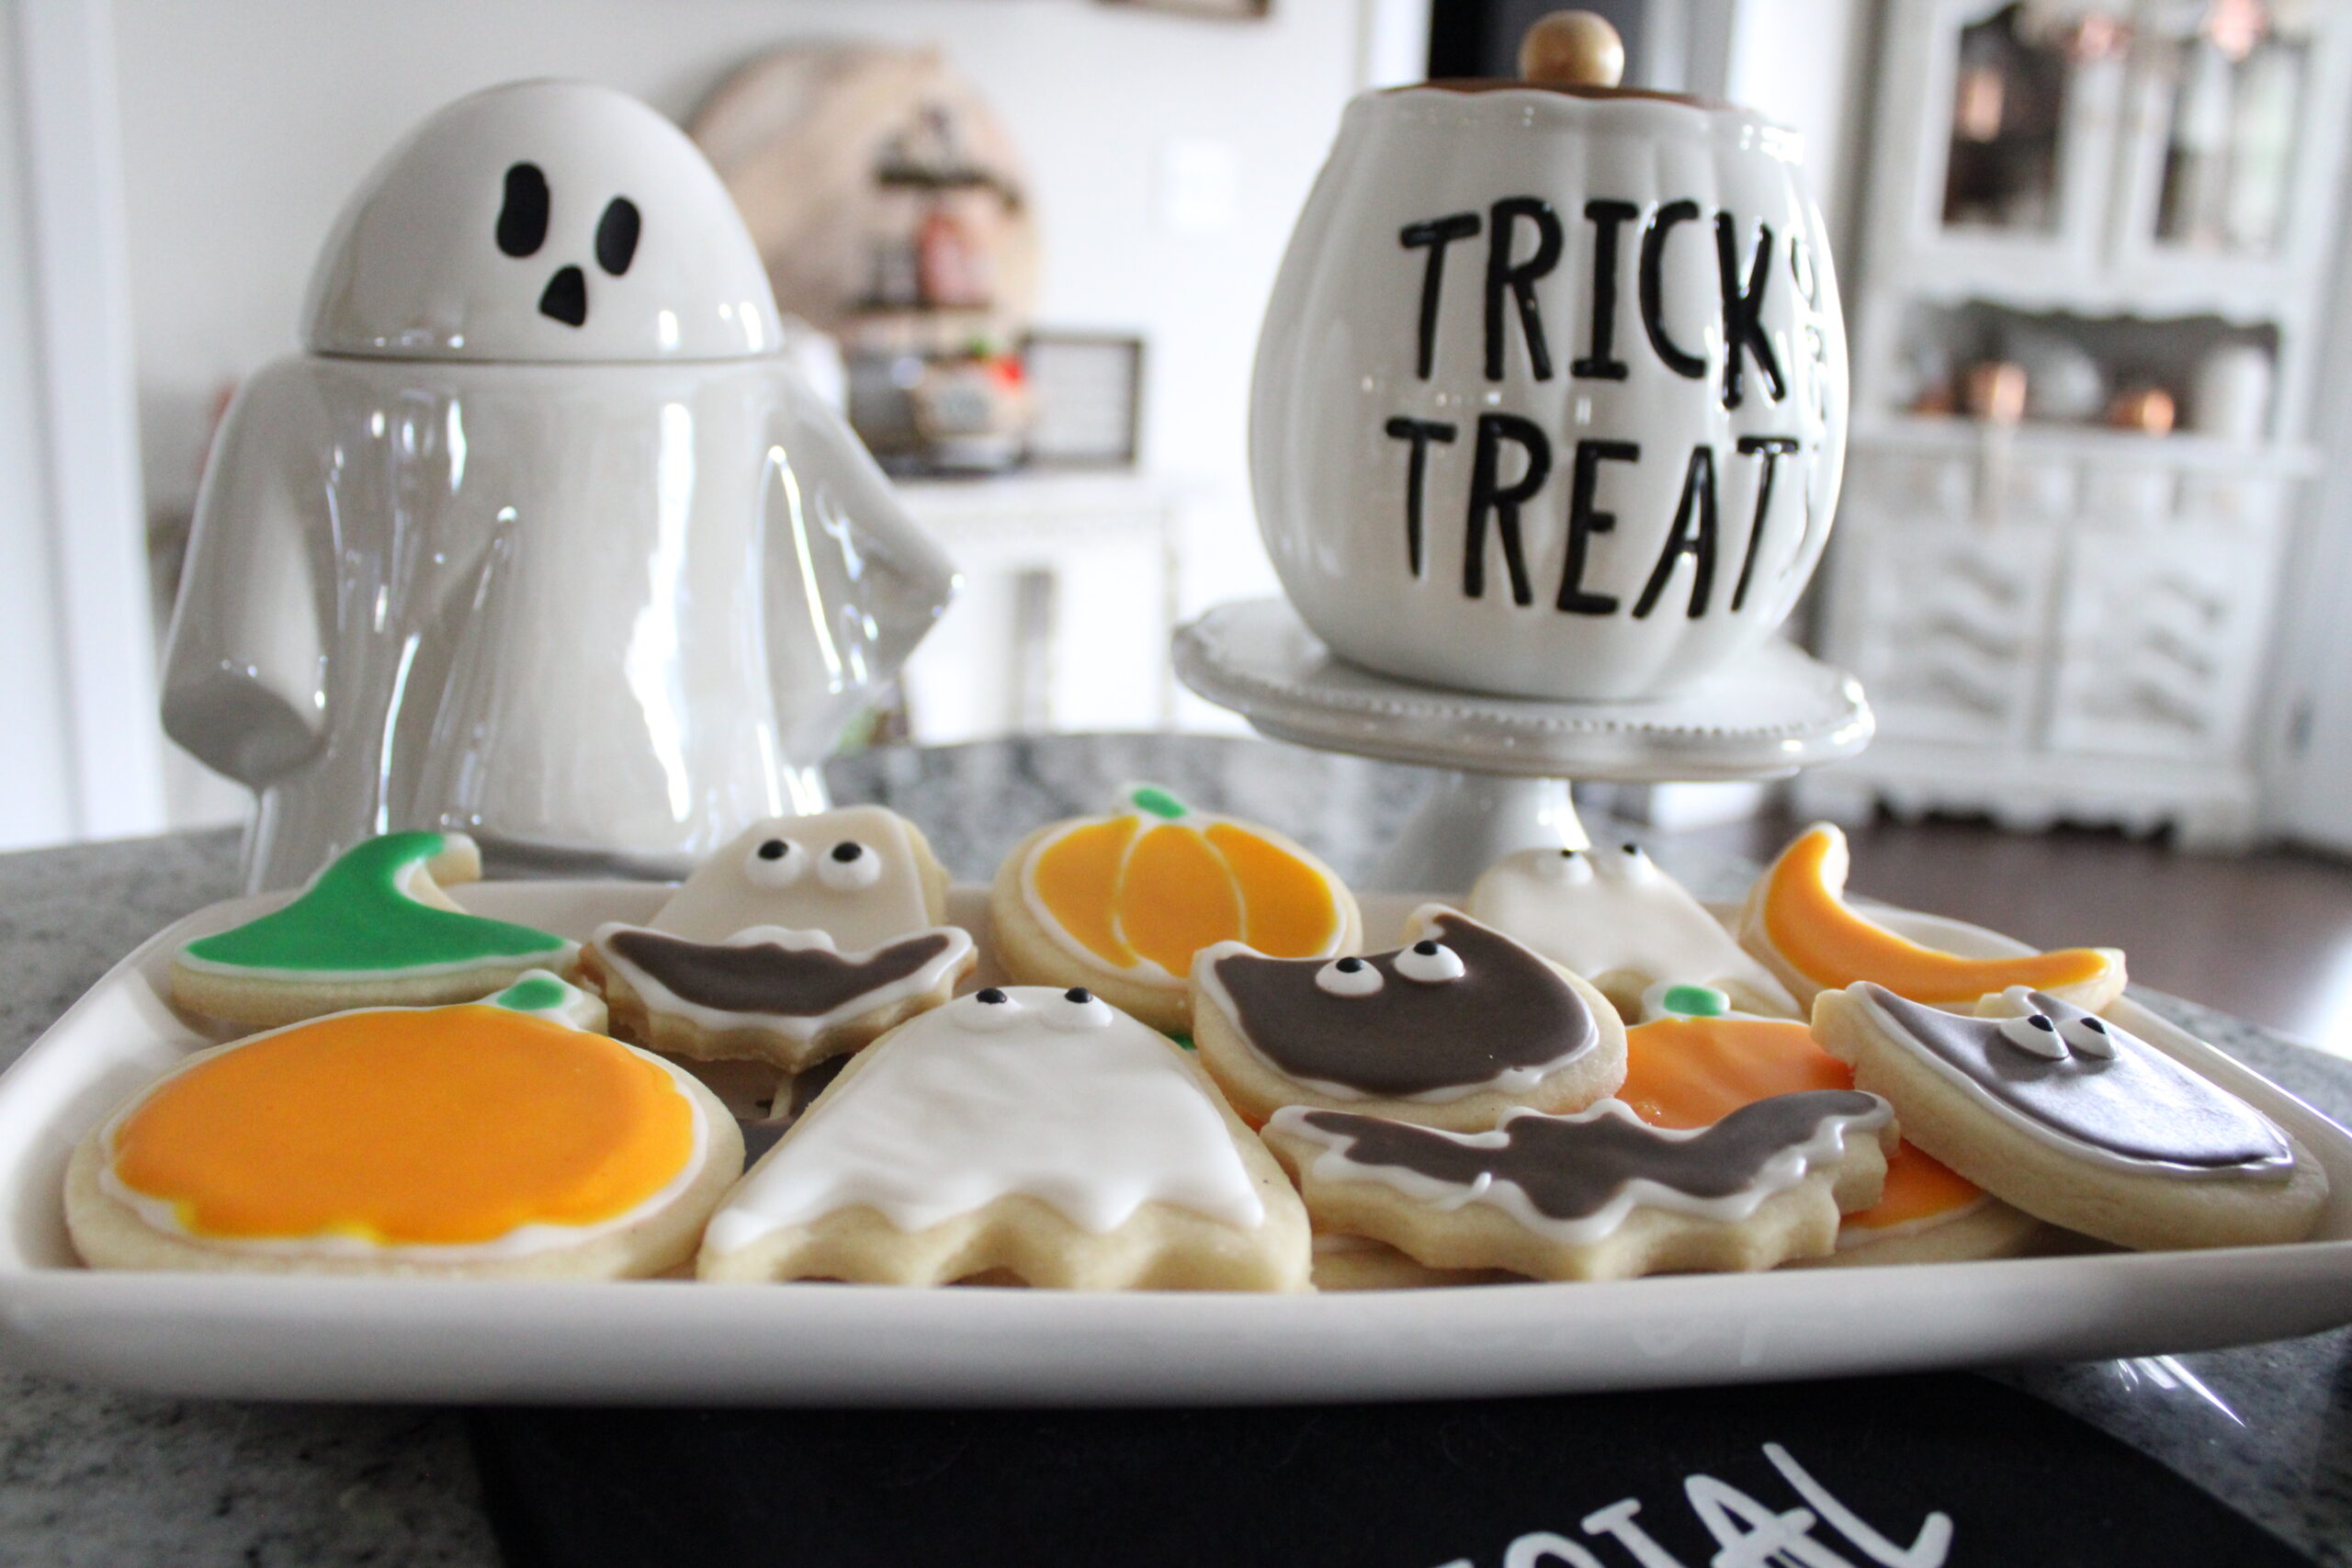
But, I did want to have a black icing for the bats and cat shaped cookies I had. However, when I mixed my colors I had on hand together, I got more of a deep purple color. Which ended up being fine, I figured that’s a good Halloween color too!
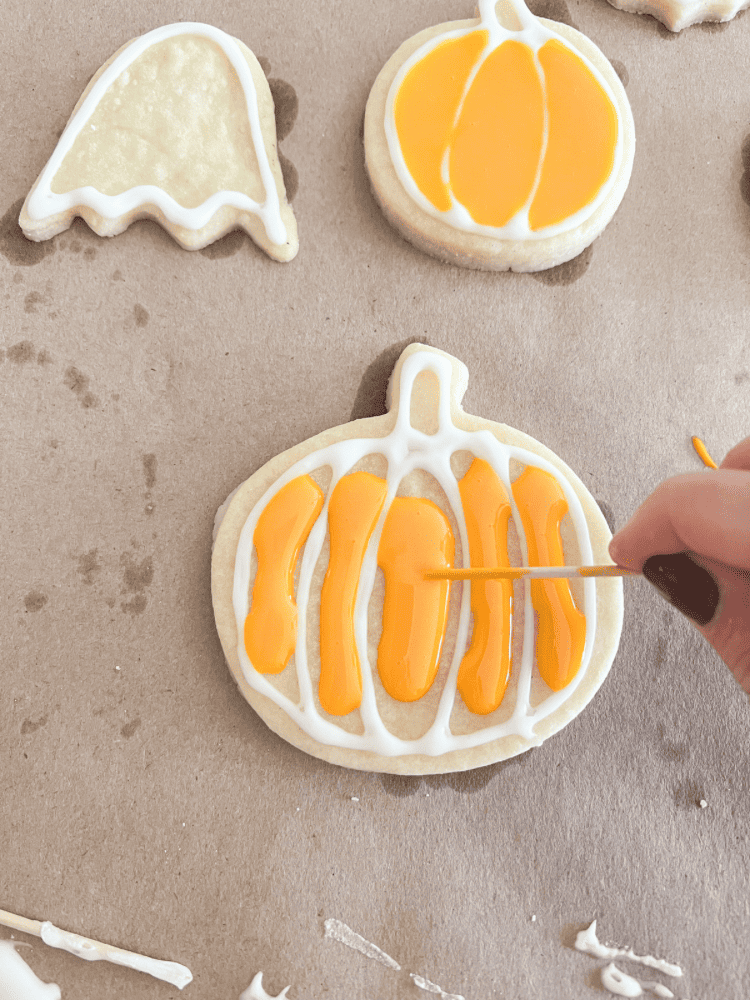
So now onto icing the cookies with the flood icing. Just pour a little of the icing mixture into the middle of the cookie. Be careful to not overfill it. Then, I used a toothpick to spread around the icing onto the cookies to make it nice and smooth.
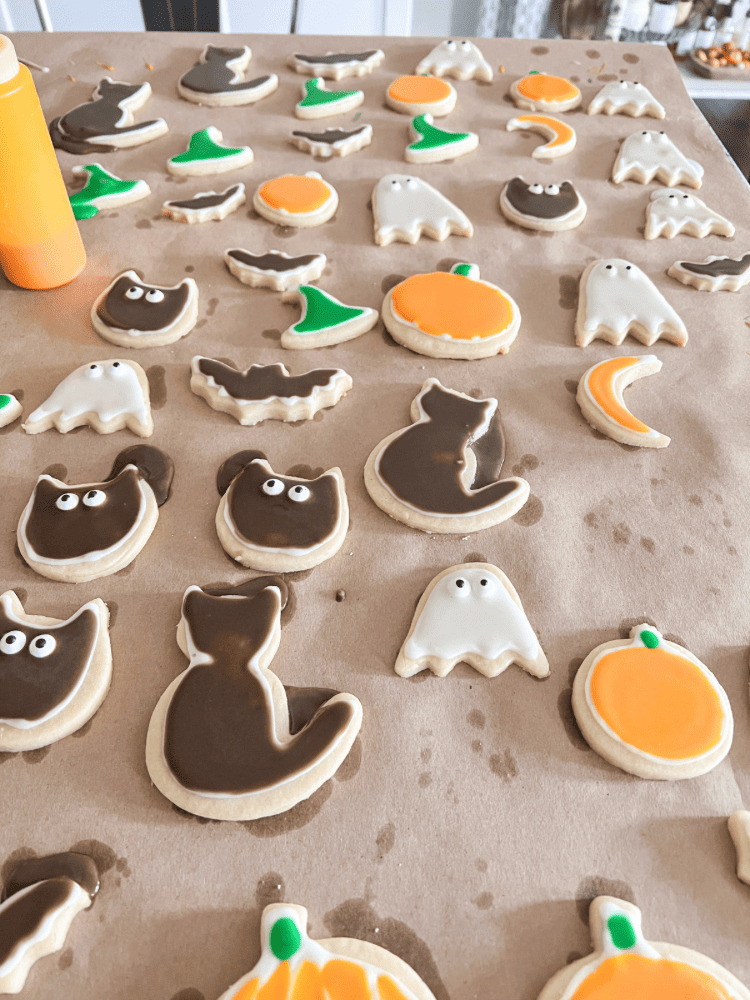
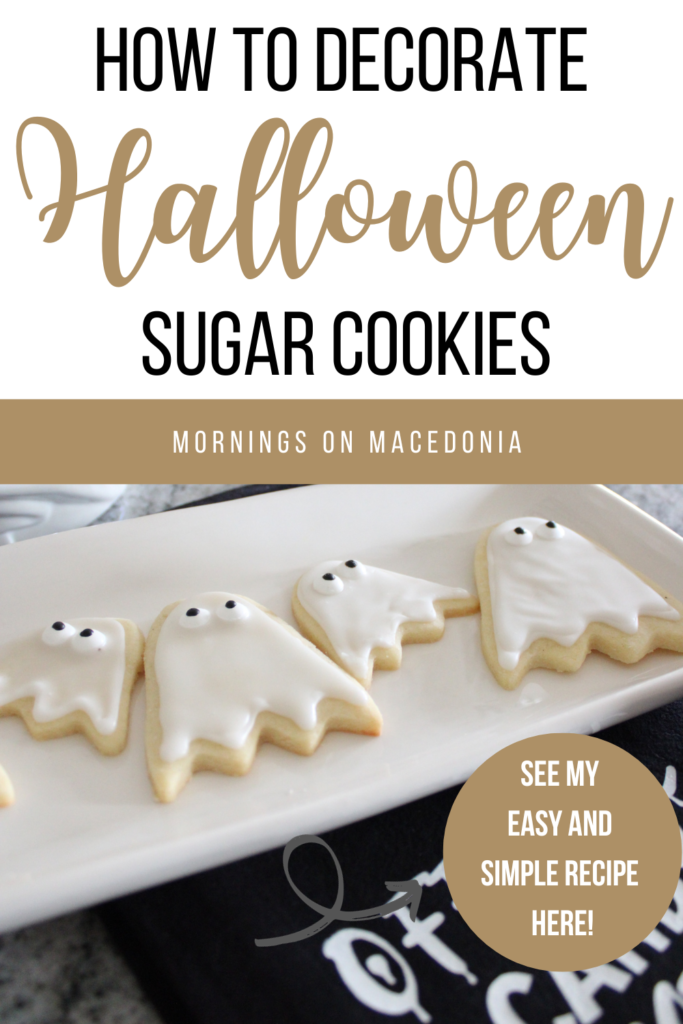
I also used some candy eyes when icing the ghost cookies and the black cats. I thought it made them even more adorable! And again, I let the cookies dry at least 2-3 hours before trying to store them or move them. To store the cookies, I keep them in an airtight container for up to 5 days after baking them.
Tips and Tricks
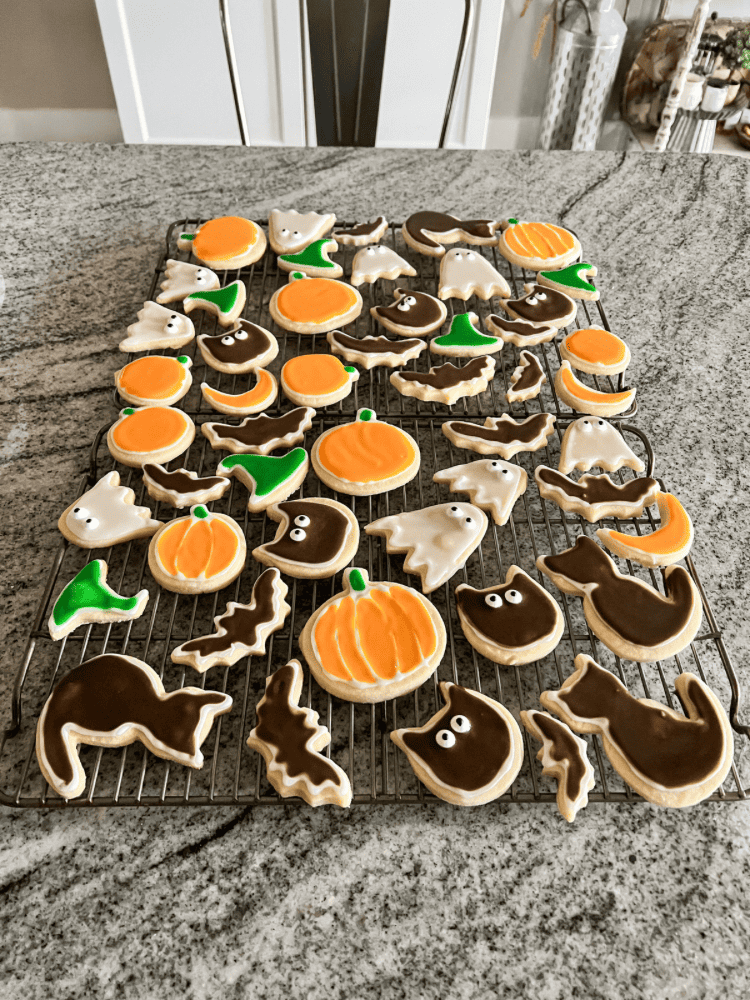
Now, these are so much fun to make, but also a lot of work when you are both making and decorating these Halloween cookies. One tip I have for you is to space it out to make it easier. I actually baked all the cookies one day.
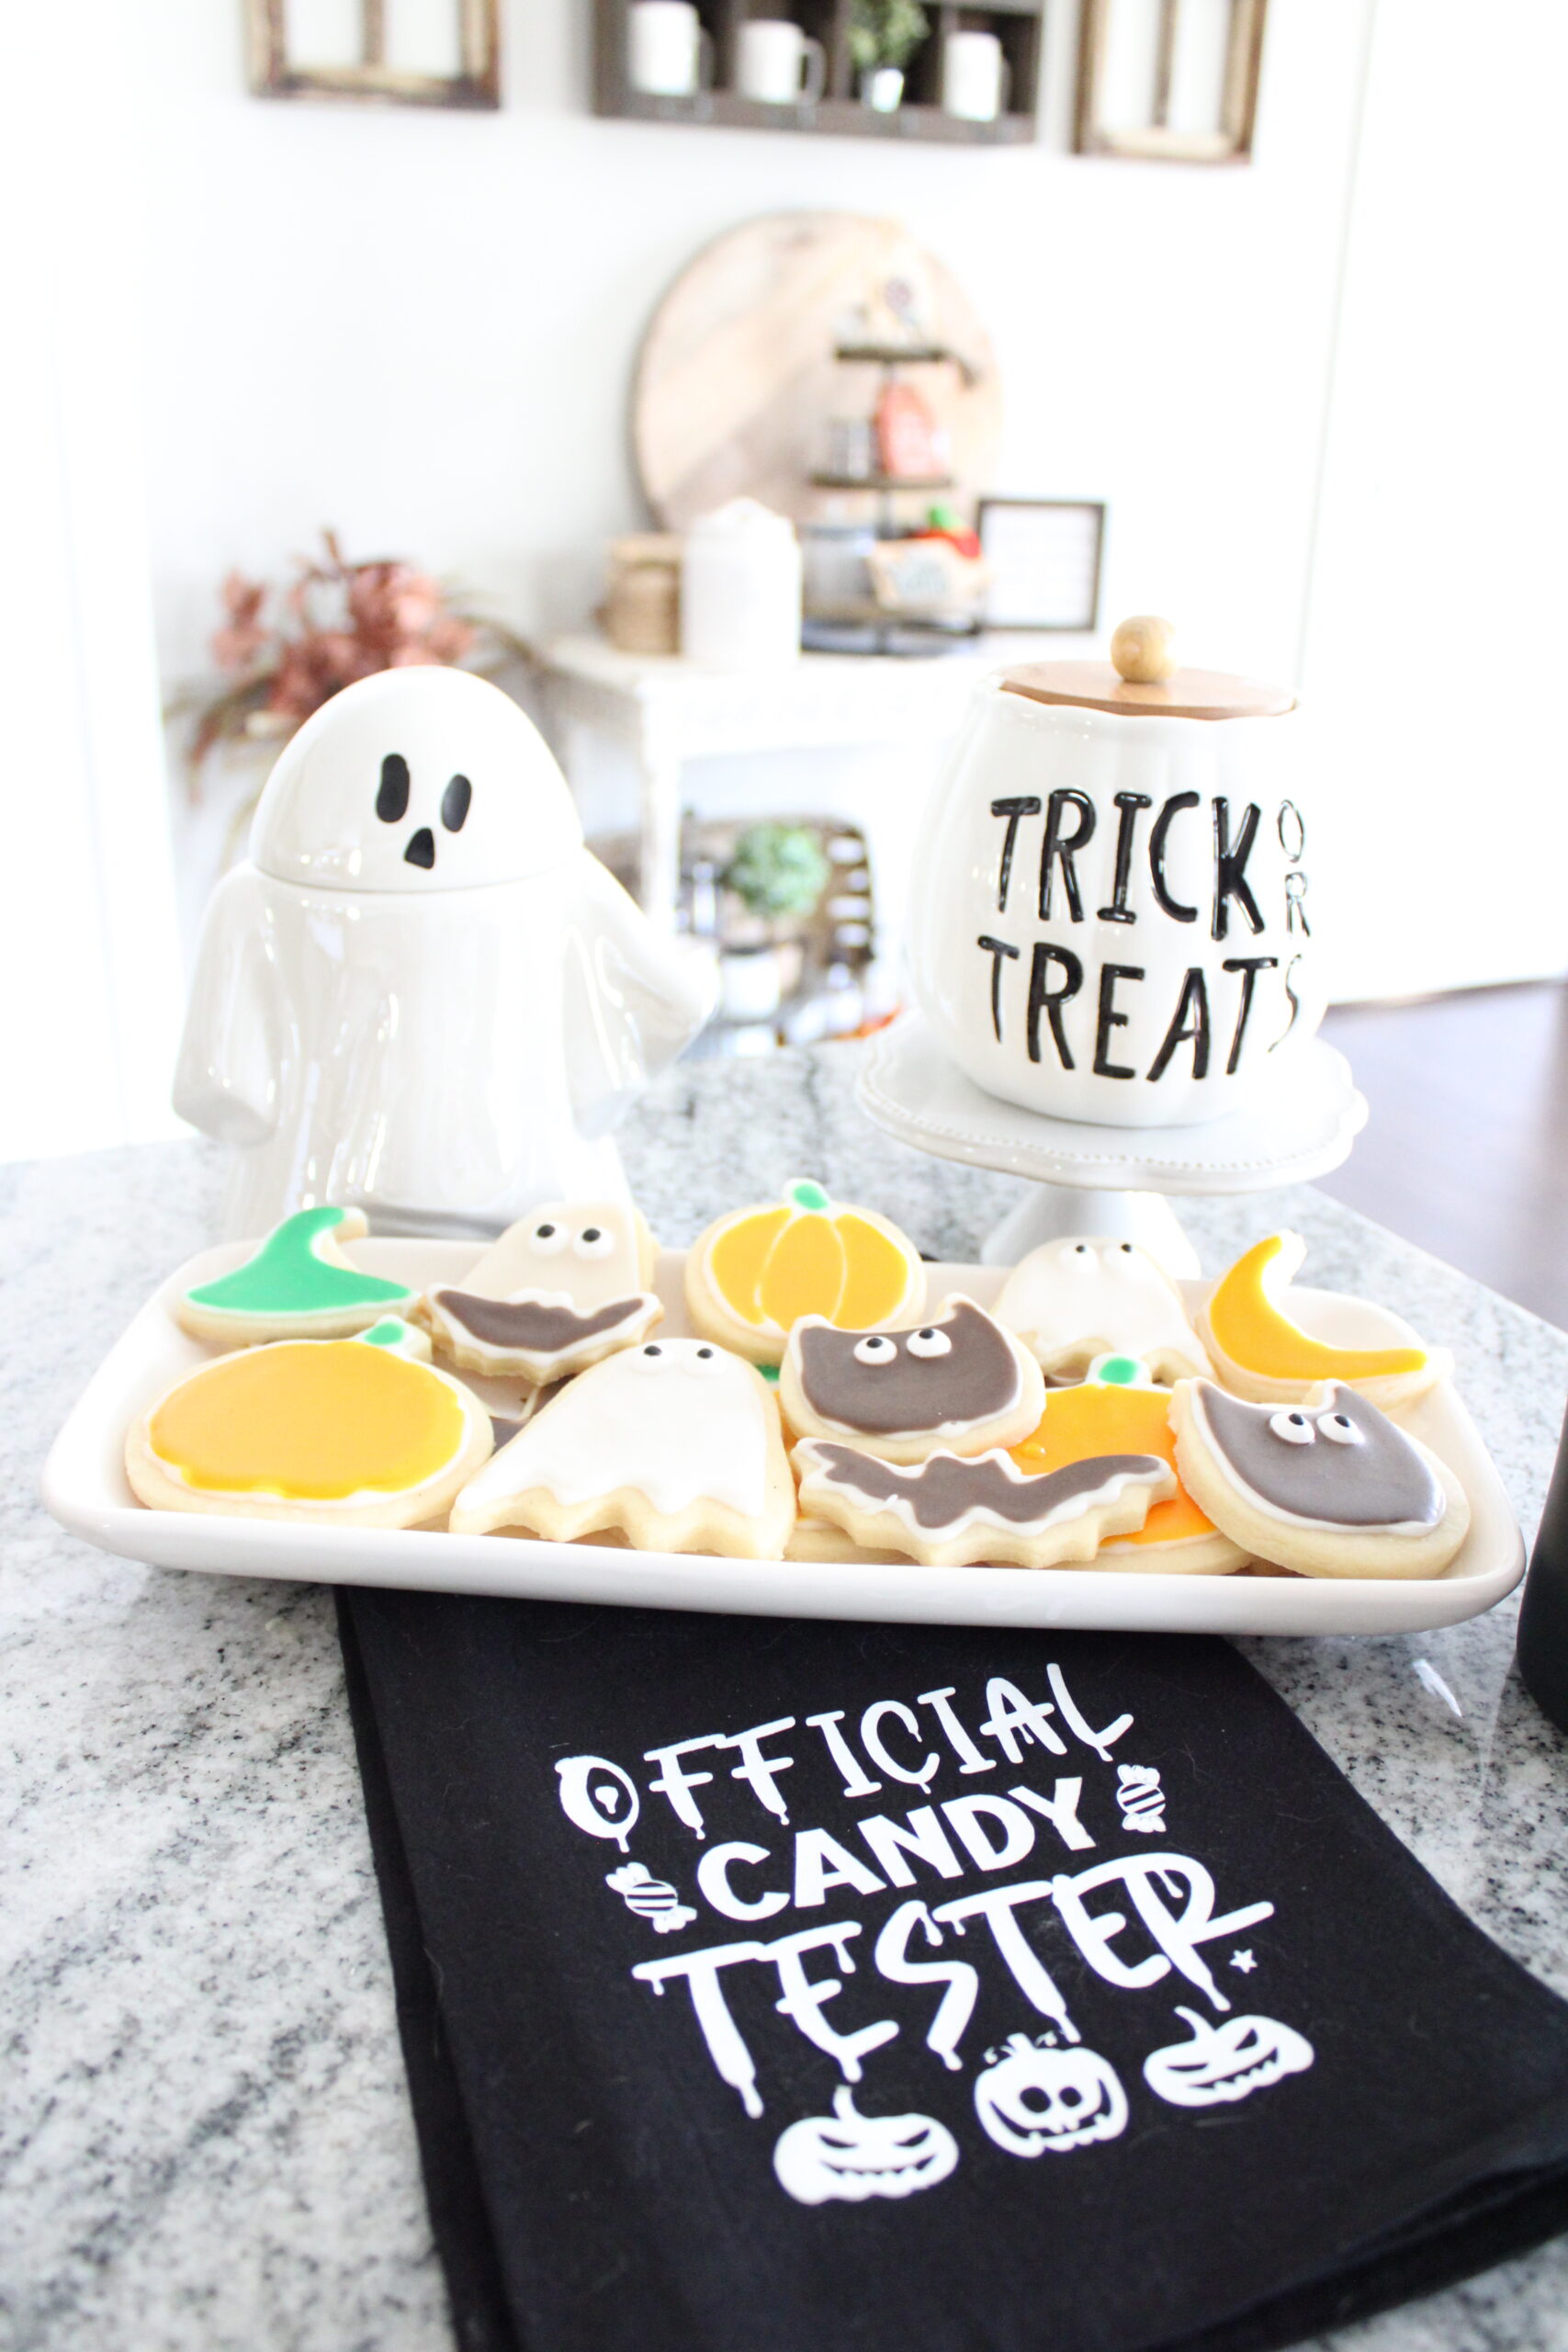
And then iced and decorated them the next day. That way, I didn’t spend all day in the kitchen. That easy sugar cookie recipe I use makes a big batch of cookies so that means a lot of icing time! So if you want to split it up, feel free to do so!

Also, when icing the cookies, I always place them down on a piece of parchment paper or kraft paper to keep clean up easier! Sometimes, the flood icing does drip down off of the cookie, so you don’t want to have to clean up icing off your kitchen countertops if you don’t have to!
Enjoy Decorating Your Halloween Cookies!
I hope you try out these delicious cookies for yourself and see just how perfect they are for the spooky season! You can make them in so many fun shapes and it is the perfect time of the year for them! Like I said, I make these at Christmastime too, just changing out the icing colors and the cookie cutters on the rolled-out dough!

These really are the cutest Halloween cookies and would be a great activity for kids to help you out with as well. What better way to spend a fall evening together with by decorating and icing Halloween sugar cookies?!

If you try these Halloween treats out too, let me know how the decorating went for you too!
Halloween Cookie Icing
Equipment
- Funnels
- Squeeze bottles
Ingredients
For the Border Icing:
- 1 cup powdered sugar
- 1-2 tbsp milk or water
- 1/2 tsp vanilla or almond extract
- food coloring optional
For the Flood Icing:
- 1 cup powdered sugar
- 2-3 tbsp milk or water
- 1/2 tsp vanilla or almond extract
- food coloring optional
Instructions
- Whisk together the powdered sugar, extract, and milk/water together until there are no lumps. Add in desired food coloring. Remember you want your border icing to have a thicker consistency than your flood icing so you may need to add more or less milk depending on the thickness of your icing.
- Pour finished icing into squeeze bottle. I use a funnel to help pour it in. Outline cookies with border icing and let dry completely.
- Fill in the border icing with the flood icing. Again, let dry completely.
- Serve and enjoy!



I’m usually terrible at making and using icing, bit this is a useful recipe as I think I’ve been winging it a bit too much and actually need to follow some instructions, lol! Thanks for this, I think this will make it easier.
Yes, doing it this way definitely makes it so much easier for sure! And, its better than winging it lol
This is such a great recipe and your iced Halloween biscuits look amazing! x
Lucy | http://www.lucymary.co.uk
Thank you Lucy. They really are delicious!
Ah thanks so much for sharing such great tips! I’ve been dying to make Halloween cookies but I’m not very creative and it always puts me off. This is so helpful though, I think I’ll give them a go!x
You should definitely try them out sometime! They are so tasty and fun to make too!
These cookies look delicious and so simple to make. The steps are clear and the images are helpful too! You’re very creative!
Awe thank you so much! I appreciate it!
I usually make cookies without icing, so these are great tips on how to decorate cookies with icing! Also, thanks for sharing the recipe for the border icing and flood icing.
No problem at all! I like adding the icing in, it makes the cookie a little sweeter!
These look so cute! You’ve done such a fab job with them. I haven’t thought to freeze cookies beforehand, but it actually makes so much sense! I don’t do an awful lot of baking, but this 100% explains why mine go all misshaped in the oven. Haha! So thank you for that. Seems so simple, but so effective.
Claire.X
http://www.clairemac.co.uk
No problem at all! Yes, I think freezing the shapes before baking them is key, that way they stay the same shape while cooking!
They are so cute!! I have to see if my daughter wants to make them during the half term. Thanks for sharing the recipe.
Yes you definitely should! It would be so much fun to do together!
These cookies look amazing, I bet they tasted delicious! I will try the outside icing liner next time I bake x
Yes, you definitely should! It makes it easier I think!
Thank you for breaking down how to make and decorate with your icing. I’m a good baker but I’m not the best decorator. Like if I was on nailed it, I would win for taste not for looks.
Lol yes I understand that. I feel the same way. Baking is good, but decorating and making it look pretty is a lot harder to do sometimes!
I love how you did different shapes. I think any child would enjoy these for Halloween.
Yes I am sure they would too!
These are so cute. I normally just slap a bit of icing on but I definitely want to try to decorate some in this way next time. They look so effective and professional.
Awe thank you so much! Yes, it is a bit more of an elevated way to ice cookies I think!
These cookies look so cute. We’ve made some cheesecakes today & it’s time to make cupcakes in the morning.
Oh yum! Cheesecakes and cupcakes are always a good choice too!