
One of my favorite things about this DIY Halloween ghost banner is how easy it is to make. I finished the entire project in just one day, and most of that time was simply waiting for the old book pages to soak in the tea and dry.
If you love easy Halloween crafts that don’t require a ton of supplies, time, or energy, this DIY ghost garland is such a fun one to try. I love making my own seasonal decor, but I especially love a project that looks cute without being a huge struggle to put together!
The tea-stained book pages give the ghosts a vintage, slightly spooky look that’s perfect for neutral Halloween decor. And because you’re using simple materials you may already have at home, it’s also an inexpensive way to decorate for spooky season.
Keep reading for the full step-by-step tutorial to learn how to make your own DIY Halloween ghost banner from old book pages!
This post also contains affiliate links, which means I make a small commission off anything you purchase through here, at no additional cost to you. Please read my full privacy policy for more details.
Materials Needed for a DIY Halloween Ghost Banner
You only need a handful of inexpensive supplies to make this easy Halloween book page craft. I already had most of these materials at home, making it an especially budget-friendly Halloween DIY.
- An old book
- Tea kettle
- Black tea (I used 4 tea bags)
- Shallow baking dish
- Ghost-shaped cookie cutter
- Scissors
- Twine
- Black Sharpie
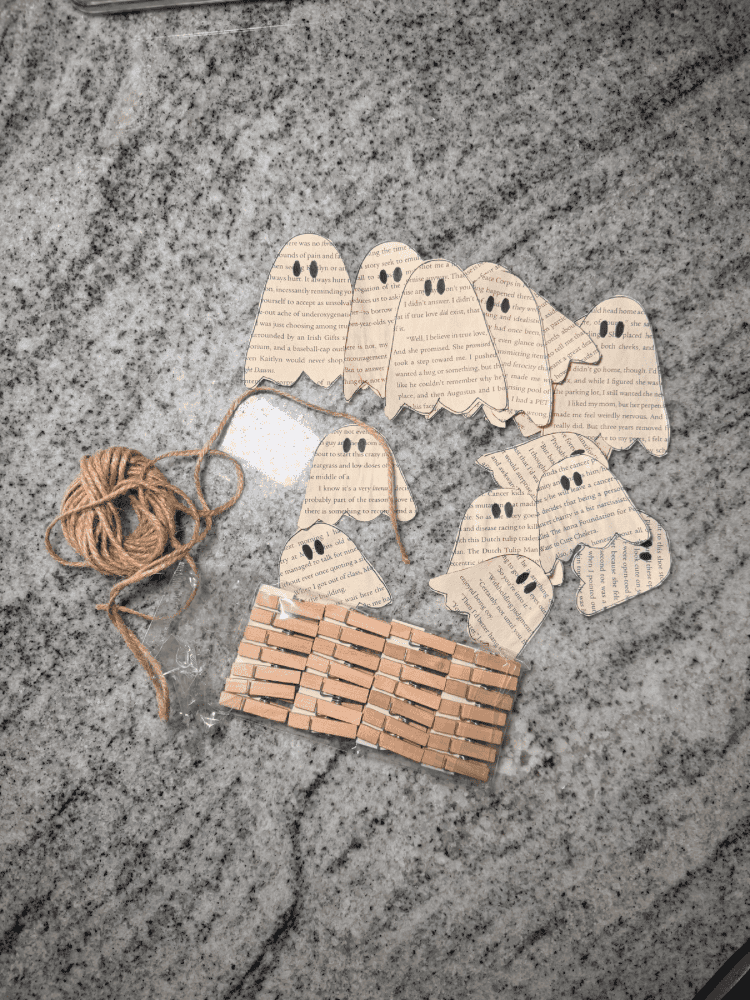
- Mini clothespins
Step 1: Tea Stain the Old Book Pages
The first step in making your DIY Halloween ghost banner is giving the old book pages a vintage, aged appearance.
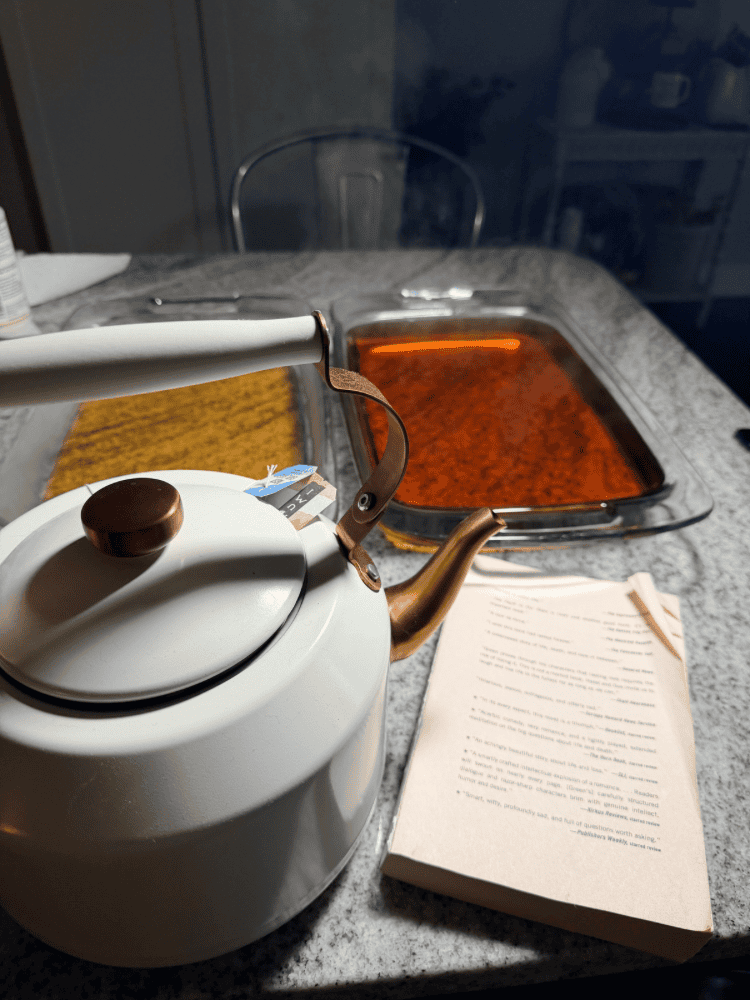
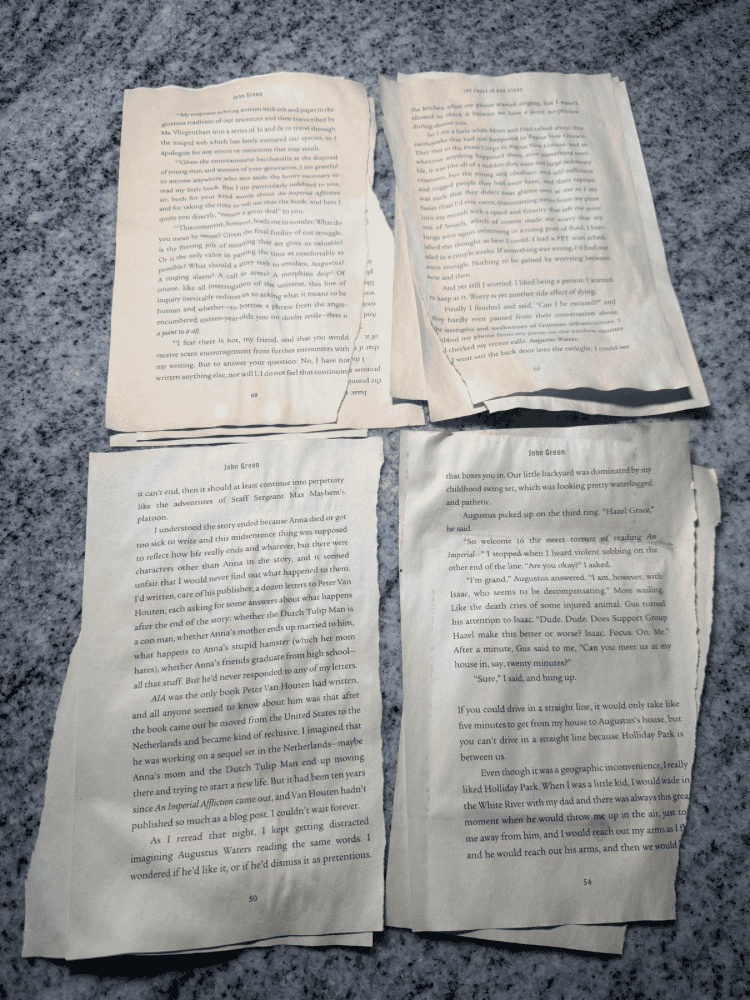
I found an old book I already had at home and carefully tore out several pages. Then, I brewed four bags of black tea. I recommend using black tea because it gives the paper a deeper tea-stained color and creates that perfectly aged look.
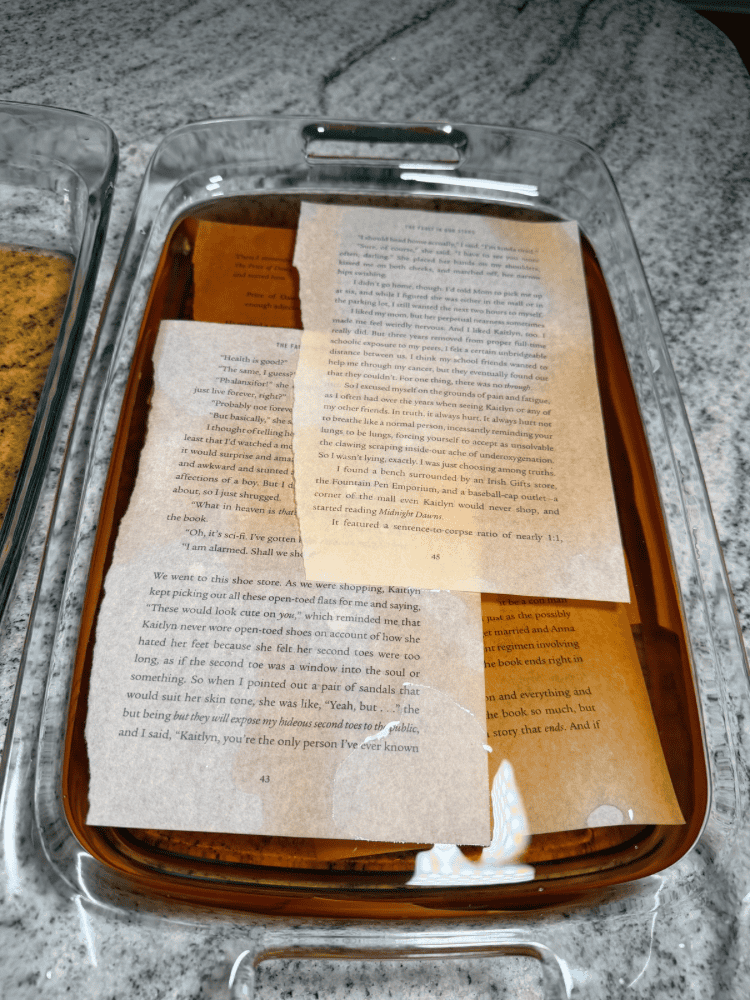
Once the tea had cooled, I poured it into a shallow baking dish and placed the book pages inside. I let the pages soak in the black tea for several hours so they could absorb plenty of color.
After soaking, carefully remove the book pages from the tea and lay them flat on clean kitchen towels. Allow them to dry completely before moving on to the next step.
The result is beautifully aged-looking paper that’s perfect for vintage-inspired Halloween crafts!
Step 2: Cut Out the Book Page Ghosts
Once your tea-stained book pages are completely dry, it’s time to turn them into little Halloween ghosts!
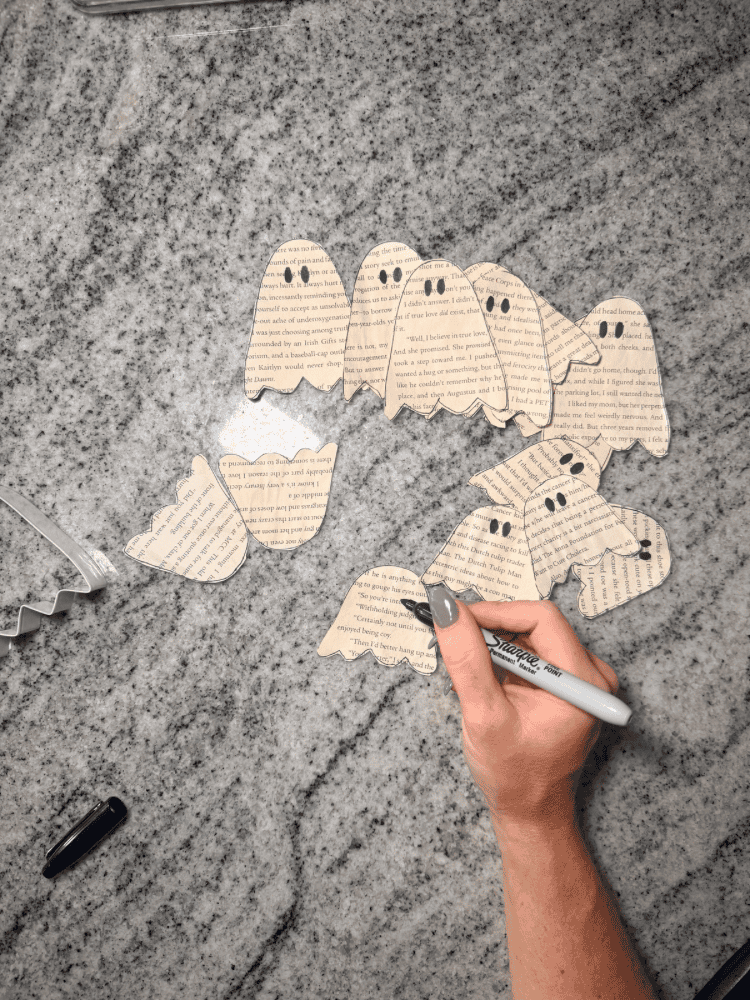
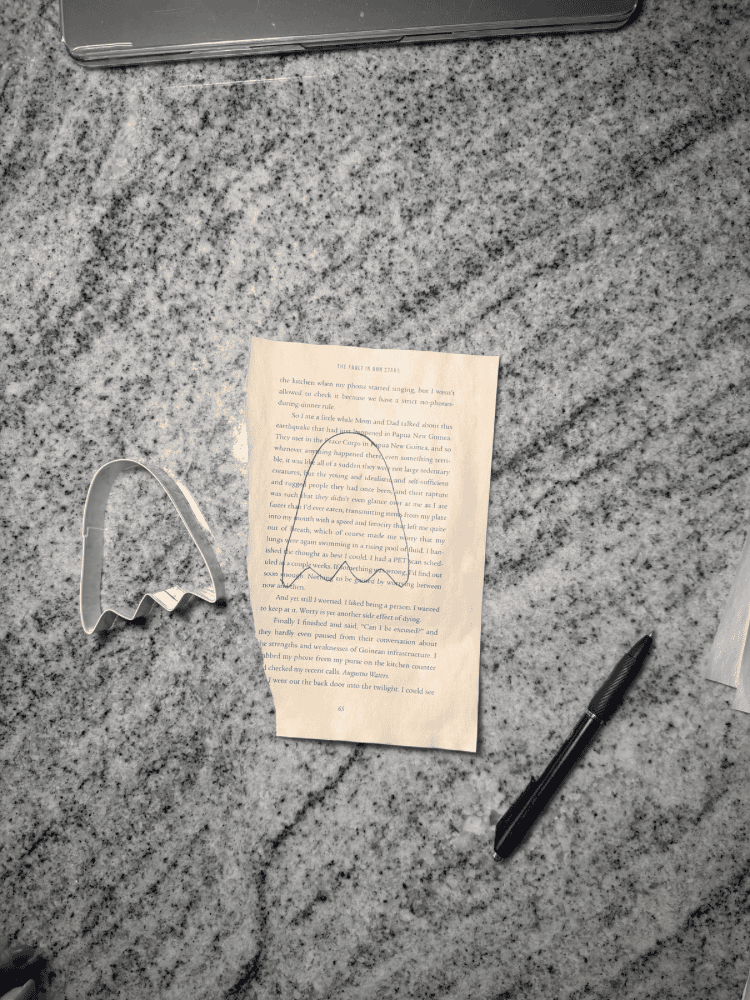
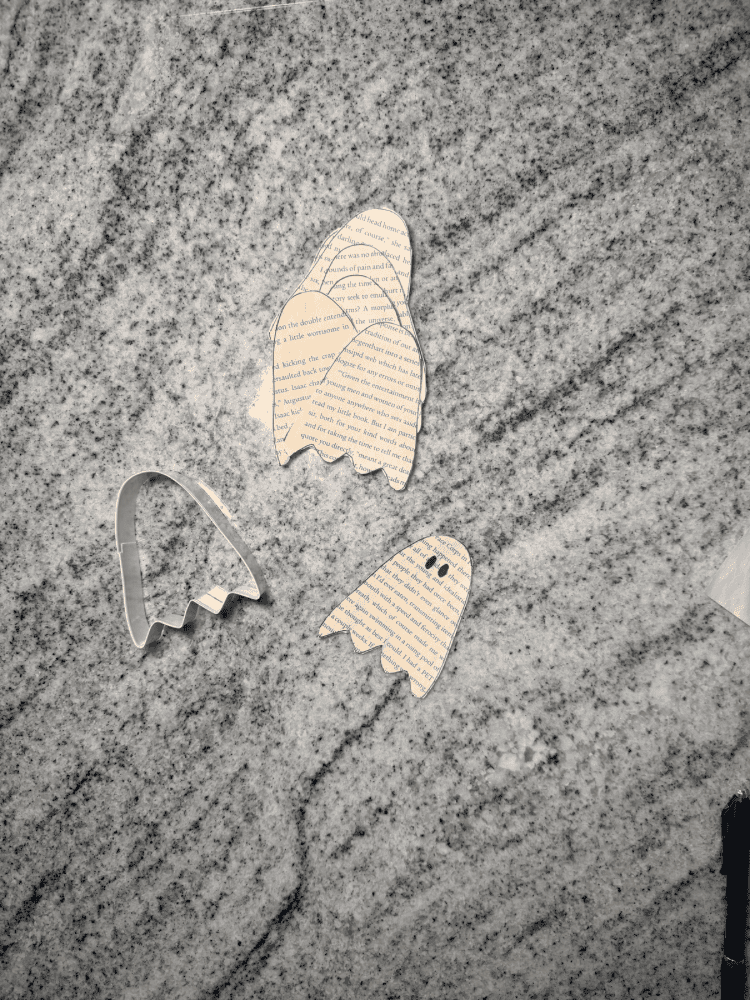
I used a ghost-shaped cookie cutter as my template. Simply place the cookie cutter on top of a book page and trace around the outside with a black marker. Repeat the process until you have enough ghosts for the length of your banner.
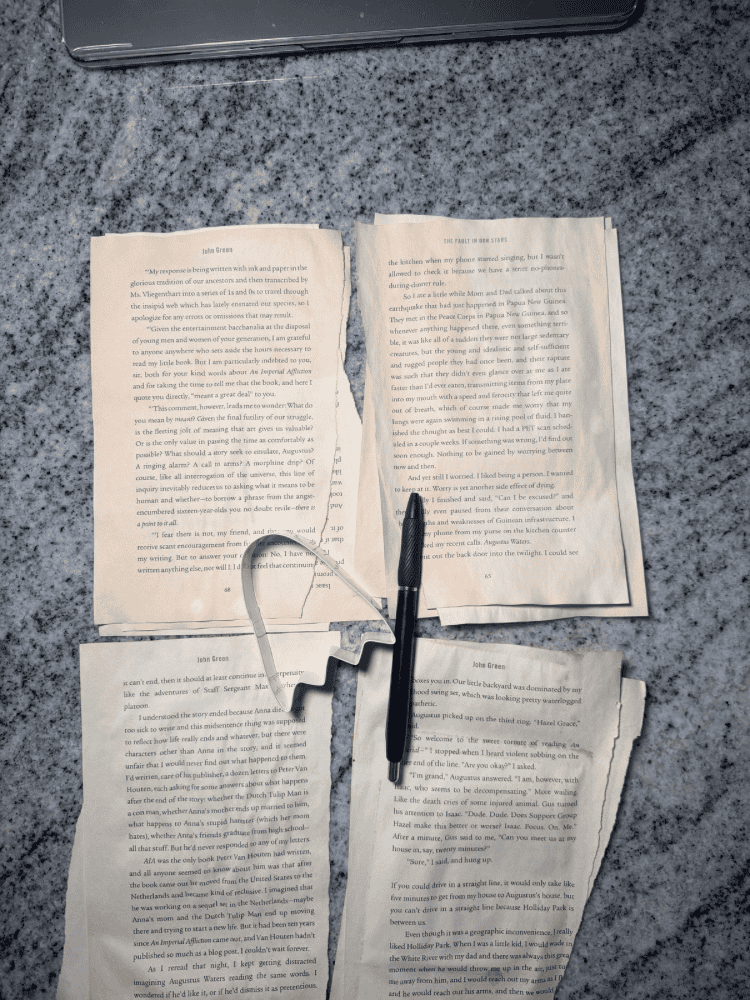
Then, use scissors to cut out each ghost. I didn’t worry about cutting perfectly along the lines because I wanted a little of the black outline to remain visible and help define each ghost shape.
To create the faces, I used a black Sharpie to draw two simple eyes on each ghost. You could give every ghost the same expression or create different little faces to add more personality to your DIY ghost garland.
Try Different Halloween Shapes
You definitely don’t have to limit this craft to ghosts! That’s one of the reasons this DIY banner is so easy to customize.
Try using other cookie cutter shapes such as pumpkins, bats, leaves, witches’ hats, or even black cats. You could also use Christmas cookie cutters and follow the same process to create an inexpensive book page garland for the holidays.
It’s an easy way to adapt the same DIY project for different seasons throughout the year.
Step 3: Assemble Your DIY Halloween Ghost Banner
Now that all of your book page ghosts are finished, assembling the Halloween banner couldn’t be easier.
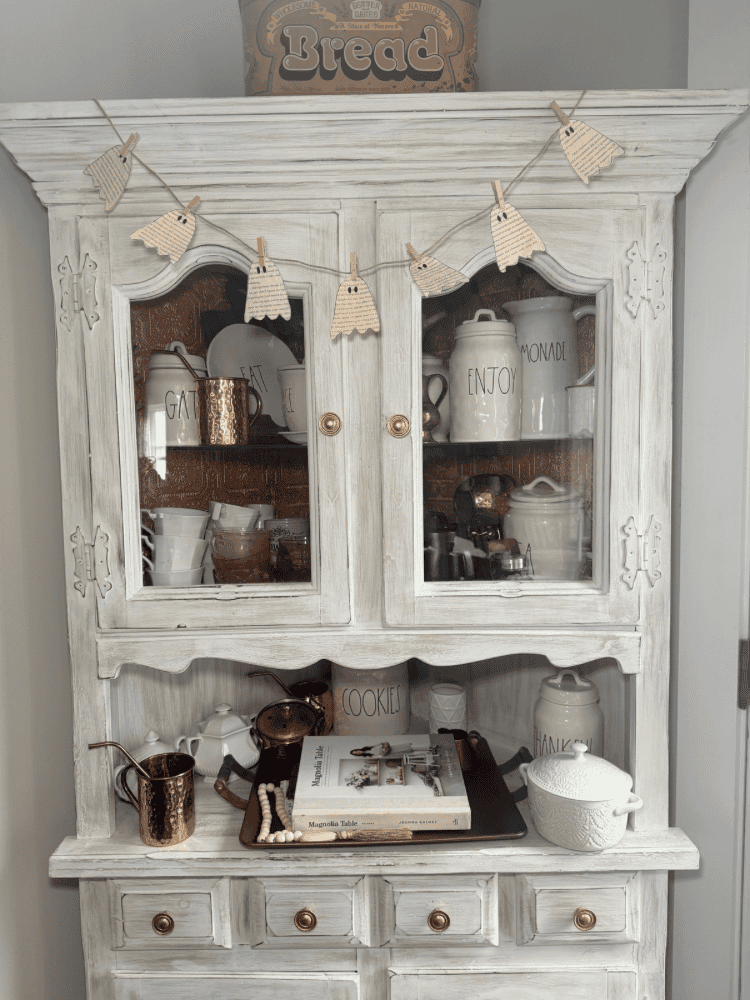
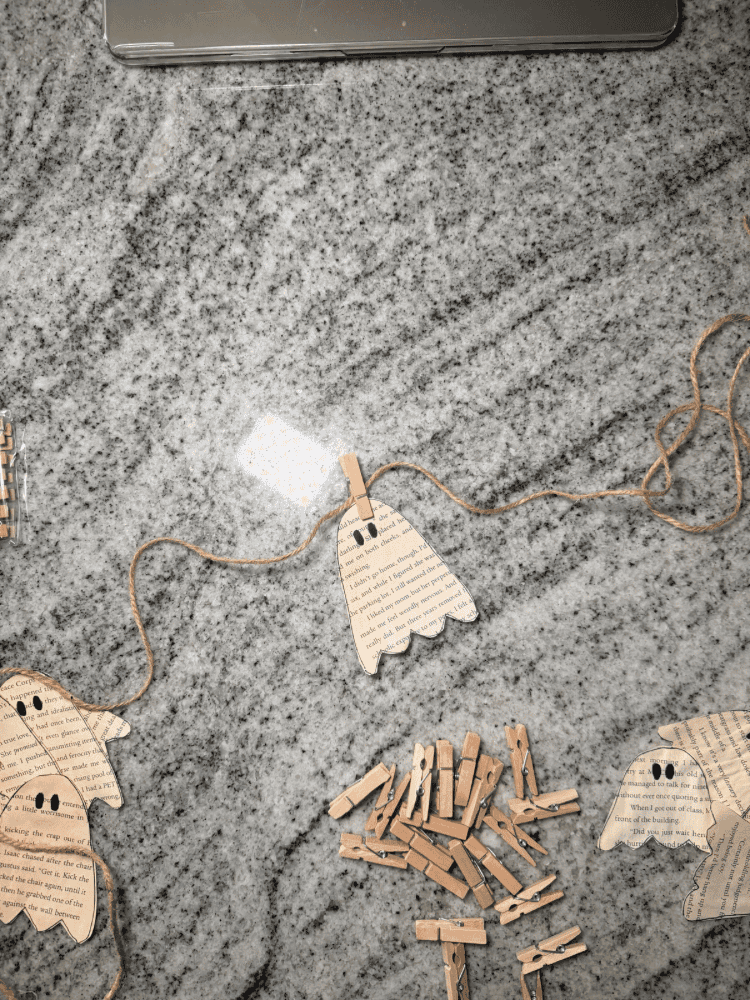
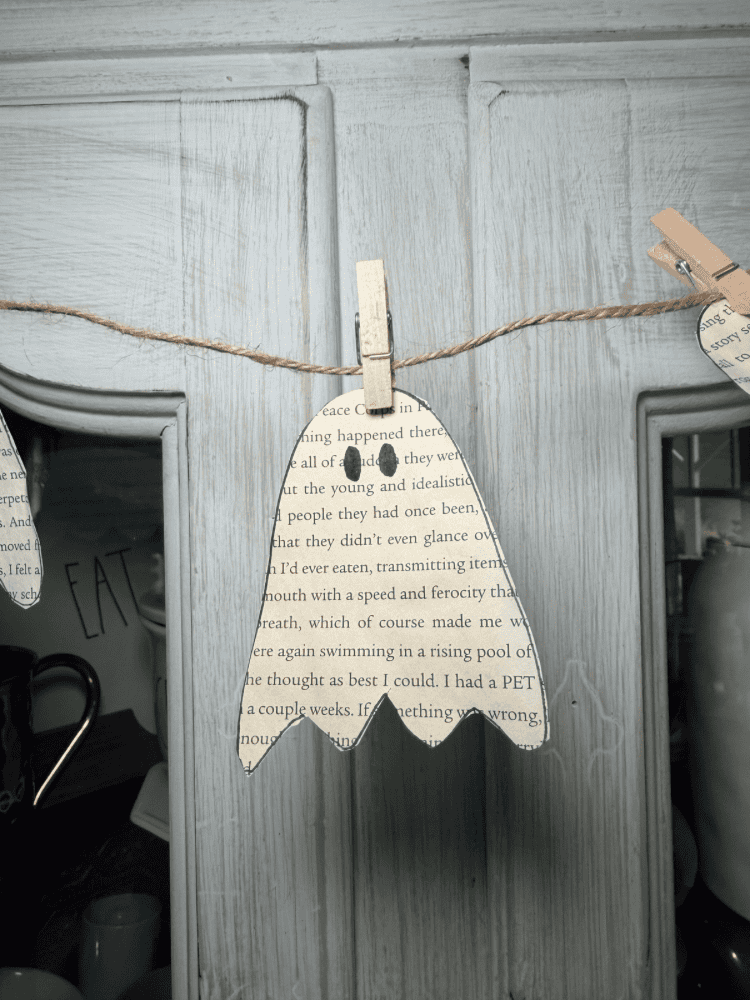
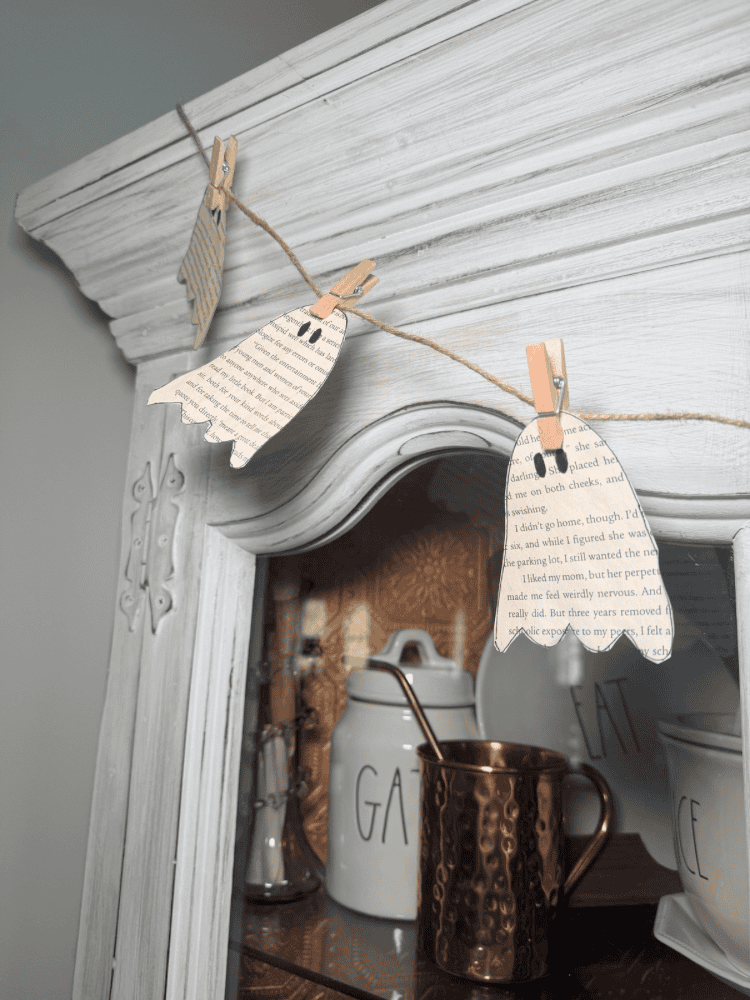
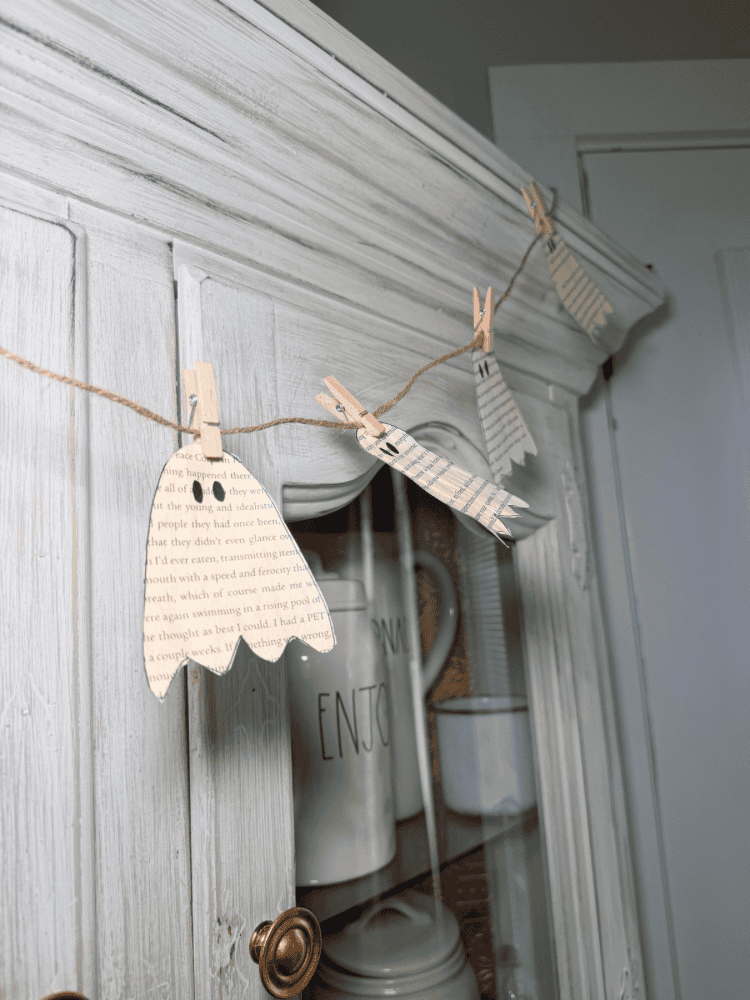
First, decide where you want to display your ghost garland. I hung mine across my dining room hutch, so I cut a piece of twine long enough to drape naturally across the front.
Next, space your paper ghosts along the twine and secure each one with a mini clothespin. You can move them around until you’re happy with the spacing and overall look.
That’s it! No sewing, complicated crafting tools, or expensive supplies required.
How to Decorate With Your DIY Ghost Garland
I love how this DIY Halloween ghost banner adds just the right amount of spooky-cute decor to my dining room without overpowering the rest of my fall decorations. The aged book pages and neutral colors also make it easy to incorporate into a vintage, farmhouse, cottage, or neutral Halloween decorating style.
Try hanging your ghost banner across a:
- Fireplace mantel
- Dining room hutch
- Bookshelf
- Entryway table
- Kitchen shelves
- Window
- Halloween party table
- Doorway
You could even layer it with another Halloween garland for a fuller look.
Easy DIY Halloween Decor on a Budget
I absolutely love how this DIY Halloween ghost banner turned out! It’s inexpensive, easy to customize, and requires very little hands-on crafting time. The tea-stained book pages give the ghosts so much character and make the finished garland look like something you might find in a cute vintage Halloween shop.
And this is definitely my favorite kind of DIY project: simple, affordable, and adorable when it’s finished!
If you’re looking for an easy Halloween craft or neutral Halloween decor idea to make this spooky season, save this DIY ghost garland and give it a try.
If you make your own book page ghost banner, let me know how it turns out in the comments below!
Frequently Asked Questions About This DIY Halloween Ghost Banner
How do you tea stain book pages?
Tea staining book pages is super easy! Brew several bags of black tea and allow the tea to cool before pouring it into a shallow baking dish. Place your book pages in the tea and let them soak until they reach the vintage, aged color you want. Carefully remove the pages and lay them flat on clean kitchen towels until completely dry.
How long should you soak paper in tea?
I let my book pages soak in black tea for several hours to create a deeper, more noticeable tea-stained effect. However, you can remove them sooner if you prefer a lighter vintage look. The longer the pages soak, the more color they will typically absorb.

What can I use instead of old book pages?
If you don’t have an old book you want to use, you can make this DIY Halloween ghost banner with scrapbook paper, kraft paper, sheet music, newspaper, or even printed pages. Just keep in mind that different types of paper may react differently when soaked in tea, so you may want to test one page first.
Do I have to tea stain the book pages?
Not at all! I love the tea-stained look because it gives this DIY ghost garland a vintage Halloween feel, but you can skip this step if you prefer. Regular book pages will still make an adorable Halloween banner and save you even more time.
Can I make this ghost banner without a ghost cookie cutter?
Yes! A ghost-shaped cookie cutter makes it easy to create consistent shapes, but you can also draw your own ghost template on cardstock, cut it out, and use it to trace each ghost. You could even print a simple ghost shape to use as your template.
What other shapes can I use for this DIY Halloween banner?
This Halloween book page craft is easy to customize with different shapes. Try pumpkins, bats, black cats, leaves, witch hats, or other Halloween designs. You could even change the shapes for different holidays and make Christmas trees, gingerbread men, hearts, or stars using the same basic method.
Where can I hang a DIY ghost garland?
I hung my DIY Halloween ghost banner across my dining room hutch, but it would also look cute on a fireplace mantel, bookshelf, kitchen shelves, entryway table, window, or doorway. Because the book pages have such a neutral color palette, this ghost garland works especially well with vintage and neutral Halloween decor.
Can I save this Halloween banner and reuse it next year?
Yes! Since the ghosts are made from paper, carefully remove them from the twine and store them flat in a dry container after Halloween. Keeping them away from moisture and anything that could bend or tear the paper should help you reuse your DIY ghost banner for future spooky seasons.
And if you’re looking for more DIY Halloween ideas, be sure to check out:
- DIY Pottery Barn Dupe Ghosts: Easy Target Dollar Spot Halloween Decor
- DIY Oyster Shell Ghosts: An Easy Coastal Halloween Craft
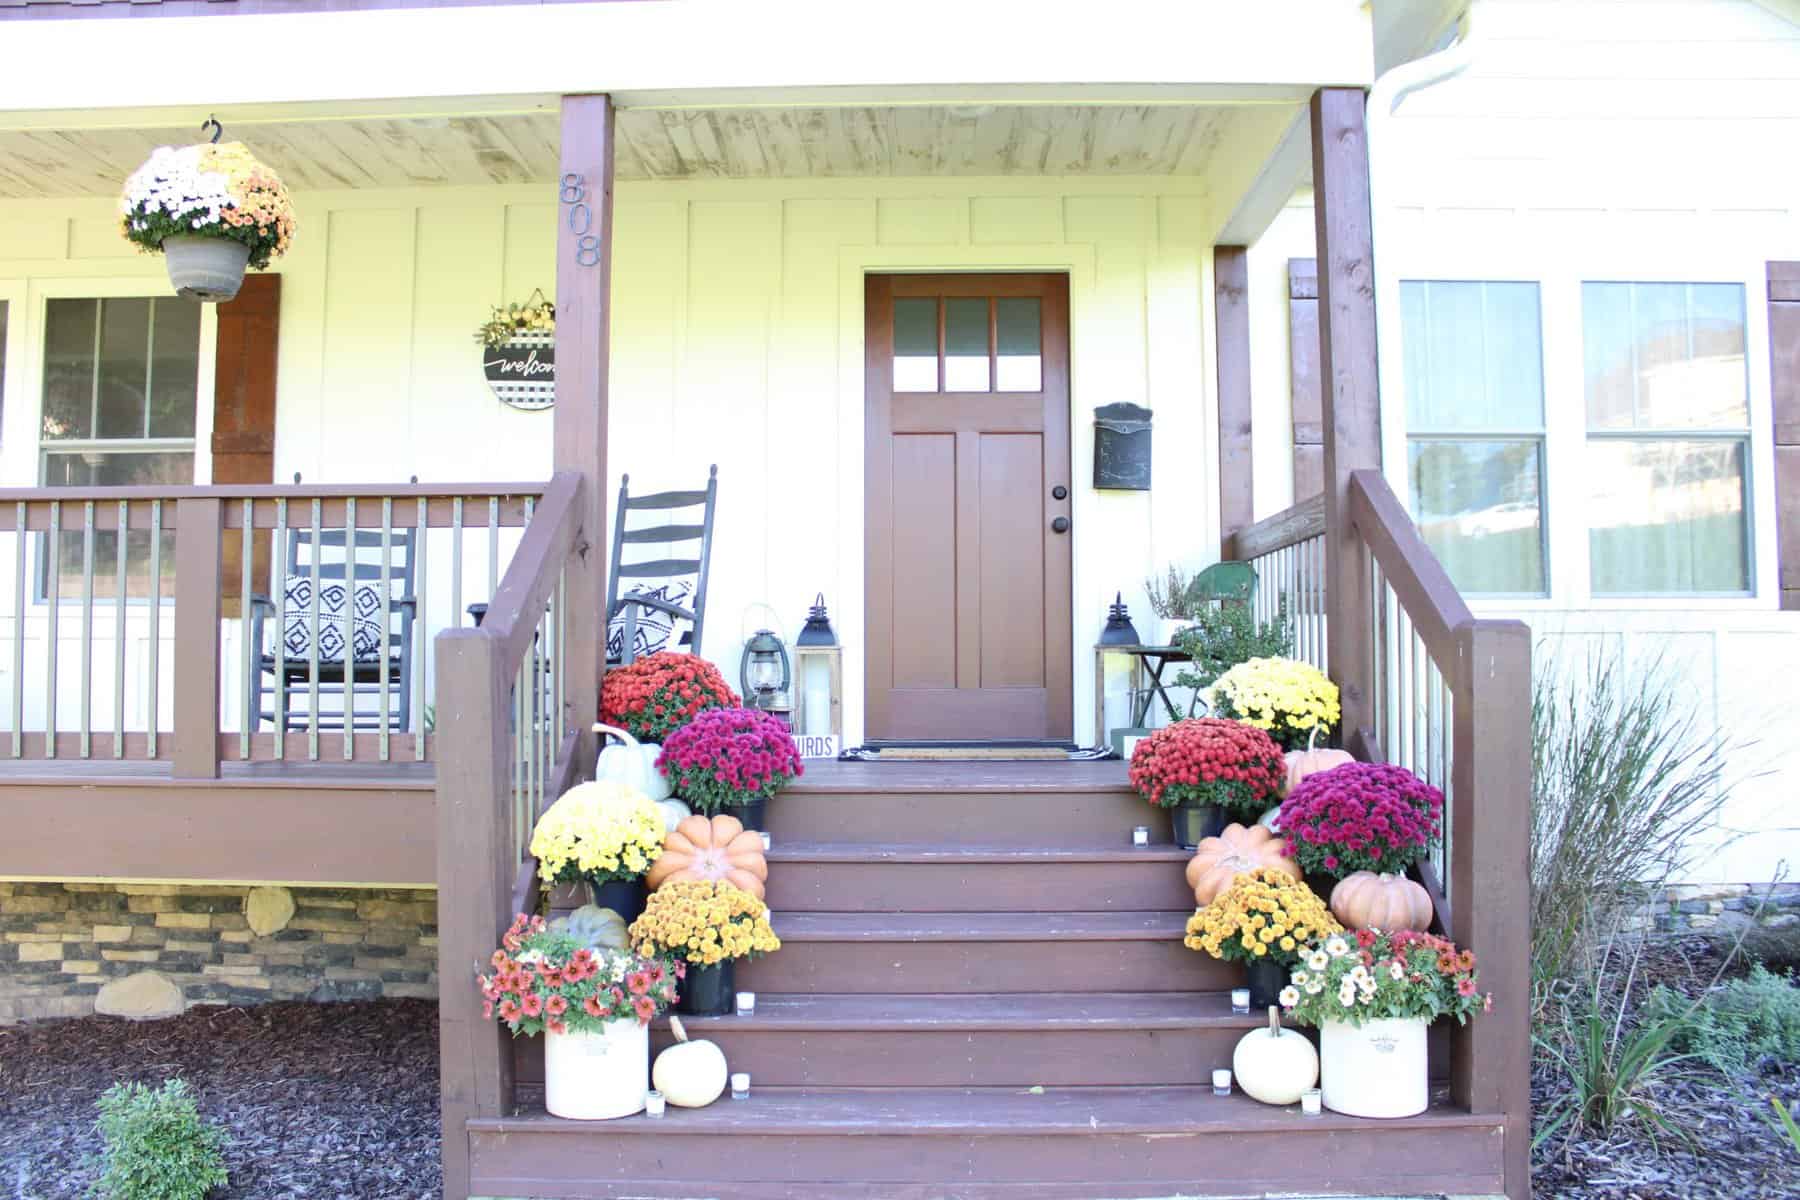
- DIY Halloween Porch Ideas


Leave a Reply