
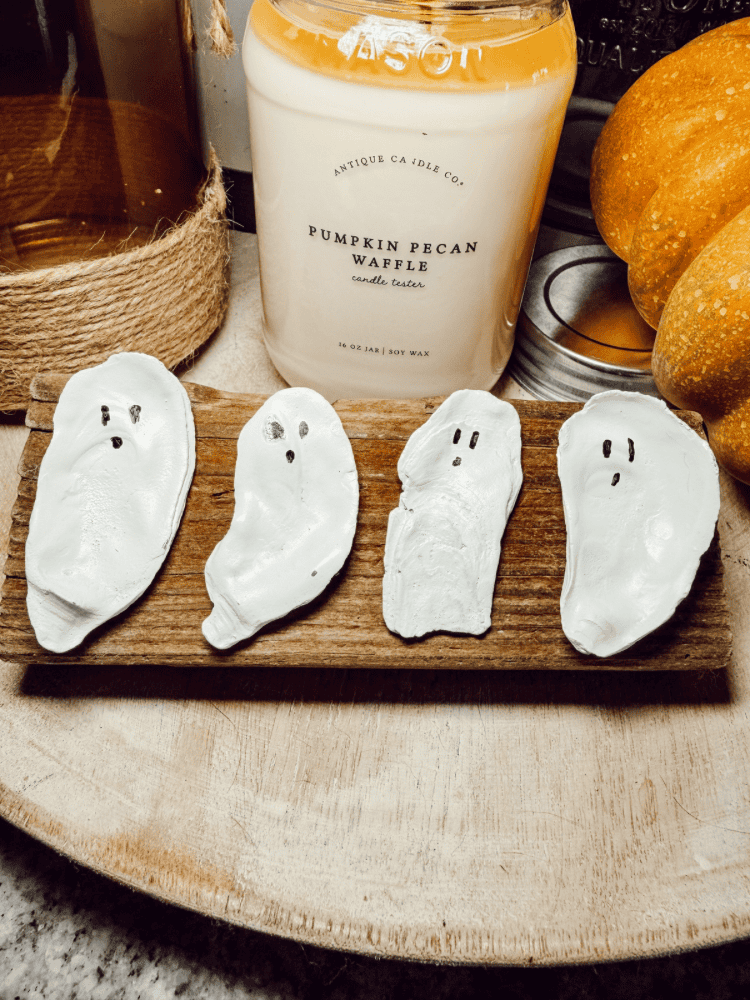
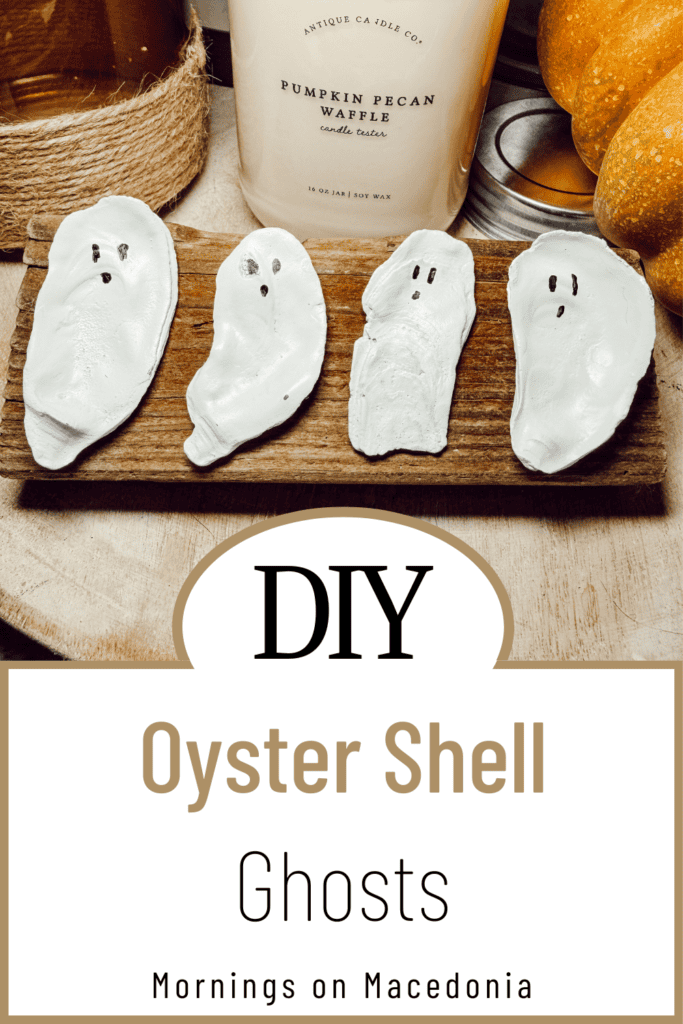
Looking for a unique DIY Halloween decoration that combines beach vibes with spooky season? These DIY oyster shell ghosts are one of the easiest Halloween crafts you’ll make this year! After recently getting back from a trip to Myrtle Beach, I found several oyster shells while searching for seashells along the shore. The moment I saw them, I knew they would make the cutest little ghosts.
I’m honestly obsessed with how they turned out! They fit perfectly with my minimalist Halloween decor, and the best part is they only take a few supplies and a few minutes to make. If you love simple, budget-friendly DIY projects or enjoy decorating with a coastal or minimalist style, you’re going to love this easy oyster shell craft.
This post also contains affiliate links, which means I make a small commission off anything you purchase through here, at no additional cost to you. Please read my full privacy policy for more details.
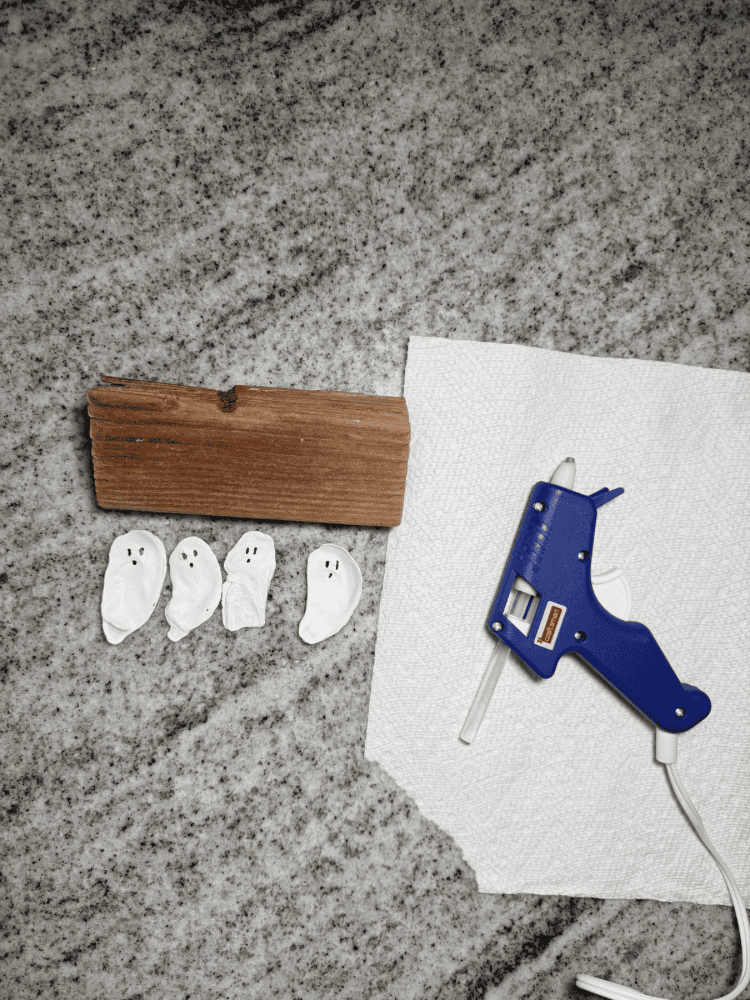
Supplies Needed For DIY Oyster Shell Ghosts
You’ll only need a handful of supplies for this easy Halloween DIY:
- Oyster shells
- White spray paint
- Black Sharpie
- Hot glue gun and hot glue sticks
- A piece of driftwood or reclaimed wood
I actually used a piece of driftwood that we found during a previous trip to the Isle of Palms. I’ve been saving it for the perfect project, and it ended up being exactly what these little oyster shell ghosts needed! It ties in beautifully with my coastal Halloween decor and gives the project even more beachy charm.
How To Make DIY Ghosts
Step 1: Clean the Oyster Shells
Start by rinsing your oyster shells thoroughly to remove any sand, dirt, or debris. This helps the spray paint go on smoothly and creates a cleaner finished look. Once they’re clean, allow them to dry completely.
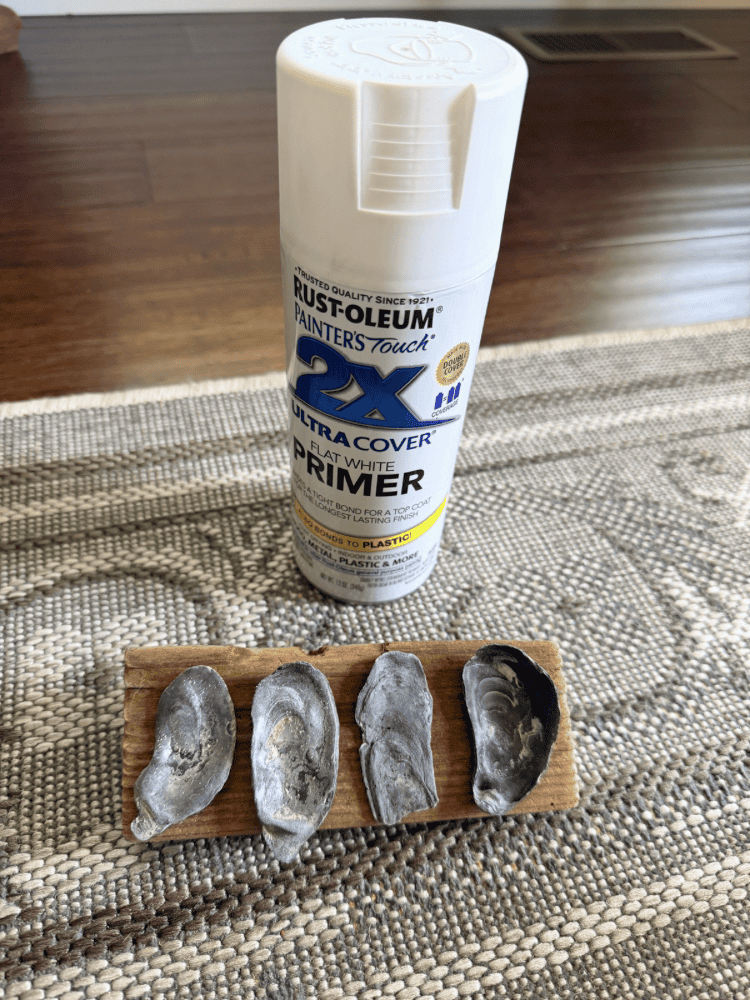
Step 2: Spray Paint the Shells
Place your oyster shells on a piece of cardboard or a drop cloth outside in a well-ventilated area. Spray paint both the front and back of each shell with white spray paint. Since a little of the back is visible once they’re displayed, painting both sides gives them a more finished appearance.
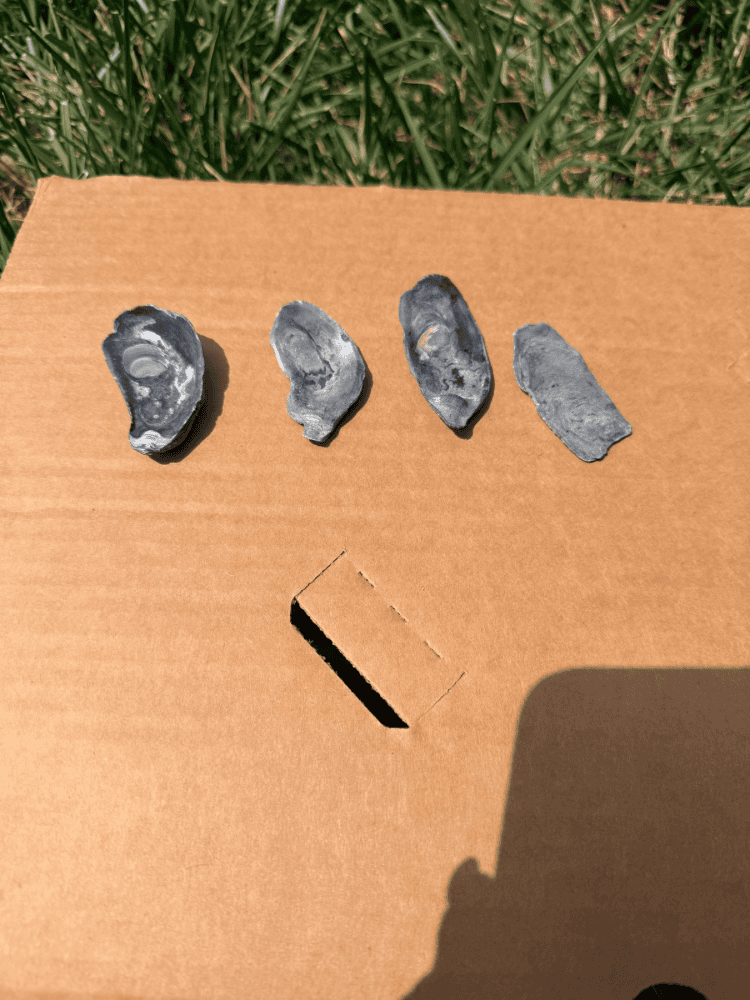
Allow the paint to dry completely before moving on.
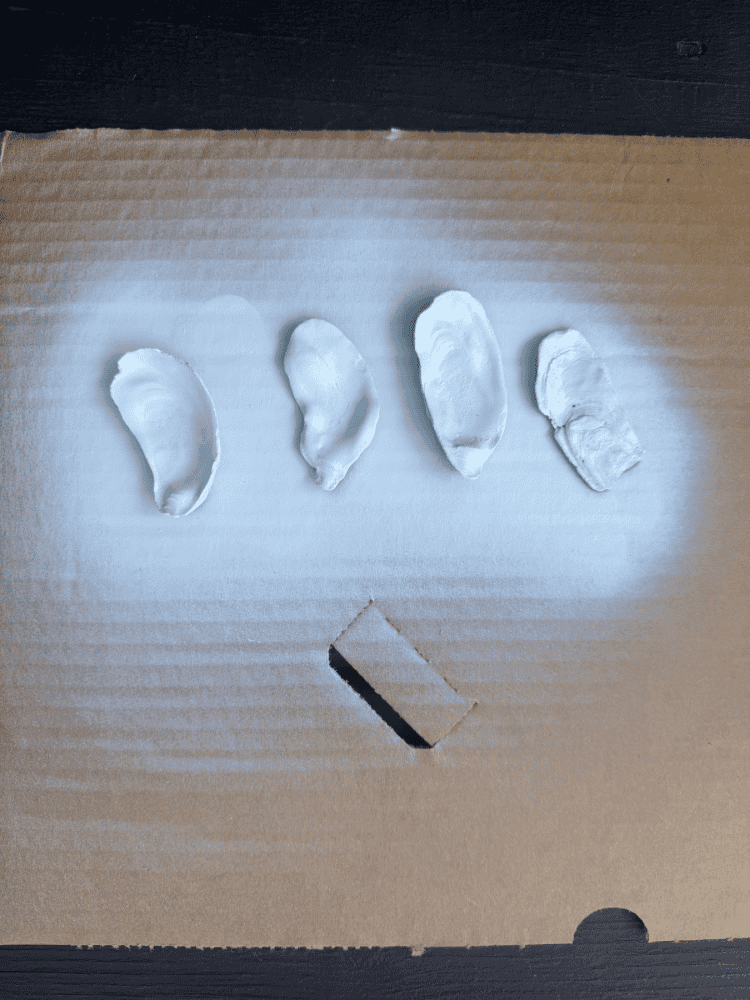
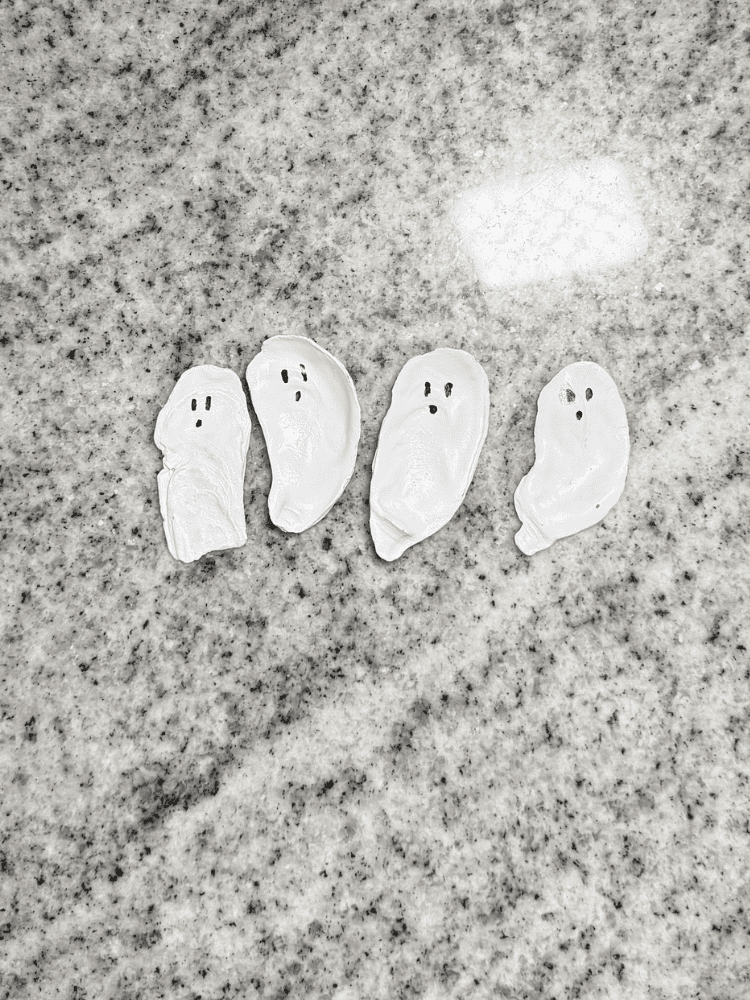
Step 3: Draw the Ghost Faces
Using a black Sharpie, draw simple ghost faces on each oyster shell. I kept mine minimal with two oval eyes and a small mouth, but you can give each ghost its own personality if you’d like!
Step 4: Attach the Ghosts
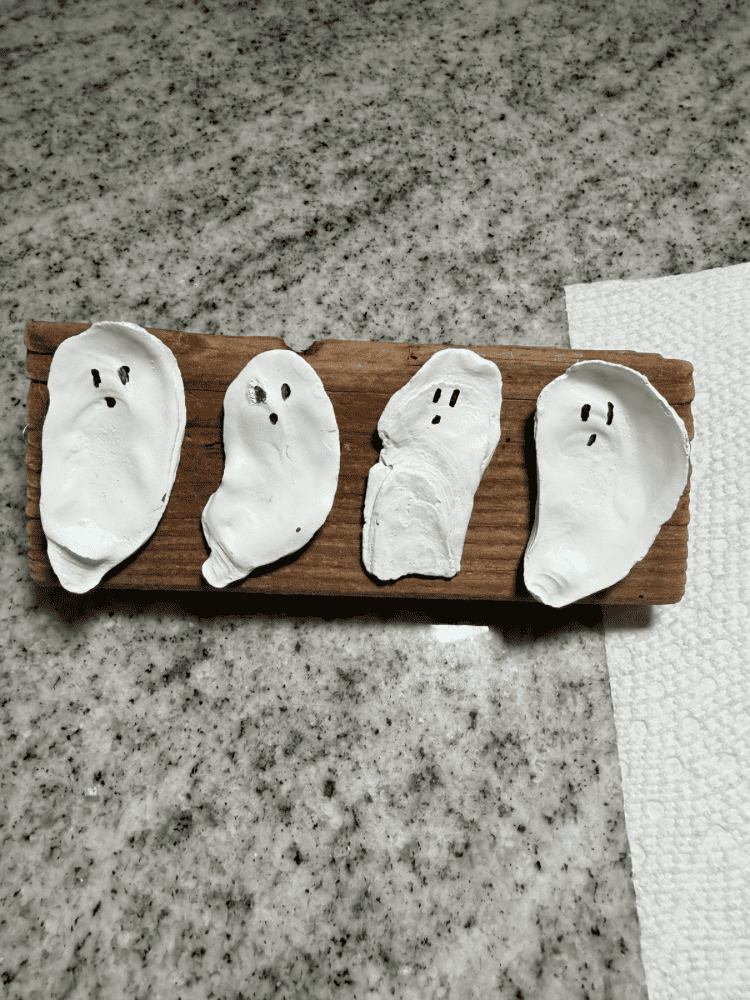
Heat up your hot glue gun and apply a generous amount of glue to the back of each oyster shell. Firmly press each shell onto your piece of driftwood or wood until it’s secure.
That’s it! In just a few simple steps, you’ll have the cutest DIY oyster shell ghost decoration for your home.
Tips & Creative Variations
One of my favorite things about this craft is how easy it is to customize.
Here are a few fun ideas:
- Glue the oyster shells onto a black-painted canvas instead of driftwood.
- Create a larger ghost family using different-sized shells.
- Add a small ribbon or twine hanger to turn them into Halloween ornaments.
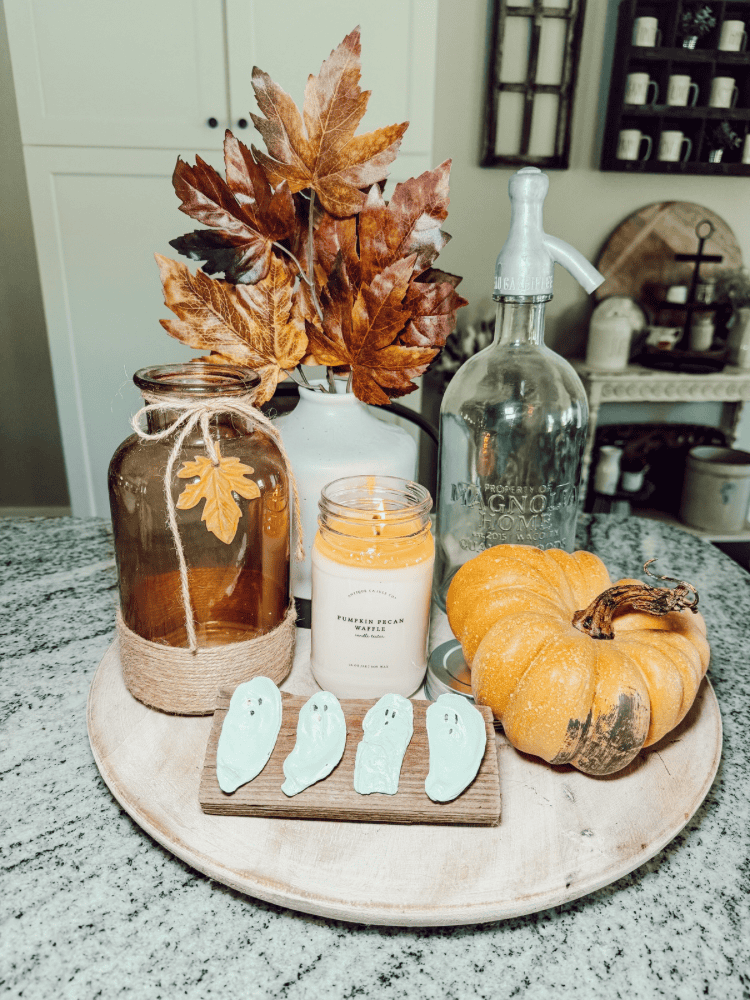
- Display them on a shelf, entry table, or mantel as part of your coastal Halloween decor.
- Pair them with pumpkins, dried grasses, or other beach finds for a unique seasonal display.
Enjoy Your DIY Oyster Shell Ghosts!
I love how simple this DIY oyster shell ghost craft is, and it’s such a fun way to turn seashells from a beach vacation into a one-of-a-kind Halloween decoration. Every time I look at mine, they remind me of our trip to Myrtle Beach while adding the perfect spooky touch to our home.
I still have several oyster shells left over from our beach trip, so I’m already brainstorming more coastal DIY projects to make with them. If you have any creative ideas, I’d love to hear them in the comments below!
And if you make your own DIY oyster shell ghosts, be sure to tag me or share a photo. I can’t wait to see your creations!



Leave a Reply