
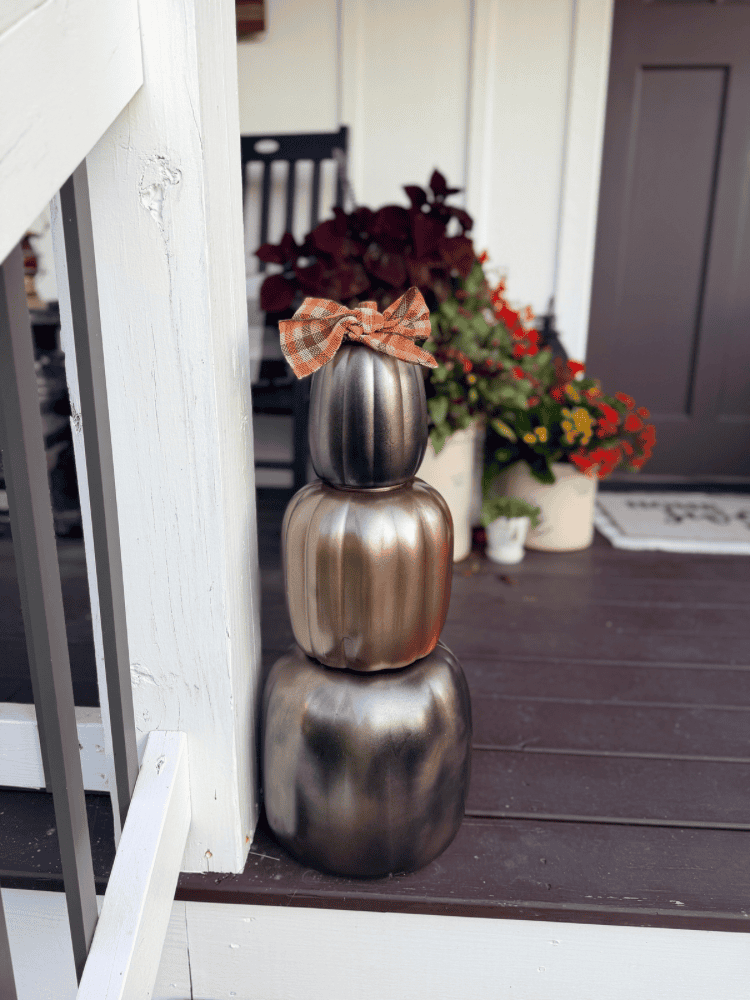
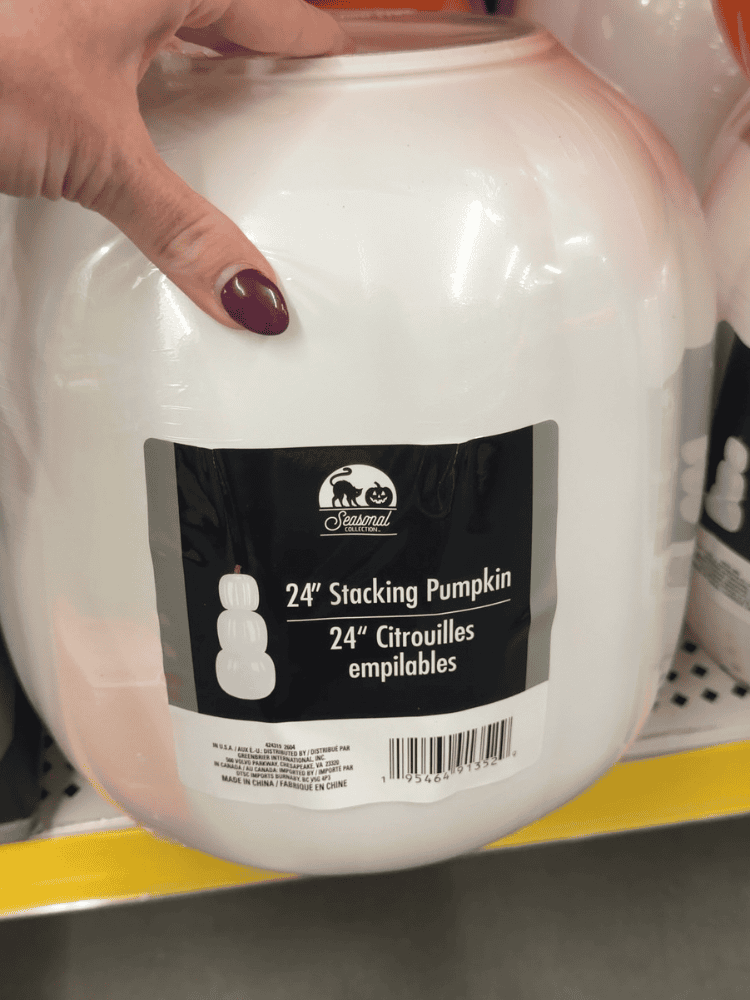
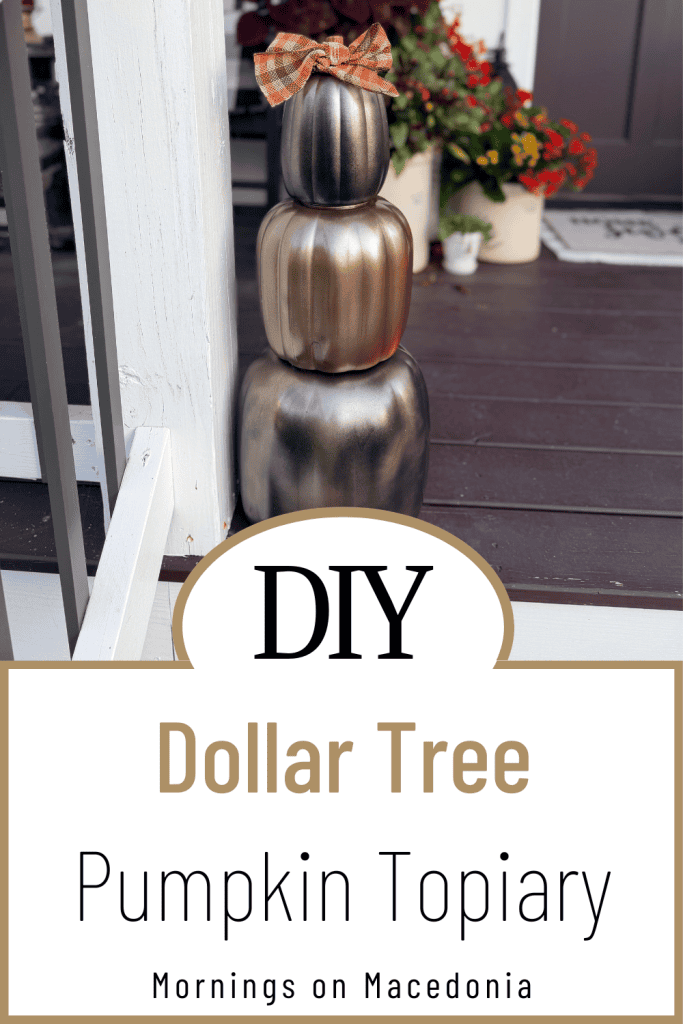
Would you believe these beautiful DIY pumpkin topiaries started as $5 stackable pumpkins from Dollar Tree?! This easy Dollar Tree pumpkin makeover is one of my favorite budget-friendly fall decor projects, and I love how much more expensive they look with just a little spray paint and ribbon!
I found these adorable stackable pumpkins at Dollar Tree and immediately knew I wanted to give them a more high-end look for my front porch. With some black spray paint, metallic bronze spray paint, and a cute fall bow, I was able to completely transform them into DIY pumpkin topiaries that look perfect with my fall porch decor.
And the best part? Each stack of pumpkins was only $5!
If you love finding inexpensive Dollar Tree decor and turning it into something that looks a little more high-end, this easy fall craft is definitely for you. It’s simple, affordable, completely customizable, and such a fun way to decorate your front porch for fall.
Keep reading for my full DIY Dollar Tree Pumpkin Topiary tutorial!
This post also contains affiliate links, which means I make a small commission off anything you purchase through here, at no additional cost to you. Please read my full privacy policy for more details.
Why You’ll Love This Dollar Tree Fall DIY
I love a good Dollar Tree makeover, especially when you can take something inexpensive and make it look like it came from a much more expensive home decor store.
Here’s why this pumpkin topiary DIY is such a fun project for fall:
- Budget-friendly and uses $5 Dollar Tree stackable pumpkins
- Easy enough to complete in an afternoon
- Perfect for decorating a front porch or fall entryway
- Completely customizable to match your fall color palette
- Requires only a few basic craft supplies
- Gives inexpensive pumpkins a more high-end, aged metallic finish
You could also recreate this project year after year using completely different colors and ribbon to match your fall decorating style.
Materials Needed for DIY Pumpkin Topiaries
You only need a few supplies to make these easy Dollar Tree pumpkin topiaries:
- Dollar Tree stackable pumpkin sets — I found them in both orange and white and chose white because I thought they would be easier to paint
- Black spray paint
- Metallic bronze spray paint — I used COLORSHOT Metallic Bronzer
- Brown spray paint — I used COLORSHOT Brownie Points
- Painter’s tape or packing tape
- Fall ribbon
- Hot glue gun and glue sticks

How to Make a Dollar Tree Pumpkin Topiary
One of the best things about this DIY pumpkin topiary is that you can completely customize it.
You definitely don’t have to use the same spray paint colors I did. Choose colors that coordinate with your existing fall porch decor or experiment with different finishes to create your own look.
I wanted mine to have a darker, aged bronze finish that would look a little more expensive than the original Dollar Tree pumpkins.
Step 1: Prep the Pumpkins
Before painting, make sure your pumpkins are clean and free of any dust or debris.
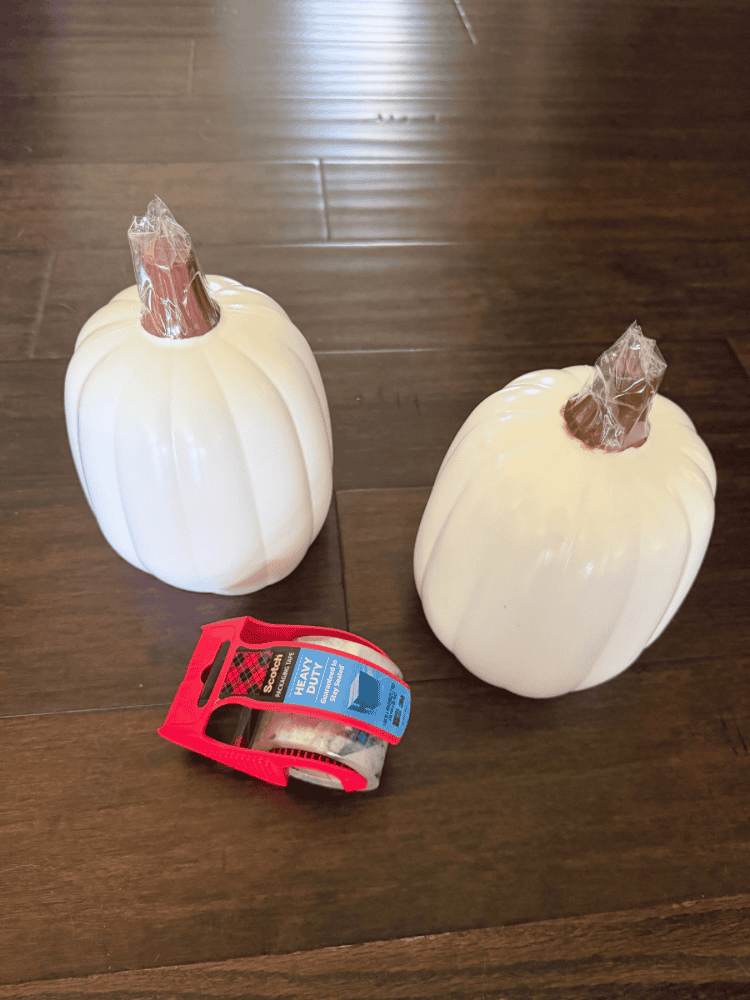
For the small pumpkin on top, I wanted to preserve the original brown stem. I wrapped the stem with packing tape before spray painting it.
Painter’s tape would work perfectly here, but I didn’t have any on hand, and packing tape did the trick!
You can also skip this step entirely if you want the pumpkin stem to match the rest of the pumpkin.
Step 2: Spray Paint the Pumpkins Black
Next, I took the pumpkins outside and applied a black base coat.
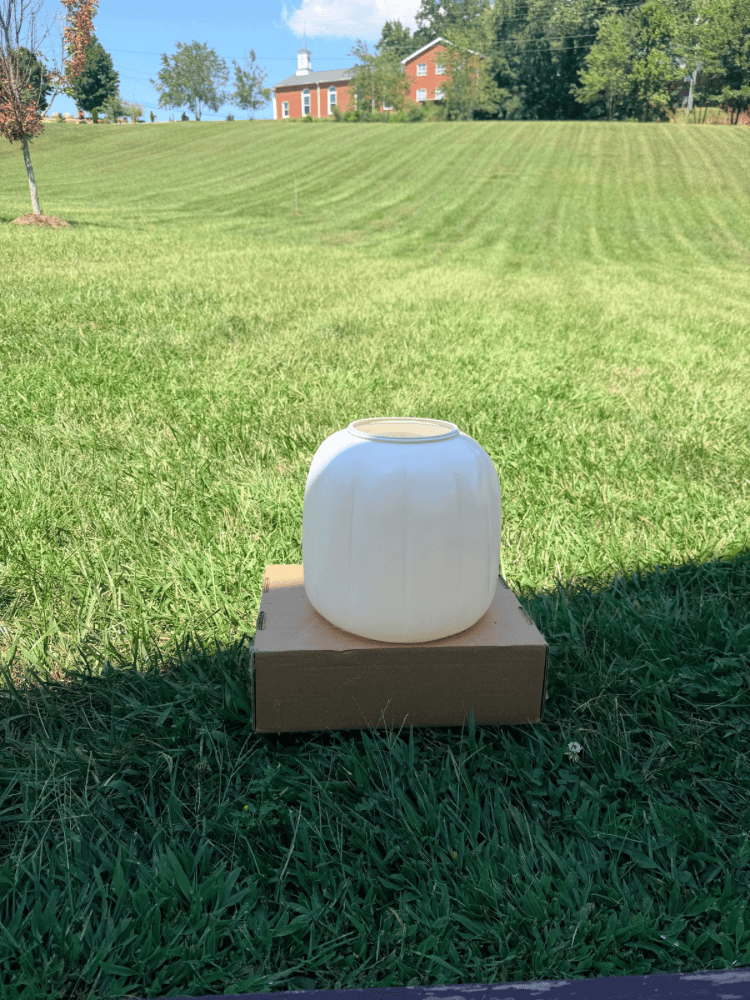
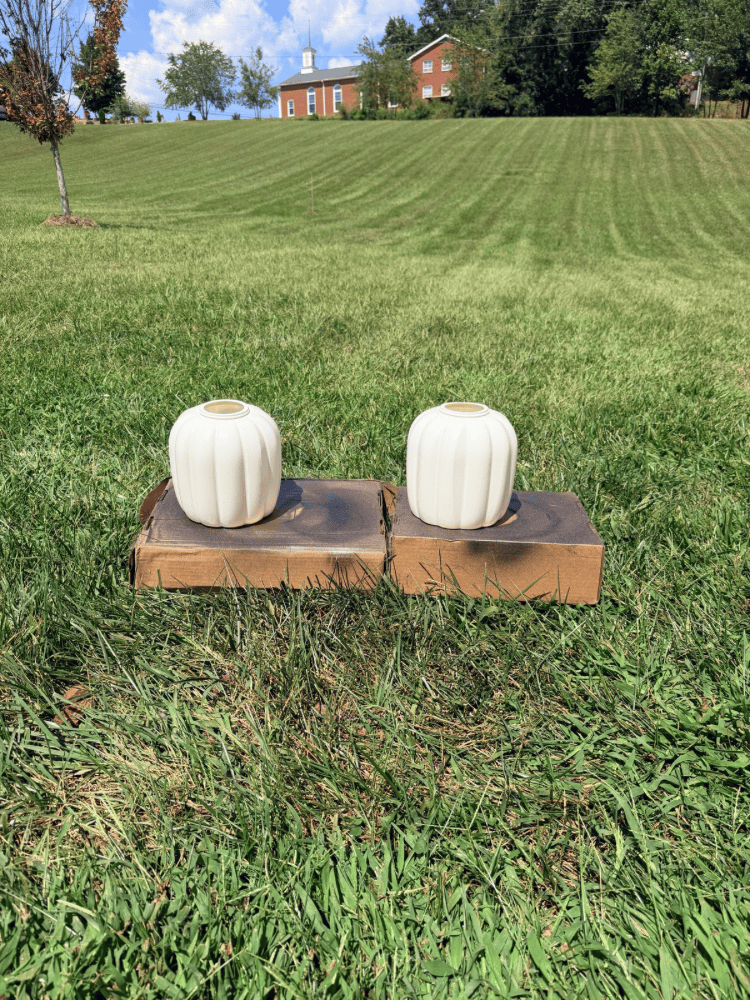
The black paint was an important part of getting the aged metallic look I wanted. Rather than spraying the bronze directly onto the white pumpkin, the dark base creates more depth and allows little hints of black to show through the metallic finish.
Make sure you’re using spray paint in a well-ventilated outdoor area and follow the instructions on your specific spray paint for application and drying times.
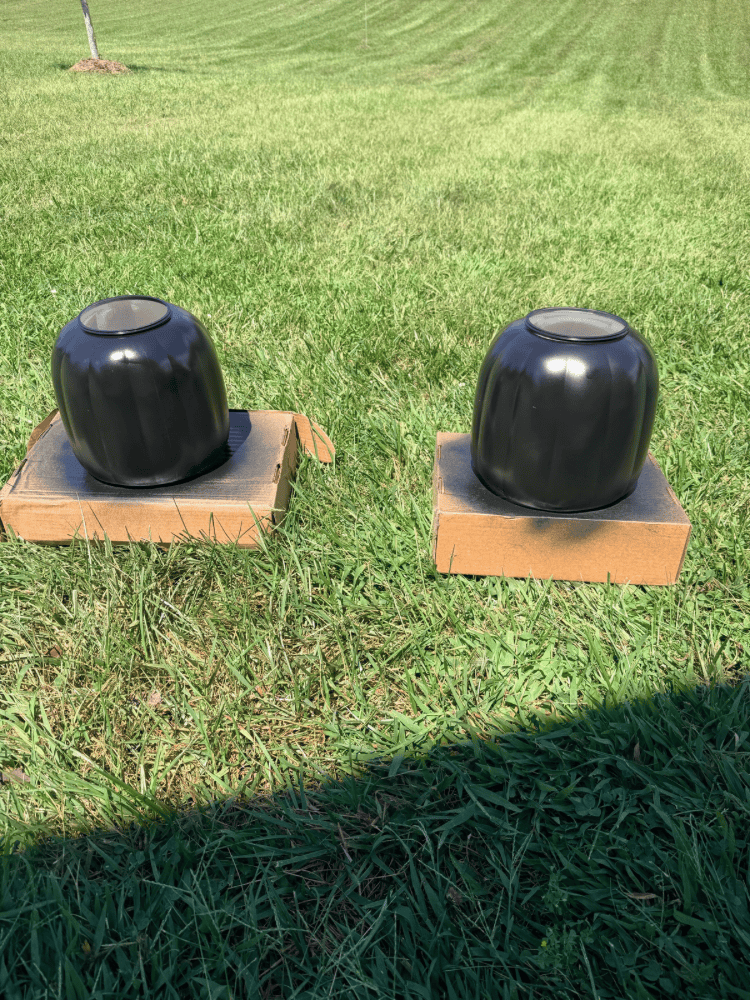
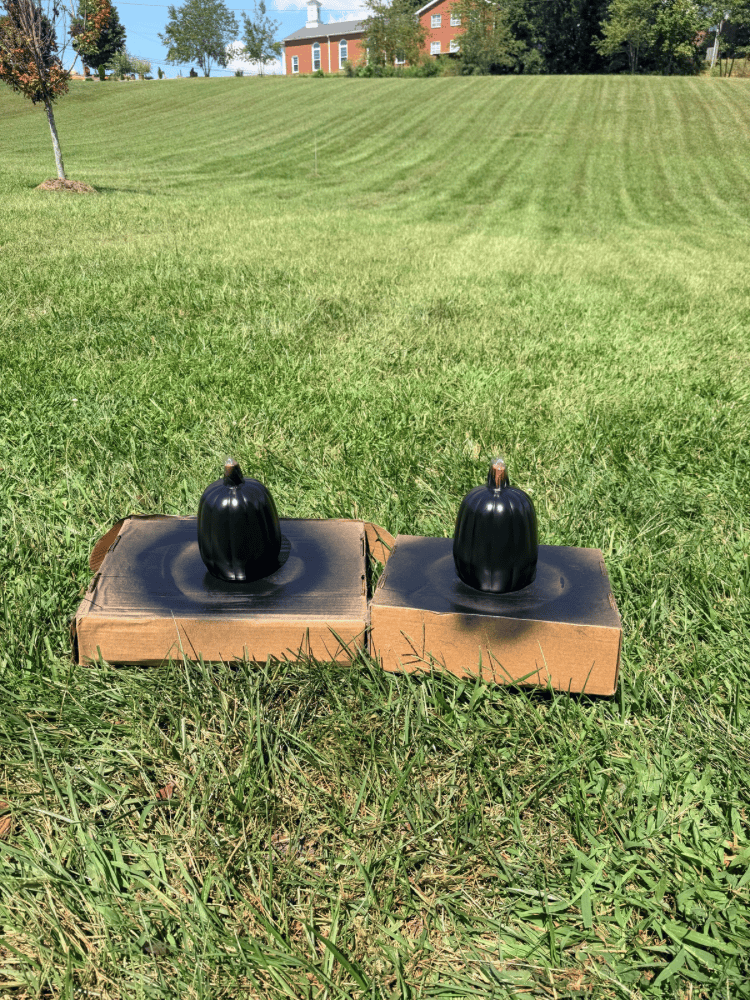
Allow the black base coat to dry before moving on to the metallic finish.
Step 3: Add the Metallic Bronze Finish
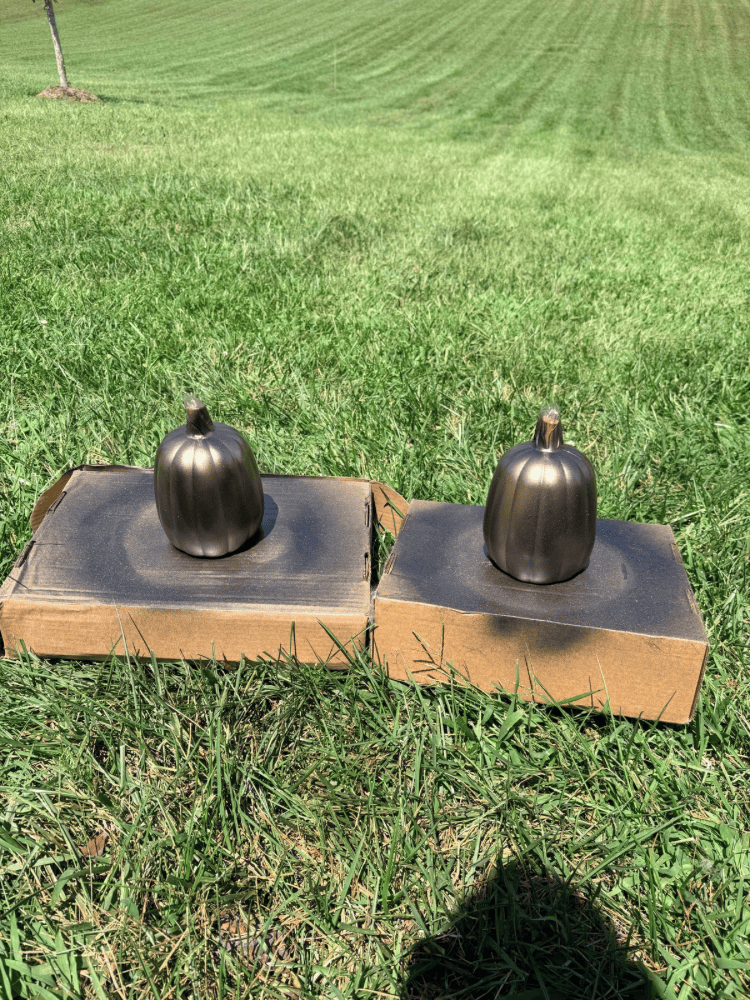
Once the black paint was dry, I lightly sprayed COLORSHOT Metallic Bronzer over the top.
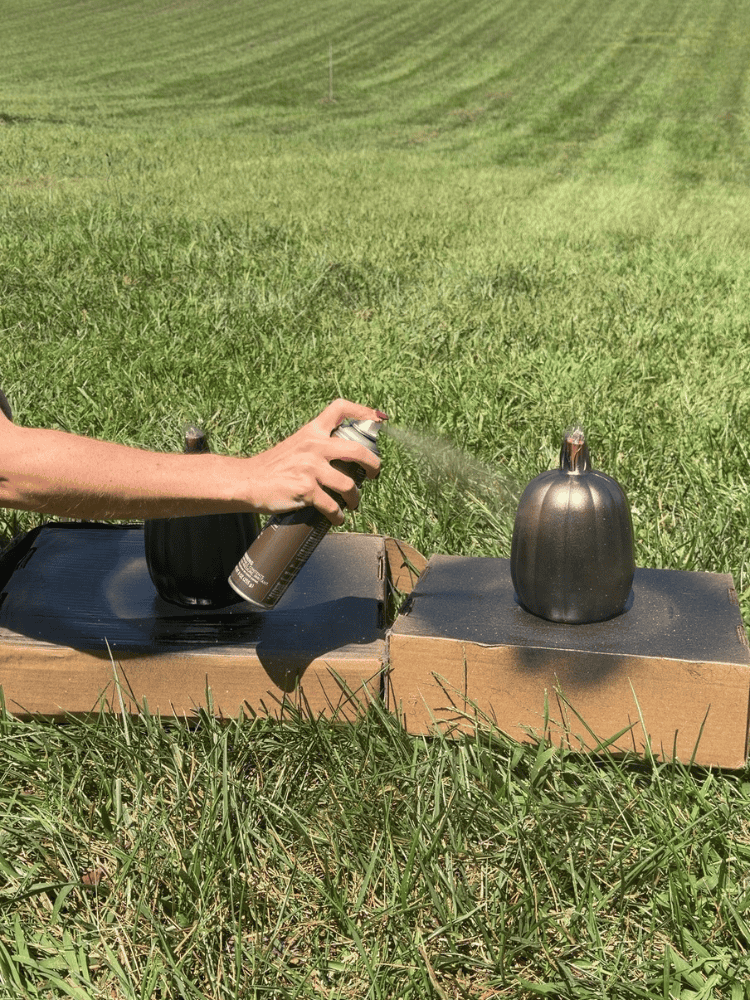
Instead of completely covering the black paint, I applied a lighter coat so some of the black could still peek through. This gave the pumpkins more of an aged, distressed bronze appearance instead of a perfectly uniform metallic finish.
I repeated the same technique on the larger bottom pumpkin.
And y’all, I absolutely loved the result!
The metallic bronze immediately made these inexpensive Dollar Tree pumpkins look much more high-end.
A Little Spray Paint Mishap!
My original plan was actually a little different.
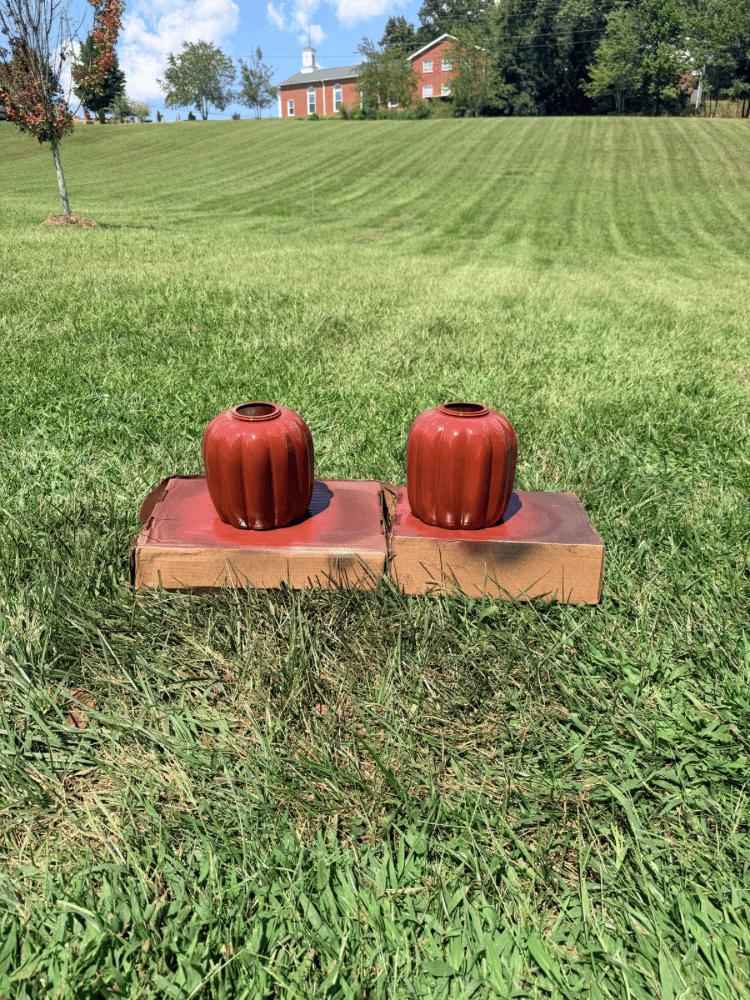
I wanted the small pumpkin on top and the large pumpkin on the bottom to have the metallic bronze finish while keeping the middle pumpkin a glossy brown. I thought mixing the glossy and metallic finishes would add some beautiful texture to the pumpkin topiary.
I used COLORSHOT Brownie Points because the color on the can looked like it would coordinate perfectly with Metallic Bronzer.
However, once I sprayed it, the color looked much more red than I expected and didn’t coordinate with the bronze pumpkins as well as I had hoped.
But that’s the fun thing about DIY projects—you can always improvise!
I lightly sprayed some of the Metallic Bronzer over the Brownie Points color to help everything blend together.
Ultimately, all three pumpkins ended up having a beautiful metallic finish.
And honestly? I’m not mad about it. I love shiny things anyway!
It’s also a good reminder to test your spray paint color on a small area or scrap material before committing to the entire project.
Add a Fall Bow
Once all of the spray paint was completely dry, it was time for the finishing touch.
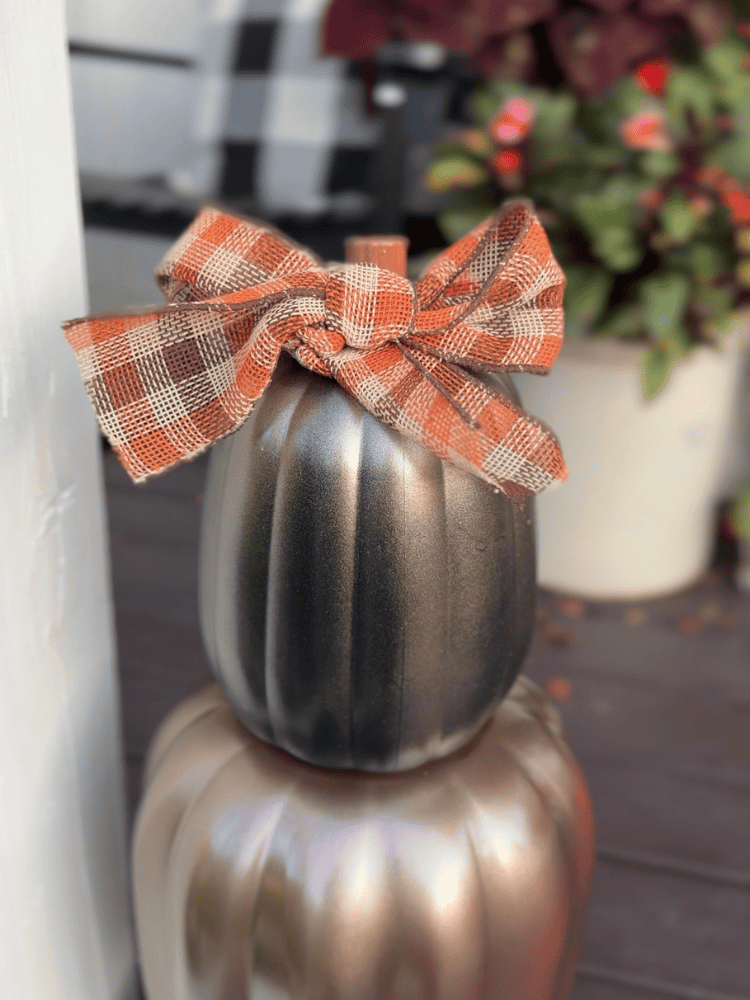
I used some leftover fall ribbon I already had at home to make a small bow for the top pumpkin.
To attach it, I simply added a dab of hot glue to the bow and secured it near the pumpkin stem.
This little detail made such a difference!
You could easily change the ribbon to coordinate with the rest of your fall porch decorations. Plaid, velvet, burlap, gingham, or neutral ribbon would all look adorable.
Style Your DIY Pumpkin Topiary
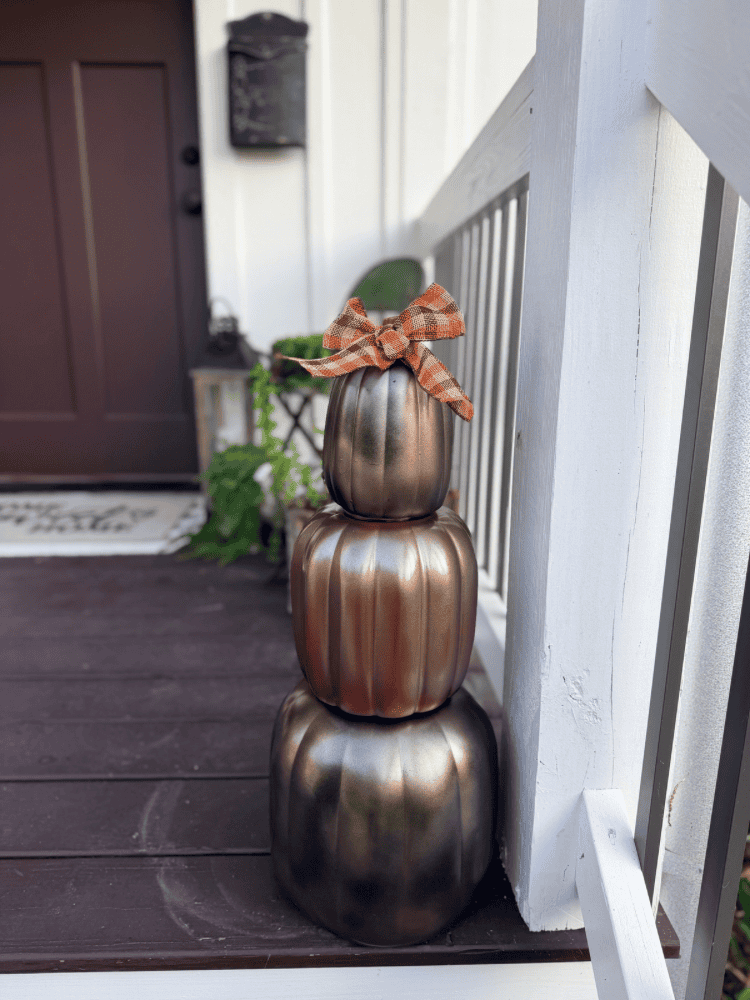
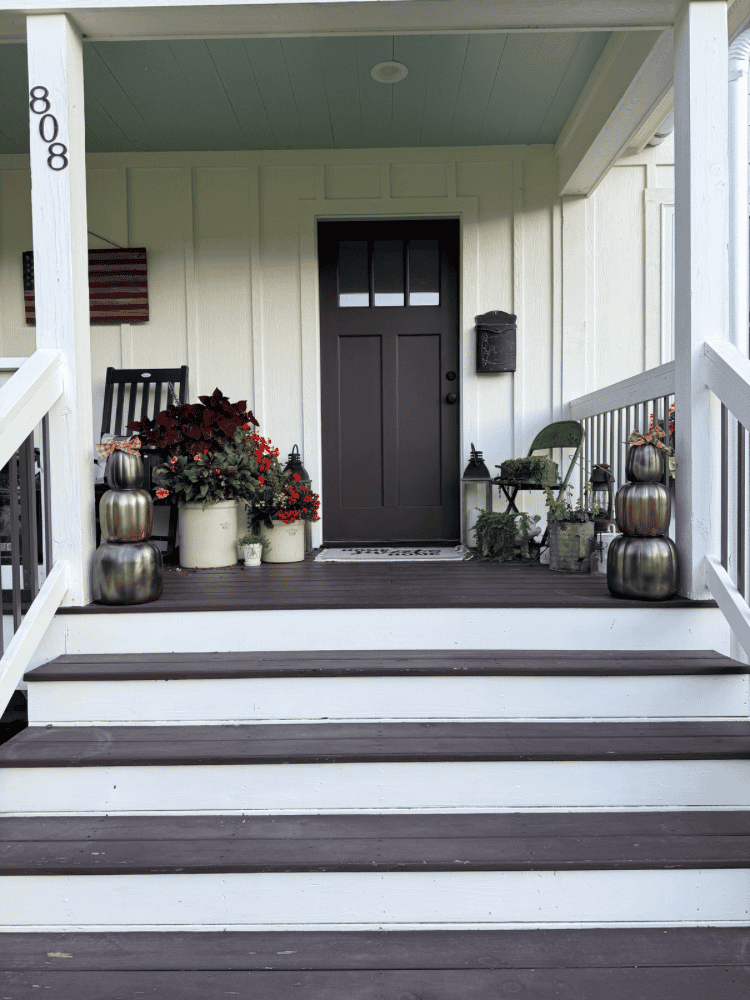
After everything was dry and assembled, I placed the pumpkin topiaries on my front porch just past the steps.
They instantly added a little fall color and made the entryway feel so much more welcoming!
I haven’t finished decorating my entire porch for fall yet, but I think these DIY pumpkin topiaries are a pretty good start. And I’ve shared in years past how I styled my porch for fall too if you want to check that out. Or how to make your own mum hanging basket as well!
You could style yours beside your front door or pair them with other fall porch favorites like:
- Faux mums
- Lanterns
- Hay bales
- Fall wreaths
- Corn stalks
- Wooden fall signs
- Additional pumpkins and gourds
There are so many ways you could incorporate these into your fall porch decor.
More Dollar Tree Pumpkin Topiary Color Ideas
Another thing I love about this Dollar Tree fall DIY is how easy it is to customize.
If metallic bronze isn’t your style, try creating your pumpkin topiary with:
- Matte black for a modern fall look
- Cream or ivory for neutral fall decor
- Terracotta for a Pottery Barn-inspired look
- Antique gold for an elegant fall porch
- Copper for a warm metallic finish
- Sage green for a softer, earthy look
- Traditional orange for classic fall decor
You could even paint each pumpkin a slightly different shade to create a beautiful tonal effect.
How to Make Dollar Tree Fall Decor Look Expensive
One of my favorite tricks for making inexpensive seasonal decor look more high-end is layering paint colors and finishes.
Instead of applying one solid color, starting with a dark base coat and lightly layering a metallic color over it creates dimension and makes the finish look more aged.
Small details can make a big difference too. Changing the ribbon, adding texture, distressing the paint, or simply choosing a more sophisticated color palette can completely transform an inexpensive Dollar Tree find.
You definitely don’t need to spend a fortune to create beautiful seasonal decor!
Easy DIY Fall Porch Decor on a Budget
I still can’t believe each of these stackable pumpkin sets was only $5!
With just a little spray paint and leftover ribbon, they went from simple Dollar Tree pumpkins to beautiful DIY pumpkin topiaries that look perfect on my front porch.
That’s why I love projects like this so much. You can take an inexpensive find, add your own personal touch, and create something that looks completely different from what you started with.
If you’re looking for an easy Dollar Tree fall craft or budget-friendly way to decorate your front porch, definitely give this pumpkin topiary makeover a try!
And if you make your own DIY Dollar Tree Pumpkin Topiary, be sure to tag me so I can see your creation. I’d especially love to see what color combinations you come up with!
I may have to grab a few more sets and experiment myself because this project was just too easy and fun to make!


Leave a Reply