Y’all know I love me some candles. But I usually just buy them. I have never attempted to make my own. Until now! I am going to share with you all this easy, DIY Christmas Candle that I made this holiday season. And now that I dipped my toes in the homemade candles world, I want to make more!
And the best part is, you can make your own candles too. I am sharing my full tutorial and it really is so easy to do. This would also make the perfect gift and would be a fun Christmas craft to do as a family as well.
In my opinion, there is no better way to get into the holiday spirit than by lighting candles in all the festive scents! And even better if they are gorgeous DIY Christmas candles just like the one I am about to show you here!
This post contains affiliate links. Click here to read my full disclosure policy.
Materials Needed for DIY Candles:
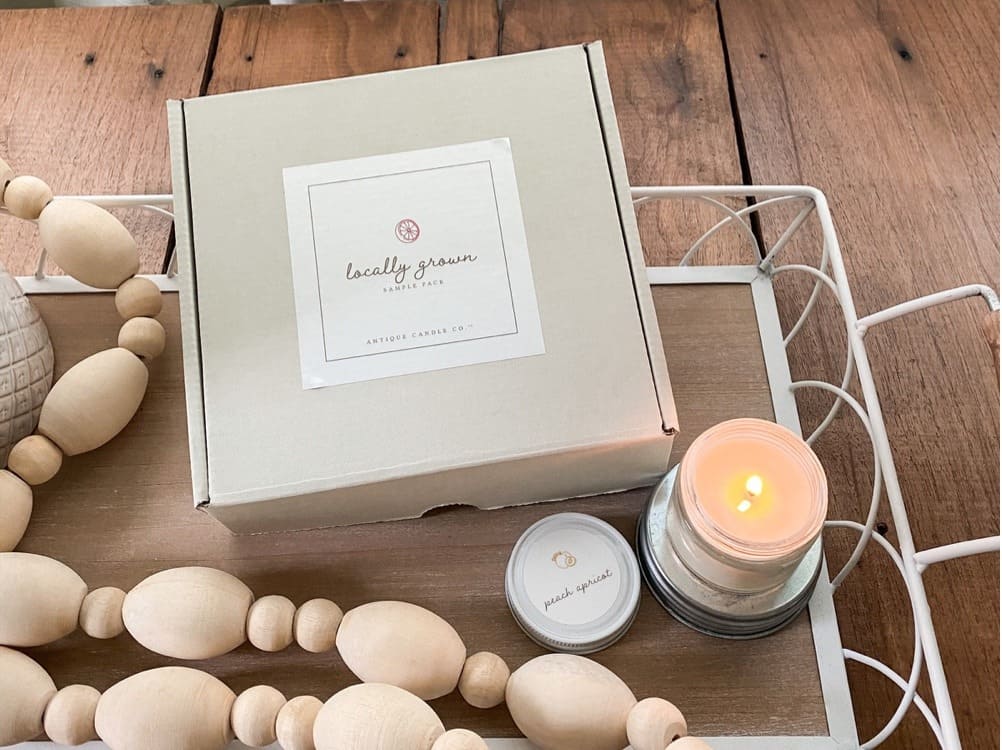
- Candle Refill Kit From Antique Candle Co. (Includes everything you need to get started making your own DIY holiday candles!)
- A vessel of your choosing to pour the melted wax in (glass jar, mason jar, glass container, etc.)
- Old pot or double boiler to melt the candle wax
- Tape to hold the wicks up
DIY Christmas Candle Refill Kit
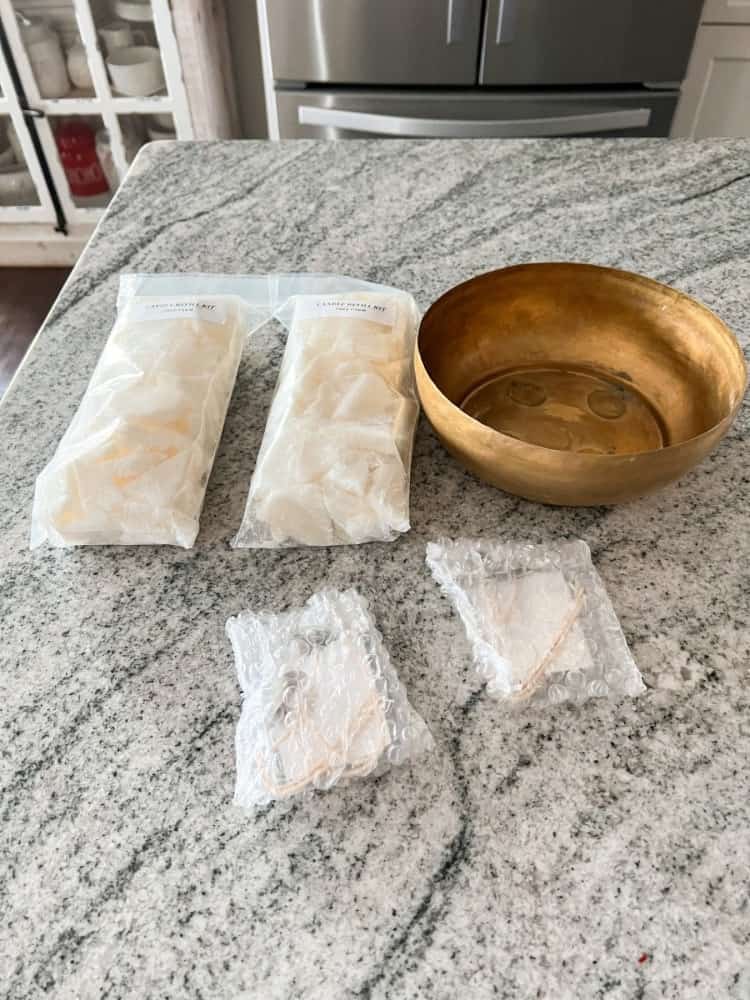
As I mentioned above, this candle refill kit from Antique Candle Co. comes with absolutely everything you need to get started. And you can choose from 2 different sizes. A small size contains 1 pound of candle wax, in the scent of your choosing.
It also comes with 4 cotton core candle wicks, 4 wick stickers (essentially glue dots for the wicks to stick on), and step by step instructions.
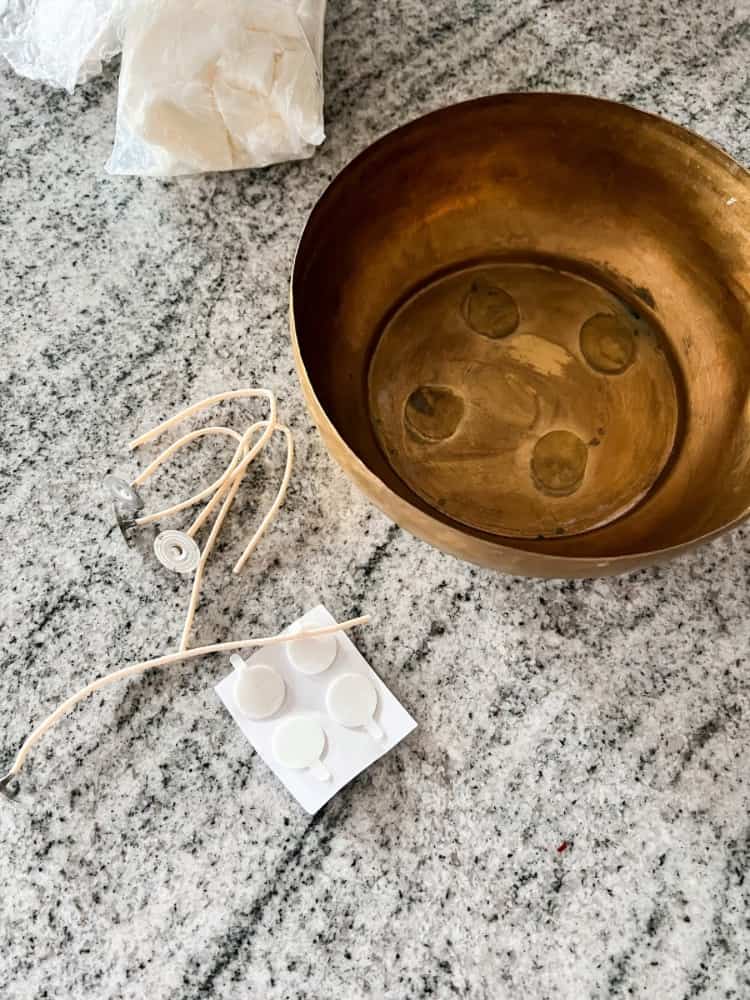
The large kit includes double of everything I just listed above. I ended up getting the large kit in my very favorite scent, Tree Farm. If you love the smell of fresh-cut pine, you will love this scent too.
It is one of my absolute favorites from them. I love that you can just order this kit in some of your favorite scents and that’s literally almost everything you need to get started.
Also, all of their candles are soy candles so the wax they send you is 100% soy. I know you can make candles with different kinds of wax too, but soy is definitely my favorite.
Preparing The Antique Vessel
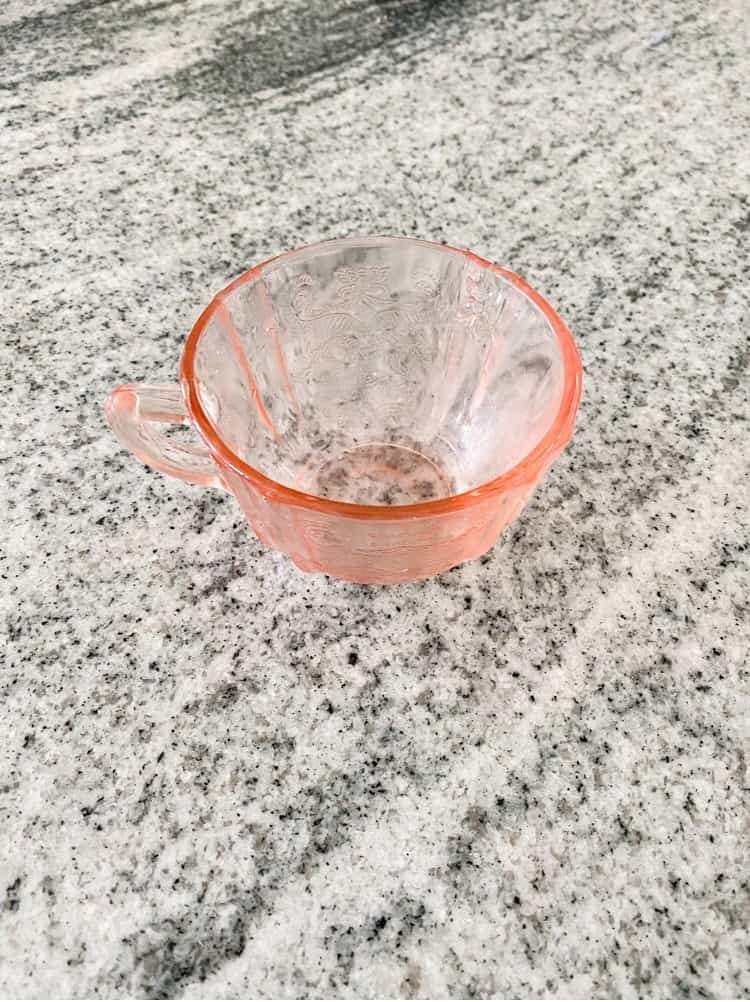
As I mentioned above, you want an antique vessel of some kind to pour the wax into. For reference, the small candle refill kit can make 1 16 oz mason jar or vintage jar candle. Or it can make 2-4 small teacups/sugar bowls, or 1 medium sized bowl or dish.
The large kit can make 2 16 oz mason jar candles, 4-8 small teacups/sugar bowls, and/or 1-2 medium sized bowls/dishes. As you can see, you can make candles out of a variety of sizes, so you can come up with so many creative ideas!
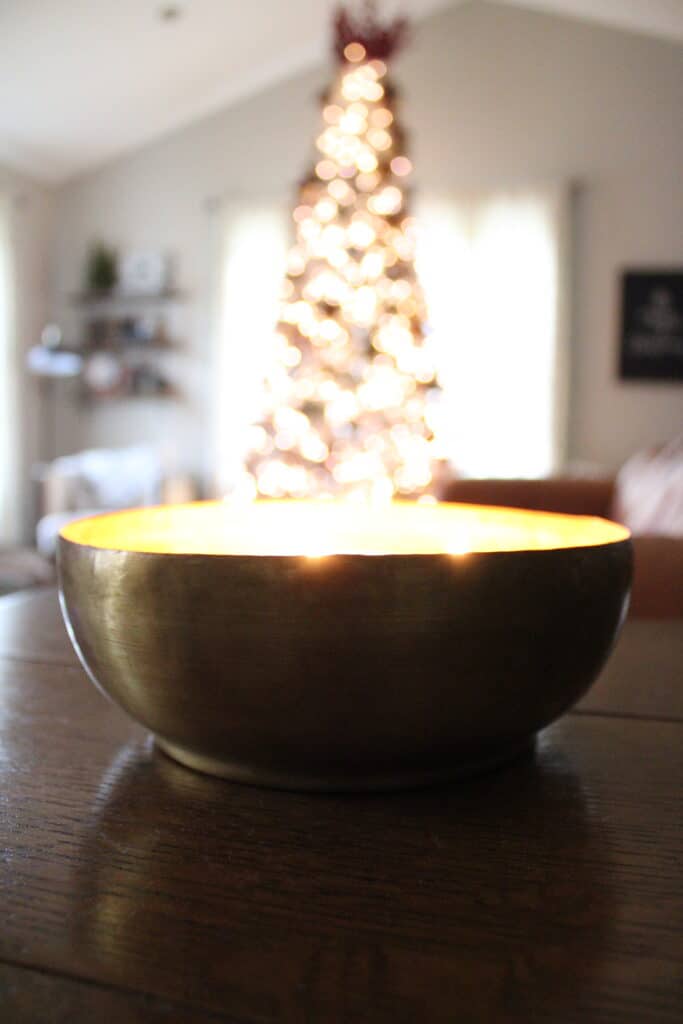
If you have ordered an antique candle from them before, you can easily use that piece again! I used their antique brass candle. I just love the big shape and color to it. It also makes for the perfect Christmas decorations around your home too!
First, to make this DIY Christmas candle, you’re going to want to scrub the vessel of your choosing down really well. Especially if it already had a candle in it before.
Be sure to remove all the wax from the previous candle. I shared all about how to get candle wax out of jars last year too. You can use a degreaser soap to help with this process too if needed.
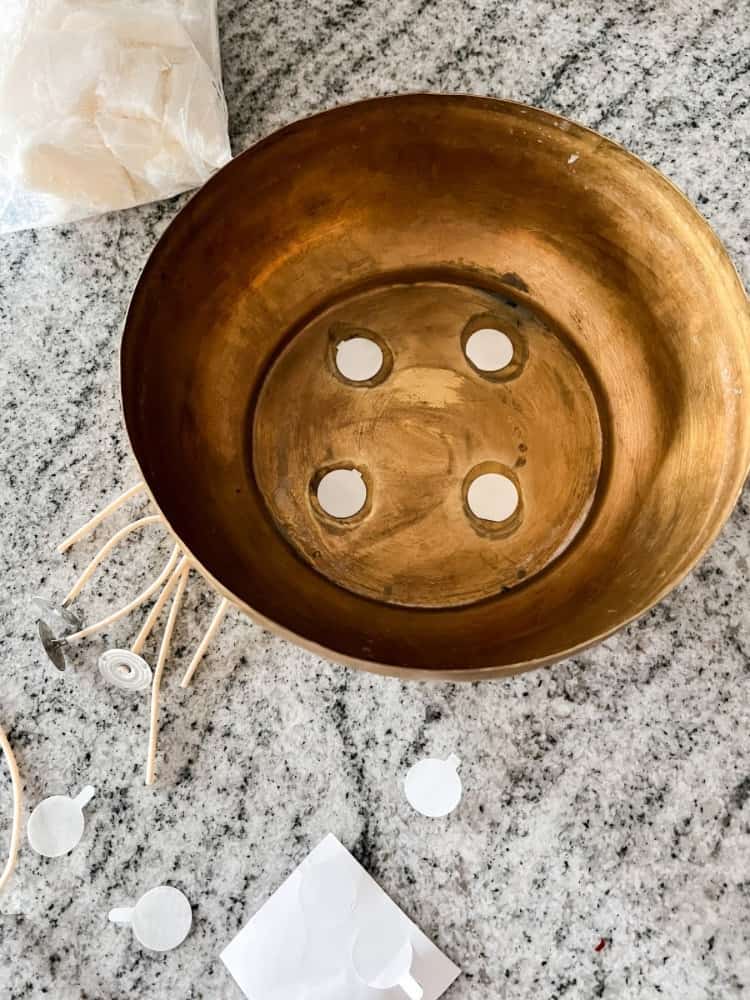
Once the vessel or jar you’re using is all clean, you’re going to want to place the wick sticks on the bottom of the jar. Then, you will stick the cotton wicks on top of the stickers. You’ll notice that the wicks are super long at first, don’t worry, we will trim them down later.
Melting The Candle Wax
The next step to creating homemade Christmas candles, is to melt the wax. You’re probably going to want to use an older, well loved pot or double broiler for this.
I wouldn’t put it in my brand new cookware I got! I don’t want my food tasting like a Tree Farm, as much as I love the smell of fresh pine!
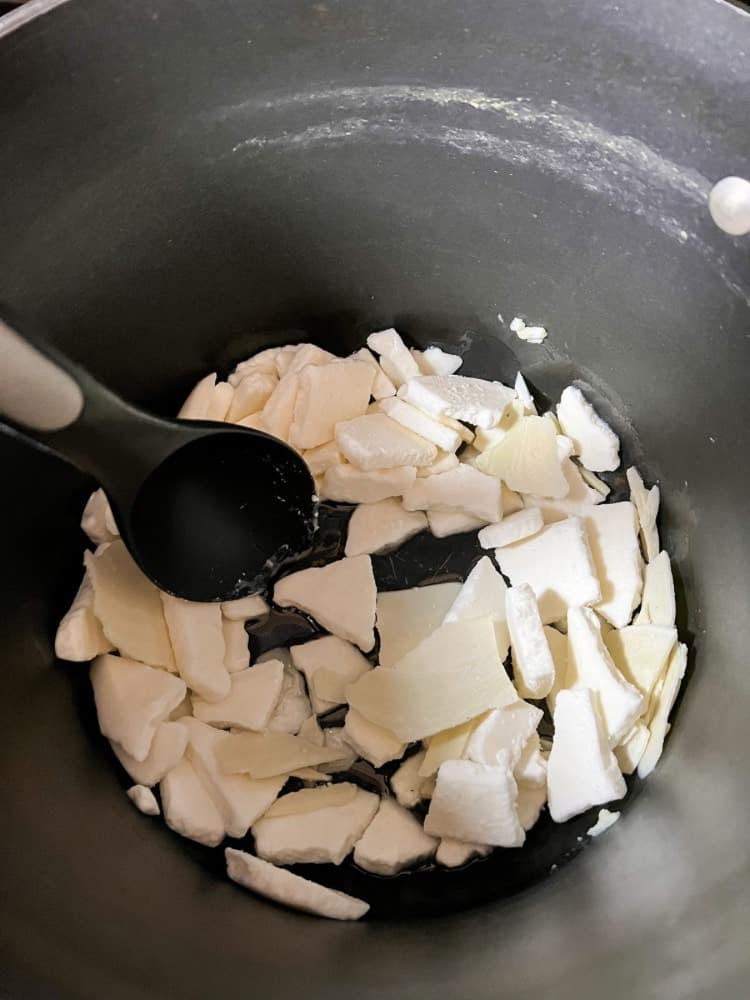
Heat your non-stick pot on low and then empty the soy wax flakes into it. Stir constantly until wax is melted completely. This process takes about 10 minutes or so.
Then, carefully pour the hot wax into your antique vessel, leaving at least 1″ of the wick on top. Be careful not to pour too much wax directly on the wicks as well.
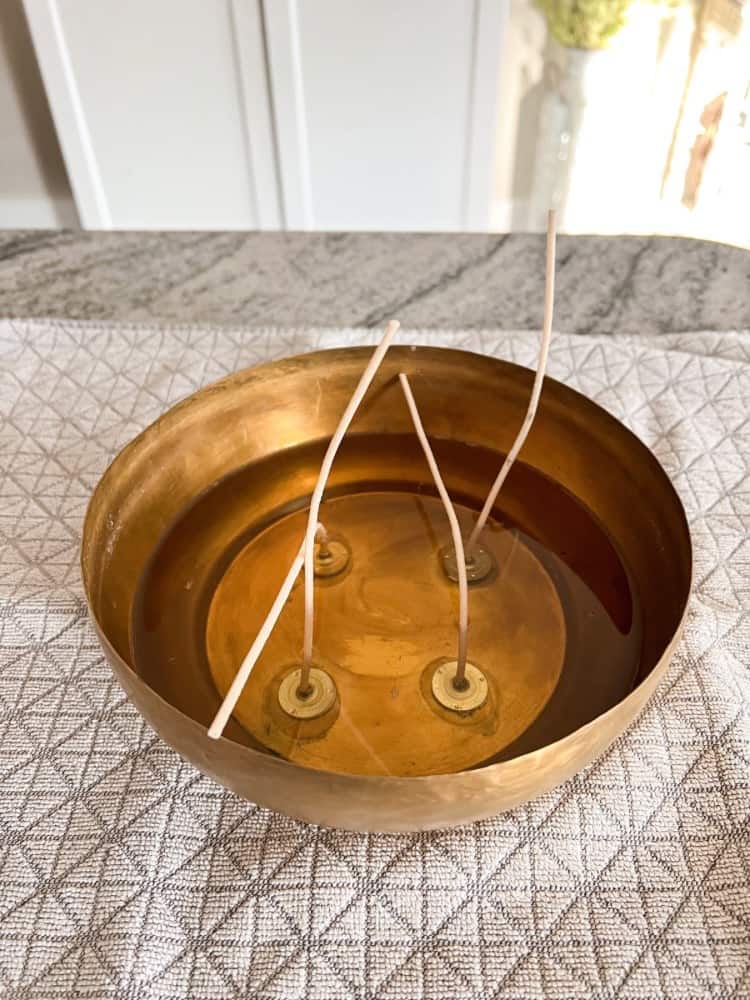
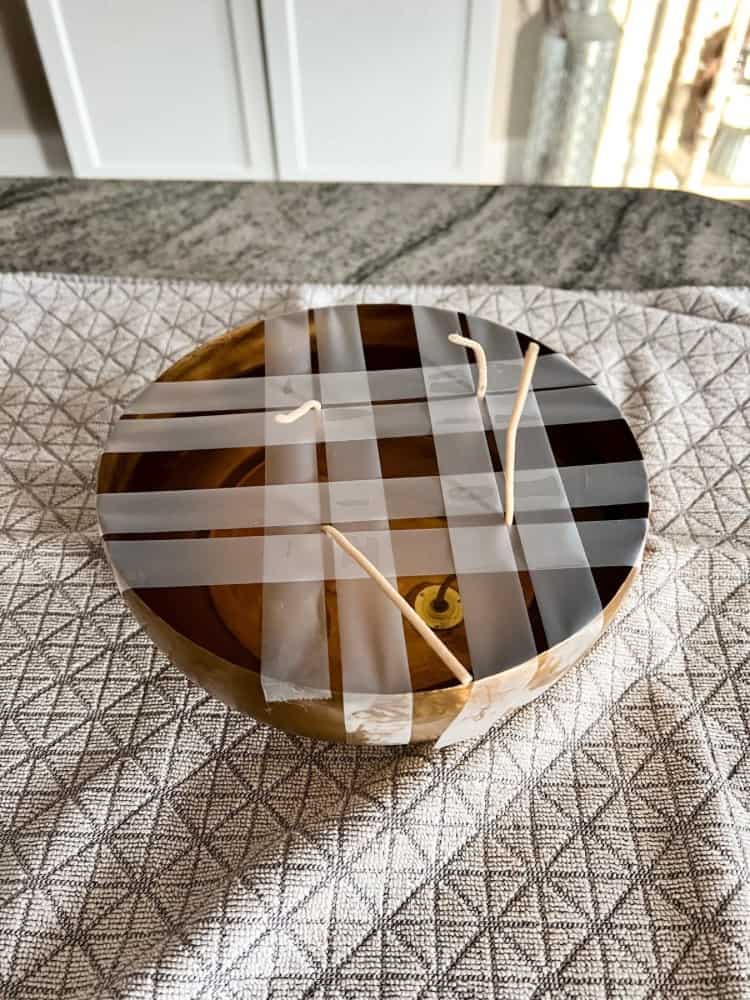
Let the wax cool and solidify, although make sure your wicks are straight before it completely solidifies. While the wax cools, I used tape to hold up the wicks in place.
If you’re using a smaller jar, like a mason jar, you could use pencils and lay them across the jar to hold the wick in place too. But, since my antique container was so wide, I needed something else so the tape worked just fine.
Enjoy Your DIY Christmas Candle
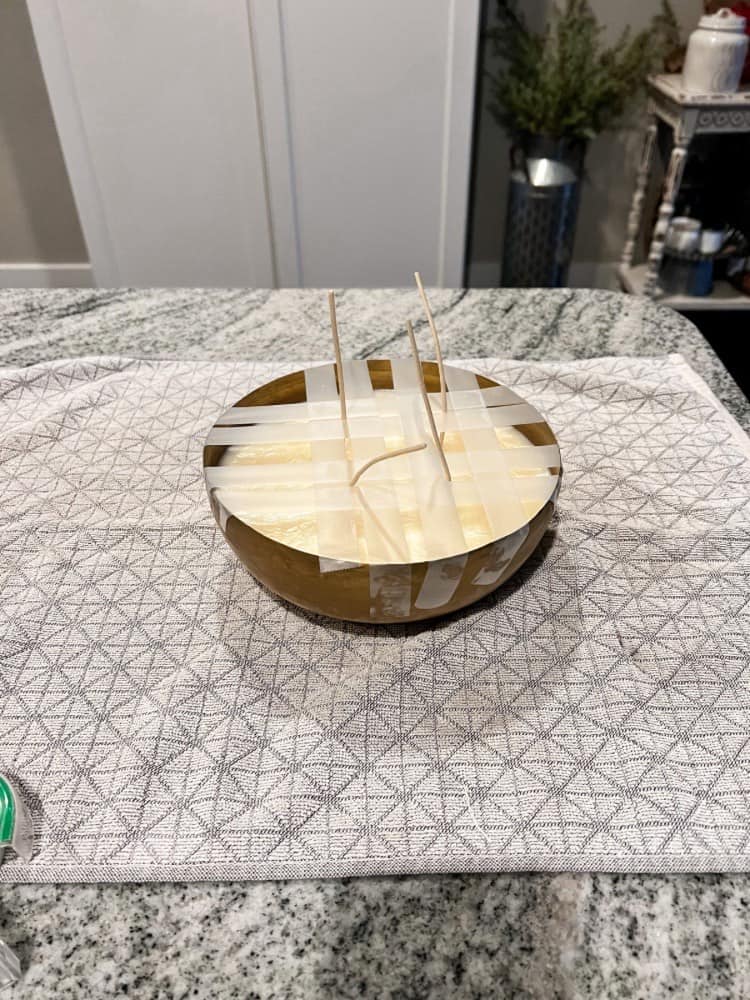
After the wax has solidified, let the candle cure 24 hours before lighting it. And once that time has passed, you can enjoy your DIY Christmas Candle as much as you want to!
I think it would also be a lot of fun to make a few and pass them out as homemade gifts for loved ones and friends. Or they would even make the perfect neighbor gifts too.
I’ve been sharing a lot of handmade gifts this year and I am loving that idea for Christmas. Be sure to check out my Christmas Cookie Gift Idea or my Vintage Christmas Spice Tin Gift Idea too if you missed them recently.
All of those would make such a thoughtful gift and would be a great way to enjoy the Christmas season! Have you ever made your own scented candles like this before? If so, I would love to hear all about your candle making experience!
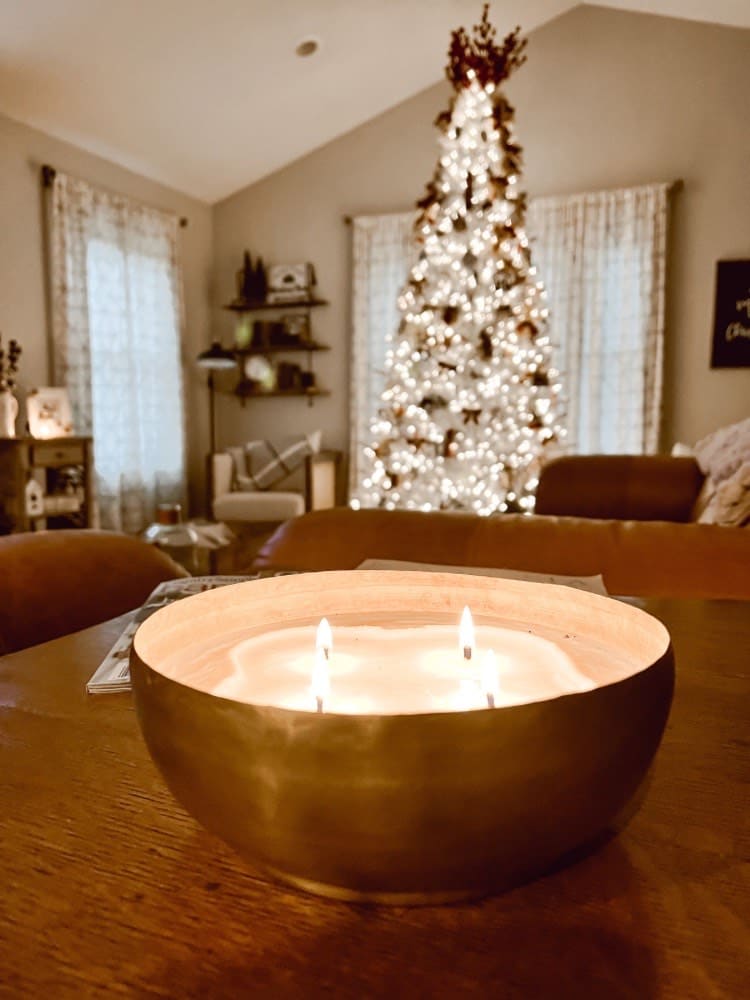
This is one of those DIY projects that I will definitely be coming back for year after year. Especially since we have an artificial tree and I miss the smell of a real Christmas tree. That’s why I am a fanatic about the Tree Farm scent!
But anyway, I hope this DIY Christmas candle brought you a little holiday cheer and I hope you will consider making your own candle too sometime. And of course, I hope you have a wonderful Christmas my friends!

I’m a big fan of soy candles (they burn clean) and light them every evening during November – February when we have such long nights. I really appreciate your post on how to make them. I’ve often wondered if you make your own if they are any cheaper than buying them? Perhaps it depends on the vessel used?
It was cheaper than buying one already pre-made. So it was worth it. Especially since the vessel I used was so large!
I’d like to have a go at making candles although I’m not really a big user of them. This looks so pretty and perfect for Christmas decor.
Awe thank you! You definitely should try it out sometime. It was a lot of fun!
Thank you for sharing this post! I think Christmas is a lovely time for candles, especially when the nights are dark and cosy.
Yes, I think so too!
Christmas is the perfect time for candles and this DIY one looks great! x
Lucy | http://www.lucymary.co.uk
Yes Christmas and candles go hand in hand in my opinion!
Now I want to try this DIY candle to make Christmas gifts! It’s too late for this year which means I have 365 days left for next year’s gifts! I love the vessel you selected!
Thank you so much! You will have to make some next year at Christmastime then!
I enjoy making my own candles too. Love the gold bowl.
Yes, I love it too! So pretty!
You really know how to make beautiful things, Charity I love everything about bringing and making candles! It’s so fun and this one turned out beautiful! Thanks for sharing!
Thank you! I am so glad you think so too Meredith!