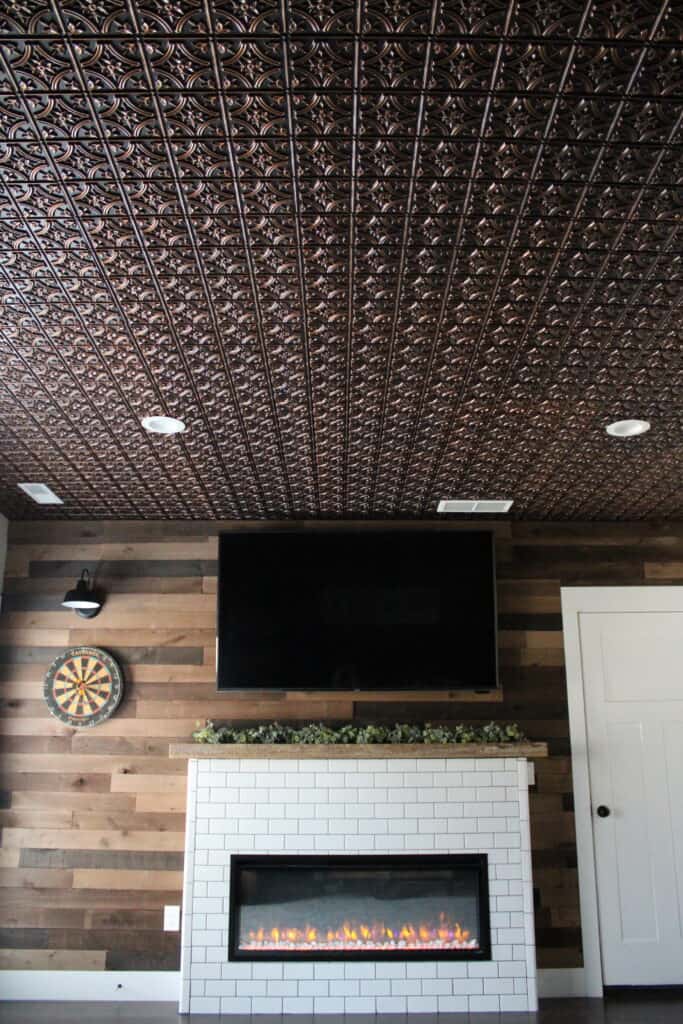
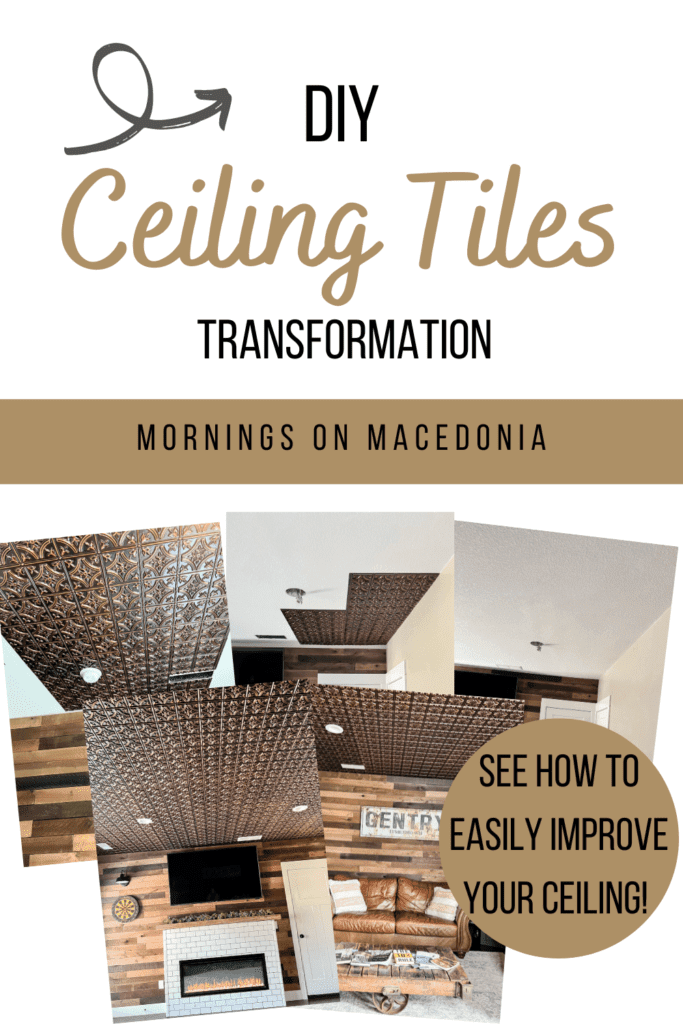
We recently completed a pretty big DIY project downstairs! We installed faux copper ceiling tiles and it turned out so great! They honestly look so real and you would never know that they are actually faux copper. It was also pretty easy to install, so I figured I would go into a little more depth and talk about just how to install DIY ceiling tiles.
That way, if you ever want to try it on your own, you can refer back to this post as a guide! As I mentioned above, it was pretty easy to install, once you got the hang of it. However, we were pretty nervous to take the plunge and go for it. We kept thinking that we would ruin our basement ceiling if we did it wrong.
But, thankfully we made it all work and I am just obsessed with how everything turned out! It is my new favorite hangout spot in the house. And now I am itching to install even more ceiling tiles! Maybe in my office, or laundry room, perhaps? Who knows, but don’t be surprised if you see another room in my house with this beautiful celling tile in it!
This post contains affiliate links. Click here to read my privacy policy.
What is the Cheapest Way to Cover a Ceiling?
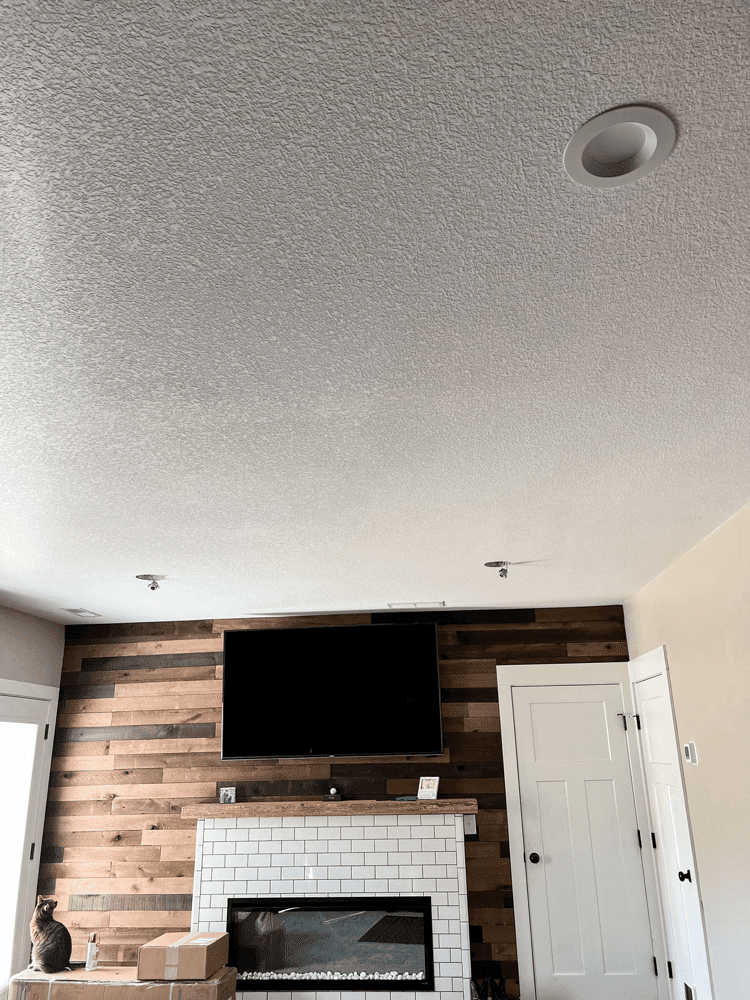
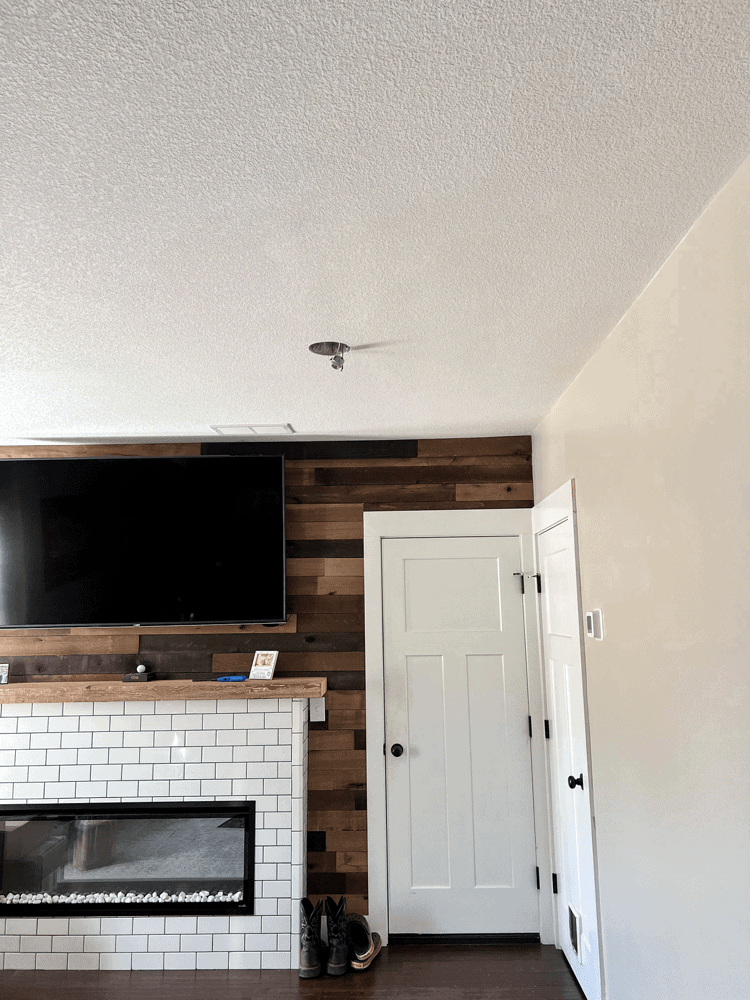
If you haven’t guessed by the title of this post, I recommend DIY ceiling tiles as a cheap alternative to cover a ceiling. Especially if you go the faux tile route. If you’re looking for a cheap way to cover an old popcorn ceiling, then this is definitely it!
If you wanted to spend more money and go for the real copper tiles, you definitely could. Although, like I mentioned above, the faux tiles are so realistic and you can’t even tell once they are installed! Because of that, the faux tiles are great choices when it comes to covering a ceiling on a budget!
What are the Easiest Ceiling Tiles to Install?
After researching our options, we decided to go with Decorative Ceiling Tiles for this project. They seemed to have the most options at the best prices. But definitely look around and shop before you chose your tile.
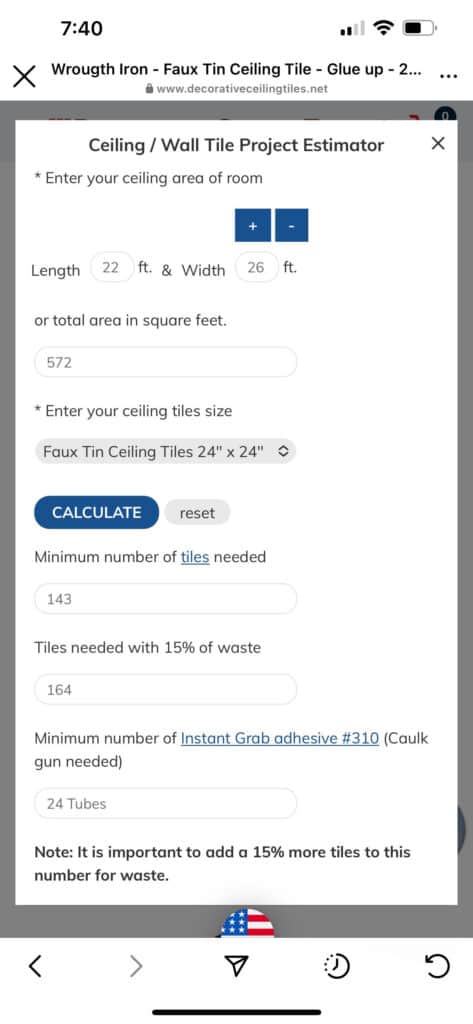
However, the most convenient aspect to shopping with Decorative Ceiling Tiles was using their project estimator, which is pictured below. This really helped us figure out how much to order for our space!
We took a chance and just ordered it online, without seeing it in person. but, you could always go to Home Depot or some hardware store like that to look at a few in person if you wanted. That way you could see all the various colors and metals, such as tin tiles, and see what would be the best option for your home too.
The tile we ordered were the Gothic Reims- Faux Tin Ceiling Tiles- 24 in x 24 in- #150. We got a total of 164 tiles to cover our entire ceiling. Plus, we ordered a little more to cover if we made any mistakes. And, like I mentioned, we got them in the antique copper color.
The type of ceiling installation that comes with these tiles is their Instant Grab Ceiling Tile, Wall Panel, and Crown Molding Water Based Adhesive #310. It comes with 2 boxes, each with 12 tubes of adhesive inside. So you have all the installation materials you need to get started!
Although, we did end up ordering an extra box from Amazon. While we were working on the project, we noticed we were going through the adhesive pretty quickly. Here it is linked below:

But, we also did add a little more to each tile than it was recommended. When we just added a little to the tile to start with, we noticed the corners started to droop, no matter how long we held it in place. So we fixed that by just adding more adhesive to each tile and that seemed to work fine!
How to Install DIY Ceiling Tiles
Okay, now that we covered the background of this project, it’s time to get to work! The first step you need to do is of course use a tape measure and measure out your ceiling dimensions. We have a flat ceiling so it was pretty easy to get all the dimensions we needed.
You could still do this project if you had suspended ceilings, but it would probably just take a little more time and effort mapping it all out.
Again, I would order a little more square foot to be on the safe side in case you make any mistakes. Because, trust me, we made a few during this process!
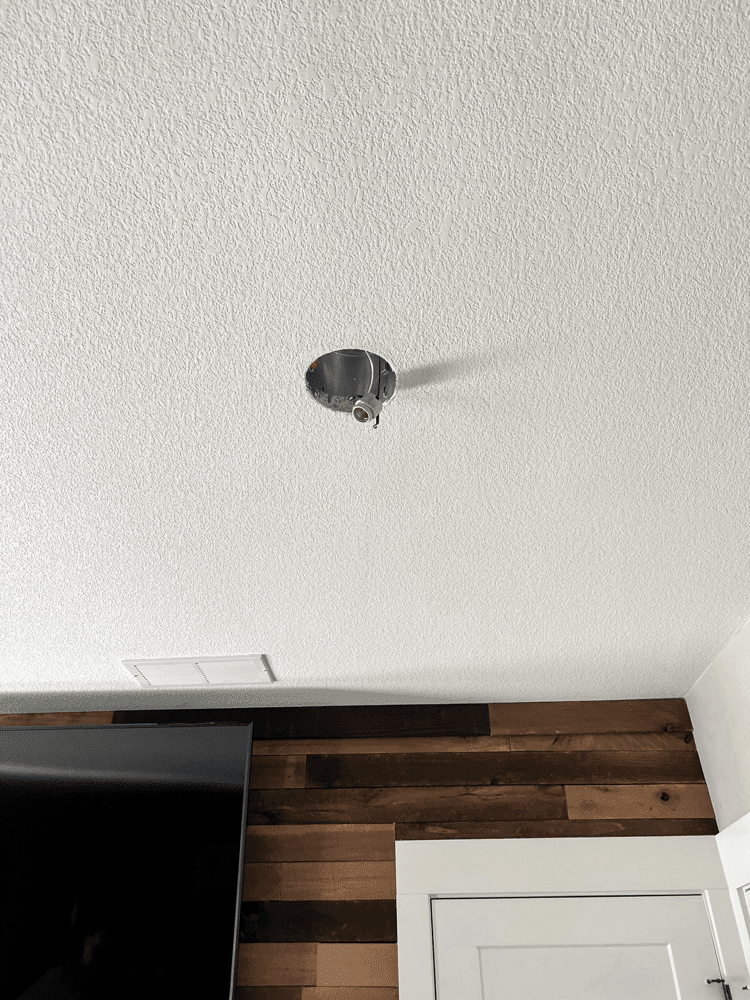
Then, you’re going to want to remove all the light fixtures from your ceiling as well. After that, we got the tiles out of the box and laid them out on the floor to make a ceiling grid.

These tiles have a little flap that you place the new tile over, so you want to make sure you have them all laid out right and understand how they are positioned before you get started.
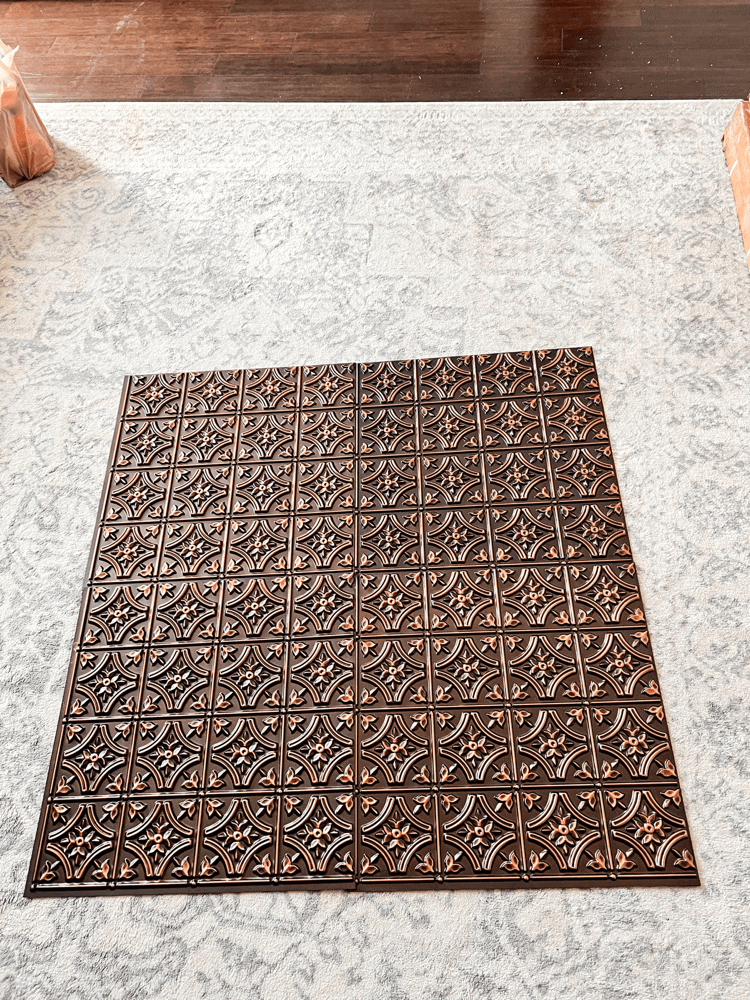
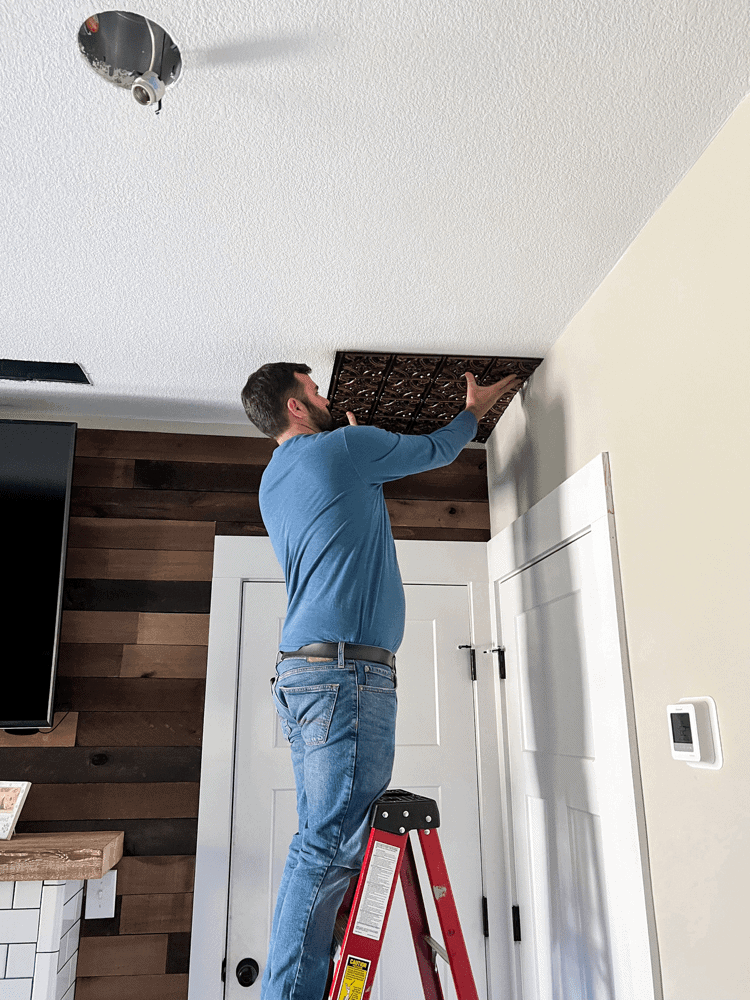
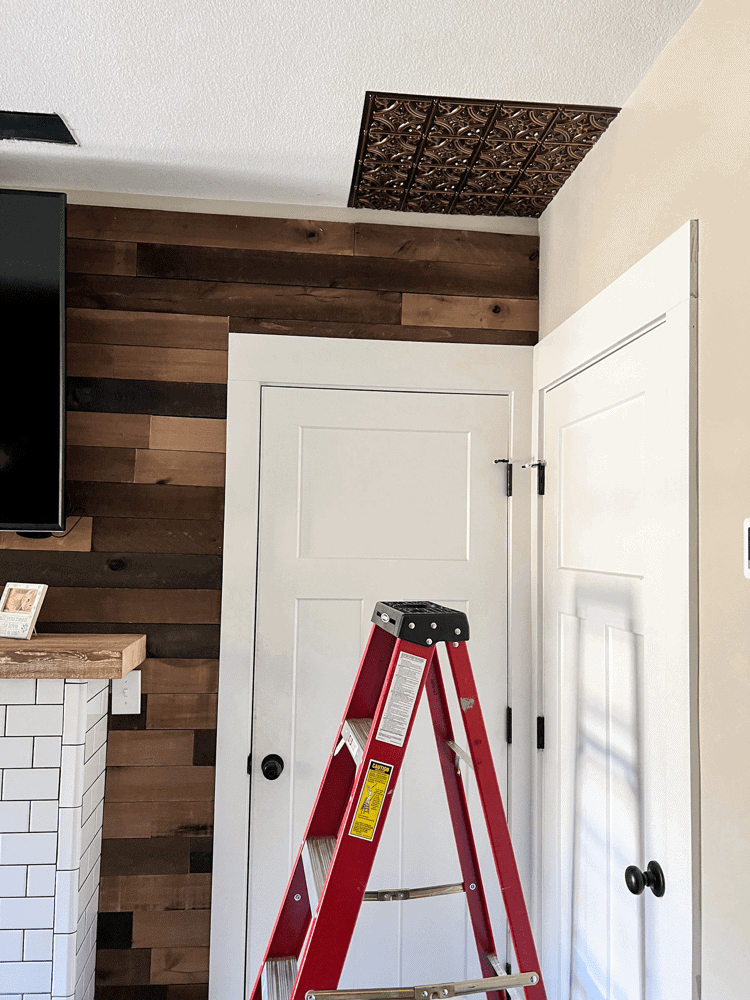
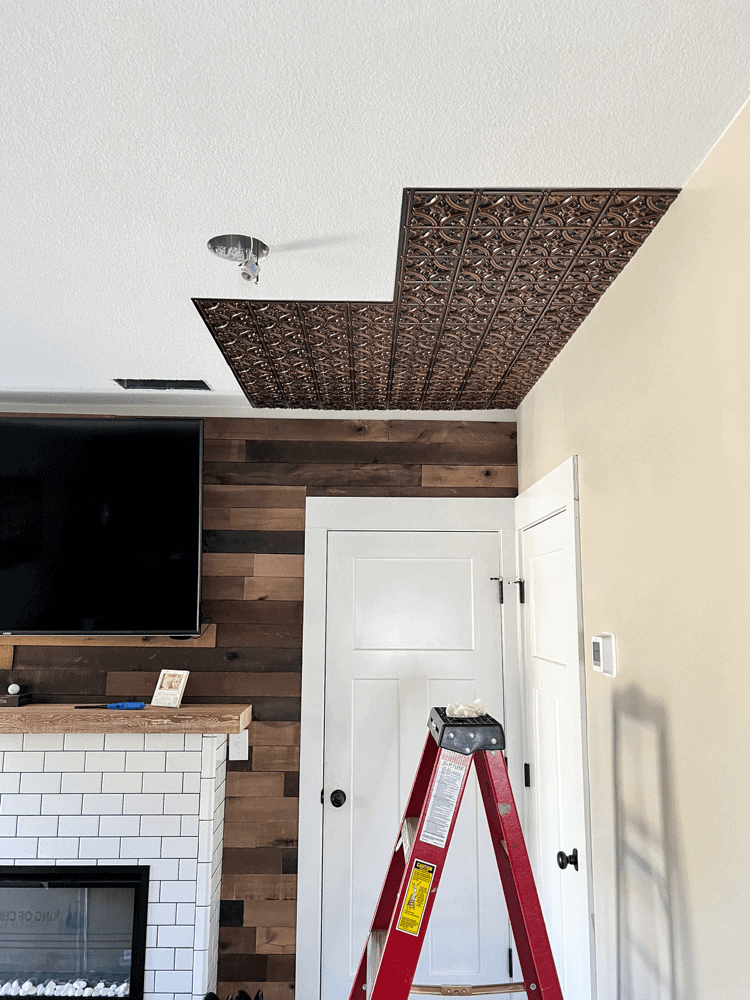
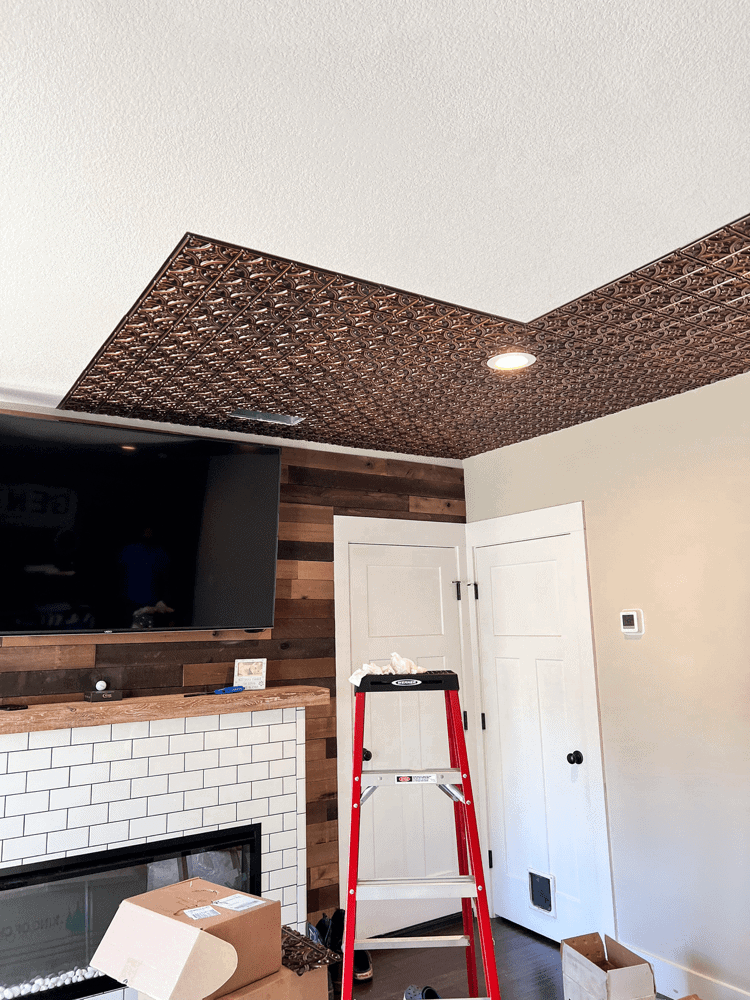
We started in the very corner of the room and placed the first tile there. Continuing there with a straight edge, we added all the other ceiling tiles until we hit the back of the room. Then, repeated the process until all of the existing ceiling was covered with these beautiful DIY ceiling tiles!
What Tool is Used to Cut Ceiling Tiles?
Now of course we had to make some cuts into the tiles to account for where the light fixtures go and all that. So the best tool we used to cut the ceiling tiles was actually just a utility knife and/or box cutter!
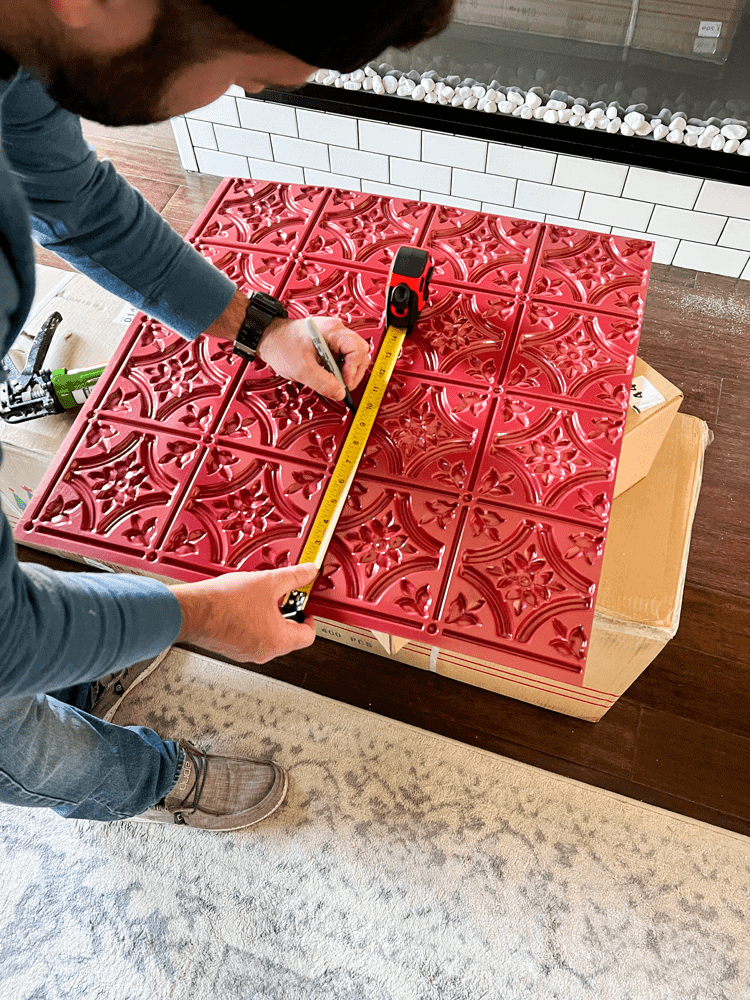
We outlined the spot where the light fixture would go with a Sharpie, and then just cut it out with the knife. However, for the straight cuts, we did use a saw of course.
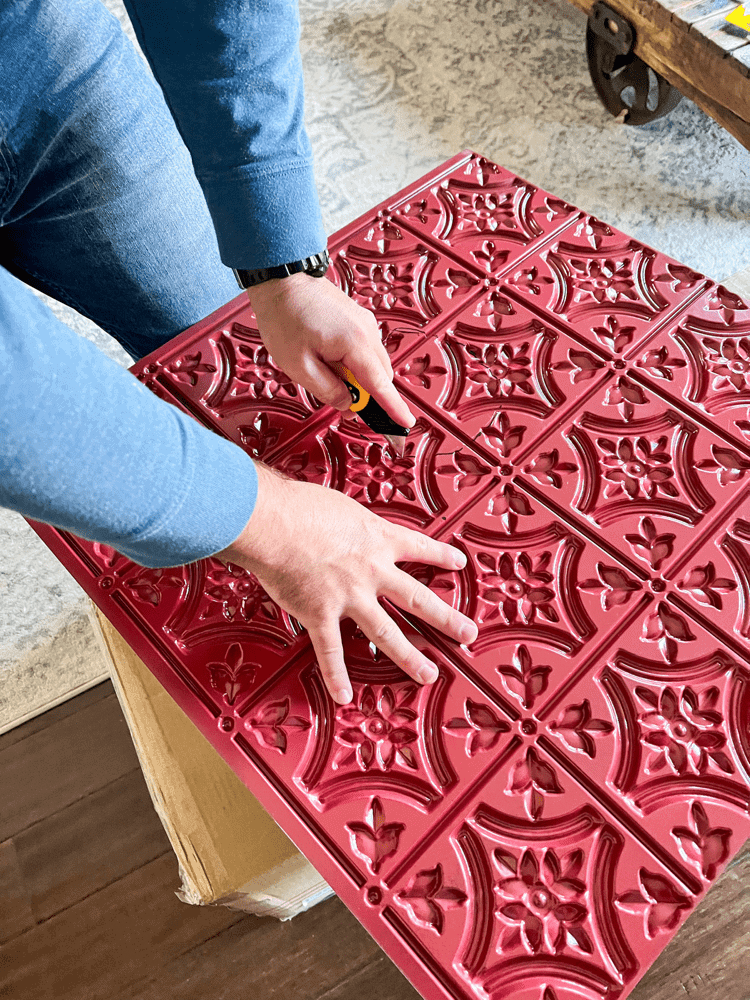
This is where most of our damaged tiles came from. We either cut too much out or not enough or the lines weren’t straight enough. Hence, why I recommend you order more than you really need!
How to Add Adhesive to the DIY Ceiling Tiles
I talked a little about this at the beginning, but wanted to really showcase how we added the adhesive to each and every tile. If you see the picture below, you can tell just how much we used.
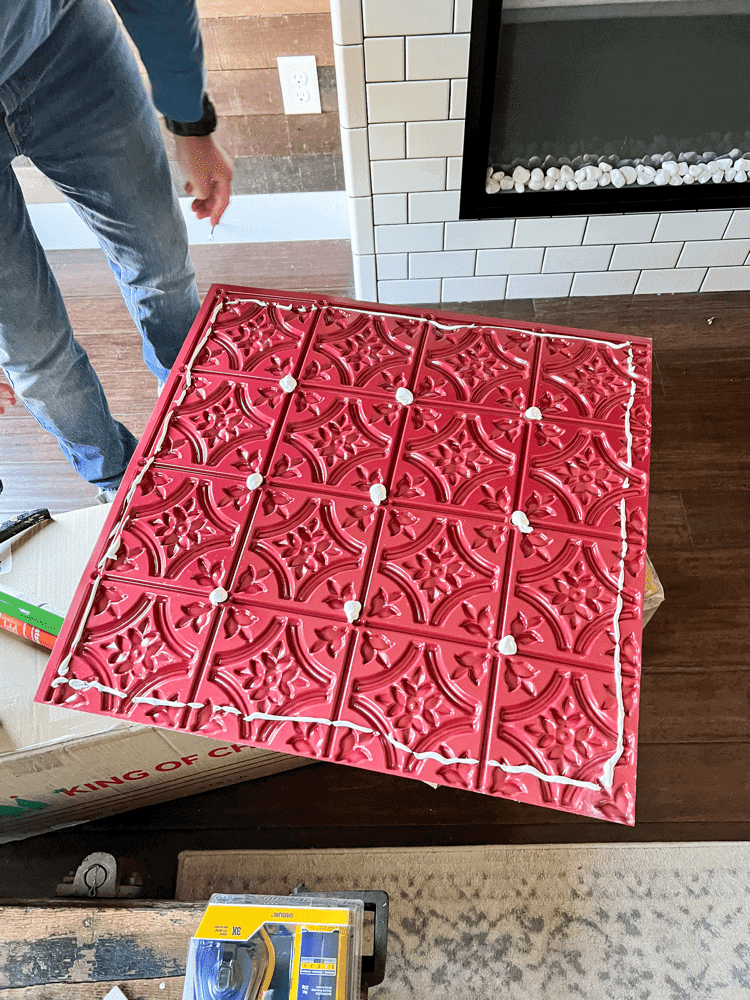
We put nine big dots right in the middle, and then a whole outline around the back of the tiles. Also, while we would hold onto the tile on the ceiling, we noticed sometimes it would still droop down. So again, we would add a little extra dollop of it to get it to stick right.
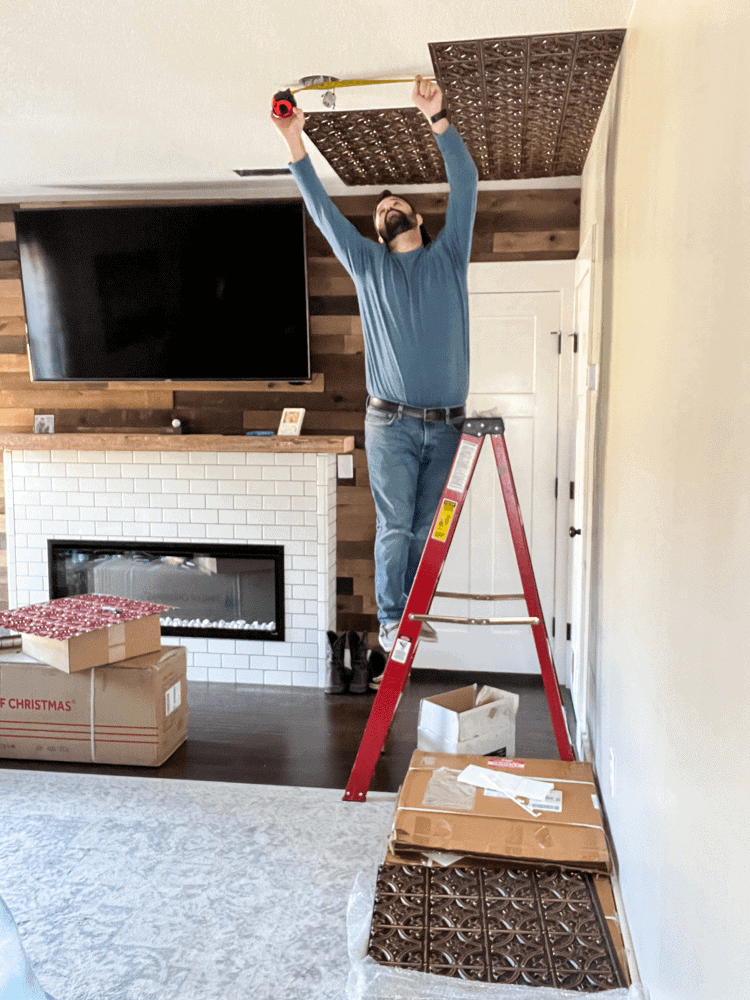
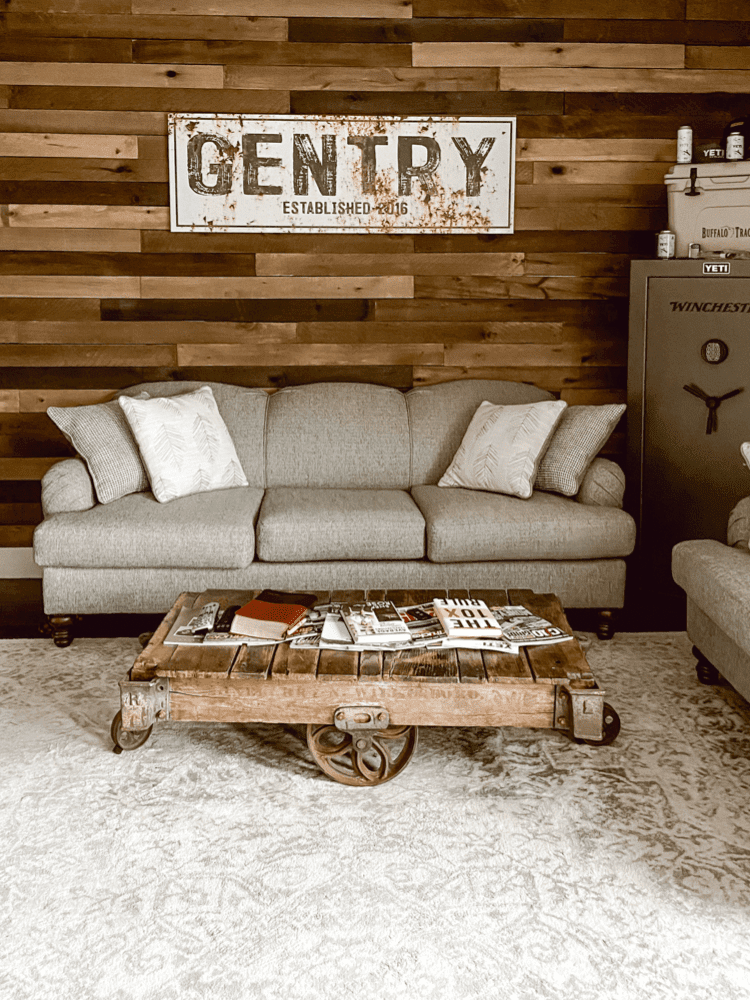
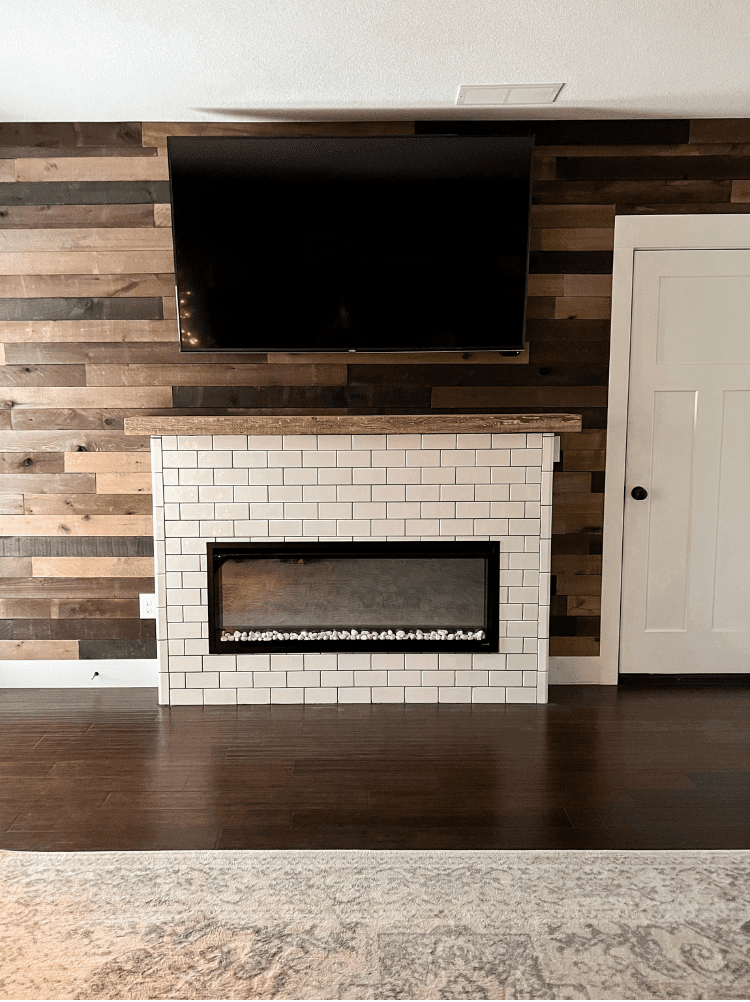
And that’s really all there is to it. It really is such an easy installation process and these decorative tiles were the best to work with! They also look absolutely amazing with our wooden planks below we have as shiplap. I love the dark color contrast and all the texture it brings to the room!
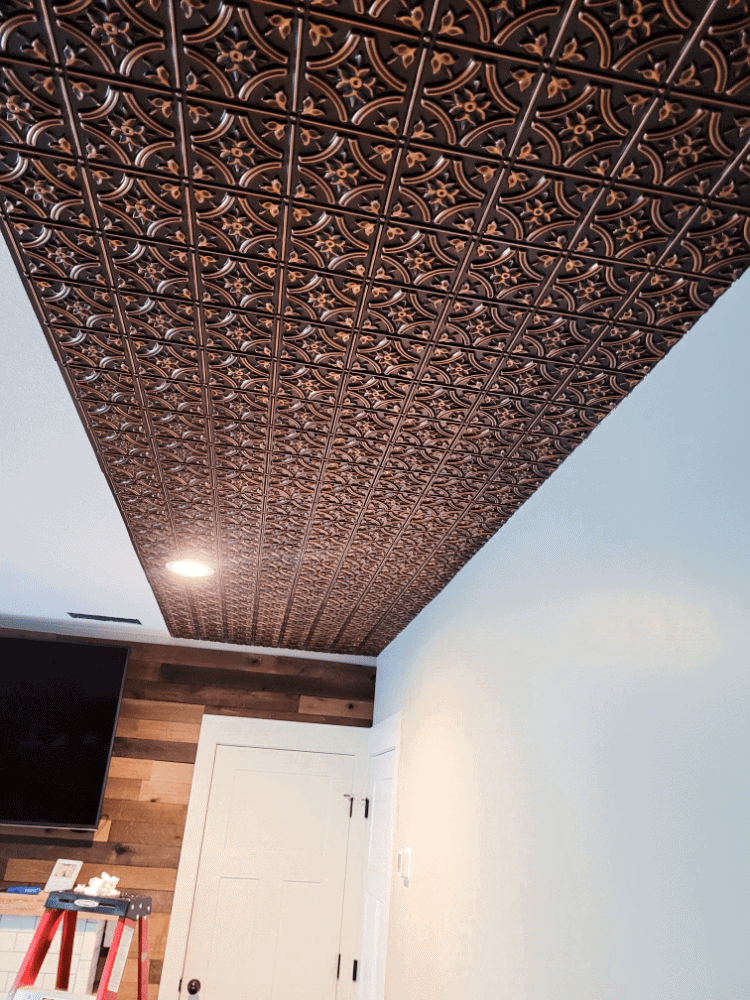
Adding Crown Molding
The last step to complete this project was to add crown molding against these DIY ceiling tiles. I will admit, we tried out the crown molding from Decorative Ceiling Tiles too, but it just did not work out for us.
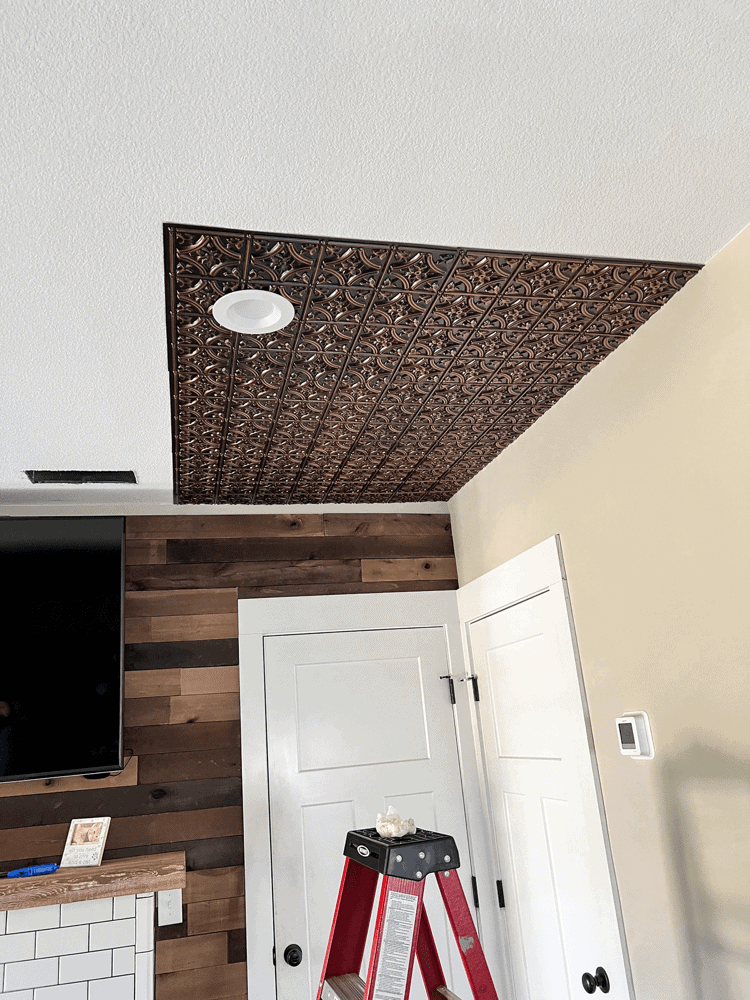
I don’t know if it was because we were trying to glue it to the shiplap beneath the ceiling or what, but it would not stick. We tried several times, but it kept falling off. So that was probably the biggest issue we experienced when trying to complete the project.
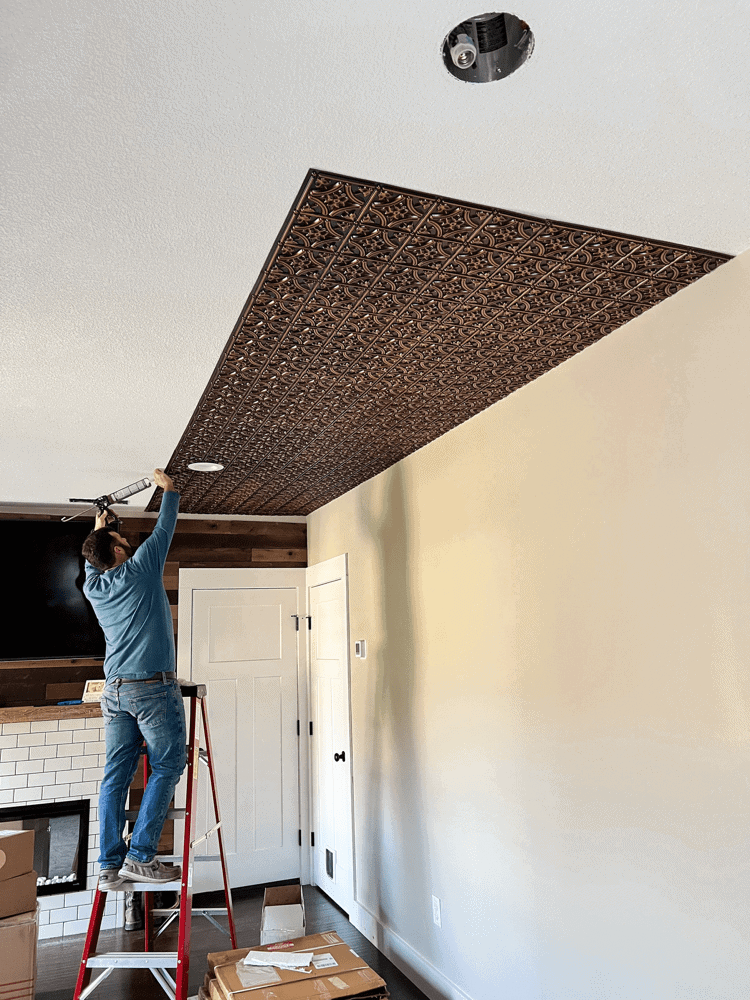
But, no worries, we pivoted and figured out a better solution! Instead, we had extra shiplap (which I got from Weaber Lumber and love it!) and decided to use that as trim pieces instead.
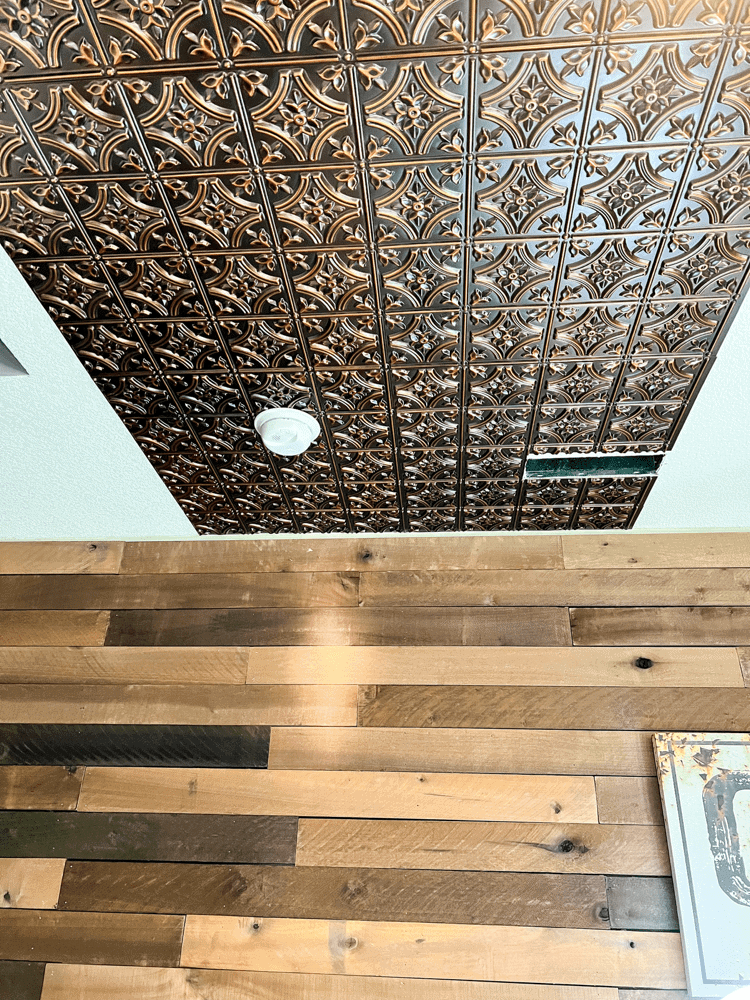
And it worked out just fine. It definitely gave it more straight lines against the ceiling surface, which in turn gave it a more clean and finished look.
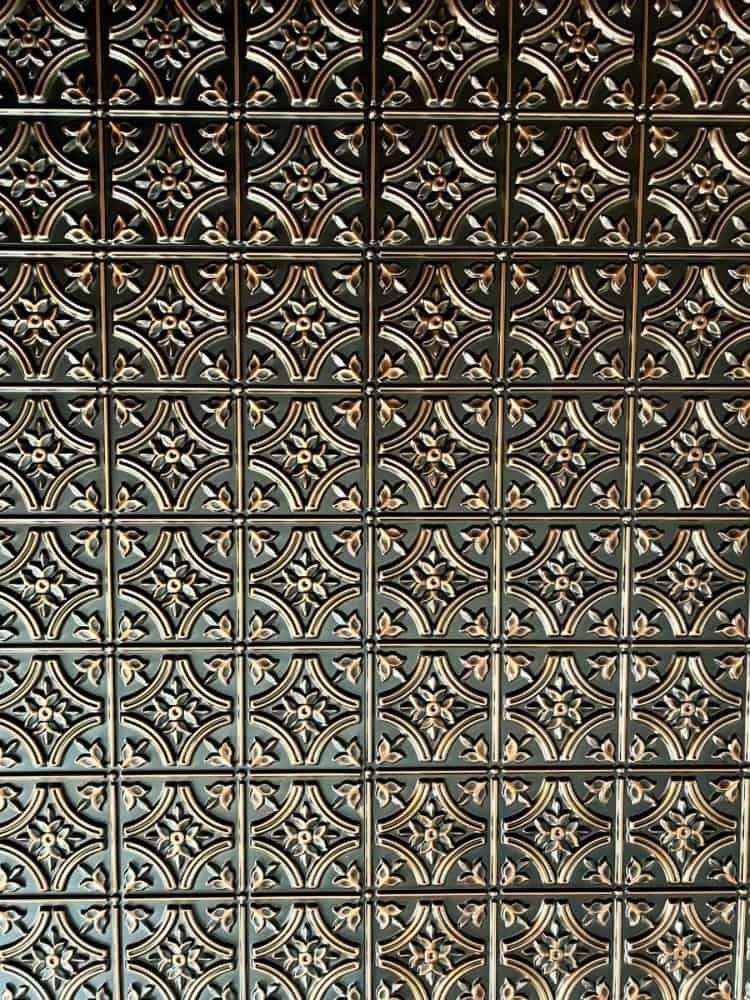
Final Thoughts
This simple update really made a world of a difference when it came to our downstairs area. We are definitely loving the new ceiling and can’t stop looking at it! It’s one of the easiest ceiling projects you can do and the best solution for covering a poor ceiling.

If you’re worried or intimidated by it like we were to begin with, don’t be! Start with a small space and go from there! Don’t start with a main ceiling space until you get the hang of it.
But trust me, you’ll be fine! And the end results are so worth it! It gives our room such a unique look and it makes it feel like we spent a ton of money on our ceiling, even though we really didn’t!
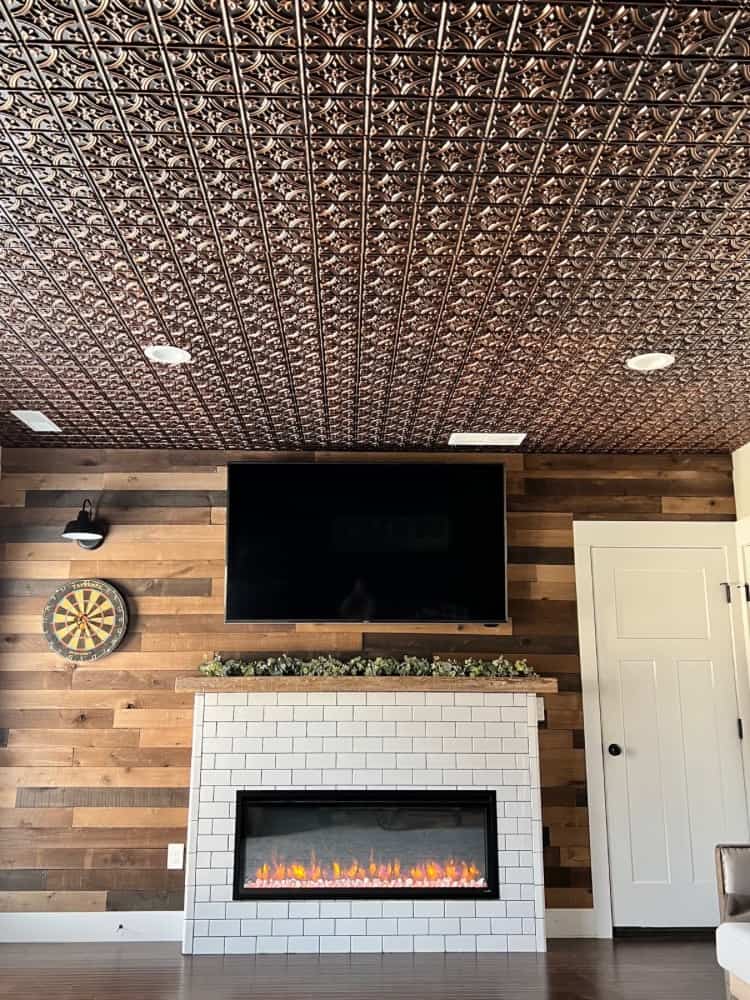
If you’re looking for one of the easiest ways to upgrade your old ceiling too, then definitely check out Decorative Ceiling Tiles and see what you like! And if you have added DIY ceiling tiles to your home before too, tell me all about it below! I would love to hear how your project turned out for you as well!



A very creative idea, I love the style of the tiles you have used x
Lucy | http://www.lucymary.co.uk
Thank you, I love them too!
I dislike painting ceilings but this looks easier and is a unique way to spice up a room! Thanks for the detailed tips!
Thank you, it definitely spiced up the room for sure!
I have stucko ceilings do I need any special kind of glue or do I need to sand the ceiling before applying?
I don’t believe you need to sand your ceilings before starting. And you just use the glue that I mentioned above in the post. It is also from Decorative Ceiling Tiles. I will link the glue here for you!