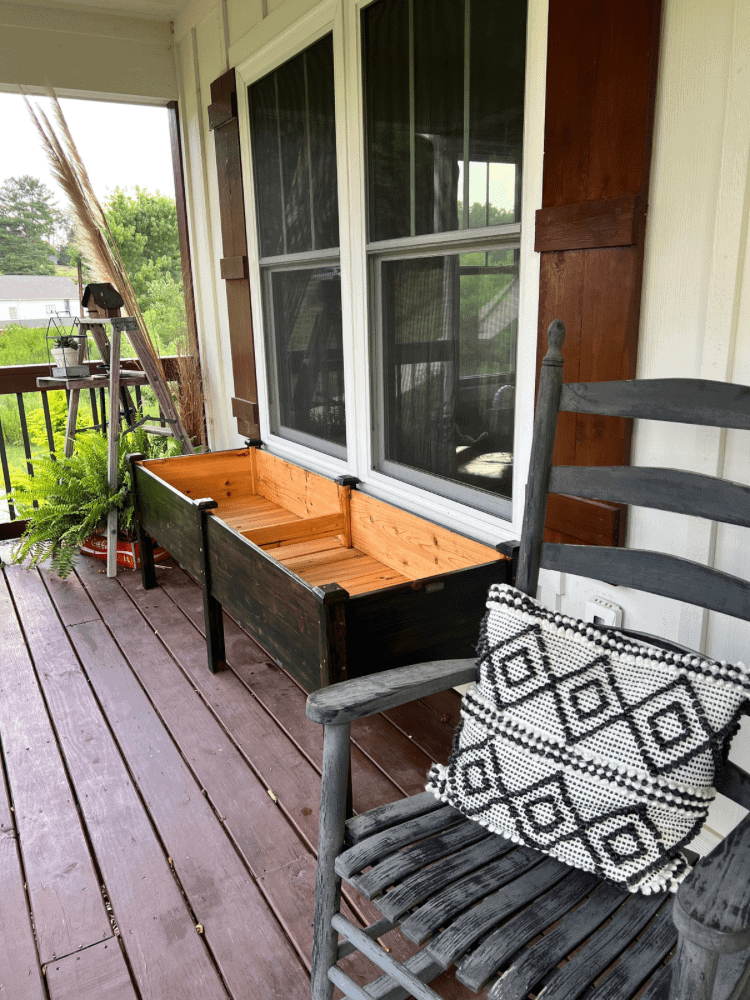
If you’re wondering how to create a non toxic raised garden bed, I am here to show you just how it’s done. And spoiler alert, it’s pretty easy! Especially with Waterlox products!
Now, we didn’t completely build our raised garden bed from scratch. I did end up purchasing one off of Amazon, but we wanted to tweak it and make it more custom.
And to do that, I wanted to stain it. But I also wanted to make sure it was non toxic and food safe. Especially if I wanted to start planting food and/or vegetables in it eventually. So I needed to make sure I was using the right products for that.
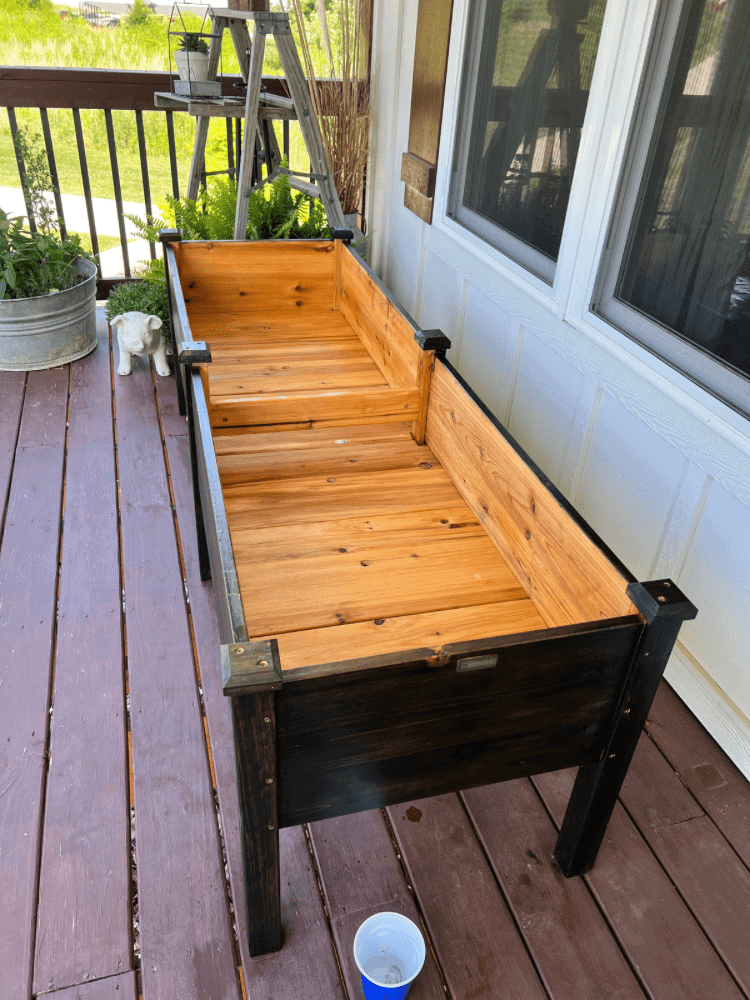
The raised bed material we purchased was just unfinished fir wood. It is advertised as a rot-resistant wood, and while I could have just left it as is, I didn’t love the color of it on our front porch. Hence why I wanted to stain in and make it more custom.
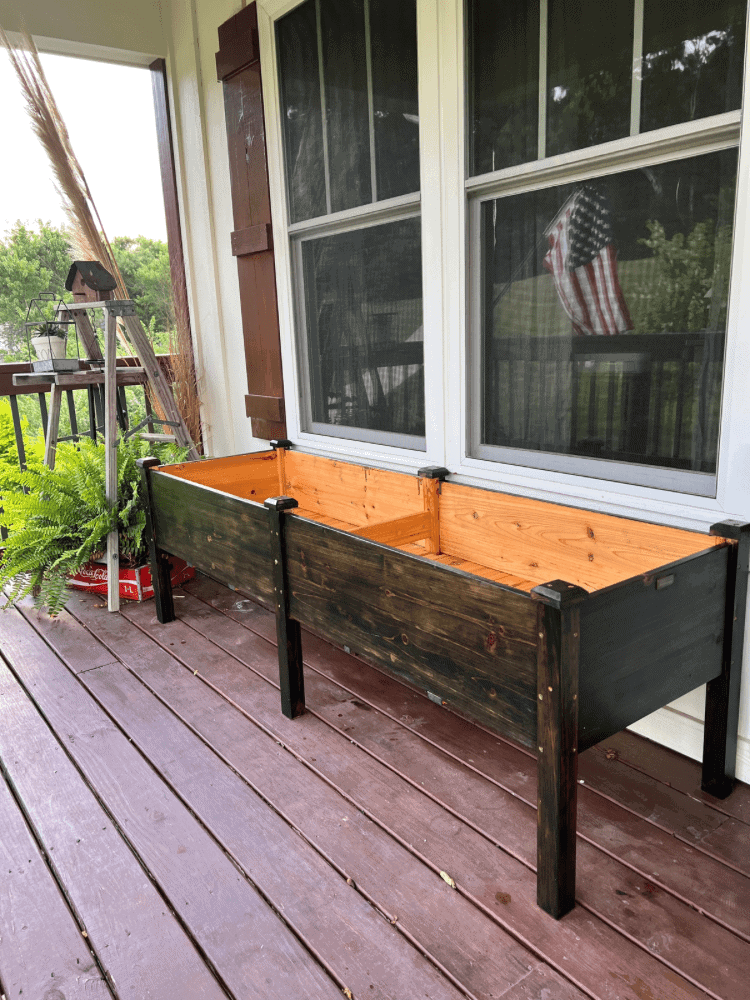
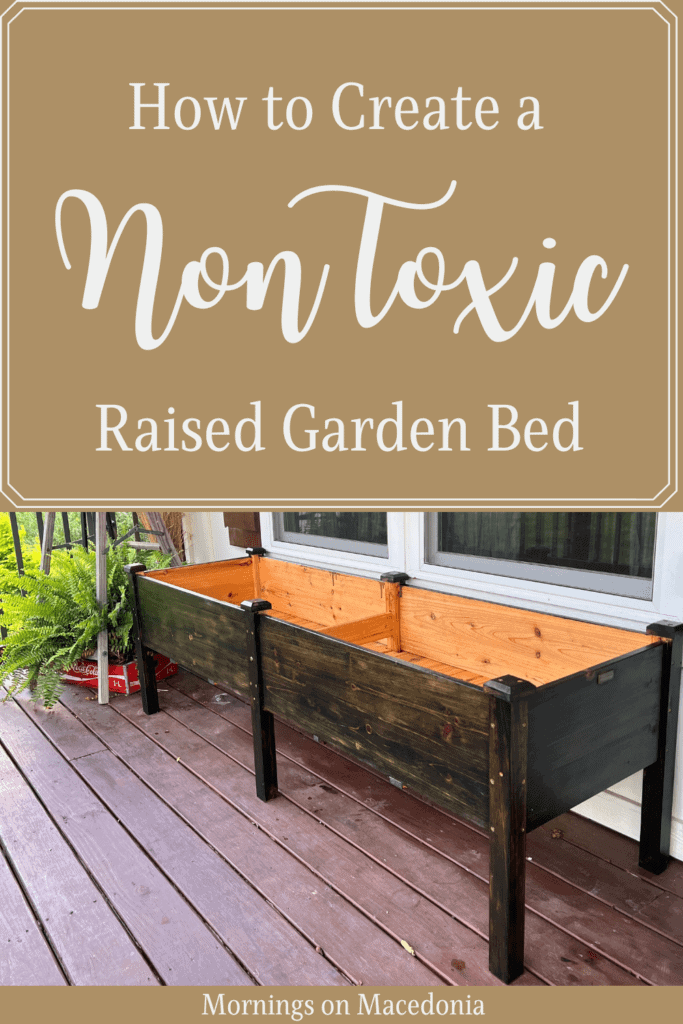
So today I am going to take you through the whole process on how to create a non toxic raised garden bed and just how easy and simple it can be! I absolutely love the modern look this raised bed has and love the fact that it is truly non-toxic even more!
Keep on reading to see how we took this store bough raised bed, and made it into a custom, organic raised bed garden that is perfect for our porch!
This post also contains affiliate links, which means I make a small commission off anything you purchase through here, at no additional cost to you. Please read my full disclosure policy for more details.
Raised Garden Bed Dimensions
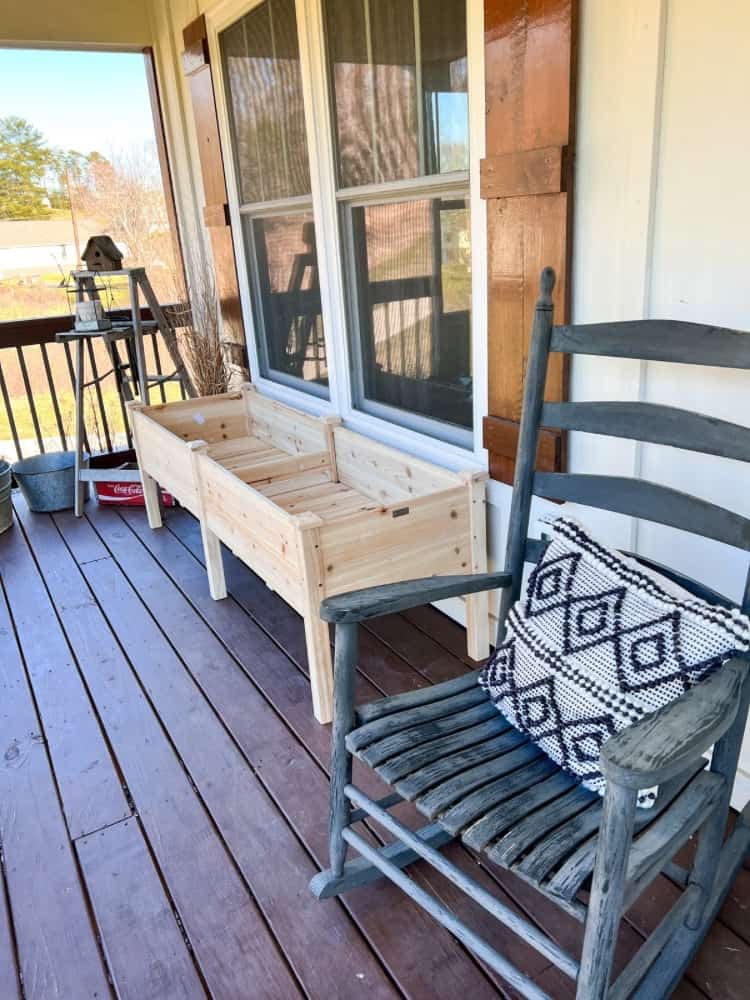
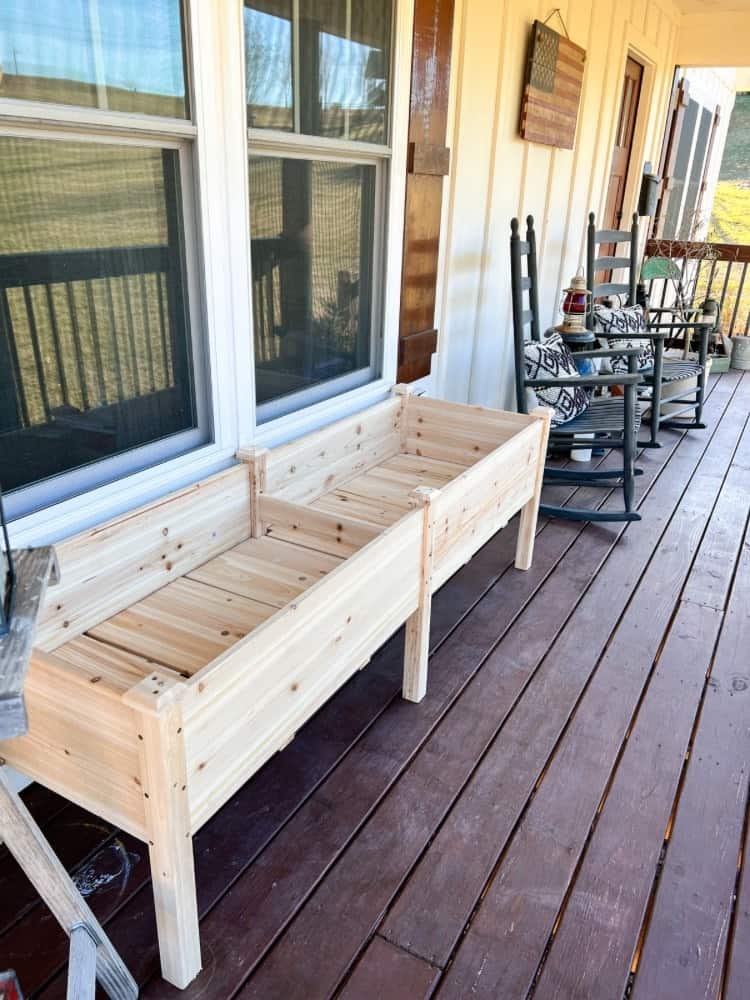
The first step is to make sure you have your dimensions correct for your raised garden bed. The one we ended up getting was 72x23x30 inches. And while the width of it was great for our porch, the height was a little too much. I’ll link the exact one we got below:
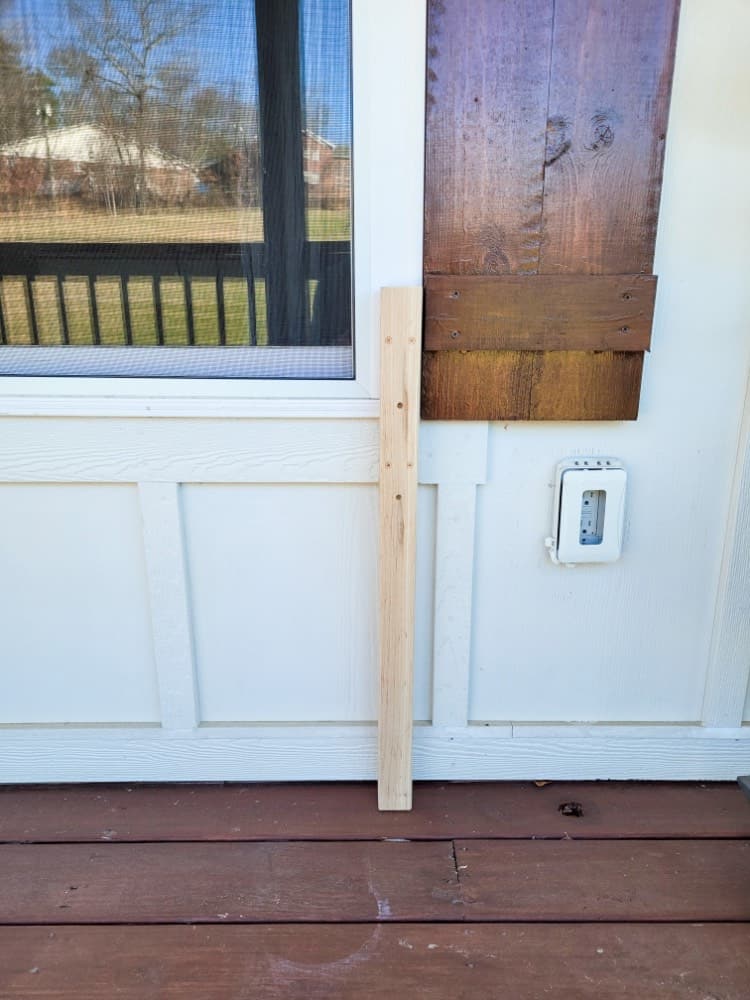
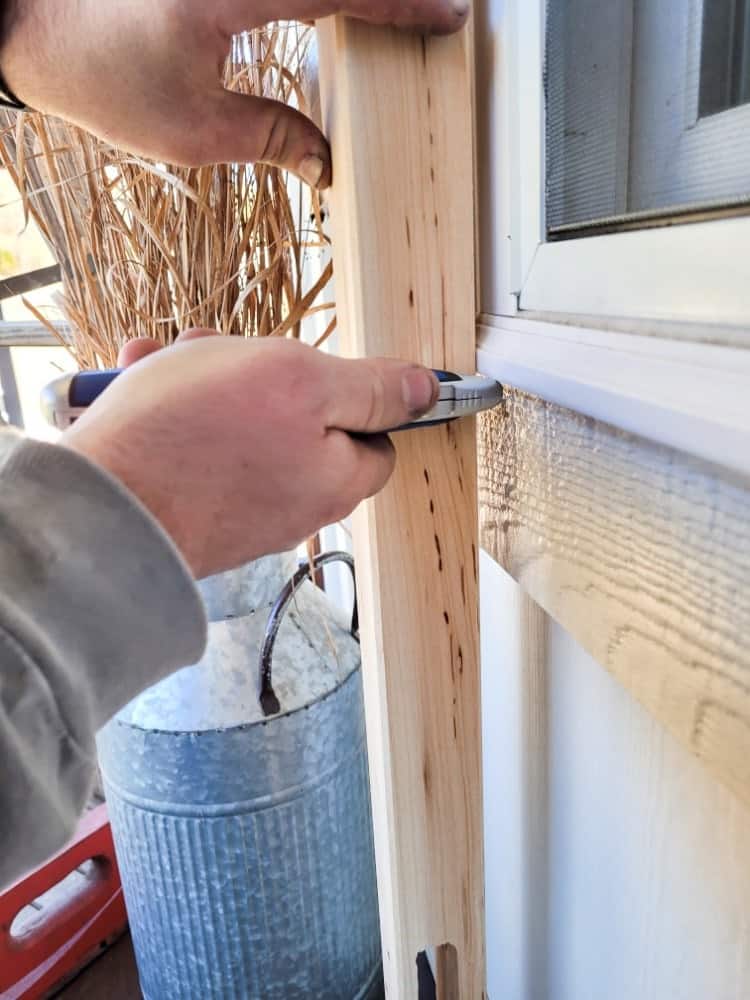
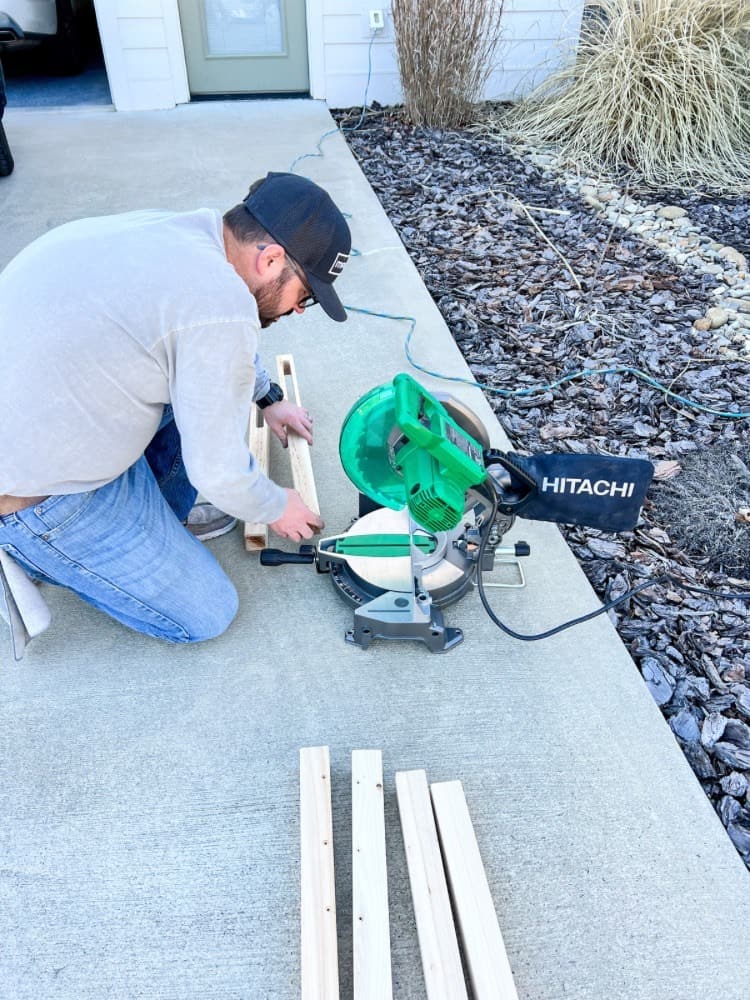
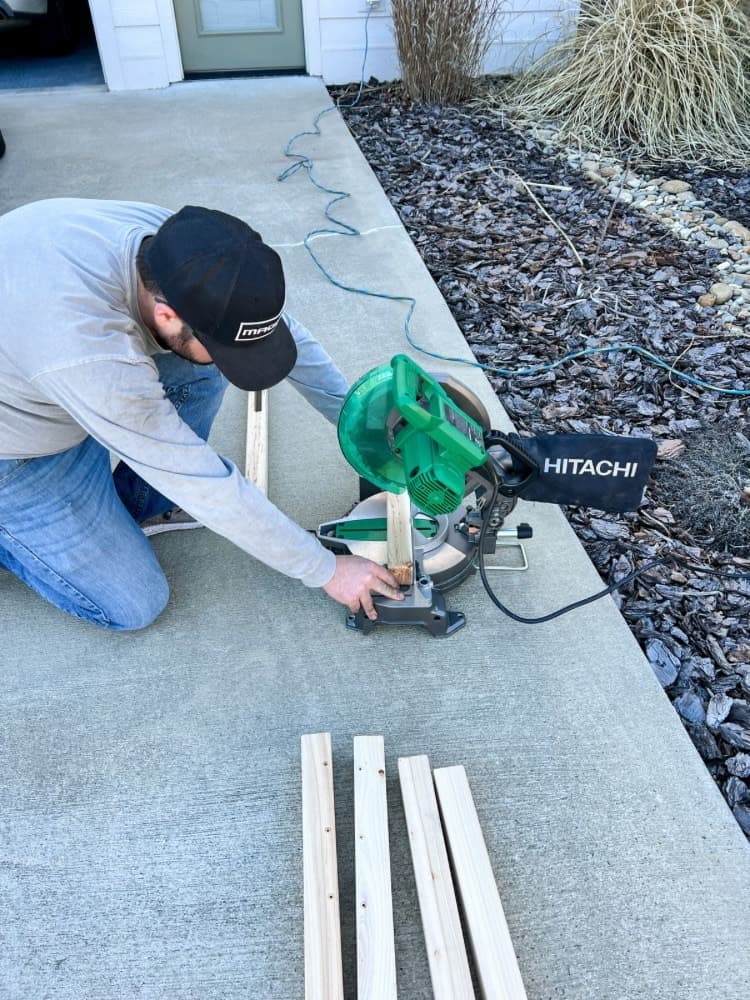
My vision for this elevated garden bed was to make it kind of like a flower window box. So I wanted it to be the same height as the window on our porch. And it was a tad too long. To remedy that, we just simply sawed off a couple of inches on the legs.
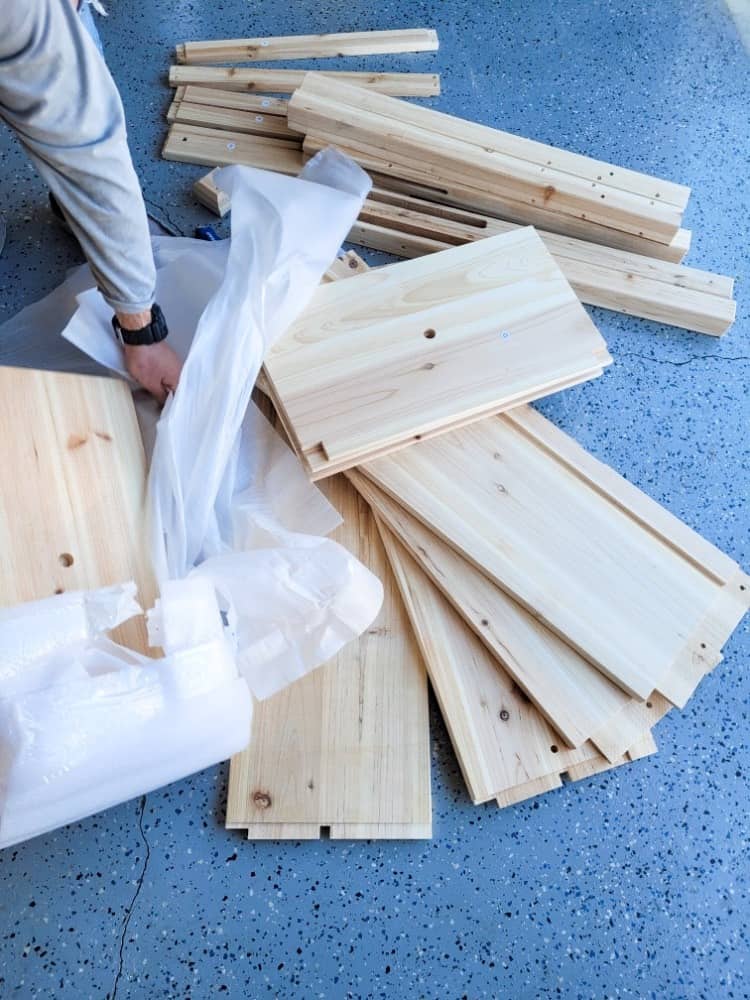
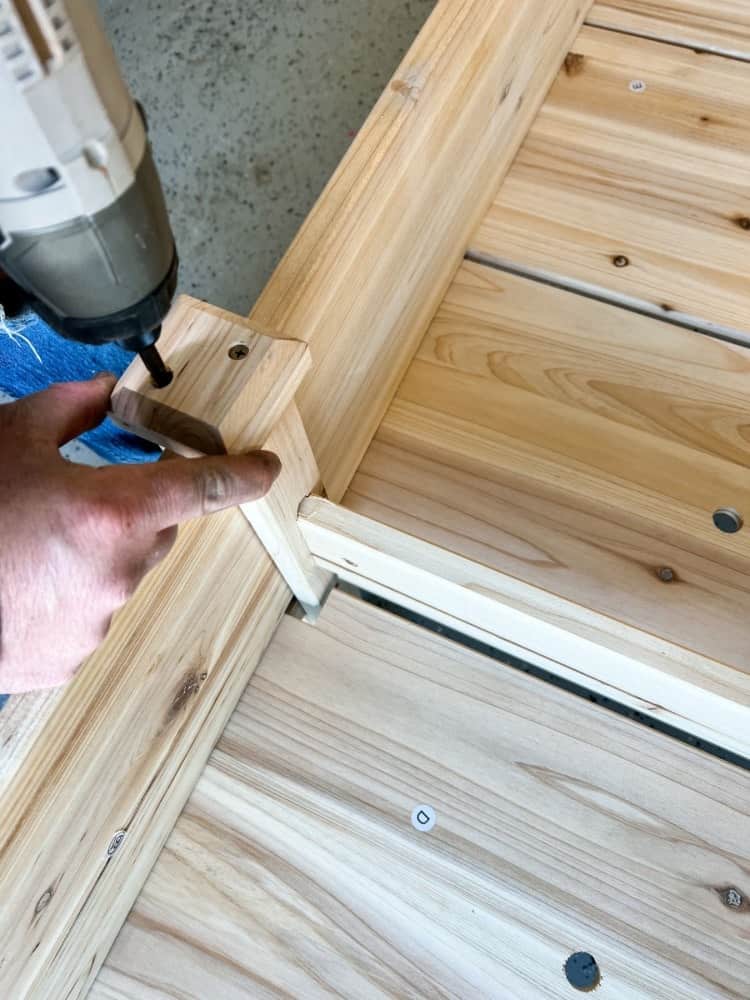
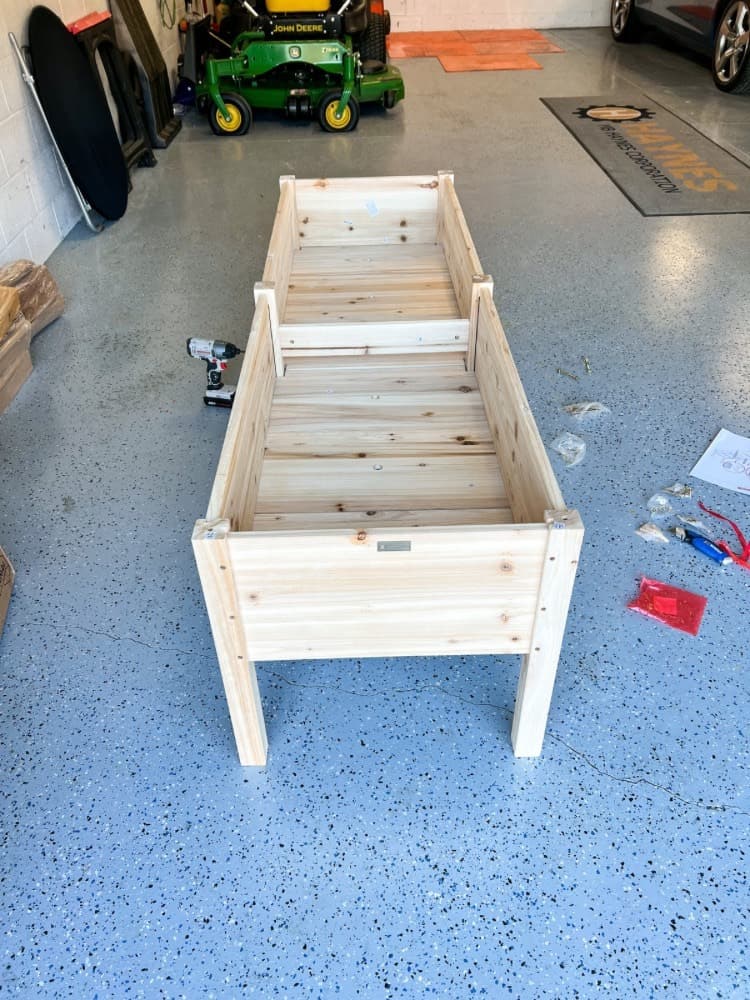
We just marked the spot on the legs with a marker, and then used a saw to cut it down to the correct size. Easy peasy! You may remember that we have some metal garden beds down by our stock tank pool area too.
With those, we didn’t do anything special to them. Just added in some garden soil and planted some blueberries, strawberries, and roses in them. However, for this raised garden bed, I wanted it to look even better since it was going on our front porch and you can see it from the driveway.
I don’t think a metal garden bed would have looked good here because they would have been too short for my vision! But, after cutting the legs down, we just needed to assemble the whole bed.
You could also build your own, but this is a great option if you’re short on time and just want a raised garden bed right away! Just get some ready to assemble garden bed kits and you are good to go!
What Stain Is Safe For Raised Garden Beds?
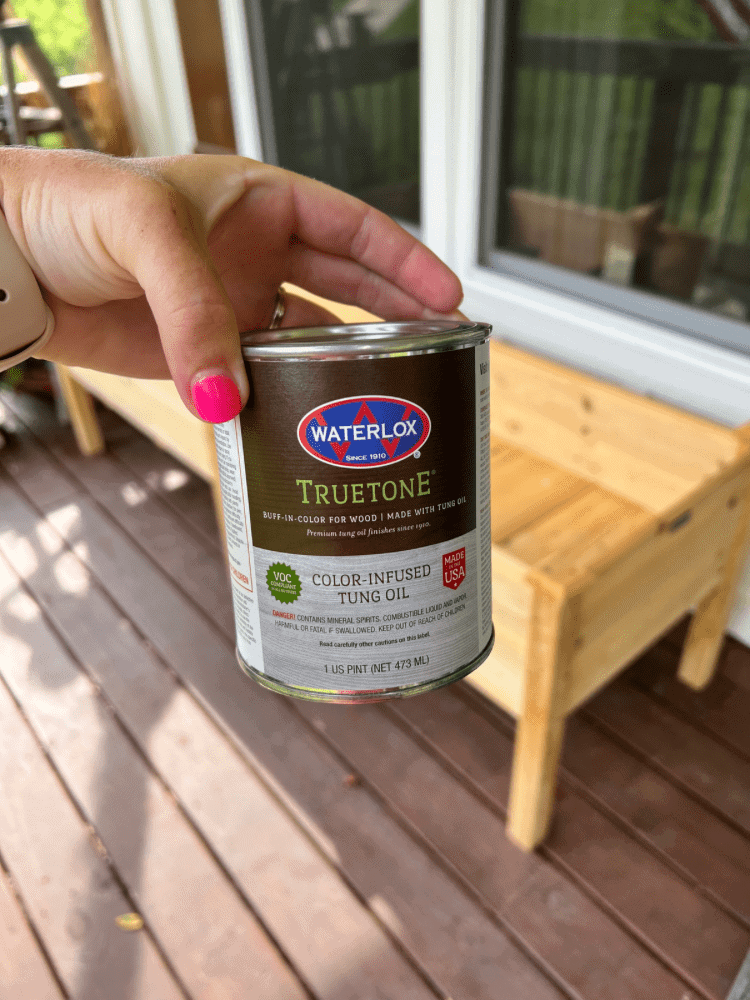
I used a combination of products from Waterlox products and I am going to share just how I used them to create a non toxic raised garden bed. The first product I used was their Waterlox TRUETONE Formula. This formula enhances the color and grain of the wood you are using with a buff-in color infusing tung oil.
It comes in 11 different colors and adds a rich color and water resistant protection. This formula is also easy to maintain, has a low odor, and is VOC compliant. You definitely want to use this product if you have anything that has untreated wood!
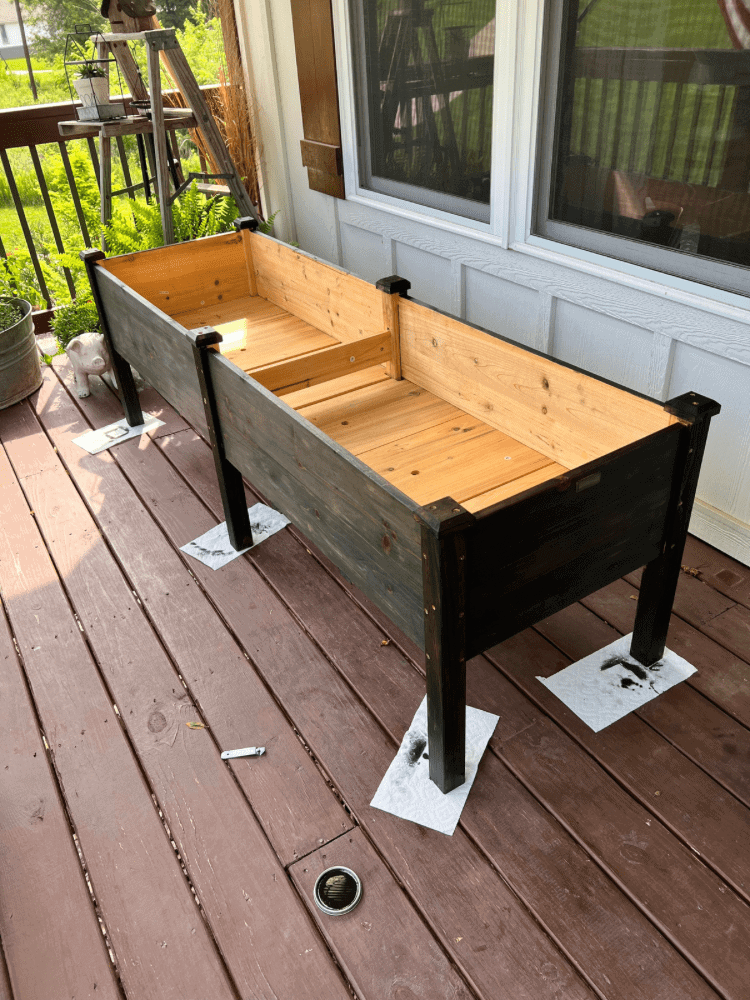
I personally used the color Ebony for this formula and loved how it turned out. I thought it would work really well on our porch since we already have the darker colored rocking chairs and it does!
How to Use Waterlox TRUETONE Formula
To use this product, you first want to stir the can thoroughly. Do not shake the can like paint! Then, to apply it to the raised garden bed, you are going to want to buff it in. You apply it kind of like you would a wax material. Buff it in with a rag, and let it dry 24-48 hours.
After it’s done drying, you’re going to want to buff out the excess with another rag. You only apply one coat of this. Applying more than one coat doesn’t affect how much color goes onto the type of wood you are using.
The Waterlox TRUETONE Formula is non-toxic when it is completely dried and cured. So this is a great choice over other water-based stains if you’re looking to truly create a non-toxic raised garden bed. Also, 90% of the resin portion of the formula is from renewable, natural resources as well.
This product is best used on interior wood surfaces, but you can also use on exterior wood surfaces as long as they are not in direct sunlight. Which, my raised bed is not because it is under our covered porch. However, you can also use this product in combination their MARINE Finishes for direct sunlight/UV projects.
You could also use a non-toxic paint to cover the organic raised garden bed with, but I wanted more of a wood stain look instead of paint.
Applying Waterlox MARINE Satin Finish
The next step for this non-toxic raised garden bed is to apply the MARINE Satin Finish once the TRUETONE formula is completely dry. This product preserves the beauty and integrity of outdoor and marine wood projects. The resin-modified Tung Oil in this formula provides a protective and elastic finish against sun/UV rays, harsh weather and moisture exposure.
So you really need to use this non-toxic waterproof sealant in order to preserve the life of your raised garden bed. It also comes in two finishes- satin sheen and high gloss. I went with the satin sheen for my project.
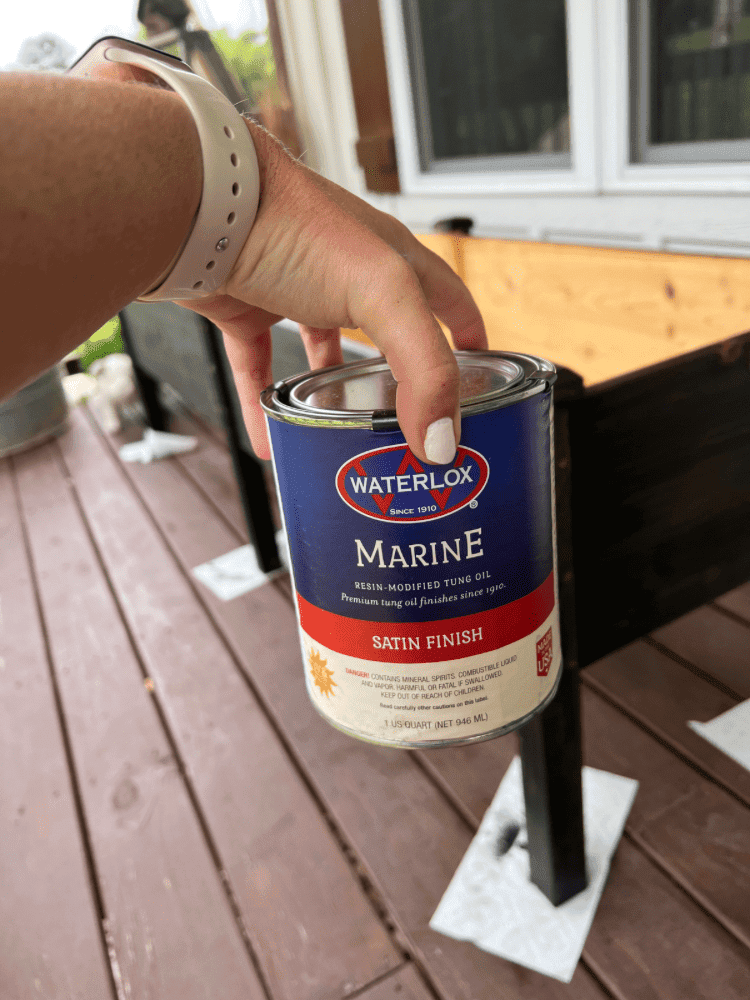
How to Use Waterlox MARINE Finish
This product is much more easier to maintain than other exterior clear or surface finishes. However, it is not recommended to be used on pressure-treated wood so keep that in mind.
To apply this product to my raised garden bed, I just brushed it on over top of the TRUETONE formula and let it dry a full 24 hours before applying another coat. I did a total of 3 coats, letting each coat dry 24 hours in between.
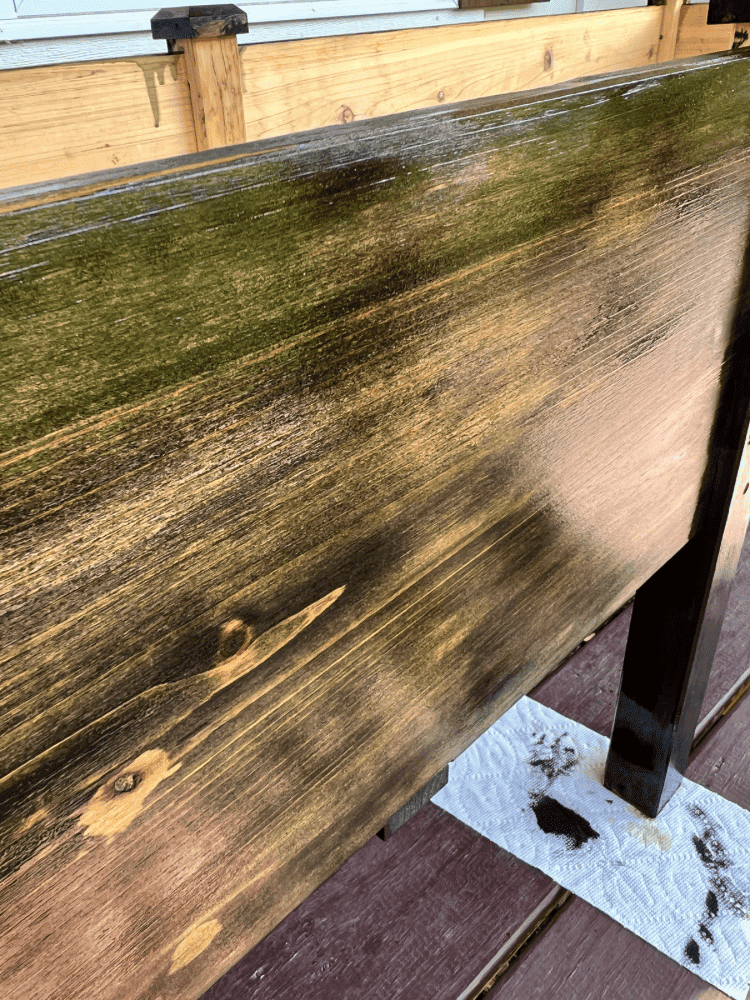
I know it seems like a long time to do all these steps, but in order to truly create a non toxic raised bed, this is the best way to do it! Plus, the Waterlox products are only non-toxic when fully dried and fully cured as I mentioned above, so it’s important to follow all these steps correctly.
Applying Waterlox MARINE Sealer
The last step is to apply the MARINE Sealer to the inside of the garden bed. This product is an exterior base/sealer coat for use on a hard surface with the MARINE finishing system. You must use a Waterlox MARINE Finish when using Waterlox MARINE Sealer.
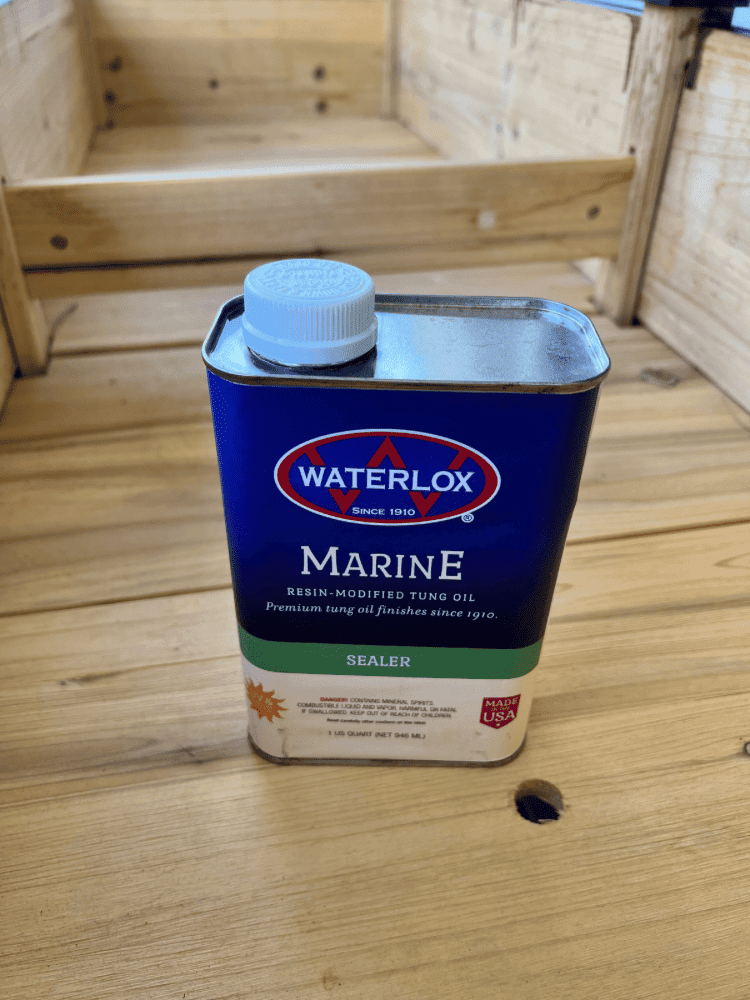
This product is not recommended for use on new pressure-treated wood (requires a 6 – 8 week weathering period) or lumber that is water-repellent treated (requires a minimum 12 month weathering period).
Before applying to the inside of the planter boxes, I wiped it all down with a damp rag, ensuring there wasn’t any dirt or debris inside before applying the sealer. Again, make sure to stir this product and not shake it, just like all the other Waterlox products as well. Then, I applied it all inside using a paintbrush.
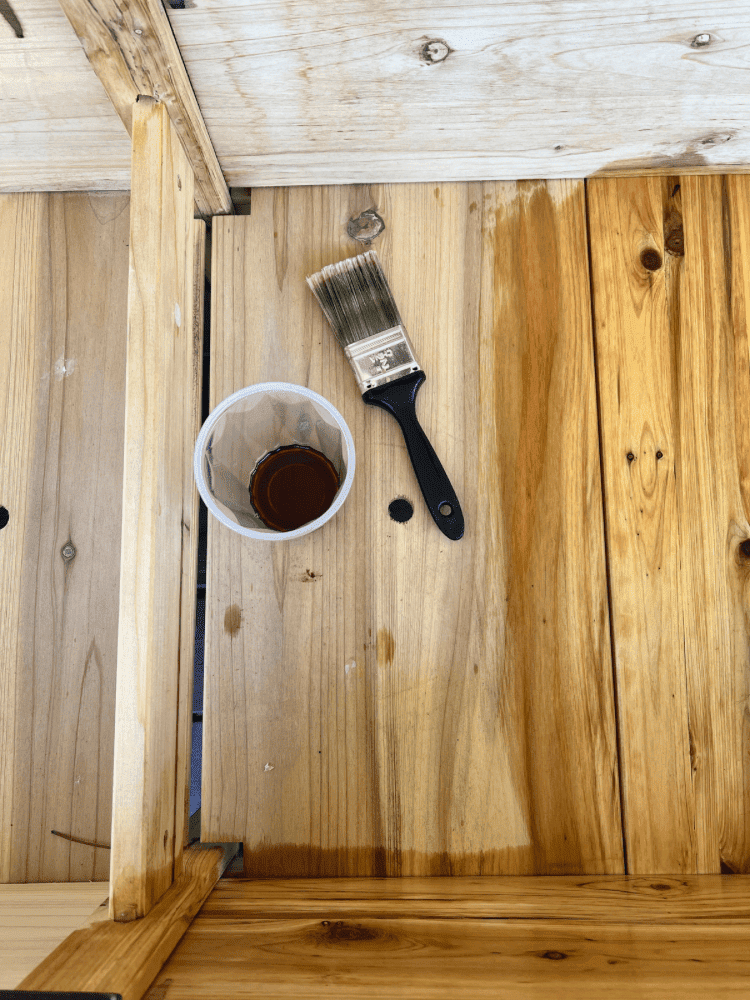
The next step is to let it fully cure and dry. Which means do not plant anything in it for 7 days. After that, you can fill it up with as much organic soil as you want and get to planting!
Enjoy Your Non Toxic Raised Garden Bed
Now that you have completed all the steps to creating a non-toxic raised garden bed, you can fully enjoy it during this growing season! I am a little late in the game getting this project finished, so I can’t wait to start planting some late summer and early fall root vegetables and/or flowers. I’ll have to consider what to plant since I am approaching the less than warmer growing environment season now.
I haven’t had much luck with vegetable gardens before, the deer and small animals around our house always seem to eat them before they are fully ready. But having this raised bed on our porch will probably help with that. I have yet to see a deer walk up onto our porch so I may be safe! I do have a pretty green thumb, but vegetables are new ball game to me.
What to Plant in Raised Garden Bed?!
Most likely, I may just plant a lot of beautiful flowers inside of it and use it more like a window box. Especially since I can see it straight out of my office window and I would love to see a bed full of beautiful flowers while I am working!
But no matter what I plant, I will of course keep you all updated and show you just what I do! And I am glad I created this non-toxic raised bed with Waterlox products and not harmful chemicals. That way, if I do decide to plant food inside it, I know that there are no toxic chemicals to harm me.
Organic gardening and human health are so important, and I try to make sure I am using the best material for that. And Waterlox is just perfect for that since it doesn’t have any harmful substances. So be sure to check them out if you’re looking to update a raised garden bed.
And, do y’all have a raised garden bed too? If so, I’d love to hear all about it! Whether you have metal beds, steel beds, a wood bed, or whatever! Let me know below and give me all the advice on what to plant right now!


I don’t have space to make this, but yours turned out great and I love how you explained everything. It makes replicating this easy. Good post!
Thank you so much. I am so glad you like it too!
This was really cool seeing it step by step. I haven’t thought much about the type of material that is healthier for growing food besides something as basic as certain plastics. This was also enlightening. Thank you.
No problem at all! I am glad you thought so too!