
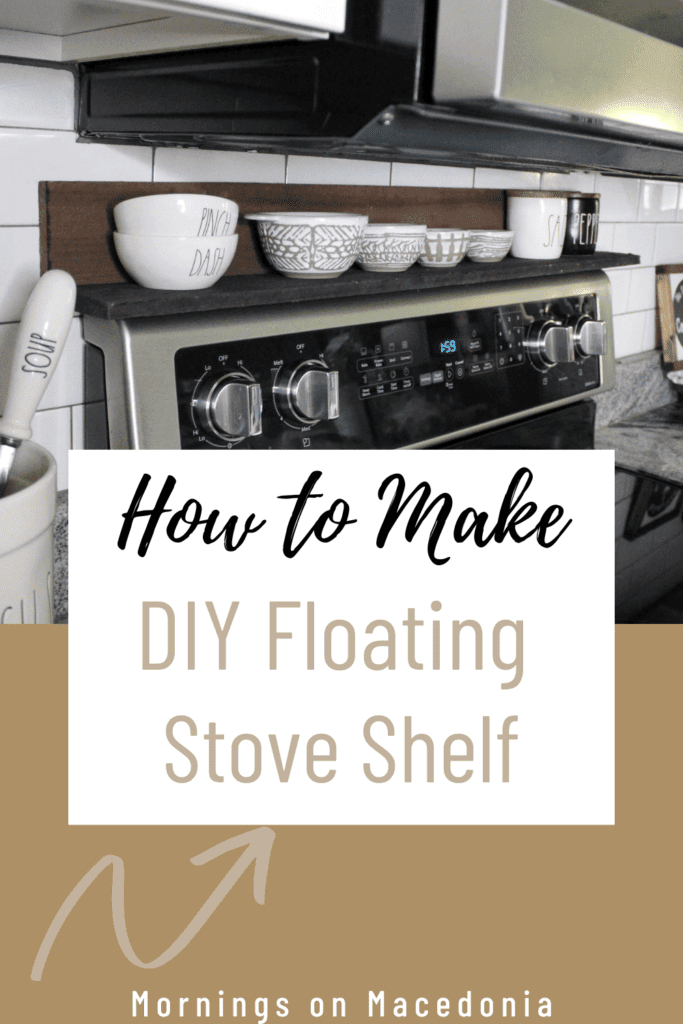
If you’re looking for a quick and easy DIY project, then this post is for you! I had some leftover wood laying around from a previous project, and figured I could put it to good use for something else. So I am going to show you just how to make a DIY floating wood shelf for your kitchen today!
It is beyond easy and doesn’t require much work or effort to build. And the end result is perfect! You will have a cute little display shelf that sits right above your oven. So you can display all kinds of cute little trinkets or vintage kitchen items you like!
I wasn’t too sure of how I would like the shelf once it was complete, but once I set it on the stove and started decorating it, I fell in love! It is such a cute and simple idea to give your kitchen a more personalized and custom touch to it! Keep on reading for my full step-by-step instructions on how to make this cute floating shelf!
This post contains affiliate links. Click here to read my privacy policy.
What Is The Best Wood To Use For DIY Floating Shelves?
As I mentioned above, I already had most of the supplies needed for this project. I had some leftover wood from Weaber Lumber, which y’all may remember we created a shiplap wall downstairs with this beautiful wood. So I thought it would be perfect to just reuse some of those pieces instead of buying new lumber for no reason.
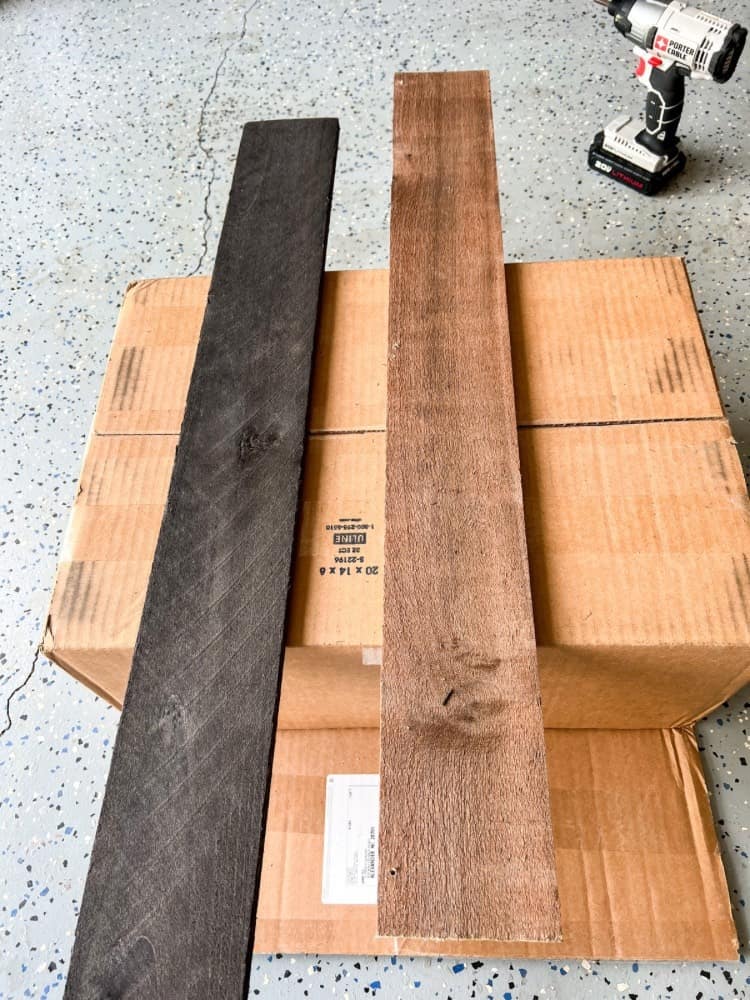

Really, any kind of wood or lumber would work just fine for this project. The goal here was to just reuse and repurpose some leftover wood I had, so it doesn’t need to be too fancy. Plus, you can always stain the wood after to match your color preference more!
But, the good thing about Weaber Lumber is that the wood is already stained, so I didn’t even have to worry about that part! Which makes this easy DIY ultimately more simple, if that’s even possible!
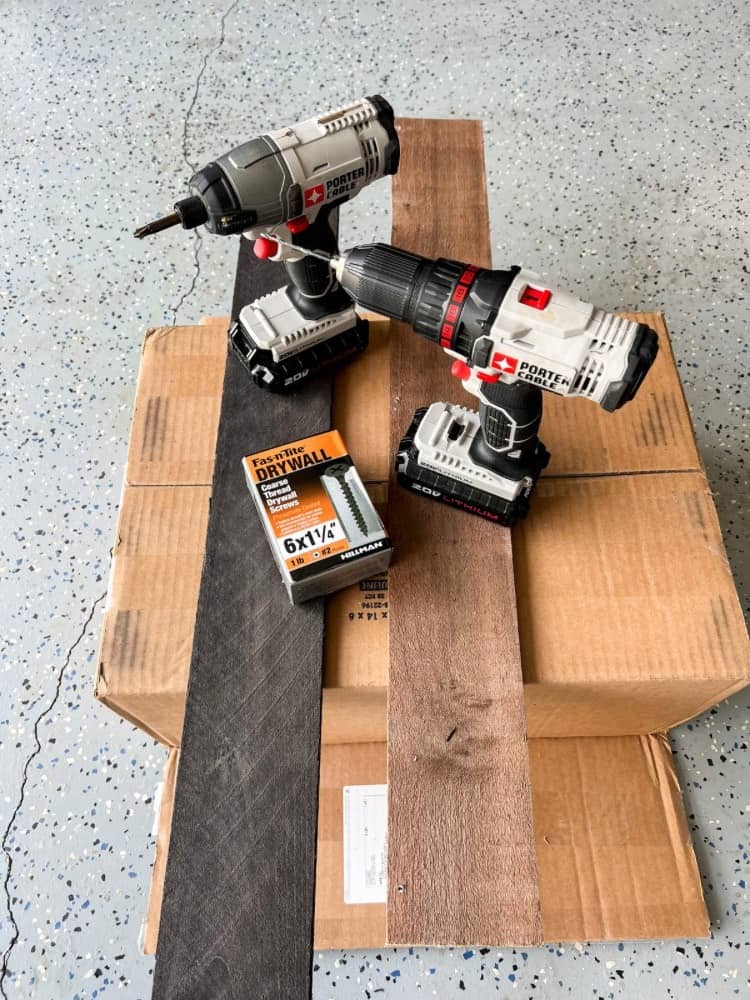
The only thing we needed to purchase was coarse thread drywall screws (6×1 1/4″). Which you can easily pickup at Home Depot or your local hardware store. Other than the wood and screws, the only other items you need are a tape measure, drill, circular saw, and some wood stain. So as you can see from this list, the supplies are really minimal!
Measure Your Shelf Space
The first thing you need to do is obviously measure your space where you want to place this DIY floating shelf at. Like I mentioned above, we placed ours on the stove as a little display shelf. So I just measured the dimensions of that area to be sure I had the correct measurements.
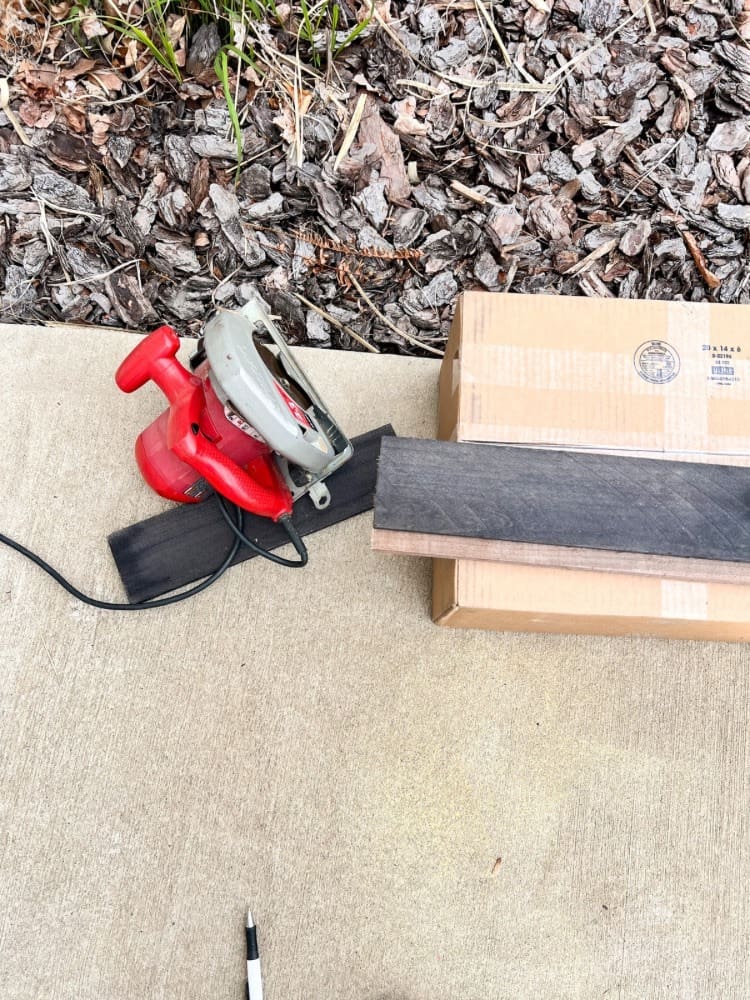
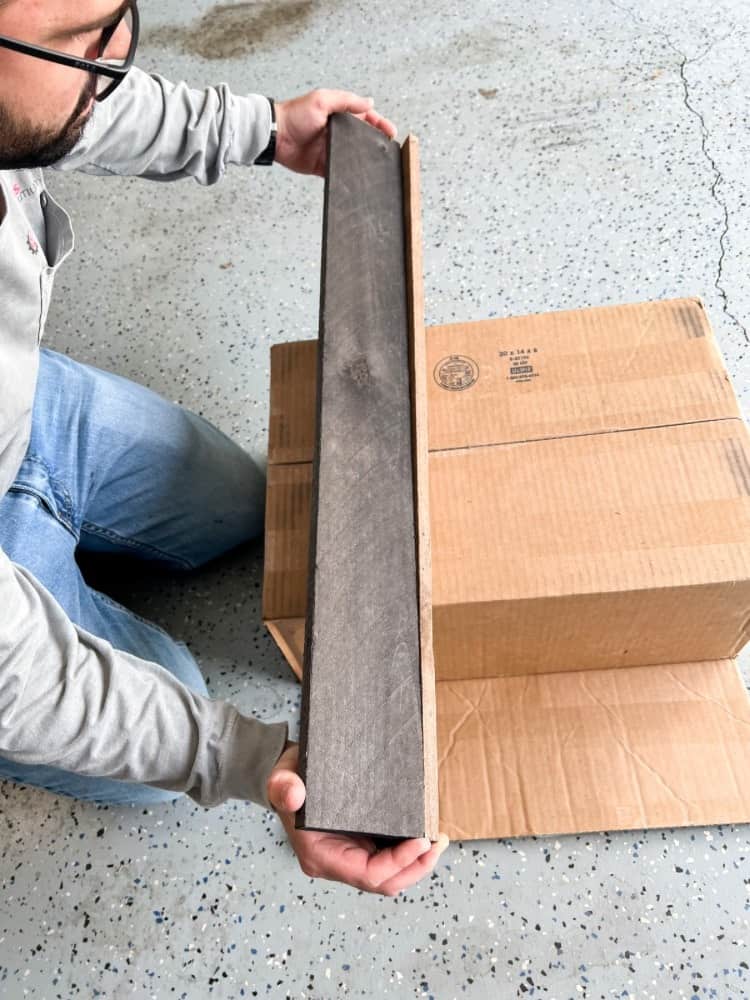
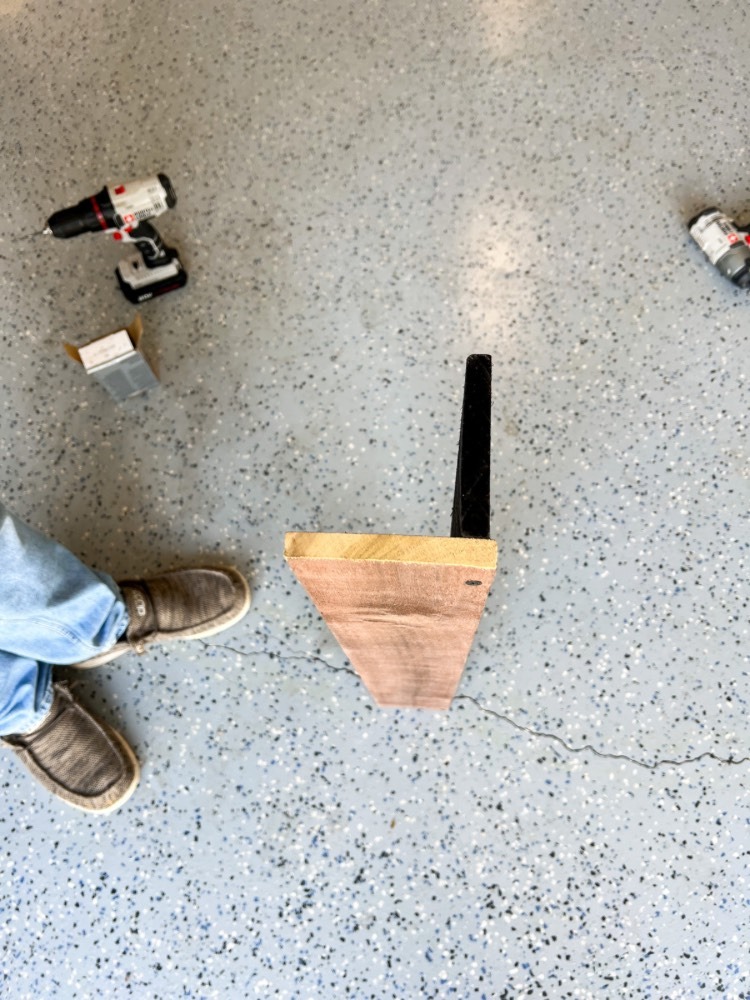
Then, using the tape measure I marked out where to cut the wood with the saw. We just used a total of two pieces of wood for this shelf. One for the bottom and one for the back to make it like an L shaped shelf.
How Do You Make A Quick Floating Shelf?
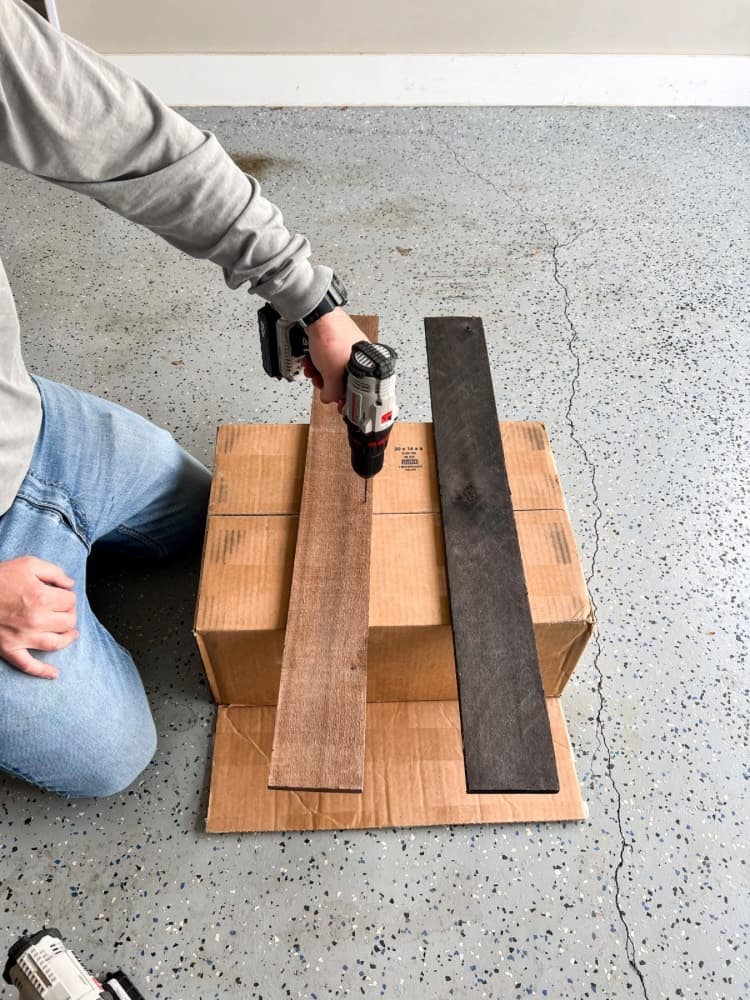
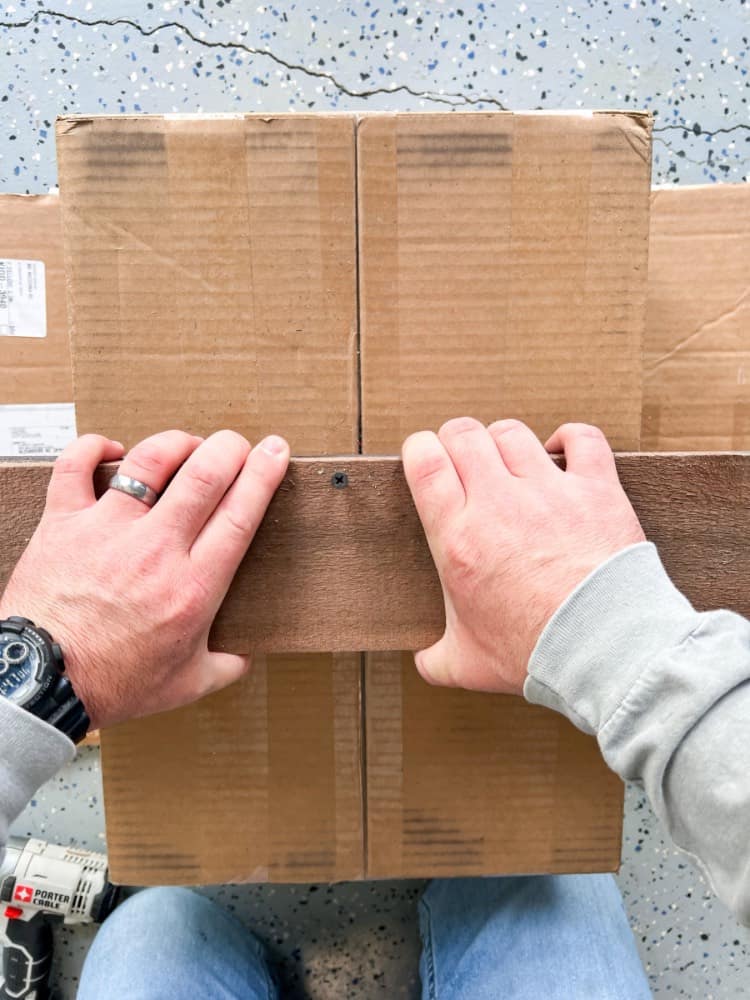
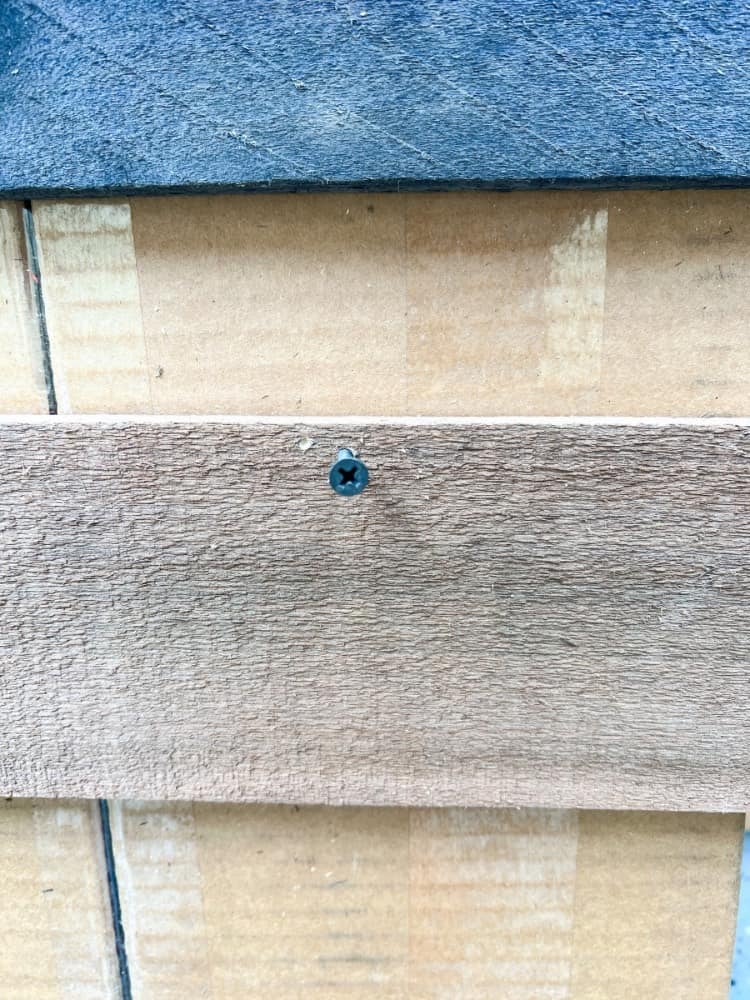
Now, for the fun part! Let’s put this easy DIY floating shelf together! It’s going to blow your mind with how easy it is! All you need to do is use the drill bit to mark out where your holes need to be for the screws. You will do this on your lower or bottom piece of the shelf.
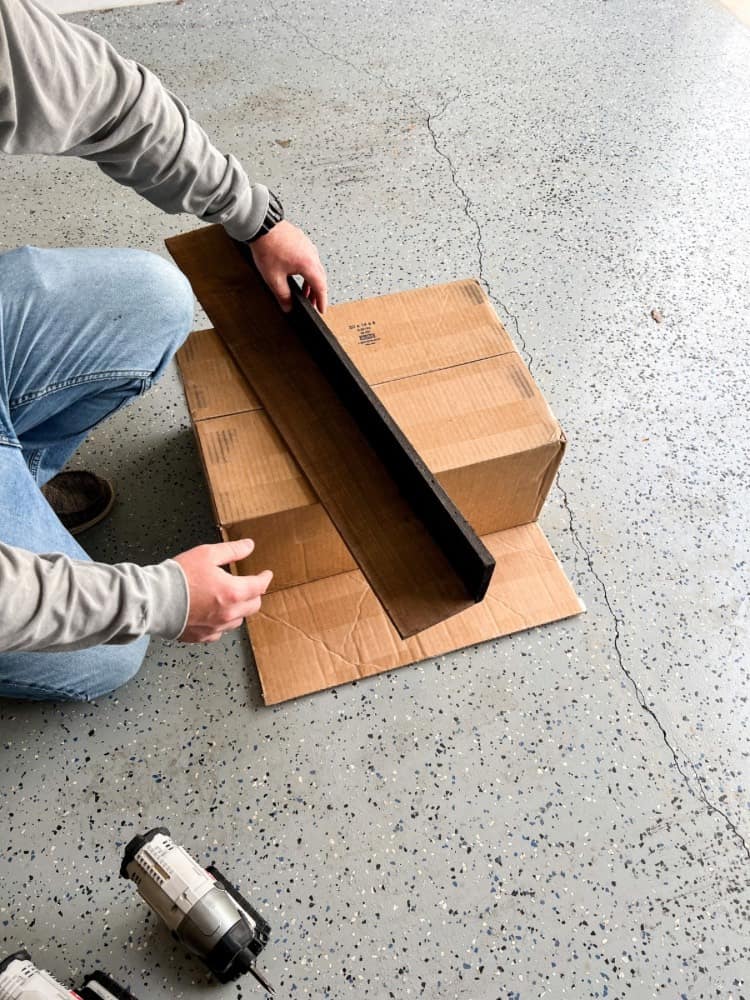
Then, using a nail gun, attach the bottom piece of the wood to the side piece of the wood. Using the holes already marked in the wood to guide you! How easy is that?! I suppose you could also use wood glue to adhere the back piece of wood to the bottom one, but I don’t think that would be as sturdy as nailing them together.
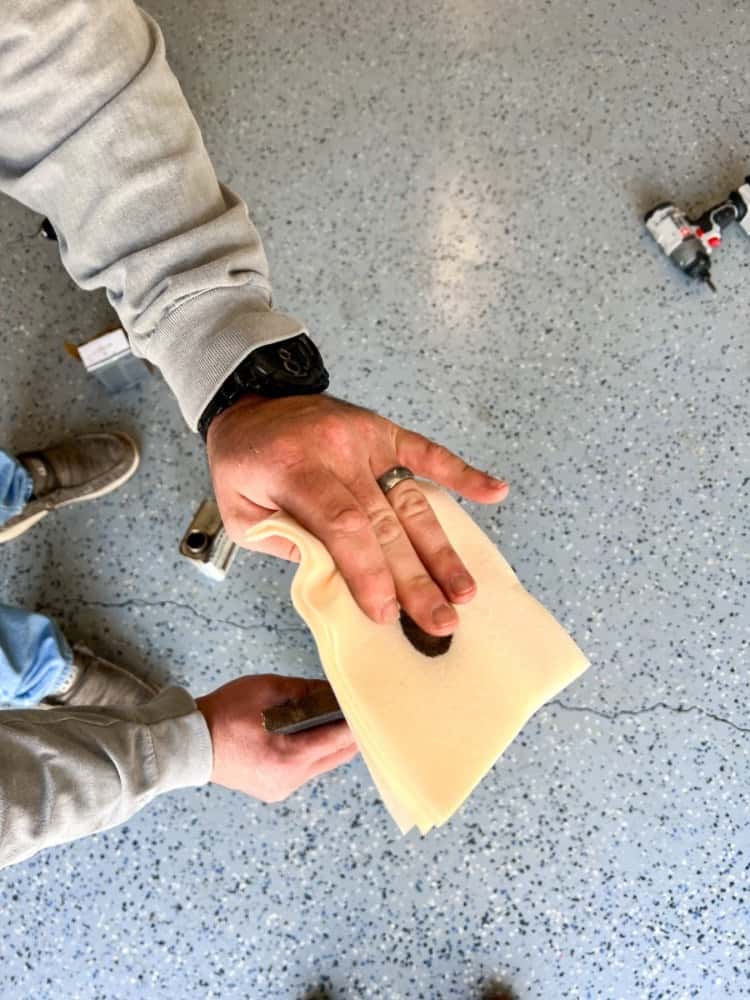
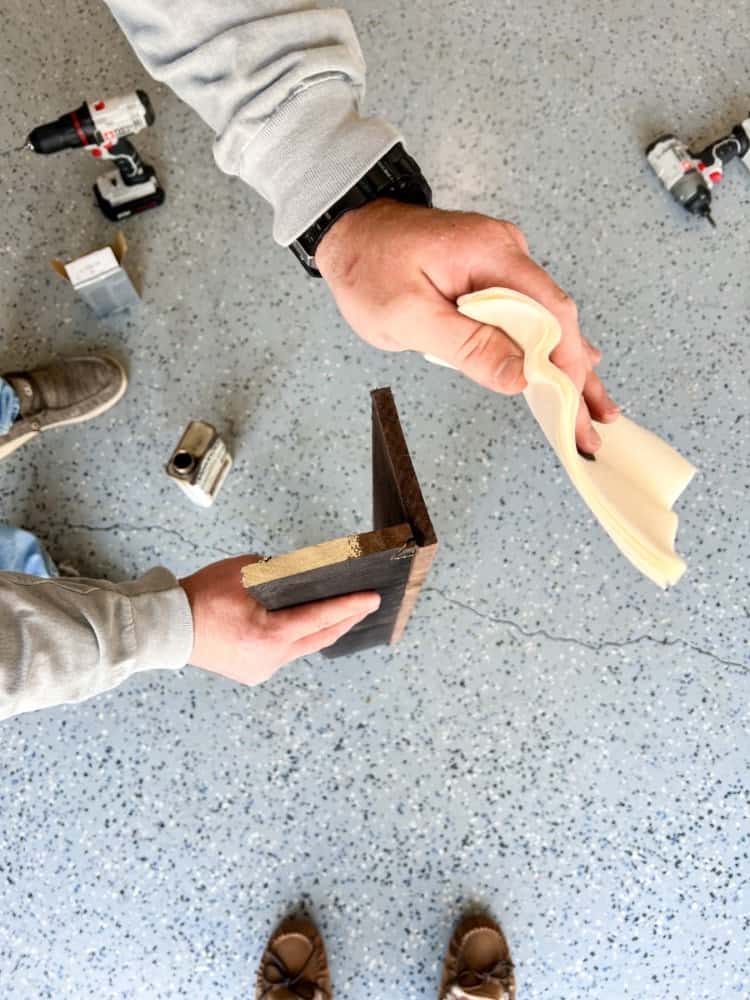
The next step to these wood shelves is to just apply the finishing touches! I noticed that the side pieces of the wood where we cut it with the saw were still unfinished at didn’t match the original color of the wood.
To solve this problem, I simply used my favorite Danish Oil Stain in Special Walnut! We just applied a little to a cloth and rubbed it into the sides to match the color better!
Style The DIY Floating Shelf
Well, now that you have built your shelf, here comes the final step, styling it! If you wanted to mount them to a wall in your kitchen, you definitely could. You would just need to use a stud finder to find the wall studs and nail them in that way. These would make some great simple and easy wall shelves for your kitchen for sure!
But, since I am just placing this shelf right on top of my stove, I don’t have to worry about that. The only thing I wouldn’t do here when styling this shelf is put items on there with much weight. Since it isn’t mounted to the wall or anything, you don’t want it to fall over.
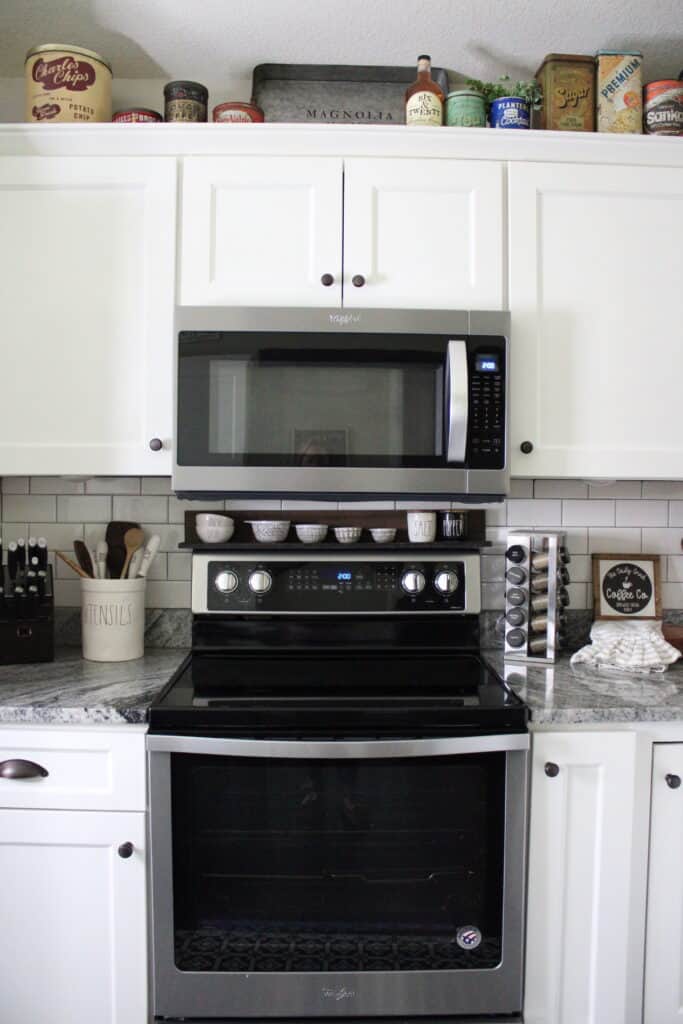
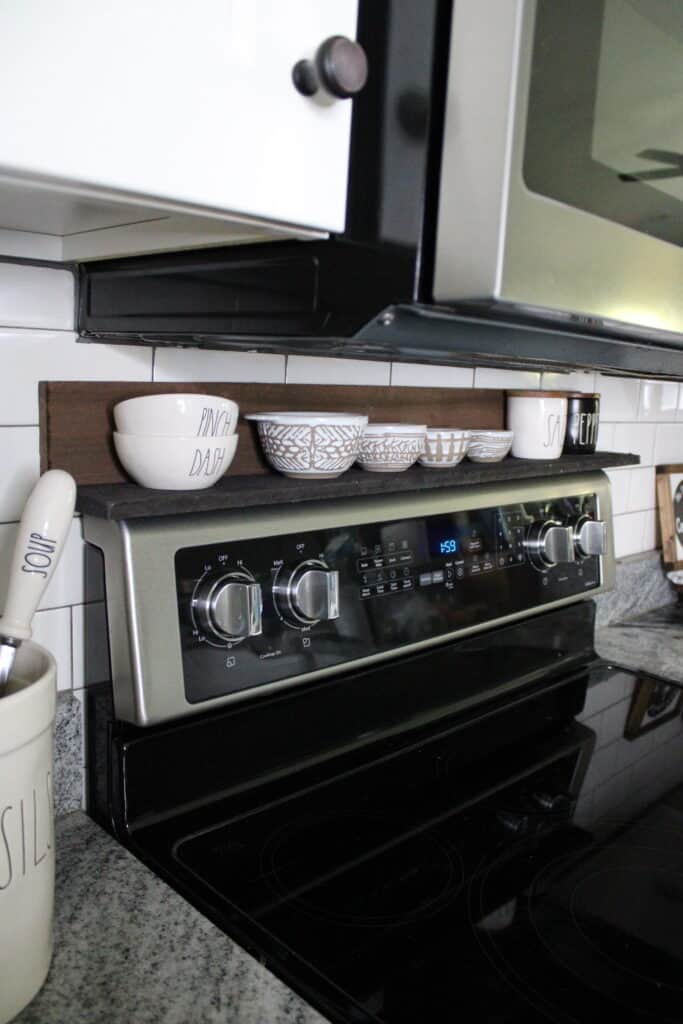
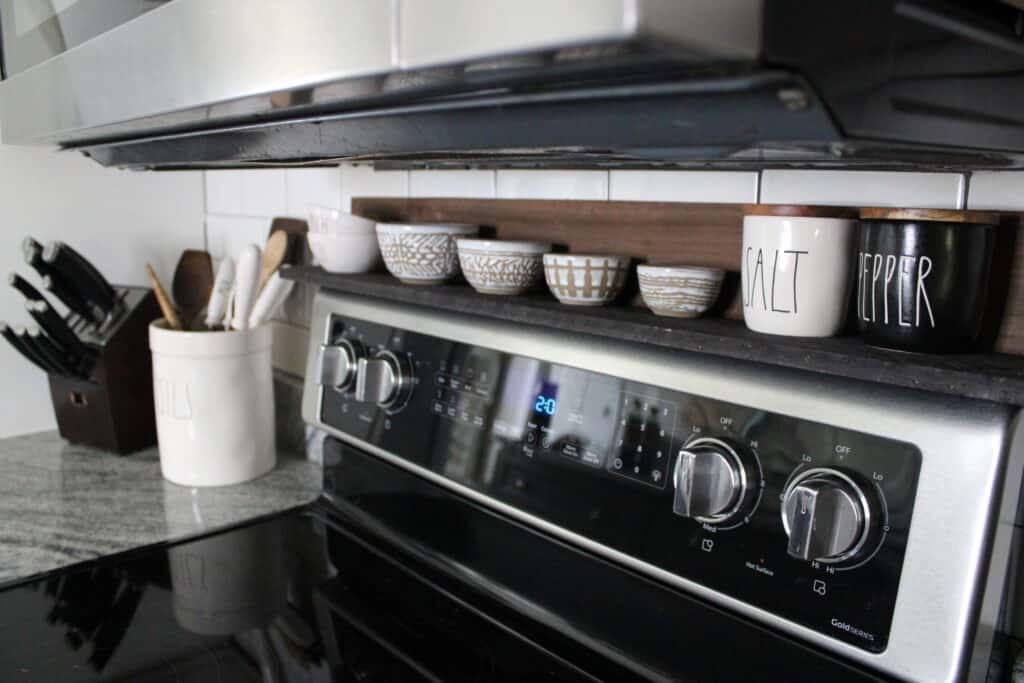
This shelf is the perfect fit for right above the oven. It gives our kitchen a more modern look and it is such a great solution for small spaces like this area. If you want to add in a custom touch to your kitchen, you should definitely try making this floating shelf yourself too!
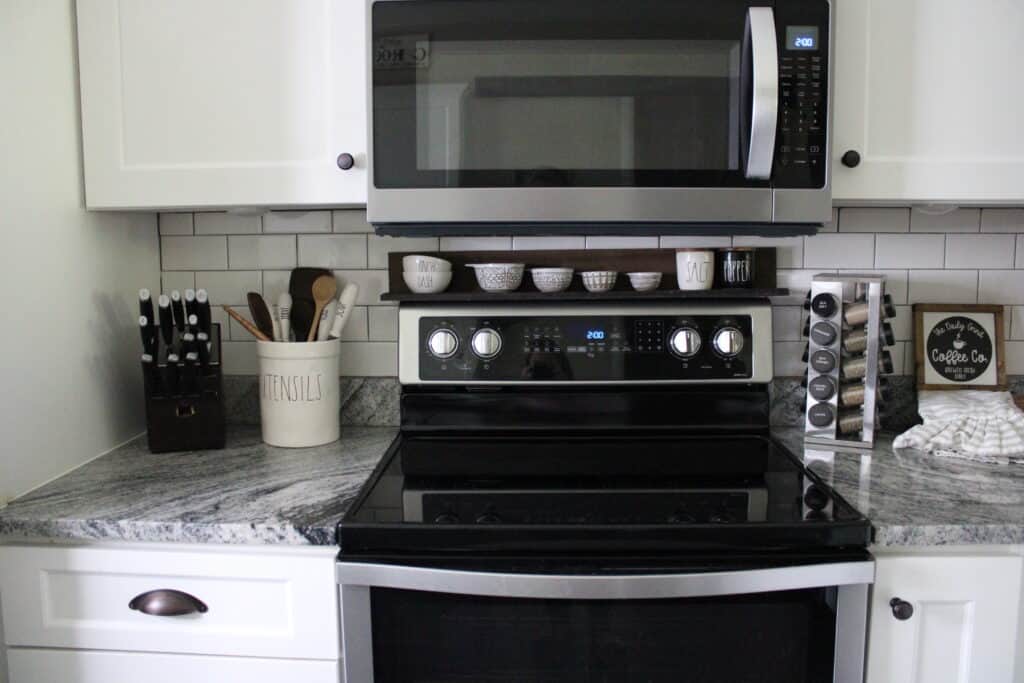
I just styled it with some cute little Rae Dunn pieces I already had, as well as some cute, decorative measuring cups. I wanted it to be pretty, but also functional. It provides extra storage for me when I am cooking, and I can just easily reach up and grab the salt and pepper if I need it!
I hope you enjoyed this easy shelf project and as you can see, you can easily make one too with some basic tools and materials! I think this is one of the easiest methods you can use to create a DIY floating shelf too!
What a great idea! Super useful, and it looks great, too.
Thank you, I appreciate it!
I had no idea I needed these until right now. I love a good DIY project especially when it’ll get a lot of use. I love your kitchen, by the way, it’s nice and tidy. Happy Sunday!
Awe thank you so much! I am so glad you enjoyed this project too!
This is such a good idea, you always need shelving in the kitchen! x
Lucy | http://www.lucymary.co.uk
Yes, I totally agree with that!
Love it! I always thought the tops of stoves looked haggard as well, haha. Your DIY projects are amazing!
Awe thank you so much! I really appreciate it!
I am super happy I came upon your post. This is something I’m looking to do but in addition to remove our over-the-stove microwave for some opening shelving!
Thank you so much! I am so glad you liked it too!
Great post! This has such a lovely effect on your kitchen. Thank you for sharing 🙂
No problem at all! I am glad you liked it!
This is something I could do! I really need this as my kitchen is incredibly small and low on space; this would solve a few issues and be so helpful. Thanks for this!
No problem at all! Glad you found it to be useful!
Ooh I love this! I think if you’ve got some really nice bowls / mugs etc, they look nice out on display and this is a great way to do that x
Thank you Jenny! It definitely would be perfect for this!
What a great idea to make extra space in the kitchen. Looks so nice.
Thank you so much! It is a great idea for some extra storage space for sure!
Thanks for sharing, this looks like a great idea if you need some storage space, I think it would be more difficult to put one on my kitchen wall, as you would have to drill through the tiles 🙂
Thank you so much! It’s a lot easier than drilling through tiles for sure!
Found this post really interesting. Thanks for sharing
No problem at all
Installing loft shelving was a DIY project I’m so glad I took on! It’s not only functional but also added a touch of personality to my space.
Yes I bet so!