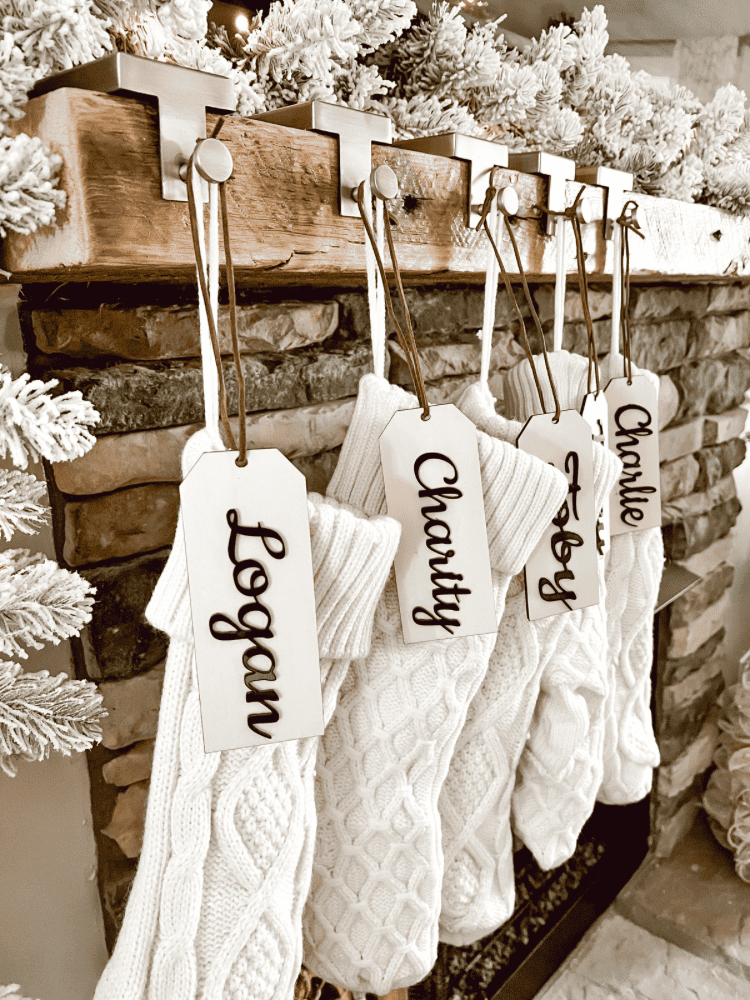
I absolutely love having personalized tags for our stockings hanging on the mantel. And in years past, I have ordered personalized ones through Etsy. But, I decided that this year I should make my own DIY personalized stocking tags!
And especially since we have added a few furry friends to our family this year! Miss Riley and Charlie needed their own personalized stocking tag to go along with Toby’s this year!
So, I will be sharing just how I created this beautiful and fun DIY personalized stocking tags with you all! And, I plan on making some personalized Christmas gift tags when wrapping gifts this year too. So be sure to stay tuned for that as well!
This post also contains affiliate links, which means I make a small commission off anything you purchase through here, at no additional cost to you. Please read my full disclosure policy for more details.
What Can I Use To Personalize Stockings?
For these stocking tags, I am going to be using my Glowforge Aura machine. But, you can use any laser cutter machine you have available too. You will also need wood, acrylic, and leather cord to finish the tags as well.
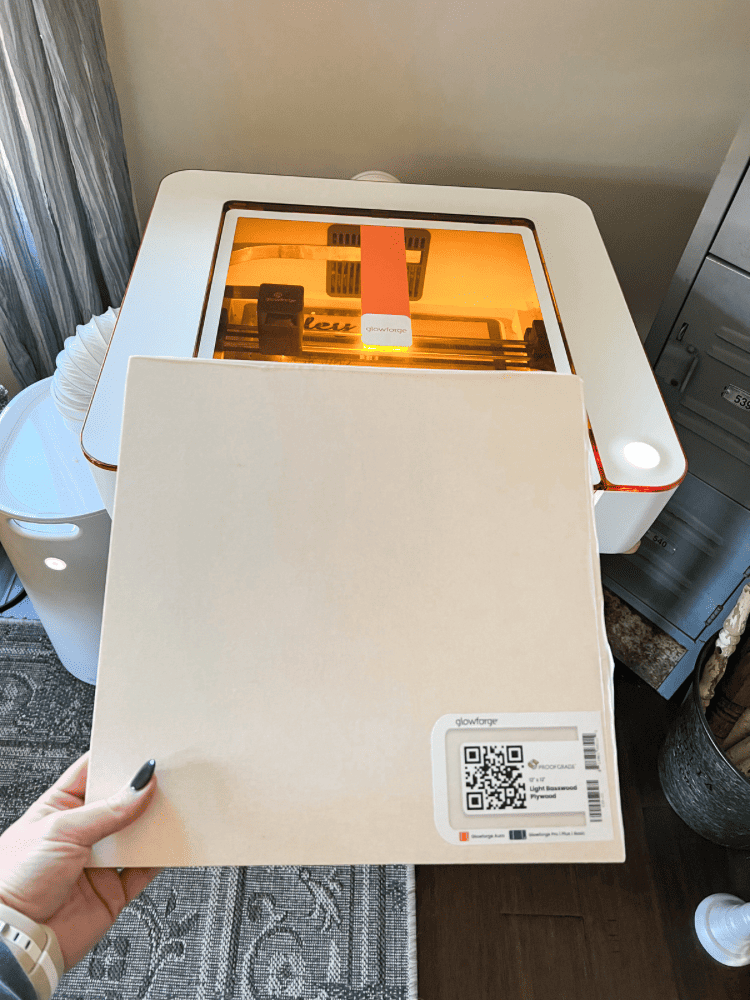
To make the tag, I just searched for a simple tag design in my Glowforge App Software. Once I found one I liked, I printed out 5 total tags onto the Proofgrade Wood. I used light maple plywood for this. But, you can use whatever colored wood you would prefer.
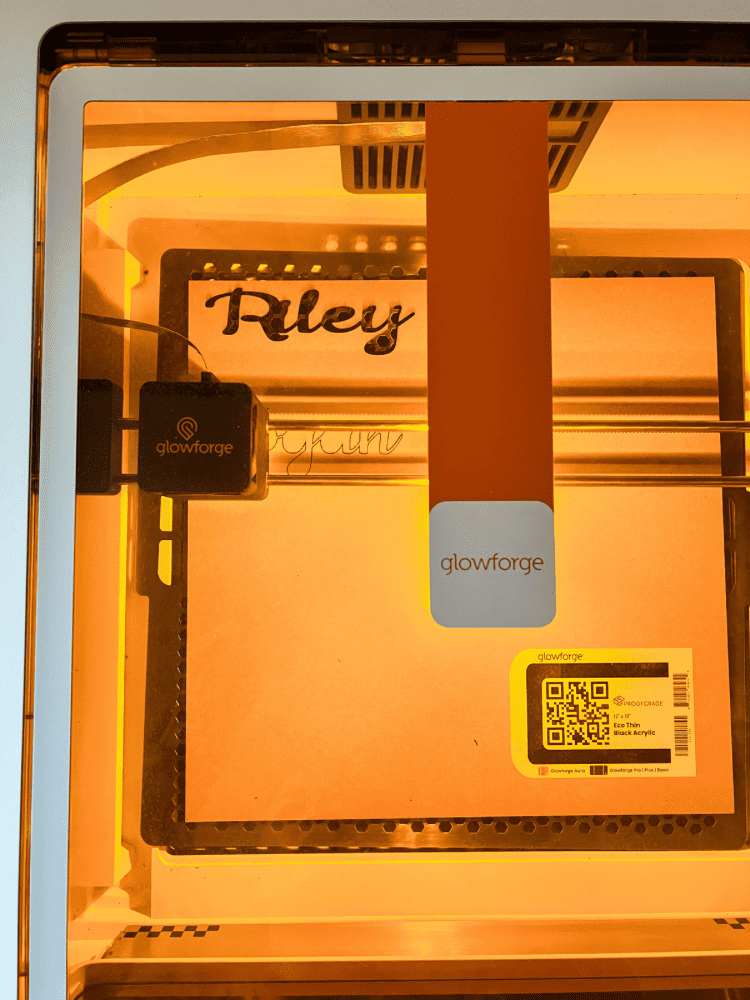
You could even paint the wood to make it match your Christmas decor more too! And, if you wanted the tag to be printed out on acrylic instead, you could definitely do that! For mine, I made the tag itself wood, but the name in acrylic.
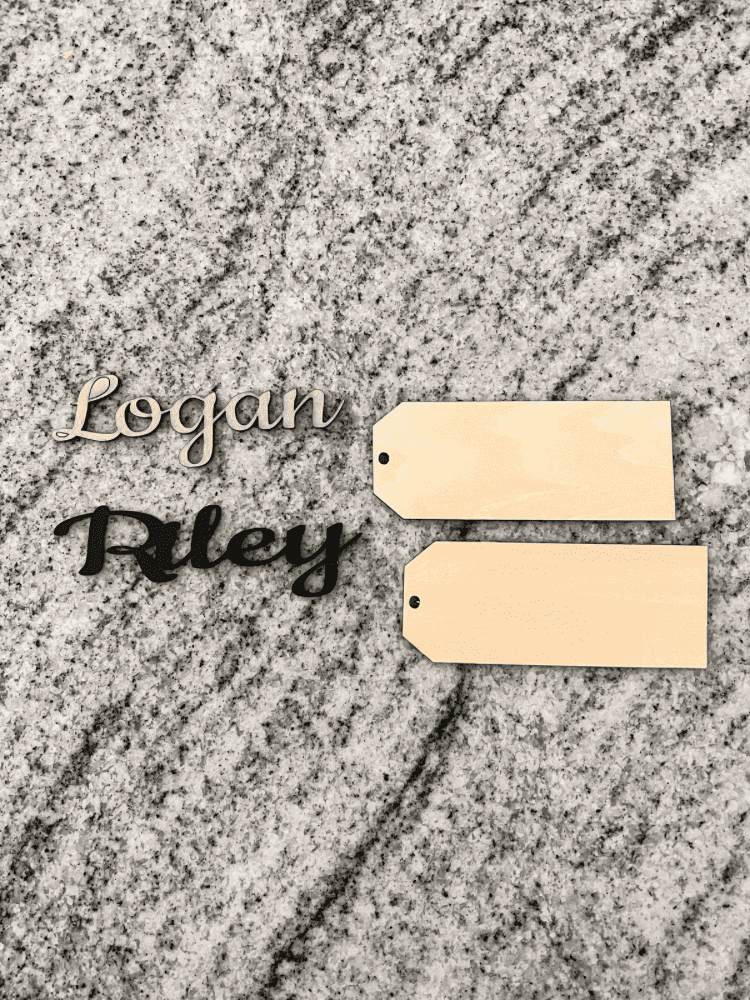
You could do vice versa or the same of each. I thought about doing the name in wood too and then painting it, but ultimately decided to do black acrylic instead. That way it saved me a step and I didn’t have to go through the effort of painting it too.

How Do You Put Your Name on a Stockings DIY?
Now for the fun part, personalizing your stocking! I actually used a free website called cuttle.xyz to make my name files. If you’re good at creating your own SVG files, then you can just do it yourself. But, unfortunately I have not mastered that skill yet.
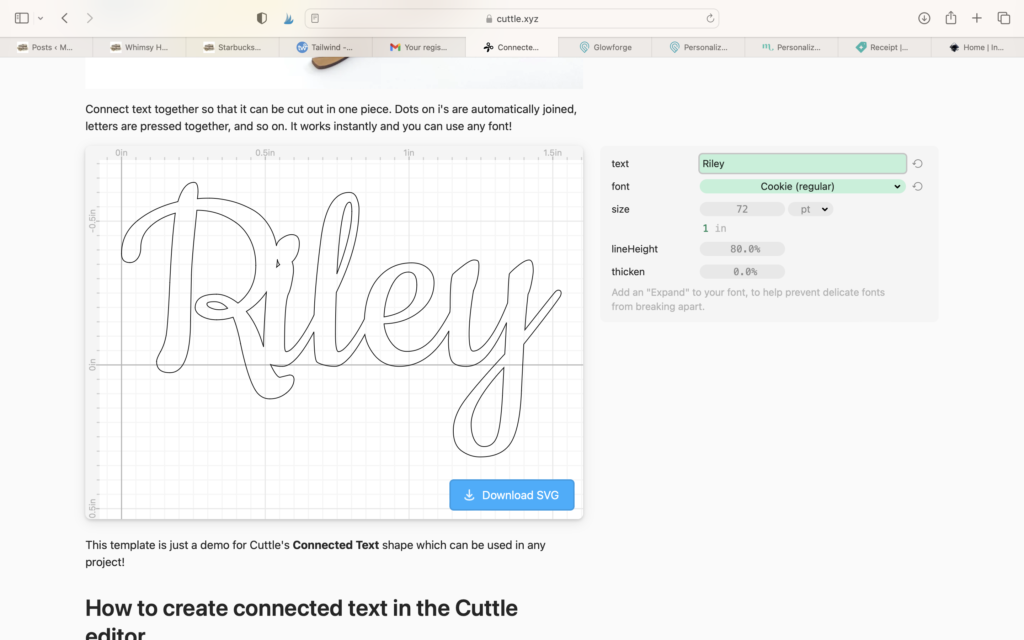
I plan to work on it in the future though! But, for now, I just went on there and found a font I liked. Then, I typed in all the names I wanted to make my stocking tags with.
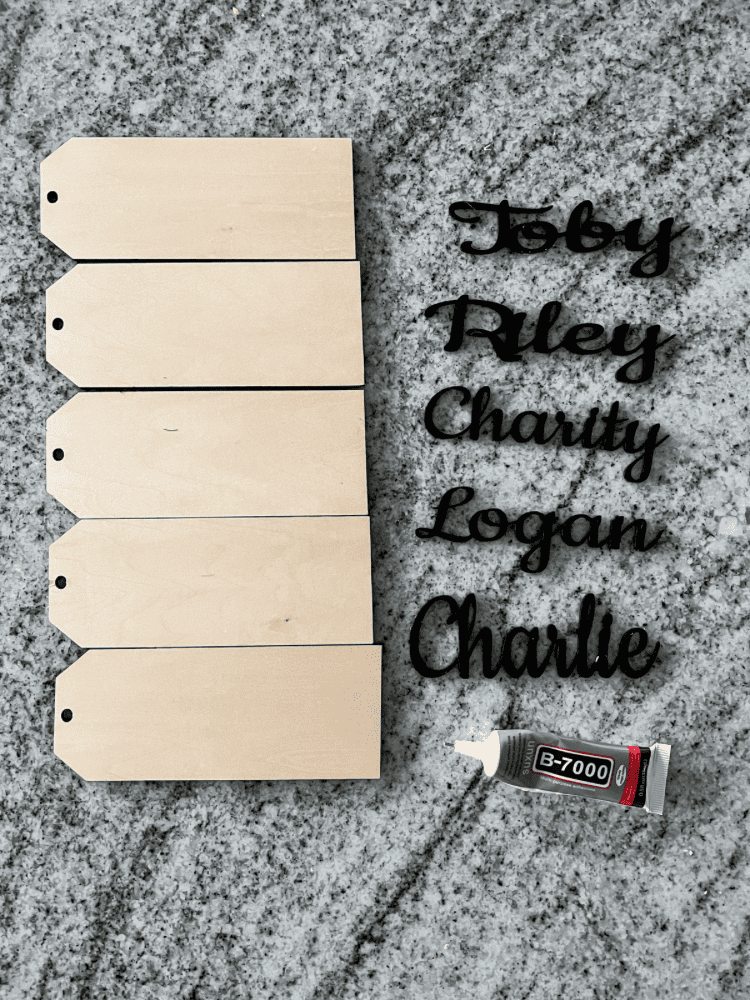
Once you type the names in, you can save it as a SVG file and then upload it into your Glowforge design. So it is a super easy way to add in personalized text. Or, if you have the catalog subscription with Glowforge, you can just add text directly into your design as well.
Once I had it all designed, I printed it out on black acrylic. Then, using Gorilla Tape, I removed all the masking from the names. That way, they were ready to be glued onto the wooden tags!
Making The Personalized DIY Stocking Tag
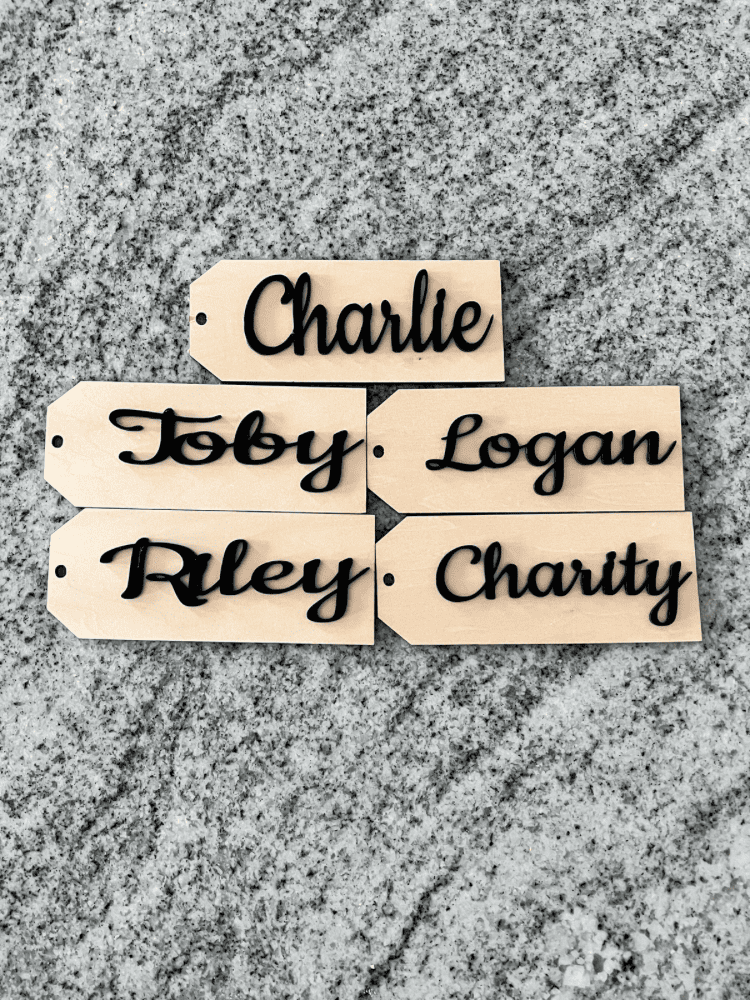
Now that you have all your pieces together, you can make these cute DIY stocking tags! I used my favorite glue, B-7000, to apply the acrylic names to the wooden tag.
I like using this glue because you still have a little wiggle room to it. So, if you accidentally put it in the wrong place, you can still adjust it before the glue sets. Which is super helpful when you’re creating something like this!
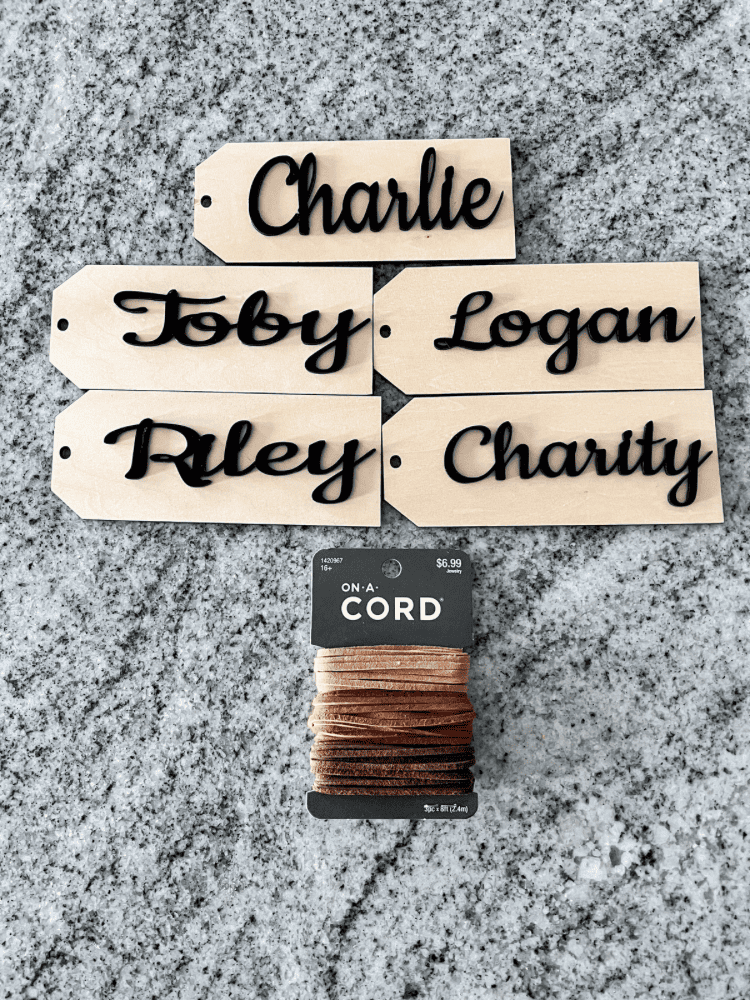
Let the glue set and dry for about an hour, then add in the leather cord to the tag. I cut one strand, and then used that strand to cut all the additional ones with. That way, I knew they would all be the same size once I tied them together!

After that, I hung them on our stockings by the fireplace! And I am so happy with how they turned out! So cute and simple! Also, if you don’t have a fireplace at home, be sure to check out my post on how to hang stockings with no mantel, for some great ideas too!
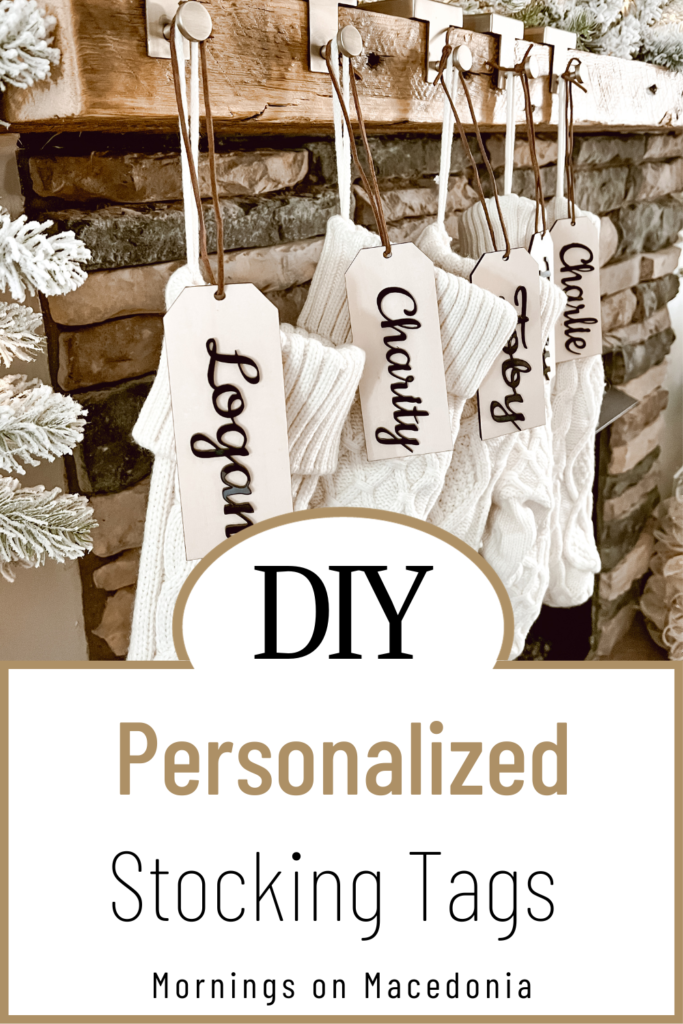
I hope you enjoyed this post on how to make your own DIY personalized stocking tags! And I hope you’re able to create some yourself this holiday season too! So fun to make it personalized and cute like this!



Leave a Reply