
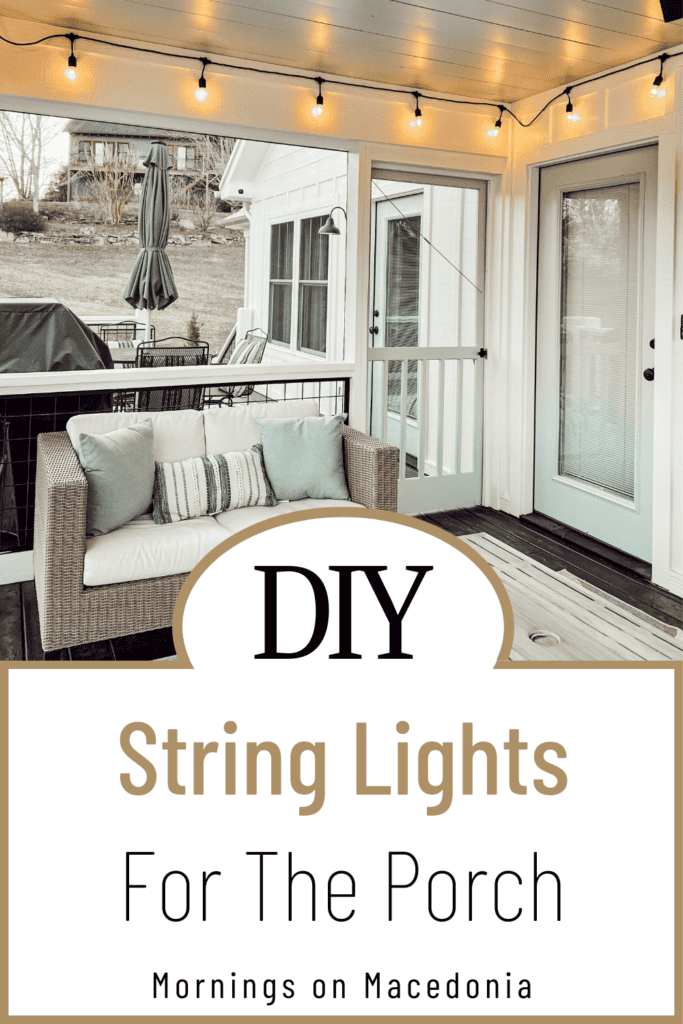
I just love having string lights up in an outdoor space. I think it creates a wonderful ambience in the evening time, don’t you?! So I decided to share this easy string lights DIY project with you all!
You may remember that we used to have string lights on the screened in porch before too. But, when we had the porch repainted, we had to take it all down.
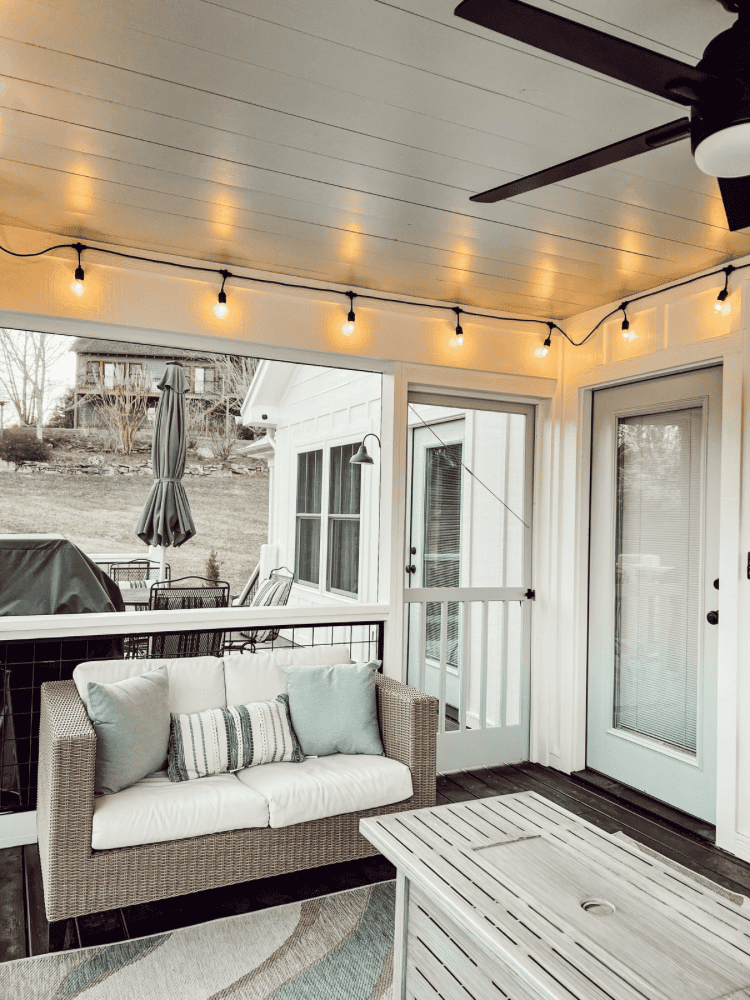
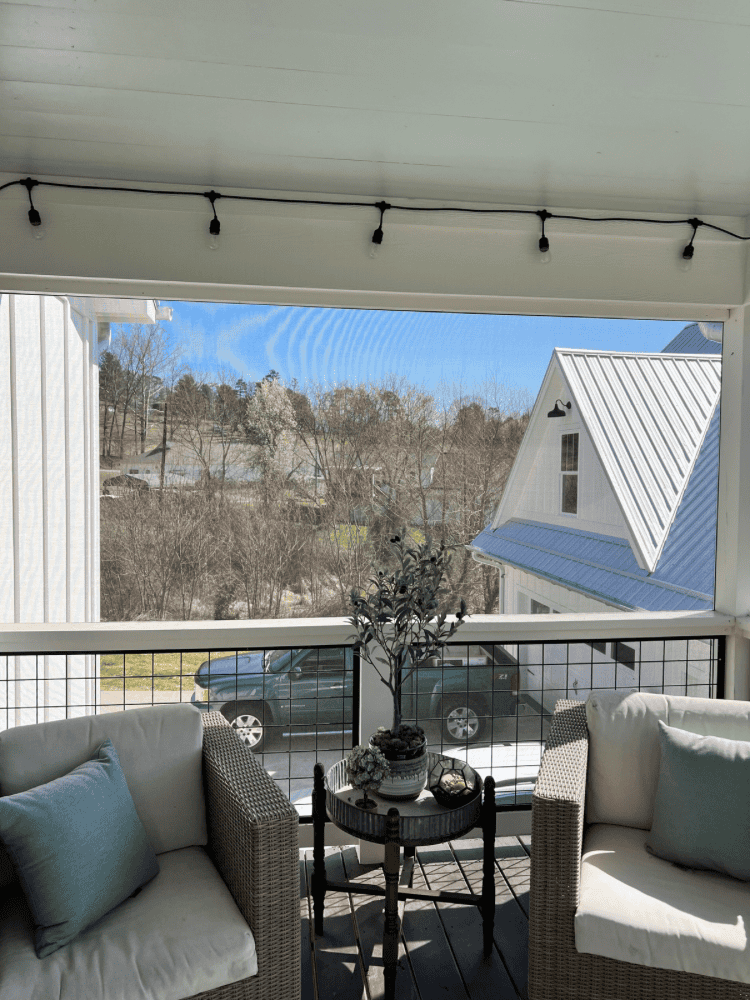
Which was fine, because it was a simple fix! And I love it even more now with the new ceiling color after painting. It’s a beautiful Haint blue color, which you know if you’ve been around here long enough, that we got from our love of Charleston, South Carolina.
I think the light bulbs really pop against the blue color and it really makes our outdoor area here shine. The weather has finally warmed up here and so now we can actually sit outside and enjoy it! So keep on reading to see just how these new string lights turned out for us!
This post also contains affiliate links, which means I make a small commission off anything you purchase through here, at no additional cost to you. Please read my full disclosure policy for more details.
Materials Needed For String Lights DIY
Of course, you’re going to need some string lights for this project. I will link the exact ones I recommend here for you too.
I like these because the have a hole on the top of the light bulb for the screw to go in, which makes it super easy to hang them!
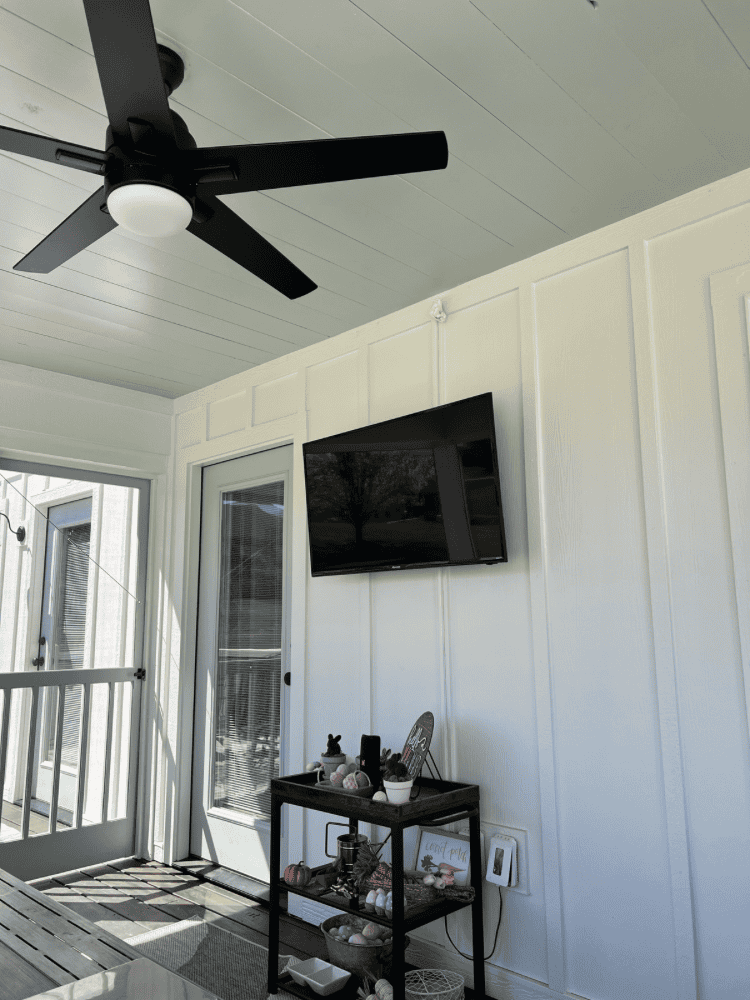
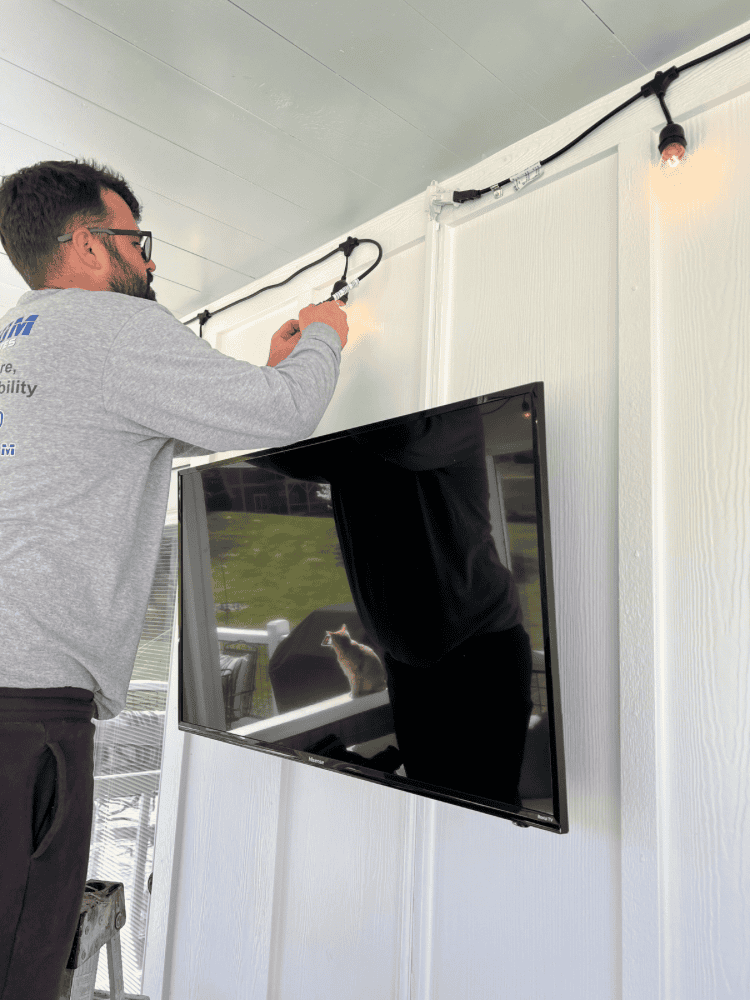
You will also need an extension cord and depending on where your power source is, a cord hider too. We went behind our outdoor tv and hid the cord going up for the lights.
And of course to hang them, you will need a drill and some screws. But other than that, that’s all you need! It really is a simple project that doesn’t require much materials at all.
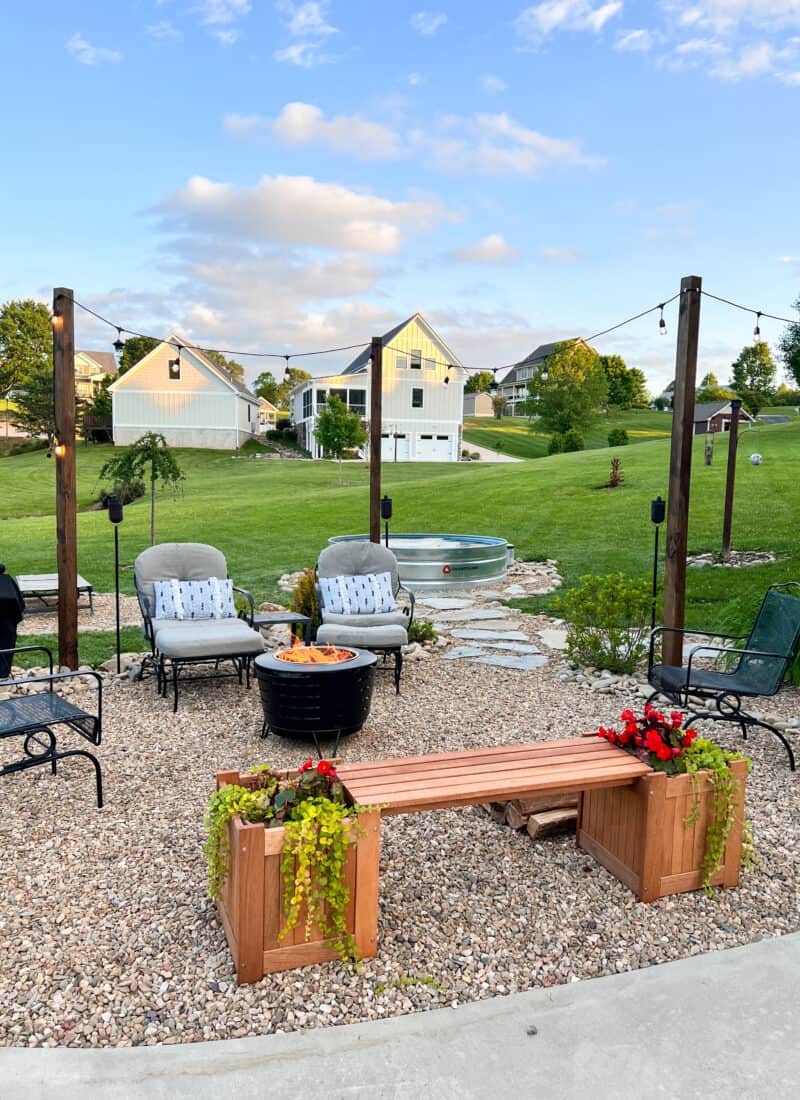
You may remember when we hung up string lights around our fire pit area, that it required a little more materials than that. We used wood posts and attached the lights to the top of each post. We also did something similar when we had our outdoor camper too.
So as you can see, it’s totally a personal preference of how you want to hang your string lights. And where your desired location is for the whole project.
How To Hang DIY String Lights
As I mentioned above, we started where the outdoor outlet was and used an extension cord to go up to the ceiling.
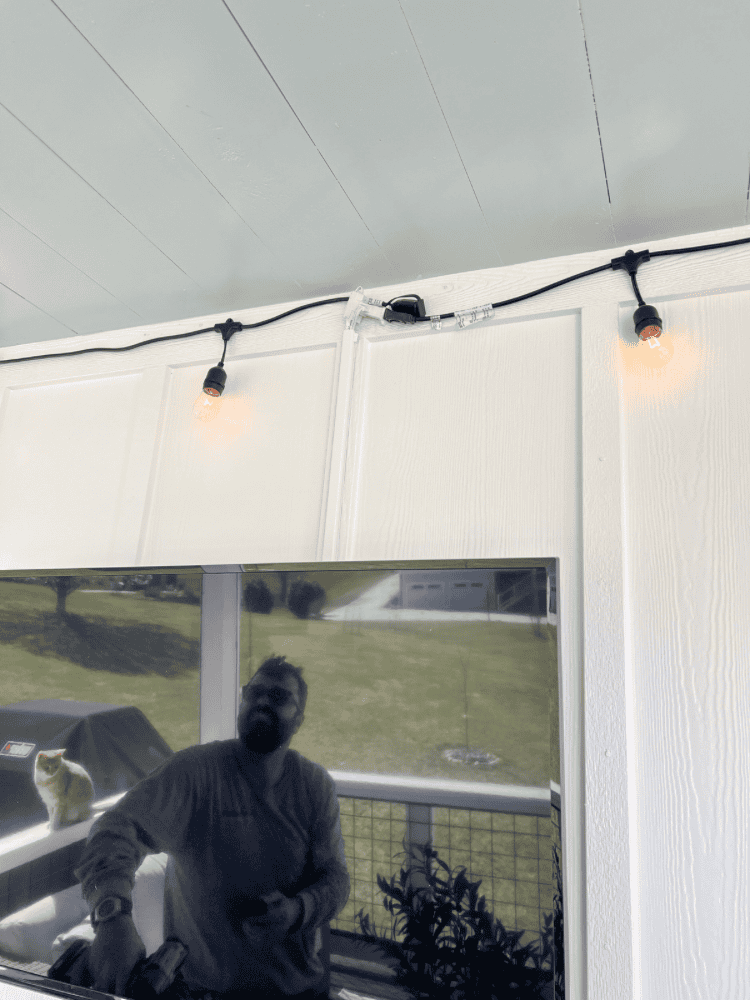
Then, we used some white cord hiders to hide the part of the extension cord that you can see. Once we had that all set up, then we started hanging the string lights.
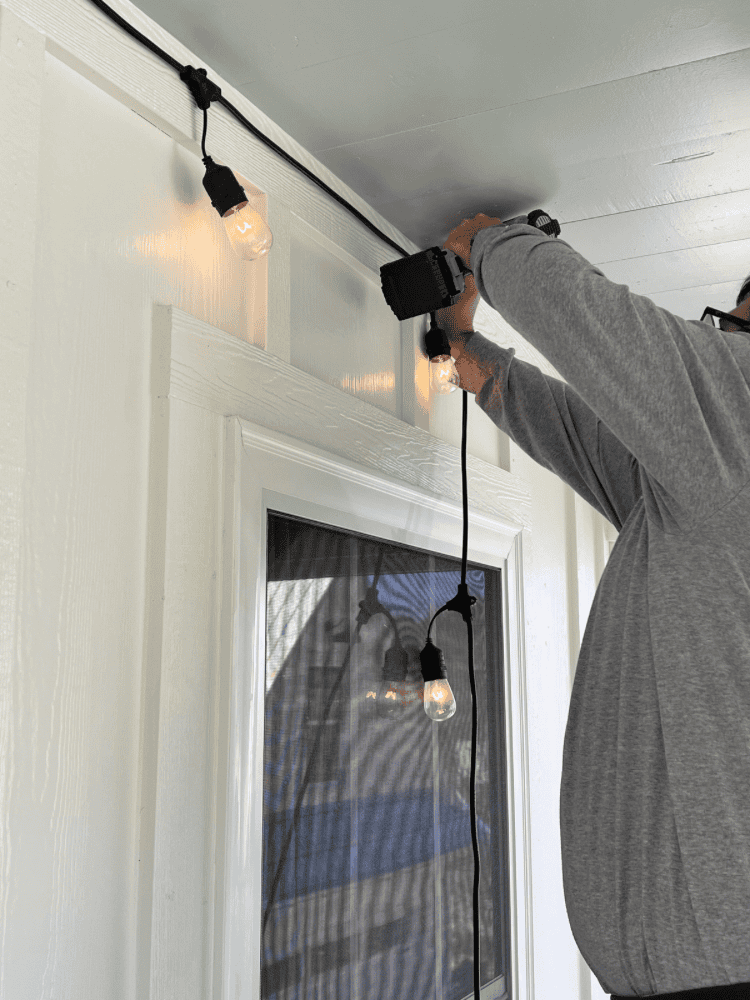
Like I said before, these are super easy to hang since they already have a screw hook ready for you. Be sure to measure your space so you know how many outdoor string lights you actually need before starting.
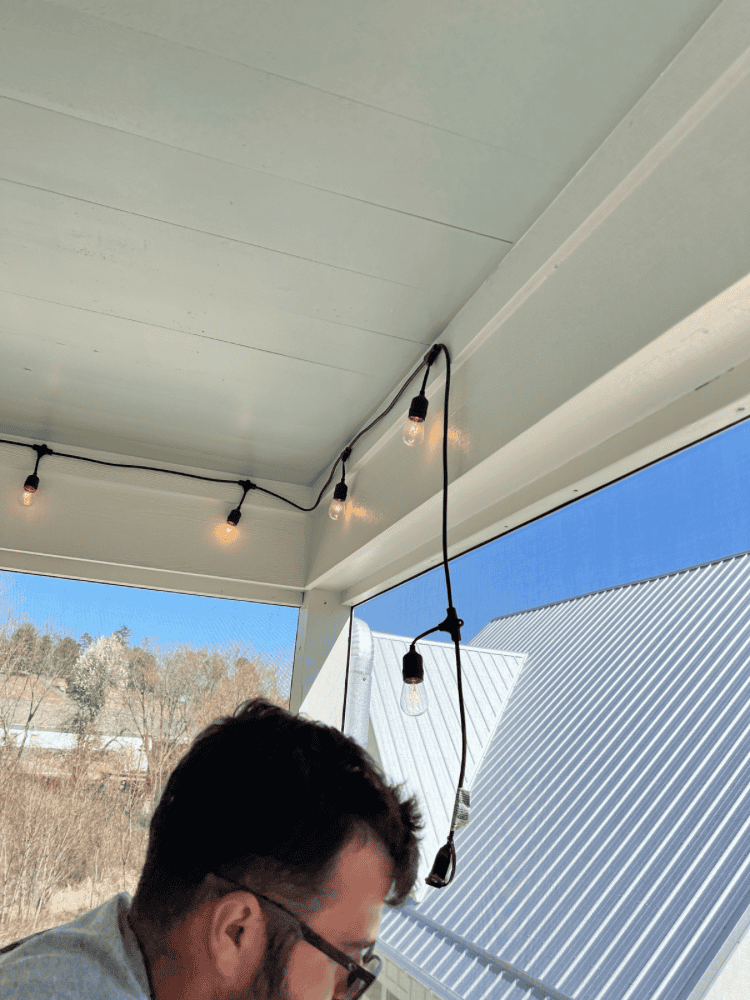
Ours took a total of two strands. Each strand being 48 feet with 18 white LED lights. And two strands was the perfect amount for the space! The end of the wire hit our exact starting point so it was perfect.
This was a super budget-friendly project since it didn’t require many materials at all. And it was the perfect solution for adding a little more ambiance to the back yard!
Enjoy Your Patio String Lights!
No matter where you hang up these string lights, you will definitely enjoy them for years to come! It’s a great project for long term use and enjoyment!

There’s nothing like the warm glow that these light strings give off. And there a lot of different options for how to hang your string lights too so you can create the perfect place for them.
I think this is the best way to spruce up an old outdoor space that you want to bring a little more life into! String lights bring a little touch of magic and I just love sitting out on the porch in the evenings enjoying them!
Tell me, do you have some string lights in your outdoor living space too?! Or what other outdoor lighting do you like to have?
Let me know below and also let me know if you try out these string lights I recommended too! I promise you, you won’t be disappointed!
These lights have lasted us for years and even after taking them down and putting them back up, there were no issues at all! These string patio lights are definitely worth it in my opinion!


Leave a Reply