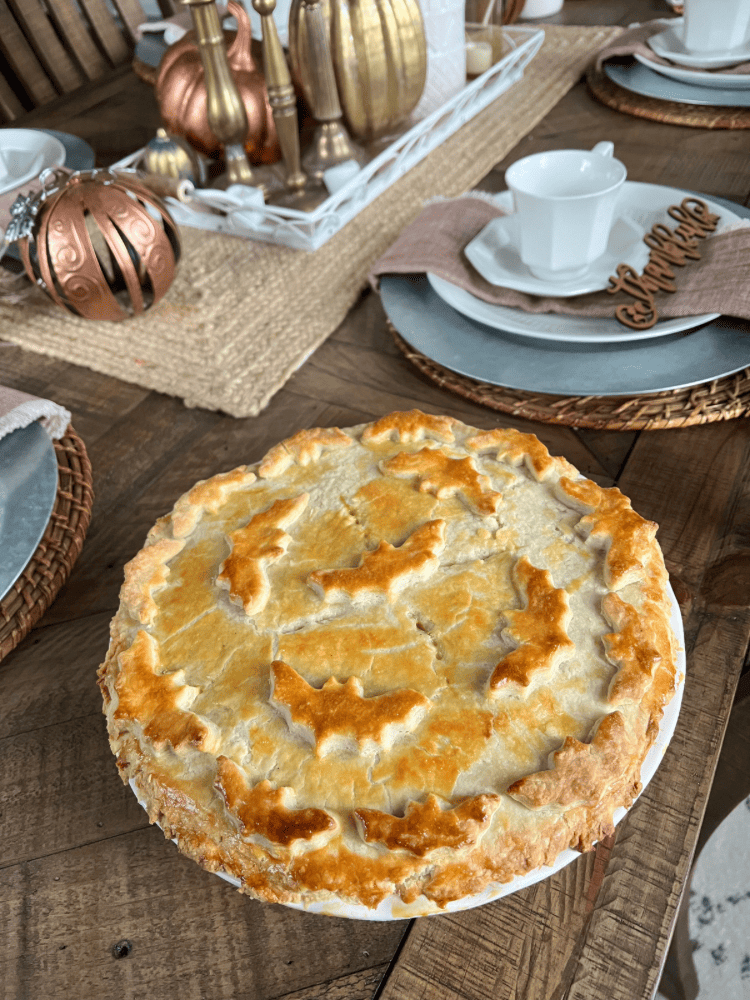
I recently made a spooky chicken pot pie (tis the season right?) and I went ahead and made two because it is a ton of work! So I thought I would answer the question of can you actually freeze chicken pot pie after baking? There is a lot of different ways that people freeze pot pies and how they make them as well.
I have been making this specific recipe for years now and I have always frozen one as well. So I figured I would share my tips and tricks with you that I have learned along the way on how to make the perfect chicken pot pie!
Like I mentioned earlier, it is a labor of love to make this homemade pot pie, but you will be so happy when you have one you can just pull out from the freezer! I have never had any problems freezing my pot pies and it is so nice when you are craving the ultimate comfort food like this, not to have to go through all the trouble to make it!
This post contains affiliate links, which means I make a small commission off anything you purchase through here, at no additional cost to you. Please read my full disclosure policy for more details.
Ingredients Needed to Bake and Freeze Chicken Pot Pie
I briefly touched on this recipe several years ago when I first started my blog. I shared my top 3 homemade freezer meals, and this was my very top one. However, I didn’t really go into the details and process behind freezing the pie, so I figured now is the time to do so! I will also share all the ingredients you need to bake the pie below. As well as everything you need to freeze it to keep it fresh and tasty too!
Now, I do make a homemade crust with this recipe and if you want to use store-bought pie crusts instead, you definitely could. It would make it much easier, but, the homemade pie crust is to die for in my opinion!
For The Homemade Crust:
2 1/2 cups all purpose flour
1 tablespoon sugar
1 teaspoon salt
1 cup cold unsalted butter, cut into cubes
1/2 cup cold buttermilk
1-2 tablespoons of cold water (I used 1 tablespoon)
1 large egg, beaten (for the egg wash)
For The Pot Pie Filling:
1/4 cup unsalted butter
2 medium carrots
1 stalk celery
2 cloves garlic
1/3 cup all purpose flour
1 1/2 teaspoons fresh minced thyme
1 tablespoon fresh minced parsley
1 teaspoon salt
1/2 teaspoon black pepper
1 3/4 cups chicken broth
1/2 cup heavy cream
3 cups shredded chicken (or turkey)
1 cup frozen peas
To Make The Homemade Pie Crust:
Combine flour sugar and salt together in a large bowl. I like to use my Ninja Blender for this process because it has the pulse feature. Which is similar to a food processor. So if you have a food processor, you may want to use it for this step. It just makes things so much easier than hand mixing them in my opinion!
Add in the cold, cubed butter to the mixture and pulse it together until smooth. Make sure all the butter is incorporated into the flour. Mixture will be very flaky. Pour mixture into bowl and place in the freezer for 15 minutes to completely chill the butter.
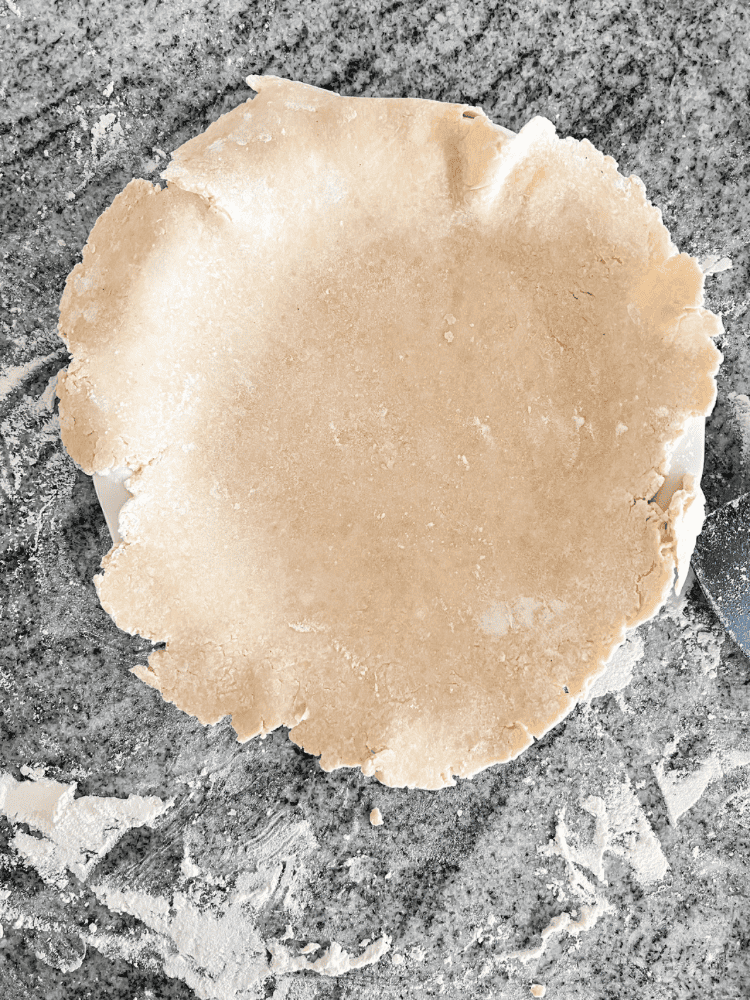
Remove mixture from freezer and add in the buttermilk. Use a spoon to mix together and then your hands. If your mixture is too dry, you can add in a tablespoon or two of water. I did end up adding one tablespoon to my mixture. Divide the dough into two and then flatten each into a disk with a rolling pin. Wrap each disk with plastic wrap and place in fridge until ready to use.
To Make The Chicken Pot Pie Filling:
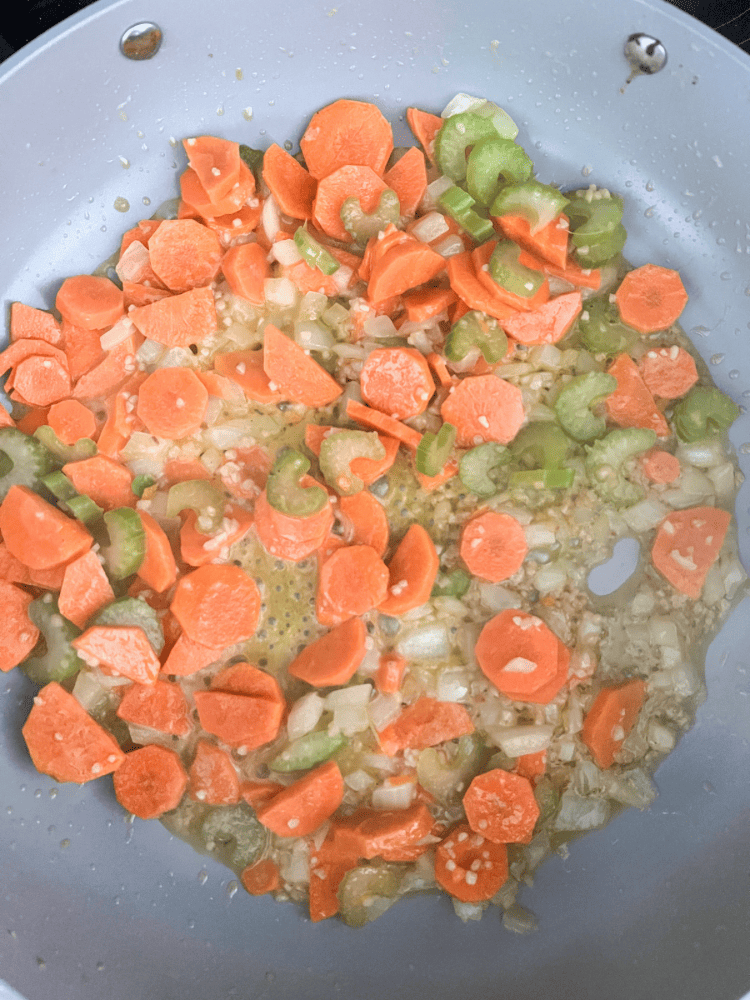
Heat butter over medium-high heat in a large skillet and add in the carrots, celery, onion, and garlic. Cook until tender- about ten minutes. Then, add in flour, heavy cream, chicken broth, parsley, thyme, salt and pepper.
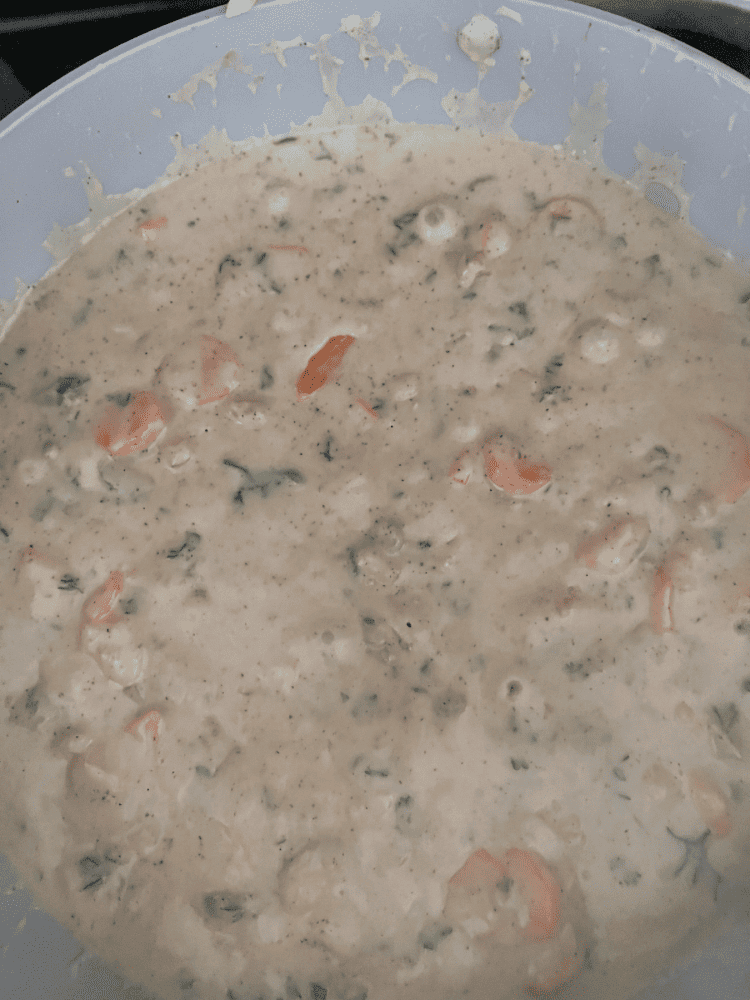
Whisk together until there are no lumps and reduce heat to medium low and simmer for another ten minutes, or until the sauce has thickened up. Add in shredded cooked chicken (or turkey) and frozen peas. Remove from heat and set aside while you roll out the pie dough.
Assembling The Pie
Preheat Your Oven to 400 degrees. Remove the pie dough from the refrigerator and on a floured surface, roll the dough out into a 12 inch circle. Dough should be about a quarter inch thick. Transfer the dough into a pie pan for the bottom crust and remove any overhang. Keep the excess if you’re making a spooky pot pie version like I did! I will explain that later!
Fill the pie with the cooled filling and then remove the second disk of pie dough from the fridge and roll that out using the same process mentioned above as well. Seal the edges of the pie by crimping with a from or using your fingers to seal it together.
With a sharp knife, make a few slits in the middle of the pie to let it vent while baking. Then, using a pastry brush, brush the crust with the egg wash before placing it in the oven. Bake for 45 minutes in preheated oven or until crust is a nice golden brown color. Cool for 10 minutes and then serve!

Make a “Spooky” Pot Pie
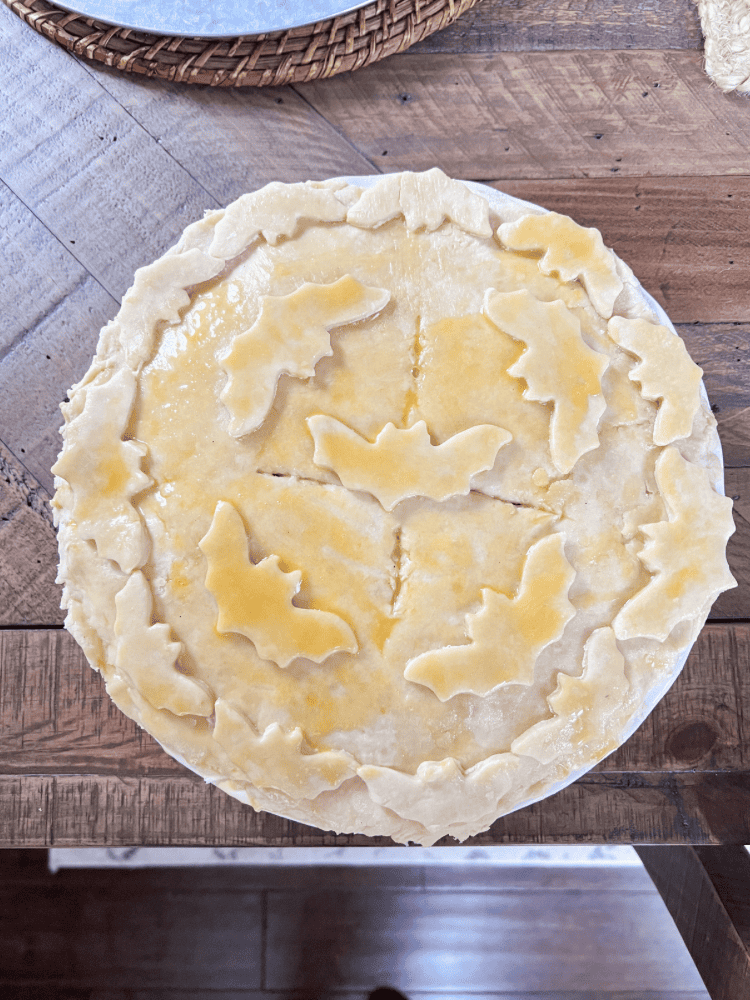
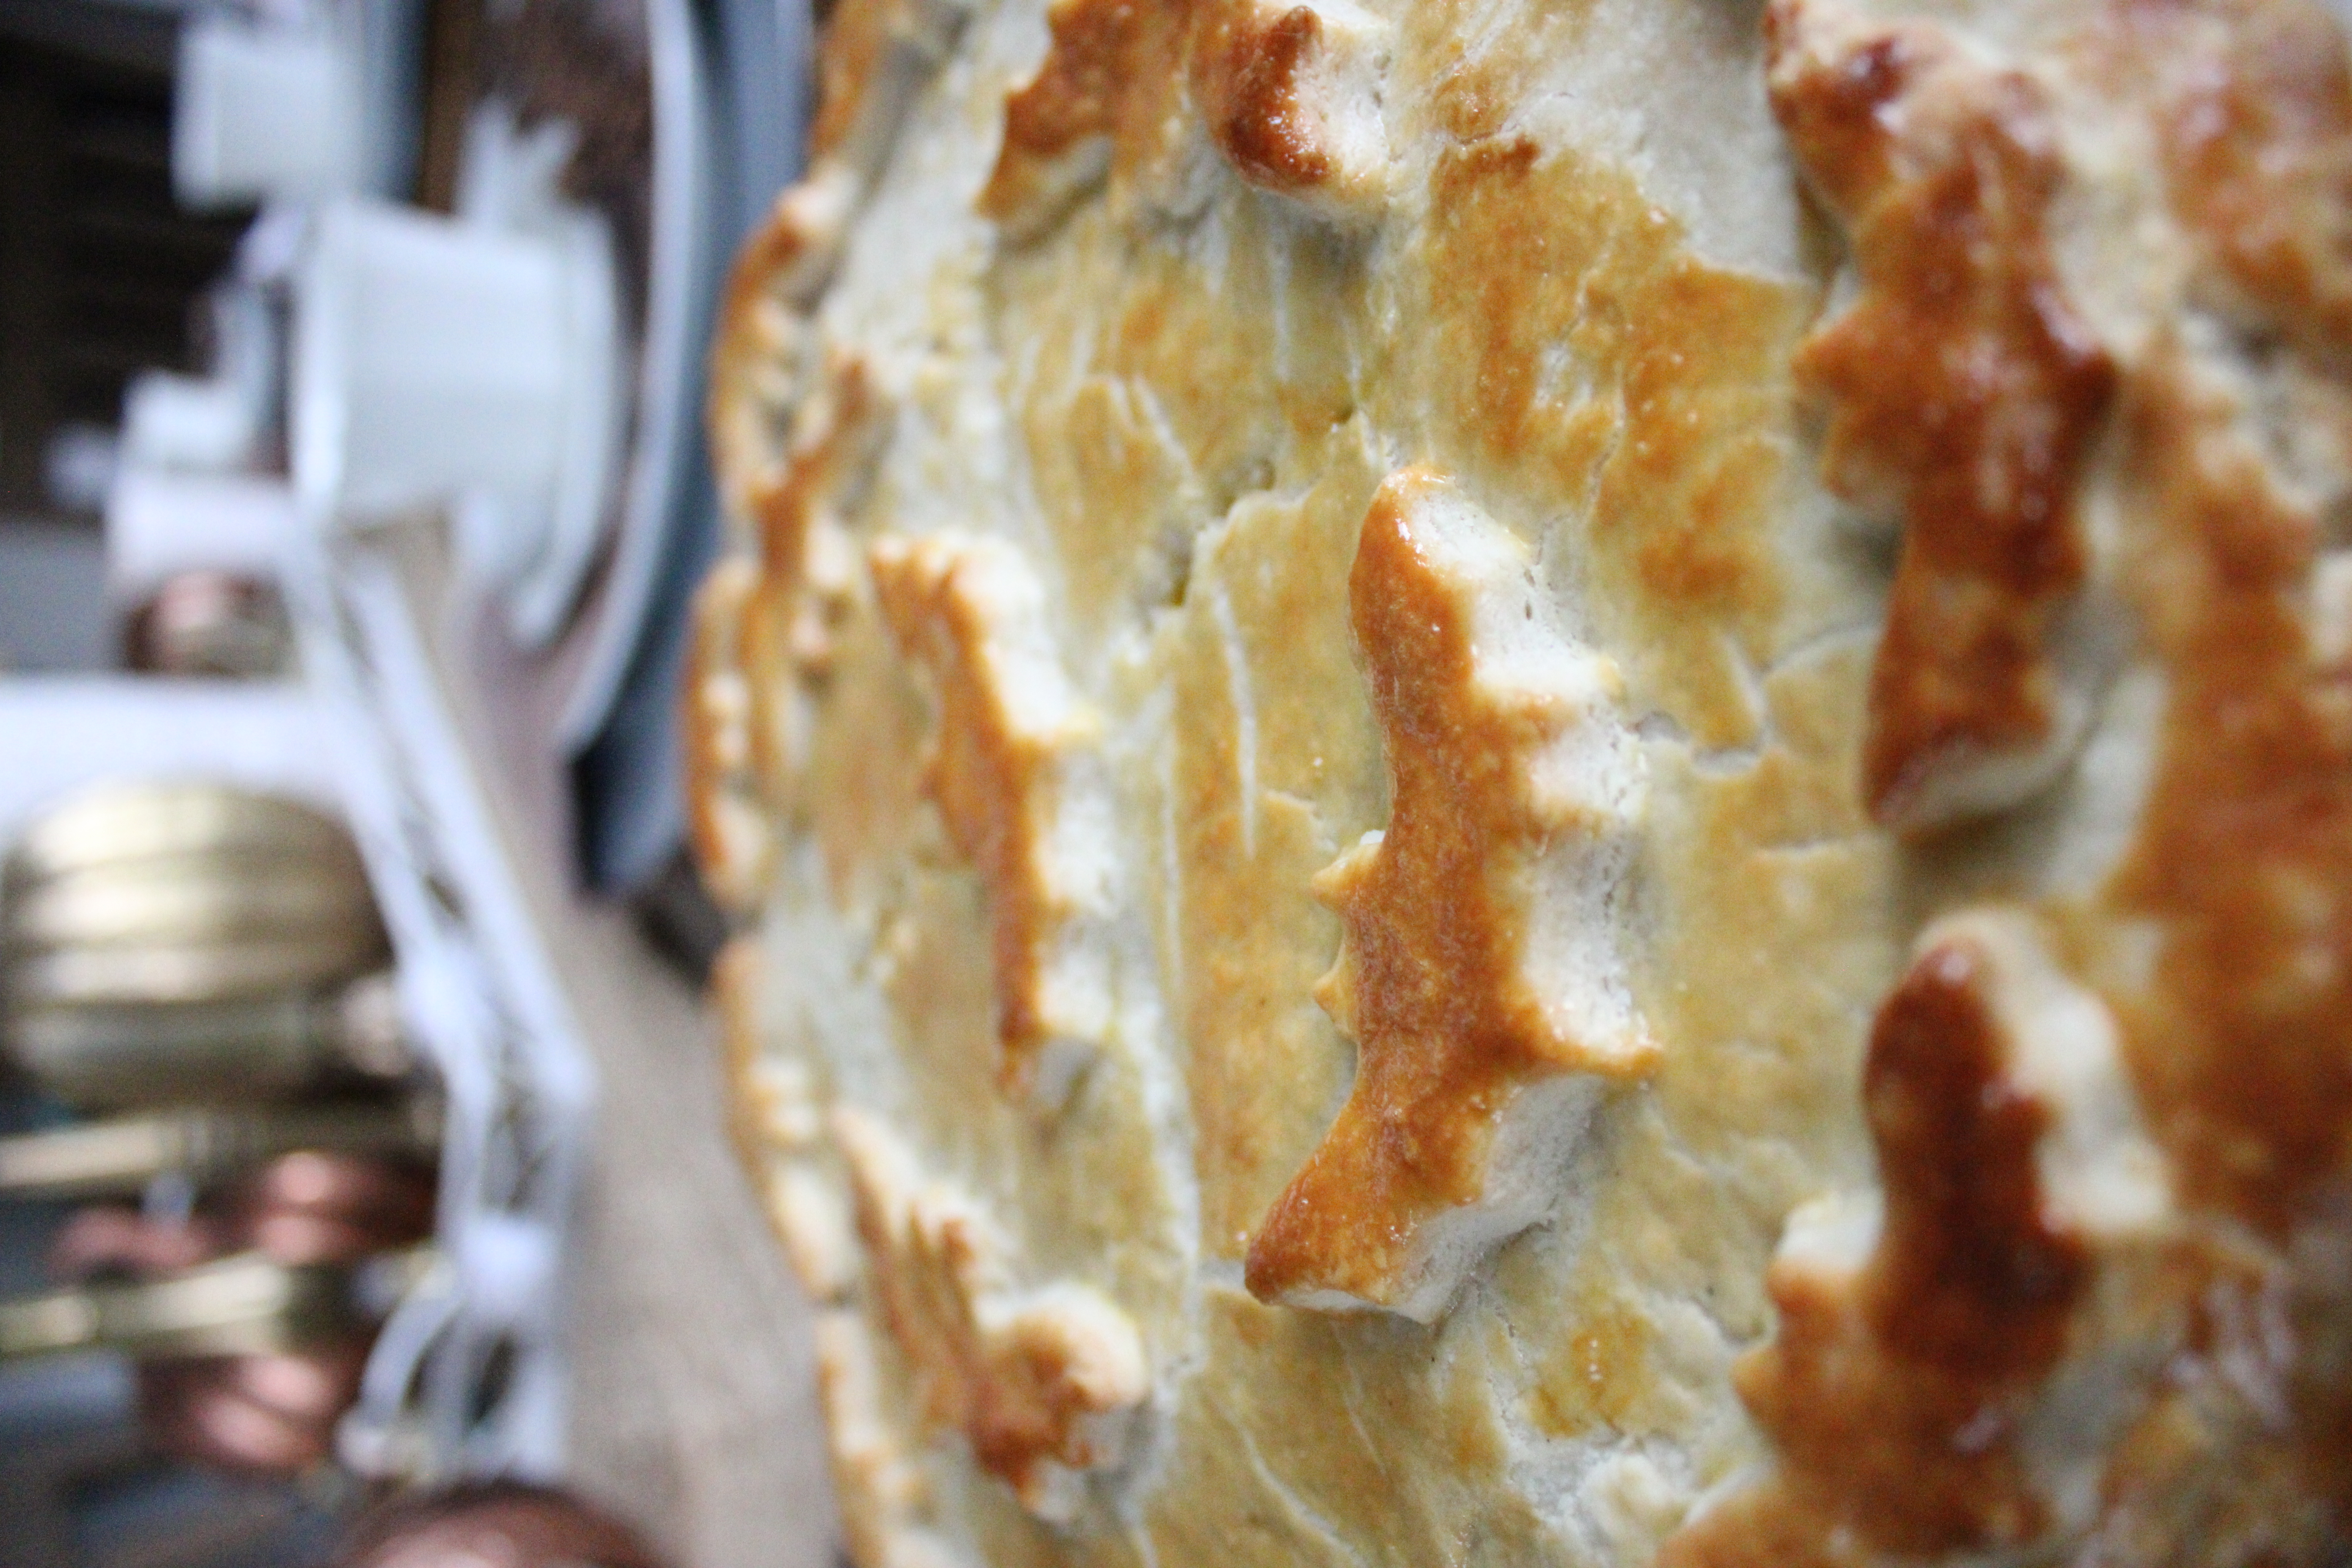
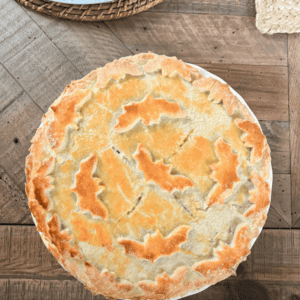
As I mentioned earlier, I made a more spooky version of this pie for Halloween. I used the excess pie dough and rolled it out once again. Then, using Halloween cookie cutters, I cut out a few different sizes of bat shapes. I will link the cookie cutters I used below for you!
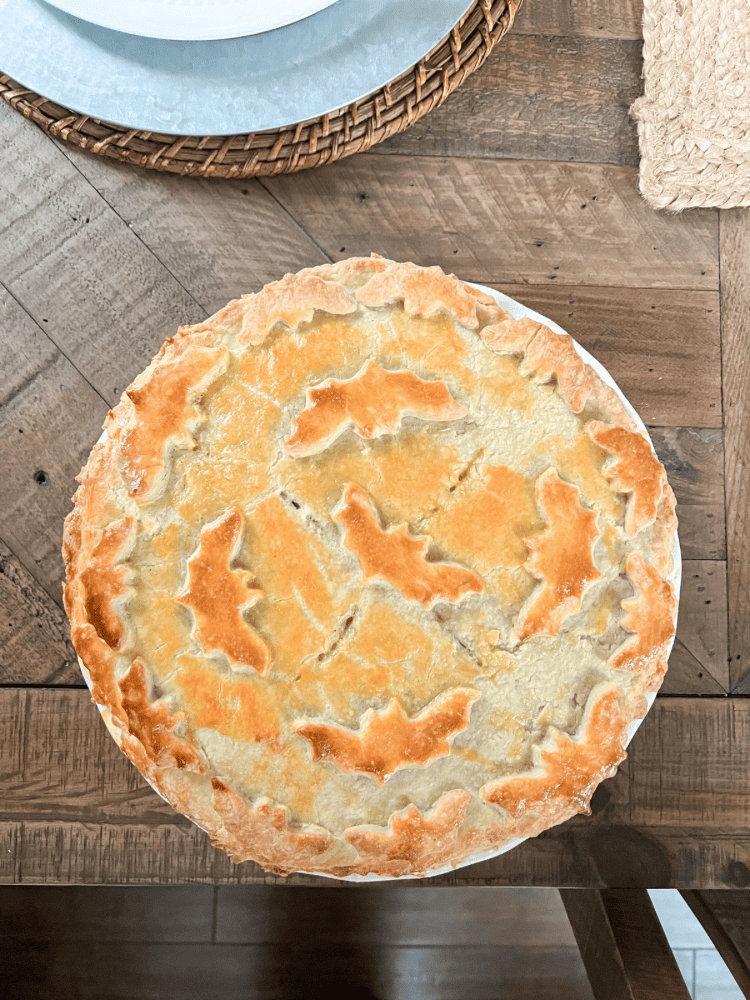
Using these bat shaped pieces, I placed them around the edge of the pie. I found that by doing the egg wash first on the upper crust and then sticking the pieces on there, the bats stuck much better. After I placed the bats all over the top pie crust, I went back and added more egg wash to the tops of the bats.
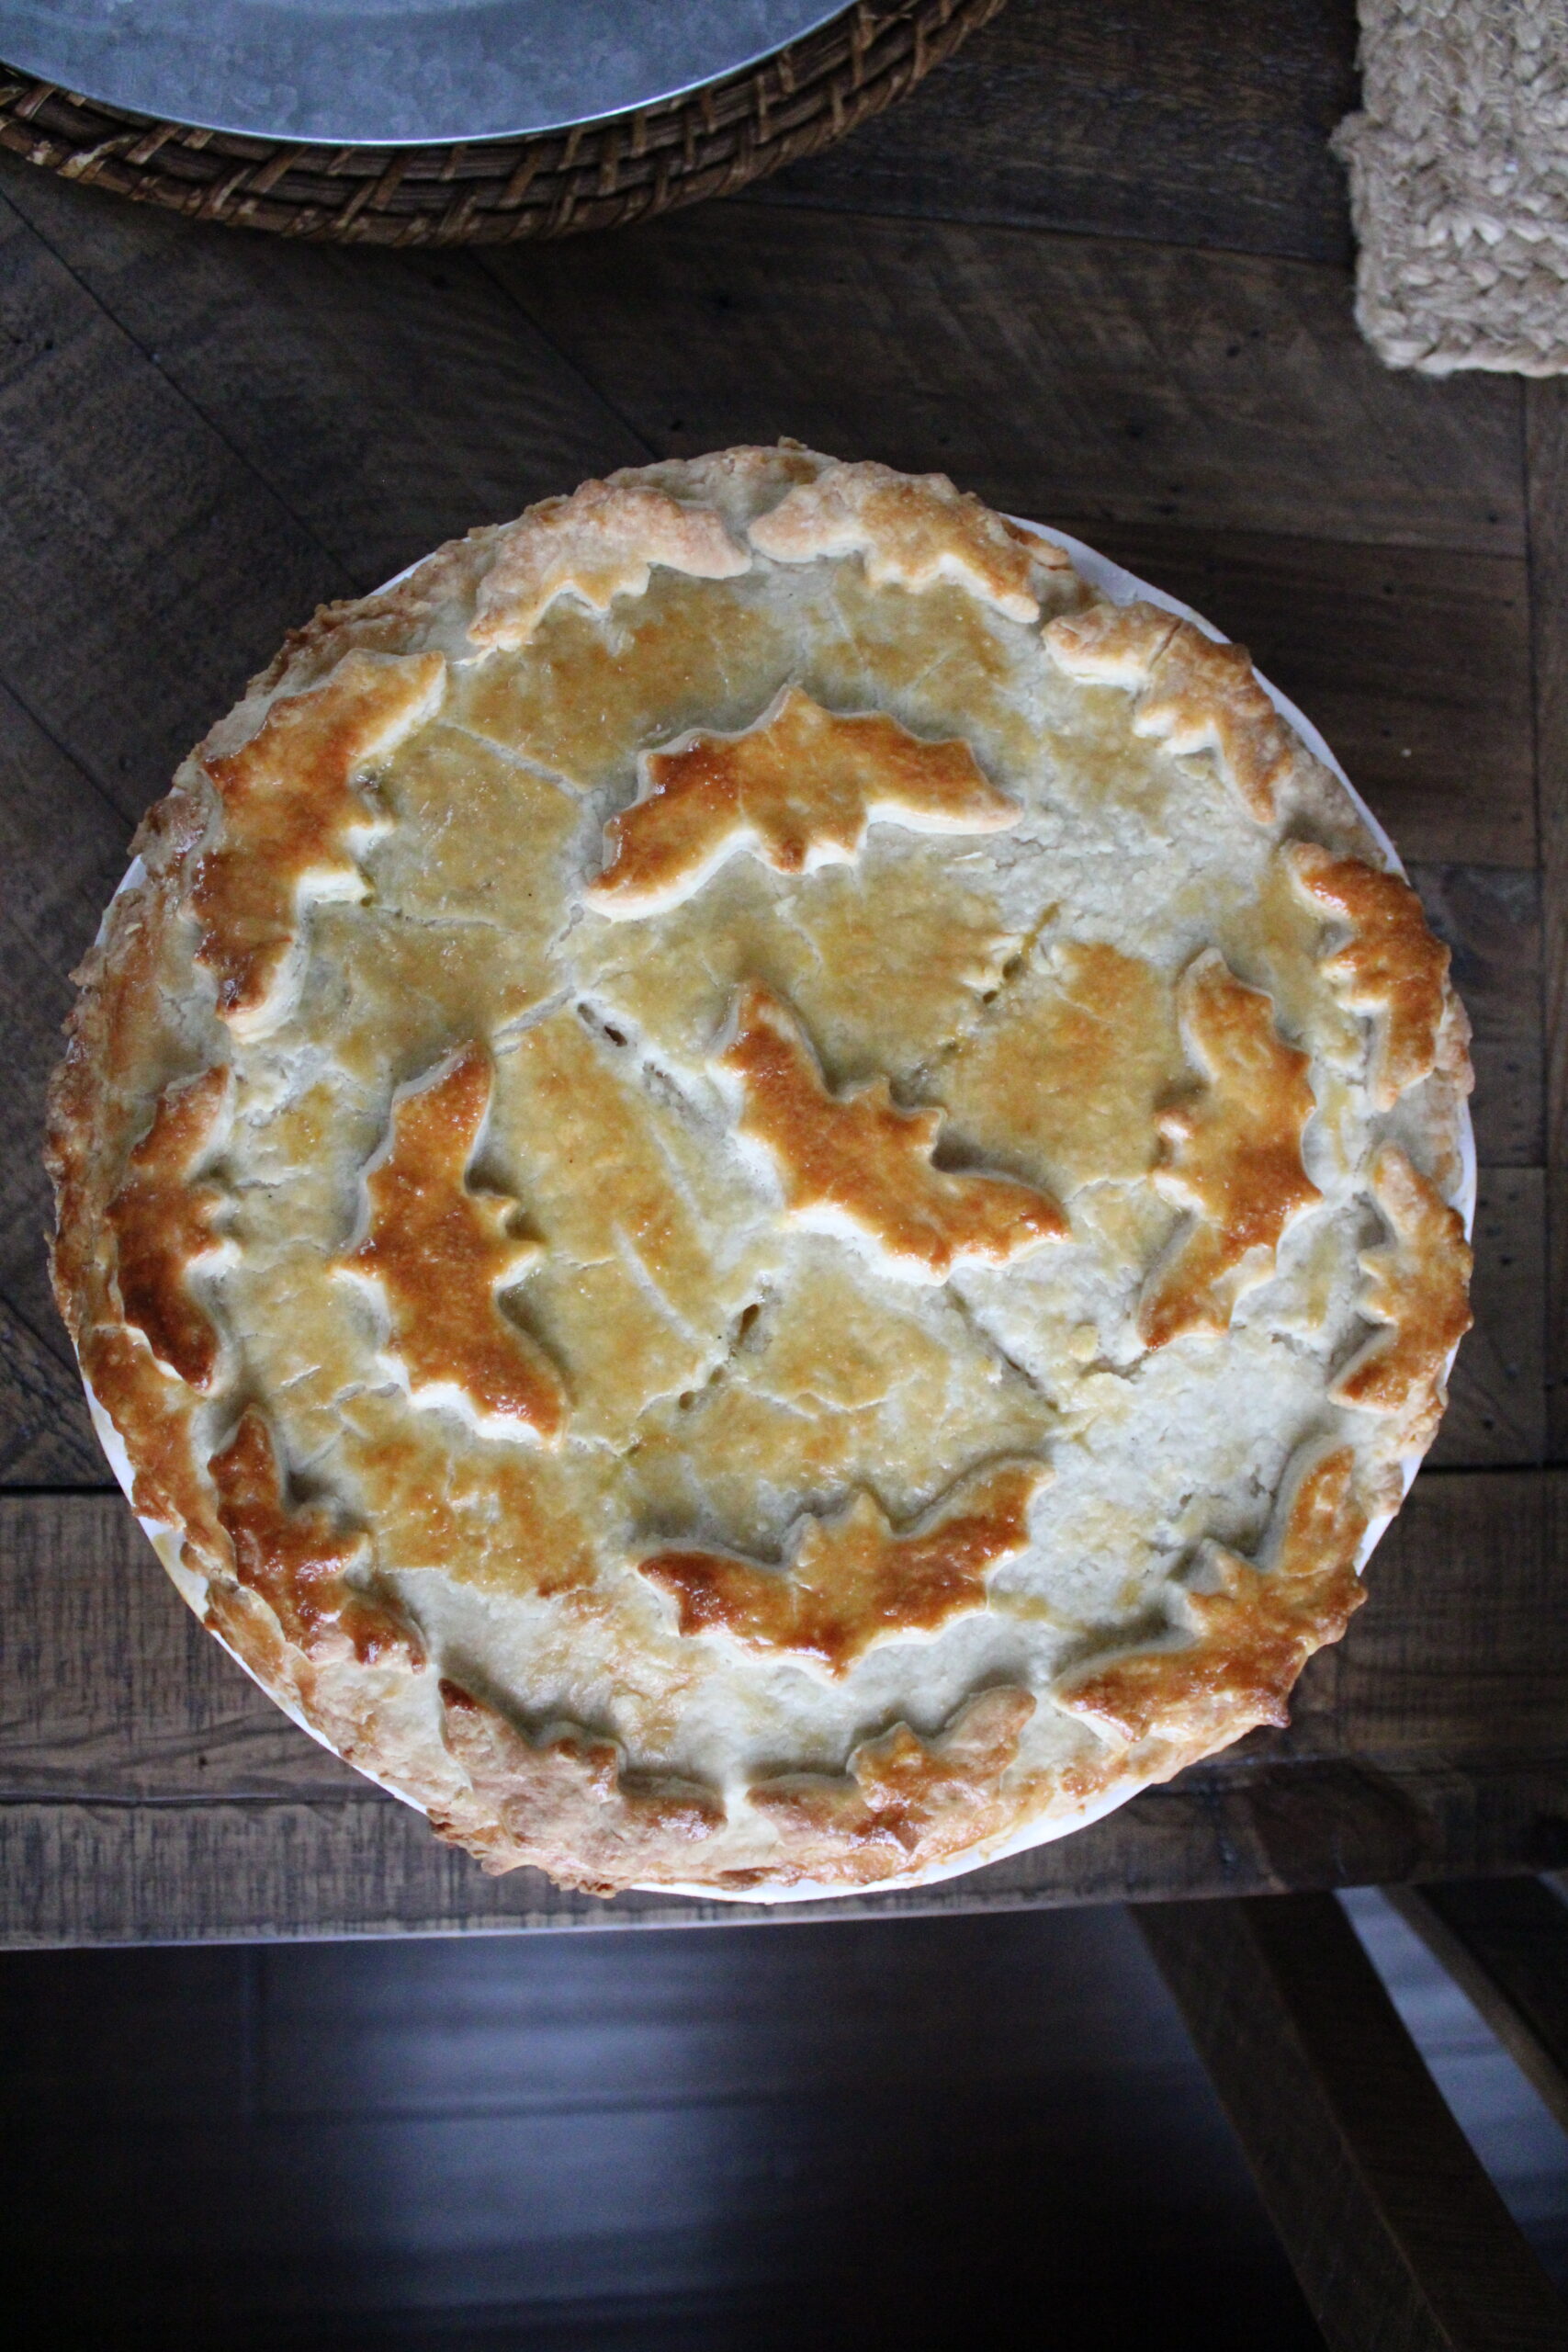
I also rotated the pie around the oven about 20-25 minutes in, that way all the spooky little bats received the same golden brown color on top of the pie. And they didn’t get burned either! You could always use a pie crust shield to prevent the crust from burning, but I have never had an issue with it before.
Tips and Tricks
I know this seems like a lot of work, and technically it is. So while you already have everything out, you might as well just go ahead and double the recipe, that way you can freeze a chicken pot pie for later use! I like to just go ahead and do this because my kitchen is already a mess from making one pie; why not just go ahead and make two?!
I also like to go ahead and chop all my veggies up ahead of baking time. That way, I can just grab everything and cook it without having to do the prep work too. And I mentioned above you could definitely use store-bought pie crusts too if you’re short on time. But trust me, this recipe makes the perfect pie crust and it is so worth the effort it goes into making it!
Also, you could use a rotisserie chicken or any leftover chicken you have from another recipe for this as well. And you can make this recipe as listed above but with leftover turkey too! So if it is around Thanksgiving time and you have a ton of turkey leftover that you don’t know what to do with, make this recipe!!
Another tip I have is that I like to place the unbaked pies on a baking sheet before placing them in the oven. That way, the baking tray catches any overspill and you can easily rotate the unbaked pot pie easier than just throwing it in there directly on the pie plate.
This chicken pot pie also pairs perfectly with my homemade cranberry sauce! It doesn’t have to be Thanksgiving to enjoy a delicious cranberry sauce, so be sure to try that recipe out too!
Freezing Chicken Pot Pie
Okay, now the subject you’ve all been waiting for! I make the pot pie as listed above, going ahead and cooking it and everything like that. However, I do use disposable pie tins that you get at the grocery store when making it to freeze. I don’t use my actual pie plates to freeze them with.
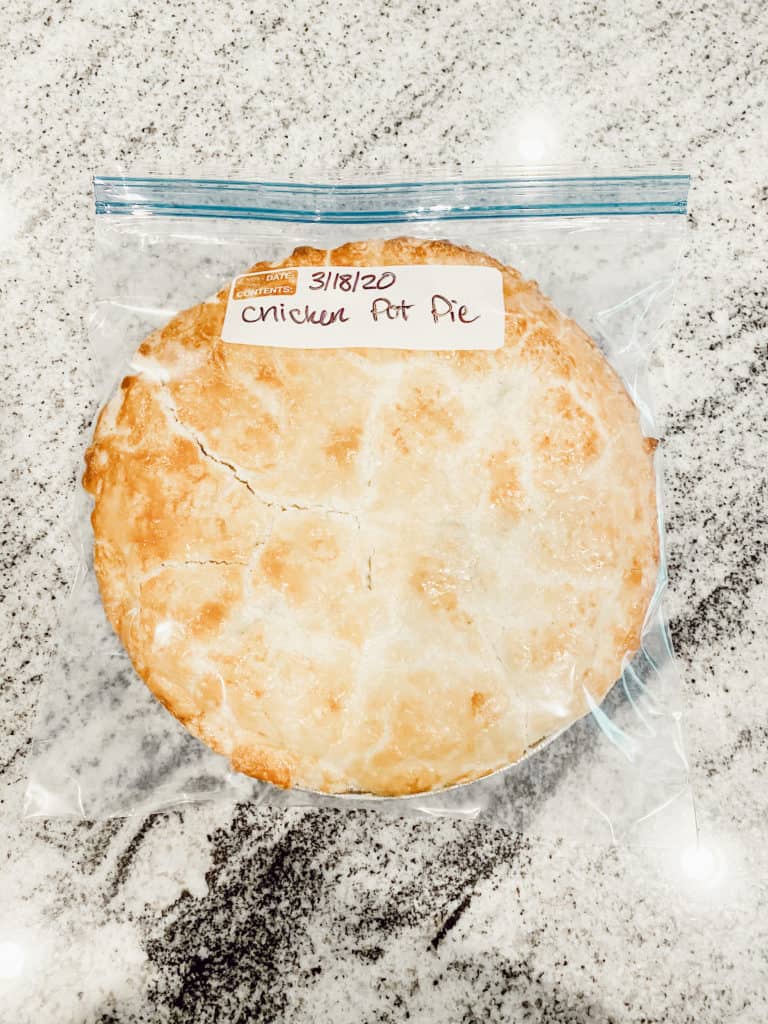
Then, I let it cool completely before trying to freeze it. Once cool, I wrap the pot pie in plastic freezer wrap, being sure to cover it well to prevent any freezer burn from occurring. I then placed the wrapped pie in a freezer bag too for extra precaution.
Once labeled and completely packaged, I throw it in the freezer! Freezer chicken pot pie will last you 2-3 months. But, I guarantee it won’t stay in the freezer that long! You will definitely be craving it again after making it and tasting this delicious chicken pot pie for yourself!
How Do You Store Freshly Baked Chicken Pot Pie?
Since I am making one to eat one and one to freeze, you are probably wondering how to properly store the other one. I simply place the pot pie we are eating in an airtight container and then put it in the fridge. This pie will keep for about 3-5 days in the fridge.
How Do You Thaw Frozen Chicken Pot Pie?
Once your pie is frozen and you want to serve it again, simply take it out of the freezer the night before and thaw it in the fridge. Then, the next day, place the pie on a baking sheet and warm it up in the oven for about 15-20 minutes and that’s it!
Should Chicken Pot Pie Be Cooked Before Freezing?
I know there is a lot of different opinions out there about whether you should cook your pot pie before freezing it or not. Some people may say that it can cause your crust to become soggy if you cook it first before freezing. However, I have never had this issue before. I always just re-heat it in the oven and it tends to be just fine.
Another tip you may want to consider is to under-bake your pie a little before freezing it. That way you don’t burn your crust reheating it in the oven. However, I haven’t done this and you can always shield the crust with a pie shield or a layer of aluminum foil to prevent it from burning more.
You could definitely also just freeze an unbaked chicken pot pie too. I would just increase the baking time a little once you pull it out of the freezer.

Enjoy Your Chicken Pot Pie!
I hope you enjoyed this post all about this delicious chicken pot pie recipe. And I hope I answered the question of can you freeze chicken pot pie after baking too. If you have any other questions about the process, please let me know in the comments below and I would be happy to help!
Otherwise, I hope you enjoy this homemade chicken pot pie recipe and I know all your family members and loved ones will as well! Every time I make this, my husband goes nuts! It’s one of his favorite meals and I am sure it will become one of yours too!

Chicken Pot Pie
Ingredients
For The Homemade Crust:
- 2 1/2 cups all purpose flour
- 1 tbsp sugar
- 1 tsp salt
- 1 cup cold unsalted butter cut into cubes
- 1/2 cup cold buttermilk
- 1-2 tbsp cold water
- 1 large egg beaten, for the egg wash
For The Chicken Pot Pie Filling:
- 1/4 cup unsalted butter
- 1/3 cup diced onion
- 2 medium sized carrots sliced
- 1 stalk of celery sliced
- 2 garlic cloves minced
- 1/3 cup all purpose flour
- 1 1/2 tsp minced fresh thyme
- 1 tbsp minced fresh parsley
- 1 tsp salt
- 1/2 tsp black pepper
- 3/4 cup chicken broth
- 1/2 cup heavy cream
- 3 cups shredded chicken or turkey
- 1 cup frozen peas
Instructions
- Make the pie crust first. Combine the flour, sugar and salt together in a large bowl or food processor. As I mentioned above, I used my Ninja Blender with the pulse setting, just like a food processor.
- Add cubed butter and then pulse again. Combine until all the butter is incorporated into the flour mixture. This mixture will be very flaky. Place mixture into freezer for 15 minutes to completely chill the butter.
- Remove from the freezer and add in buttermilk. Using a spoon and then your hands, combine until dough becomes a ball. If the mixture is too dry, you can add 1-2 tablespoons of cold water here. Divide dough into two and flatten into disks. Wrap in plastic wrap and store in the fridge until ready for later use.
- To make the filling, melt the butter over medium high heat. Then, add in celery, carrots, onion, and garlic. Cook until tender, about 10 minutes.
- Whisk in the flour, salt, pepper, thyme, parsley, chicken broth, and heavy cream. Whisk together until there are no lumps present. Then simmer over medium low heat for 10 more minutes, or until the sauce has thickened. Stir in the shredded cooked chicken (or turkey) and frozen peas. Remove from heat as you assemble the pie dough.
- Preheat oven to 400 degrees. Take pie dough out of the fridge and roll both pieces out on a floured surface using a rolling pin until each dough piece reaches a 12 inch circle and is 1/4 inch thick. Transfer one of the dough pieces into a 9 inch pie plate and remove and excess overhang. I saved this extra dough to make bat cut outs for a "spooky" pot pie, but this is totally optional!
- Fill the pie dough with the pie filling and then cover with the other piece of dough you rolled out earlier. Seal the edges of the pie together by crimping it with your fingers.
- With a sharp knife, cut a few slits in the top of the dough. Then, using a pastry brush, brush the crust with the beaten egg for the egg wash.
- Bake in preheated oven for 45 minutes, or until crust is golden brown. Cool for 10 minutes and then serve and enjoy!





I appreciate that you not only shared a delicious homemade chicken pot pie recipe but also addressed the common question of whether you can freeze it after baking. Your detailed instructions, along with tips and tricks, make it seem achievable for even novice cooks.
The inclusion of the homemade crust recipe and the option for store-bought crusts caters to different preferences and time constraints. I also love the “spooky” pot pie twist for Halloween, adding a creative touch to the recipe.
Your advice on storing, thawing, and reheating frozen chicken pot pie is incredibly helpful, as it covers the entire process, ensuring that readers can enjoy this comforting dish without any hassle.
Overall, this post is a culinary gem, combining practical cooking guidance with a personal touch, and it’s sure to inspire many to try their hand at making and freezing chicken pot pie. Thank you for sharing this delightful recipe and useful insights! 🥧🍗👩🍳
Awe thank you so much for your kind comment! I really appreciate it! And I am so glad you enjoyed the post as well!
Good to know! I love pot pie when it gets cooler outside but it’s a lot of work, Making 2 and freezing one would be great!! Thanks!
Yes exactly! I love being able to pull one out of the freezer the next time I am craving a pot pie! So easy!
Wonderful easy to make recipe. Great suggestions 😊
Pastor Natalie (ExamineThisMoment)
Letstakeamoment.com
Thank you so much. It actually does take a lot of work to make though. But, it is definitely worth it!
Could you possibly do this recipe in air fryer oven? I currently don’t have a stove.
I’m honestly not sure. I know with my air fryer I have, it is way too small to put in a whole chicken pot pie. But, if you have a larger one, I am sure it is possible. It would definitely make your crust nice and crispy too!
This is a delicious chicken pot pie recipe! x
Lucy | http://www.lucymary.co.uk
Thank you Lucy! I love it, it is a great recipe for sure!
Oh wow! This looks good. And thanks for addressing the question too! I always make too much of anything when it comes to cooking, it’s quite handy to know something like this can be frozen – Because I’d actually have no idea.
Claire.X
http://www.clairemac.co.uk
Yes, no problem at all! I am the same way too when cooking!
Yum. I love making pot pies (and other meals) for the freezer. I usually put my pot pies in the freezer uncooked. I’ll have to give your recipe a try as it’s a bit different than the one I usually make but I love having some variety in my freezer meals.
I know I love having my freezer stock piled with different meals too! It makes dinner time so much easier!