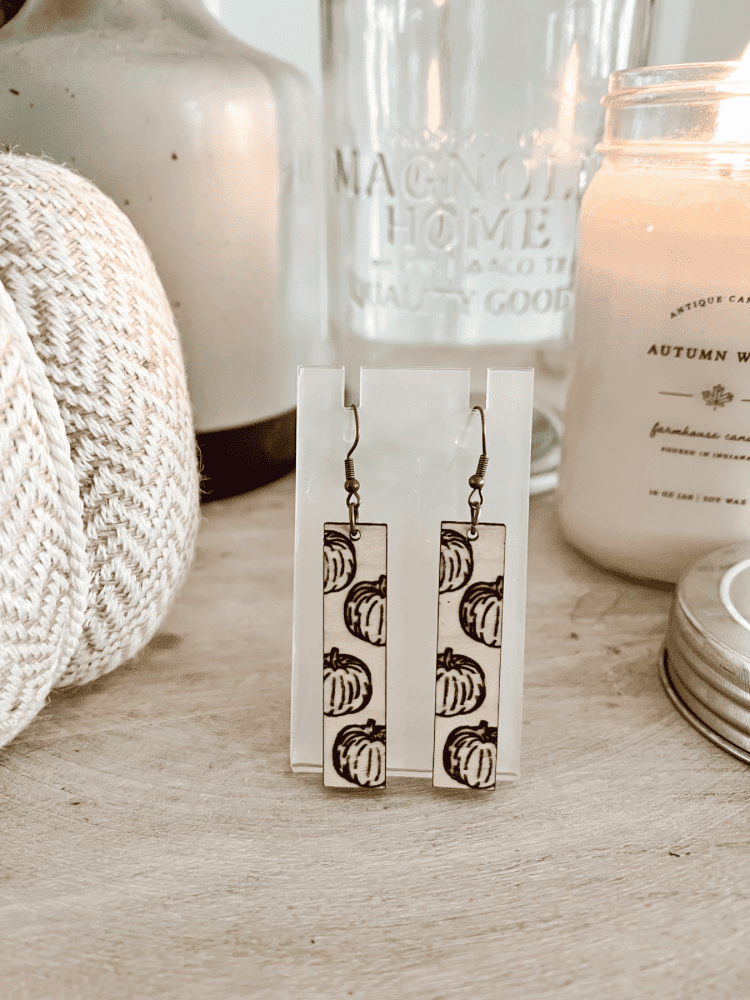
Y’all know I have been sharing a lot of content here lately about the Glowforge Aura machine. And I’m sorry if that’s just not your thing, I can’t help it! I absolutely love this machine and all that it can do! Especially how it can make beautiful laser cut wood earrings. So I figured I would show you exactly how I make earrings using a Glowforge machine today!
It’s actually pretty simple and easy to do. I was a little intimidated at first with this machine, but it’s a quick learn I think. Once you do a couple of cuts to test it out yourself, you are good to go! And I will be here to show you all the exact steps you need to take in order to create some beautiful earrings with your Glowforge laser cutter too!
This is a great way to start your own shop too! If you’re interested in starting up an Etsy shop, like I did, these laser cut earrings are such a fast and easy sale to get started out with! But even if you just want to learn how to make beautiful and unique jewelry just for yourself, this machine will definitely help you achieve that! Keep on reading for my full and simple tutorial!
This post contains affiliate links, which means I make a small commission off anything you purchase through here, at no additional cost to you. Please read my full disclosure policy for more details.
Design Your Earrings
So here’s the fun part, you have a multitude of ways to design your own earrings with Glowforge. You can use a SVG file or digital download you purchased via Etsy or somewhere similar to that. Then, you can use these digital files and upload directly onto Glowforge’s software.
Or, you can use the Glowforge App and just make a few of the hundreds of earring files they already have on hand for you. If you are a premium member with them, which I am, you have a ton of different options to choose from!
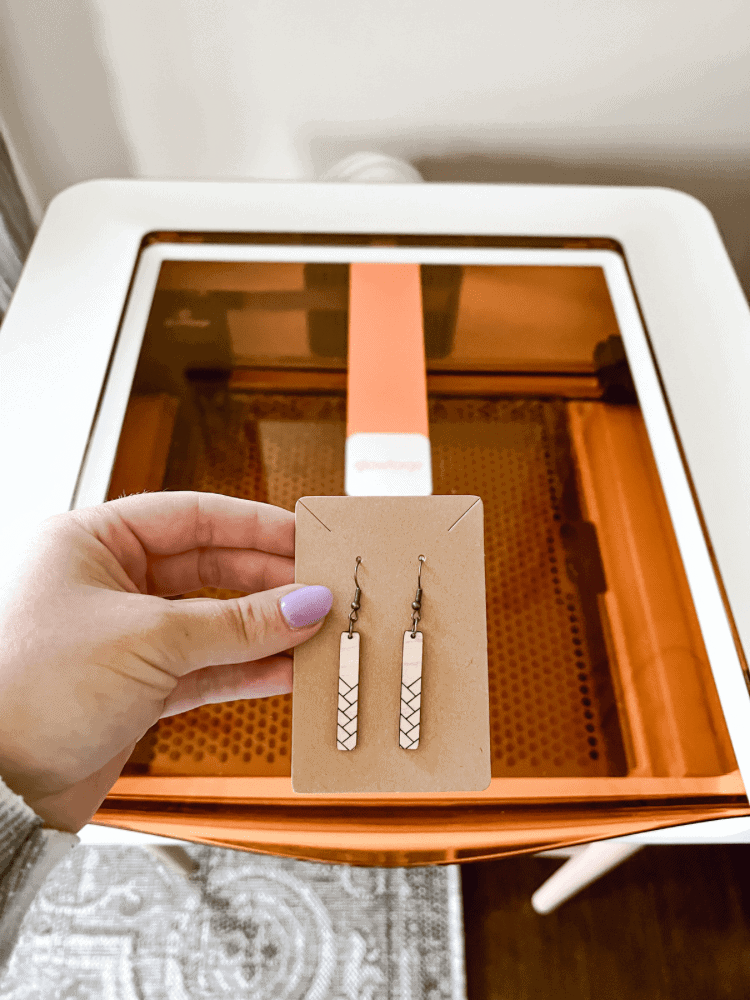
And again, going back to the possibility of an Etsy shop, they also have an easy search option on their file types to include “Commercial”. That way you know you can make these items and sell them in your store with no strings attached. I really like that feature and how easy they make it for small businesses!
I haven’t gotten too fancy with it yet and designed my own Glowforge earrings. In the future, I definitely want to, but I am just taking baby steps learning my machine still. But of course, if I ever design some, y’all will be the first ones to know about it!
Which Material To Use For Earrings
Once you have a design you like, you can open it on the Glowforge workspace. This will show a picture of the inside of your Aura machine and the material you have inside of it. I recommend always using proofgrade materials when it comes to your Aura machine.
I know that the other, bigger Glowforge machines can use some non-proofgrade material, but I tried it out with my machine and it did not work. One possibility is because it is not as powerful as the other machines. I ordered Baltic Wood off of Amazon to try and it did not cut it through at all. I believe it was too thick. So if you have an Aura machine like me, stick to pieces like proofgrade medium cherry plywood!
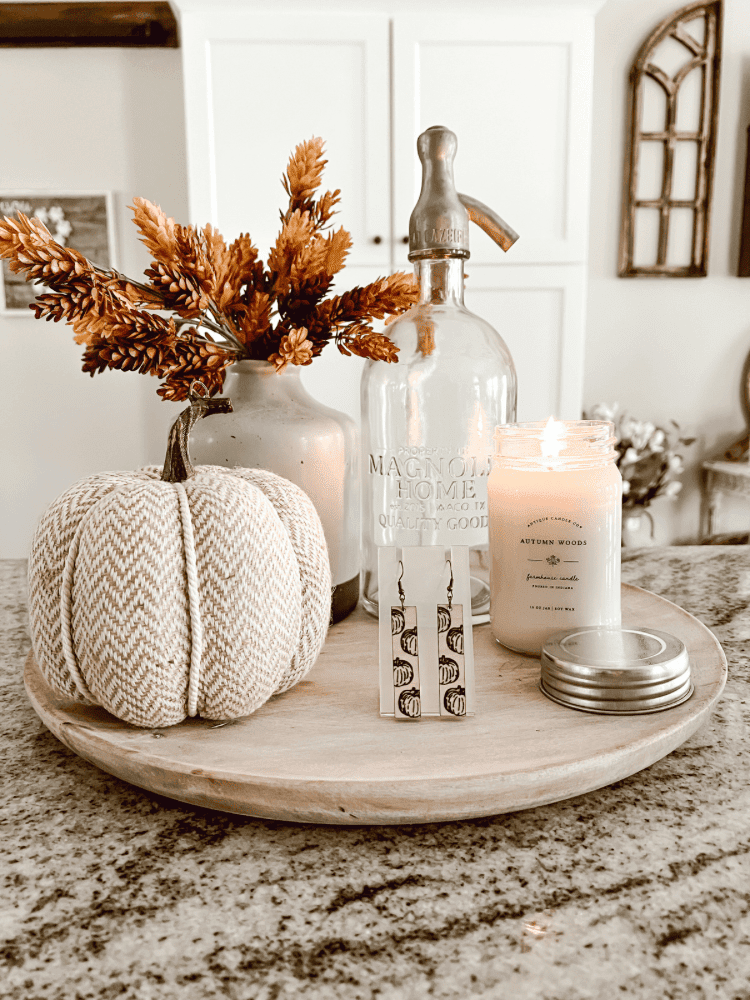
My favorite wood to use for my earrings so far has been the light maple plywood. I think it really looks beautiful when they are scored and engraved. It really pops against the wood since it is so light. But, there are several different wood types to choose from, so just play around until you find one you like!
The proofgrade materials all come with paper masking, which is definitely something you need. The masking helps prevent burn marks on the material from the laser. So if you were to use non-proofgrade material, you would still need to mask the piece, with blue painter’s tape for example, before cutting it with the laser.
You can also make acrylic earrings and leather earrings too. Both acrylic and leather come in proofgrade materials too! However, another drawback to the Aura machine, I do not think it will cut frosted acrylics again like the other machines, such as the Glowforge pro laser printer can.
There are less proofgrade materials available that are compatible with the Aura machine right now. But again, that could be because it is a very new machine and they could still be rolling out more items for it in the future.
Print Your Earrings
Now that you have your wood chosen, the next step in making earrings with a Glowforge machine is to simply print them out! You will see the design etched out on the wood in your workspace. This will show all the sure cuts your machine will make when cutting the earrings.
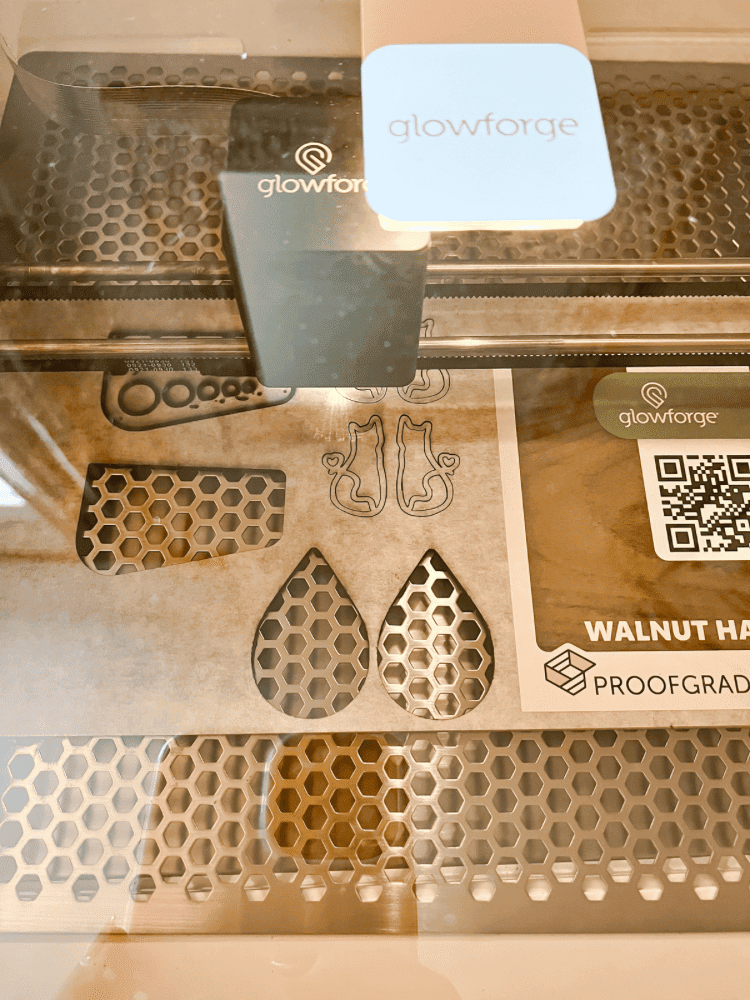
It also always makes a perfect circle for you to attach your jump ring and earring hooks to once it is finished. But, before hitting print, make sure the design is within the cutting area. It should light up red if there is a piece that is off of the cutting area.
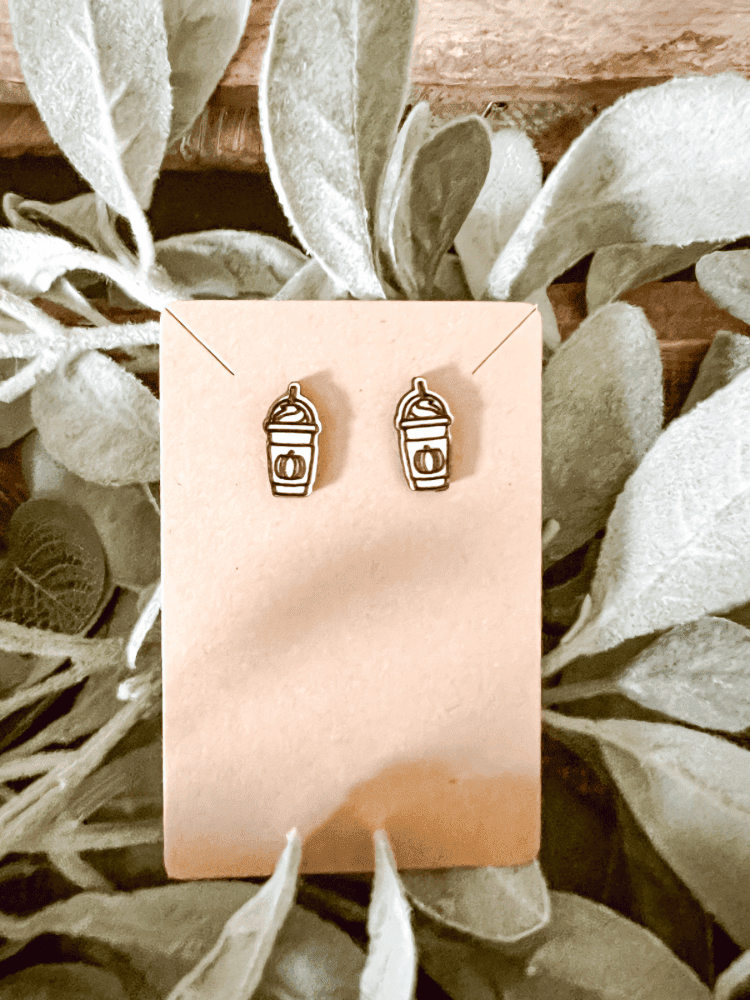
Once everything looks good to go, hit the print button on the workspace. It will then calibrate the machine for a few minutes. Once the print button is flashing on the Aura machine, hit it and watch the magic happen!
One of my favorite things is watching how the laser cuts and designs the earrings! It really is amazing! And, each design gives you a printing time on the workspace so you know how long it should take.
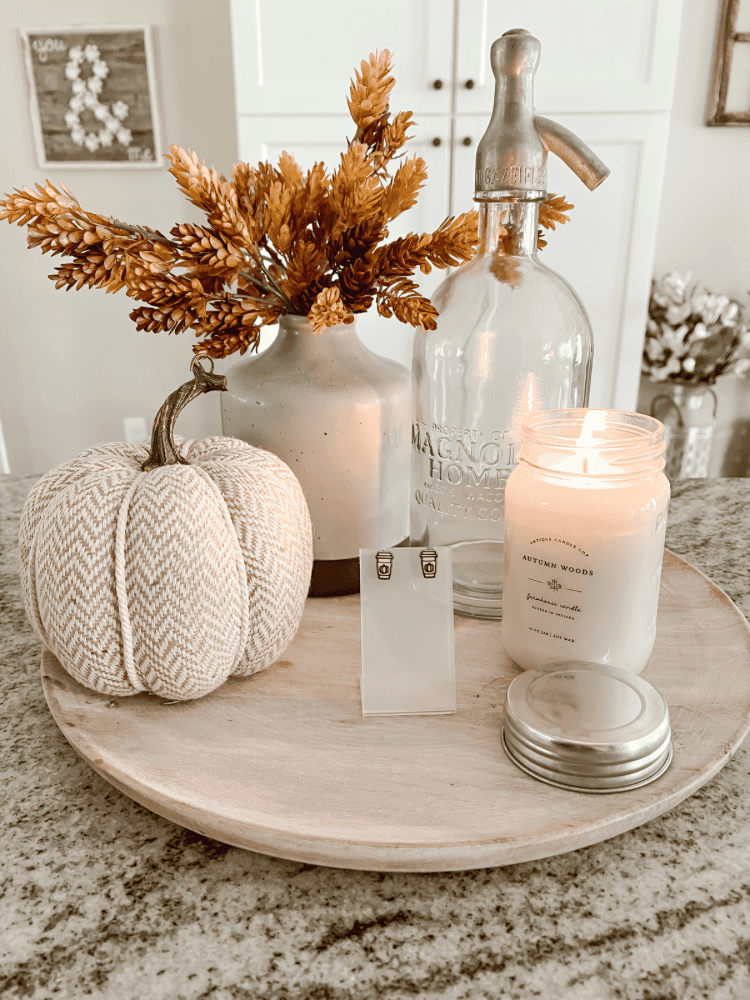
Don’t ever leave your printing Glowforge unattended for a long amount of time though! You want to monitor it and make sure it is working correctly. I have had a few times where my laptop went to sleep, and then it messed up the print.
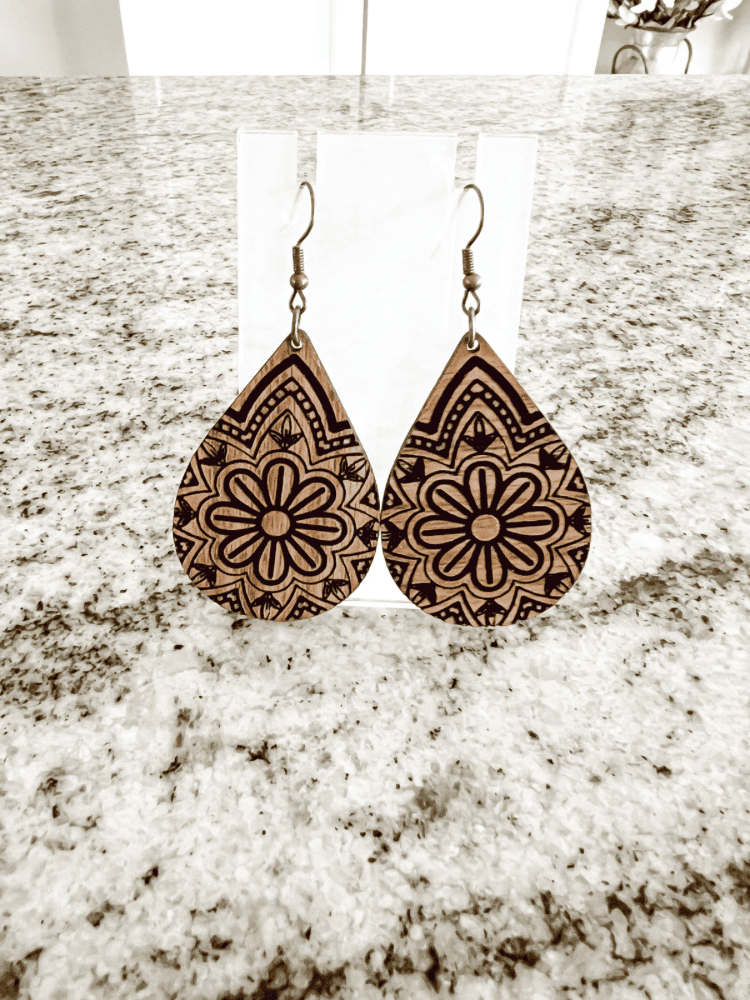
So I recommend staying on your computer or laptop while it is printing so it doesn’t mess up like that. Usually, the Glowforge earrings do not take too long print since they are a smaller physical item.
Finish Your Glowforge Earrings
Once your design is done printing, the Glowforge will cool down a bit before letting you open the lid. Then, remove your design from the rest of the proofgrade material. To remove the masking, I recommend using Gorilla tape.
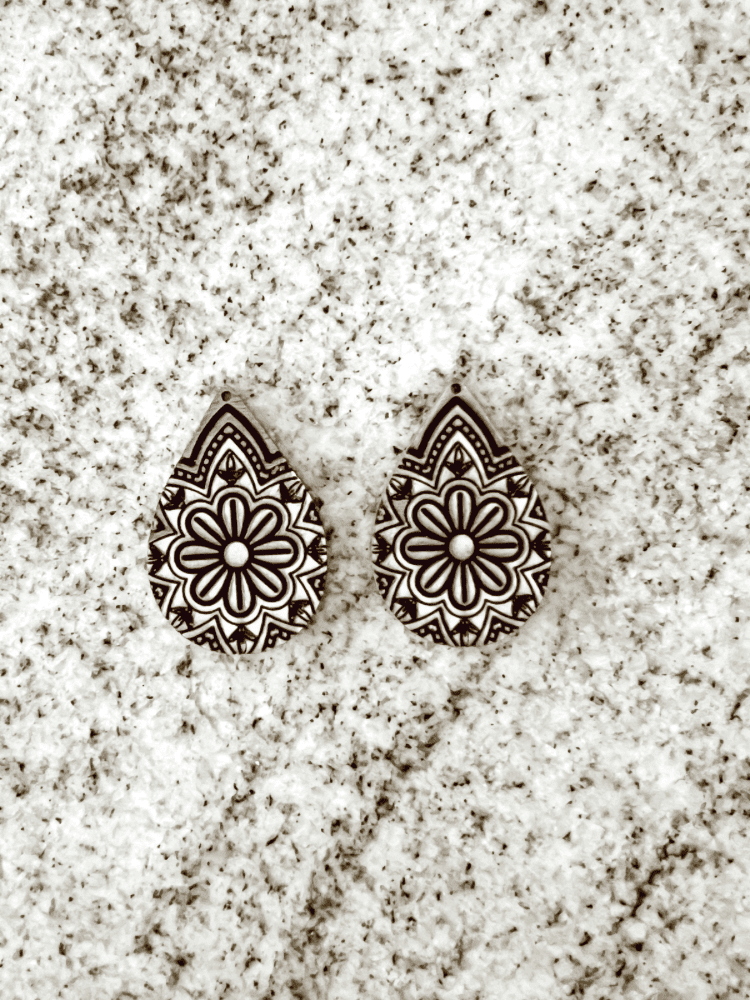
Simply just cut a piece of the tape off and place your earring down on it. Then, lift up slowly and carefully and all the masking should come off with it. Be sure to do this on both sides of your earrings too.
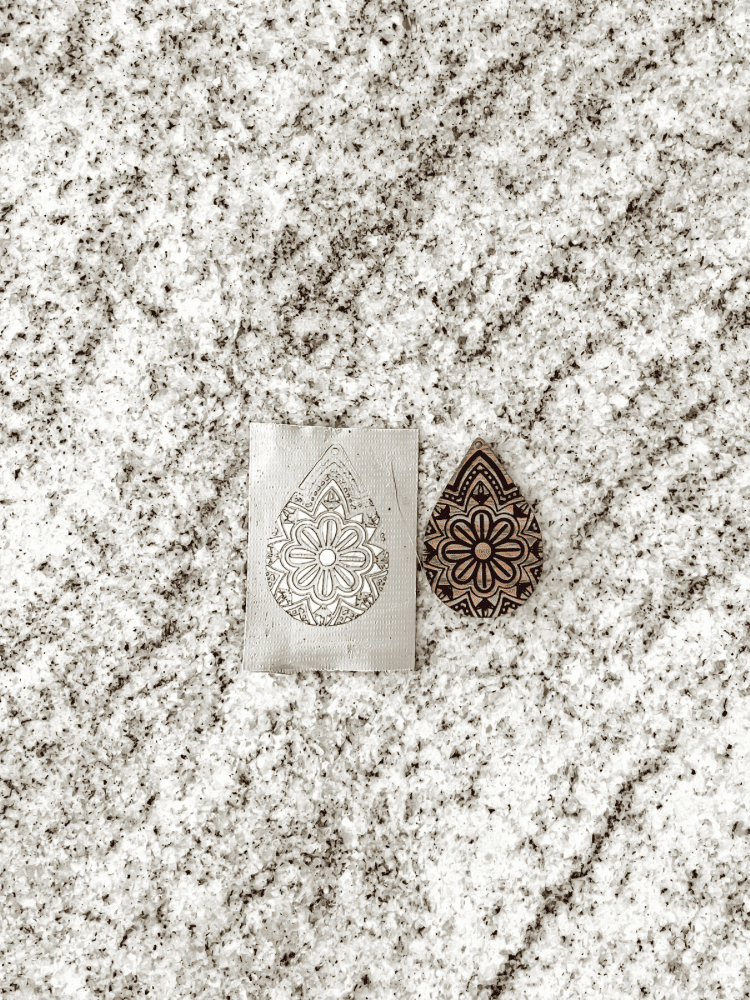
Now you just need to attach your earring to a jump ring, and then add the earring hooks to it and you’re all set! I do this using some flat nose pliers.
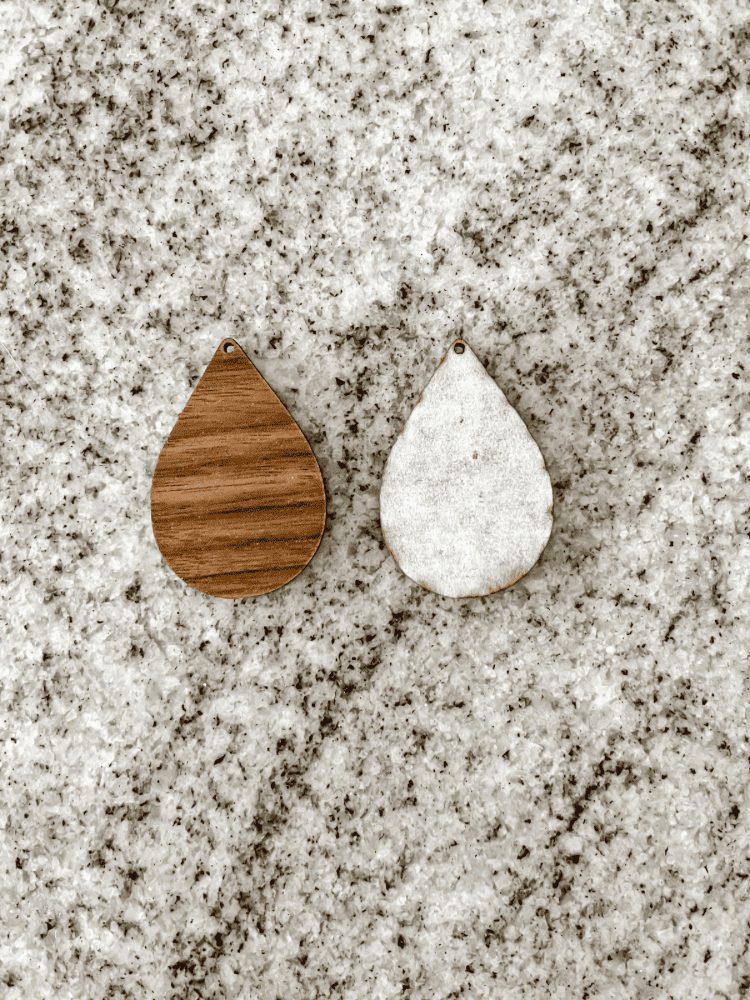
I got an earring making kit from Amazon to make these earrings. It really has helped me out having all the different jump ring sizes when it comes to making these Glowforge earrings. I also have been loving the antique bronze color the most, but you can always get whatever color you prefer, such as gold and silver too!
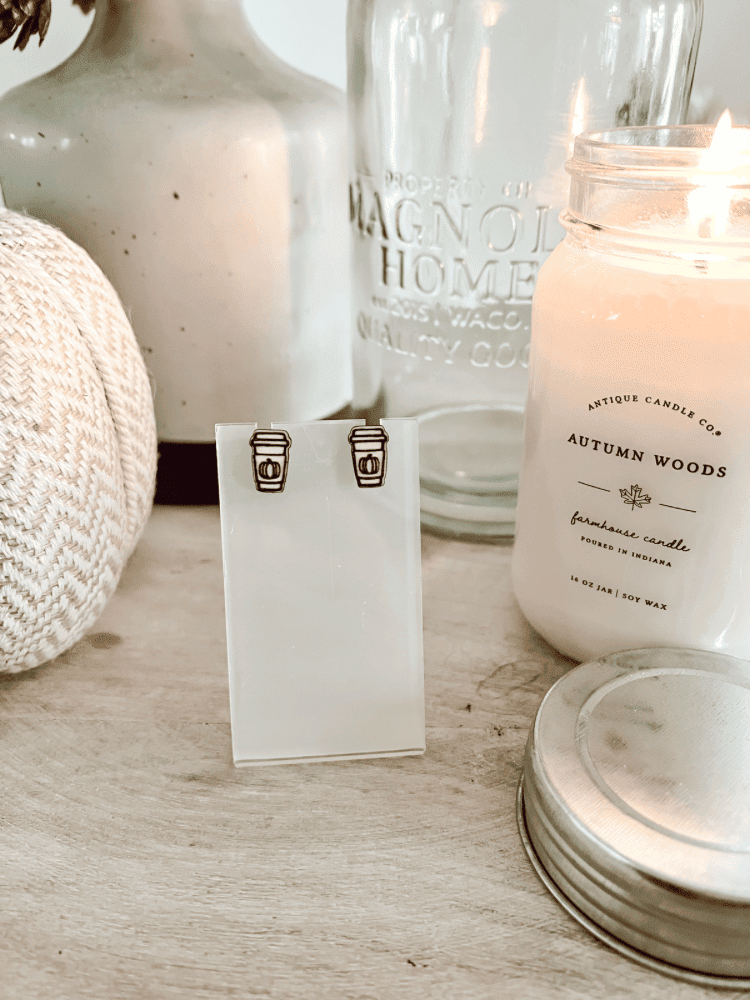
And if you make an earring stud, you would simply just need to glue the design onto earring posts. I like to use the B-7000 glue for this because you can easily move it around even after you attach the glue. That way, if you accidentally don’t have it lined up directly in the center of your stud, you can move it around before it becomes too set, like superglue.
Enjoy Your Earrings!
Like I mentioned above, whether you’re planning on selling your earrings too, or just enjoying them for personal use, I hope this post was informative and helpful for you. And be sure to come back for more laser cutting projects I will be sharing in the near future!
You can make so much more with your Glowforge than just earrings, so I will definitely be sharing all that with you too. But, I think the Glowforge earrings are the best and easiest way to start off and get to know your machine.
They were the very first thing I ever made with mine too! Let me know if you make your own Glowforge Earrings too! And, if you love the look of them, but don’t have a Glowforge machine, or don’t really want to make any yourself, be sure to check out my Etsy shop! I’d be happy to make you some laser cut earrings you would love and send them to you!




What a lovely machine to use to create some beautiful earrings; they all look wonderful. It makes me wish I had my ears pierced as I love the pumpkin coffee cups. So cute!
Thank you! I love those earrings too. They are adorable!
Ooh I love this! I just got my ears pierced (two weeks ago) and the earrings are so pretty, I’m definitely going to be looking at your etsy! Love that they have a commercial option to make it even easier. Thank you so much for sharing x
Yes please take a look at Etsy shop and let me know if you have any questions! I’d be happy to help you!
How amazing that you can make your own earrings at home! x
Lucy | http://www.lucymary.co.uk
Yes! I am having so much fun with it!