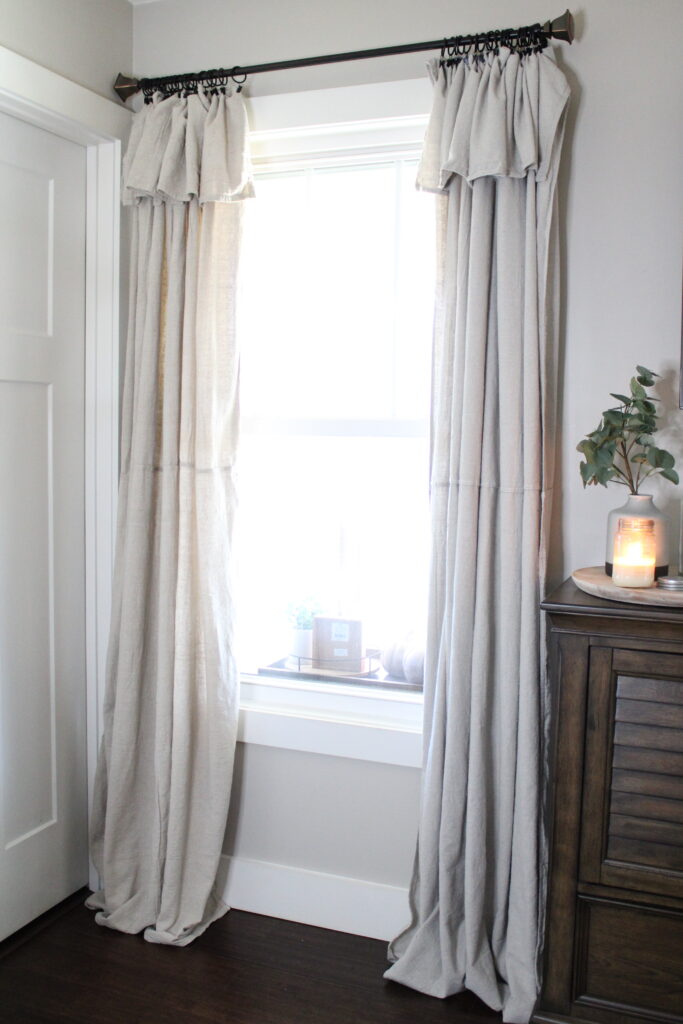
I’ve seen these DIY drop cloth curtains floating around on the internet for awhile now. And I’ve always wanted to try them, but I was pretty intimidated by them, not going to lie. However, I am glad I decided to step out of my comfort zone and try to make my own DIY curtains!
I am actually very pleased with how they turned out. And it was super quick and easy to do! It only took me like an hour, and there was no sewing required at all! Which is a huge plus considering I don’t even know how to sew anyways!
So if you’re looking for some new curtains, without breaking the bank, you should definitely consider making your own curtains using drop cloths! They are the perfect (and cheap) way to achieve farmhouse style curtains in your home!
This post also contains affiliate links, which means I make a small commission off anything you purchase through here, at no additional cost to you. Please read my full disclosure policy for more details.
Materials Needed For No Sew Drop Cloth Curtains
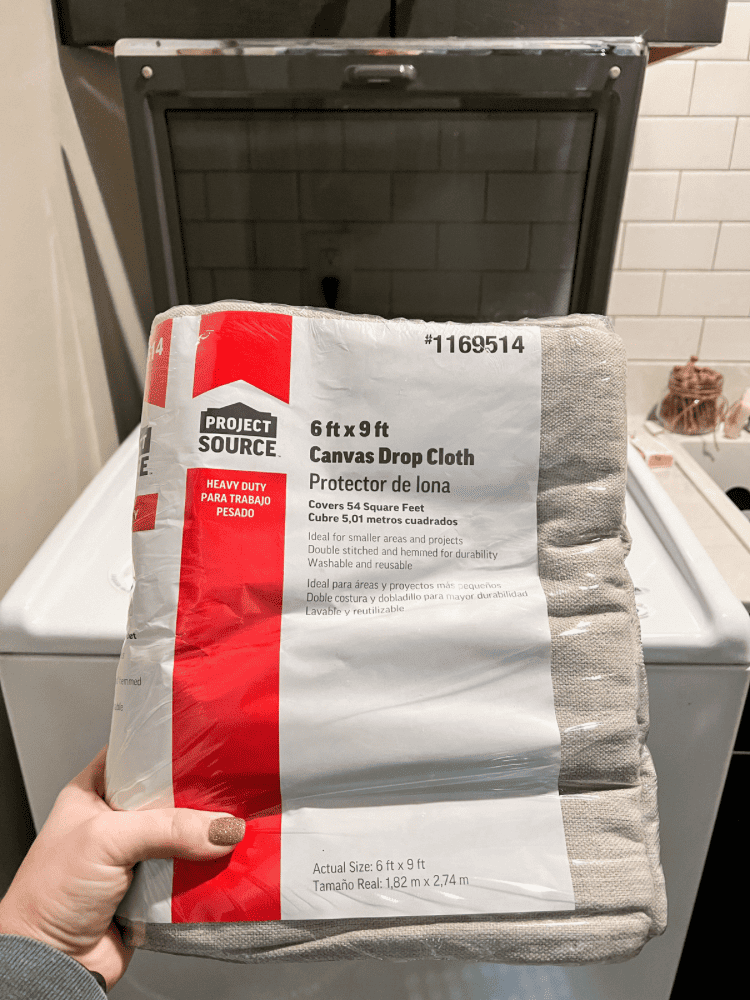
2- 6×9 Drop Cloths (You can easily find these at your local Lowes or Home Depot store too in the paint section)
Curtain Rod
Measuring Tape
As you can see from this list above, you really don’t need that many materials to make these easy DIY drop cloth curtains. And I guarantee it’s cheaper than going to the store and buying new curtains too!
Our previous blackout curtains that we had on our bedroom window had seen much better days. Our cats had picked at them over the years and they just looked rough! It was definitely time to try our hand at making our own canvas drop cloth curtains and refreshing the space! Especially since it is the New Year!
I am trying to refresh all the spaces I can by doing some amazing DIY projects. But also, by keeping things under budget and not spending a ton of money too!
Wash The Drop Cloths
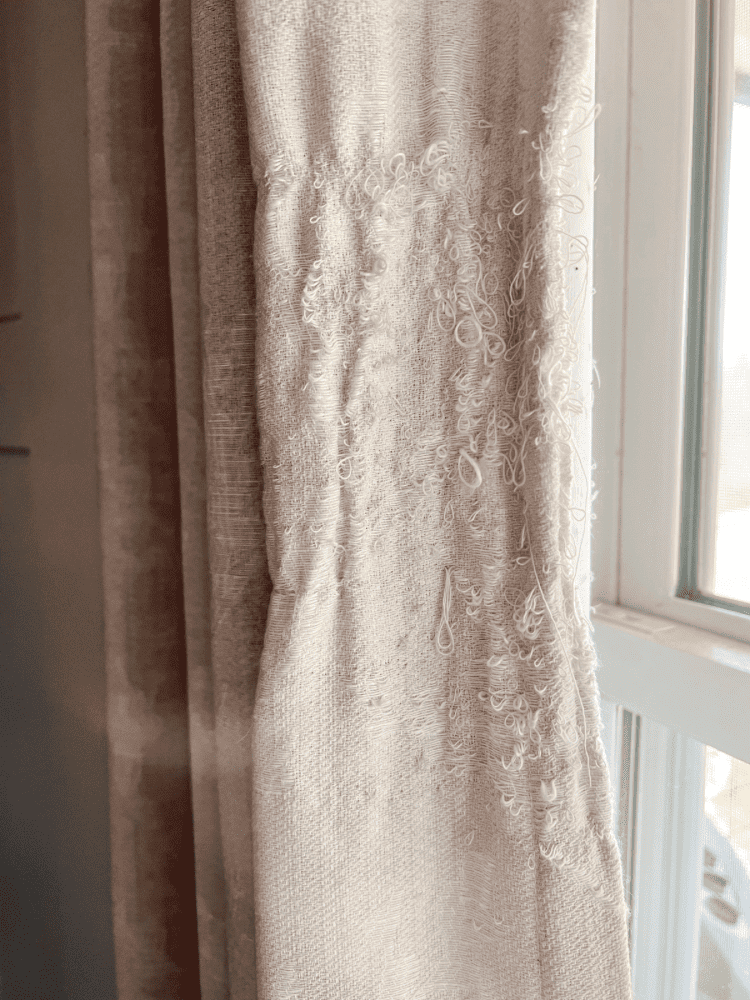
The first thing you want to do is wash the drop cloths. I know this may seem like an unnecessary, extra step, but trust me, it’s worth it. By giving the drop cloths a good washing first, you get rid of all the little fuzzies and strings that can come off of them while hanging them and moving them around.
However, if you want to skip this step and just vacuum around the area after you are done hanging the curtains, you definitely could. But, I think it’s worth washing and drying them because it also will get out some of the deep wrinkles when drying them as well.
Which means you won’t have to steam or iron them as much when you are done. So just throw them in the washing machine first and wait until that process is done for best results!
Attach The Curtain Rings
Now, you’re going to want to attach the ring clips to the drop cloths. I think this was the hardest step for me because I had to re-do it twice. I didn’t take into account that my windows weren’t as long as the drop cloths.
So when I went to hang them, they were way too long unfortunately. Then, I had to take off all the clips and start over which was kind of annoying. So be sure to measure first! That way you don’t have to re-do all your work like I did.
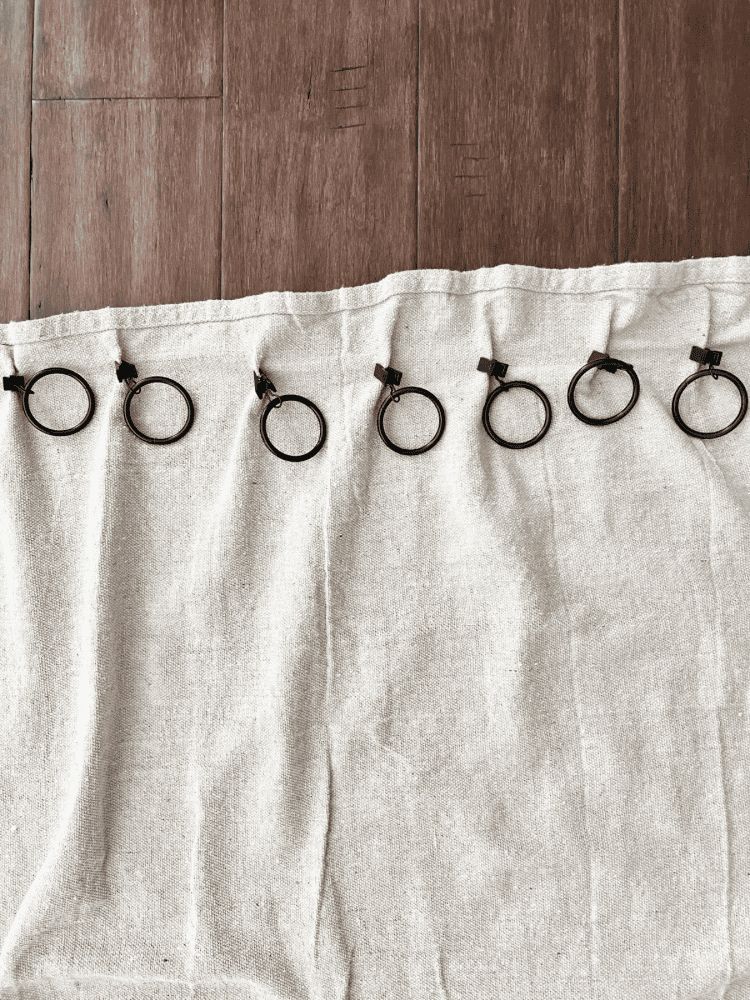
When I hung the drop cloth curtains up and noticed they were too long, I simply took a measurement of the bottom hem and how long they were draping onto the floor. And I got about 12 inches. So once I took everything back down, I folded the top of the drop cloth 12 inches down. And this is where I went to attach the drapery clips again.
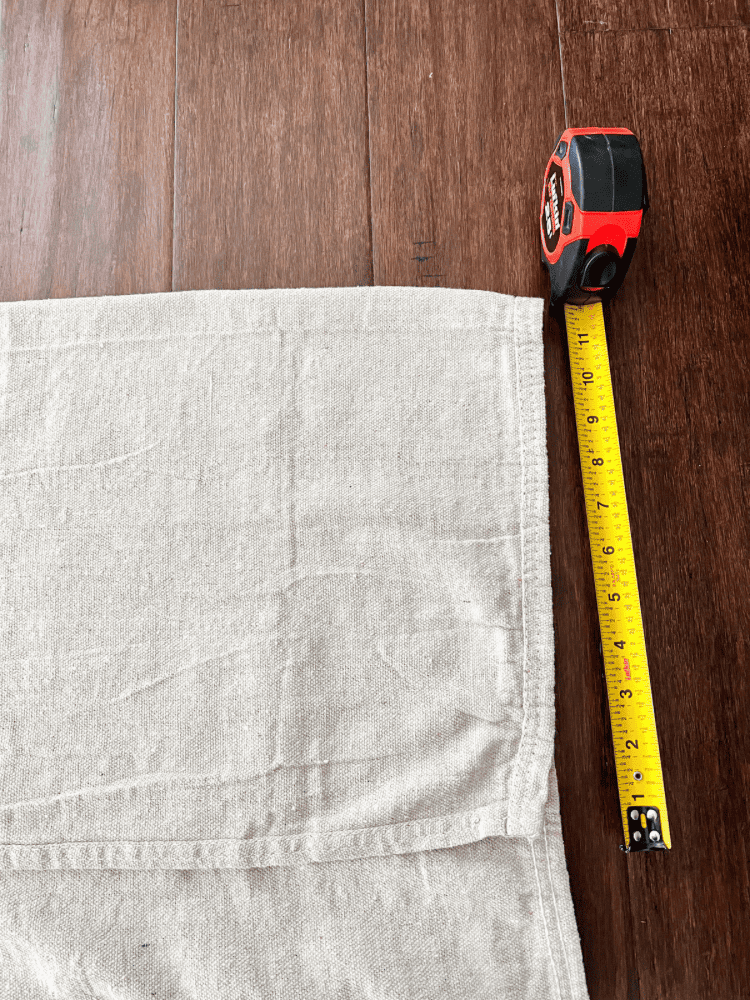
But, as you can see, there is no sewing machine required for this, so that is always a plus! And it only took me a couple of tries to get the right length!
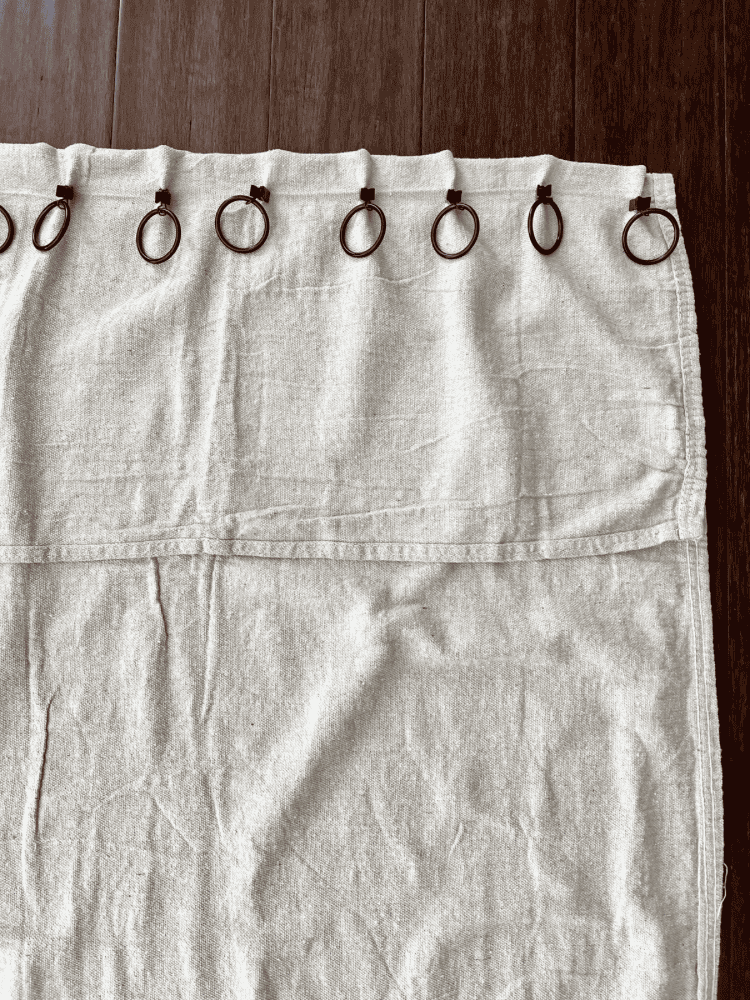
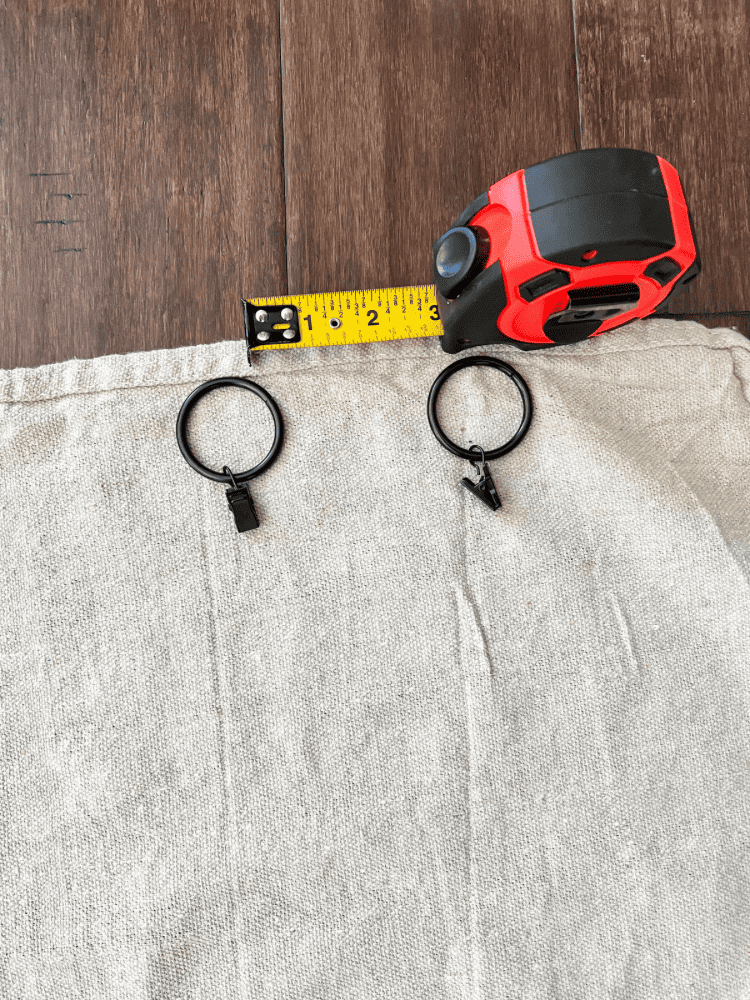
I put them about 1 inch from the top of the curtain, and then spaced them 3 inches apart. Also, I highly recommend getting these ring clips from Amazon! They come in a pack of 40 and you will probably use them all! At least, I used all of mine.
And I was looking at curtain rings at Lowes before buying them on Amazon, and I was floored by the price. They were charging like $20 for a set for just 10 clips. So it would have been over $80 to buy all the clips I needed at Lowes! And over on Amazon, the pack of 40 clips were only $14.99! So definitely a much better deal for sure!
Hang Up Your Curtains
Once you have your clips attached to both pieces of the drop cloth, you can now hang your own drop cloth curtains up! And, depending on your personal preference, you can hang them to where you see the clips, or don’t see the clips. I decided to do the side where the clips were showing, because I did like how the top portion looked.
If your curtains are a little wrinkled still, you can always bring a steamer to them and get the wrinkles out too. I only had to do this in a few places, otherwise it was fine.
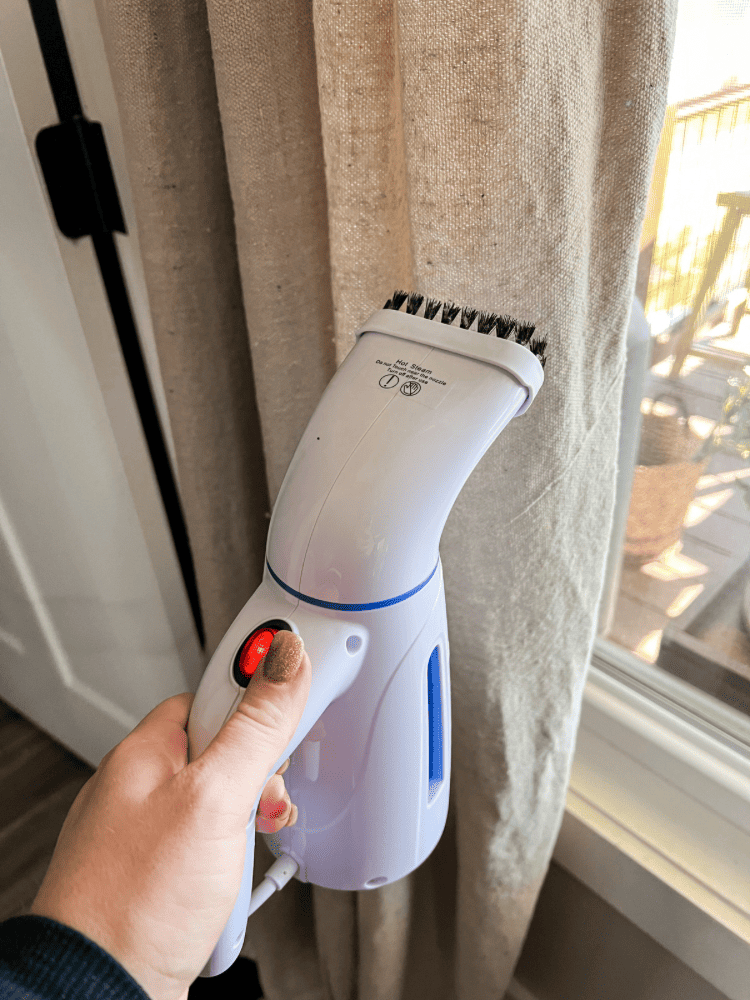
I thought the folded down piece of drop cloth on the top gave it a little more texture and style. A perfect farmhouse look in my opinion! I was worried that the wall color and the curtain would be too similar, but I think it actually turned out great!
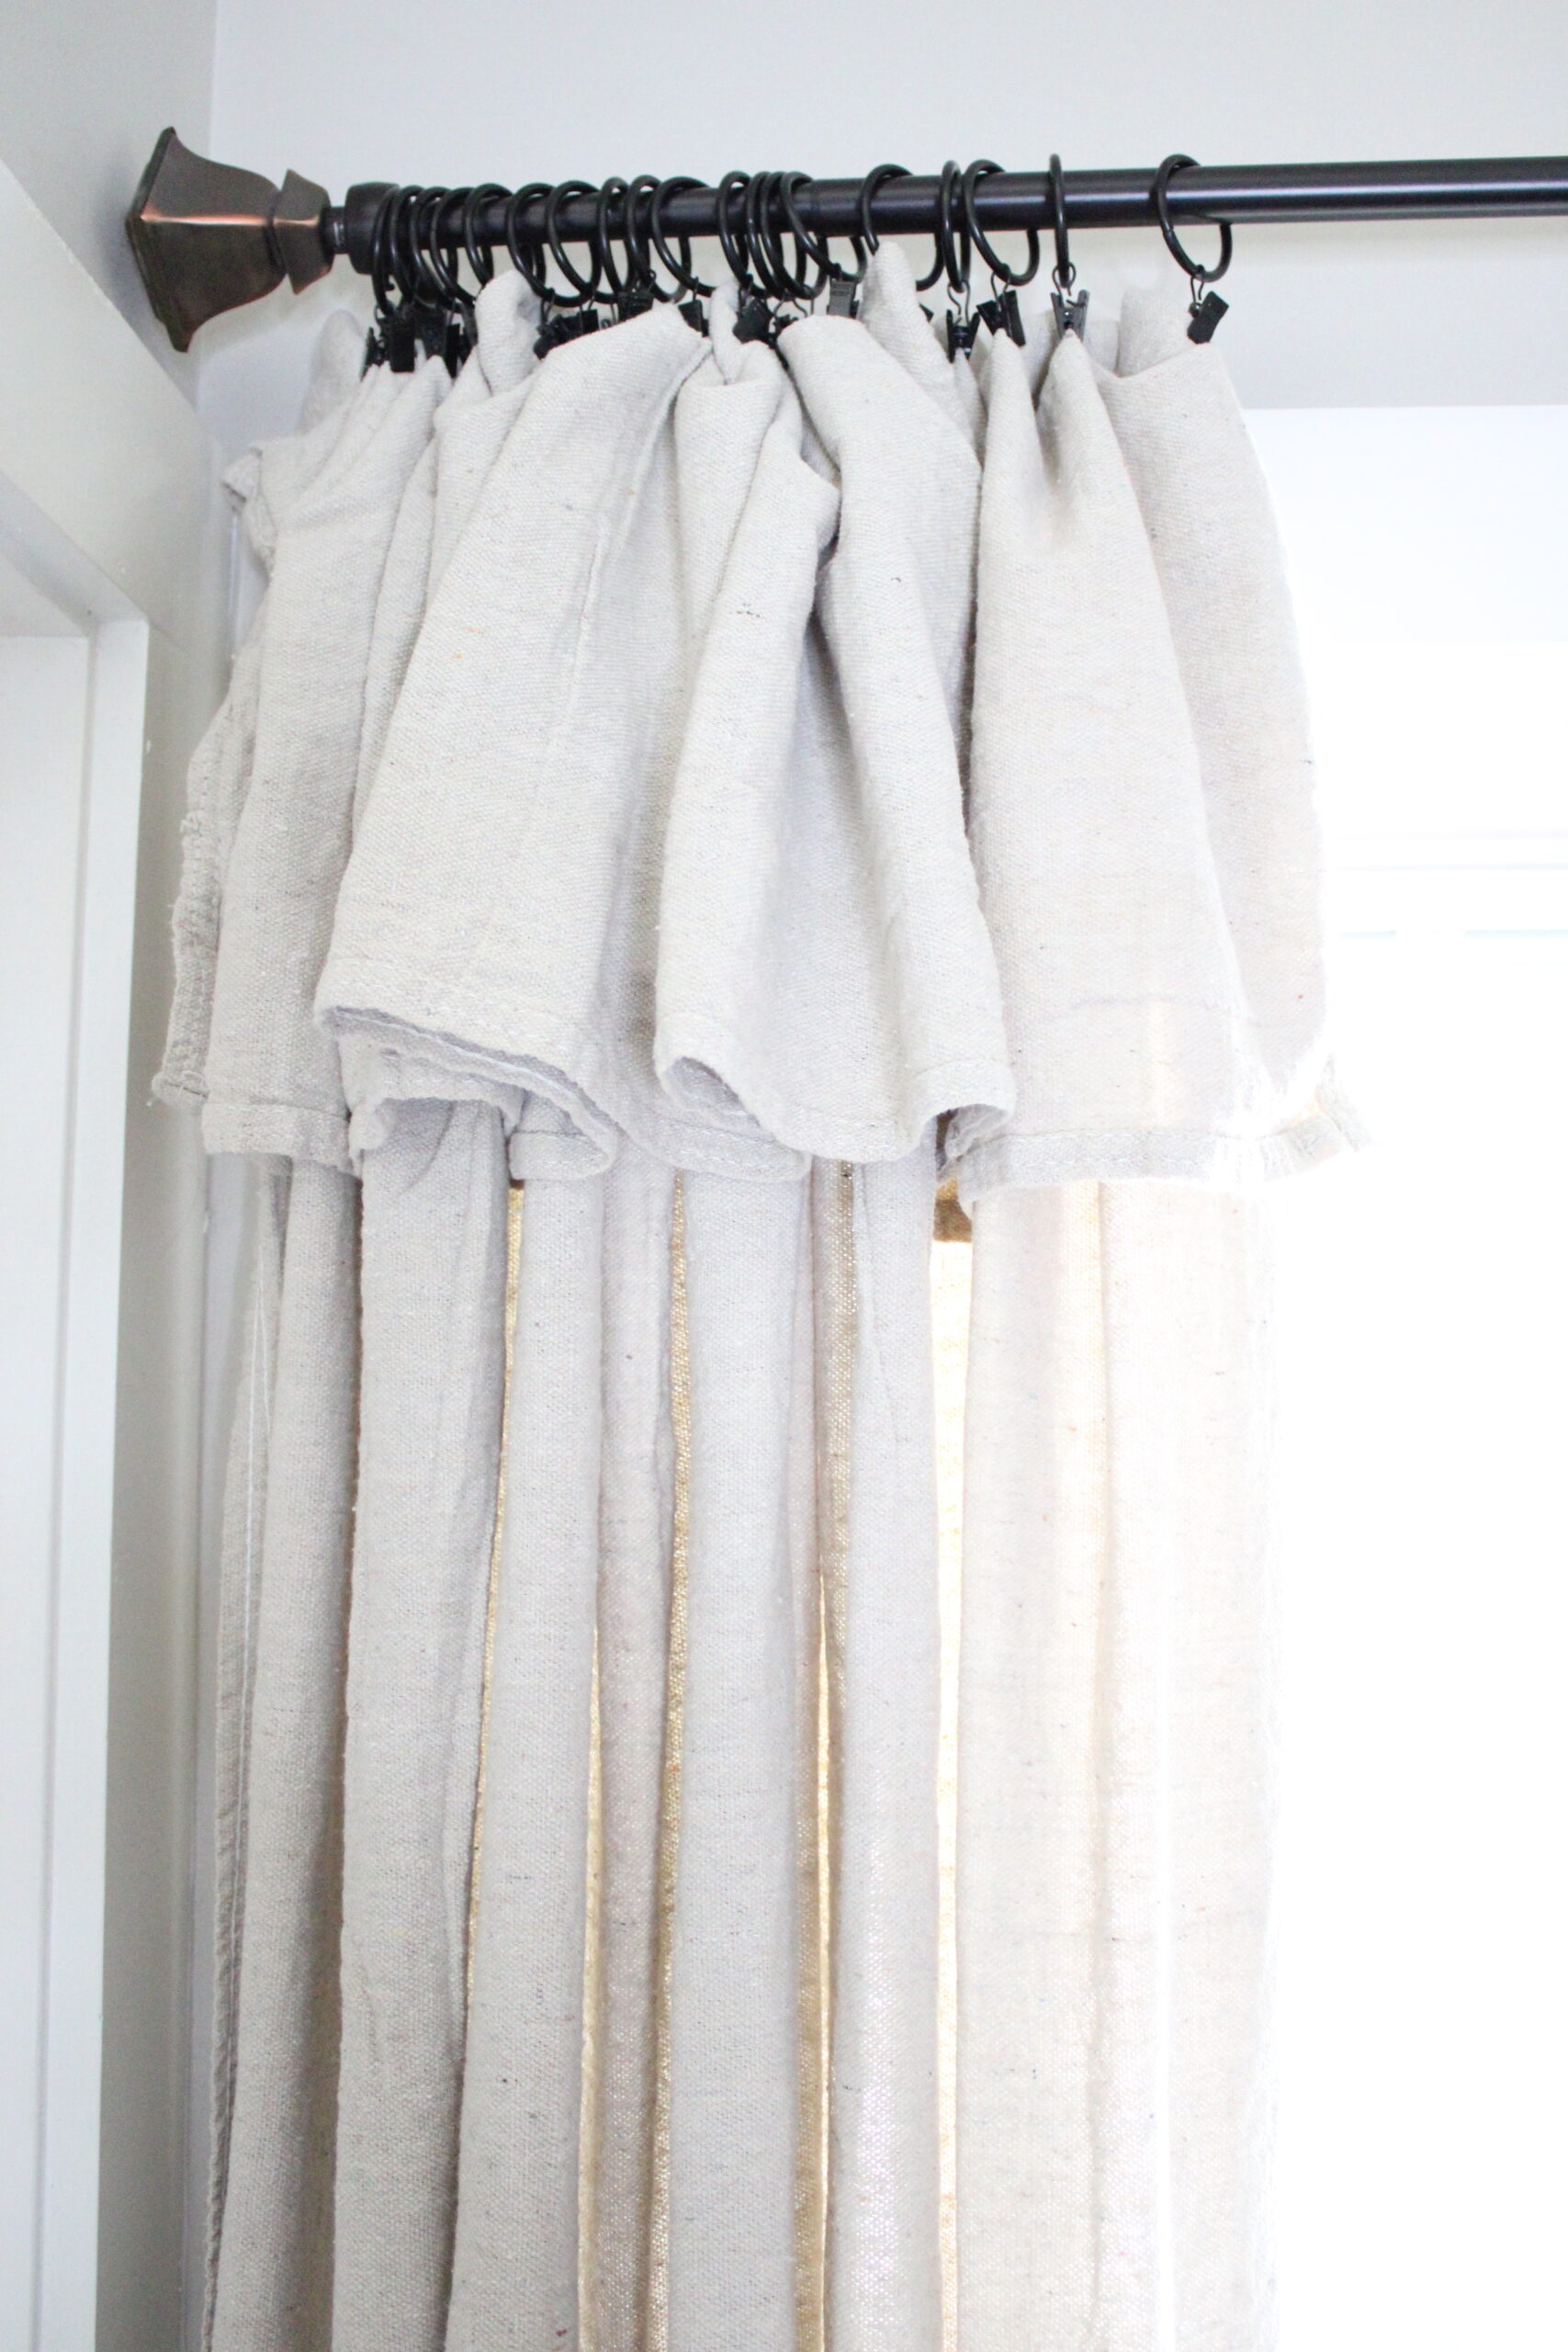
It’s a great neutral color that would work for almost any house I think. I have seen some tutorials where you could bleach the drop cloths too if you wanted. That way it gives them a different color. But, that’s another extra and unnecessary step when it comes to making your own curtains.
Another thing I was worried about was the center seam on the drop cloths. But, I just made sure I had both of the long panels facing the same way, and had the seam lined up perfectly on both.
Enjoy Your DIY Drop Cloth Curtain
As I stated above, this was a super easy DIY project and I am so glad I did it! I like how these look like extra long curtains and gives my bedroom window a whole new look! Another thing I love is the fact that they are relatively inexpensive curtains to make too!
And if you had a smaller window, you could probably get by with using just one drop cloth. Then, you could cut it into separate drop cloth curtain panels to make it even cheaper! I am all about having inexpensive ways to make your home look even better!
And window treatments are so incredibly expensive usually so this is a great way to get around that. And whether you place these drop cloth curtains in your living room or dining room, or like me and put it in your bedroom, they really will look great anywhere in your home!
I hope you enjoyed this easy little tutorial on how to make your own curtains using painter drop cloths! And I hope it inspired you to make your own curtains too! If you do, let me know below! I’d love to hear all about it!
And if you’re looking for more window ideas, check out my DIY Window Box post too!


I thought of doing this when I was looking for new curtains which were expensive, so thanks for showing me. They look good.
No problem at all! And thank you so much!!
LOVE this idea! I have the same in my kitchen leading to the back deck. Once you wash them, if they shrink, no big deal because nothing is sewn. Also helps keep the heat out in the summer, and drafts in the winter. Very affordable option!
Yes, I love how affordable they are to make! Much better than buying all brand new curtains for sure!
I did this for my porch curtains!! I sure love them … I got 8 5×4 drop cloths amazing change in the temperatures in the summer!!
Oh that’s a good idea to use them as porch curtains too! I love that!