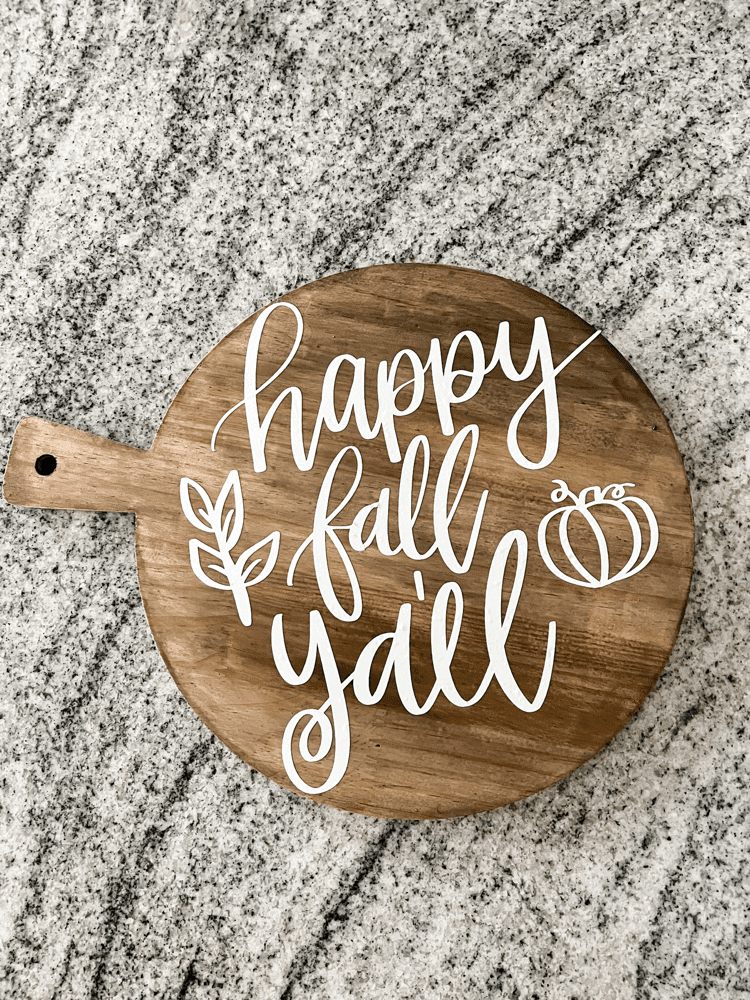
I have been itching to do another easy and fun DIY project for the fall season coming up. And I had some extra time off work a couple of weeks ago. So I thought it would be fun to create a DIY fall cutting board using my Cricut machine.
I also got in some brand new stain from Fusion Mineral Paint too so I thought this would be a perfect way to try it out too. This was super easy and fun to do and scratched my DIY itch!
And I don’t know about you, but I am kinda secretly ready for some fall decor! I still want it to stay warm and sunny outside so I can still enjoy our stock tank pool. But, I wouldn’t mind bringing in a little of the coziness that is fall inside my home.
Because of that, I am getting ahead of the game and trying to do a few fall projects here and there! That way, when I decide to start decorating, I will be ready!
This post contains affiliate links. Click here to read my disclosure policy.
Materials Needed for Fall Cutting Board:
- Unfinished Cutting Board
- Wood Stain
- Paintbrush
- Antiquing Glaze, optional
- Cricut Explore Air 2 Machine
- Permanent Vinyl
- Transfer Tape
- Cricut Standard Mat
- Cricut Weeder Tool
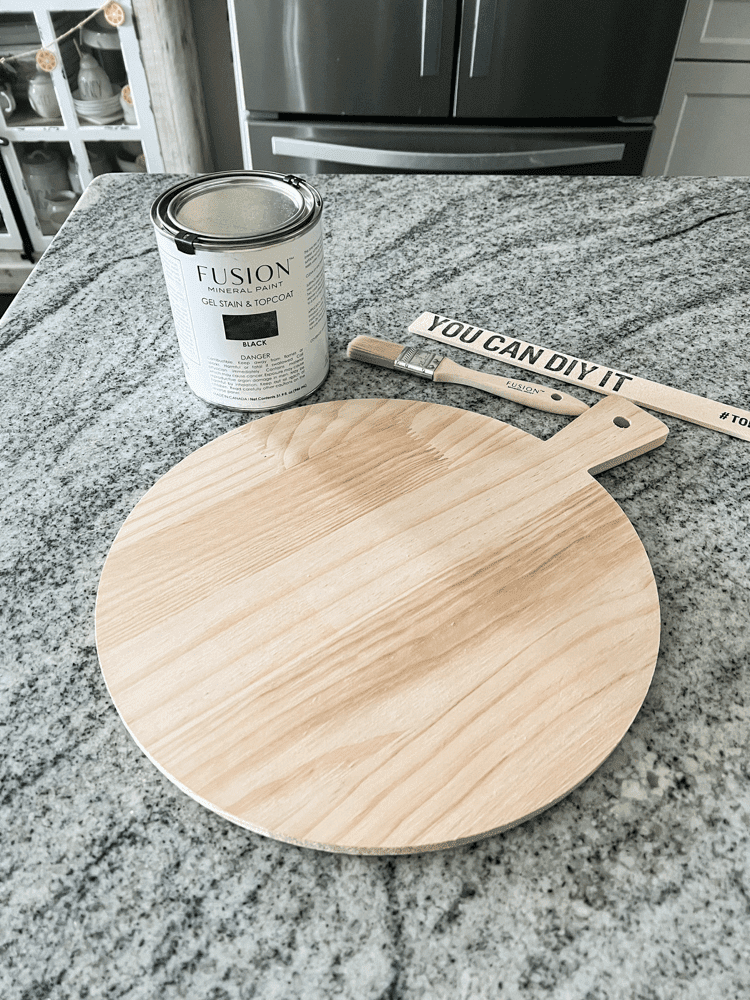
Stain the Cutting Board Using Fusion Mineral Paint Gel Stain
The first step of this DIY fall cutting board was to stain my board. I got an unfinished wood cutting board from Michael’s, so it needed a bit of color and finish to it.
As I stated above, I was gifted some of Fusion Mineral’s Gel Stain and Top Coat as well so I wanted to try it out on something. Better to try it out on a little project like this first rather than a big piece of furniture or something like that.
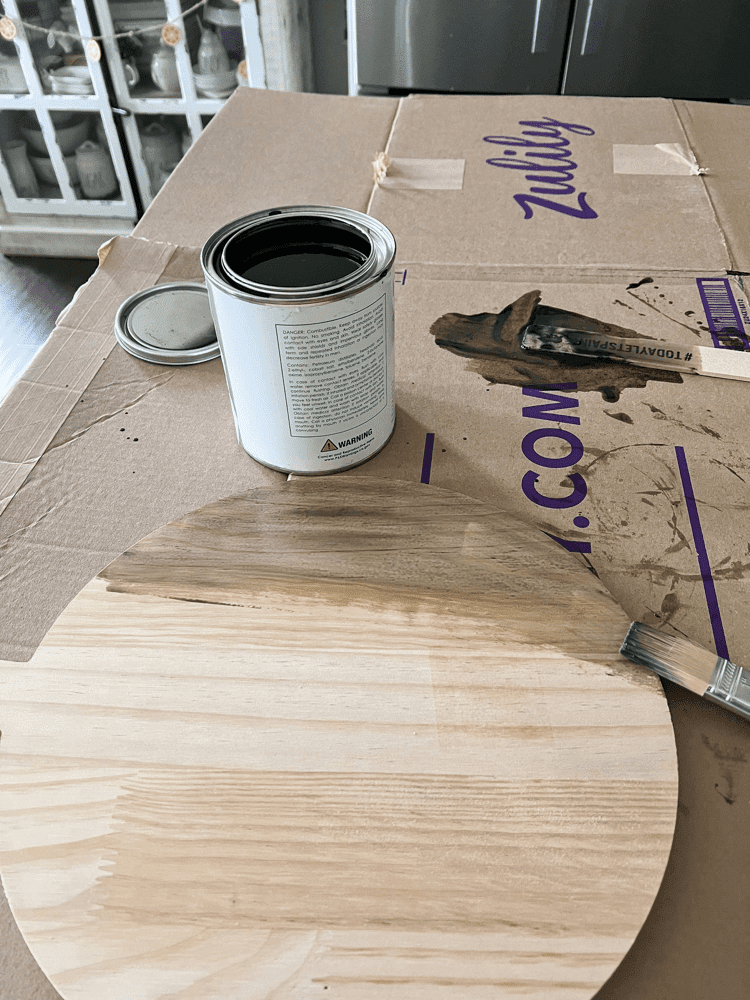
I always like to test things like that out first before committing to a bigger, more labor involved piece. The stain color I got was the black color, but it also comes in several other colors too. Such as Double Espresso, Greystone, and Patina.
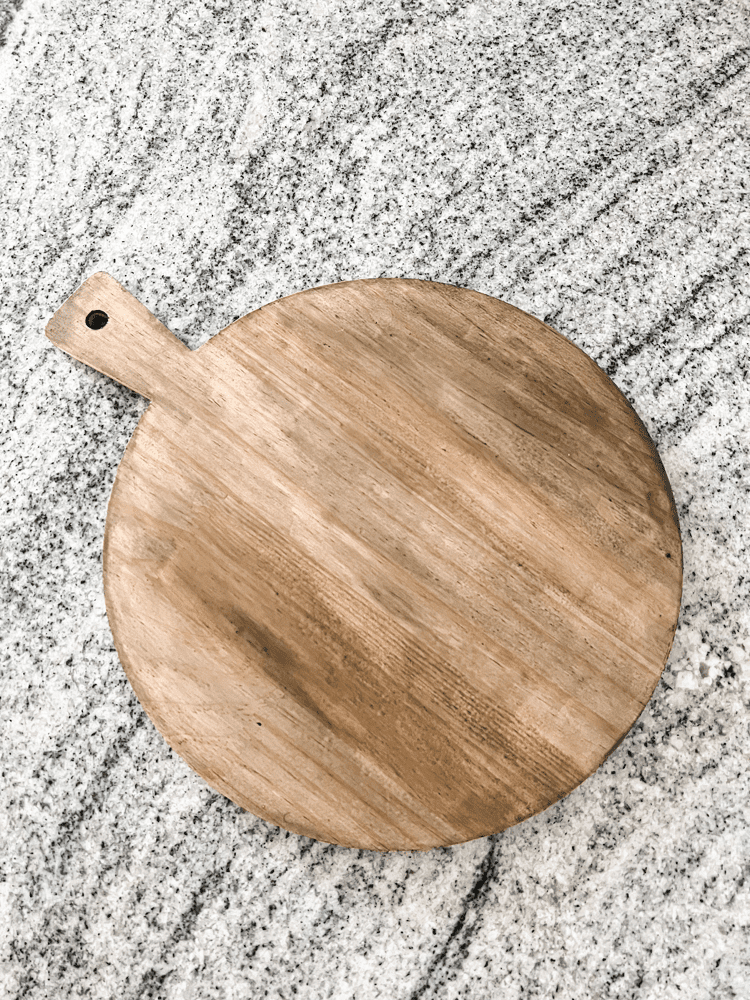
I was kind of surprised with it being the black color, I thought it would be much, much darker. But honestly, it wasn’t that dark and it did take about 2 coats before I received the look I was going for with it.
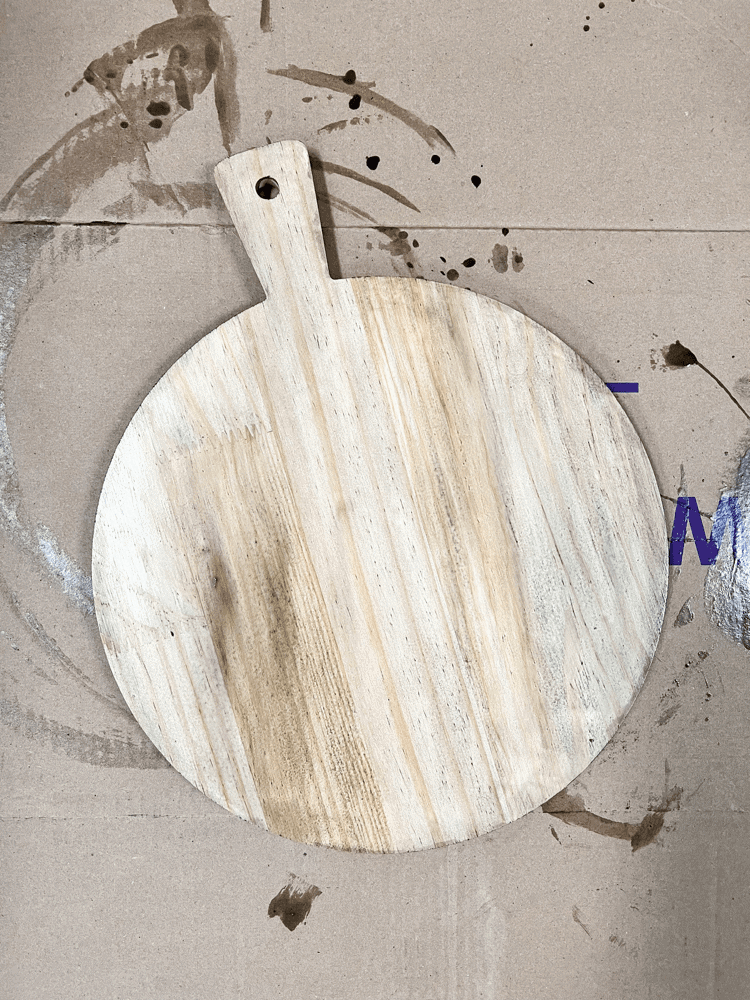
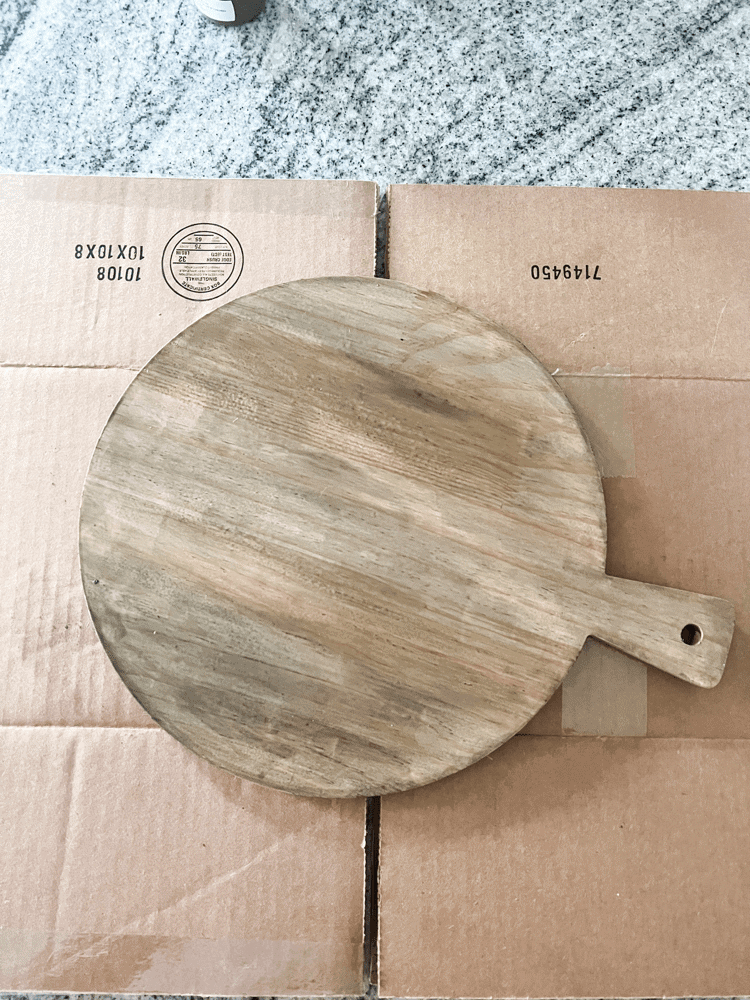
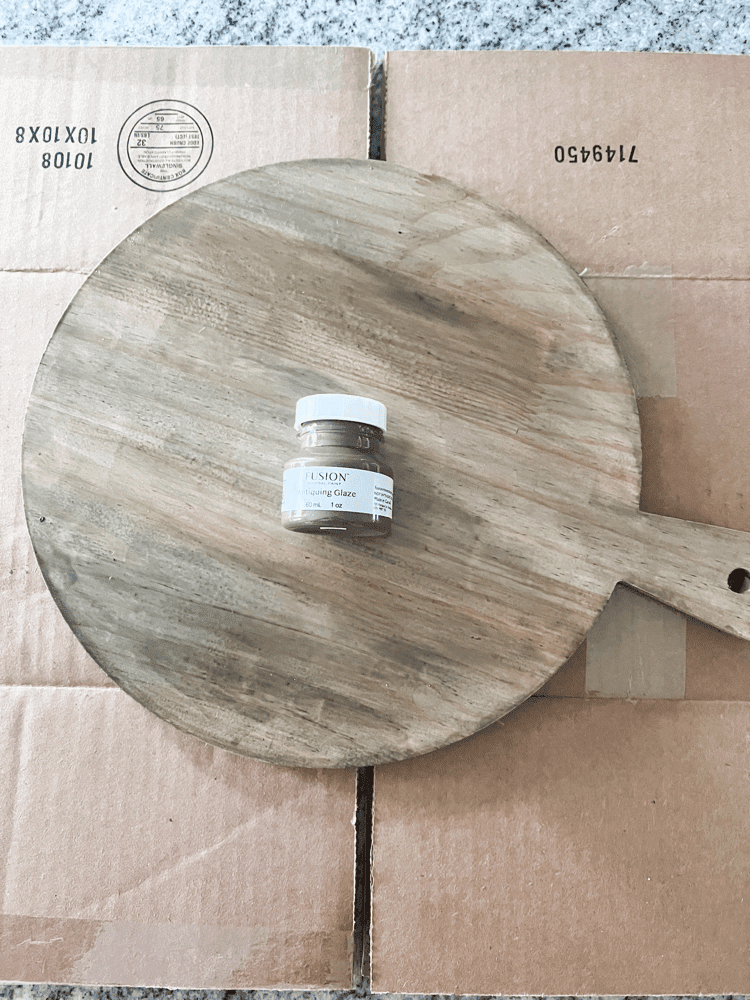
Even after the 2 coats though, I still wasn’t satisfied. Then, I remembered that I had a sample size of Fusion Mineral’s antiquing glaze too and thought I should try it out on the board as well.
I just rubbed it on with a damp rag and let it dry. And I am very happy with how it just made it a smidge darker and more antiqued looking as well!
Creating a Fall Design in Cricut’s Design Space
While the cutting board is drying, that was when I started looking for a fall design to place on it. I just typed in a few searches in Cricut’s design space. And when I found one I wanted, I printed it out on white vinyl.
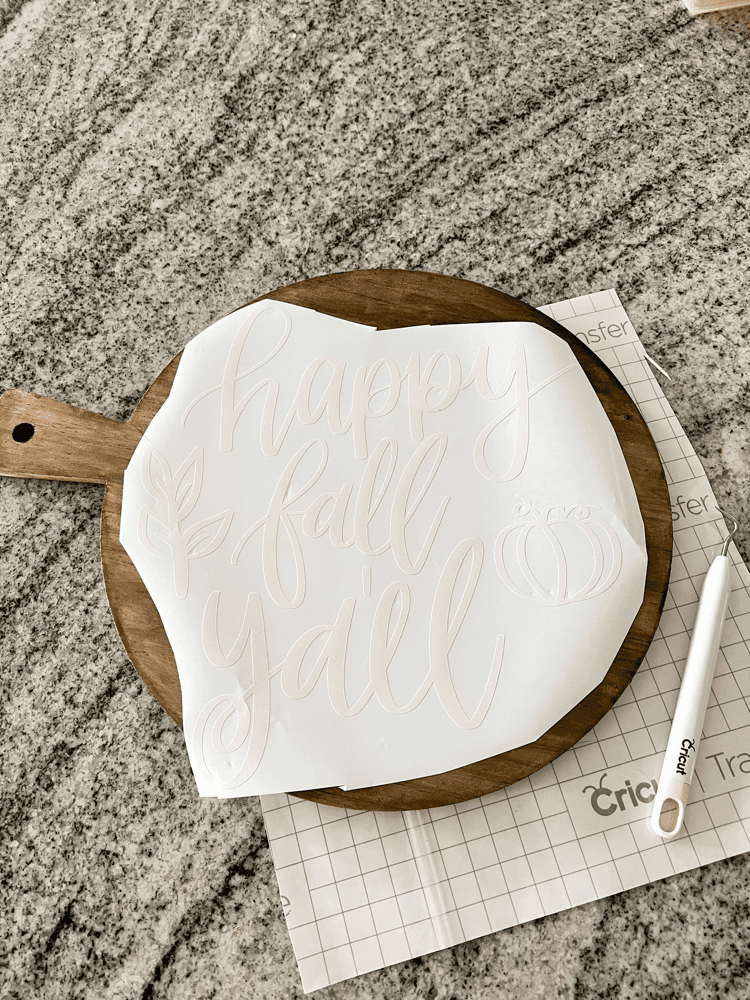
You could really use whatever color of vinyl you wanted here as well. I just used white because I already had some and I thought it would pop better against the wooden color of the board. Black, I figured, would be too dark.
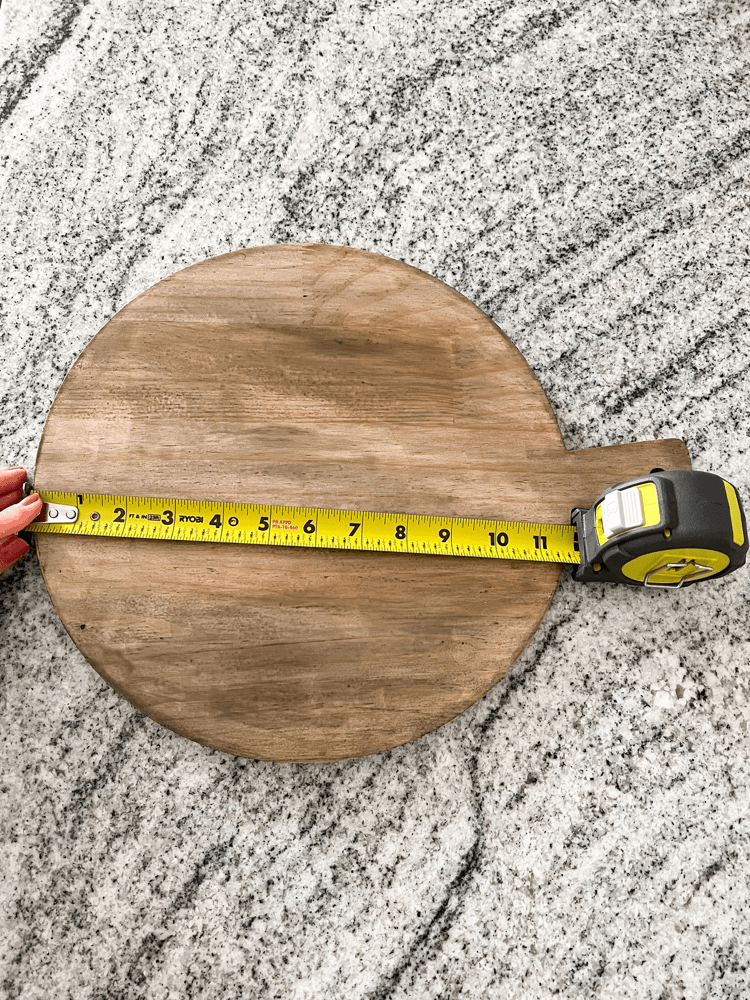
Also, be sure to measure your board first too before printing out your design. That way, you can know exactly how your vinyl design will fit on the cutting board.
Applying the Design to The Cutting Board
Now, the most fun part of this little DIY fall cutting board, is to apply the design! Now that you have everything cut out and ready to go, all you need to do is adhere it to the board.
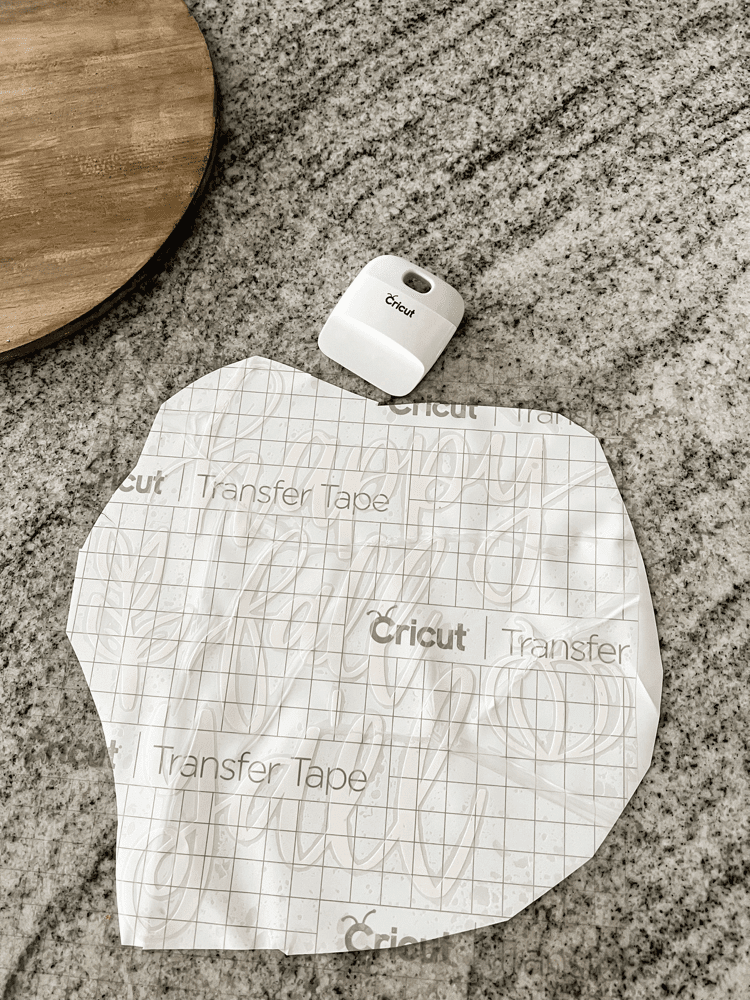
After you have weeded the excess vinyl off from your design, you will need to place transfer tape over it. That way you can move it over to your board and apply it. Be sure to scrape it down well with the scraper tool. Or even a credit card will work here too.
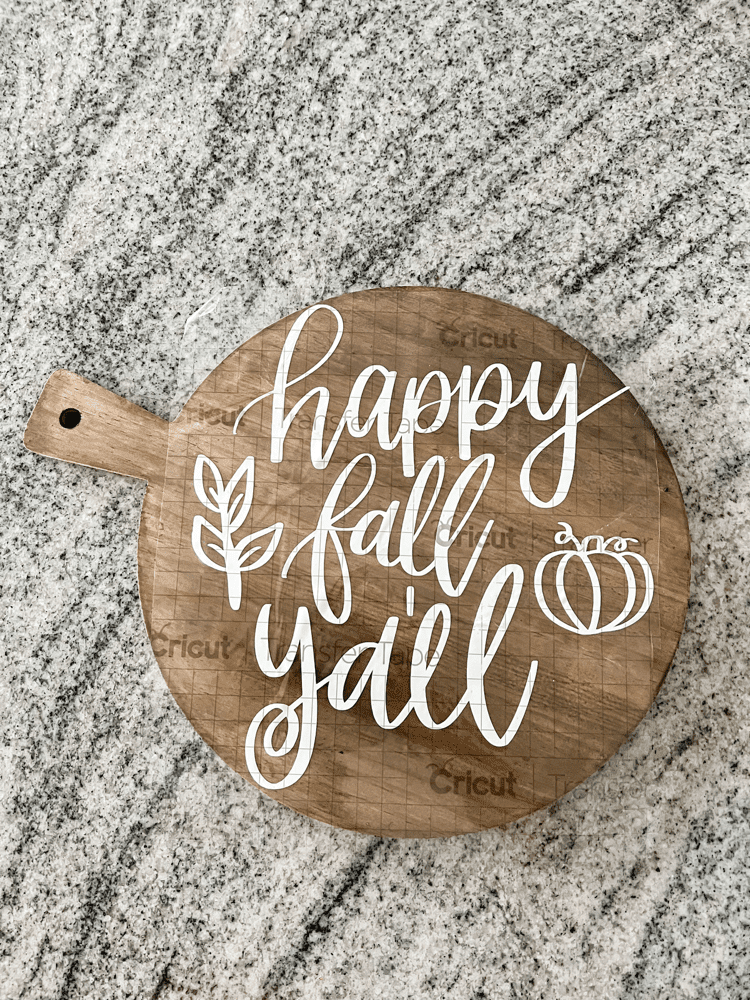
Then, slowly and carefully peel the transfer tape off of the vinyl backing in a diagonal motion. If some doesn’t stick when you start to remove it, just place it back down and scrape the area a little more.
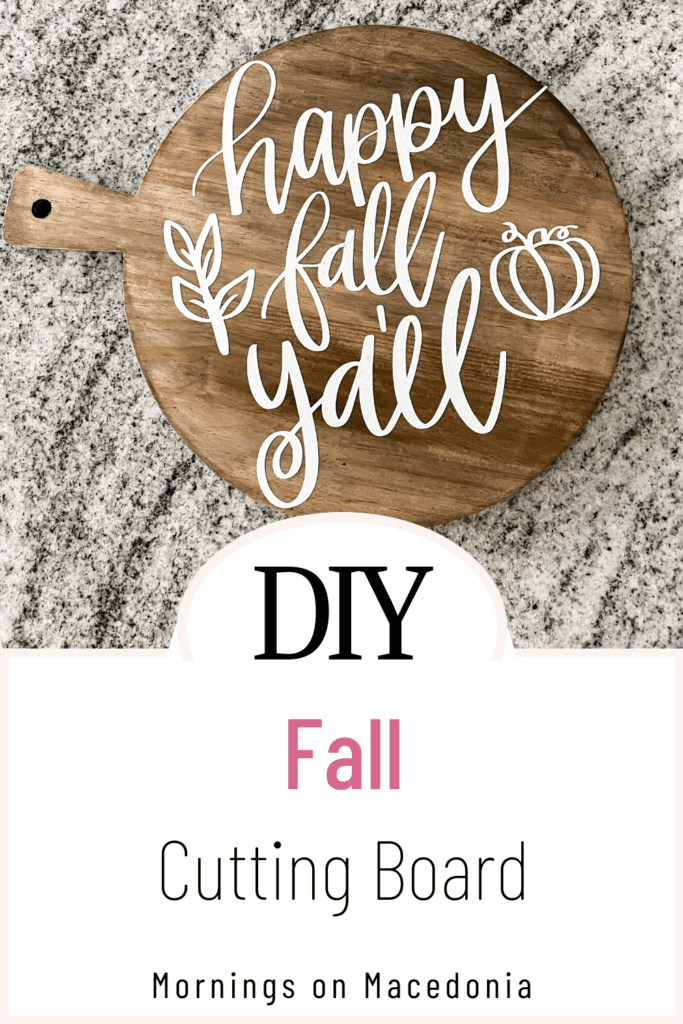
After that, place the transfer tape with the vinyl design right on your cutting board where you want it. And again, be sure to really scrape it down so it adheres well. Peel of the transfer tape and you should have a beautiful DIY fall cutting board that you can display anywhere in your home!
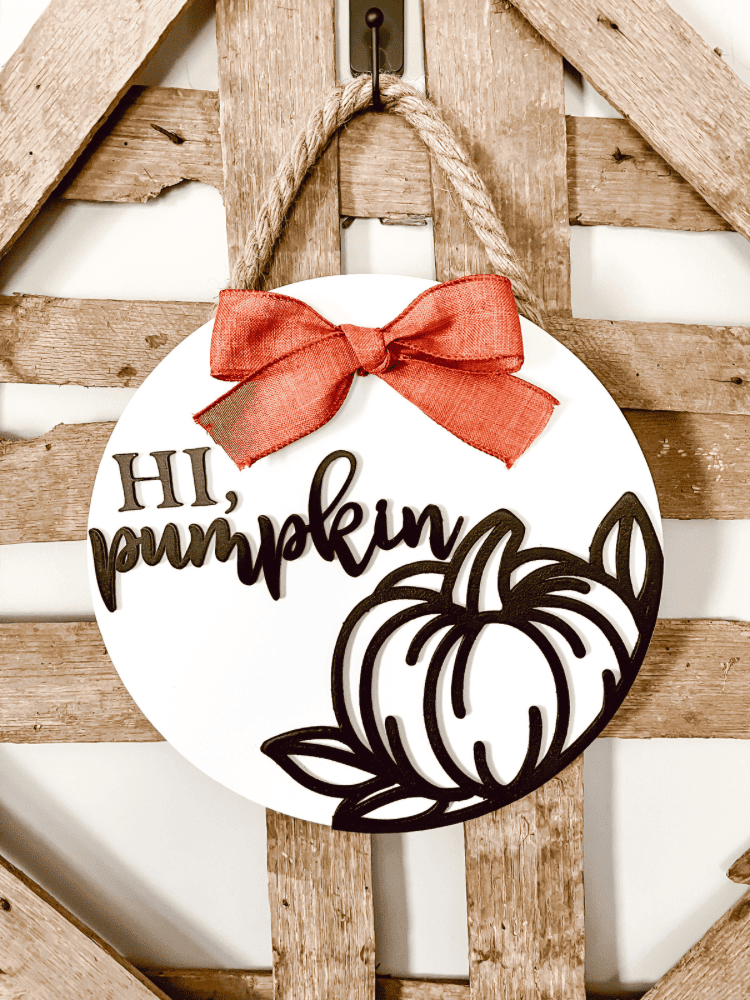
Well, how do you think it turned out?! I think it’s pretty cute if I do say so myself! And it was such a super easy and quick project to do that satisfied my DIY soul!

I love how this turned out and the way it adds whimsy to fall decor. You are so talented Charity! Thanks for sharing the process.
Awe thank you so much Jodie. I appreciate it!
I’ve always wanted a circuit machine but I have literally no where for it at the moment. We do plan on updating the office soon so hopefully we’ll be able to find a spot for a circuit machine and all our other craft items. But first, the bedroom needs to be finished.
I totally understand that. It does take up some room. I hope you are able to find somewhere for it though in the future!
This is so cute!! I’m not artistic at all and I love what people can do with cricuts.
Awe thank you so much. They are so much fun to create projects with!
Ooh this is super cute! I love decorating in the fall and I love the design of this. Thank you so much for sharing x
Thank you! I am so glad you think so as well!
I love the style of lettering you have used on this chopping board, such a lovely idea! x
Lucy | http://www.lucymary.co.uk
Thank you so much Lucy. I appreciate it!
this turned out so cute! I’m so excited for the fall season. I could picture this as a perfect gift for someone. Thanks for sharing.
Thank you! It would make a great gift for sure!
This is just amazing. I’m in love with people who can do such a beautiful things by their hands! To be honest, the only thing that I can do is buying these DIY things on Amazon 🙂
Meadow | https://www.instapaper.com/p/designresources
Awe thank you. I love to do little DIY projects like this!
Autumn is my favourite time of year, I love the colours and how it’s not too hot or too cold. This looks like a great project thanks so much for sharing will definitely give it a go.
Yes, Autumn is my favorite time of the year too!
SUPER cool idea to personalize a mundane household item! Thank you for the step-by-step guidance. Pinned for later. Thanks for sharing!
Awe thank you so much! I am so glad you enjoyed it too then!
Goodness, this is so cute. I’m going to share a link to your post with my readers in my weekly recap tomorrow!
Awe thank you so much Jen! I really appreciate that!
This looks so cute! I can’t wait for autumn 🍂
Thank you! I cant wait either! It is my favorite season!
This is a great DIY project and it’s looks amazing. Love the pictures showing the process and how it turned out.
Thank you so much. I am so glad you think so too!
This is so cute! I have always loved that saying, too. I’m ready for fall as well, but not quite ready for the weather to change. I just want all my fall decorations out, lol.
Lol yes. I am the same way. I want cozy fall inside but still the summer heat outside!