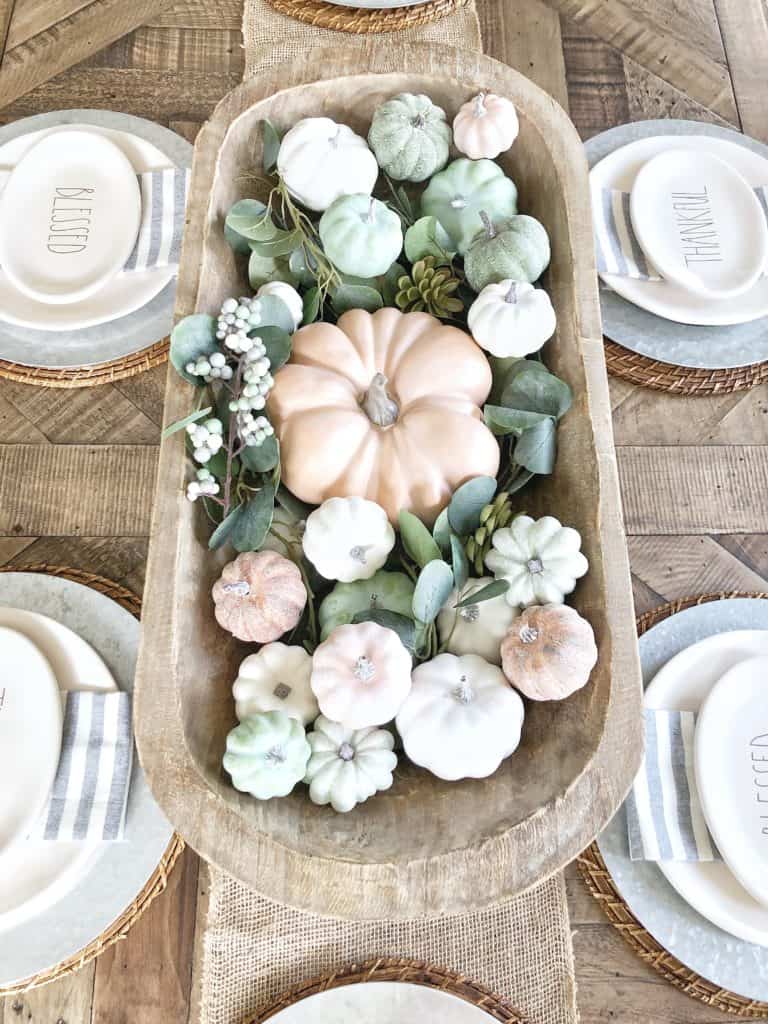
Towards the beginning of the fall season, I was looking for a specific color scheme for my pumpkins that I wanted to include in my dough bowl on the dining room table. And for the life of me, I could not find the exact colors I was looking for.
Since I couldn’t find what I wanted, I figured I would take it into my own hands and paint my own. This DIY is so, super simple and the longest part about it is just waiting for the paint to dry! If you’re looking for an easy way to decorate your Thanksgiving table this year, this is definitely it! Keep on reading to see just how these DIY Painted Pumpkins turned out!
This post contains affiliate links. Click here to read my disclosure policy.
What You Will Need
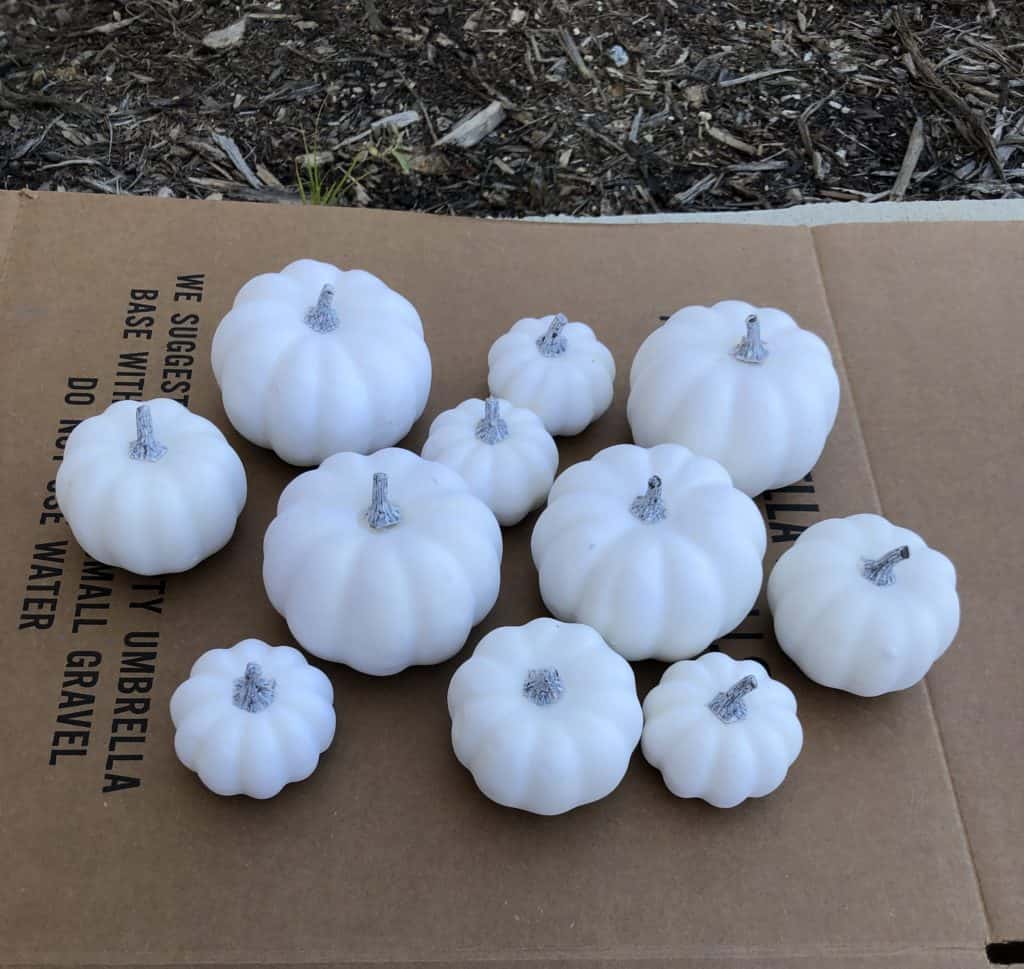
The first thing I did was order a pack of Assorted White Pumpkins from Amazon. I liked this particular pack because it was a nice variation of different sized pumpkins. But basically any white craft pumpkin of any size will do just fine!
Then I just decided to go for it and paint them! I left the stems on while painting, and I was just really careful not to get paint around them. And if you do end up getting a little paint on them, no one is going to look that closely so don’t stress!
I’m sure you could probably remove the stems and then glue them back after you are done painting them, but that just felt like an extra step to me and like I said above, I wanted to make this as easy as possible!
Paint For The Pumpkins
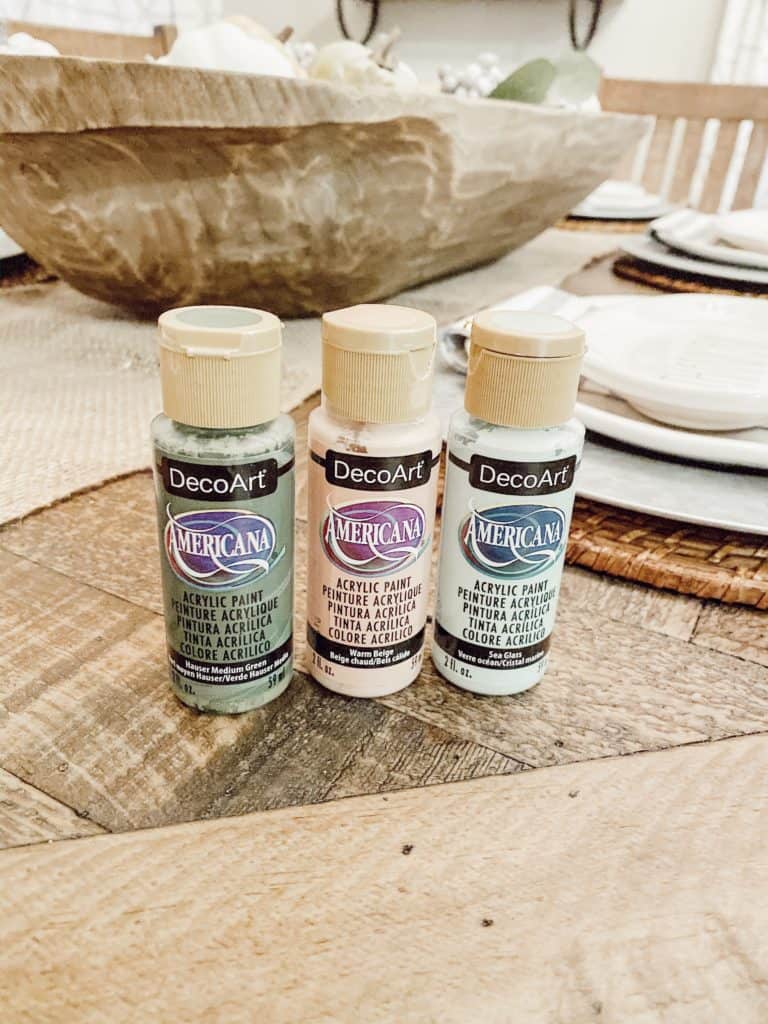
Here is the paint I used for them. I was inspired by a big, peachy colored pumpkin that I found at Marshall’s earlier.
The goal was to make that the base of my dough bowl. And then just fill smaller pumpkins around it.
I got the paint from Michaels Craft Store. The colors I used are Hauser Medium Green, Warm Beige, and Sea Glass. I think these colors really worked well for the neutral tablescape I was going for. I just used a foam brush and applied a couple of coats of paint to each pumpkin, letting it dry completely in between each coat.
Dry Brushing Technique
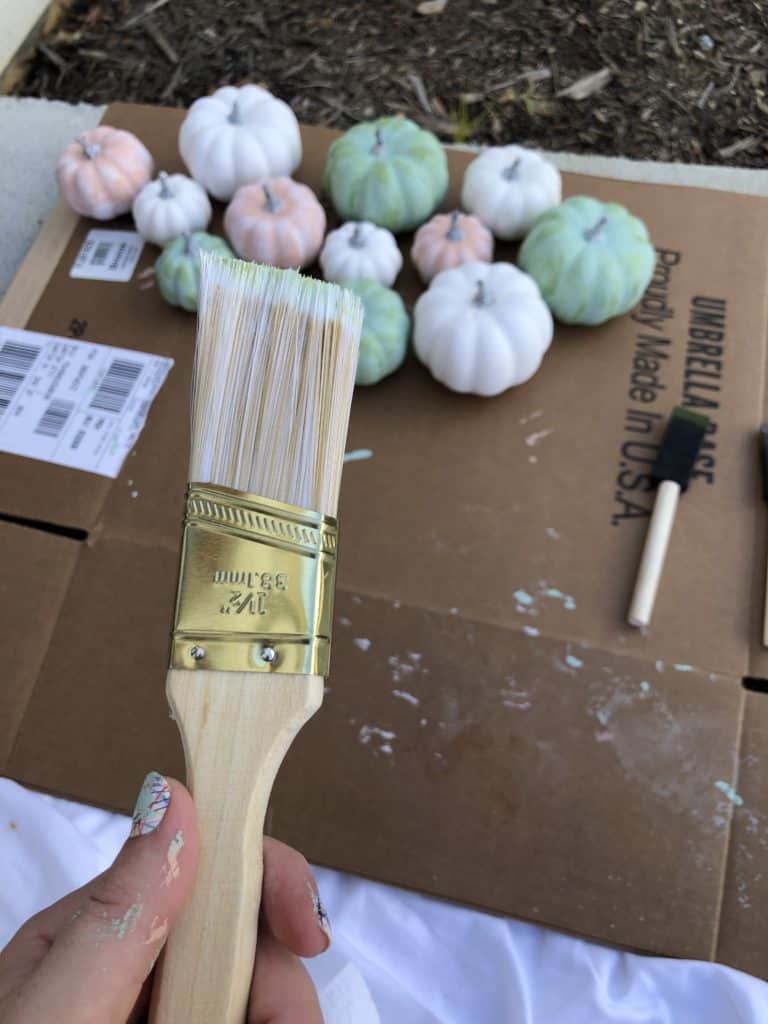
After the pumpkins are completely dry, you can now apply the dry brushing technique. I used this brush above to dry brush an accent color over them to make them look more realistic.
For example, I painted a whole pumpkin in the Sea Glass color, then dry brushed the Hauser Medium Green on top of that. And for the Warm Beige color, I just dry brushed a basic white color of that.
I was really happy with the way it left realistic marks on each pumpkin. There is no set rule to dry brushing, I just added a little paint to the brush and slowly made a few paint streaks around each pumpkin.
I was careful not to apply too much paint, because I didn’t want it looking too dark.
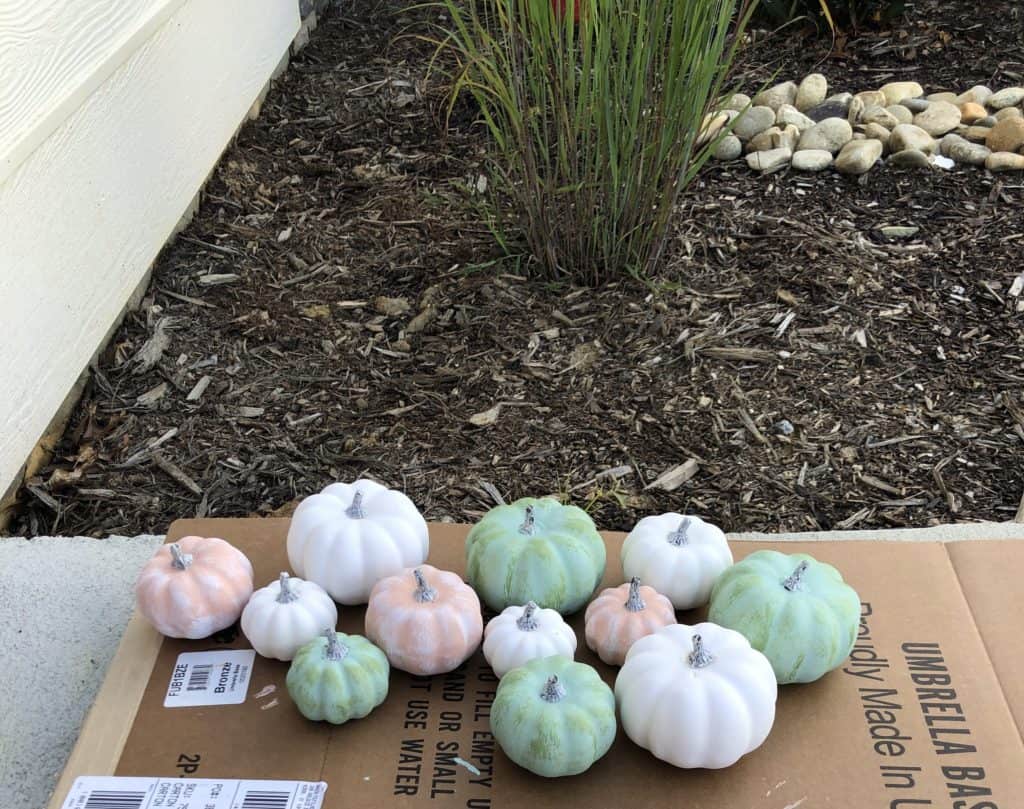
Ta-Da! Here are the finished DIY painted pumpkins! I also left some white to tie into the whole neutral look I was going for. If you guys try this super easy DIY out, let me know!
I would love to see it and what colors you used! I will be showing y’all my completed Thanksgiving/Fall tablescape here soon as well so be sure to check back for that!


Leave a Reply