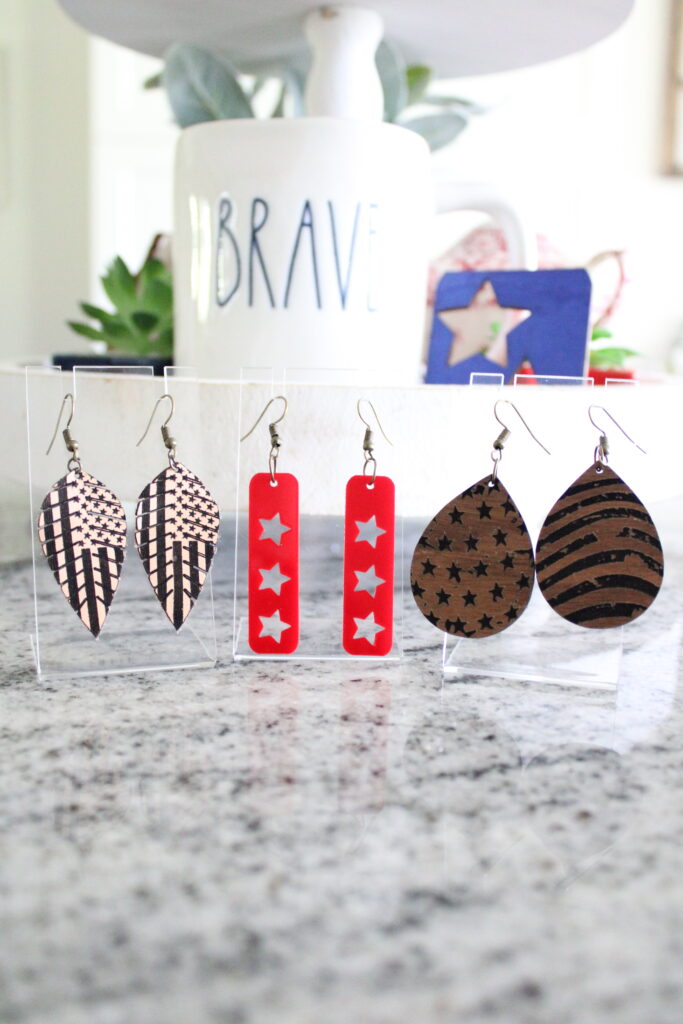
This past Memorial Day weekend, I decided to make something fun and patriotic. I already made some DIY Patriotic Signs, which I shared a few weeks ago. So I decided to go ahead and make some cute DIY Patriotic Earrings too.
These are perfect for not only Memorial Day, but Independence Day too. Or really all summer long! I love leaving my patriotic decor up all summer so why not wear the earrings all summer long too?!
I will be sharing just how easy they are to make below so be sure to check out my tutorial if you want to make your own earrings too!
This post also contains affiliate links, which means I make a small commission off anything you purchase through here, at no additional cost to you. Please read my full disclosure policy for more details.
Materials Needed For DIY Patriotic Earrings
Proofgrade Eco Thin Red Acrylic
Proofgrade Medium Walnut Hardwood
How To Make Patriotic Earrings
I previously shared an in-depth tutorial all about how to make earrings with a Glowforge machine in the past. So if you’re very new to Glowforge, be sure to check that post out as I go into more details over there.
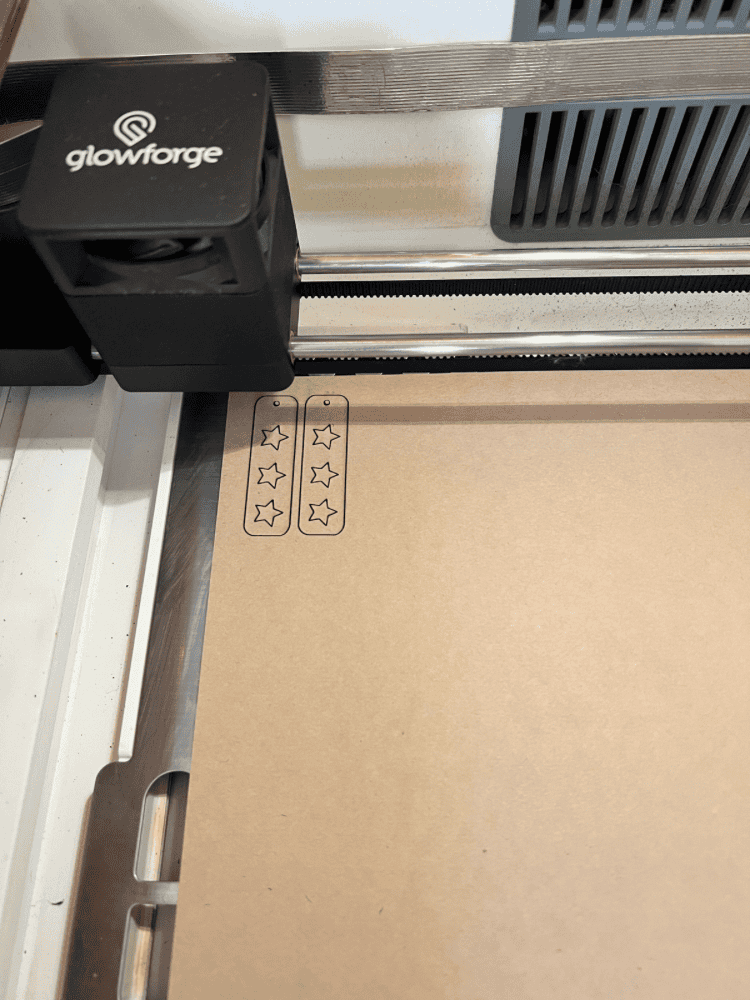
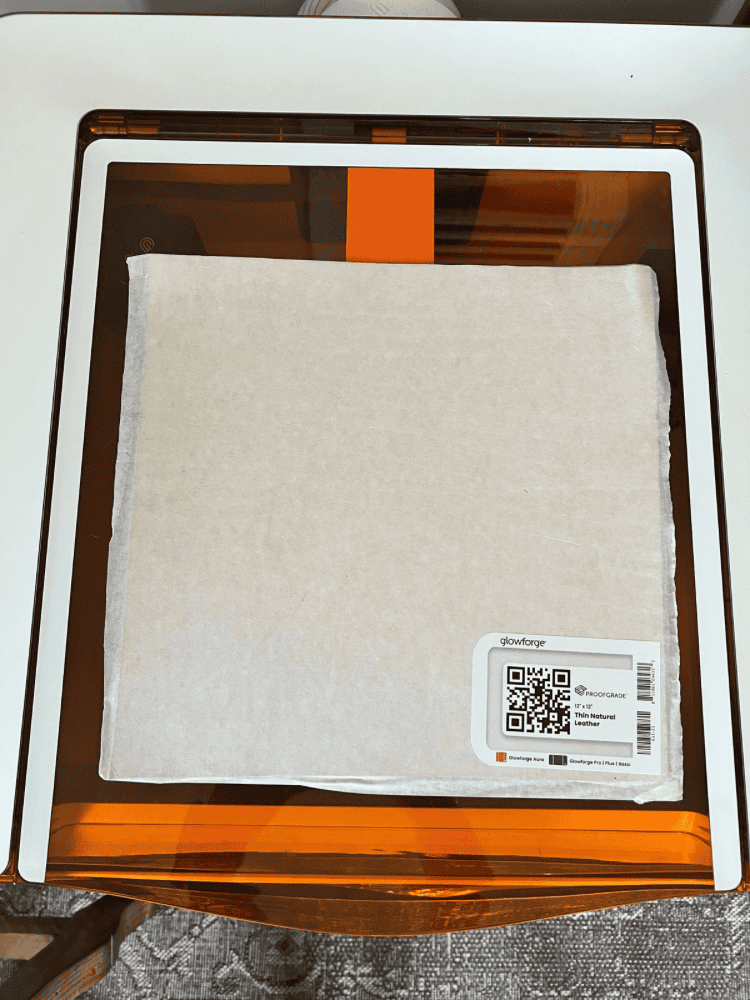
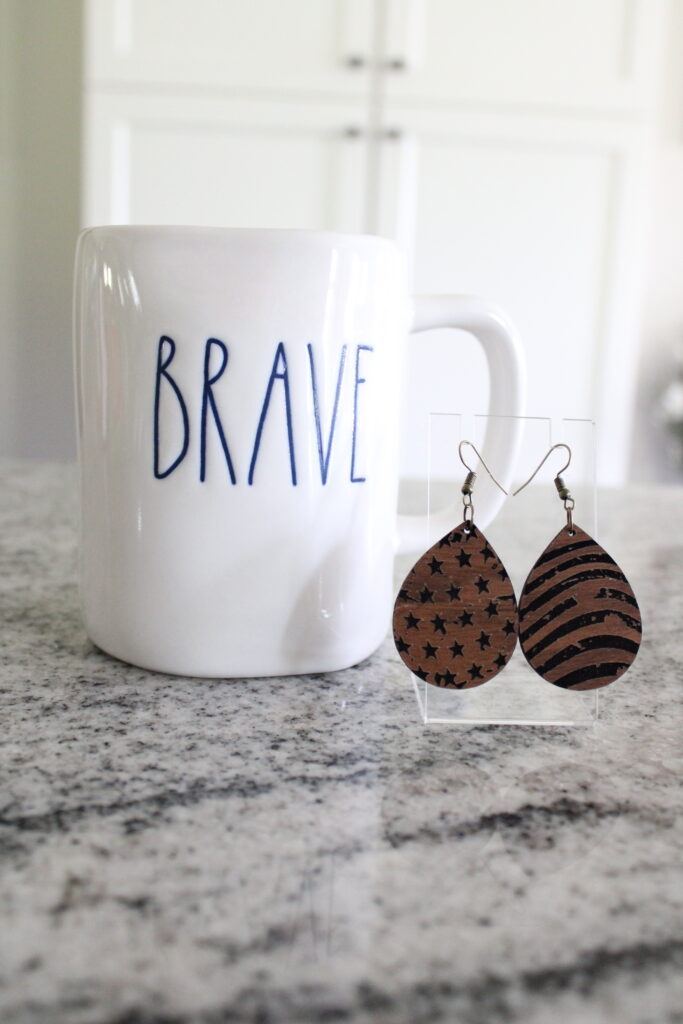
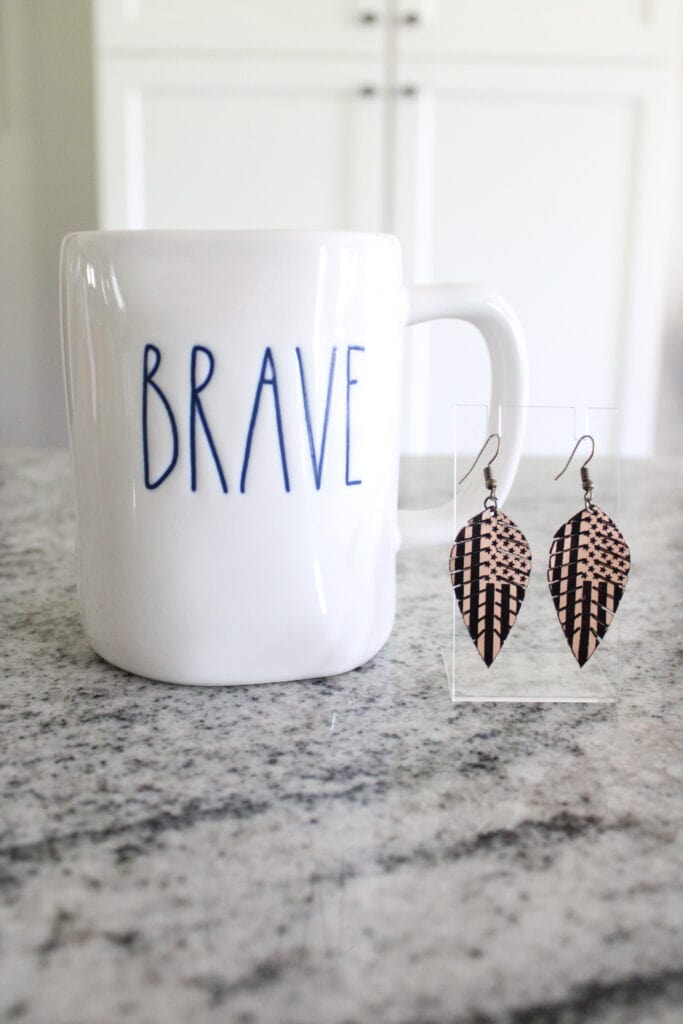
But basically, for my DIY Patriotic Earrings, I decided to make 3 different ones. A wood one, leather one, and an acrylic one. That way I have a nice variation of different earrings made with different materials.
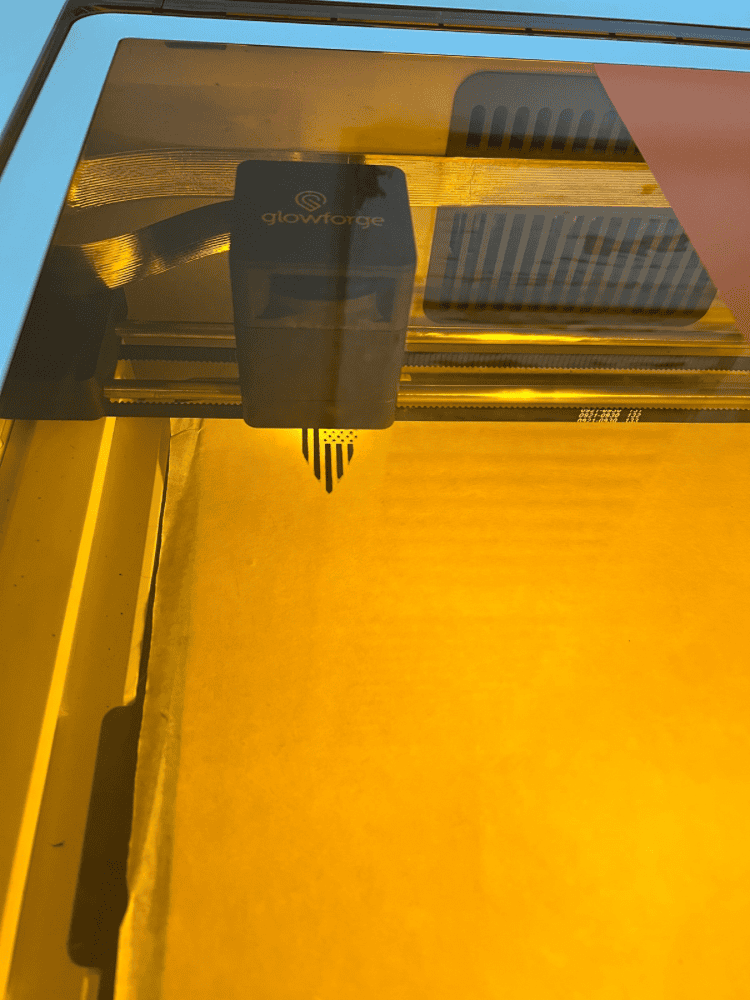
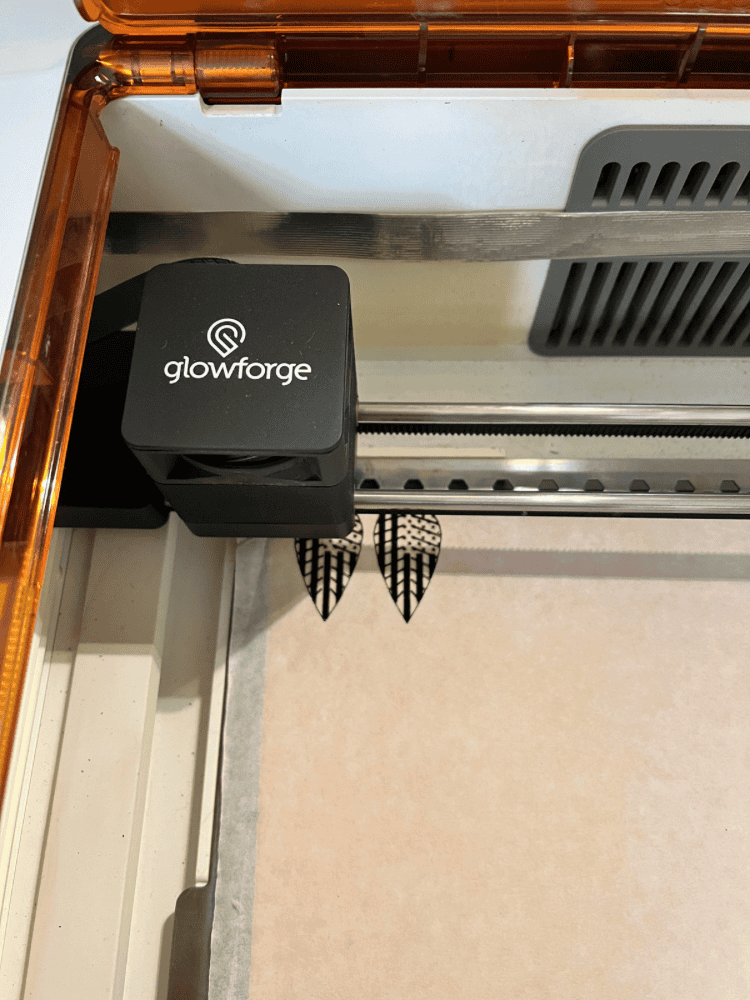
To get the designs, I just used my Glowforge premium membership and used pre-designed earring templates. That way, it was super easy and convenient to make. I decided last minute to make these, so anything that made it easier was fine with me!
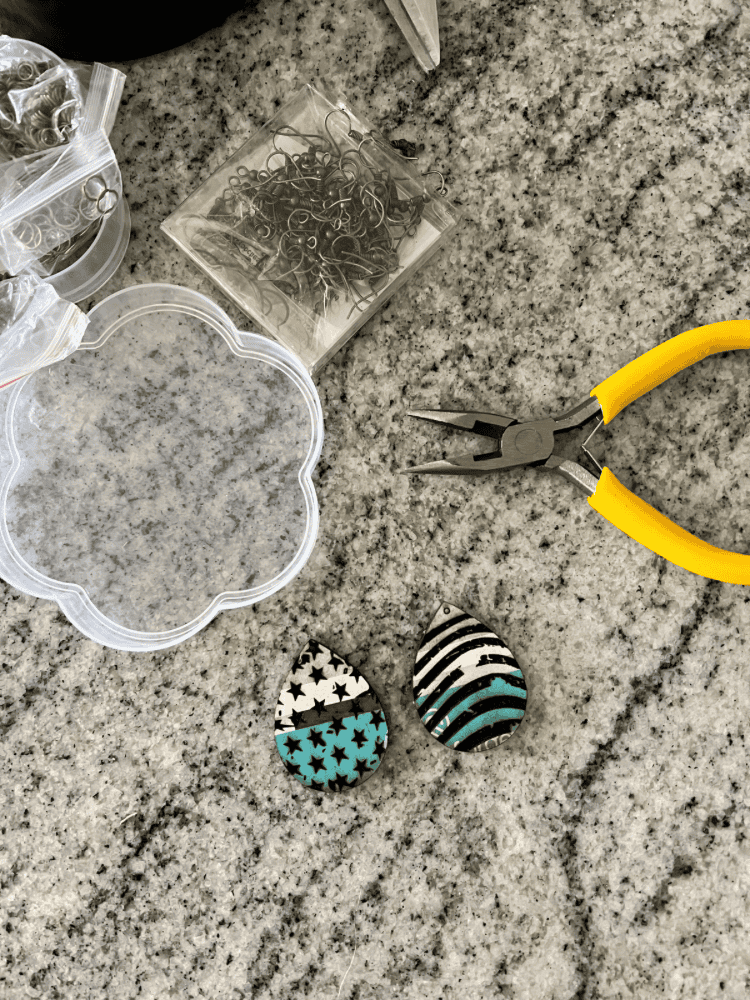
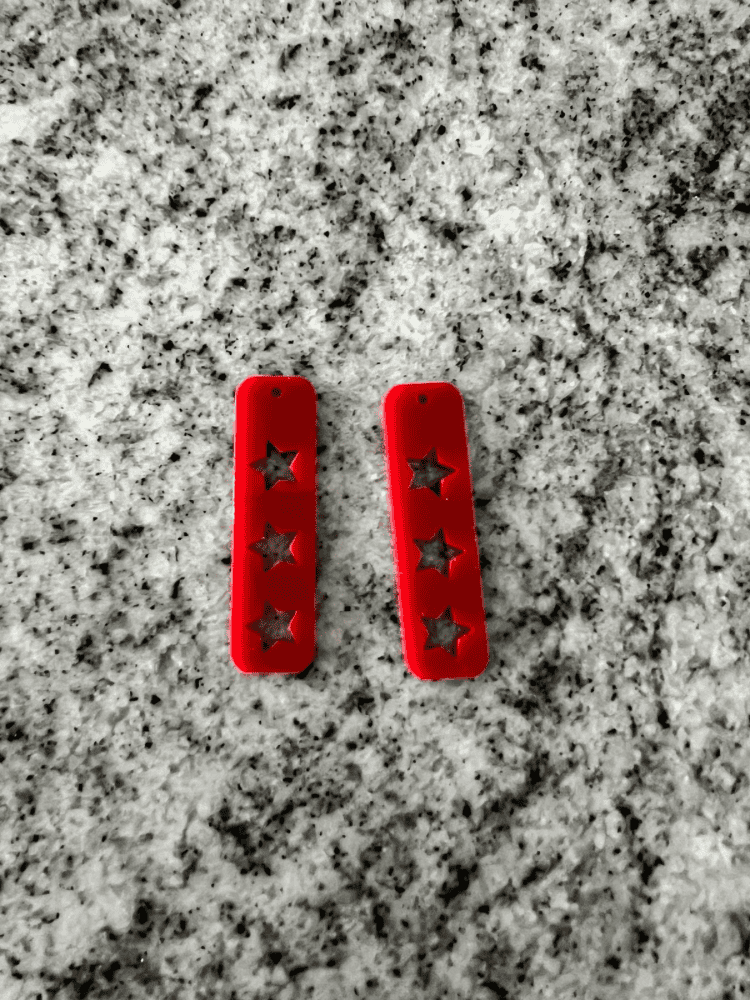
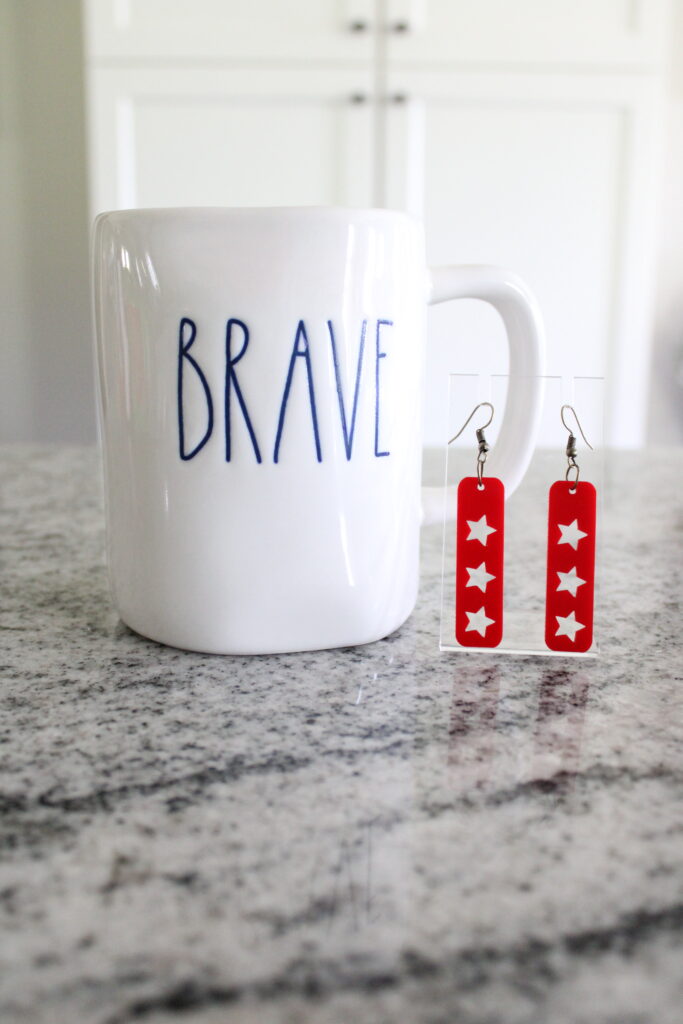
For my acrylic earrings, I used the eco thin red acrylic. But you could really use any color you wanted to. I just wanted to stick with the red white & blue theme when it came to the acrylic earrings.
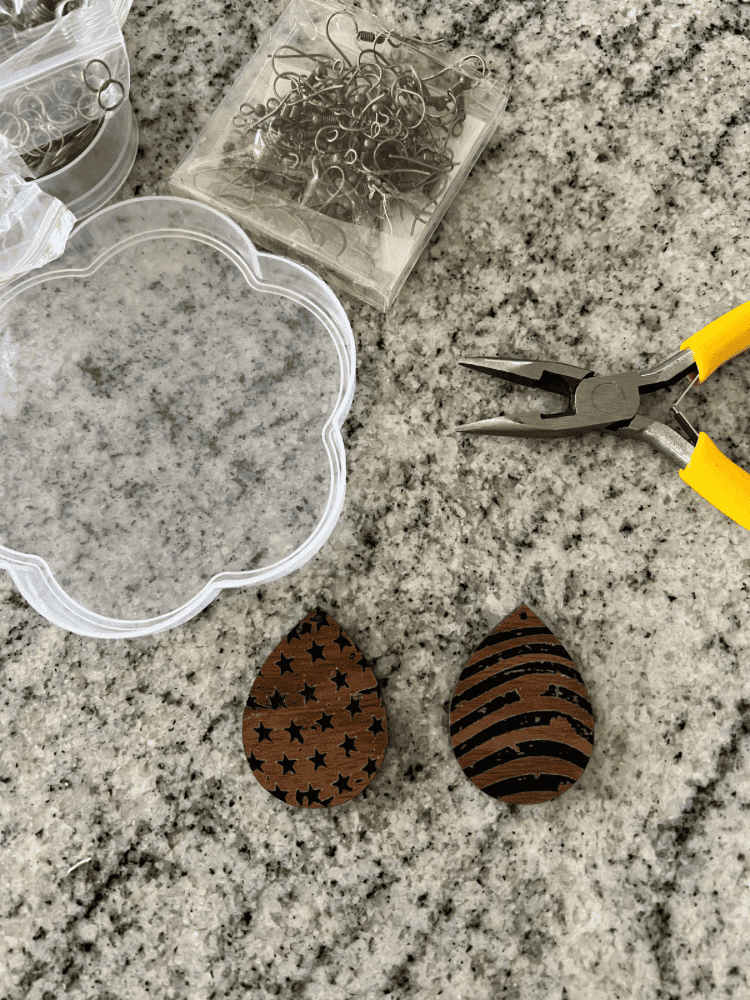
These were super simple to make and did not take long to cut out on my Aura machine too, which is always a plus. The wood earrings took the longest to cut out, since they had an intricate engraved design.

And anything with engraving always takes longer on a laser cutting machine. Also, my leather design took a little while too, since it had some engraving components as well. Once each design was cut out, I always use Gorilla Tape to remove the masking from the design.
This usually makes it much easier to remove than just doing it by hand. You could also paint the wood earrings the colors of the American flag too if you wanted. But, I liked keeping some pairs neutral. That way they aren’t so overwhelming and can be easily paired with any outfit.
Attaching Earring Hooks
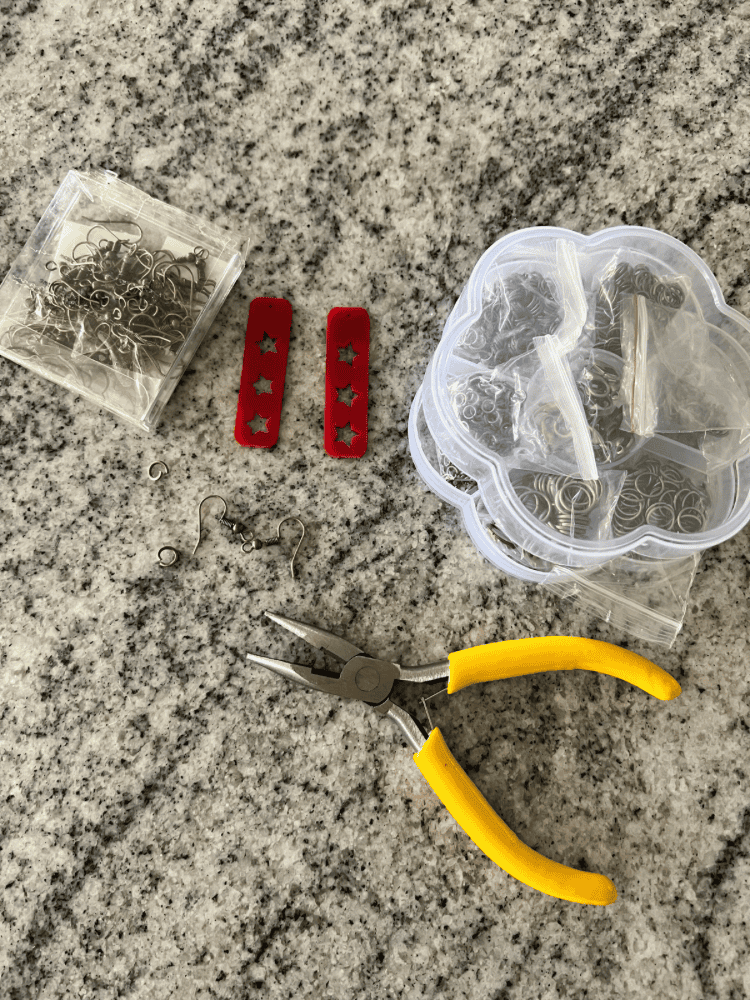
After the designs are all cut out and unmasked, you can now attach the earring hooks. For my earring hooks, I always make sure they are hypoallergenic.
That way, they can be used for sensitive ears too. I use the flat nose pliers to open up a jump ring and then I attach it to the hole of the earring piece.
I then add the earring hook on before closing the jump ring again with the pliers. It may take you a second to get the hang of it, but once you do, you will become a pro at making your own earrings. It’s really so easy and simple!
You could even apply this same process and make your own patriotic bracelets too. That way, you could have a whole jewelry box full of patriotic jewelry for summer holidays! It’s the perfect accessory to wear with your red, white, and blue outfits!
I hope you enjoyed this fun idea of making your own patriotic earrings and I hope you’re able to make your own in the future too!


Leave a Reply