
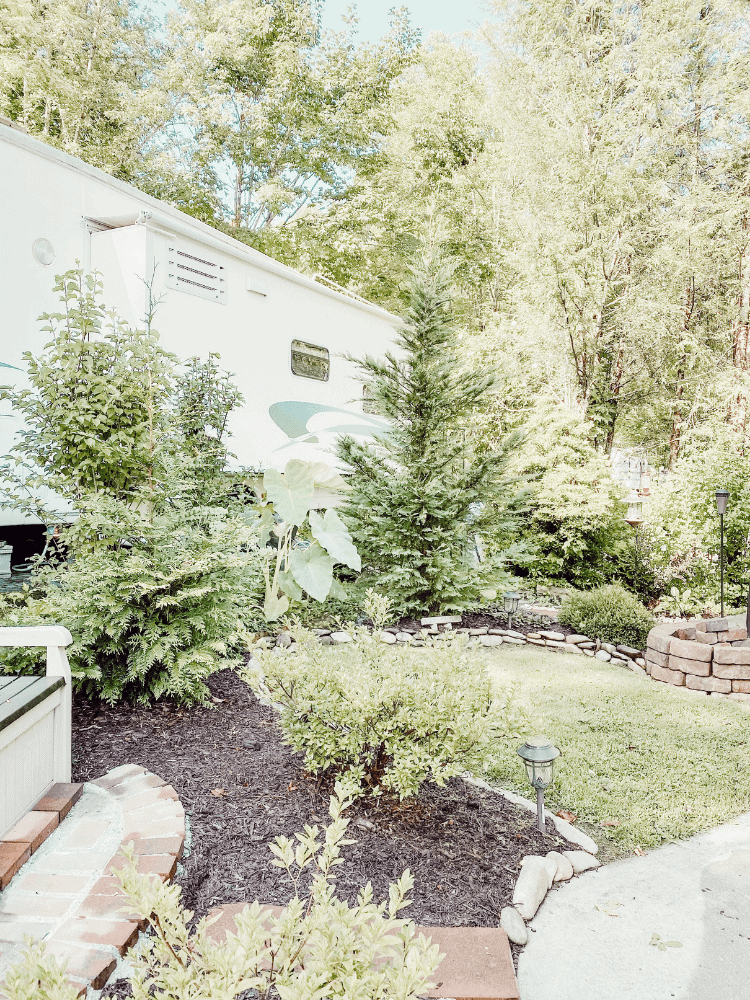
So surprise! We bought a camper this Summer and we have been busy trying to refresh it and make it our own. It was pretty much move in ready, but we just wanted to make a few improvements and add our own style to things.
Which is why we decided to do a string light patio refresh to our lot outside. I could not be more pleased with how this project turned out.
It literally took one day and a few hours, but that was all! It wasn’t hard to do and the outcome was so amazing. It definitely makes our outdoor space feel so much more cozy and we have been spending as much time as possible out here!
I will share everything that we did in order to do this easy string light patio refresh below!
You may remember this post because I previously shared in back in August of 2020. But for some reason this post got deleted and I could not refresh and share it again! So I had to re-do it. Hopefully y’all will enjoy it just as much the second time around too! This post also contains affiliate links. Click here to read my disclosure policy.
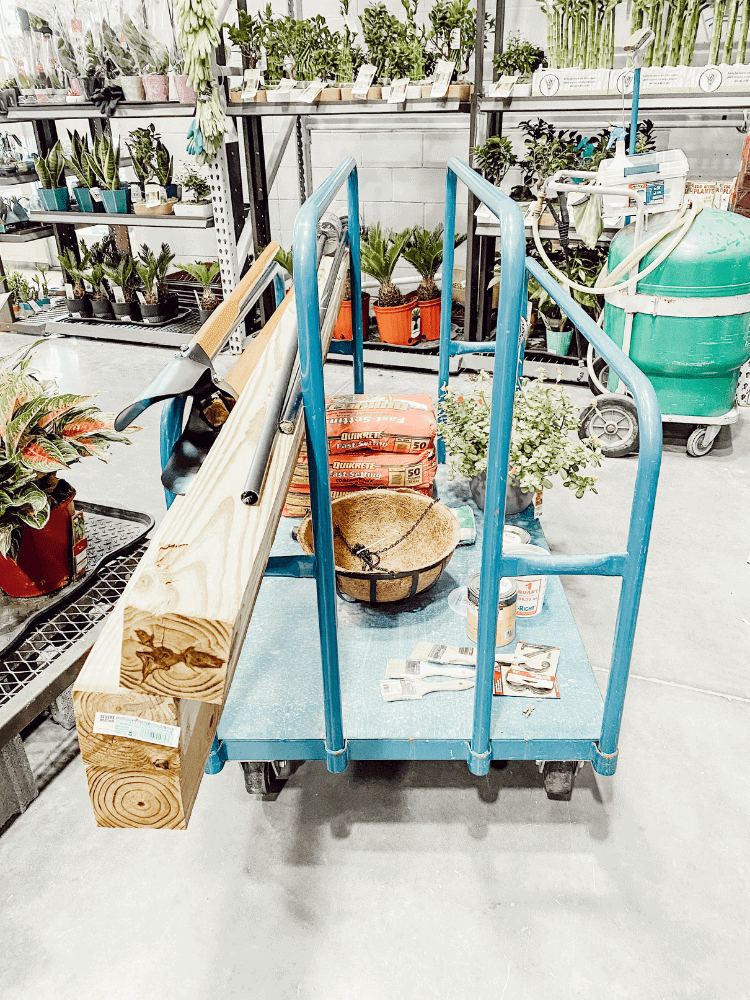
Materials Needed:
- Posts
- Post Hole Diggers
- Patio Lights
- Stain
- Quick Setting Cement
- Drill
- Screws
- Personalized Sign (optional)
- Hanging Basket (optional)
- Hanger for Basket (optional)

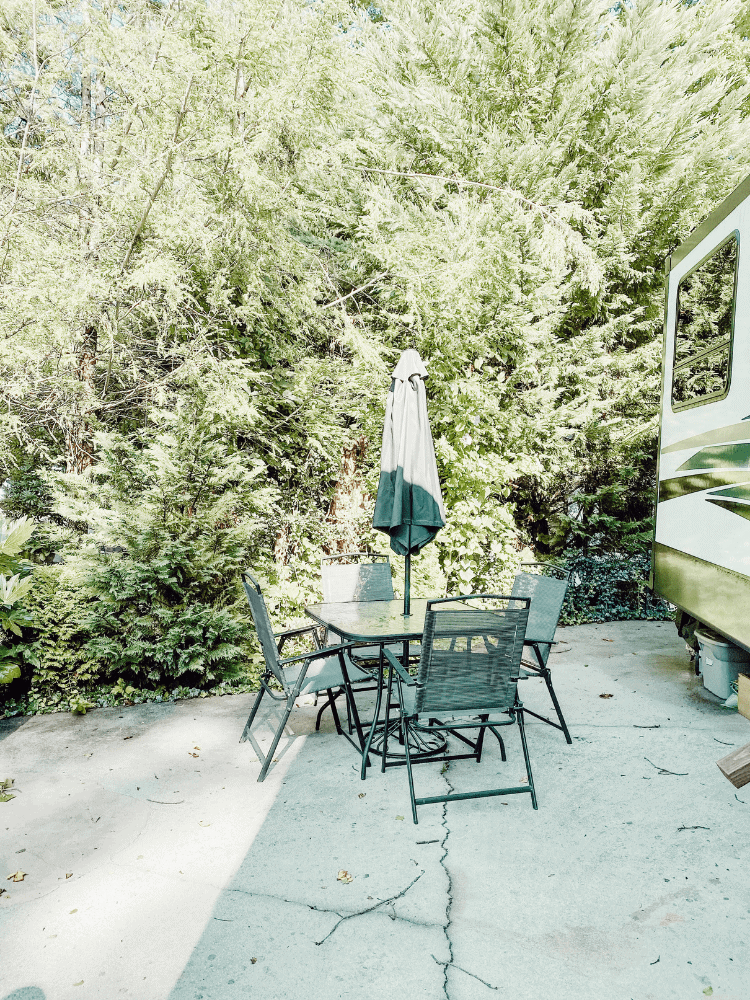
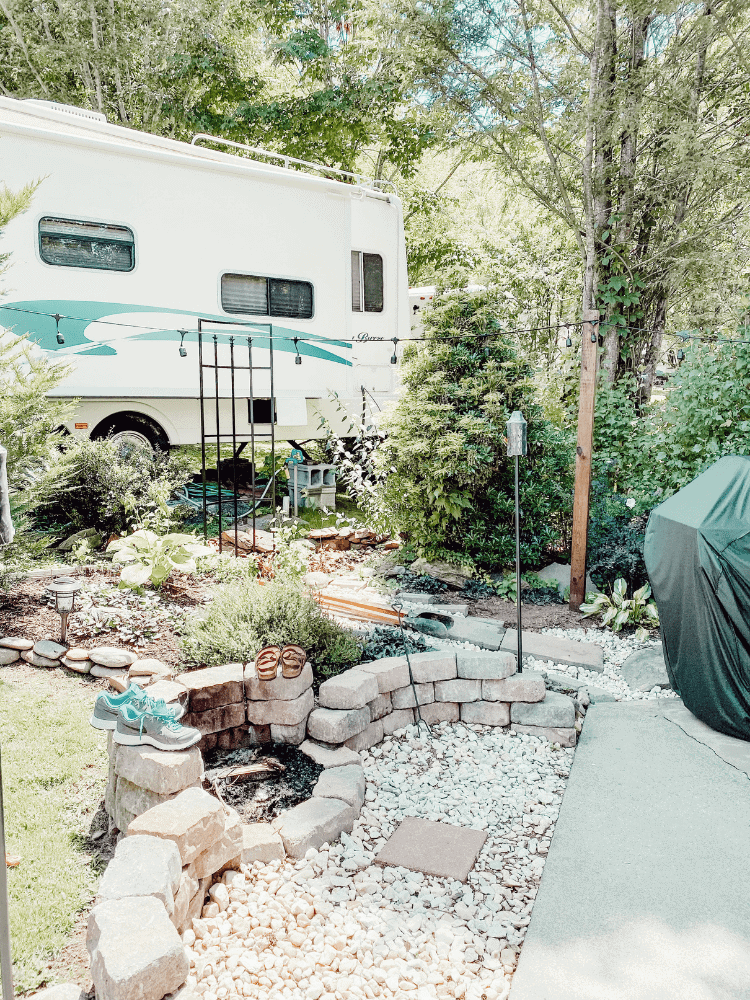
Decide Where to Place your Posts
The first thing we did was decide where we wanted to place our posts. This was important because they would be the anchors for our patio lights.
We measured the space out to make sure we would be able to stretch a set of patio lights out and make them even up at the next post.
We got a total of three posts and ended up using a tree as our last post to end the patio lights around.
Depending on your space and your size of patio will determine how many posts and/or sets of patio lights you will need.
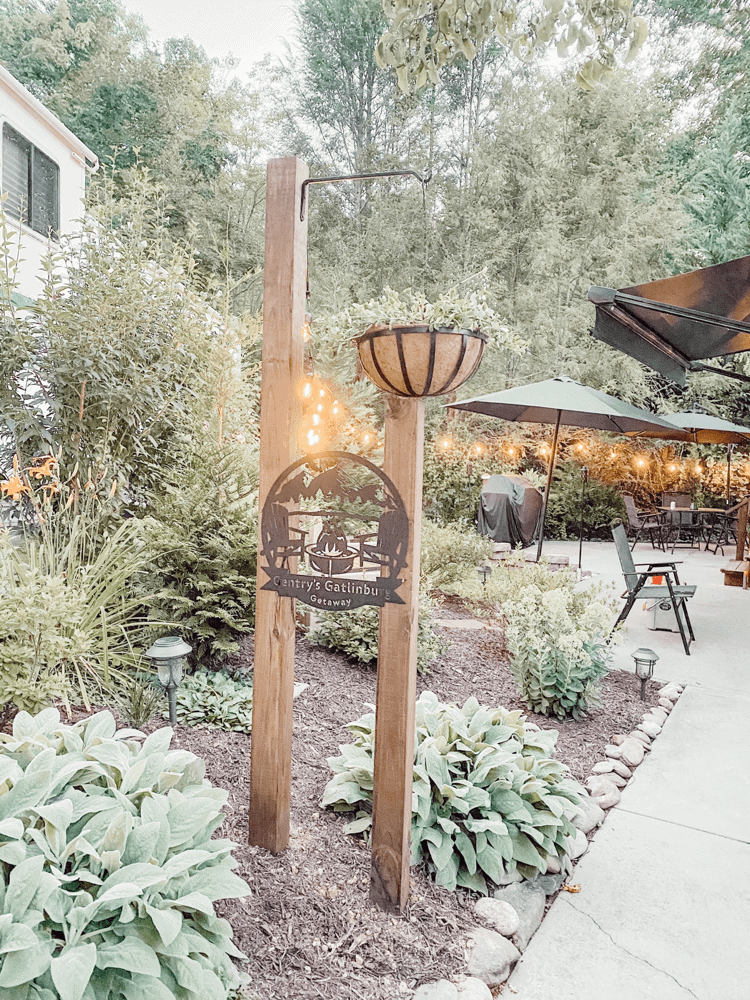
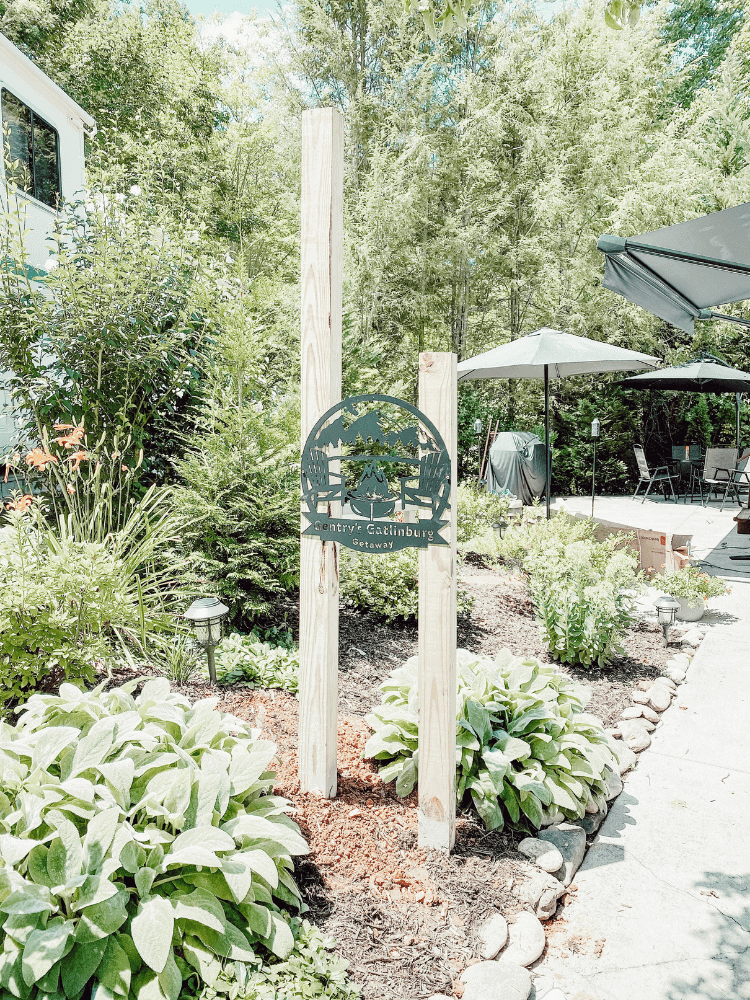
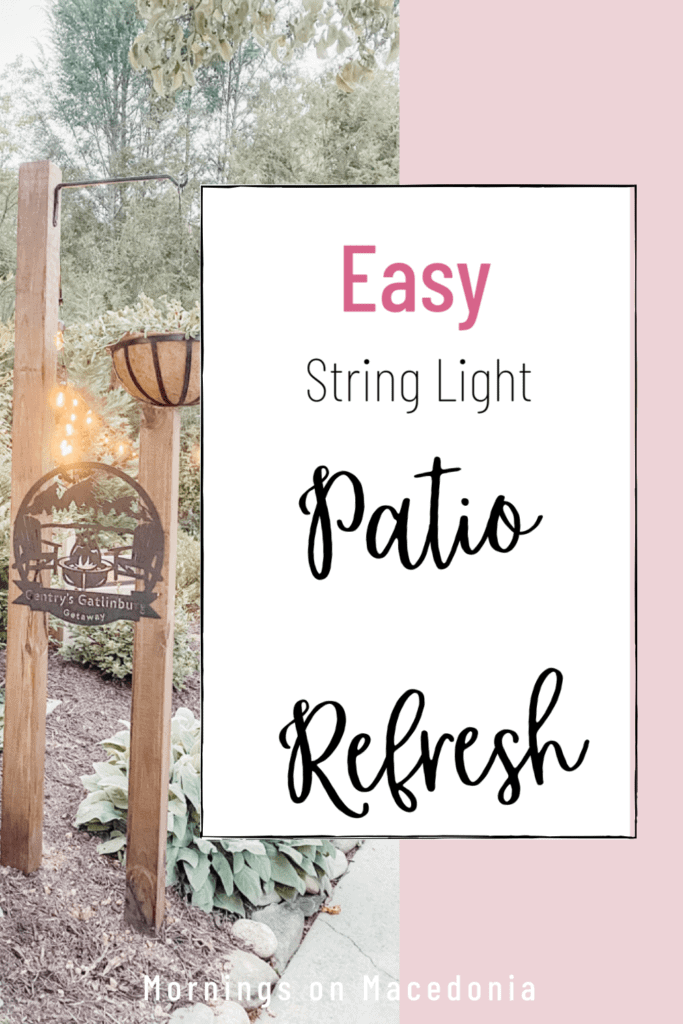
We also ended up having an extra smaller post where we put beside the first large post. We wanted this to be a space where we could easily display our custom made sign.
We got a steel company to make us a sign saying “Gentry’s Gatlinburg Getaway” which is what we call our camper.
You could totally do this too if you wanted to display a sign as well. But otherwise, this is definitely an optional step.

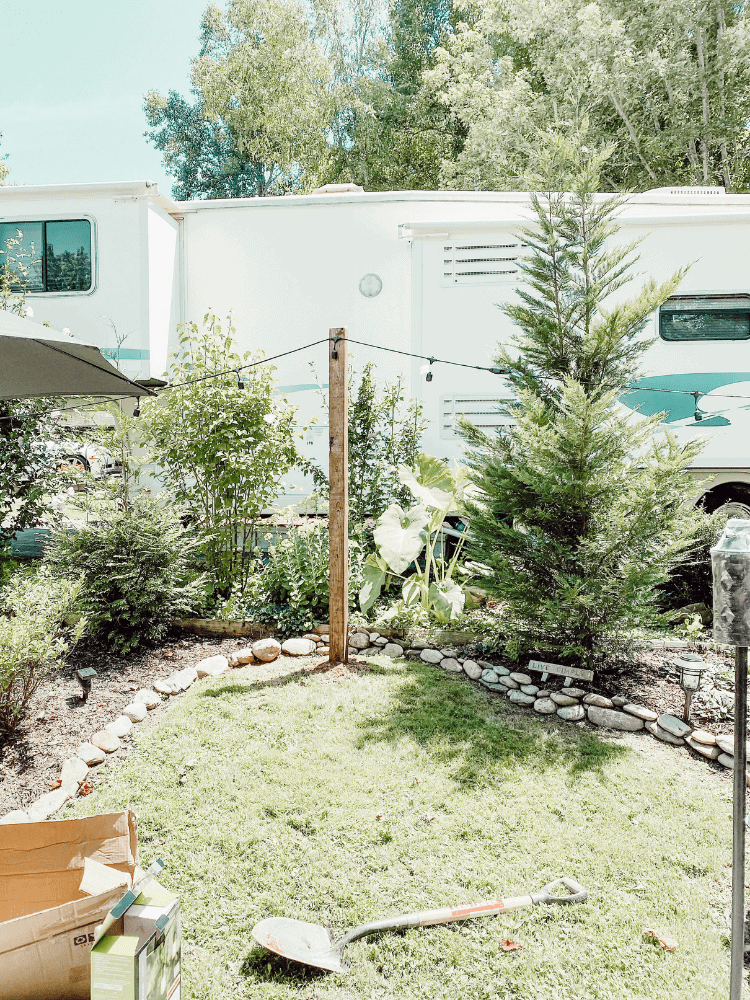
Place The Posts
Now that you know where to place the posts, you can start using the post hole digger to get them ready to permanently cement them!
This takes a lot of manpower and thankfully my hubby was able to do this for me so I didn’t have to do it on my own!
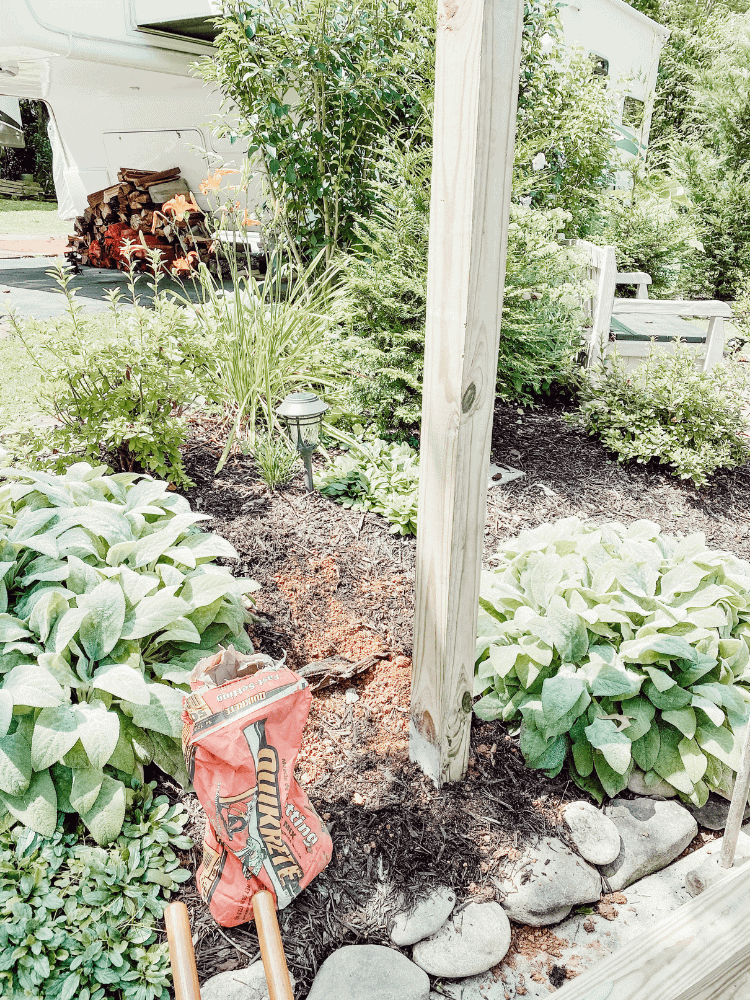
After he got all the holes dug, we placed the posts in the holes and added the quick drying cement to the hole too.

This was my first time using the quick drying cement and I’ve gotta say, it’s an amazing product! All you do is pour the powder in the hole and cover it up with the dirt that you removed from the post hole digger.
The next time it rains (or you can water it yourself) it sets up! No mixing required! How easy is that?! And perfect for this project as well.
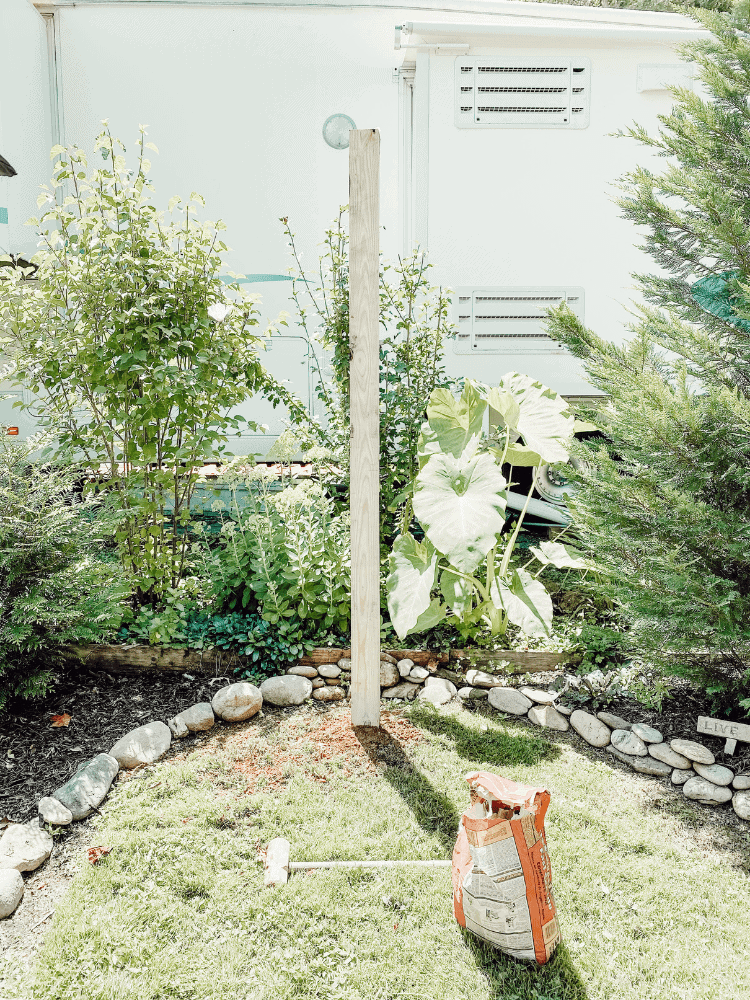
Stain the Posts
After the posts are all set where you want them, now you can stain them! In my opinion, this is the fun part! My hubby doesn’t like to stain, so I was all over this opportunity to do so myself!
I would recommend just to wipe the bottom of the posts with a wet rag though in case any of that powdered cement got on there.

I used the Minwax Early American stain and I love the color! It turned out so nicely. It really made a huge difference staining all the posts.
You could also choose to paint the posts instead if you wanted to go that route too. But staining didn’t take me long at all and I think painting would probably take longer but that’s just me!

Hang the String Lights
After the stain has dried, you can now hang the string lights! My hubby was just able to drill the lights directly into the posts because the lights we got had a hole above them for screws.
If the patio lights you have don’t have that option, just be sure to get some hooks that you can drill into the posts instead.
That way you can just drape the lights over the hooks attached to the posts.
Either way is just fine and will look incredible! We also ran into a few problems even though measured it out first.
Because our lights had the holes in them to drill, when we got to the third post, it did not line up correctly. So we had to improvise and wrap the wire around the post first and then drill the light in.
Honestly, you can’t even tell and it looks just fine! If we didn’t do that, the lights would have hung down way too low and would not have looked as good.
So really you can just play around and figure out what looks best for your space.
Hang Up Sign and Planter
Like I stated above, this step is totally optional. But since we had this really cute sign, we wanted to be able to display it and show it off.
Using the smaller post we had, we measured the length of the sign and put that smaller post right now beside the taller post up front.
Then we just attached the sign to both posts on each side.
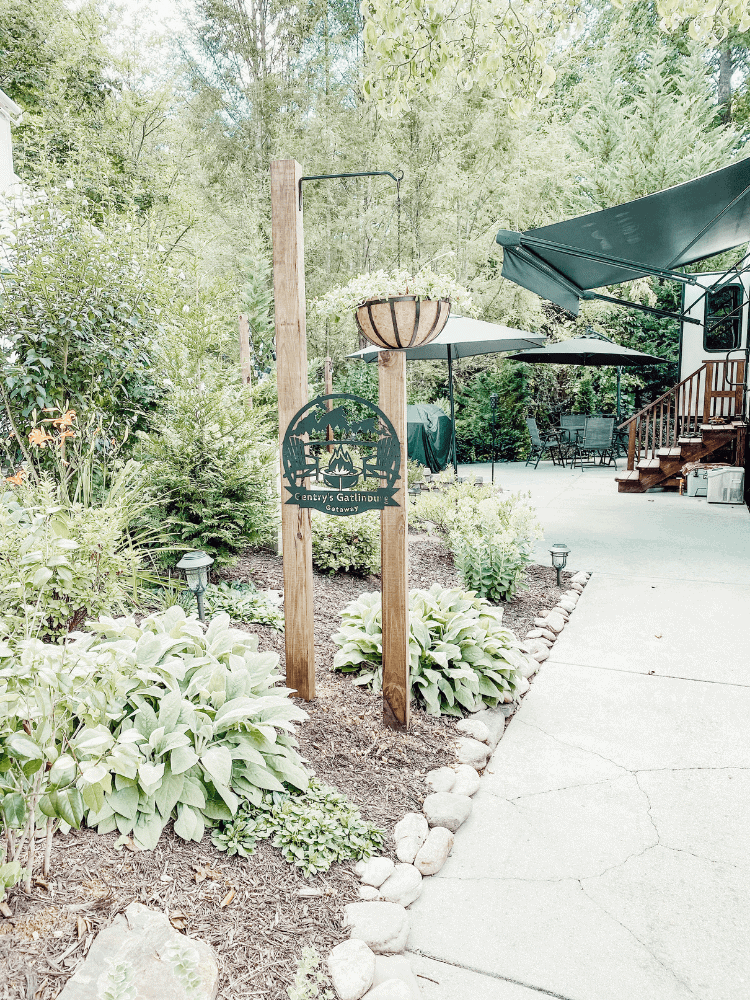
To make it look more balanced, we added a hanger to be able to attach a hanging planter there. It looks so good and adds a little bit of color to the whole space with the bright flowers.
And I also don’t notice that one post is taller than the other with the hanging basket evening it out.
Conclusion
If you have a little bit of time and are itching to refresh a patio space with some string lights, then I highly suggest doing this project!
It was hard work (mainly cause it was so hot outside when we did it) but it was also totally worth it. Another great way to refresh a patio space is to add in a fire pit area too!
I know we will enjoy it for years to come too! Do you have an outdoor patio space with string lights too? Or have you ever done a refresh similar to this before? Let me know below!
This is so gorgeous! I’d love an area like this for summer evenings, great post x
Thank you! We definitely enjoy siting out here on the summer evenings for sure!
I love that you were able to make a string light with a few materials. So important to have that pole into the ground – having a solid foundation takes you far! Thanks for sharing!
Nancy ✨ mdrnminimalists.com
I want to hang out in your patio hahaha! It’s so cute and you’ve done an amazing job with it!
Awe thanks my friend! Come hang out! We would love to have you! Too bad we’re so far apart lol
Really awesome how lights can refresh a space! Thanks for being so detailed about putting these up, very helpful!
Thank you! So glad you enjoyed it too my friend!
This looks great, will be perfect to spend evenings in the garden as it’s gets warmer!!
Thank you! It is so perfect to spend warm evenings here for sure!
I love your patio refresh makeover! It’s such a lovely idea! x
Lucy | http://www.lucymary.co.uk
Thank you so much. I am loving it too!
This is gorgeous! I can’t wait to give it a try
Thank you so much. I am so glad you think so too
What a gorgeous setup! love to give it a try
Wow this is such a gorgeous idea of a patio decoration, thank you for sharing this refresh idea 🙂
Thank you so much Eleanor. I am so glad you think so too!
Your garden looks so lovely! What a pretty addition too, and I love that it was a fun DIY project. Thanks for sharing 🙂
Anika | chaptersofmay.com
Thank you so much. It sure was a such a fun DIY project to do. We have really enjoyed it so far.
This really makes your patio area look fantastic. I love that sign and hanging planter spot. It really adds a nice little extra touch. This is the type of space I would spend tons of time in during the summer. I really want to add some lights to our deck and backyard, so this is a great inspiration for my future project.
Thank you so much. I am so glad I could give you some inspiration then!
Your patio looks amazing! I love the sign and the lights, so cute! Thanks for sharing another great project.
Thank you. I am so glad you think so too my friend!
This is a clear and simple step by step procedure, awesome! I’d like to have a patio someday in my future home. Fab read! Learned something. Thanks for sharing!
http://www.lifebeginsattwenty.com
Thank you. I am so glad you enjoyed it as well.
It looks so lovely! ☺️ great for the warmer weather in the evenings where you can sit outside.
Thank you, yes it is so perfect to sit outside in this space!
What a lovely way to create a peaceful ambience outside your trailer! You can never have enough lights as far as I’m concerned. Enjoy!
Thank you. That is very true. I totally agree with that!
Wow – this looks absolutely stunning and so unique! I’ll definitely be giving it a go in my garden 🙂 x
Thank you! You definitely should. It was totally worth the work!
Wow! Amazing job. I love string lights so much. My whole wedding décor was literally string lights! Its such a magical feeling. Congrats on your camper too! I’m excited to see what you do with it xx
Lynn | https://www.lynnmumbingmejia.com
Awe yes. I love string lights too. They definitely give off a romantic feel for sure!
Love this! Thank you for sharing the process! I love the string lights and the extra touches also look great! Staining the posts is a great idea and it looks really good!
Thank you so much. I really appreciate it my friend!
This is fantastic!
I love the step-by-step.. you’re making me feel brave enough to try it out!
Thank you for sharing.
Awe yay! You should definitely try it out! It wasn’t hard to do at all!
I absolutely love how this turned out. The whole area is gorgeous. You’re making me envious of all that outdoor space!
Awe thank you so much Stephanie. We really enjoy this outdoor space for sure!
Wow! I love how it turned out. It seems easier than I thought and I bet it’s really relaxing to hang out there in the evenings. 🙂
Thank you so much. It really is perfect to relax there in the evenings!
Thanks for sharing your patio lights update 🙂
No problem at all!
Amazing ideas!!! would surely going to give it a try!!!!
Thank you! you definitely should!