
Y’all know I am all about seasonal decor, and I love to make my own when possible. So today I thought it would be fun to share some homemade Easter wood crafts with you!
I absolutely love making wood crafts especially, and then painting them to my desired colors as well! You can really get crafty and creative personalize things to exactly how you want in your own home when you make your own decor.
It’s a great creative outlet for me and so much fun to make! I will be sharing some fun examples of Easter wood crafts below so be sure you check them out and see if there is anything you want to try to make as well. Hopefully, it will inspire you to create your own decor sometime too!
This post also contains affiliate links, which means I make a small commission off anything you purchase through here, at no additional cost to you. Please read my full disclosure policy for more details.
Materials Needed For Homemade Easter Wood Crafts
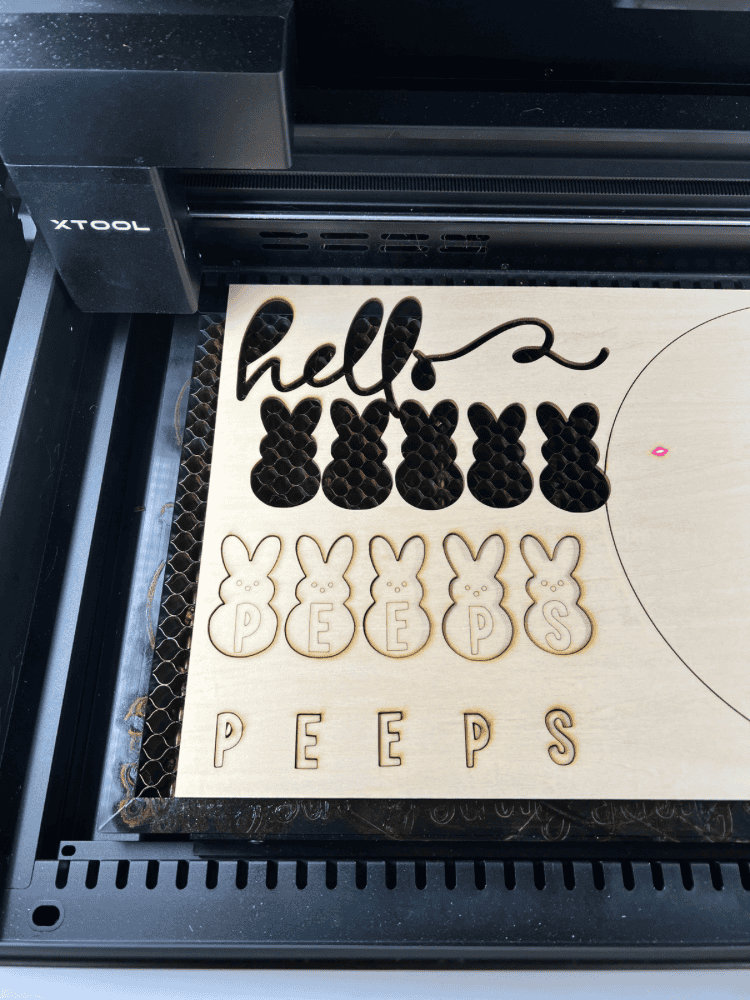
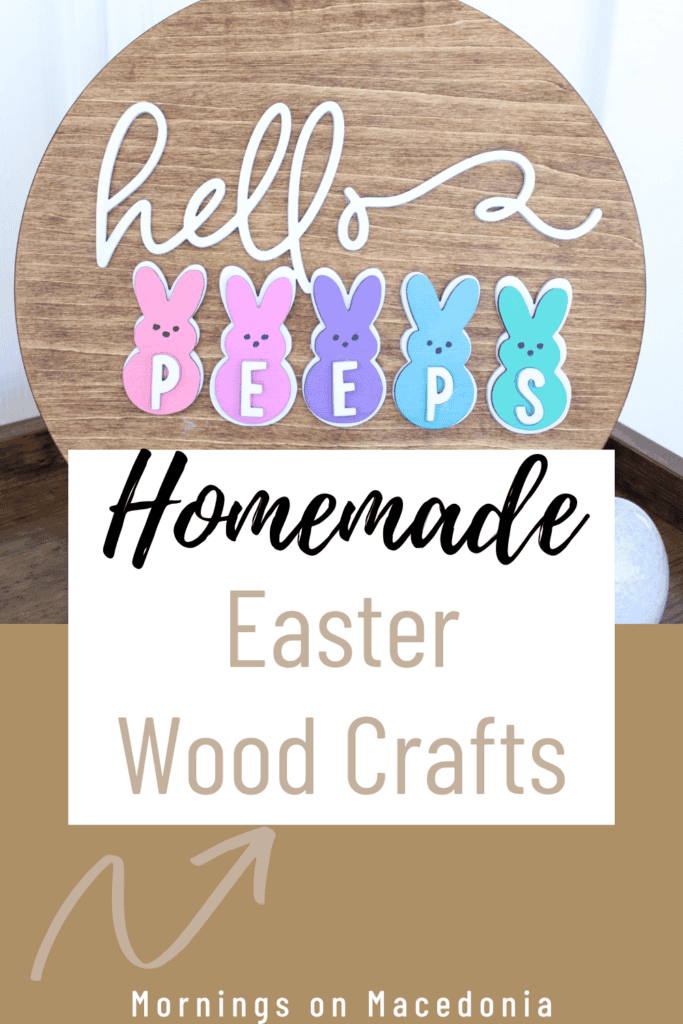
So for today’s project, I am going to be using my handy dandy xTool p2 machine to make this super adorable Easter wooden sign.
To cut out the sign, I had a leftover piece of wood from another project. It was a 3mm basswood plywood piece. Which is my favorite type of wood to cut in my laser machine.
It usually makes perfect wood cutouts, and since it’s not very thick, I don’t have to make multiple passes at it either. I also chose a cute Easter SVG sign file that I saw on Etsy as well.
Like I mentioned before, I don’t like to create my own files. And a lot of time they are super cheap to purchase off of Etsy, so I just do that instead. I will link the exact file I used below for you too!
Once everything is cut out, I will also be using my favorite glue, B-7000 to glue everything together. But, you could also use whatever wood glue you have on hand too.
I just like using the B-7000 because it gives you a little wiggle room if you mess up. It doesn’t automatically set up, which I love.
You could also use a hot glue gun too if you would rather for this. To paint all the wood slices and pieces, I used my favorite acrylic paint pens as well. It’s nice to have all these materials on hand because I usually end up using them over and over for different projects just like this!
But, you can also use whatever craft paint you prefer. I just think using a paint pen is easier when dealing with small, delicate pieces like this.
If you remember my DIY Easter tiered tray signs from last year, this project is very similar to that! Only slightly larger!
How to Make Your Own DIY Easter Signs
Once you’ve found an SVG file that you love, whether you choose the same one I did or a different one, you can cut it out using your laser machine.
You may think that this isn’t a simple Easter craft because of the laser, but trust me, once you start using the laser more and more, you will love it. I was definitely intimidated at first using mine, but now I am obsessed with it.
You can make so many cute Easter crafts, just like this one, once you get the hang of it. And once your skill levels increase, you can even make more complicated DIY projects too! And you don’t even need a miter saw or any other complicated power tool to do so.
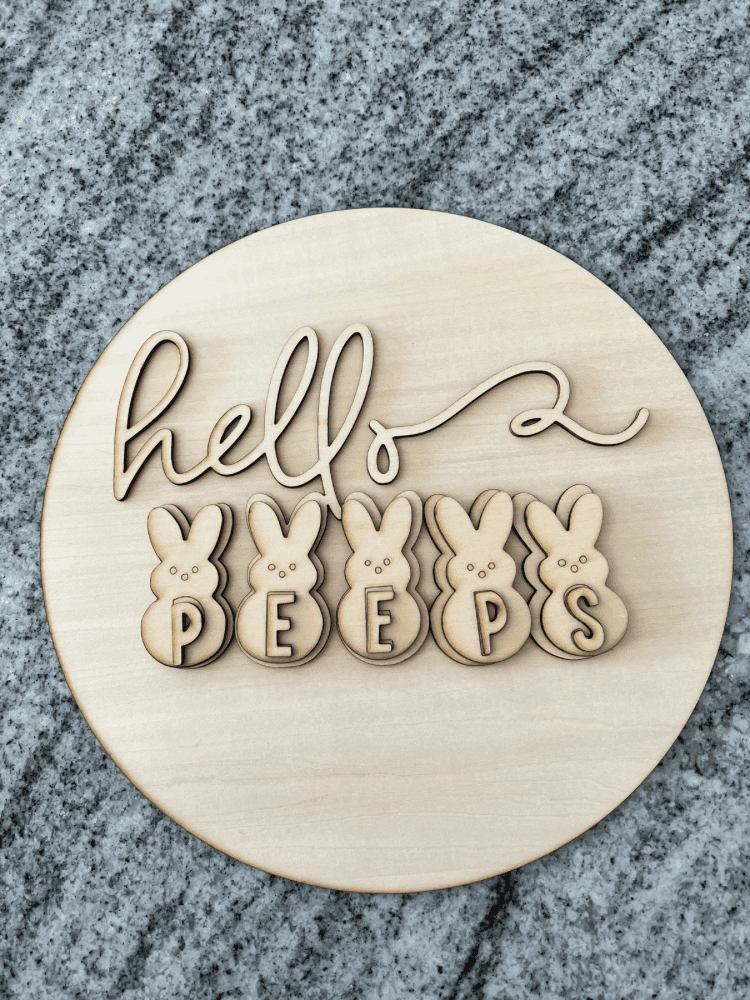
After everything is cut out, discard the scrap wood pieces and remove Easter sign pieces from the machine. For the background of the sign itself, I decided to use some wood stain.
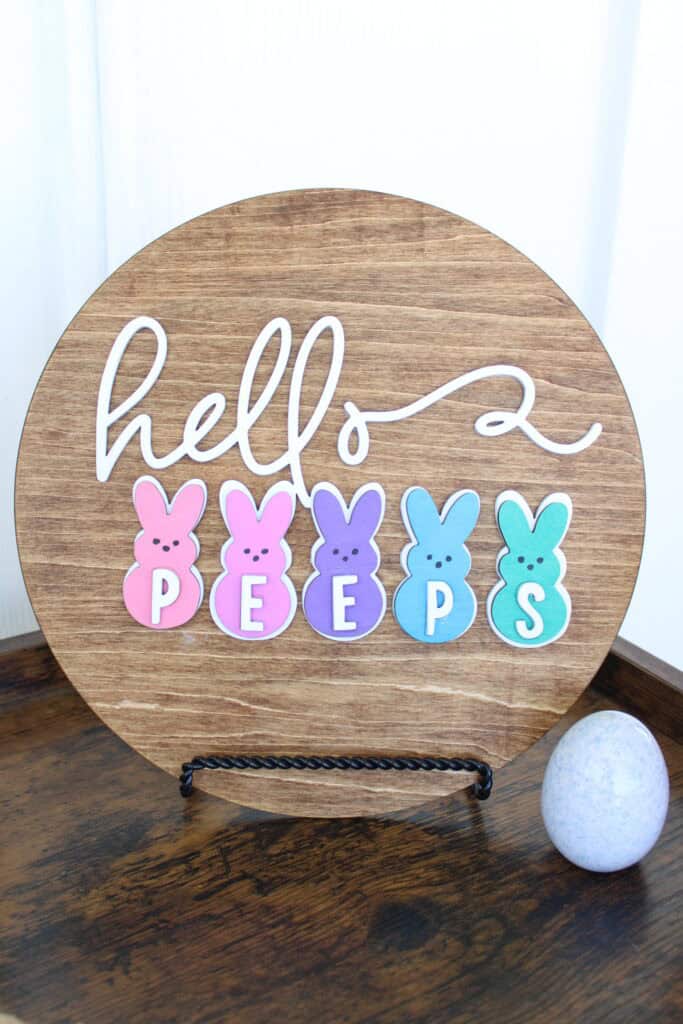
And of course, I used my favorite Early American Stain for this. Then, for the lettering and the background of the wooden bunnies, I wanted to use white paint.
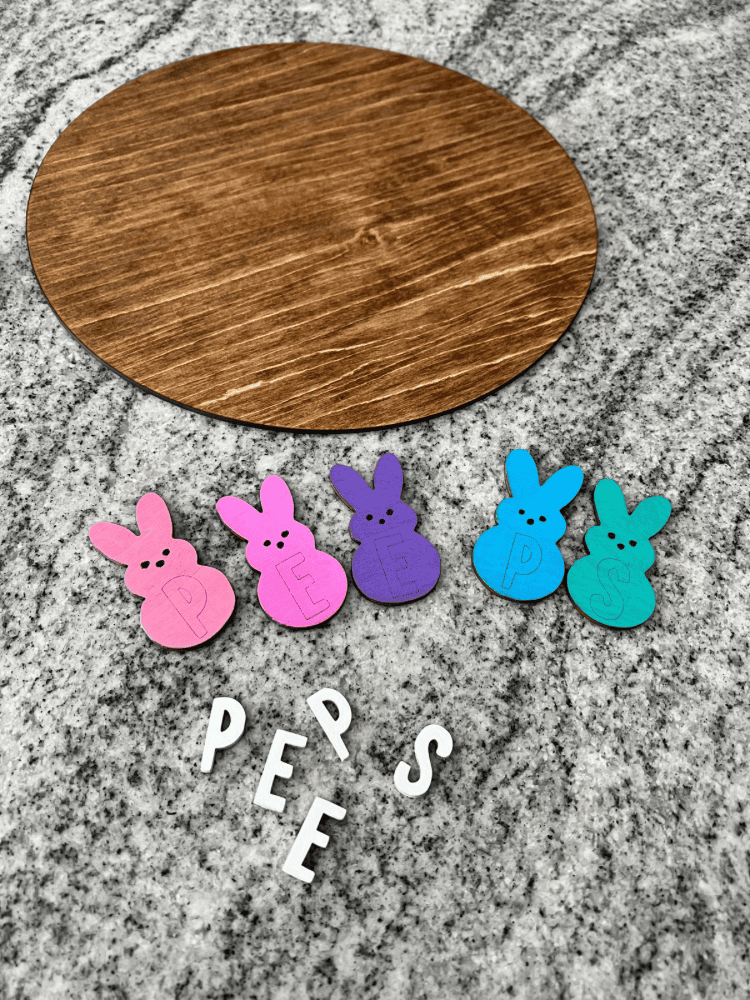
And for the other adorable bunnies, I decided to go with different pastel colors. I love how these Easter bunnies look just like the Peeps bunnies too!
Putting Together The Bunny Signs
Once all the paint and wood stain is dried, you can now assemble the sign together. Like I mentioned above, I use the B-7000 to glue all the pieces together.

You could also add in some greenery, Easter eggs, or a bow on the top of the sign to make it more like an Easter wreath too.
This finished piece would look perfect hanging on your front door as well. But, it’s the perfect project if you want to add in a little bit of your own flair when it comes to your home decor.
You can customize it however you want and use whatever colors you want. Which is always so much fun!

Enjoy These Homemade Easter Wood Crafts!
Well, I hope you enjoyed this easy project on how to make your own Easter decorations. And I hope it inspired you to try it out yourself as well.
No matter how you are spending your Easter celebrations, doing some spring crafts around the home is always a good idea!
And If you’re looking for more Easter craft ideas, be sure to check out the following below:
- How to Make DIY Easter Basket Name Tags
- Easy Easter Decoration Ideas To Make
- Dollar Tree DIY Easter Wreath
- How to Decoupage Easter Eggs
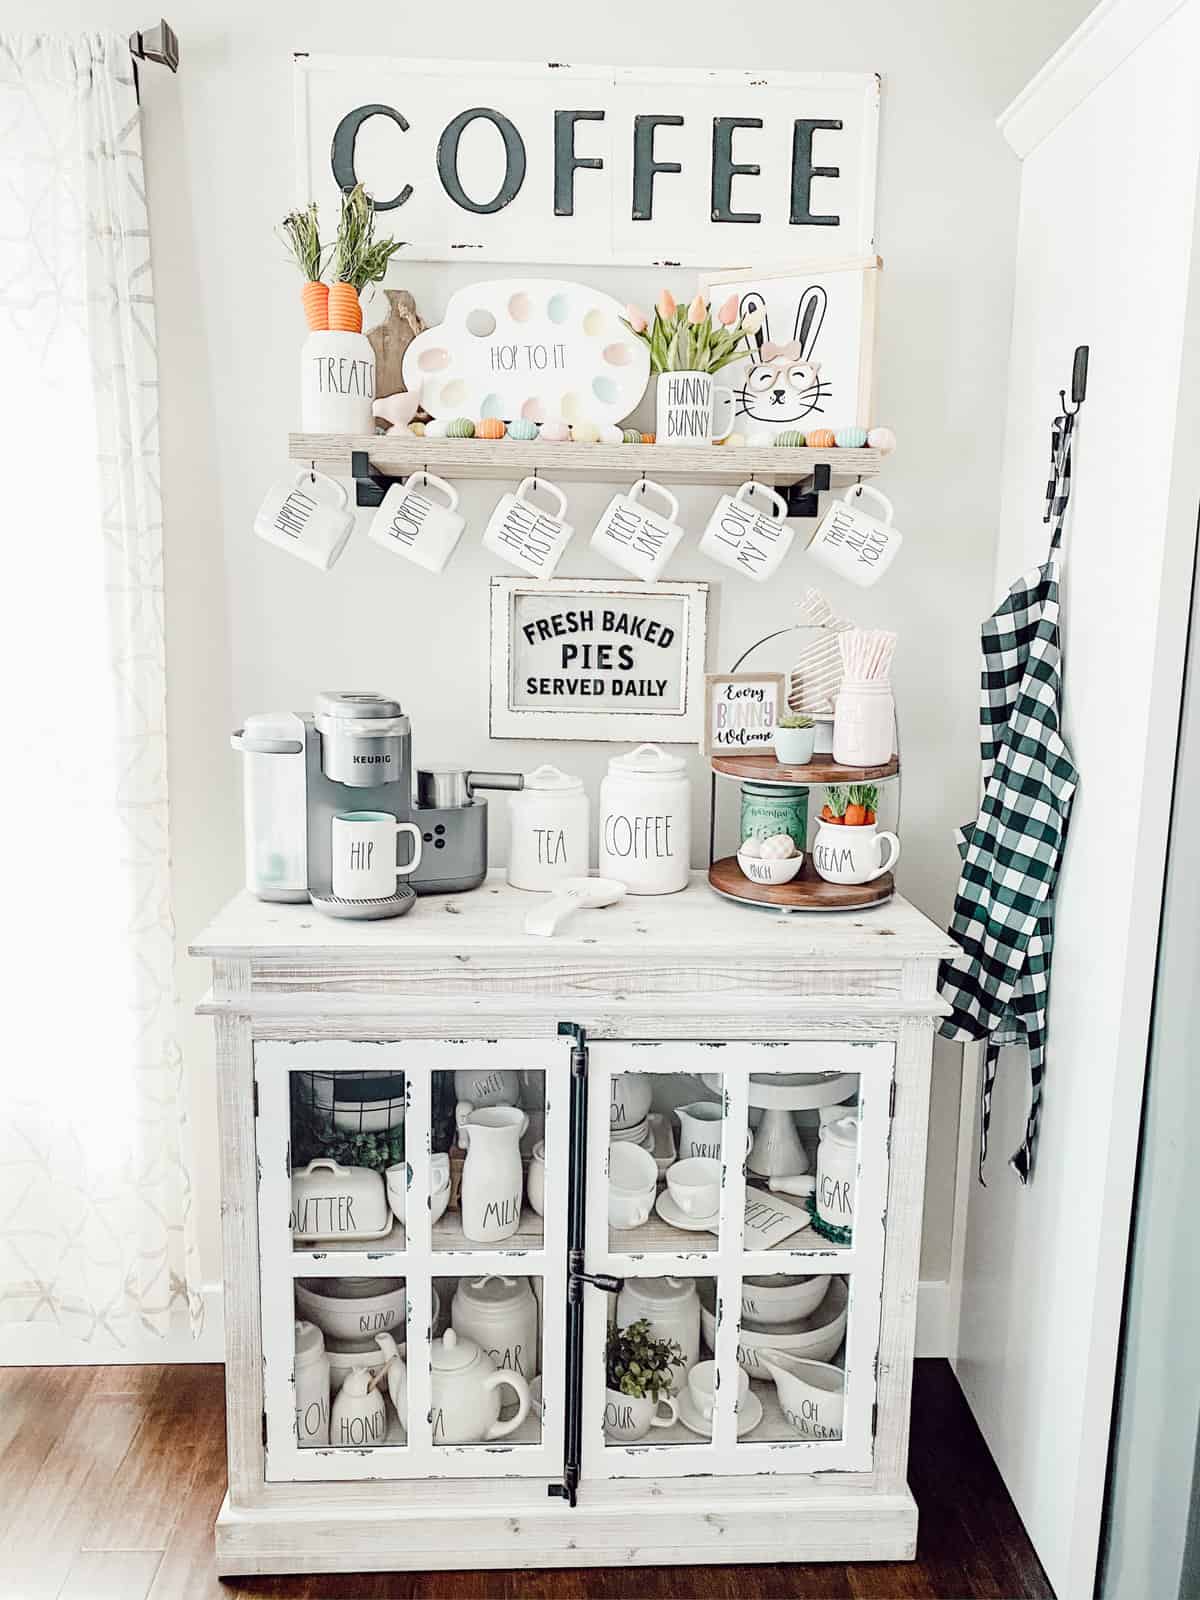
- How to Style an Easter Coffee Bar
And I hope you all have a very happy Easter Sunday my friends!

Leave a Reply