
Well y’all, this year I am trying my hand again at some raised garden beds! You may remember I shared raised gardening a few years ago on here, but it never came to fruition thanks to the deer around here! So this year, I am trying something new and decided to get some seedlings. And now I am going to share how to grow seedlings with you all as well!
That way, if you want to try it too, you can do so with me! I would really love to grow my own veggies this year and that is the goal. So let’s hope I can keep the pesky deer away and start my own raised garden beds!
I will be sharing everything I learned with you all, that way you can learn from my mistakes and take all my tips and tricks along the way! Keep on reading to see how you can grow your own seedlings too!
This post also contains affiliate links, which means I make a small commission off anything you purchase through here, at no additional cost to you. Please read my full disclosure policy for more details.
What Raised Garden Beds Should I Use?
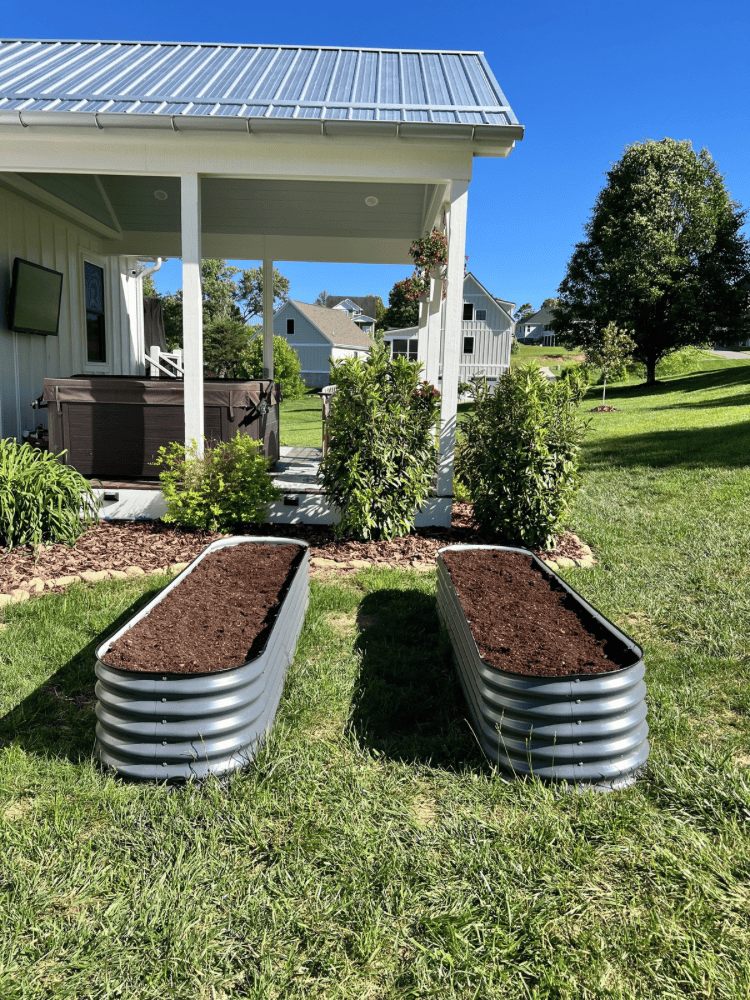
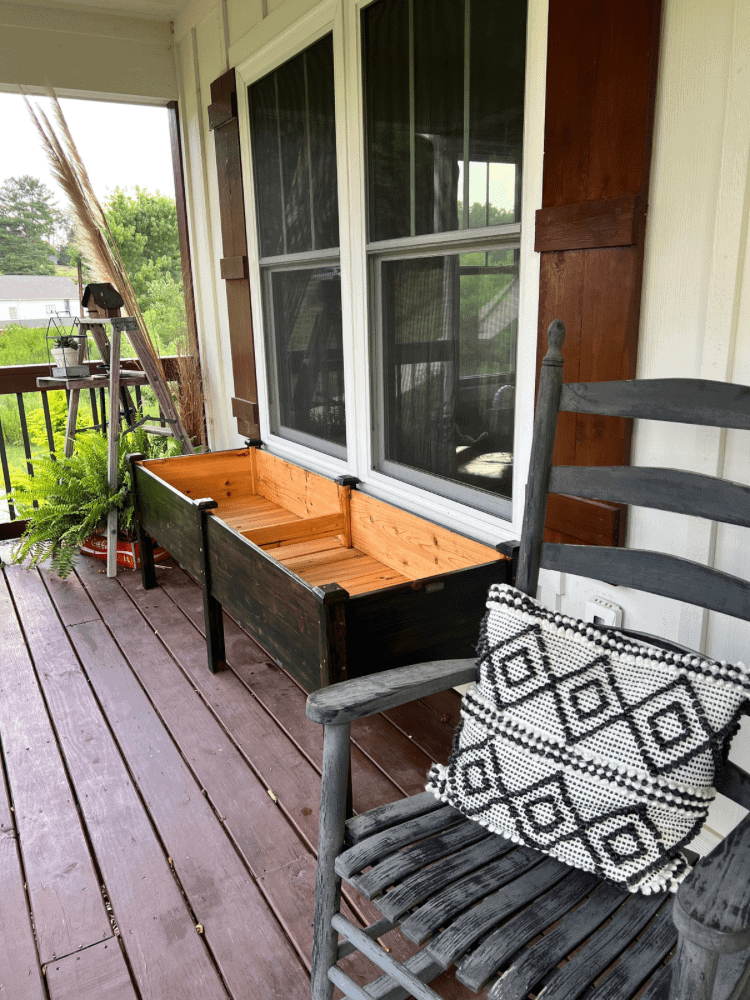
If you’re looking for some raised garden beds first, I highly suggest you check out Vego Garden. Not only are they super cute, but durable too!
And they come in so many different colors and configurations to meet your gardening needs! I got two of the 17″ tall 9 in 1 large modular metal raised garden bed kit in the color modern gray.
If you see something you like on their site too, then be sure to use my code “MORNINGS10OFF” to get $10 off too!
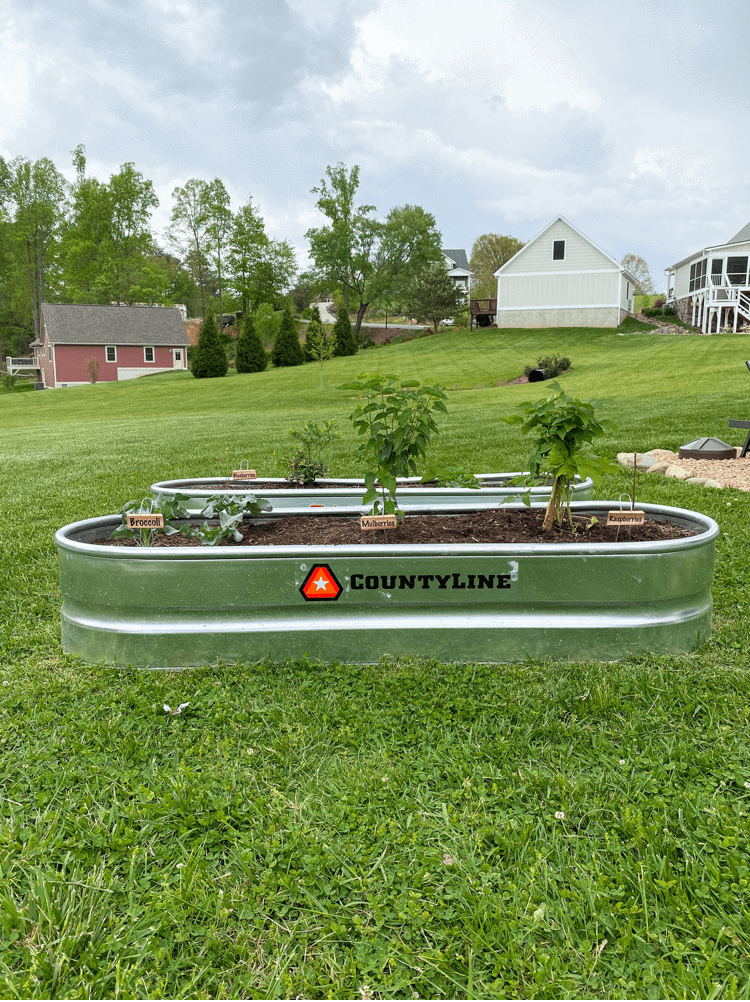
I placed my beds out where I knew they would get good direct sunlight. Having lots of light, especially natural light, is important to help these young plants grow and thrive!
How To Fill Up A Raised Garden Bed
It’s always a good idea to lay down some cardboard inside your raised garden bed first. Especially if your bed is being placed on top of grass or weeds.
The cardboard will act as a weed barrier which will prevent existing weeds from growing up into the bed. It also will decompose over time which will add more organic matter into the soil.
After placing my cardboard down, I also added in some mulch on top. You don’t have to fill the whole thing up with potting soil. That will get super expensive quick.
Mulch is a cheaper alternative and you can fill a majority of the bed up with mulch first. Then, on top of the mulch, I added several bags of organic garden soil made specifically for raised beds.
Be sure to get an adequate soil mix for the type of plants you are wanting to plant! You want your soil level to almost come up to the very top of your raised bed.
Where Should I Get Seedlings?
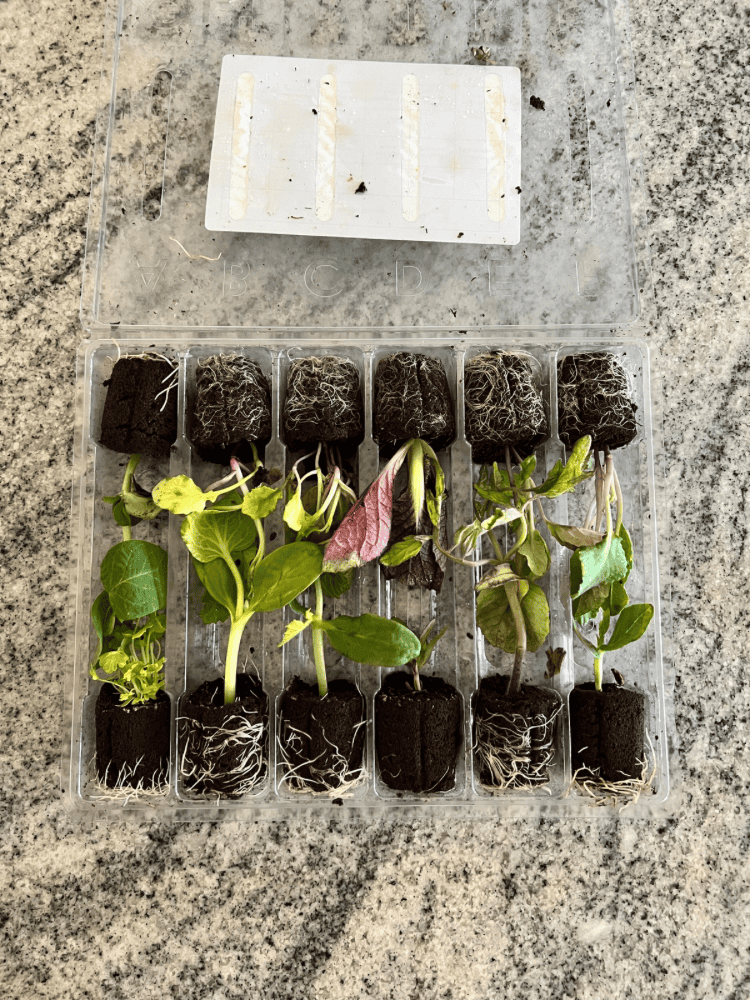
This year, I used a company called Cerca Cultivation for my seedlings. They go through the whole seed germination process so you don’t have to! And then they ship the young seedlings right to your door! How cool is that!?
You can order a single seedling, or a whole pack of them. I got their vegetable bundle and it was so fun to open up!
Technically everything they sent inside the bundle was a surprise because I didn’t know which vegetables they sent me. So it was so fun to open them up and see the seedling trays full of the little seedlings!
They were also nice enough to give me a coupon code for y’all to use too! Just use “MACEDONIA20” for 20% off any seedlings! They have other options too such as a flower bundle and a herb bundle, so you can easily get whatever you need.
Depending on their seed starting process, sometimes you have to wait for what you want though. I waited an extra week to get my veggies because they sold out the week before.
But, that was totally fine with me because I am not sure how well I would do starting off with just small seeds myself. Plus, it is so much easier to order them, versus trying to germinate from a seed packet yourself!
Maybe this is considered cheating to a pro home gardener, but I need all the help I can get as a very novice gardener myself! I may attempt to try to germinate and grow my own seeds someday, but we shall see!
How To Plant Seedlings
Once your seedlings arrive, you definitely need to plant them as soon as you can. If it’s not possible within the day they arrive, just fill the cell trays they arrive in full of water so they don’t get thirsty,
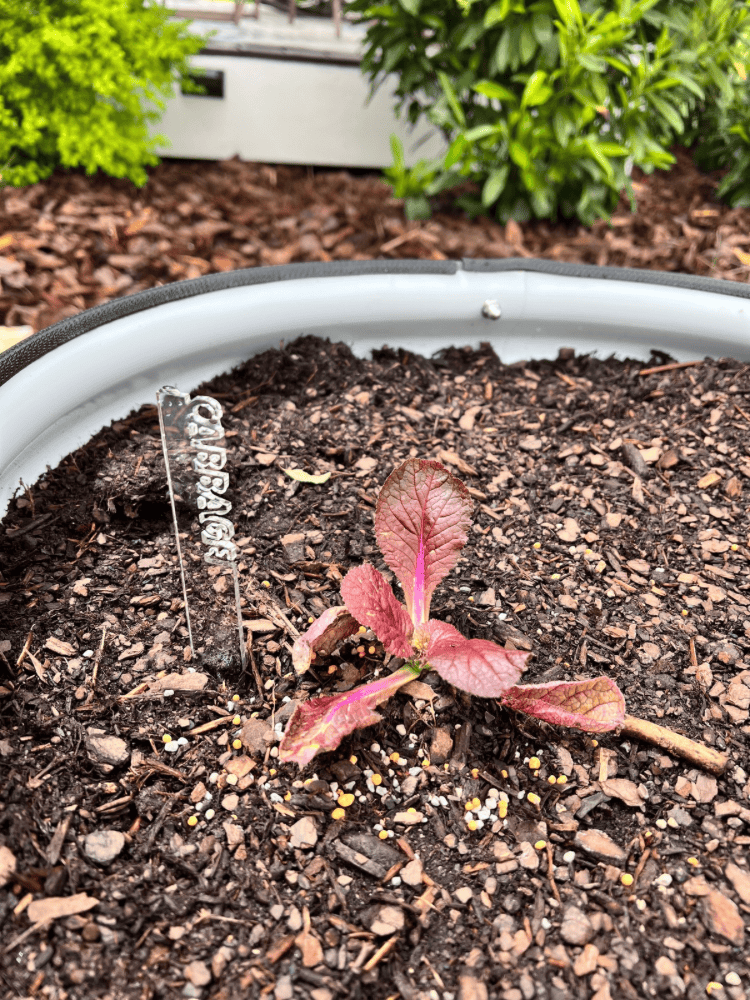
Then, transplant to the garden as soon as you’re able to. To plant them in your garden bed, make sure the soil surface is nice and moist first. Then, measure and space out your seedlings depending on what you’re trying to plant.
I just Googled the plants I got, and saw the recommended spacing for them. After that, I just dug a very small hole to place all the seedlings in.
I also used some all purpose vegetable plant food and placed a dime sized amount into each hole before planting the seedlings.
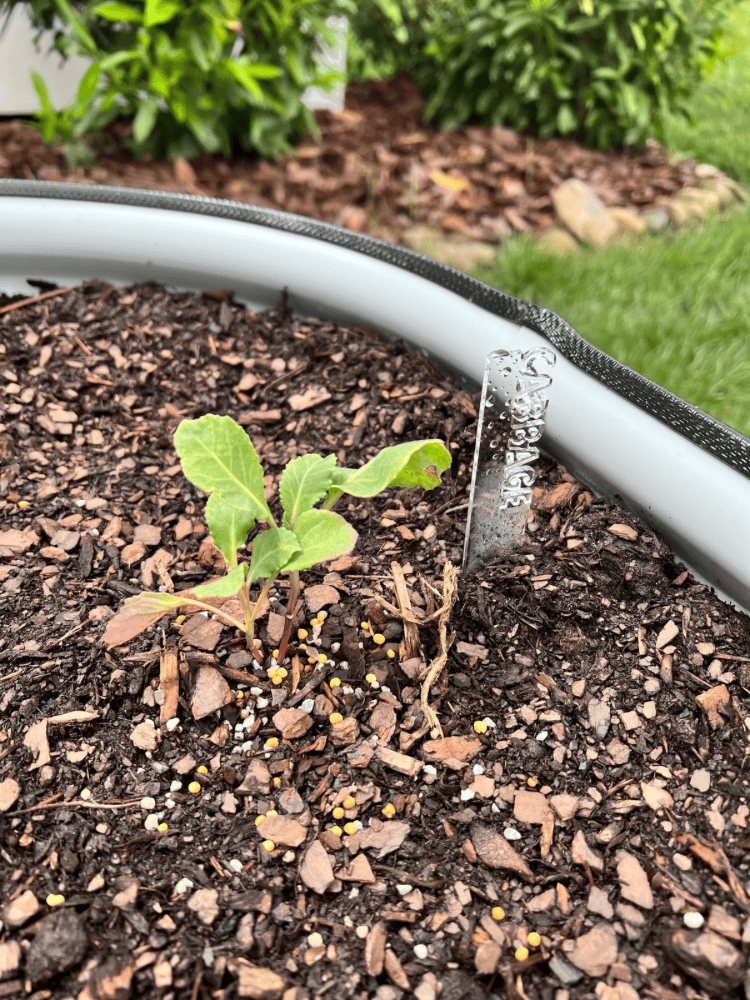
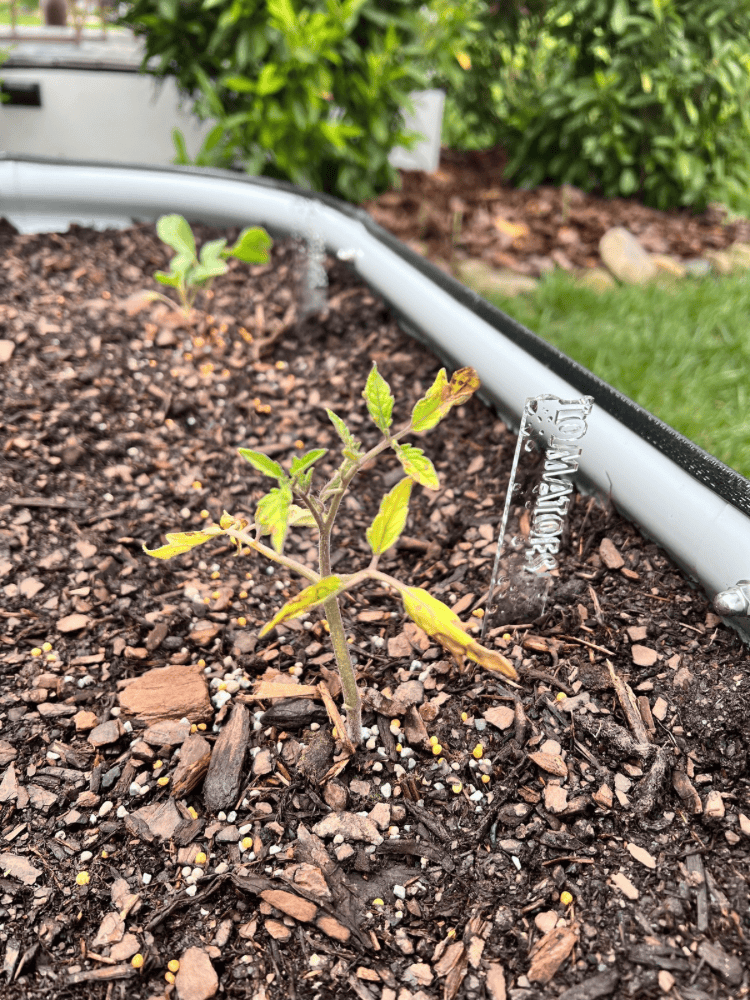
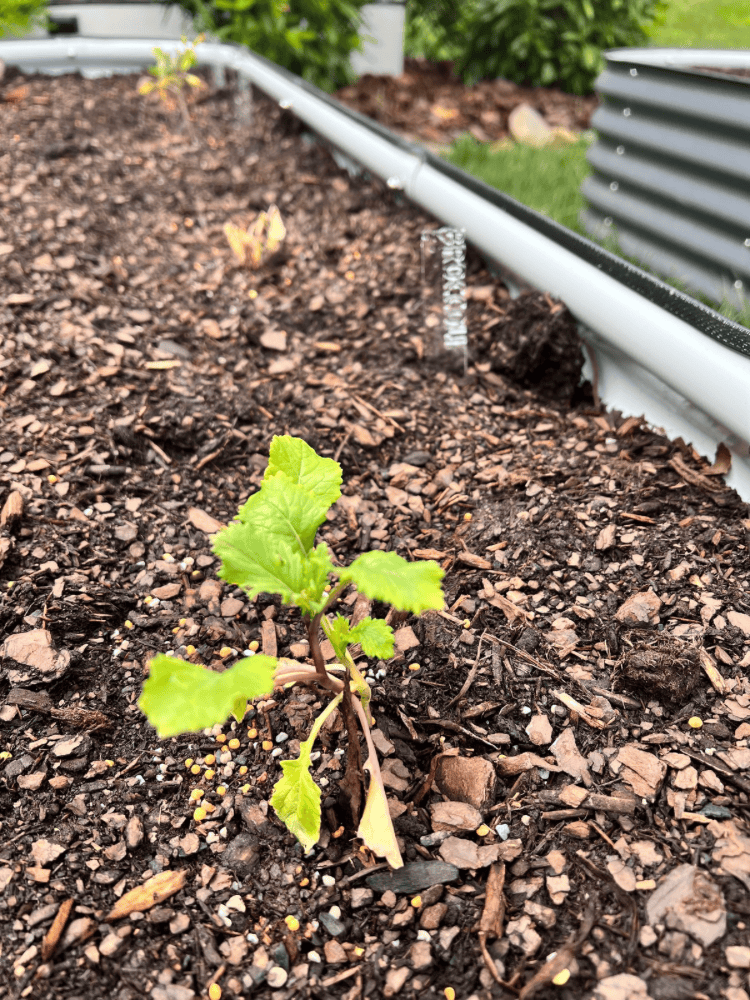
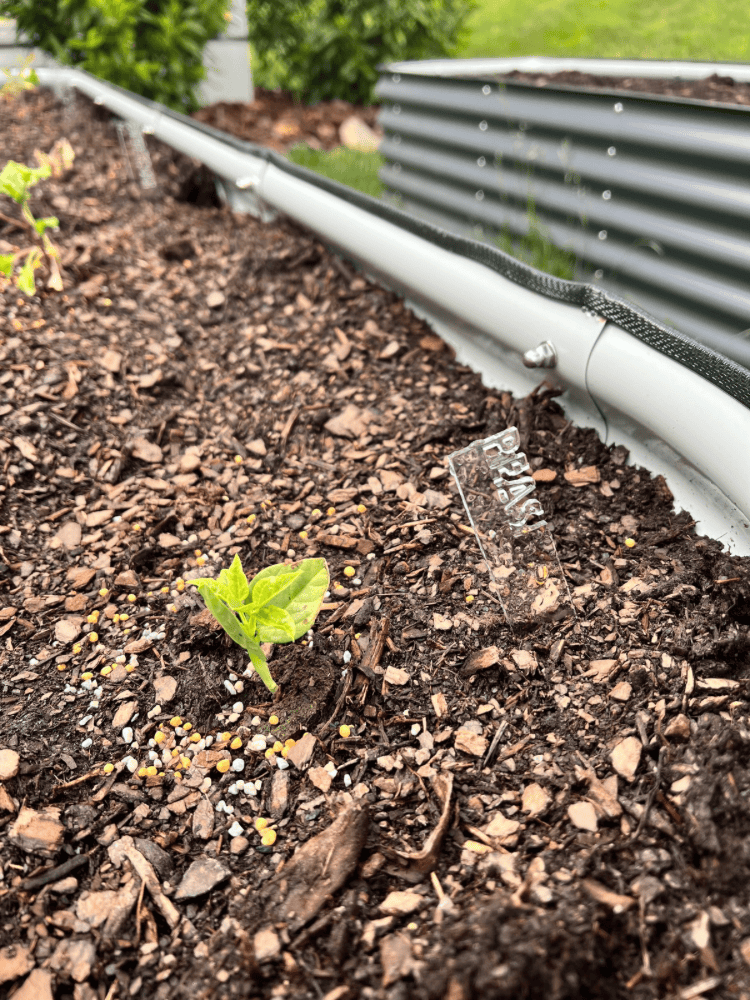
Carefully removing the seedlings from the cell packs, I placed each one into the holes and covered them with more soil. Then I thoroughly watered the seedlings and that’s it. Now, we just wait for them to take off and grow!
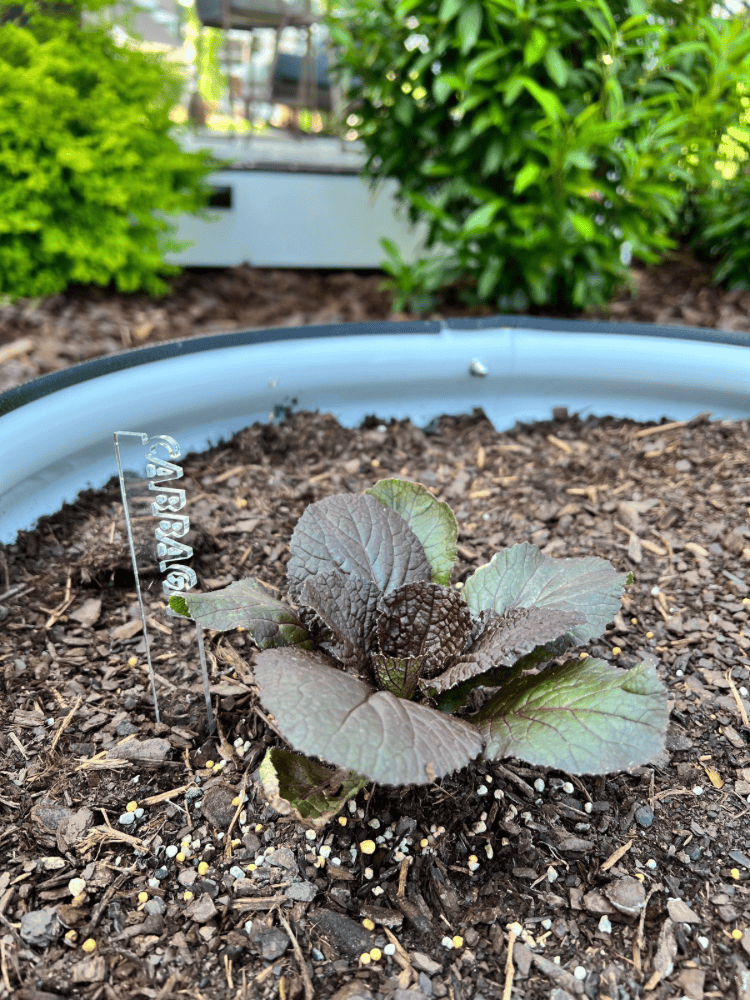
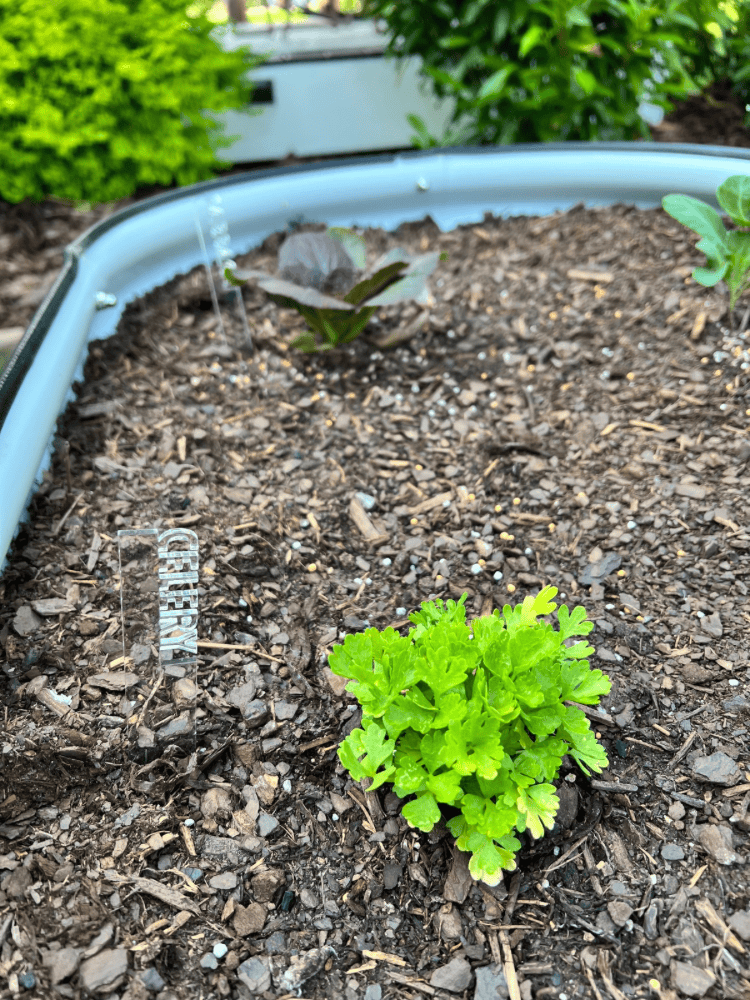
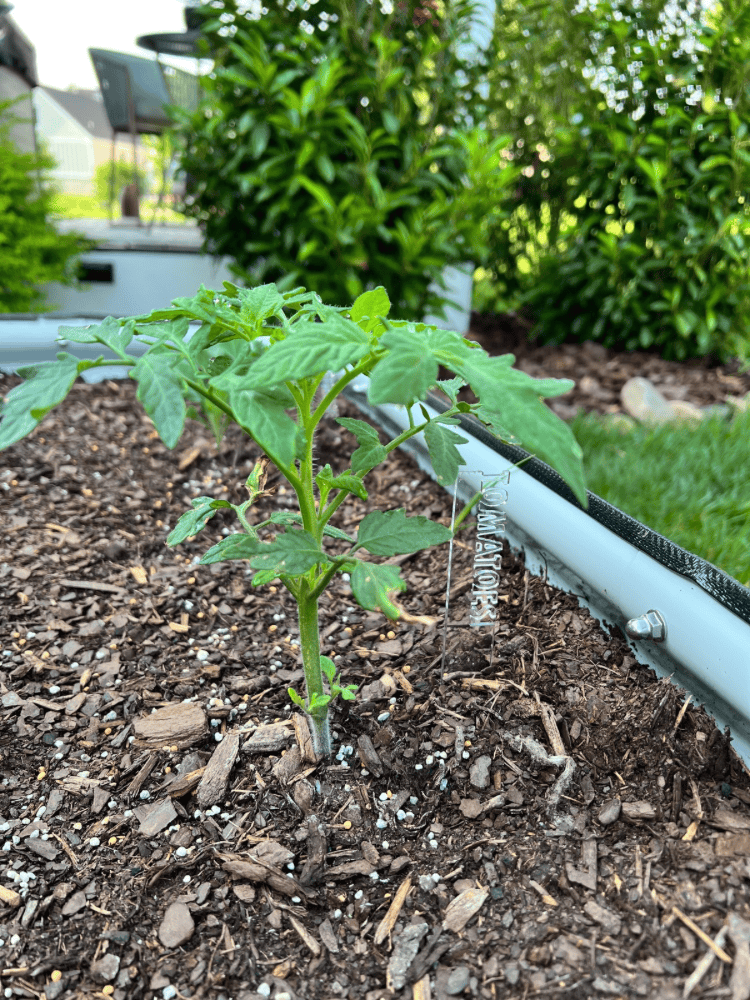
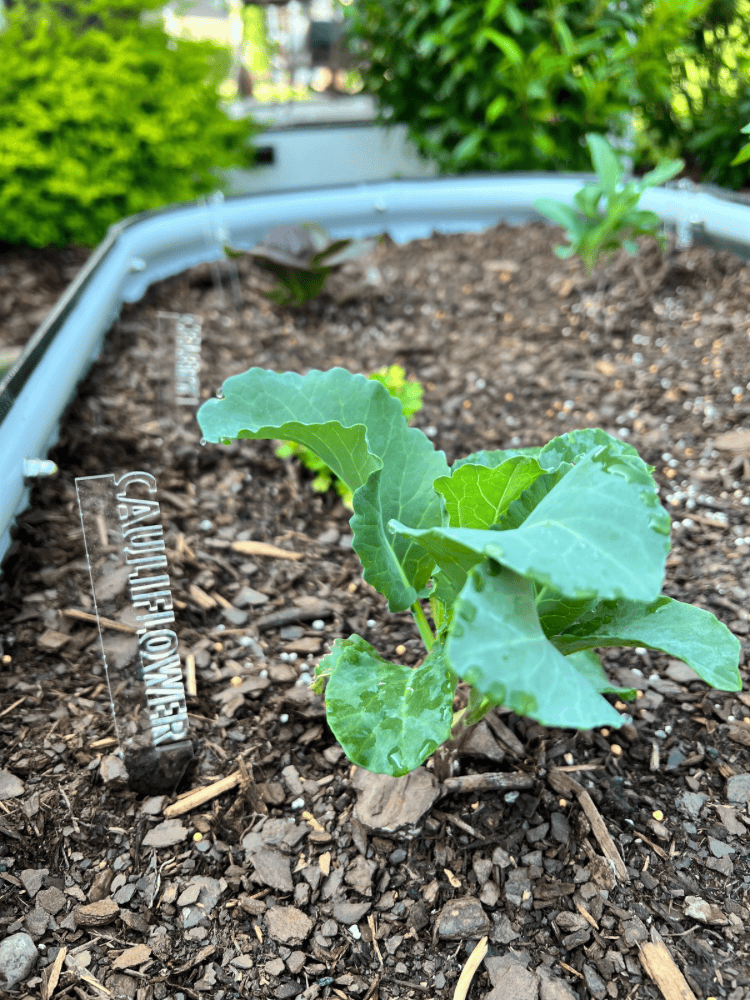

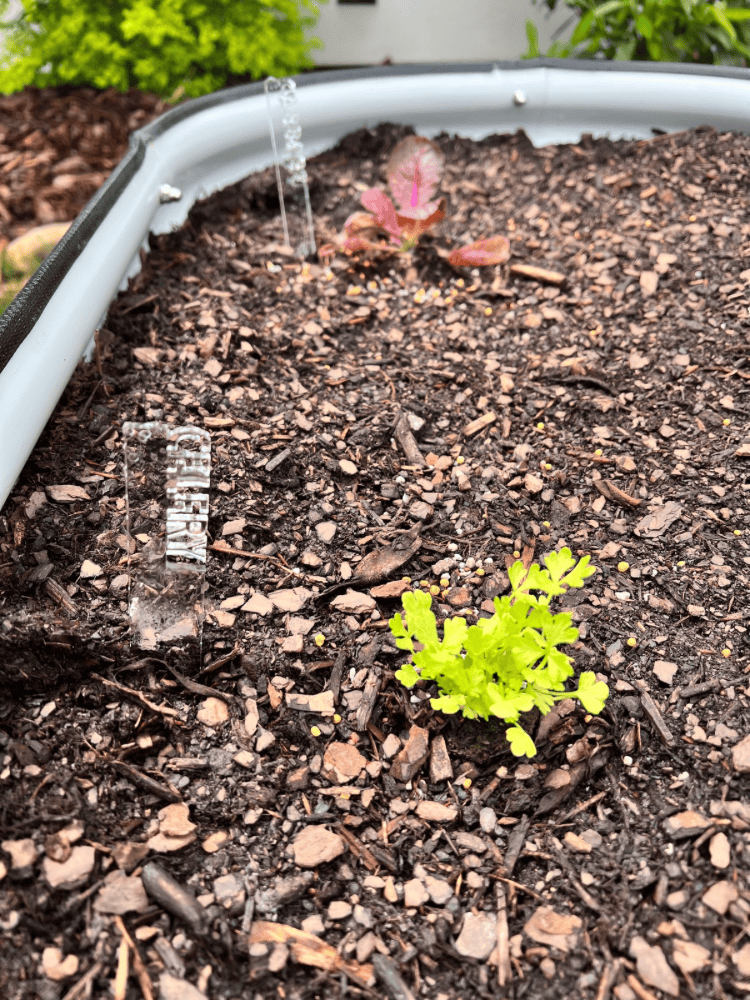
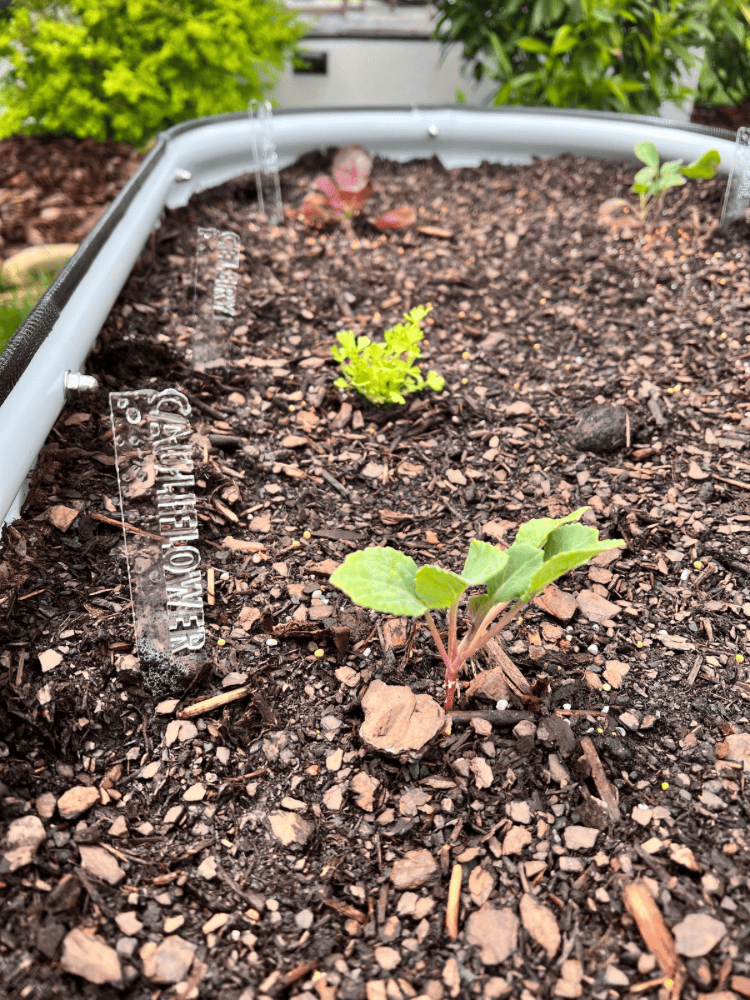
How To Tell Your Seedlings Apart
Now, I strongly recommend making your own garden markers so you can remember where you planted everything. I promise if you just start planting the seedlings without a marker or label, you will not remember where you planted them!
I love to make my own garden markers, but you can also just buy some too. I always like to use my xTool P2 laser to make my own using clear acrylic.
That way, I can customize them exactly how I want to for my garden. These clear garden markers turned out to be so cute and classic looking! I also made some similar for my herb garden as well!
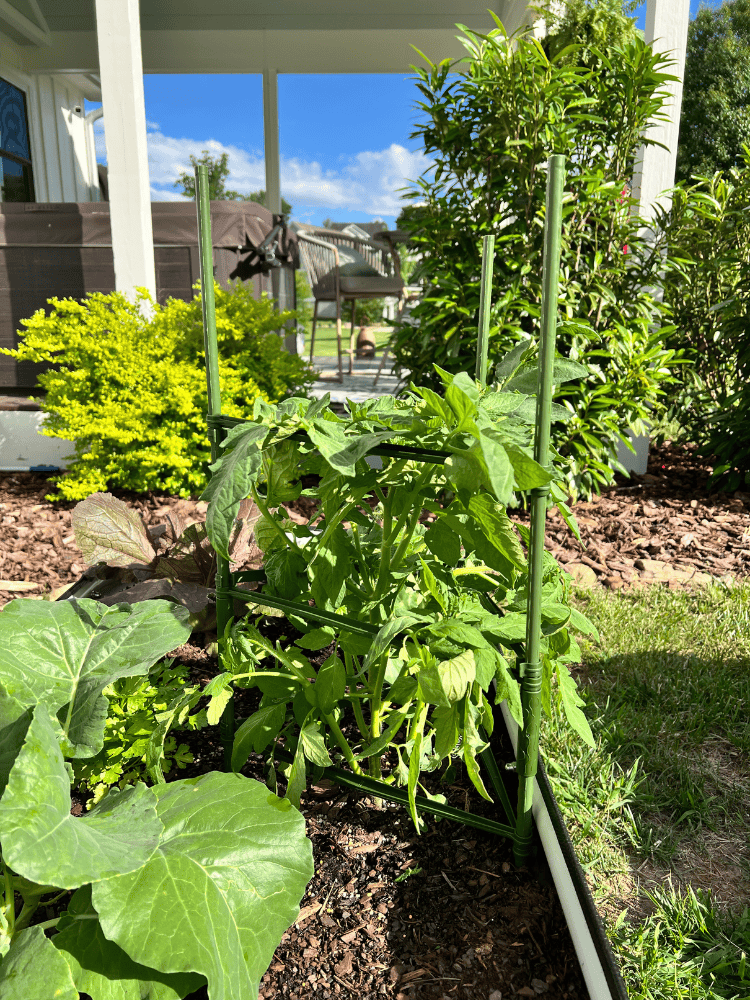
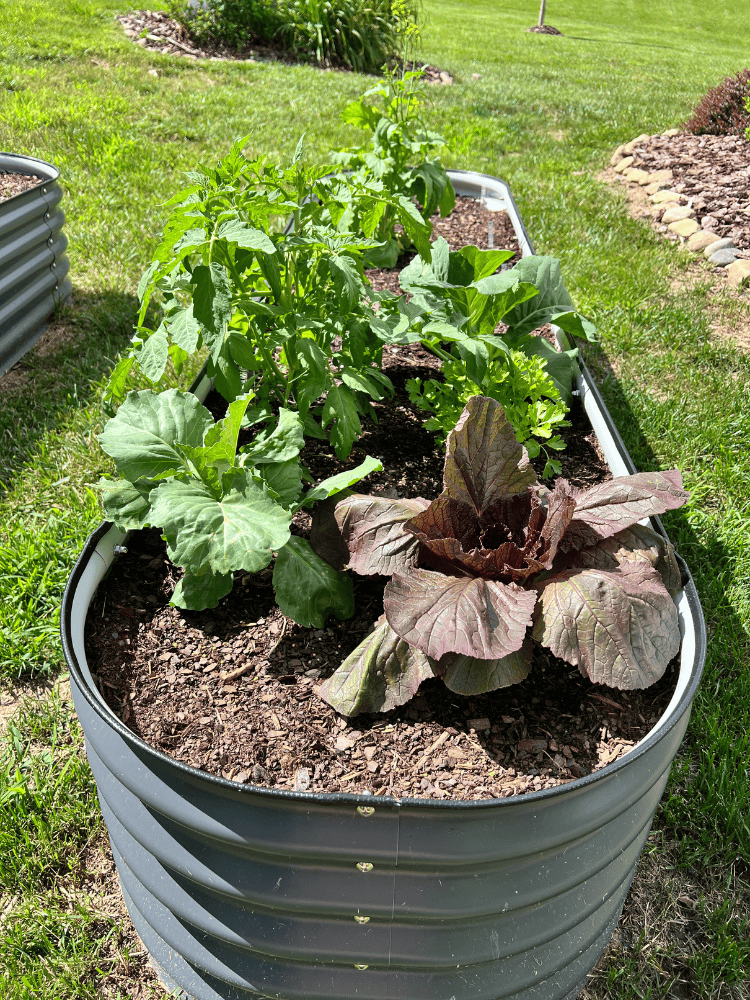
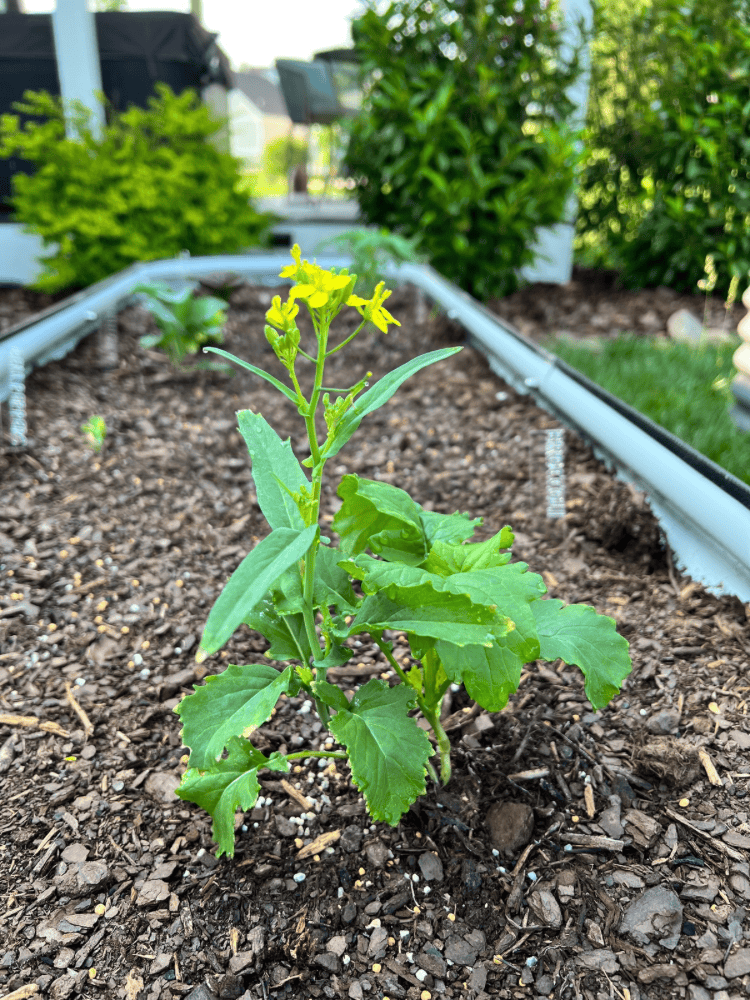
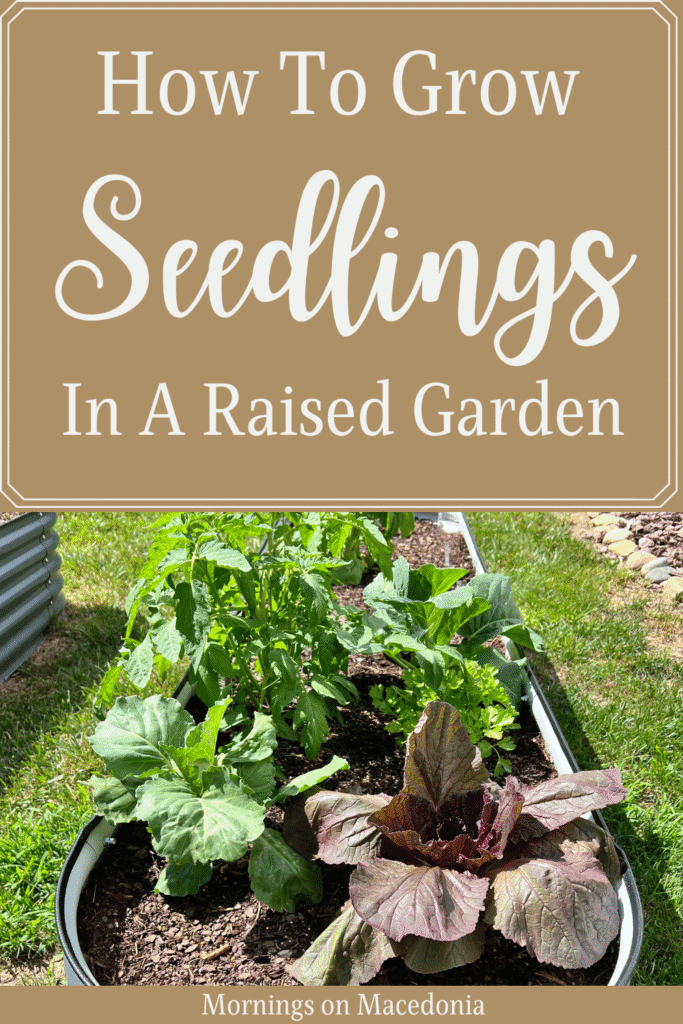
Watch Your Seedlings Grow and Thrive!
As you can see, planting seedlings is not that hard to do, and it has been so fun watching them grow and thrive into big healthy plants!
Like I said, I am a very amateur gardener so I am just learning as I go and it has been so much fun so far. But, I’m happy to see some success with it so far and I cant wait to continue to watch them grow even bigger!

Leave a Reply