
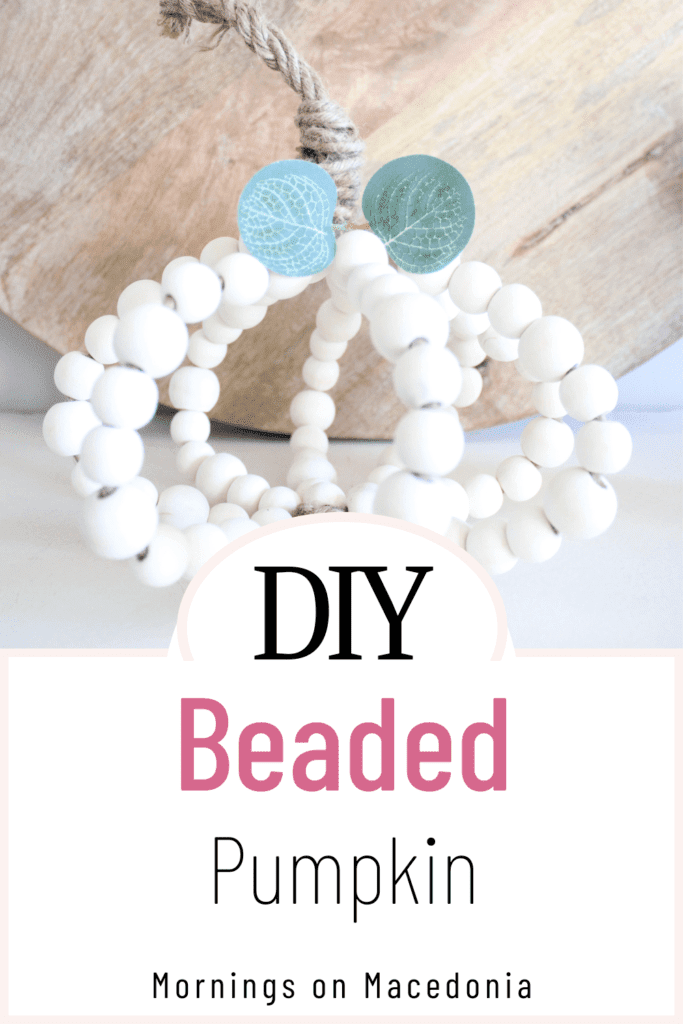
I’ve been itching to create a new fall craft and decided to try my hand at this. I’ve seen these floating around Pinterest and Instagram so I thought I would share with you all just how to make a beaded pumpkin!
It wasn’t too hard to make and it is the perfect neutral fall decor piece. With only a handful of materials needed, you could easily make this beaded pumpkin craft in just one afternoon too!

This post contains affiliate links. Click here to read my disclosure policy.
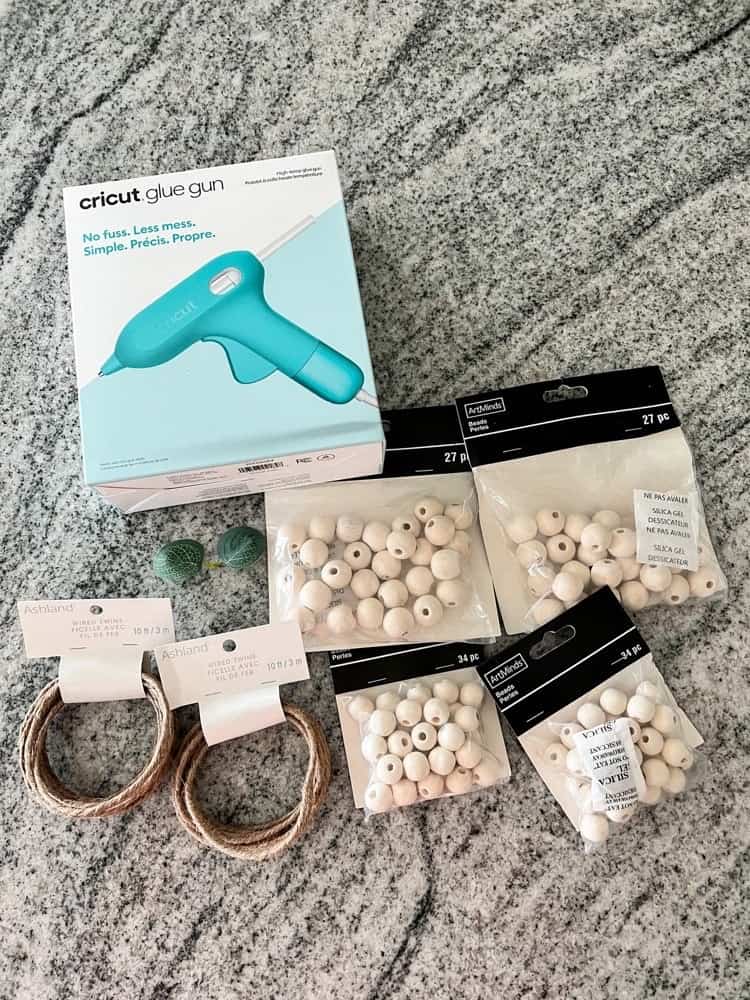
Materials Needed for Beaded Pumpkin:
- Wired Twine
- Wooden Beads (I used two different sizes)
- Hot Glue Gun
- Hot Glue Sticks
- Greenery for Pumpkin Stem
Measure the Wired Twine
The first step to this project is to measure out the wired twine. I actually ended up getting too much twine. The pack I got was 10 feet long and I got two packs. But really I just needed one.
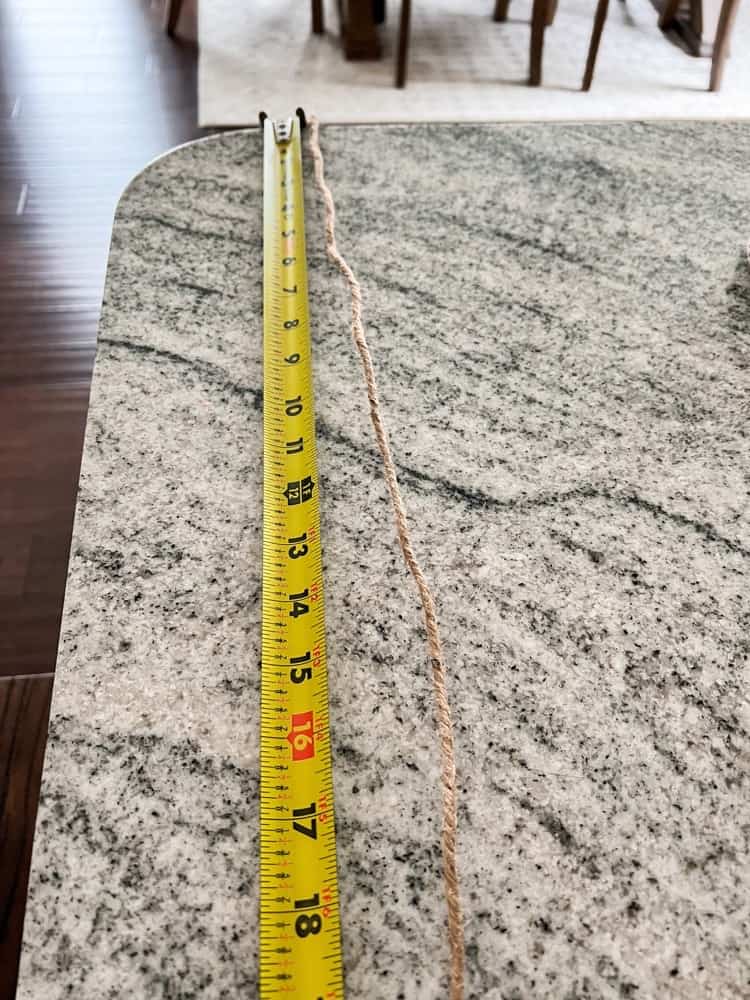
You just need to measure out 4 pieces of 2.5′ of twine, so that’s the whole pack right there. No need for any more!
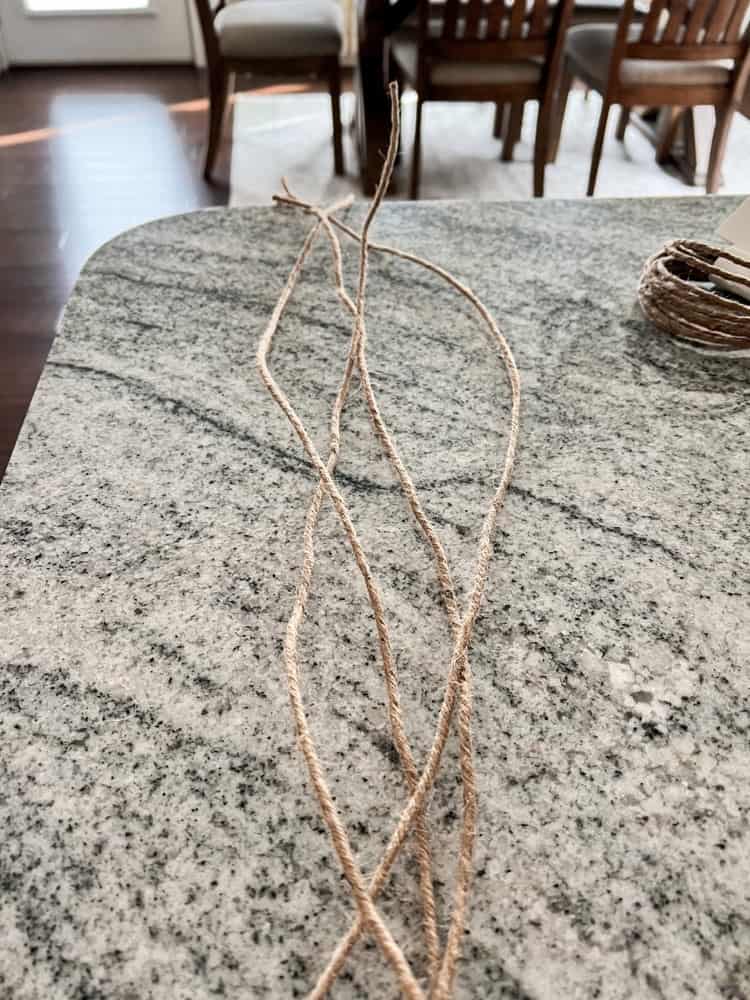
Then, you’re going to want to fold each of those twine pieces in half.
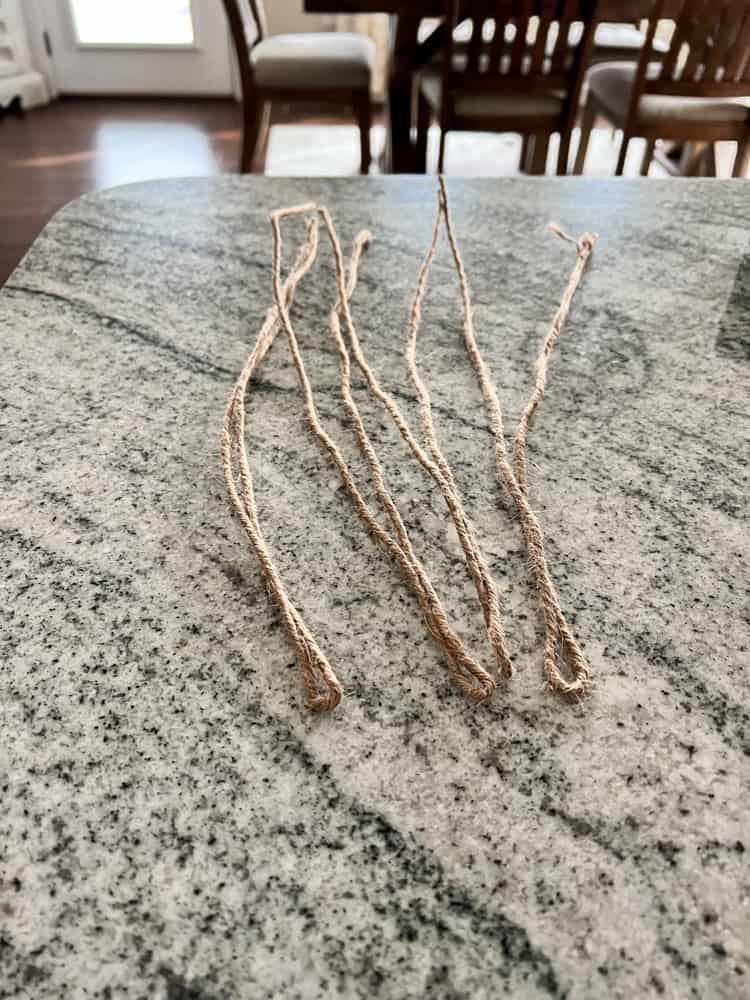
Take two of the folded twine piece and then form them together in an “X” shape.
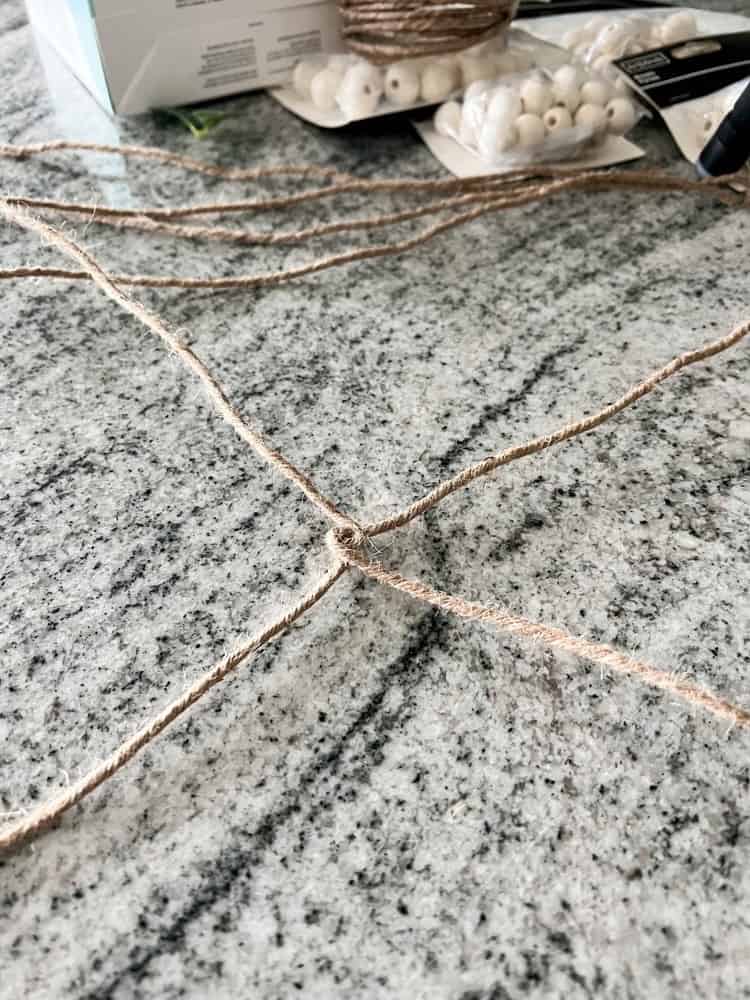
Repeat that process with the remaining two twine pieces as well.
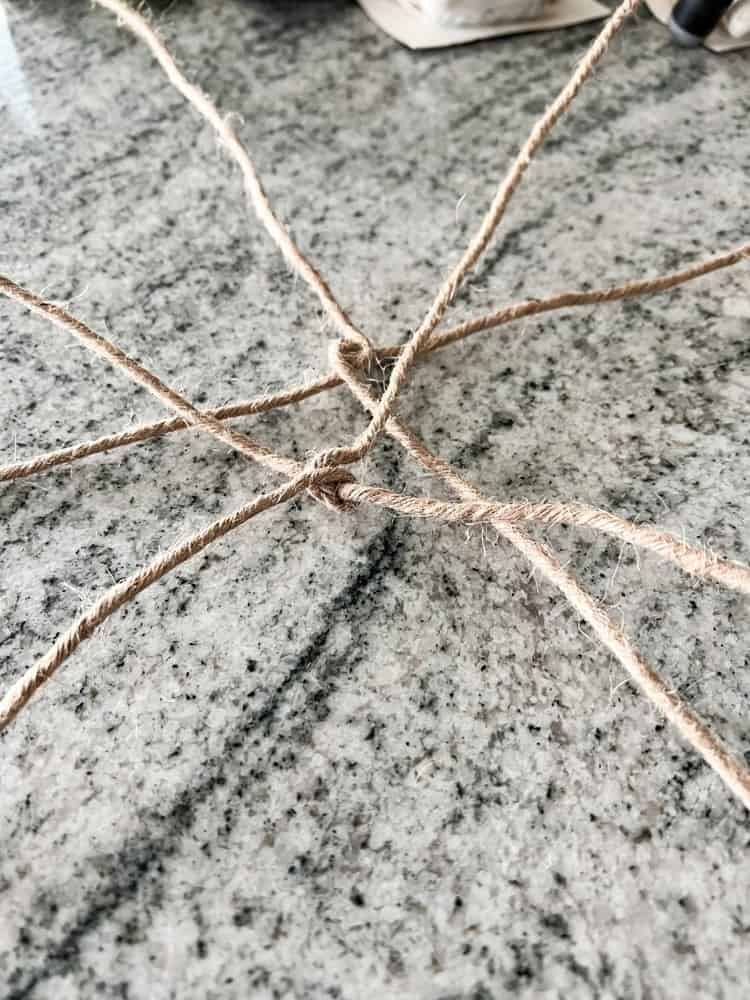
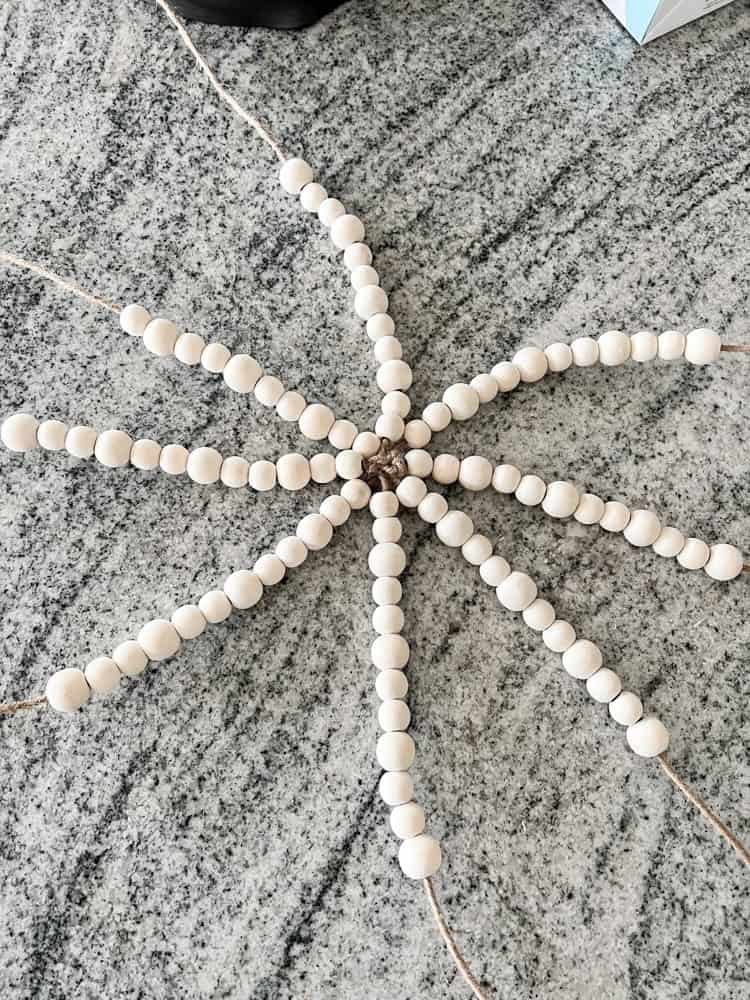
Then, combine the two “X” shaped pieces of twine together to create the base of the pumpkin. Just continue to twist them around until the base of the pumpkin forms.
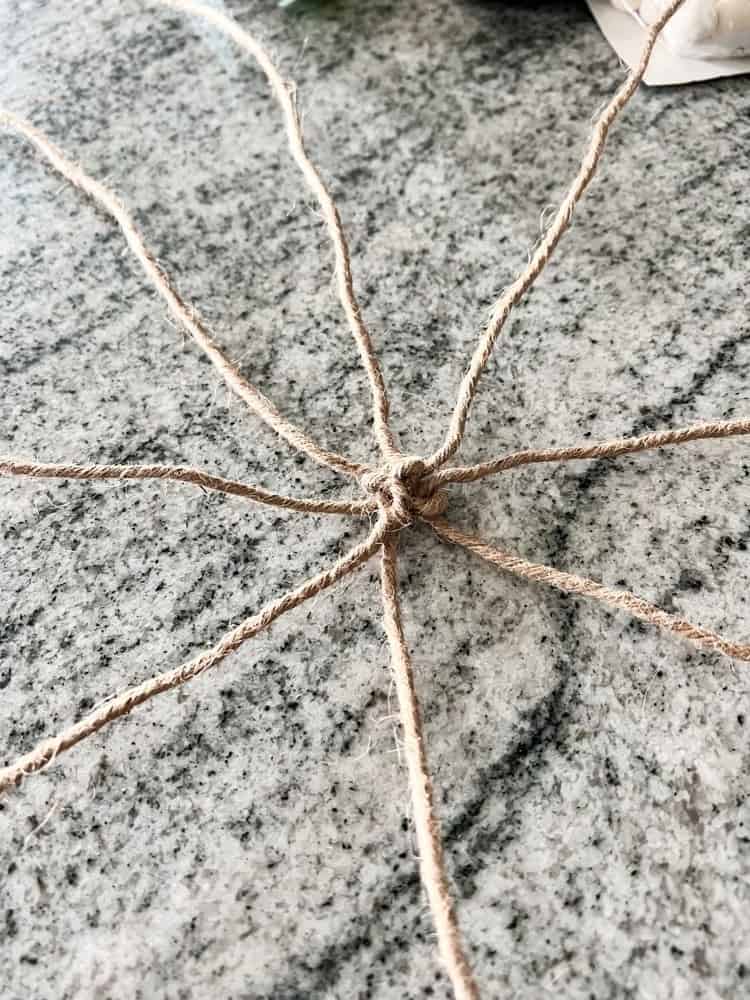
Stringing the Beads onto Pumpkin
Once you have the base created, now you can string all of the wood beads onto the pumpkin. I chose to leave them in the neutral wood color, but you could always paint them if you wanted to before stringing them on.
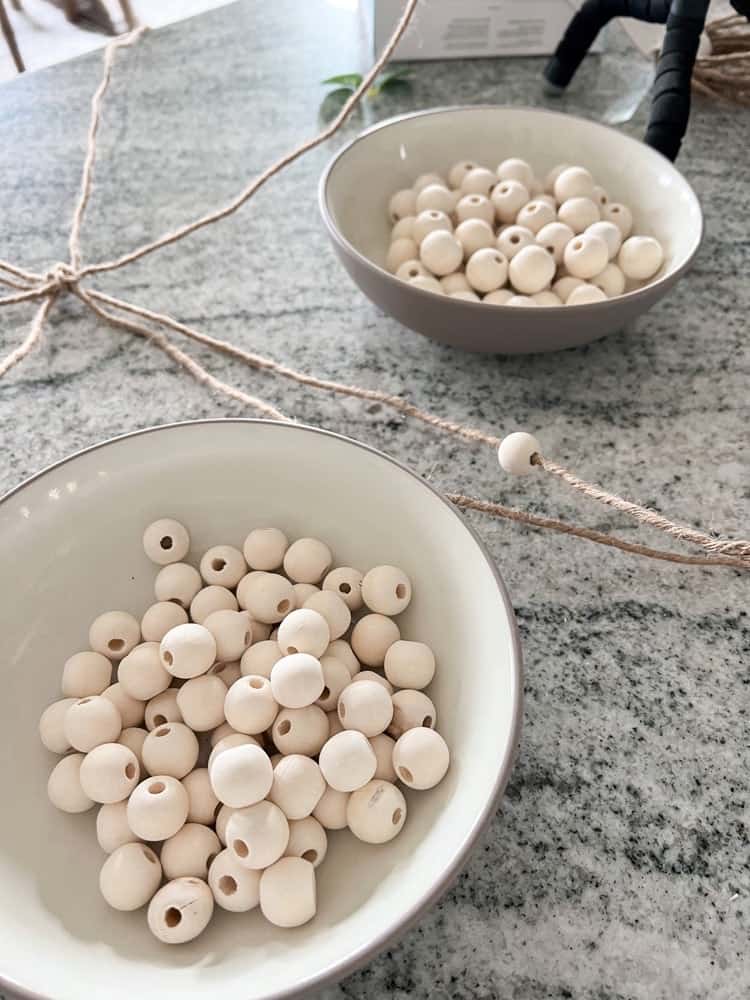
I also separated the bigger beads and the smaller beads into two different bowls to help with the stringing process as you can see above.
I noticed after stringing on the first wood bead, that the wired twine would start to become frayed on the end, which would make it impossible to string on the next one.
I almost gave the project up at this point because I thought the diameter of the beads were just too small and I would have to order bigger ones online. But, being the thrifty person that I am, I tried a little hack that actually worked!
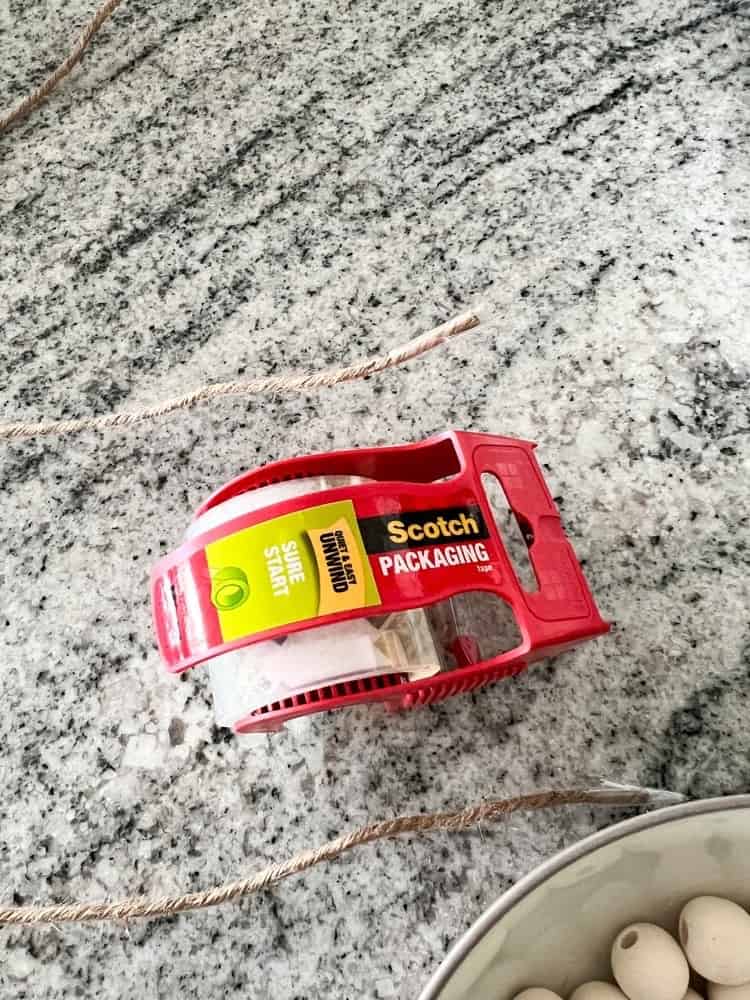
I simply used packaging tape around the edges of the wired twine to help guide the beads on without fraying the twine. And I just removed it once I had all the beads strung on there.
Finishing the Beaded Pumpkin
I made a pattern of stringing two small beads onto the pumpkin, and then one large bead. I repeated this pattern until I had a total of 12 beads on each piece of twine.
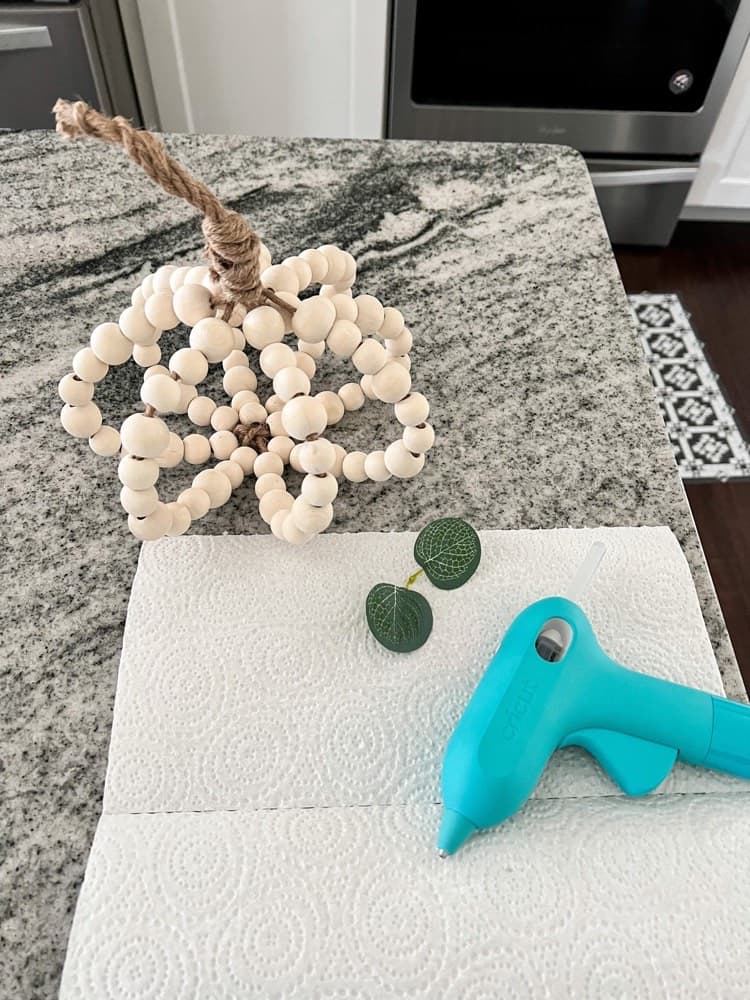
Then, I pulled all the strings of twine together and kept twisting them until I got a pumpkin stem shape.

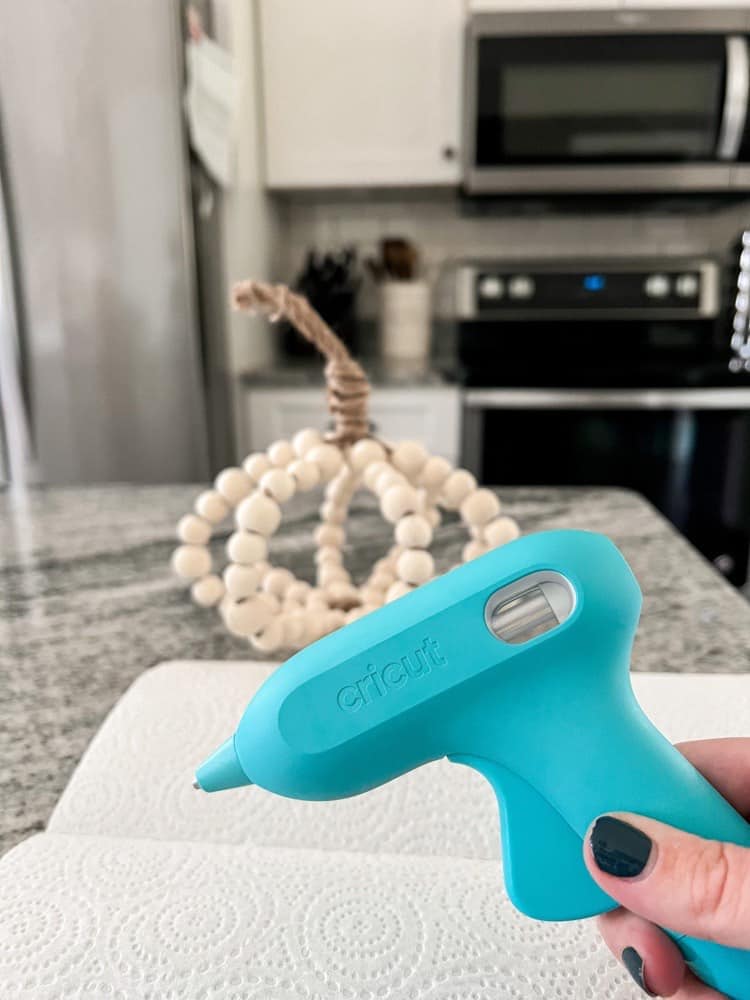
The last step was to just glue a little piece of greenery next to the stem with a glue gun. I used Cricut’s brand new glue gun and y’all know I am obsessed with any product Cricut makes!
And that was it! All you need to do to create this beautiful, beaded pumpkin! I absolutely love the neutral vibe of it and I can’t wait to decorate with it.
I even want to make more for the season, maybe a smaller one to accompany it as well.
How do you think it turned out?? I would love to hear your thoughts below and let me know if you ever make one yourself in the future too!


aw!! that is such a cute idea!! I can see this being something that’s awesome to do with kids as it would be a nice family project. Thanks for sharing! And just in time for Halloween!
Thank you! It would definitely be fun to do with kids as well!
I think this is a perfect DIY activity to do with the family. Thanks for sharing the procedure.
No problem at all!
This is a great way to incorporate Fall into indoor decor. It would also make a super cute gift for teachers.
Thank you, it definitely would! That’s a great idea!
This is a beautiful DIY idea. Lovely and perfect for the season. It looks like something I could even make. Great to share this and this would be a nice project to make with kids for decoration.
Thank you so much. It would be a lot of fun to do with kids as well!
Such an adorable DIY beaded pumpkin project for fall. I love that you used white beads to make the pumpkin match any fall decor. Thank you for sharing this great idea!
Thank you, I love the neutral look to it as well!
Thanks for this tutorial on how to make a beaded pumpkin. I had no idea there was such a thing as wired twine. I appreciate the cute idea!
Lol I didn’t either until I started to look for it specifically!
I love this! I’ve never seen anything like it before so it’s certainly eye-catching and original! Definitely something I’ll be sending through to my MIL.
Thank you, I appreciate it.
What a cool project! I’m already thinking of a way to make the time to do this with family. Here’s hoping the hot glue doesn’t become a hazard in the house haha. Thanks for sharing!
Lol I hope it doesn’t! Maybe you should just be in charge of that part though just in case!
This beaded pumpkin decoration is absolutely adorable! x
Lucy | http://www.lucymary.co.uk
Awe thank you so much Lucy. I appreciate it
Such a cute idea. I believe I will make a few for my fall decor.
Thank you! You definitely should!
I love to make things with wood beads and this is such a fun and creative DIY pumpkin! Pinning now! Thanks for sharing!
Awe thank you so much Donna. I really appreciate that!
Charity, this is such a cute idea. I could see these at each place setting for Thanksgiving using them as name tags! What creativity! Thanks for sharing.
I thought they would make a great place setting too! Like a smaller version of this one would be perfect! Thanks so much!
Such a cute decor item! I have never heard of wired twine, but I will definitely be adding it to the supply list. This would be such a fun project to make with kids!
I love how this project turned out, Charity! Such a cute idea and perfect for anyone any experience level! Thanks for sharing this idea!
Awe thank you so much Meredith. I appreciate it!
This is such a cute idea and quick too! I love your beaded pumpkin 🙂
Thank you so much! I appreciate it!