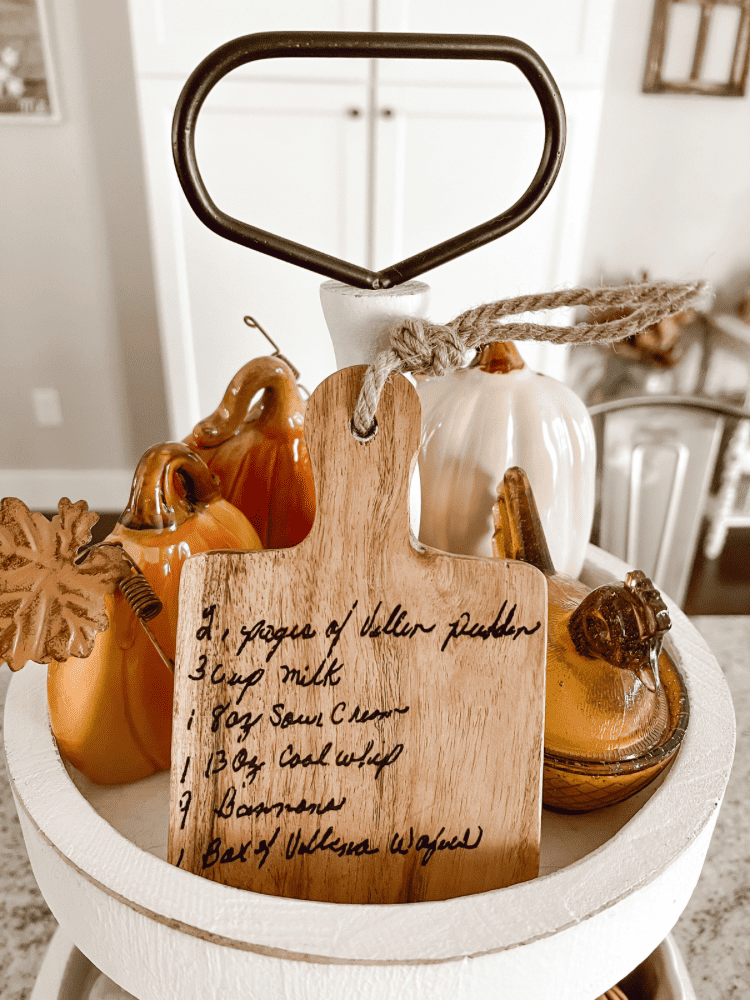
I decided to make my mom a laser engraved mini charcuterie board for her birthday this year. And I absolutely love how it turned out. It is the perfect gift for a special occasion like a birthday! And it was pretty easy to make too!
I will be showing you just how to make this personalized cutting board too in case you want to make one for your loved one as well. And I gave it a more personal touch by having my great grandmothers and my Meme’s handwriting engraved on it.
I used my Meme’s recipe for homemade carrot cake, which she is definitely known for! But, y’all may also remember I have shared her homemade red raspberry jelly on here before too!
To do this, I just used an old recipe card with their handwriting on it. I will be sharing how to do all that, as well as the engraving process too. And if you guess that I used my handy dandy Glowforge Aura machine, you are correct!
This machine can literally do everything! Now that I learned how to do laser engraving with it, I will definitely be doing more custom designs like this for sure! So definitely keep on reading to learn just how to make an engraved cutting board for yourself below too!
This post contains affiliate links, which means I make a small commission off anything you purchase through here, at no additional cost to you. Please read my full privacy policy for more details.
Materials Needed for Engraving Cutting Boards:
- Glowforge Aura Machine
- Mini Cutting Boards (I got various shapes and sizes from Hobby Lobby, but you can really get them anywhere. I will link some from Amazon that you can get easily below!)
- Masking Tape
- Gorilla Tape

Coming Up With An Engraving Design
As I mentioned above, I used handwriting for my engraving design. But, you can use really any kind of design here. You could easily do just a monogram to create custom cutting boards too. And that would make a perfect wedding, housewarming, or bridal shower gift for someone!
Just engraving a family name onto something like a cutting board or serving tray makes for a great gift! You could even upload and engrave a company logo too if you had one of those!
But, since I already had some items with their handwritten recipe on it, I wanted to incorporate that onto board designs. And my Glowforge Aura makes it so easy to do that! I just placed the recipe card with the handwriting inside my machine.
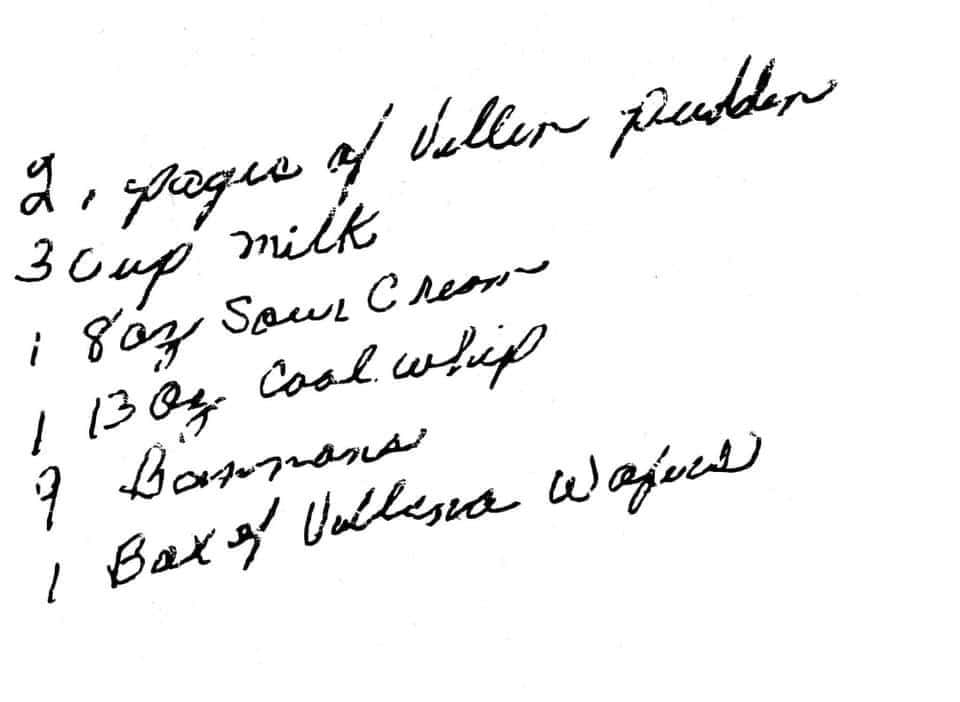
Then, I went to “New Design” and pressed “Trace Design” and my Glowforge automatically traced the handwriting for me! How easy is that?! I thought it would be a lot more complicated to create, but it wasn’t bad at all.
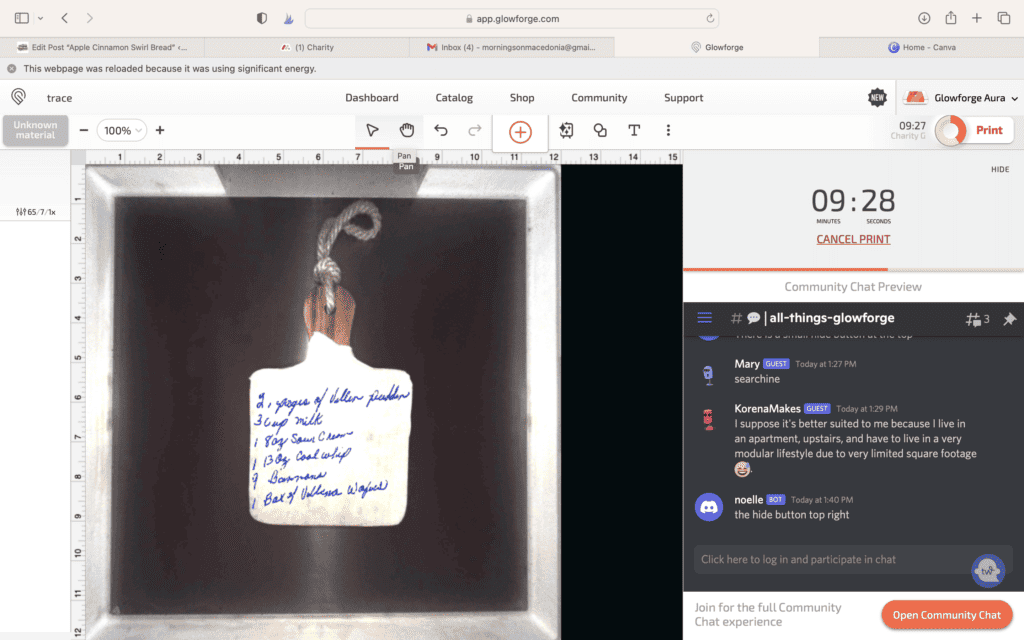
The built in scanner is just another one of the powerful tools Glowforge has to offer! If you’re new to the Glowforge Aura machine, be sure to check out my previous post on everything you need to know about the Glowforge Aura too!
Engraving The Boards
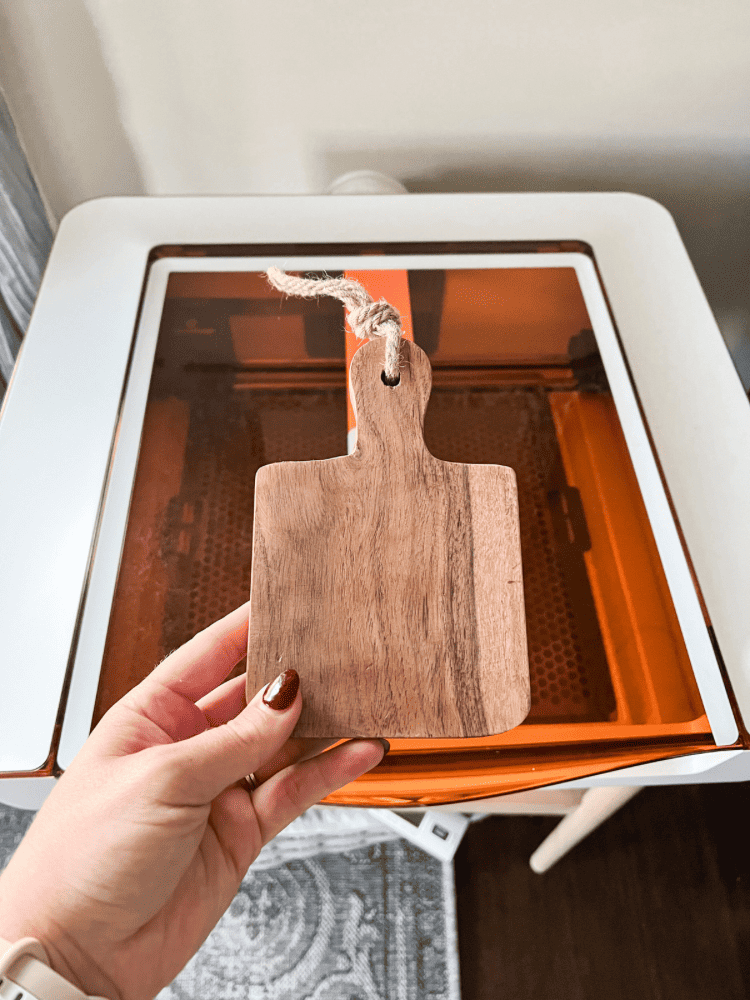
Now that I have a design, I just need to engrave my boards. And since I am not using a Proofgrade material for this, I need to come up with my own settings to do so. This definitely takes a little bit of playing around with to get the settings right.
I recommend practicing on an old board first because I have definitely messed up a time or two. To make sure you get the correct settings on your Glowforge to engrave the board, you need a digital caliper. This is used to measure the thickness of the material. I will link the one I use below:

And then you go up to the material settings box and choose “use uncertified material”. Then, put in the measurement of the thickness of your material from the digital caliper reading. I experimented with my settings and found that the “Medium Walnut Plywood” settings were the best for engraving the charcuterie boards.
The speed was at 65 and the power was at 7. But again, you will have to just experiment and figure out what works best. Since all your materials will all be different.
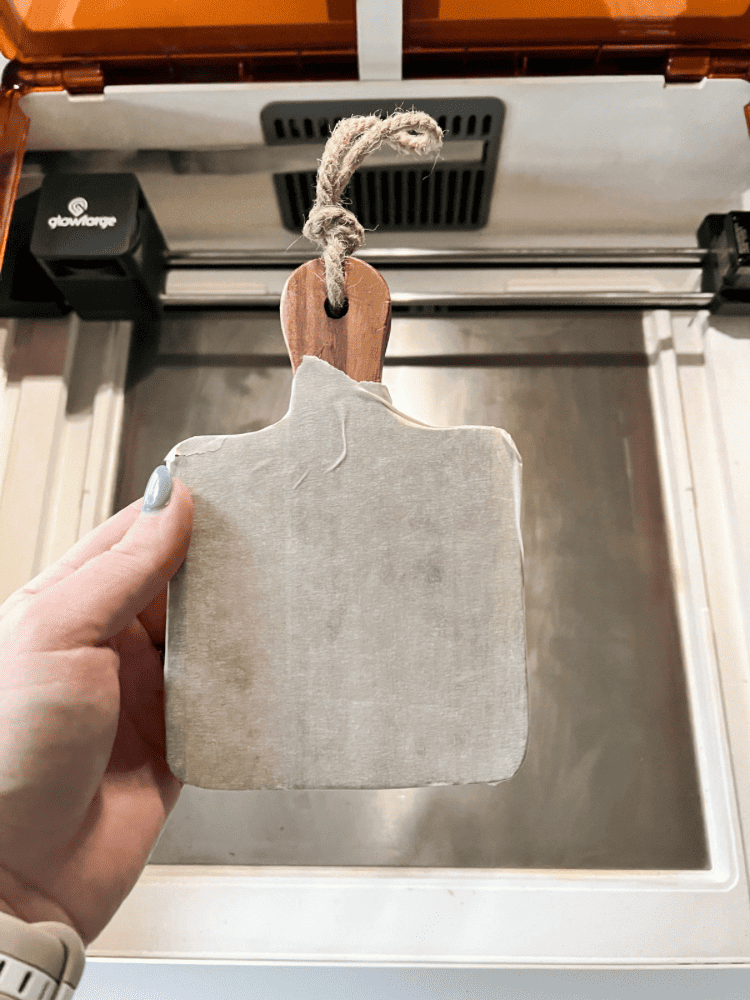
And, before you place your board inside your machine to engrave it, be sure you mask it! This is used to decrease scorching marks. I just used a big roll of masking tape for this and I will link it below:

Then, place your masked board inside the machine and let it do its magic! And again, since I have the Aura, which is a smaller machine, the turnaround time is a bit longer than other machines. If you are a laser enthusiast too and have a bigger name laser, you could probably make these in no time!
Good news- I have added these items onto my Etsy App. So if you want one too, but don’t have a laser, this is perfect for you! And they would make the best Christmas gifts! Just be sure to order in enough time since these would be made-to-order items.
I love how these can have so many different personalization options and beautiful wood boards to choose from. So be sure to check out my Etsy Store for these beauties and more!
Finishing Up The Laser Engraved Mini Charcuterie Boards
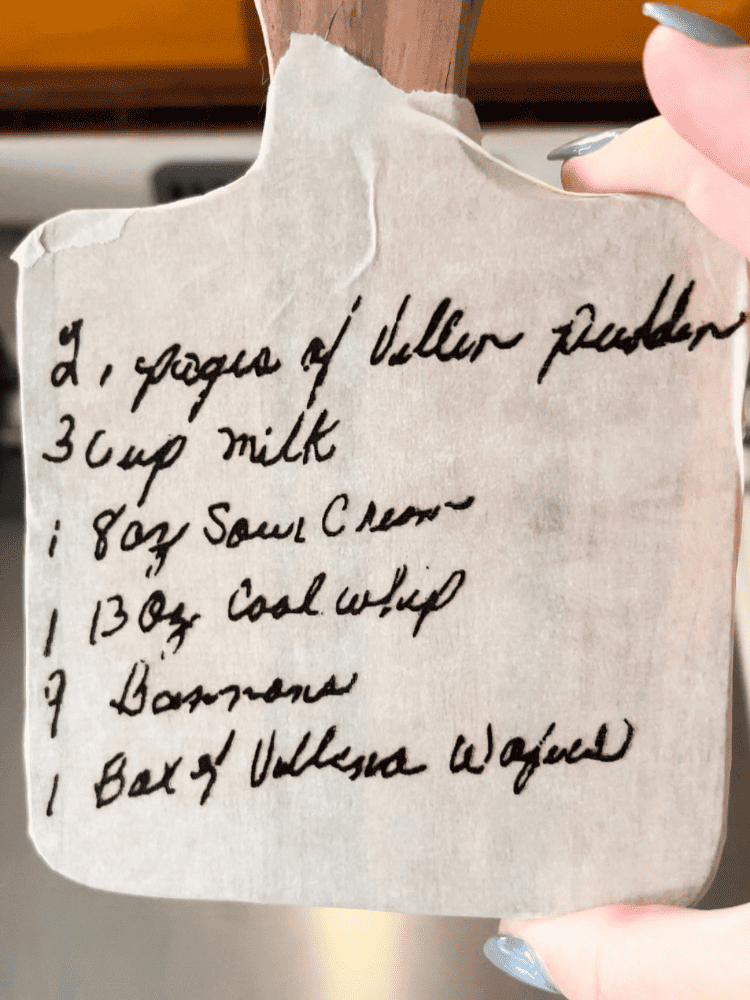
Once my laser was done with the engraving process, I took it out and began removing the masking tape from it. You can do this easily by hand or using Gorilla Tape as well. The Gorilla Tape is really helpful to get the smaller pieces of tape that are stuck between the handwritten letters.

And that’s it! If you were engraving a larger charcuterie or cheese board, you could definitely add some food grade oil or mineral oil on top to give it a safe finish. But, I didn’t do that since these were mini charcuterie boards and are mainly just being used for display and decor purposes. No matter what you do with them, these handmade pieces will definitely steal the show and be such a perfect gift idea!
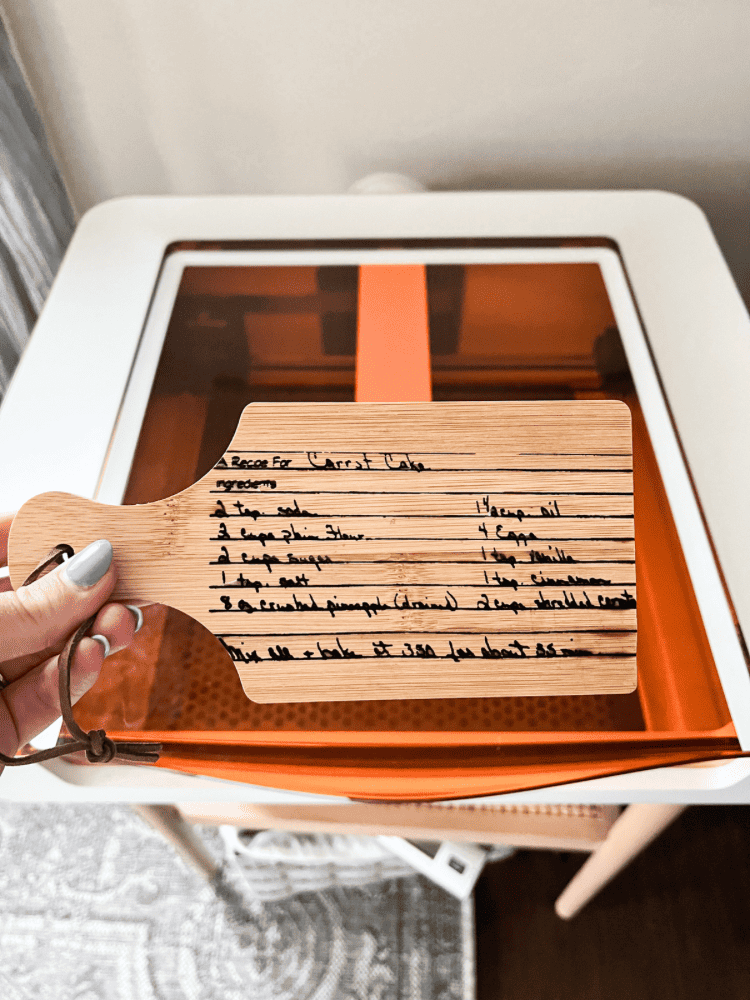
There are so many ways you can personalize them too. Like by adding wedding dates on them to make them anniversary gifts or wedding gifts. Or make one for your best friend or any loved one in your life. These would also make for some perfect Mother’s Day presents!
These vintage treasures can be passed down from generation to generation with each special message that is engraved on them! And the good news is they are not too hard to make at all with your Glowforge Aura machine! You just need minimal craft supplies and materials to get started making these beautiful serving boards!
I hope you enjoyed this Laser Engraved Mini Charcuterie Board Gift Idea, and I hope you are able to make one for your loved one soon! Or, be sure to order some of my Etsy shop too! That way, I could make some for you guys and they would make for some killer Christmas gifts! Especially since that will be here before you know it too!

This is such an amazing and creative idea! It would make the perfect gift for anyone who loves cooking! x
Lucy | http://www.lucymary.co.uk
Thank you Lucy. I appreciate it!
What a gorgeous idea for the engraving! These would make such sentimental gifts x
Thank you! I think it makes for perfect and sentimental gifts too!
I have had my eye on getting a Glowforge for some time now. I have a Cricuit and a high-powered vinyl cutter, and I have issues using both of those already. Hence I’m leery to investing the Glowforge. But it looks so useful!!
It really is honestly. I have been loving having one! I definitely think it is worth it!
These are such lovely gift ideas. Personalizing them for family and friends is a lovely touch to them.
Yes, I love being able to personalize them too!
Aw love this, such a cute gift that you can make even more meaningful. I think this will be perfect for one of my friends! Thanks for sharing! x
No problem at all! Glad you liked it too!