I recently came across this old, antique plant stand when we were out antique shopping during our last Pigeon Forge trip. I thought it was beautiful, but it could really use a little TLC. So I thought I would share this easy DIY Plant Stand Refresh I did with Black Dog Salvage Paint.
This was my first time using this paint, and I am excited to tell you all about it! It really made a huge difference once I painted it! And I also love the compact size to this plant stand too. So if you have a small space or a compact space, it can easily fit there or anywhere else in your home!
If you’re looking to refresh an old plant stand (or really any piece of old, antique furniture), or need any DIY plant stand ideas, then be sure to keep on reading for my full step-by-step tutorial! It’s such a fun way to bring an old piece new life again! Y’all know I am all about repurposing and up cycling old pieces just like this. So this is another one I can add to my finished collection too!
This post contains affiliate links. Click here to read my disclosure policy.
Material List For DIY Plant Stand Refresh
Old, antique plant stand
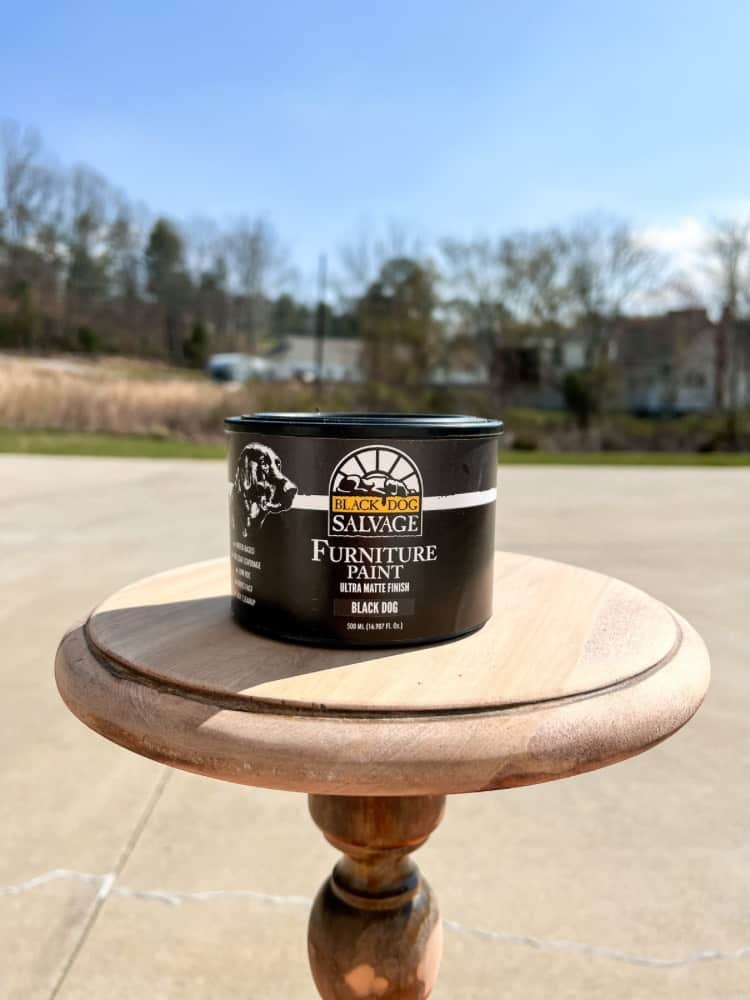
Paint (As I mentioned above, I used Black Dog Salvage Paint in Black Dog)
Topcoat (I used Guard Dog Matte)
Paintbrushes
Danish Oil (I used Dark Walnut, or you could use your favorite wood stain here too)
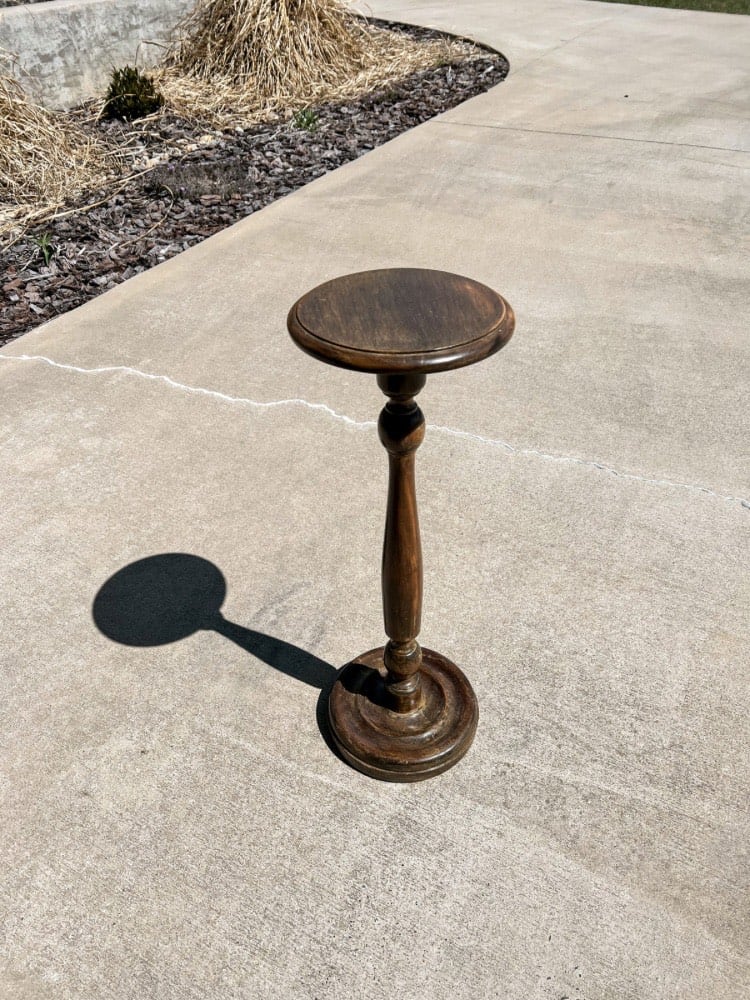
Sand Down The Old Plant Stand
The first step in this process is to sand down the wood plant stand. I used our electric sander for this part. Having an electric sander is definitely one of the more necessary tools when it comes to DIYing. I strongly dislike anything I have to hand sand!
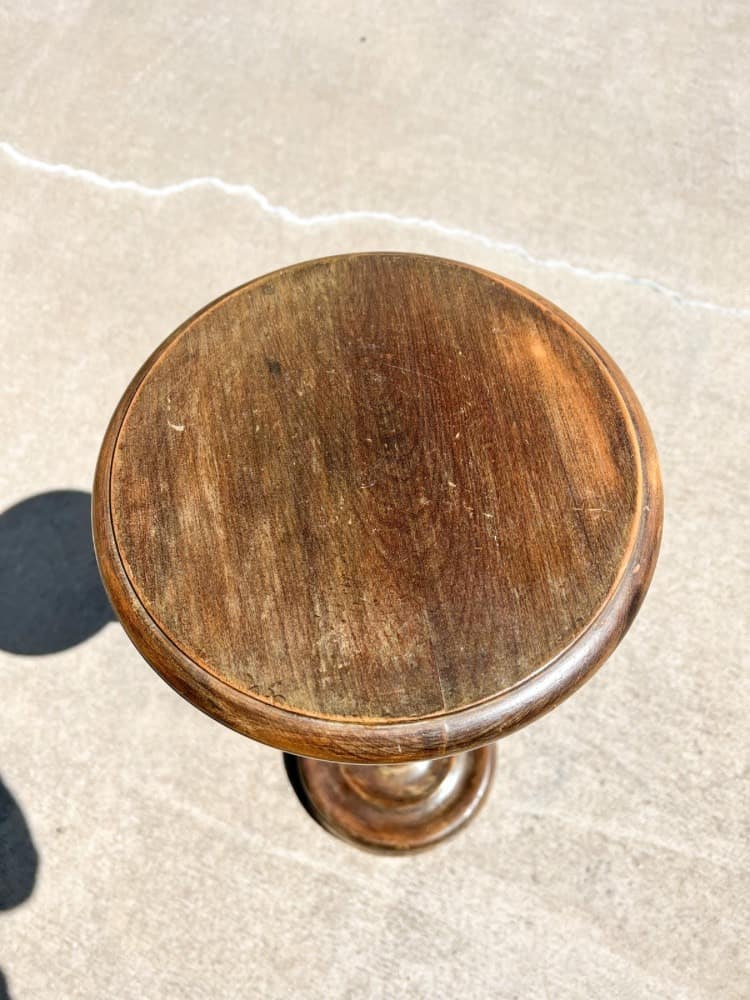
I honestly hate sanding in general, but I do love painting. So I try to buckle down and get through the sanding part to get to the fun part!
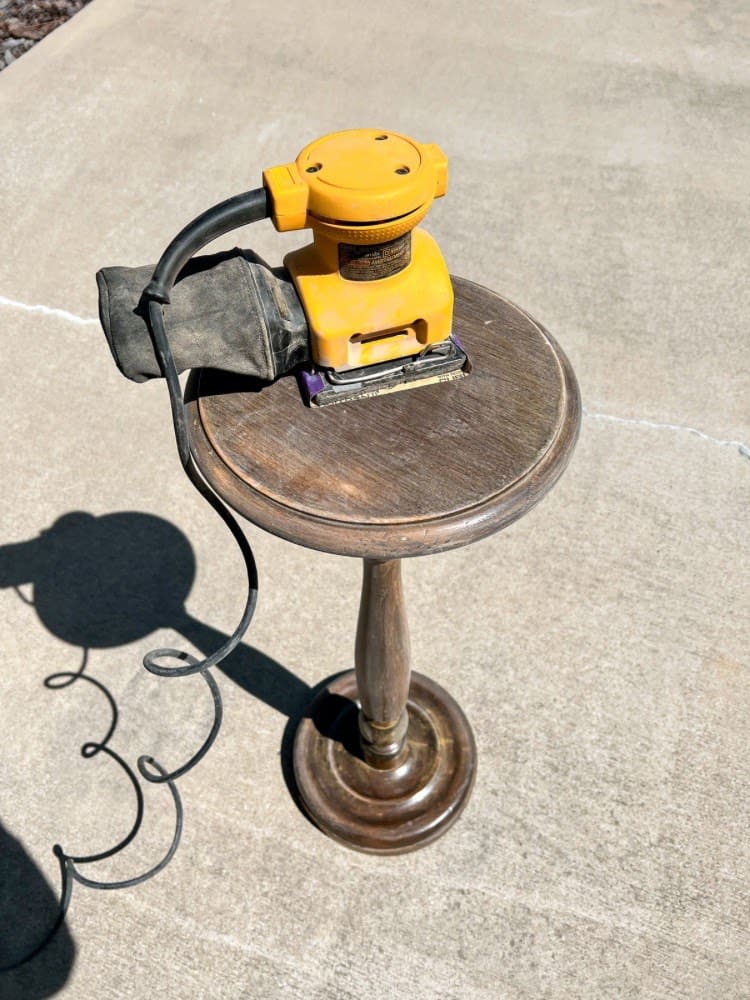
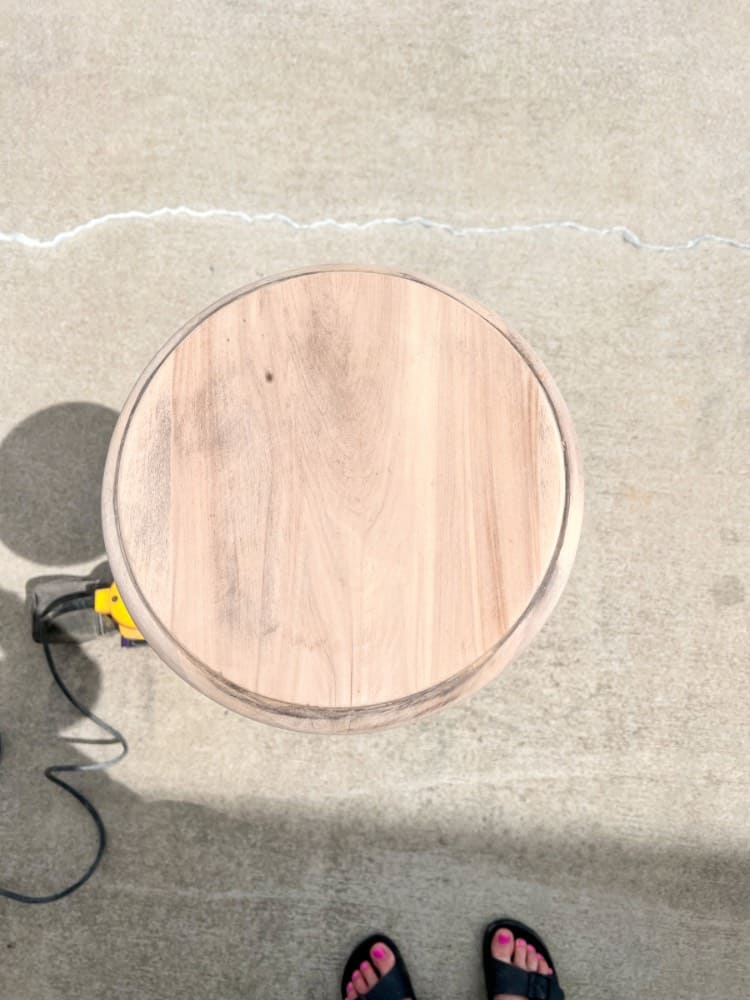
I wanted to sand down the surface of the wood on top until it was completely unfinished. I thought a two-toned look would be great for this plant stand. If you remember, I did a similar look when I created our DIY Corner Table for the living room too.
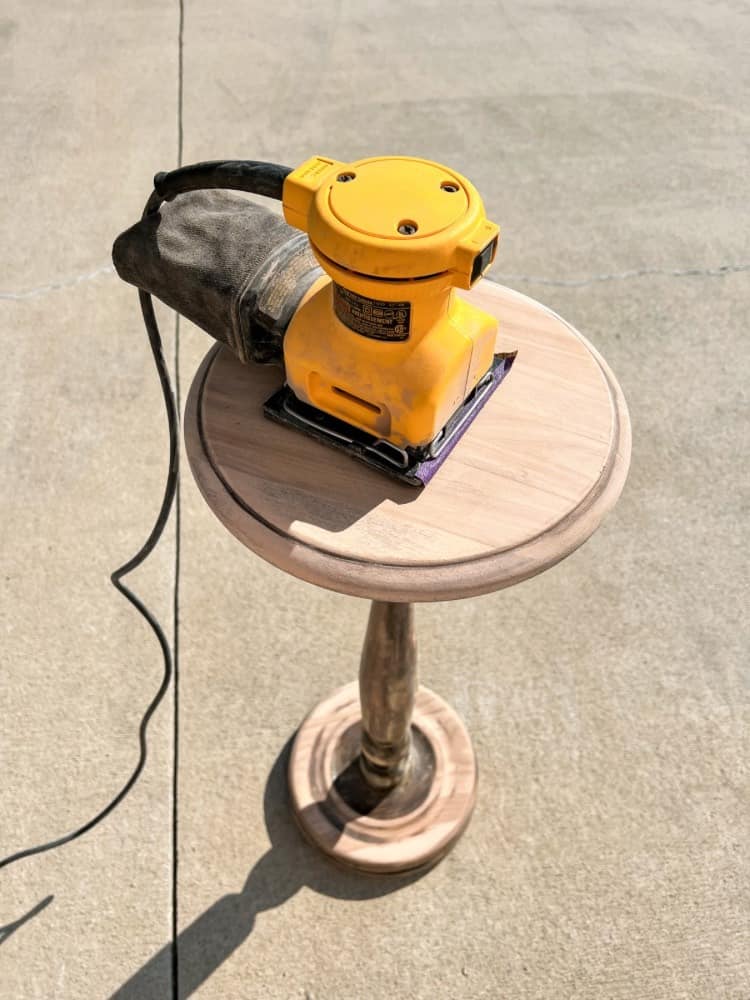
I focused a lot of time and energy on the top of the plant stand to get it sanded down perfectly. Then, for the middle and the base of the plant stand, I just lightly sanded it down.
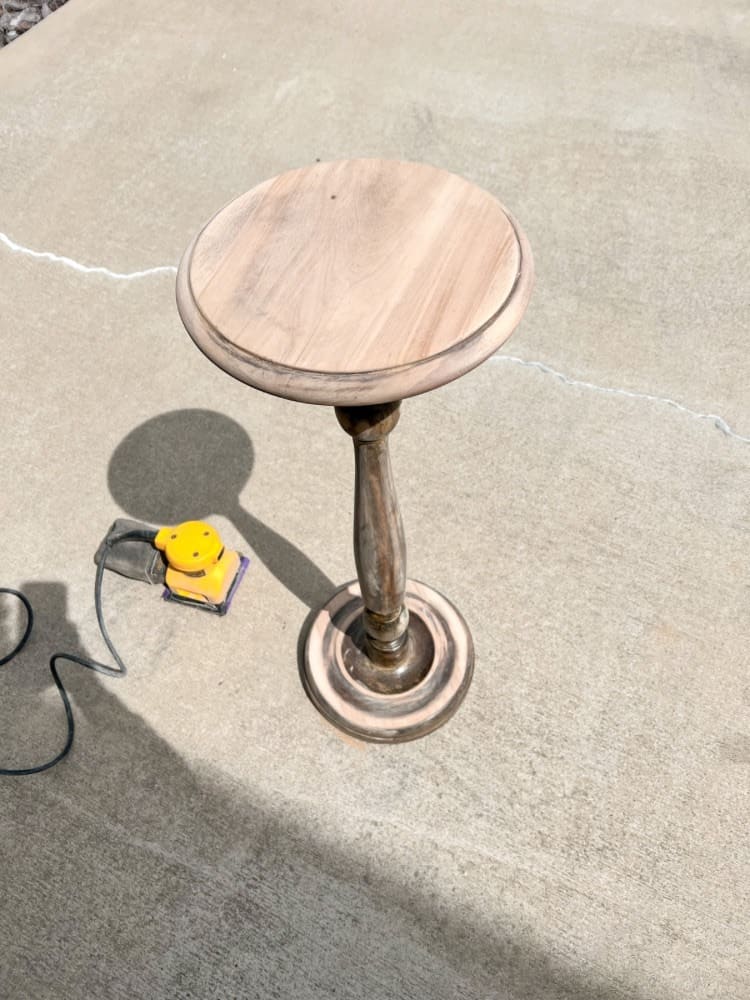
Really, you just need enough to get the top coat off, that way you can easily paint it. And the paint adheres better to the surface if it doesn’t have a top coat on it. So sanding is definitely a necessary evil when it comes to re-doing furniture pieces like this!
Clean Off The Plant Stand
After sanding, you are definitely left with a little bit of a mess. So be sure to clean off the plant stand after. You don’t want a bunch of wood dust mixed into your paint!
That would not make for a cute look! To clean the plant stand, I just used a wet rag and thoroughly wiped every surface of the plant stand down. I then let it dry completely before painting.
I also noticed my plant stand was a little wobbly, remember it is an antique piece! So I thought I may need a little wood glue on the bottom where there was a crack upon first inspection. But, honestly, after painting it and everything, it seemed fine. I think it was just more wobbly when I was sanding it down because I was applying so much pressure to it.
And in reality, it will not have that much pressure on it when some simple house plants are sitting on top of it!
Painting The Plant Stand
Now here is the fun part of this simple tutorial! Painting the piece! As I stated above, I used Black Dog Salvage Pain in the color Black Dog for this piece. I thought the two toned contrast would look best with a dark, striking color on the bottom of the piece.
Painting the piece honestly took just a little time compared to sanding the piece! And I also stated above that this was my very first time using the brand Black Dog Salvage, and I have to say I am very impressed with it!
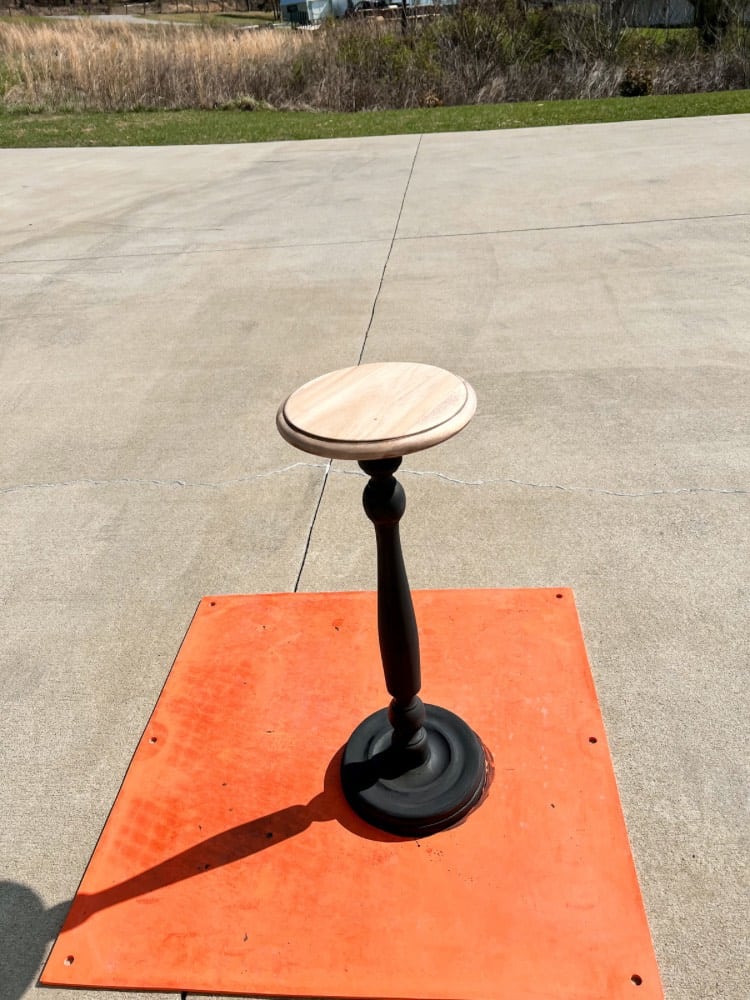
It is important to note that their paint is water-based acrylic/latex paint so that means it cleans up easily with soap and water. Which is perfect for a simple wooden plant stand like this! No worries if you spill anything on the painted piece, it will wipe right up!
The paint also requires that you gently stir it, not shake it. Which was a learning curve for me because I am used to shaking my paint! I felt like I didn’t stir it enough when I was painting my first coat on. So for the second coat, I really focused on stirring it well before painting!
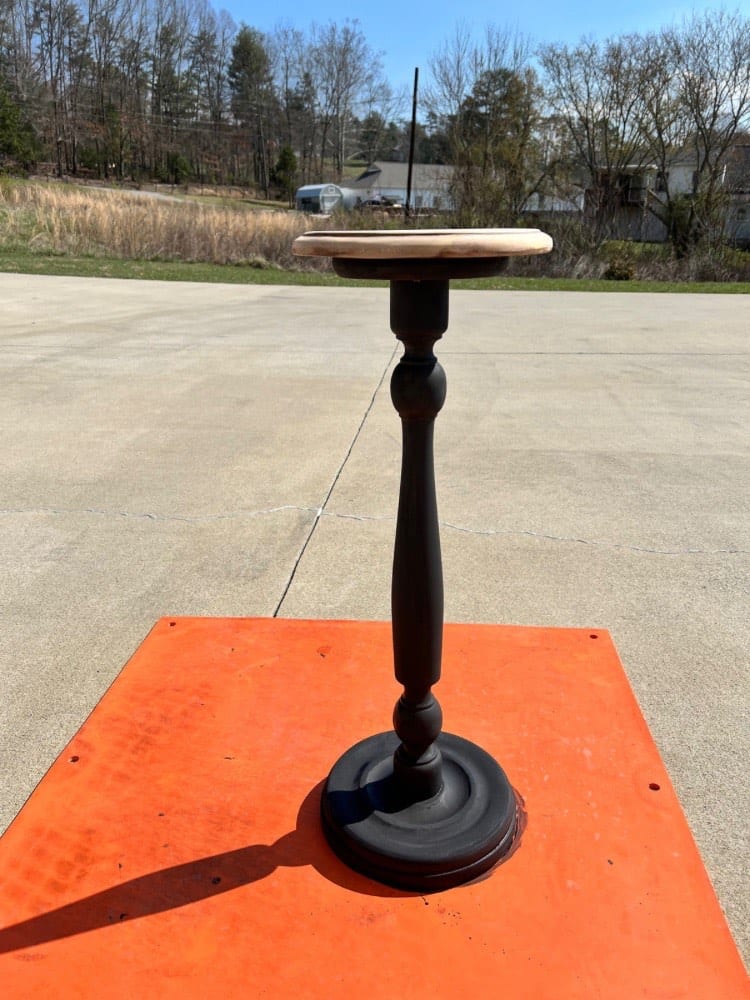
The paint coverage the piece wonderfully and only took two coats total. It might have only taken me one coat to begin with if I actually stirred it well enough the first time. Also, I was painting outside in direct sunlight with sunglasses on, so after viewing it in the shade, I realized I missed a few places!
After I finished painting the piece, I let it dry/cure for 24 complete hours. That is the minimum amount of time recommended before adding in the top coat.
Adding The Top Coat To The DIY Plant Stand
When using Black Dog Salvage paint, it is important to note that their paint must be top coated to protect the painted surface. So I used their Guard Dog Matte for this project. This is a water-based polyurethane and is their toughest topcoat they offer.
Which means the top coat would be perfect for a side table or coffee table too! Basically any piece that gets a lot of traffic like that. The only thing to keep in mind, though, is that this top coat may amber over time with lighter colors.
They do offer another top coat option called Show Dog that does not do this. However, since I was putting it over an already painted black piece, I was not worried about the amber coloring. Just know there are other options if you do have a lighter colored piece!
Also, if you wanted to wax the piece after applying the top coat, you definitely could do that too. I decided I liked the way my simple plant stand looked without the wax, so I skipped that part. But, it is totally fine to apply wax over the top coat as well in case you were curious.
And, if you want to try out Black Dog Salvage paint for your next DIY project too, they were nice enough to give me a coupon code too! Just use MORNINGS20 for 20% off your order! How amazing is that?! I highly recommend you try them out too!
Staining The Wood
Now, for the final part of this DIY plant stand project, staining the wood on top! I used Danish Oil in Dark Walnut for the pieces of wood on top of the plant stand.
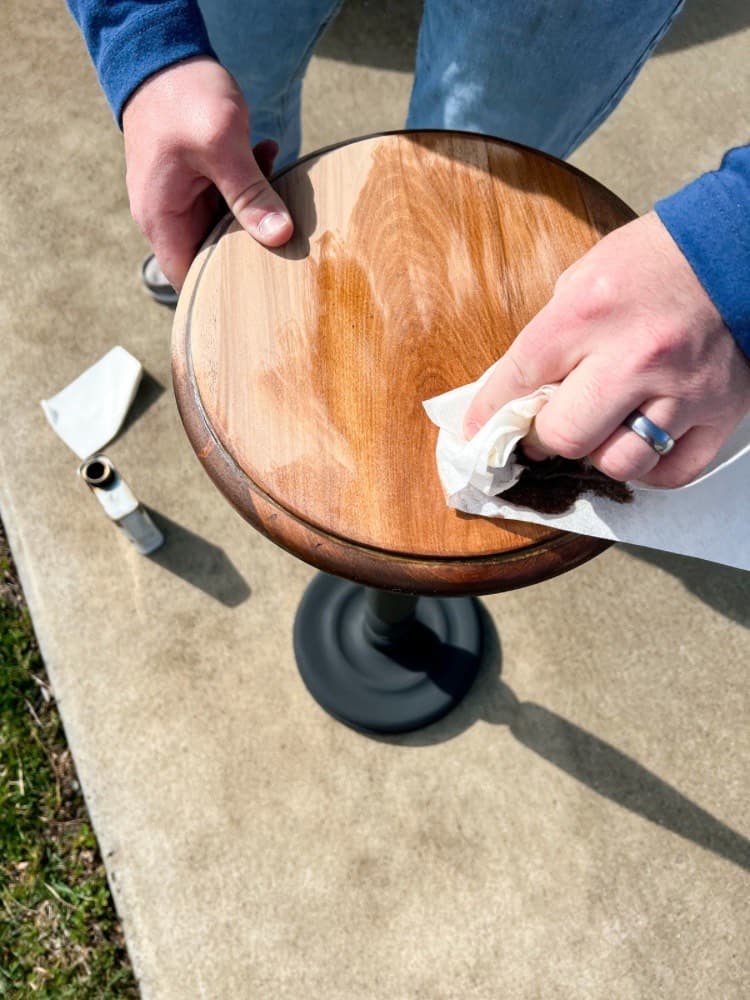
And, the end result was incredible! I love the way it came out! To apply the Danish Oil, simply apply a small amount onto a rag and then use circular motions to apply it onto the piece of wood as well!
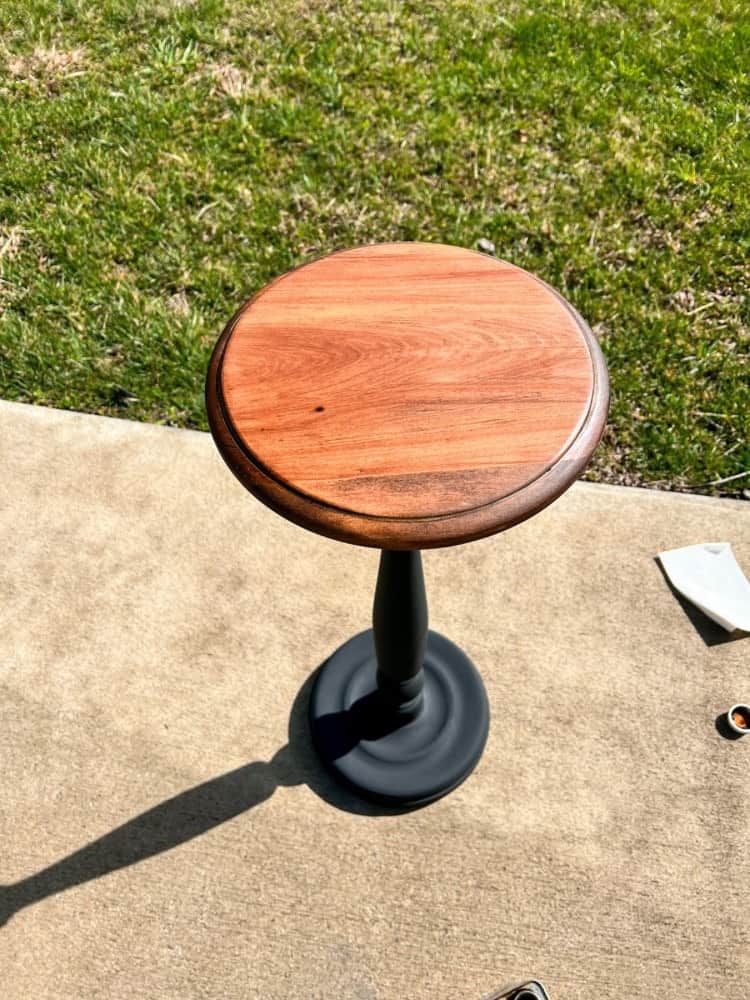
I let it dry overnight before bringing it up and placing a plant on top of it!

Styling Your DIY Plant Stand
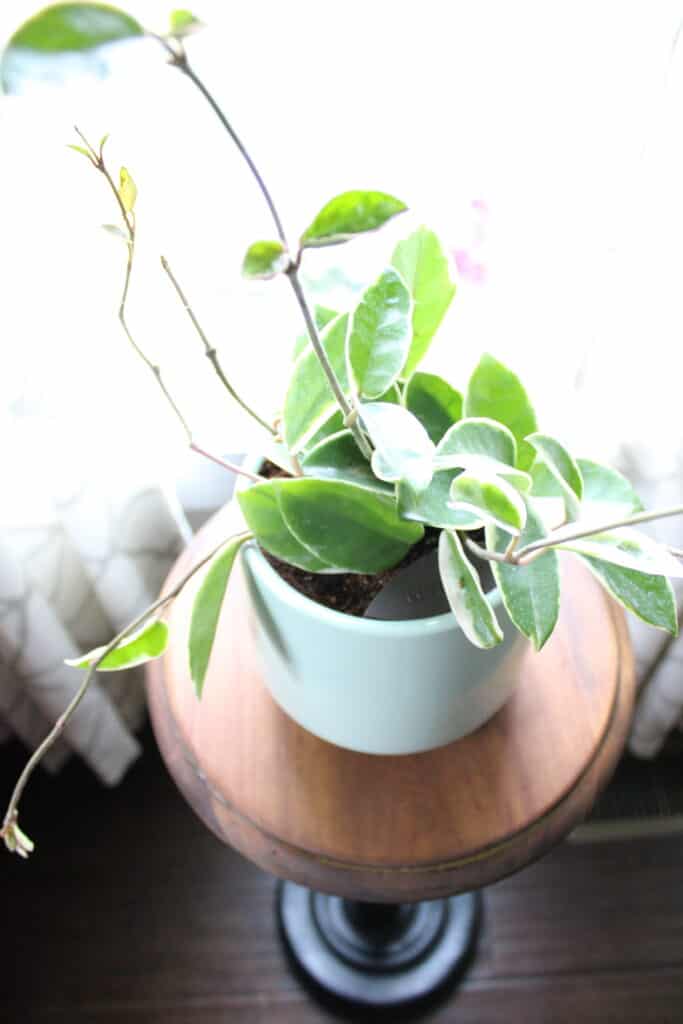
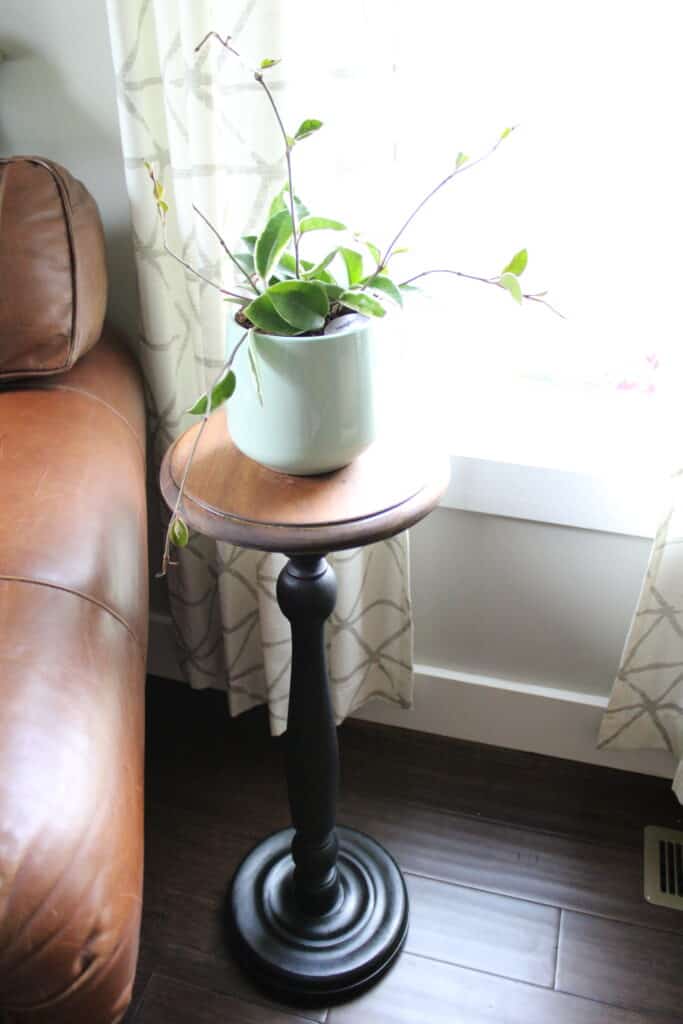
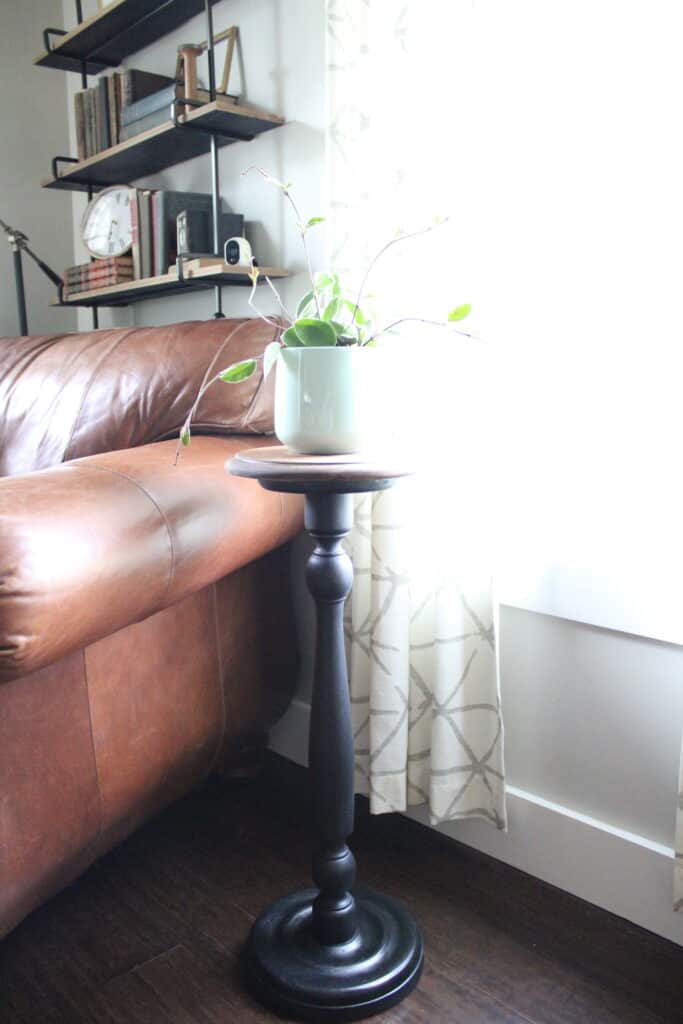
I decided to place my plant stand next to my vintage leather chair in my reading nook which is in my living room. It is the perfect place for an indoor plant stand!
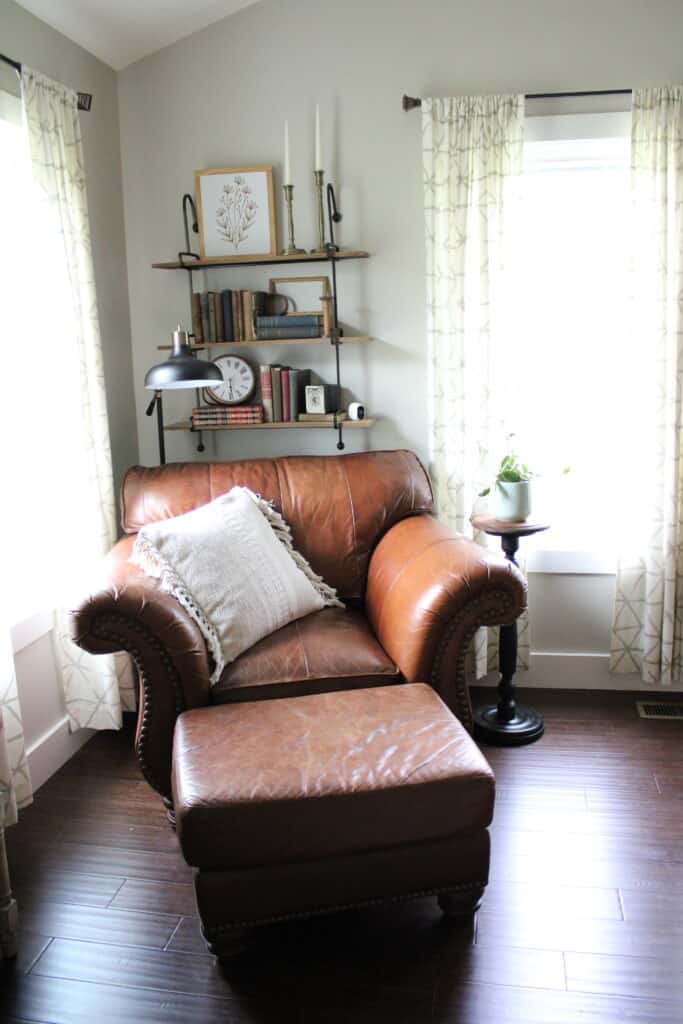
I also placed one of my favorite plants I have on top of it for display. I got the Hoya Tri Color Plant from Easy Plants, and if you haven’t heard of them before, I am about to blow your mind!
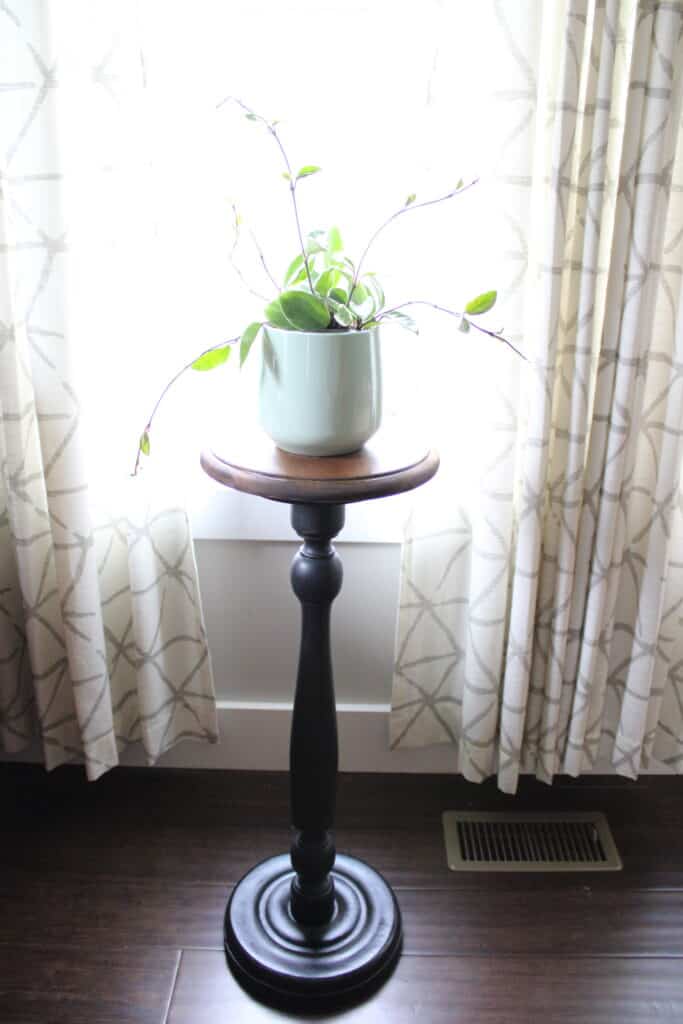
You only have to water these plants once a month and that’s it! Can you believe it?! So anyone can have their own plant with this technology, even if you have a black thumb! Be sure to go check them out if you’re looking for some new indoor plants. Plus, they deliver straight to your door too! It’s the easiest way to build your plant collection!
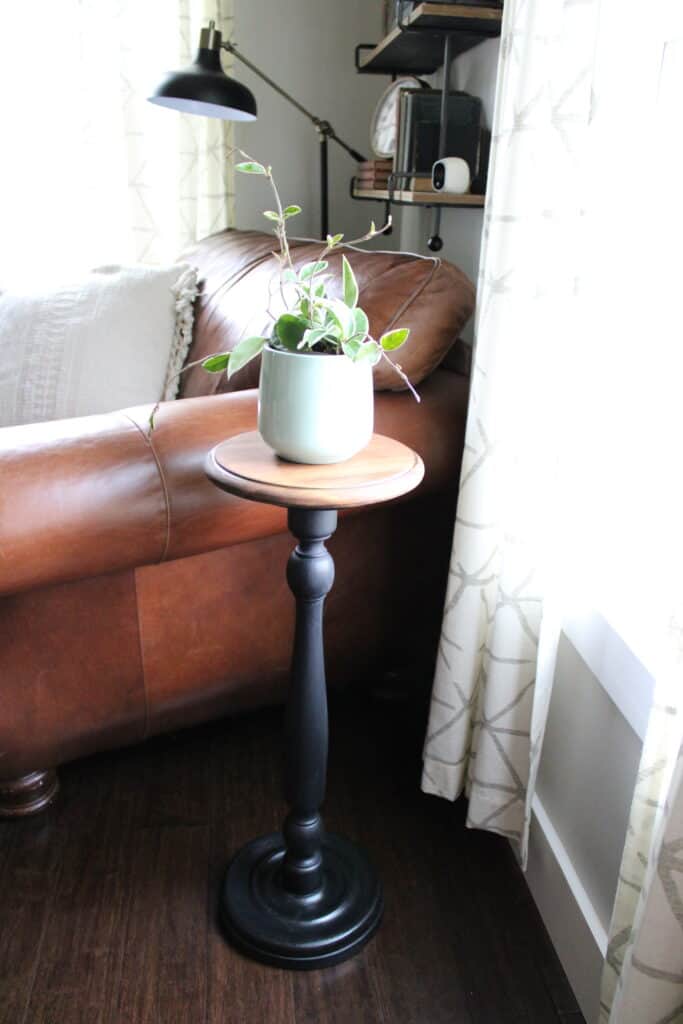
And, you can show them all off by having an amazing DIY plant stand like this one! I love how it turned out and it was honestly such an easy way to refresh an old piece! It’s the perfect modern plant stand, and I think it looks great in my reading nook space!
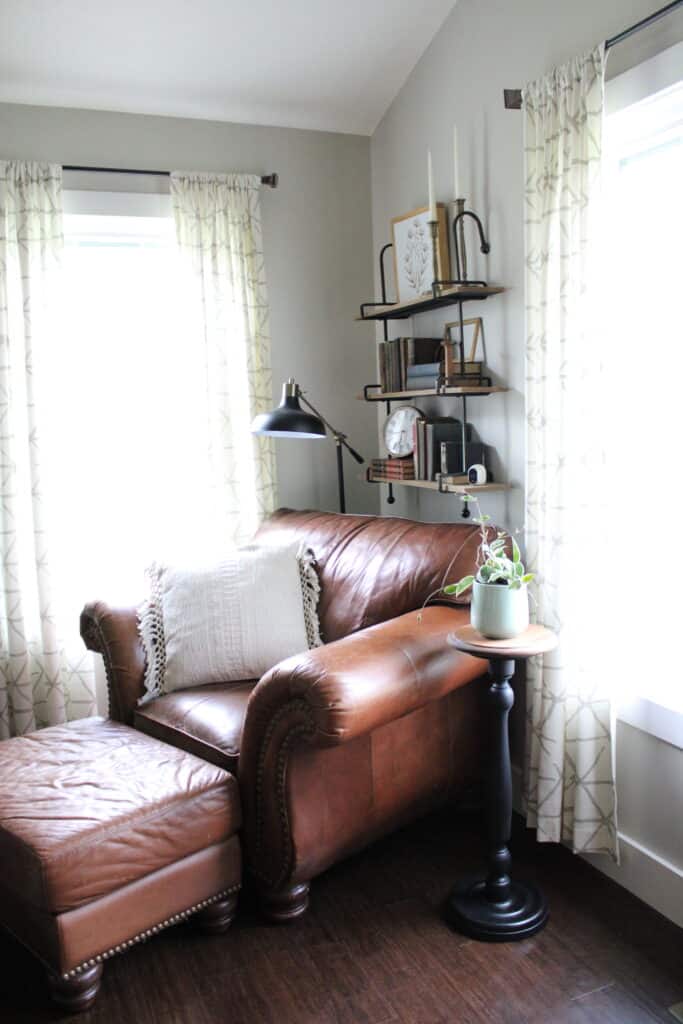
What do you all think?! And to top it all off, this simple project only took me one weekend to complete! So it is not time consuming at all and it’s always a great idea to repurpose an old piece with some paint! And really the only hard work to it, was the sanding in my opinion!
I hope you enjoyed this tutorial and I hope you’re able to refresh your own DIY plant stand using paint in the future! And please let me know if you try out Black Dog Salvage Paint or Easy Plants in the future too. I’m telling y’all, both are complete game changers!
Whether you’re painting old furniture, or displaying house plants, you will love both these companies for sure! Have a wonderful day my friends and thanks so much for stopping by!


I love this plant stand, such a lovely addition to any room in the house! x
Lucy | http://www.lucymary.co.uk
Thank you so much Lucy!
Your DIY projects are so cool! I’ve been sharing the site with a few friends. Love this latest post. The plant stand is so cool!
Awe thank you! I appreciate all the shares for sure!!
Great end result! The black paint went on lovely and I love the finish on the top of the stand too 🙂 Looks really nice in your space x
Thank you Jenny! I am so glad you think so too!
This looks so pretty, adding the charming vibes to your house..
Thank you so much. I appreciate it!
It looks beautiful! You did such a good job with this furniture rehab.
Thank you! I am very happy with how it turned out!
The plant stand is cute, you did a great job! I want to do a lot of DIY projects but I have nowhere to store my piece or pants. It’s so pretty the ay you styled it.
Thank you so much Leslie! I appreciate it!
I love how this came out! The matte black is super cool! Was it difficult sanding in the round parts?
Thank you, and yes it was. Although, I didn’t have to sand them down too much. Just enough to get the clear coat off so the paint would adhere. Nothing like the very top of the plant stand!