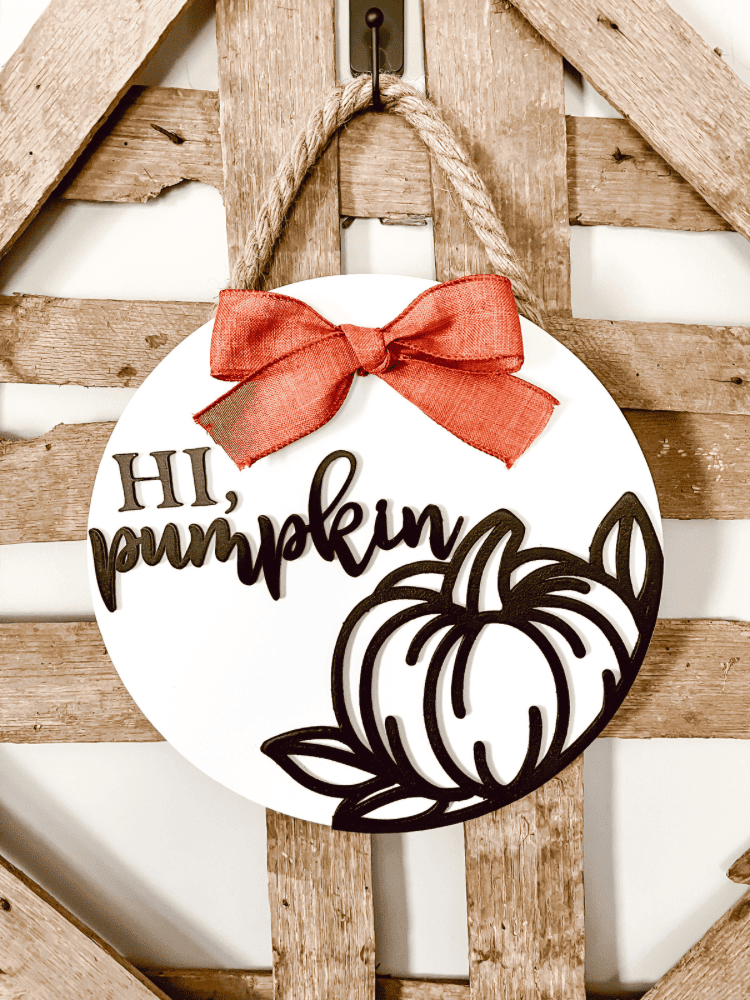
A few weeks ago, I decided to make a little homemade birthday present for my Mother in Law. And I came up with this beautiful DIY Hi Pumpkin Wreath Sign! I absolutely love the way it turned out. So much so that I almost didn’t want to give it away!
But, no worries, I did and it made for the perfect homemade birthday present! So if you’re curious and want to learn how to make this adorable Hi Pumpkin Sign too, then keep on reading to find out.
With just a few materials, I had this wreath sign looking like it came from a big box store, like Hobby Lobby! But, it is even more special since it is something that can be handmade instead. I always think handmade gifts are much more meaningful and fun, don’t you?!
And of course, I used my handy dandy Glowforge Aura machine. If I haven’t convinced you by now that this new machine is the greatest, I don’t know what will! I am obsessed with all the cool things that it can make. Just like this cute and adorable pumpkin sign!
This post contains affiliate links, which means I make a small commission off anything you purchase through here, at no additional cost to you. Please read my full disclosure policy for more details.
Materials Needed For Hi Pumpkin Wreath Sign
Here are the following supplies needed to create this adorable DIY pumpkin wreath:
Proofgrade Light Maple Plywood Sheets (x2)
Spray Paint (I used Black and White, but you can use whatever colors you prefer)
Thick, Rope Twine (Like Nautical Rope)
Make The Sign On Your Glowforge Aura Machine
The first step you need to do for this project, is to make the sign. I already used a pre-made design in the Glowforge App software for this. You could definitely design your own sign if you wanted to as well. But, I was just wanting to make this project as simple as possible.
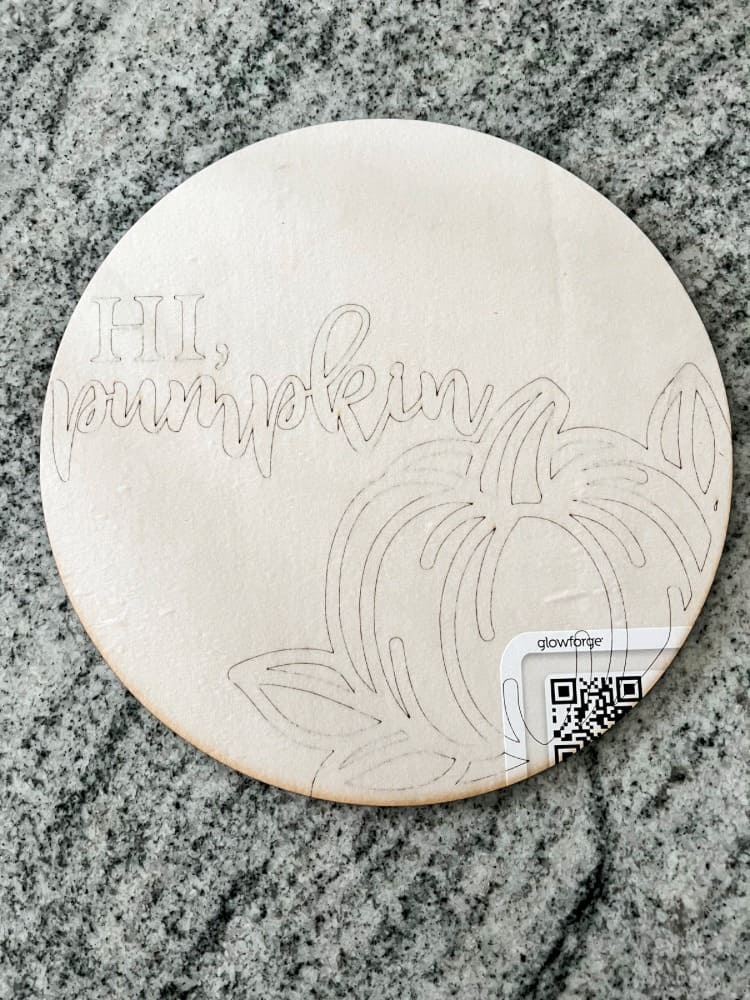
This was my first time making a wood sign with my Glowforge machine, so I was taking baby steps! And, if you’re new to Glowforge, be sure to check out my post where I explain everything you need to know about the Glowforge Aura Machine!
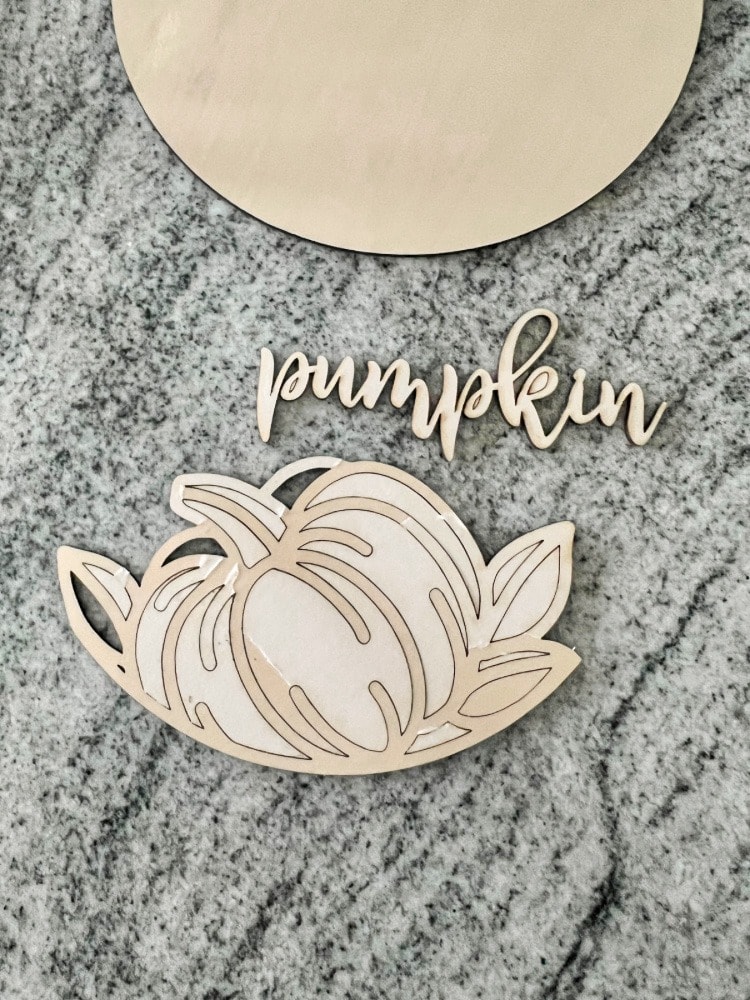
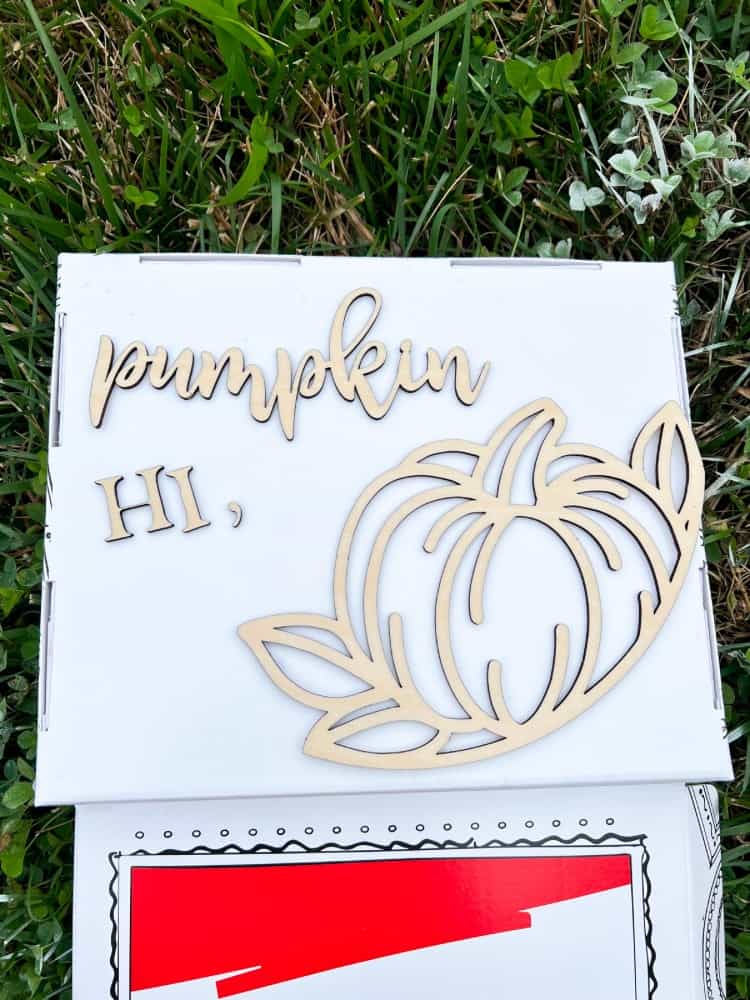
So to make the sign, you really will need 2 sheets of Proofgrade material. The first sheet technically is just the round sign part. And then the second sheet is for the words and the pumpkin. I love how the Glowforge not only cuts out the round sign for you, but also scores the area to show you where you need to glue the words and pumpkin on too!
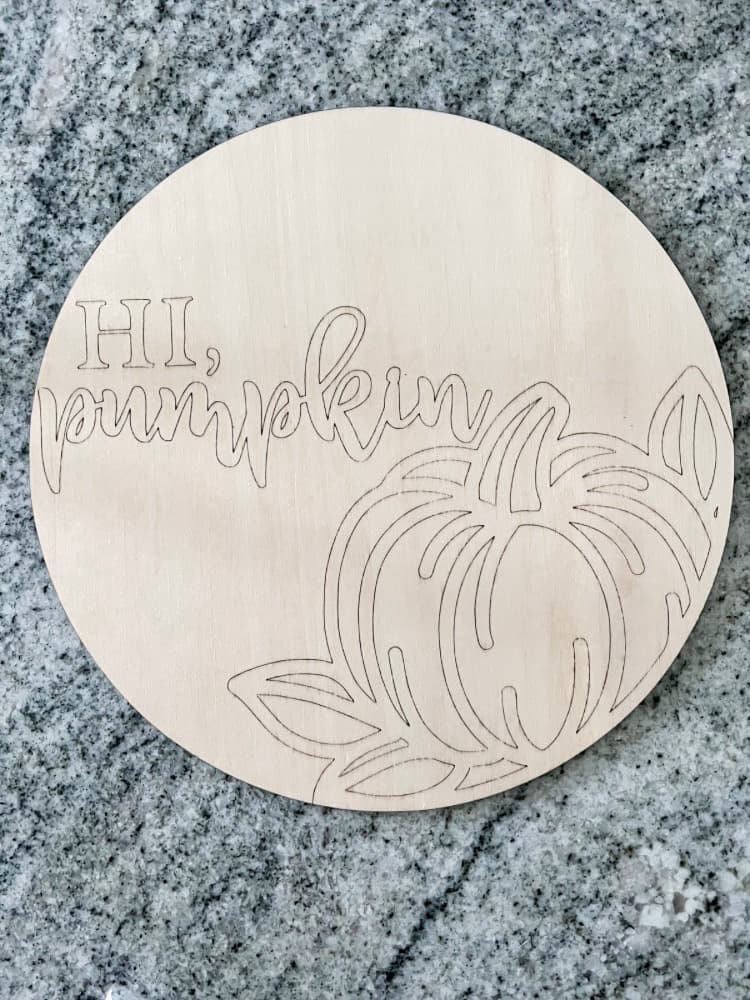
For someone who is OCD like me and wants everything to look perfect, this is such a game changer! Once I printed out the round sign, I then went back and printed out all the letters for it and the pumpkin decal as well.
Spray Paint The Wooden Sign And Letters
Now, I wanted to paint the sign and make it more customizable. Like I mentioned above, I just used classic black and white spray paint. But, you could definitely use whatever colors you prefer. I think white and orange would look beautiful together too!
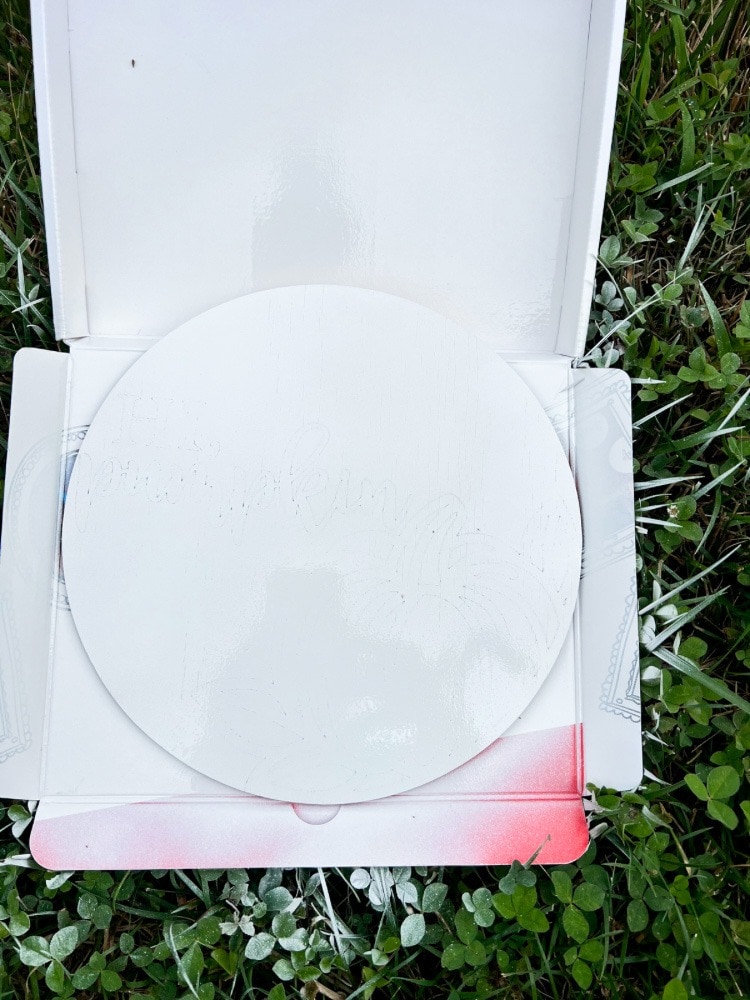
I was initially worried that once I spray painted the round sign, I wouldn’t be able to see the scoring that the Glowforge did for placement of the letters. But, I am happy to report that it did not cover it completely and you could still see the outline.
I decided to use spray paint for a quick and even finish, but you could also handprint it too if you wanted as well. I always recommend my favorite, Fusion Mineral Paint, for hand painting signs like this!
I also spray painted the letters and the pumpkin sign in black. That way, they really pop against the white background. Let the pieces dry completely before starting to assemble this beautiful pumpkin wreath sign!
Glue The Letters And Pumpkin On The Sign
Now, for the fun part! Let’s assemble this cute pumpkin wreath sign! I recommend using B-7000 glue to apply the letters to the backing. I like this glue because you have a little leeway and time before it properly sets up.
So that way, if you mess up, you can move the piece around until you place it in the correct spot. And a little dab of glue goes a long way too! You don’t need too much of it, so it is perfect for making signs like this. Or even homemade earring studs too!
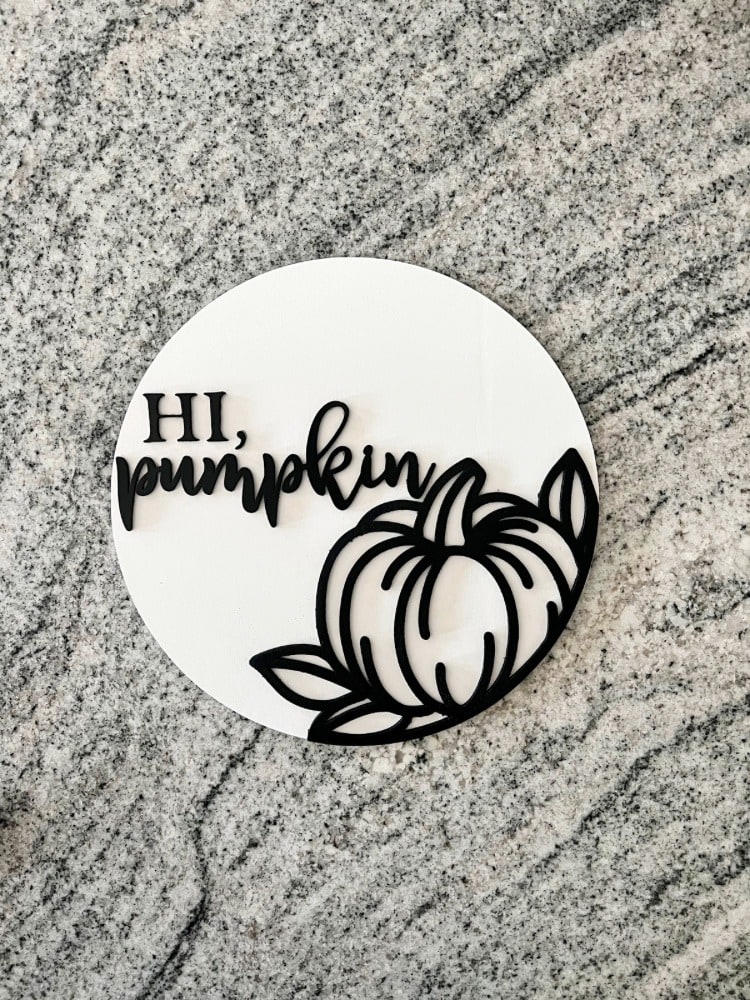
I just flipped the pieces over and applied a little of the B-7000 glue to the back of them. Then, I placed them on the scored places of the round sign. After that, I let it dry completely and set up before adding the final touches to this beautiful wreath sign!
Finishing Touches For DIY Hi Pumpkin Sign Wreath
The finishing touches to this little DIY project included a cute bow of course. You can use whatever ribbon you prefer for this. I used some that resembles orange burlap, but I also made sure it was a wired ribbon too. For the life of me, I cannot tie a good ribbon, and I find that wired ribbon makes it much easier to do so!
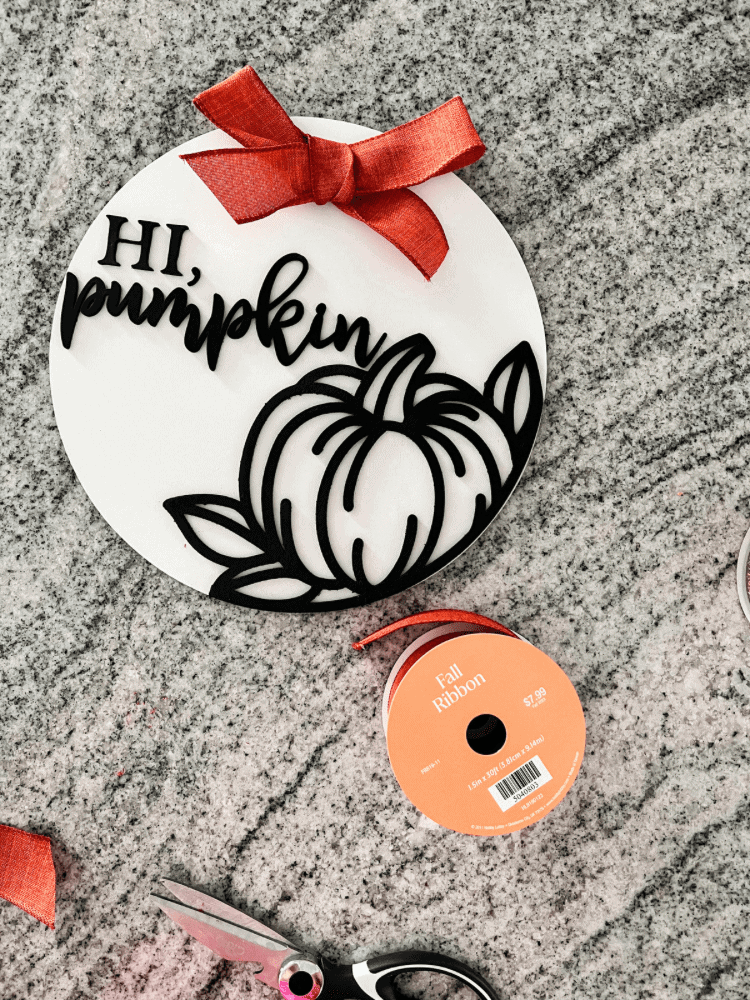
I love the orange color against the white background too. It makes for such a nice pop of color to an otherwise neutral sign!
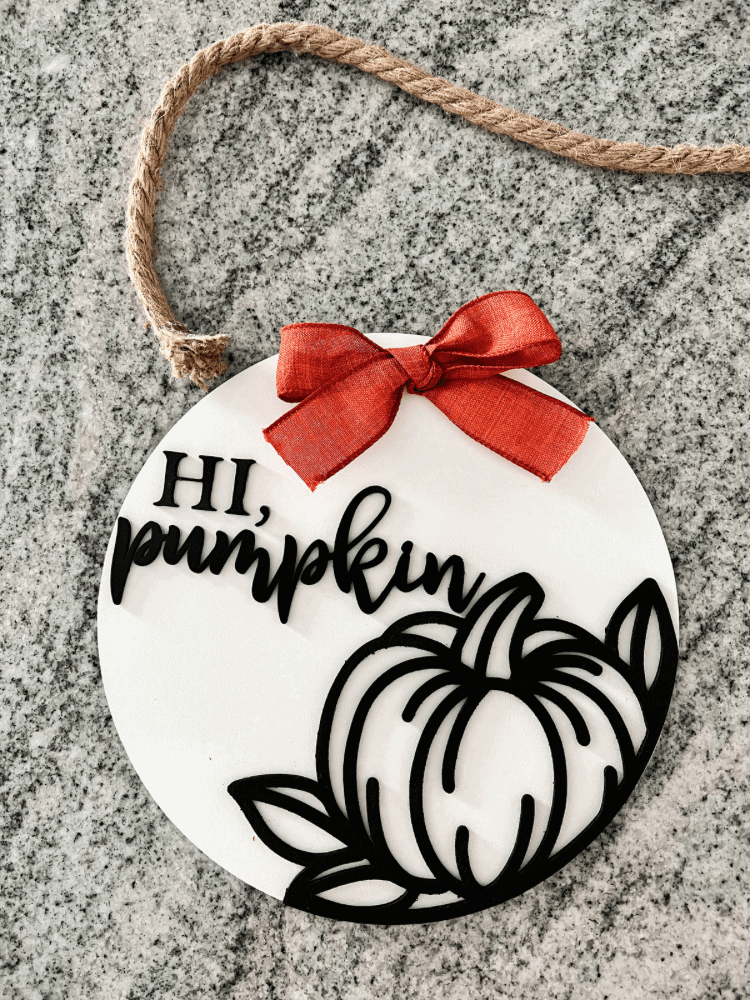
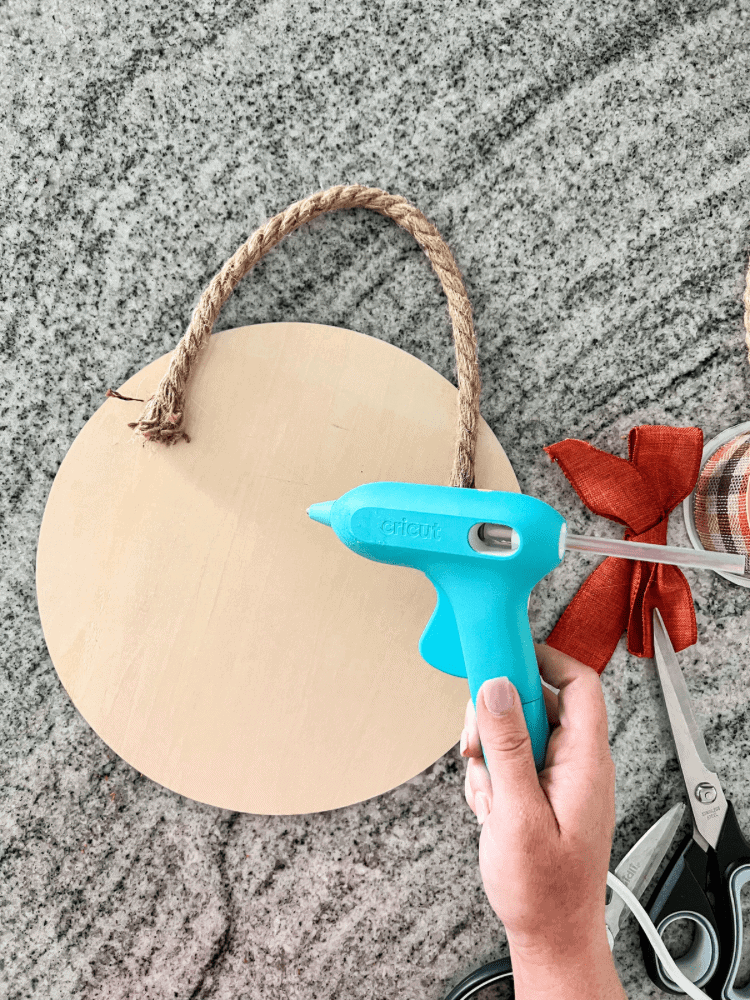
Just tie your bow, and then apply it on the sign with a dab of hot glue. Then, to the back of the wreath sign, I applied more hot glue to attach the nautical rope I was using for hanging the wreath sign up. I let the hot glue dry completely, and I was left with the perfect farmhouse style pumpkin sign!
You can easily customize this project to more of your liking too. There are a variety of colors and different burlap ribbon options you can use for some beautiful fall wreath ideas! And this would look absolutely perfect hanging on your front door, or in the middle of a bigger, floral wreath. That’s one of my favorite things about DIY projects for home decor like this, you can personalize them to whatever you prefer.
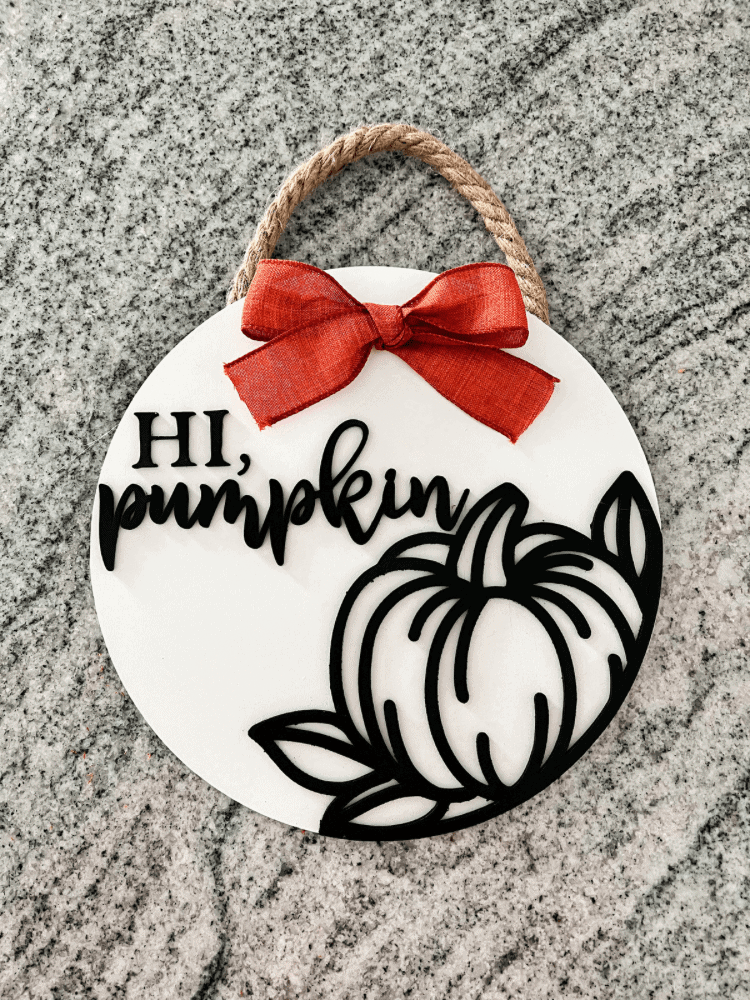
I hope you enjoyed this little fall pumpkin wreath sign tutorial and I hope it inspired you to do some fall crafting of your own. Now is the perfect time to do so since we are just now coming up to the end of summer!
I can’t believe that we are sneaking up to the fall season already, but let me tell you, I am here for it! It is my favorite time of year, and I am obsessed with all things fall decor! Let me know what you think of this little DIY hi pumpkin wreath sign below and happy crafting y’all!



This is adorable! I am so ready to get into the autumn season (it’s why I shared a huge guide about to enjoy over the fall on my site); I can’t wait to decorate my home like this!
Thank you Molly! I am so ready for fall too!
This wreath is amazing and I’m looking forward to the Autumn season now! x
Lucy | http://www.lucymary.co.uk
Thank you Lucy! I am too! I love the fall!
Ooh I love this; it’s so cute! I think Autumn might be my favourite season too, I’m so excited for all the cosy nights in. Thank you so much for sharing x
No problem at all! Fall is my favorite season too!
Oh wow!!! That’s a very pretty craft. I’m sure your mother in-law loves it a lot. You’re very talented.
Thank you so much! I appreciate that!
LOVE seeing all of the Aura inspiration Charity!!
Thanks for hosting a FABULOUS linky party every week !
Don’t forget to join us over at the Creative Crafts Linky Party every Wednesday through Sunday
https://creativelybeth.com/creative-crafts-linky-party/
Followed and Pinned!
Creatively, Beth
Awe thank you so much Beth! I will definitely join in for yours as well!
Hi Charity! I’m so intrigued with your new cutting machine! This sign is adorable and I’d love to share it with my readers in my weekly newsletter this Friday! Thanks for the inspiration! Donna
Thank you so much Donna! I would greatly appreciate it if you shared me!