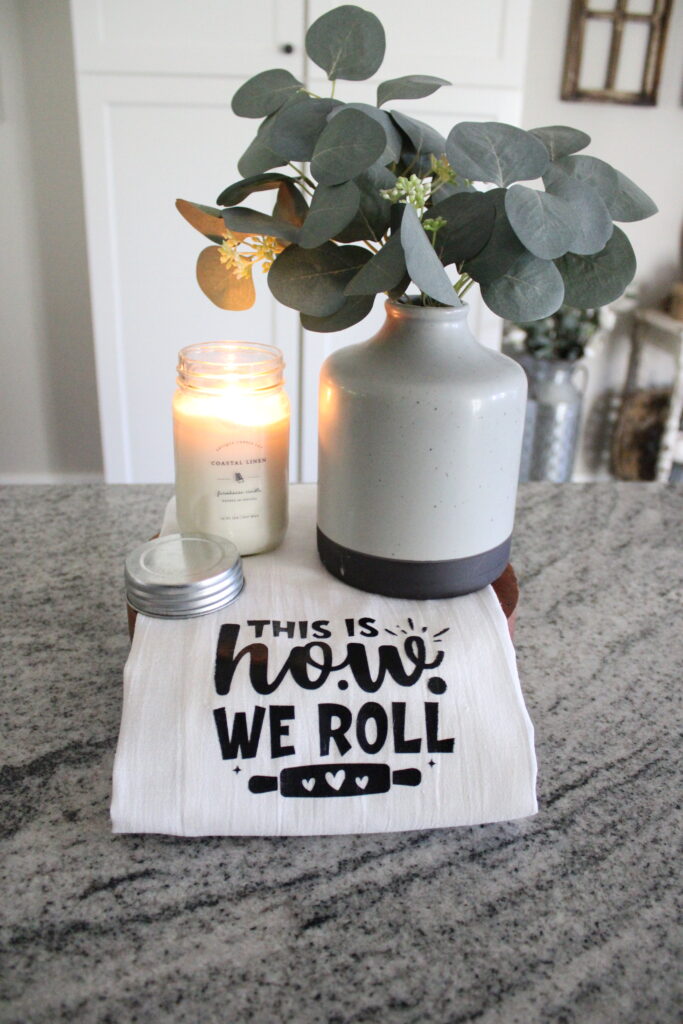
Who doesn’t love a good, seasonal kitchen towel to decorate their kitchen with?! I know I sure do and it’s even better when you can make them yourself! That’s why I am sharing these easy DIY Kitchen Towels with you all today.
You can easily make these towels if you have anything that cuts vinyl, and any kind of heat press. Even just a regular old iron will work. So the possibilities are endless when it comes to making your own DIY kitchen tea towels.
Not only do they make a great gift for a loved one, but they also are an easy way to spruce up your seasonal kitchen decor too! You may remember awhile back I shared all my tips and tricks on how to decorate your kitchen for fall. Well, using seasonal tea towels is a great way to do that!
So come check out this simple project idea and see just how easy it is to make your tea towels as well. Once you start, you will be hooked on making them, just like I am now!
This post contains affiliate links, which means I make a small commission off anything you purchase through here, at no additional cost to you. Please read my full privacy policy for more details.
Materials Needed For DIY Kitchen Towels
Vinyl Cutting Machine (You can either use a Cricut or a Glowforge here. I used my Glowforge for this project, but I have used my Cricut Explore Air 2 Machine many times in the past when dealing with vinyl.)
Iron On Vinyl (If using a Glowforge, make sure the vinyl you are using is LASER SAFE. Not all vinyl is meant for the Glowforge or any other laser cutter machine. The permanent vinyl I use for my Cricut projects, is not safe for a laser. I used Glowforge’s own Proofgrade Eco Iron-On Vinyl for this.)
Pack of Flour Sack Towels (I got towels in both black and white fabric)
Heat Press (I used my Cricut EasyPress 2 machine, but like I mentioned above, you can easily use an iron too)
Design Your Kitchen Towels
The first thing you want to do is to come up with a design. I just used a free pattern design from my Glowforge App. These designs in their catalog works perfectly for tea towels or a pot holder or even a shirt. Basically, anything with a linen fabric works perfectly with iron on vinyl!
So I chose a few different designs to make with the pack of tea towels I got. Such as everyday designs, and seasonal designs too! I got a few packs of flour sack tea towels from Amazon. I got both black and white because I figured I could make some cute Halloween ones with the black fabric too.
The white tea towels I got are 100% cotton and machine washable as well. Even after you add on the vinyl! I washed one after applying the vinyl to the towel, and it still came out perfectly. I was worried the design would mess up after washing, but it was fine! The white towels I used are linked here:

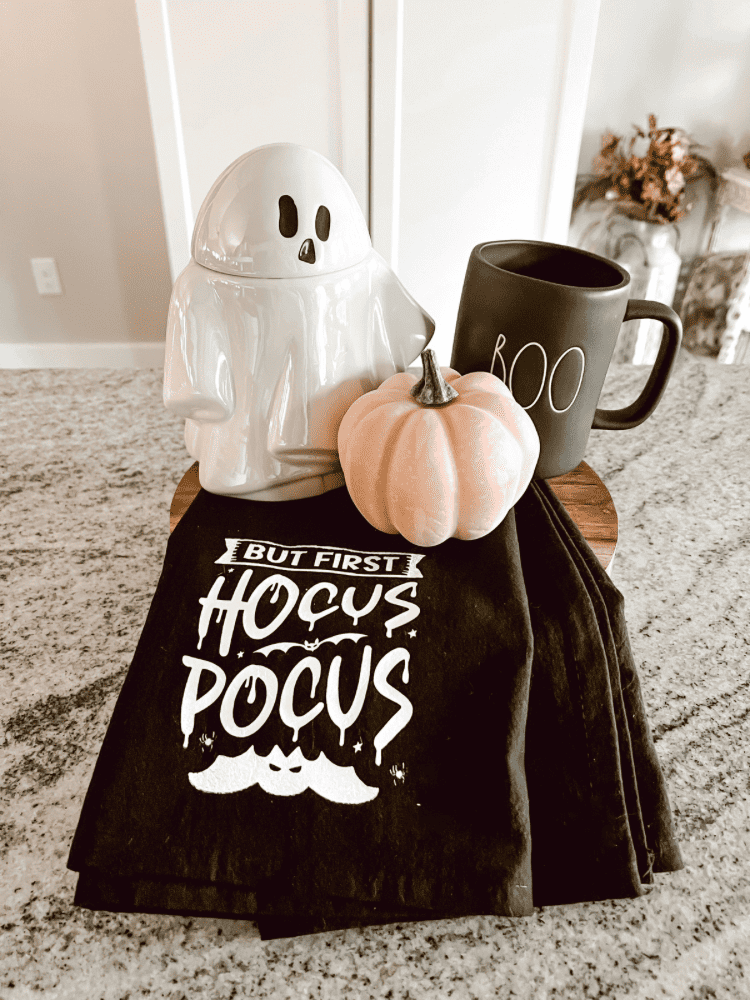
And the black towels I got are also 100% cotton as well. However, they seem a little thicker and more durable to me than the the white ones. Definitely seems like a good kitchen towel! So really it is just your preference as to which one to use! I will link the black ones here below too:

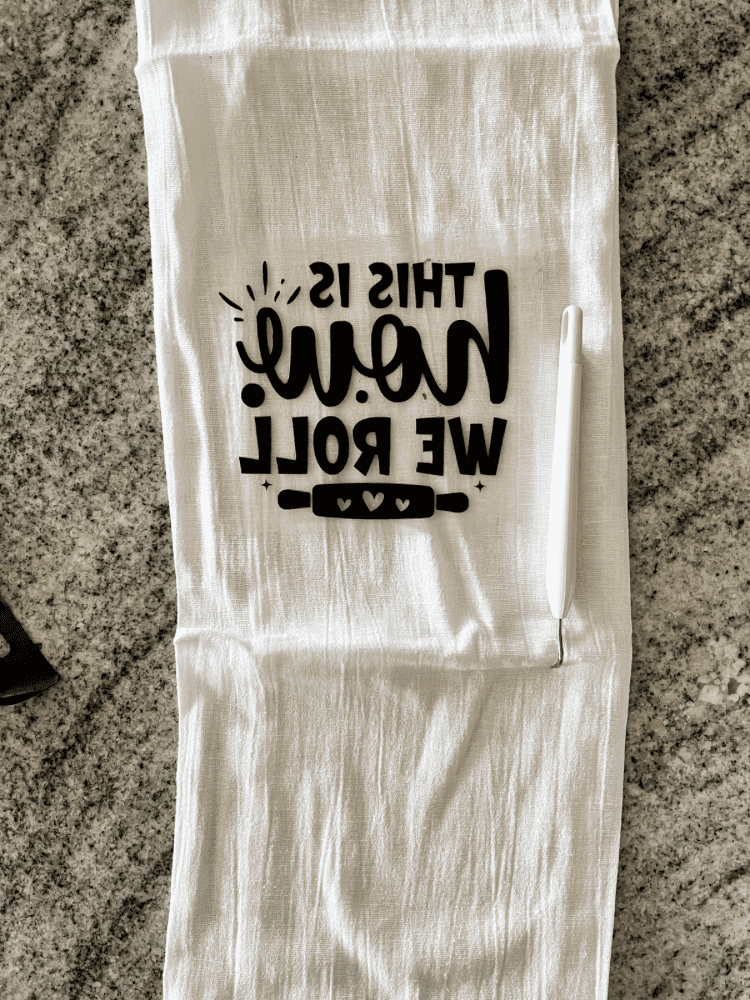
Each option makes for the perfect hanging kitchen towel in my opinion! And the main thing once you choose your design, is to make sure you mirror it, or flip it horizontally. You basically want it to print out backwards to you. Because then you flip it over to apply it to the tea towel. I have many a times printed out a vinyl design the wrong way. So don’t make the same mistakes I did!
Cutting Out The Design
This process will differ with everyone depending on what machine you use. As I mentioned above, if using a Glowforge or another laser cutter, please be sure that the vinyl you are using is laser safe.
I use the Glowforge Eco Iron On Heat Transfer Vinyl Alternative for this. And it comes directly from Glowforge so it is a proofgrade material. That means, once you place it into your machine, it will read the QR code and automatically put in the settings for you to get the perfect cut.
And, if you’re using a Cricut machine, you can definitely just use Cricut’s Permanent Vinyl for this as well. Just don’t place it in the Glowforge and you are all set! I have shared many other Cricut Vinyl projects in the past on here and really cover it more in detail over on my post about the best Cricut materials for beginners. So be sure to go check that out for a more in depth tutorial using the Cricut machine.
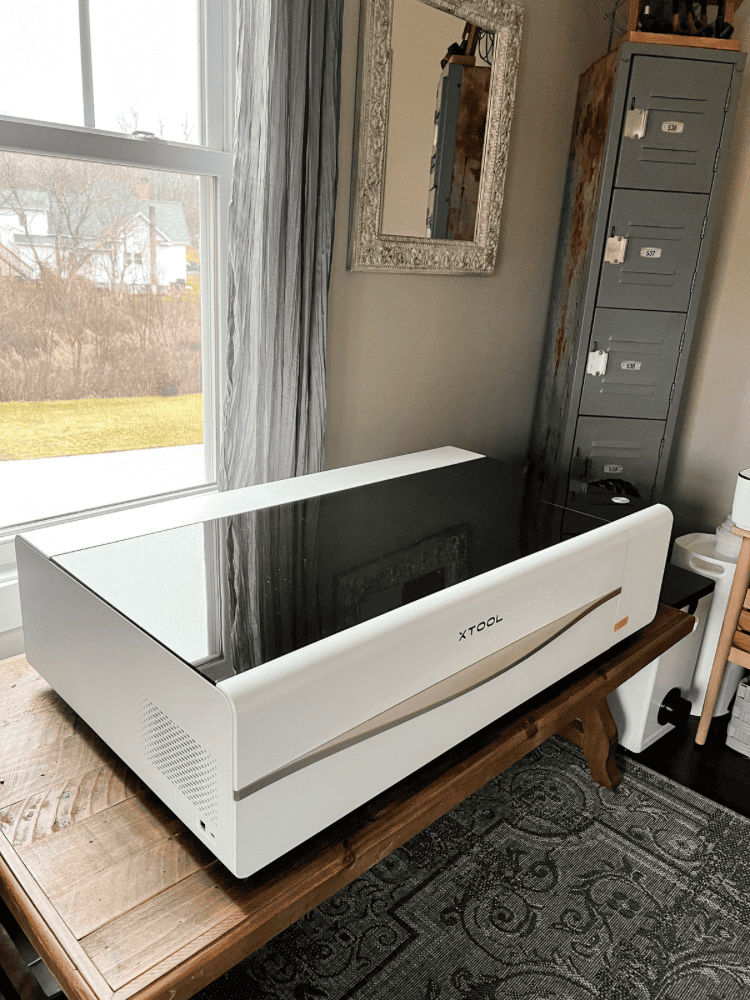
Also, you guys know I have been covering my Glowforge machine a lot here lately because I am truly obsessed with it! But, if you missed it earlier, I shared everything you need to know about the Glowforge Aura machine. And that post really goes into how to use and work this awesome machine too!
Applying The Vinyl Design To The Towel
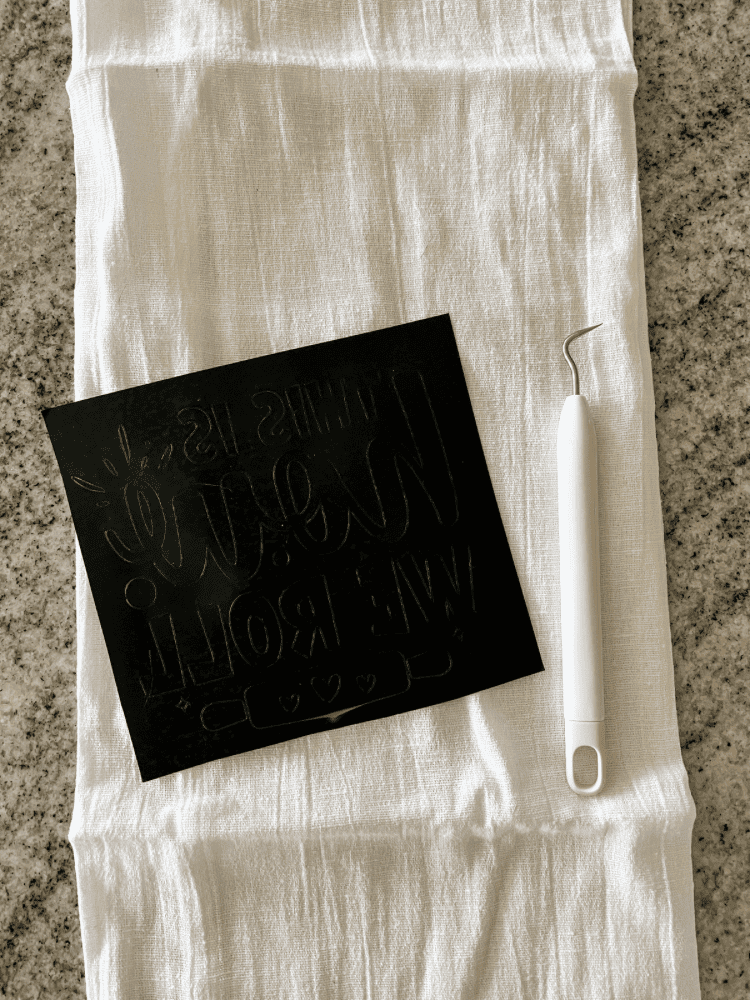
Once you have chosen and printed your design out, you can now apply it to the towel. But first, you need to weed out all the excess vinyl from the design backing. To do this, I used my Cricut weeder tool.
But honestly, I think that Glowforge’s heat transfer vinyl is much easier to weed than Cricut’s permanent vinyl. I didn’t have to be as careful to make sure I didn’t accidentally tear into my vinyl design. Unfortunately, I have done that several times with Cricut’s permanent vinyl. But I have had no issues with the new heat transfer vinyl from Glowforge.
Once you have the design weeded out, you can place it on the hanging towel, wherever you feel is best. It really only takes a small amount of fabric, depending on your vinyl design. I’m pretty sure all the designs for tea towels in the Glowforge catalog are standard size for any kind of dish towels, so you can really just play around with the placement of where you want to apply it.
To apply mine, I just folded the tea towel into thirds, and then again in half. Then, I placed the design on the bottom half. That way, this simple kitchen towel looks bets hanging on the handle of the dishwasher or oven. And you can clearly see the design from it.
And I mean you can really get techinical with everything and apply your design after measuring it with a measuring tape. But, I really just eyeball it because it’s not that serious! After deciding placement, your going to want to adhere it to the towel with heat.
Finishing the DIY Kitchen Towels
Like I said above, I used my EasyPress 2 machine for this. And before placing the heat press onto my design, I want to have a covering to protect it. I just used butcher or transfer paper for this and cut out a piece big enough to cover the entire heat press area. That way, you don’t burn the kitchen towels.
This is especially important when using the white kitchen towels. Sometimes, you can see some burn effects from the heat press if the material is not properly covered with the butcher paper. Also, make sure to let your heat press heat up all the way before using.
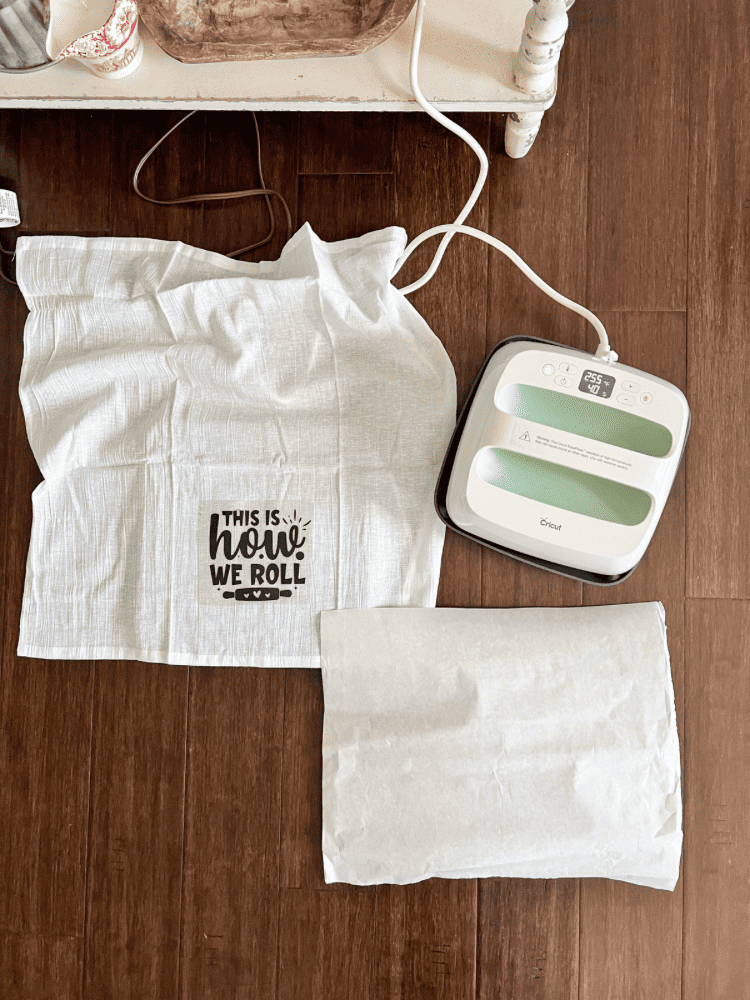
Just like with an oven, you need to let it preheat. And, you can play around with the settings and see what works for you, but I have found that usually around 380 degrees for 40 seconds is the sweet spot for iron on vinyl projects like this.
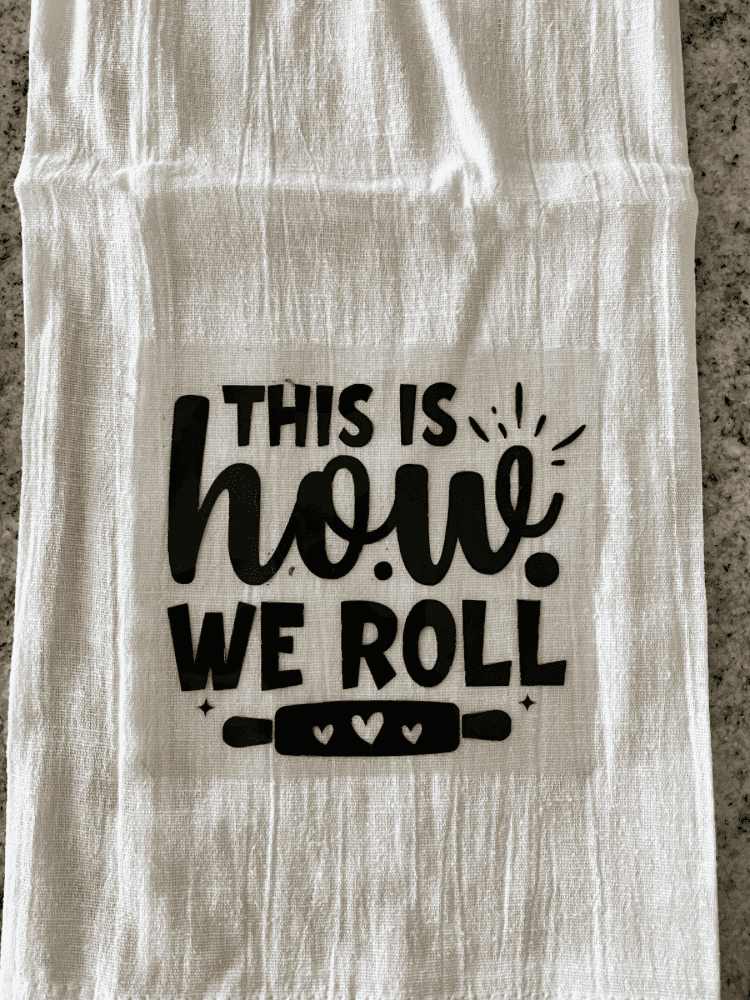
Once the EasyPress is heated up all the way and you have a piece of butcher paper covering the design, press down firmly on it for the full 40 seconds. Mine will beep and let me know when it is done. Then, carefully remove and let it cool down slightly before trying to remove the clear vinyl backing.
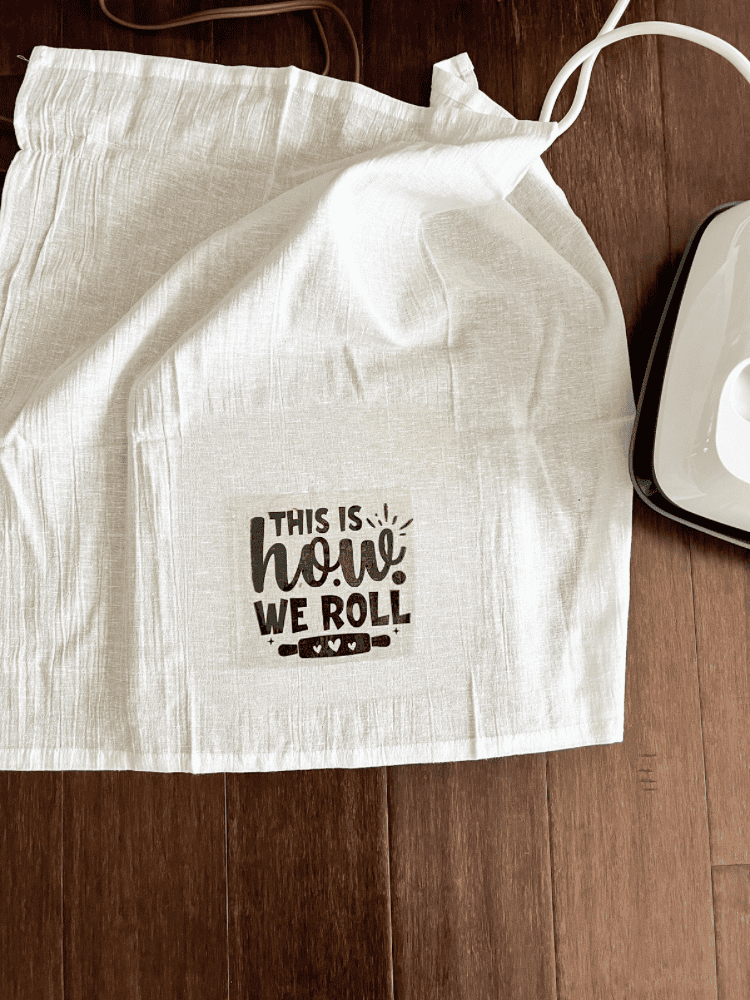
Be careful trying to remove it though because it is a high heat press and it will burn you if you don’t let it cool properly. Once cooled, you can remove this backing and enjoy your finished towels!
Decorating With DIY Kitchen Towels
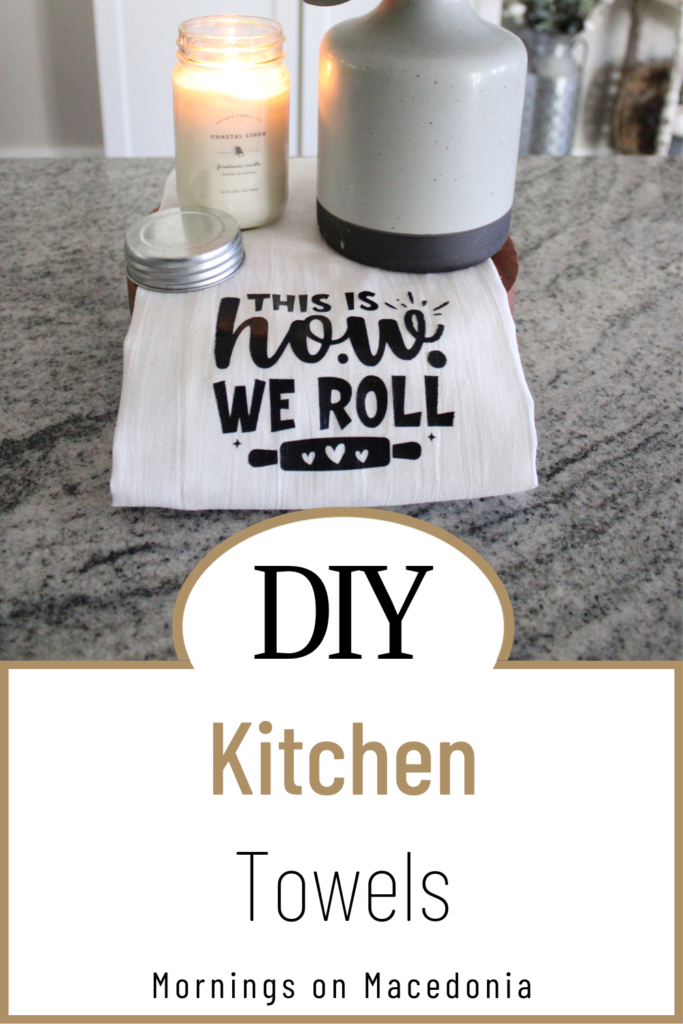
As I mentioned above, these DIY tea towels look great hanging on the rack of a dishwasher or oven. Basically, they are perfect for any kitchen use like that. And again, they make for great handmade gifts too. Such as a hostess gift or housewarming gift. Another really special idea is to print out your favorite recipe from a family member on vinyl and then apply it to the kitchen towel too. That would make for a great, sentimental and fun gift as well!
As you can see, this really is an easy craft, but even if you aren’t feeling like making one yourself, no worries! I have you covered! I have several listed in my Etsy shop, with more to come in the future too!
So if like the look of a handmade towel, but don’t actually want to make one, you can just order one instead! I will have it linked for you below:
And if you love doing projects like this, I hope you enjoyed this easy, step by step tutorial on DIY kitchen towels! If you make one too, let me know how it goes for you below! I’d love to hear all of your creative ideas too!



Wonderful blog. Really interesting read. Thank you for sharing.
No problem at all.
These look like a fun and easy to make idea. Thank you for sharing 😊
Pastor Natalie (ExamineThisMoment)
Letstakeamoment.com
You are welcome! They were very fun to make for sure!
Great post. Love the design & reading all about the process of making the towels.
Thank you! It was a fun process of making them too!