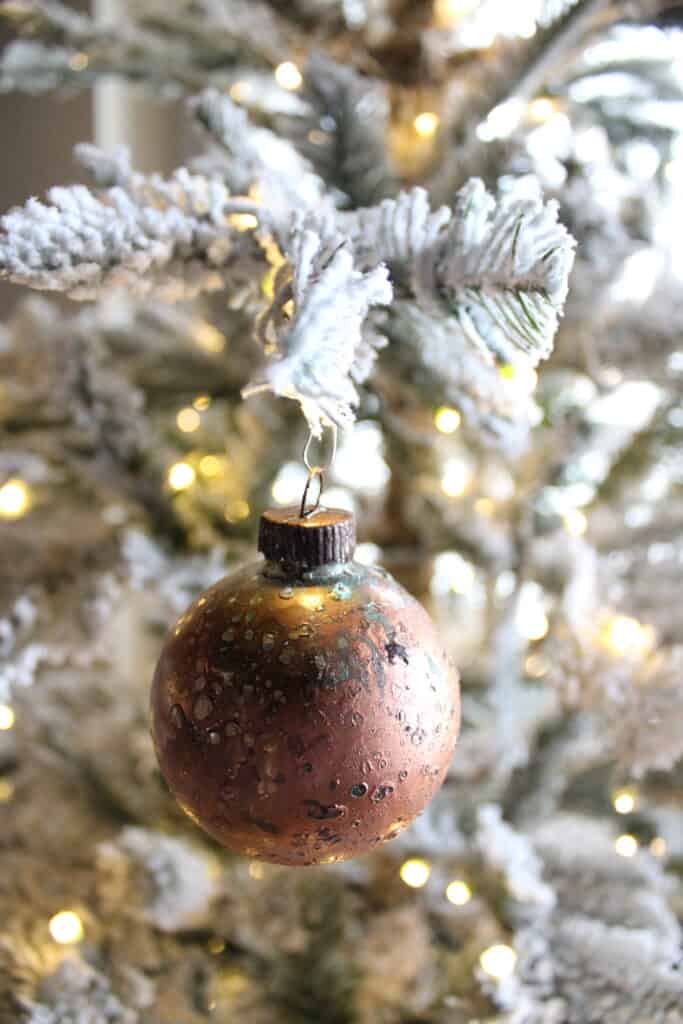
I’ve been wanting to do a different kind of Christmas theme this year, but y’all, ornaments are so dang expensive! And of course, I love the really vintage, expensive ones. So I figured why couldn’t I just make my own mercury glass ornaments instead?
You may remember I did a few mercury glass pumpkins for the fall a few weeks back. So I thought I could recreate this process using glass ornaments instead.
And it turns out, I’m right! I absolutely love the way they turned out. I got the vintage look without the crazy price tag!
The good news is that you can easily make these DIY ornaments too! It only requires a handful of materials and a little bit of time, and that’s it!
This post contains affiliate links. Click here to read my disclosure policy.
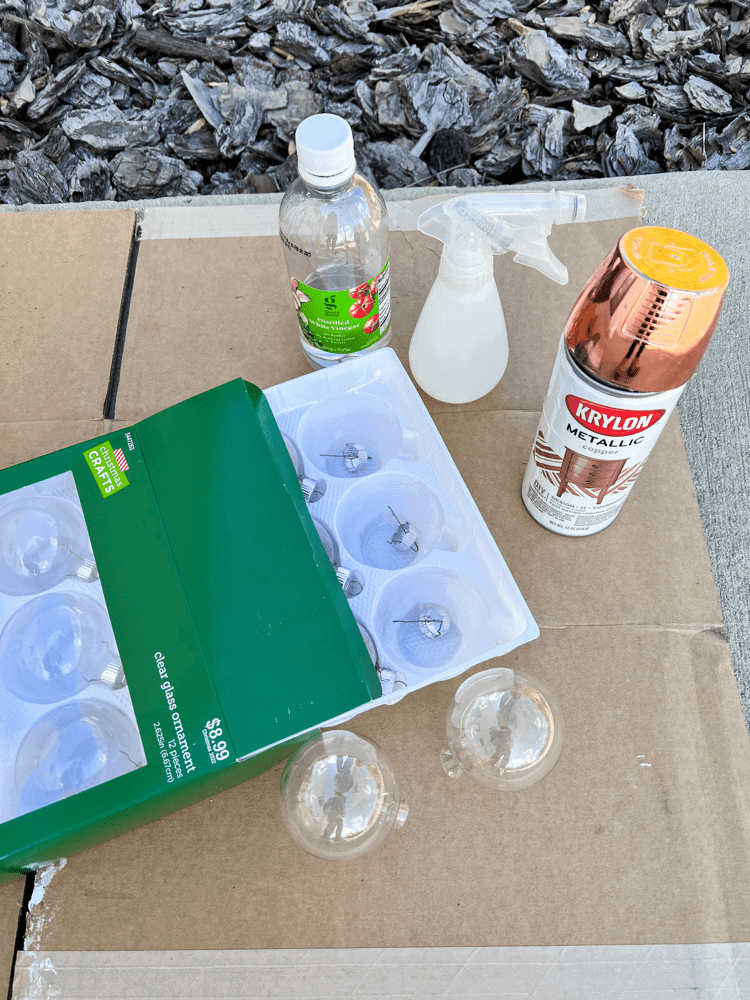
Materials Needed For DIY Vintage Mercury Glass Ornaments:
- Clear Glass Ornaments
- Metallic Spray Paint
- White Distilled Vinegar
- Spray Bottle
- Rub n Buff
Spray The Ornaments With Vinegar
The first thing you need to do to create beautiful mercury glass ornaments, is to remove all the tops from the ornaments. Set them aside for later.
Next, pour the white distilled vinegar into a spray bottle. Then, you’re going to want to spray the ornament with vinegar all over.
Spray The Ornaments With Spray Paint
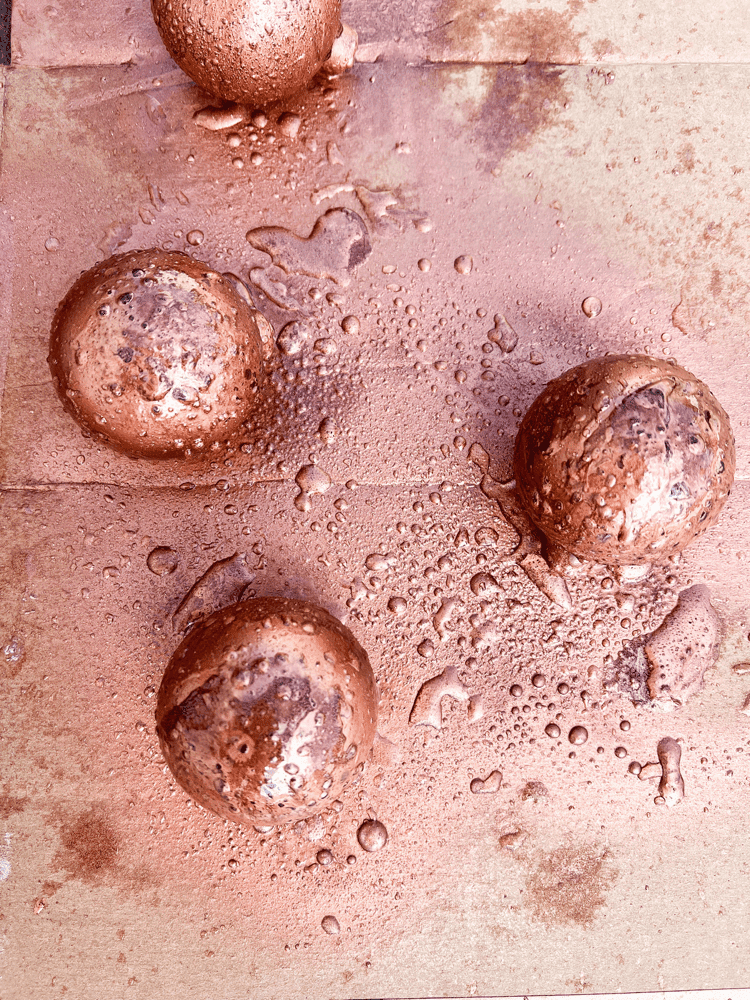
Right after spraying the ornament with vinegar, you need to go back over it and spray it with your metallic spray paint.
Don’t worry about if the ornament is still wet, that is what you want. Don’t let the vinegar dry on the ornament.
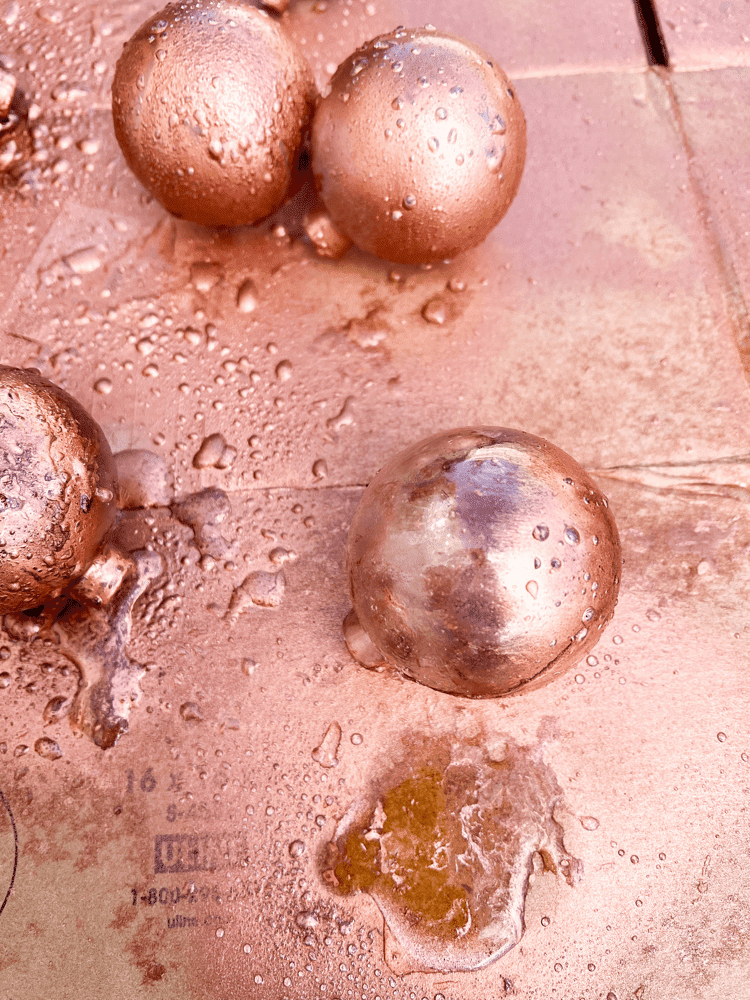
I used the metallic copper spray paint for this because I am going to place these ornaments on our downstairs Christmas tree. And it just so happens that we have copper ceiling tiles down there as well.
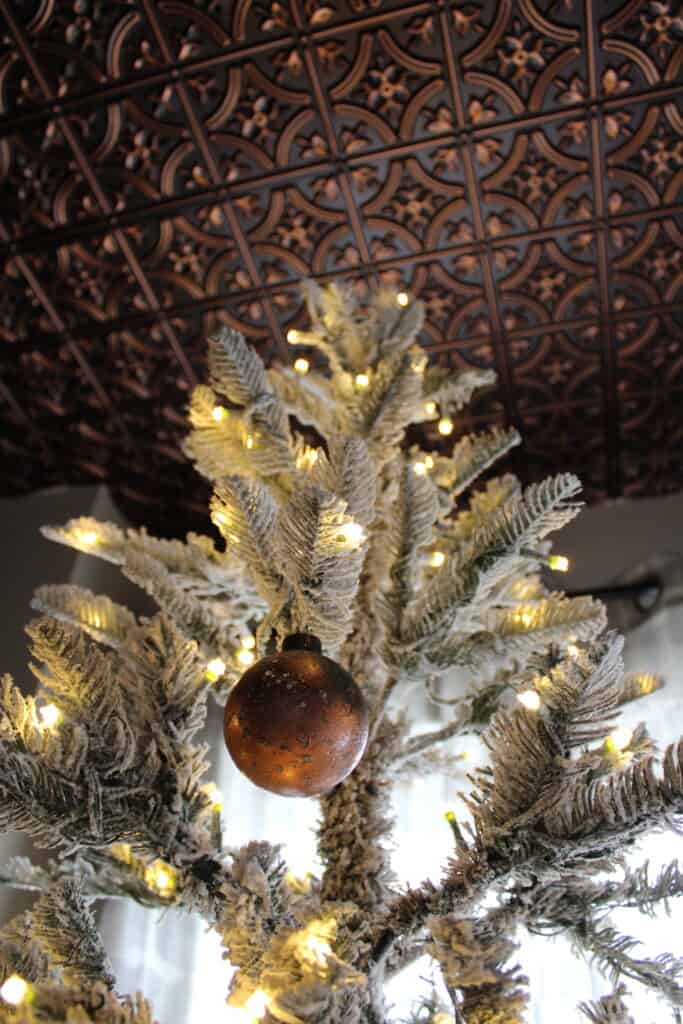
So I think they will play really nicely off of each other. And again, you could use whatever metallic spray paint color you wanted to here. Gold or silver would be really beautiful too!
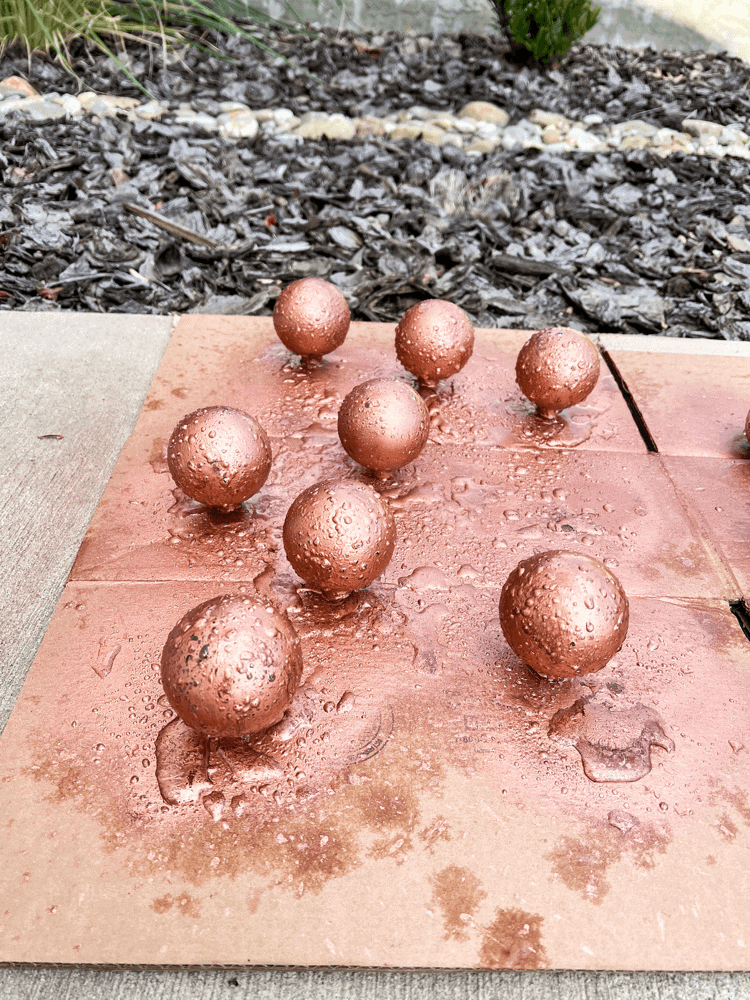
Spray Ornaments Again With Vinegar
Again, don’t wait for the spray paint to dry. Go right back and spray them all over with vinegar one last time.
Then, you’re going to want to let them dry completely. I did this all outside of course since I was using spray paint, and I gotta say, it was a little difficult.
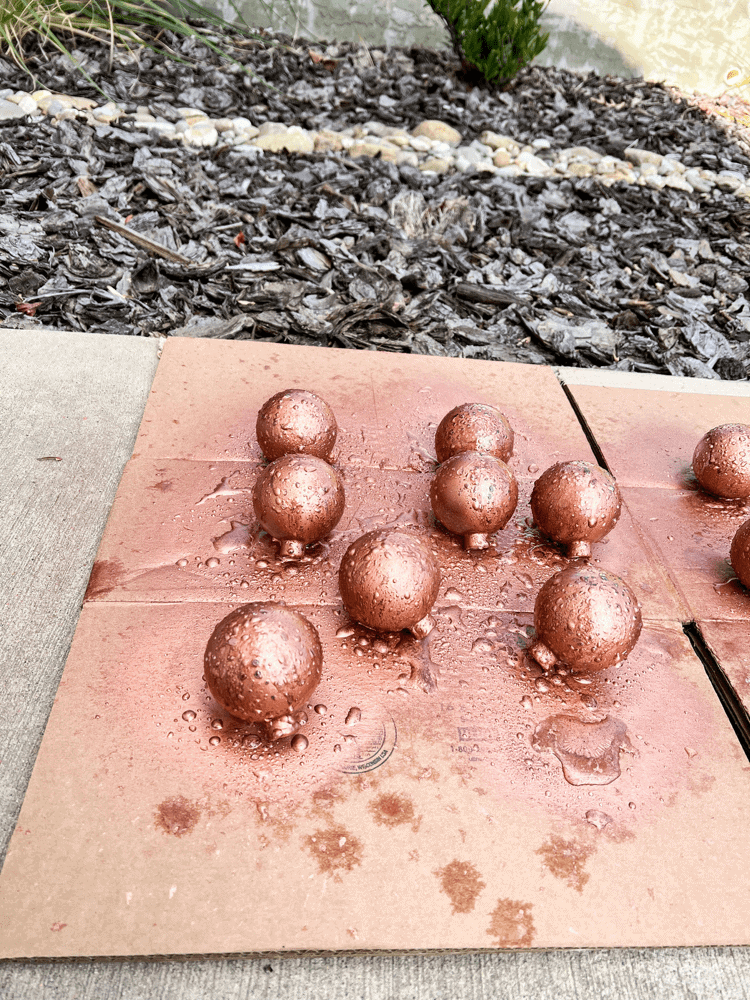
Mainly because it was a windy day and my ornaments kept blowing around while I was trying to spray them. If you have anything that you could actually place the ornament on while spraying it, I think that would work much better!
Or just don’t do it on a windy day like me! But thankfully, they still turned out to be pretty nice regardless of them blowing around in the wind too!
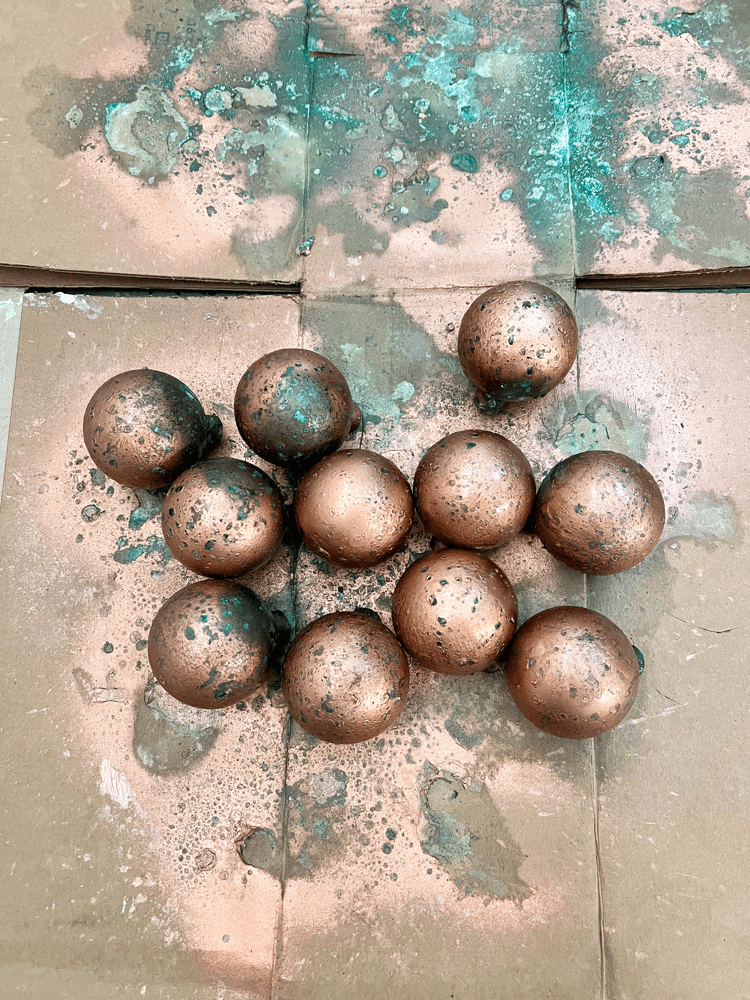
Use Rub n Buff On Ornament Tops
I wasn’t planning on doing this originally, but after seeing how silver the ornament tops were next to the copper, I didn’t like it.
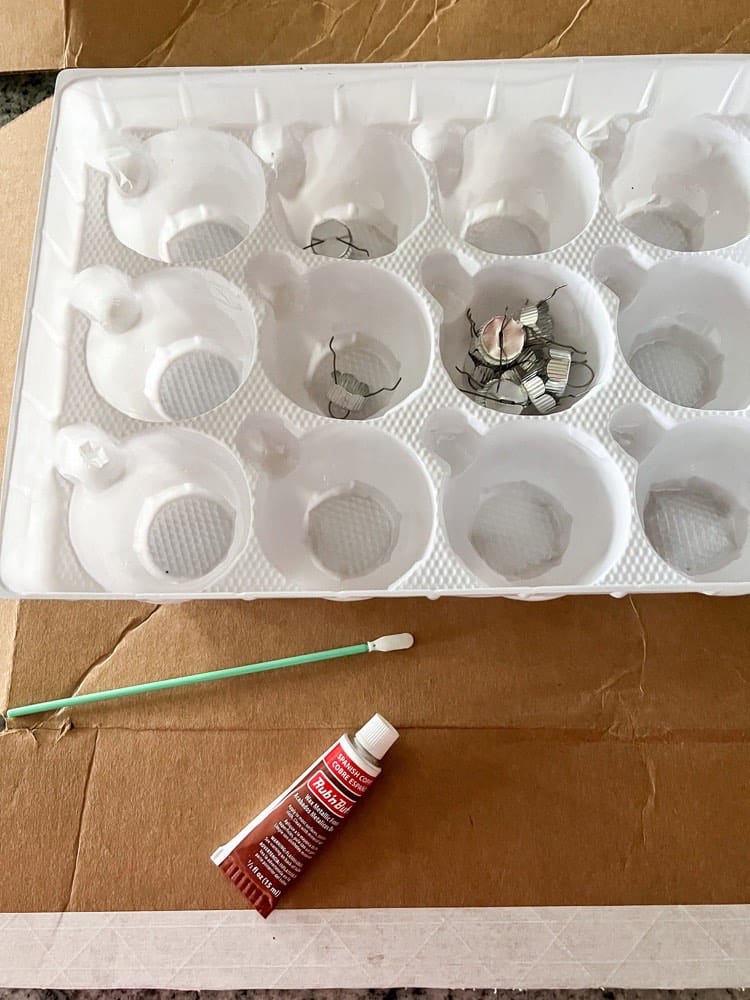
It made them look too cheap in my opinion and not the true vintage looking ornament that I wanted. So I decided to order some Rub n Buff to see if I could age the ornament tops a little.
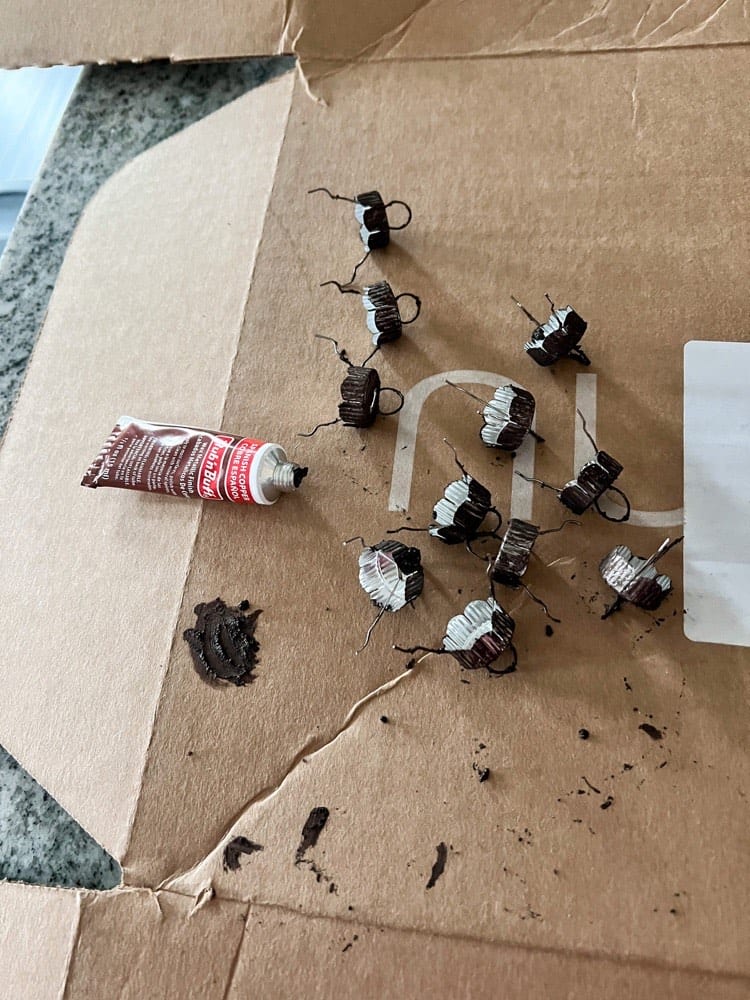
And thankfully, that worked. I just applied it using a cotton tip applicator and then let them dry. After they were fully dried, I attached them back to the top of the ornaments.
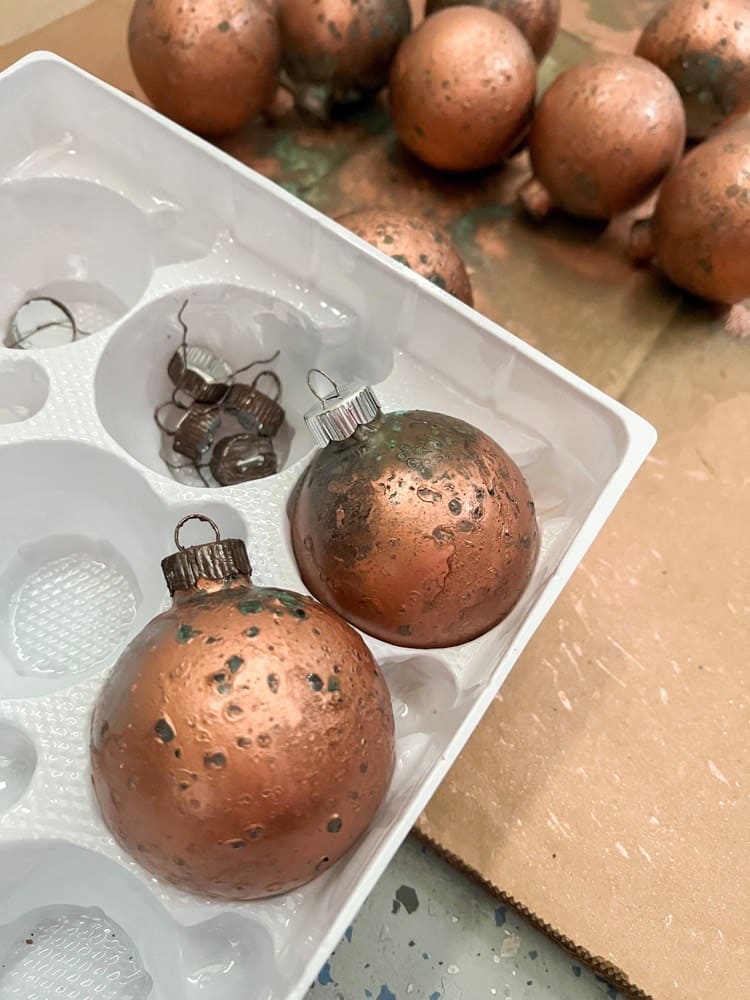
Decorate with Your Mercury Glass Ornaments
Now you can decorate with your finished ornaments! I think they are the perfect addition to my King of Christmas 8 foot King Noble Flocked tree! Don’t you agree?
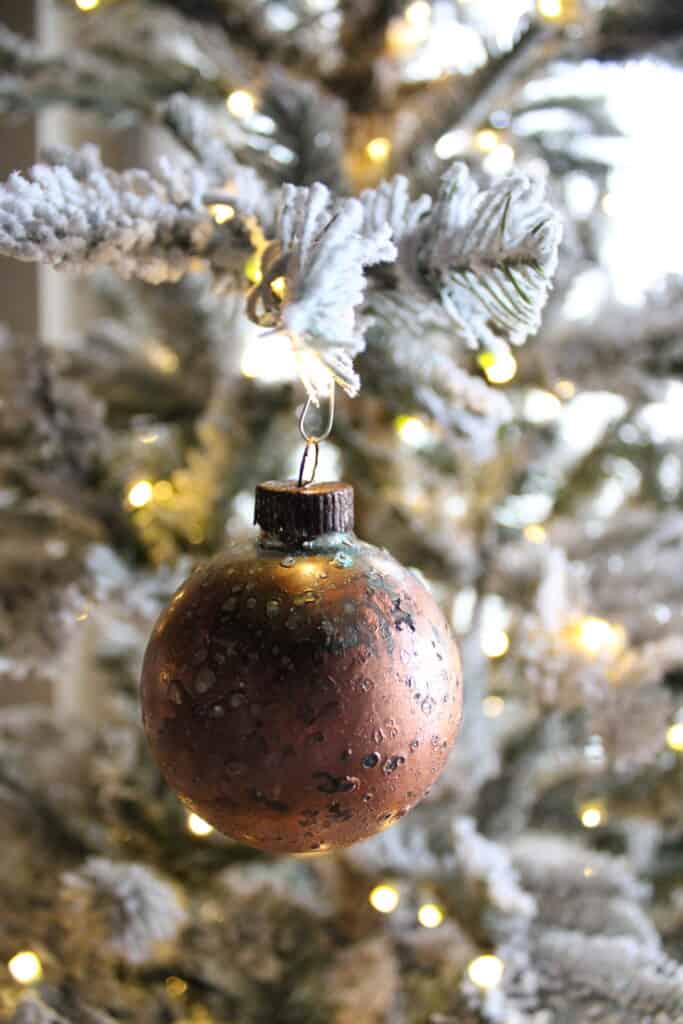
I need to make a few more in order to fill the tree up fully, but I wanted to go ahead and share the tutorial process with y’all in case you wanted to make them too!
I am so happy with how they turned out and with how vintage they look too. This is right up my alley for sure!
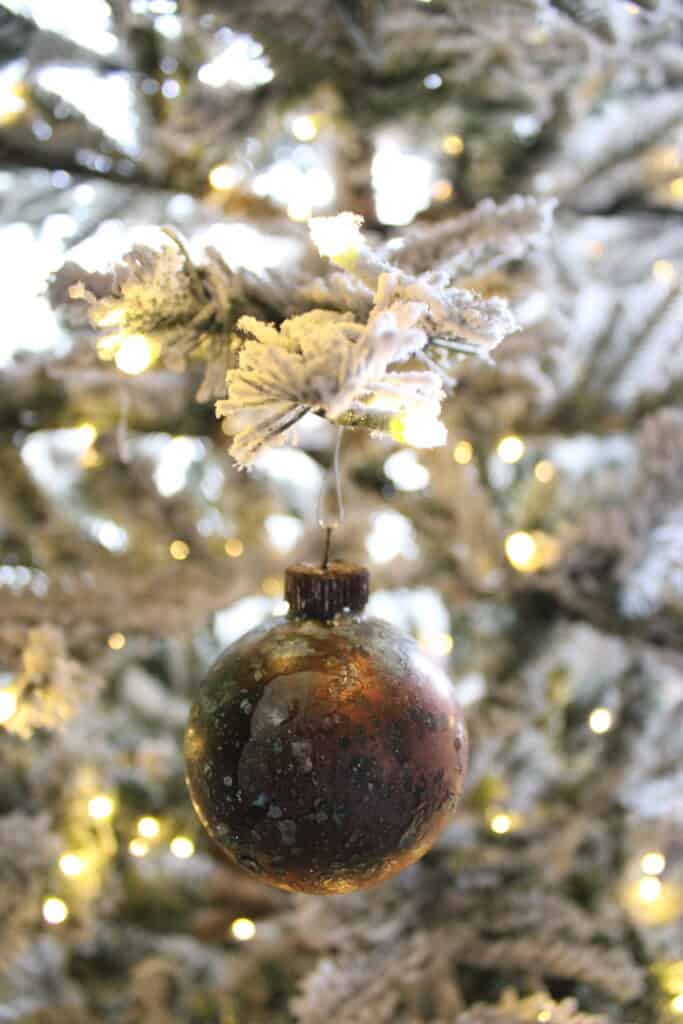
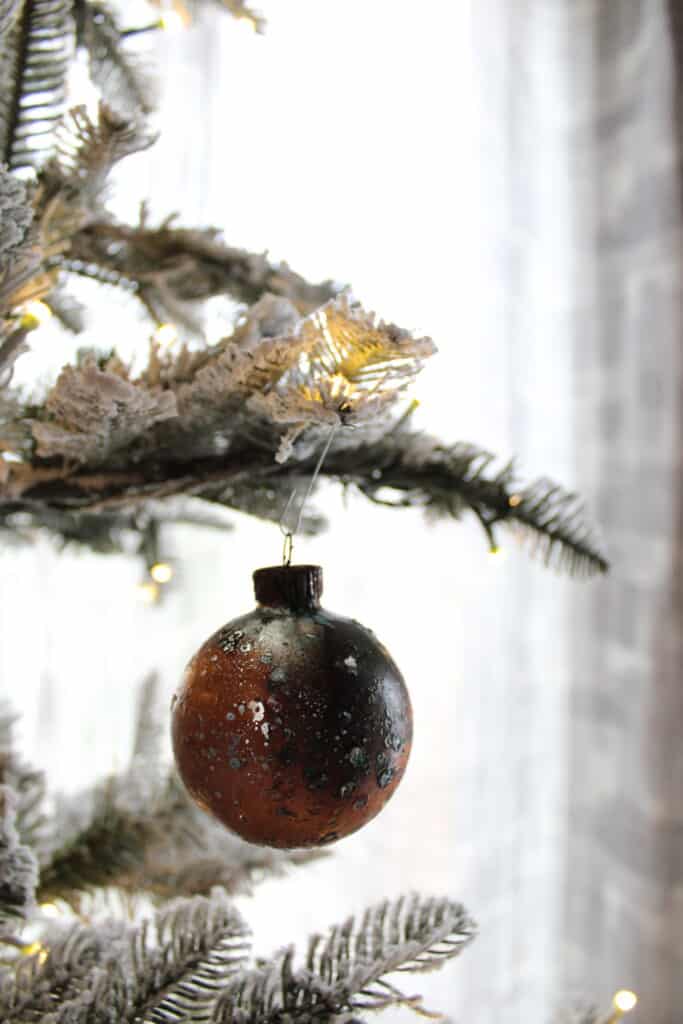
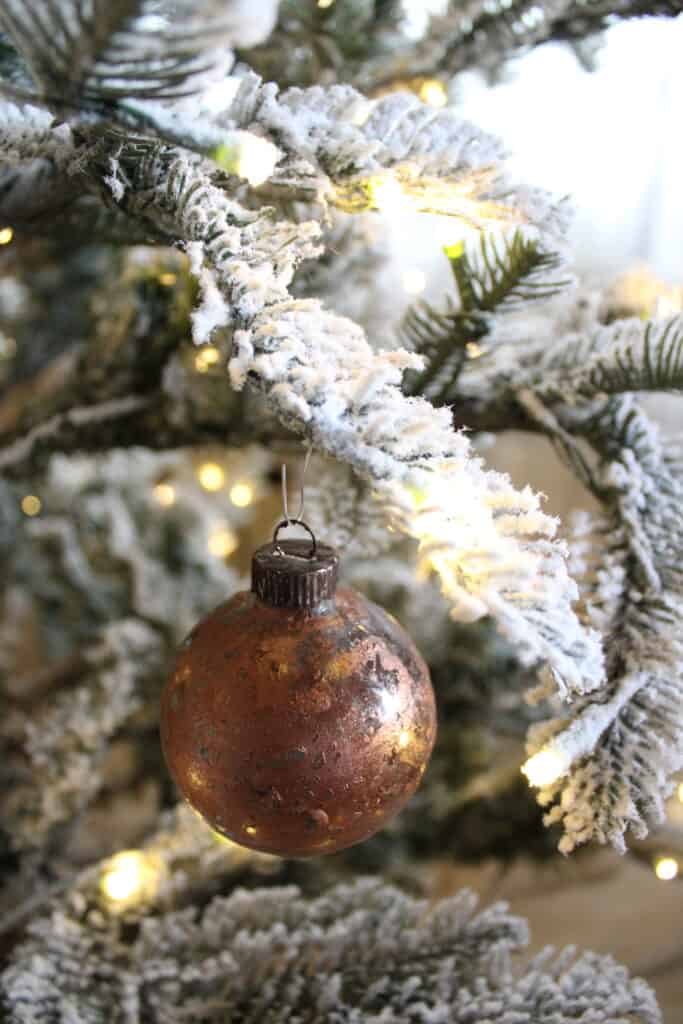
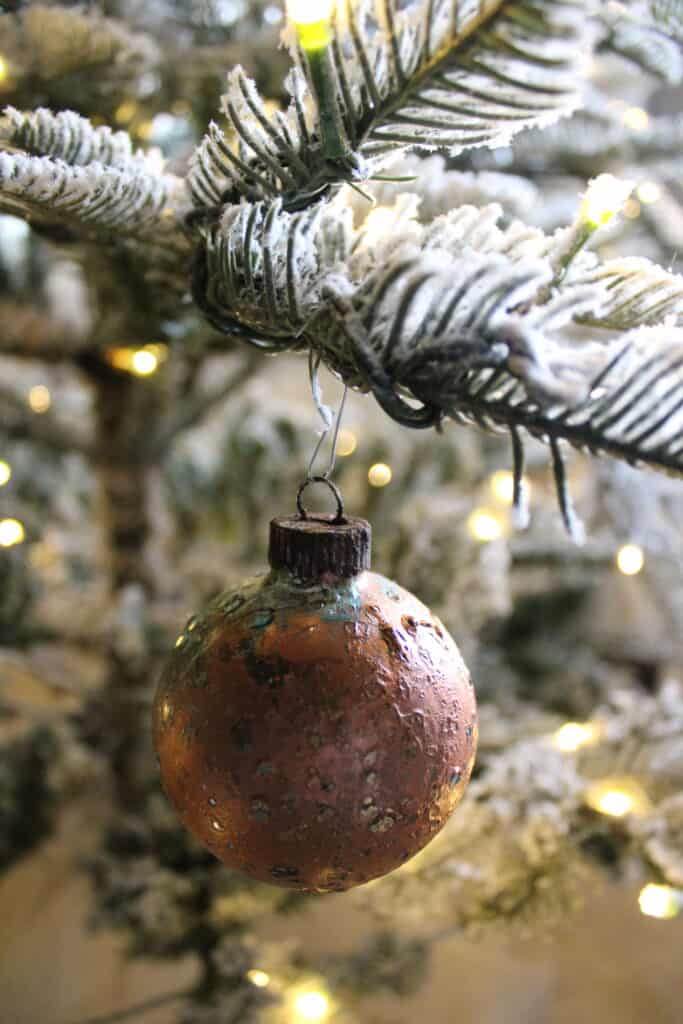
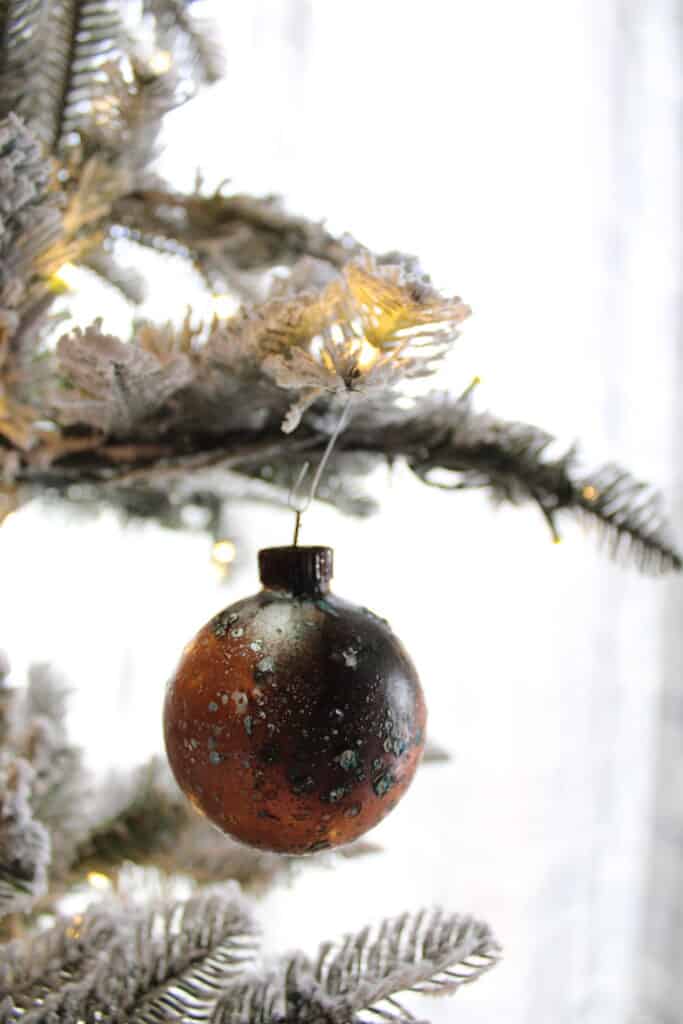
Let me know if y’all make them too, I would love to see how they turned out for you too! Especially in different colors as well!
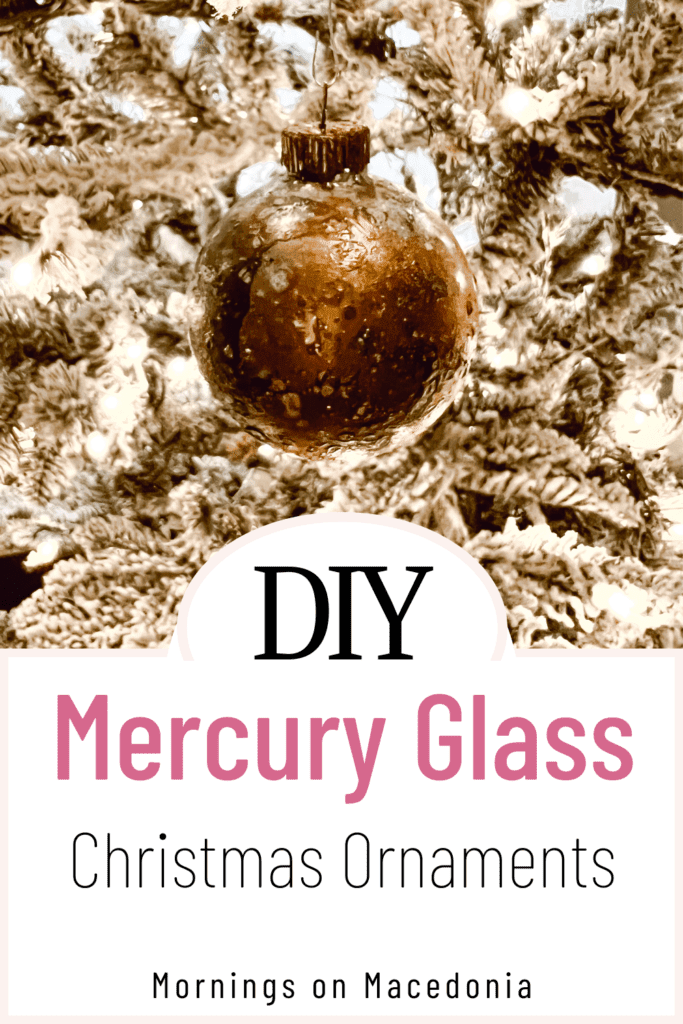
Also, be sure to like and save my video pin on how to create these beautiful ornaments as well:
Learn more about how to turn your builder grade home into something more with seasonal crafts like this here too!


Wow this is so cool I never thought about doing something like this those are so unique really beautiful! Thanks for sharing this would love to try to be more creative with my Christmas ornaments because being able to make them yourself is such a nice tradition. Thanks for sharing!
Thank you so much! You should definitely try it out for yourself too!
These DIY glass ornaments are wonderful! I love the bronze colour you have used to spray them x
Lucy | http://www.lucymary.co.uk
Thank you so much Lucy. I love the color too!
I love your DIY posts and they look amazing.
Thanks for talking us through the whole process and showing the materials used.
No problem at all. Glad you enjoyed it!
I love love love it. Thank you so much for sharing this brilliant money friendly idea.
Awe thank you! I am so glad you think so too!
Wow… this mercury ornament looks gorgeous. Thank you for sharing this DIY.
These ornaments look so lovely!
Thank you so much. I appreciate it!
Fabulous ideas for money saving DIY mercury glass Christmas ornaments. I love how detailed your post is and very easy to follow. The ornaments are beautiful!
Awe thank you so much Debbie. I appreciate that!
These ornaments look so lovely!
Thank you so much!
I love these DIY mercury glass ornaments! They are so beautiful! Thanks for sharing these step-by-step how to make them.
Thank you so much. I am so glad you enjoyed them too!
They look really pretty. That’s a fun holiday decorating theme – You could carry it over with the same technique on some glass vases to decorate the table or mantle too! Now you’ve got me thinking and my creative mind eager to get started haha
That’s a really great idea! I need to do some vases this way for sure! That would look so good!
Wow, these ornaments look fantastic and are pretty easy to make as well. I love the idea of homemade ornaments and it’s something I have wanted to give a try. I could give these a try, they would look great on our tree. I just hope I can find a warmer enough day to spray-paint them.
Thank you, you should definitely try them out if you have warmer weather headed your way soon!
I love the way your DIY mercury glass ornaments turned out. Great idea to use the Rub and Buff product on the tops! Thanks for the inspiration!
Thank you so much! I am so glad you enjoyed them too!
Great idea! We’re always looking for new ways to express creativity. I’ll be sharing this w/ my daughters.
Thank you so much. I hope they enjoy it too!
Oh wow the DIY ornaments look so pretty, and I love the copper color and how it goes well with your copper ceiling!
Thank you! It is a perfect match, isn’t it?!
These look beautiful! I am looking for something like this, because it would keep my son occupied and he loves crafts and our decorations haven’t changed for almost 10 years!
Oh awesome! Well, this is a perfect and cost effective way to change up your decorations then!
This would make such a fun activity with a group of girlfriends! Thanks for sharing!!
Thank you so much. Glad you enjoyed it too!
These are actually so cool! Sometimes the more ruistic feel is perfect for the colder months and these would add a lovely “warm” feel!
Thank you! I totally agree with that!
These look beautiful, will have to try! Thanks for sharing.
Thank you! I hope you enjoy it just as much as I did!
I can’t believe how effective these look. They look amazing!
Awe thank you so much! I am so glad you think so too!
These are lovely and I love the colour of them too – I’m a sucker for rose gold! Making ornaments sounds like a great activity to do around Christmas 🙂
Thank you. I love everything rose gold too! It is just so pretty!
Hi Charity,
You really are remarkably practical and artistic – I don’t know how you do it! I have to say that, as somebody that is not very practical and not evenly remotely artistic, it is nice to have somebody like you come up with the ideas and tell the rest of us how to do it. Great job 🙂
Awe! Thank you so much! That comment made my day! I love doing things like this, although it’s hard to find time doing this while working a full time job too! But I am so glad you think so! Thanks for stopping by!
They turned out, so good, I may have to give this a try for Christmas presents. Thank you for sharing.
Awe yay, you definitely should try it out too!
Your ornaments are gorgeous, Charity! Thank you so much for sharing the tutorial. I’m on pins and needles waiting to see the full reveal of those gorgeous ceiling tiles!
Awe thank you so much! I can’t wait to share all about that too!
These are gorgeous! Great diy to make vintagey ornaments!
Thank you so much! I appreciate it!
Oh, I know how much those vintage lovelies are, I have several myself, but NOW??? Oh, I can have to many more now that I know how I can make my own! How clever… I am looking forward to trying this myself!
These ornaments turned out so cute! I gotta know where you come up with your ideas, Charity! So creative! Thanks for sharing with the world!
Lol my brain is running 24/7 with ideas. I can’t keep up with it honestly! But thank you so much my friend!
What is the other color you put on? There was no coverage of doing that step. I like the 2 colors together.