We recently just got back from a trip to Isle of Palms. And I wanted to do something cool to remember it by. So I grabbed a few seashells and came up with this DIY seashell wall decor idea!
It only took a handful of basic supplies and just a few minutes to complete too! Such an easy craft and a really cool way to remember a special trip. No matter what beach you go to, you could always make this easy seashell craft. You could even do it with sand dollars too if you were lucky enough to find some!
This is the perfect craft for beach lovers and a great way to use up some seashells that you find during your trip! Keep on reading for my simple steps on how to create this cute little wall decor piece. It’s perfect for your dining room, bedroom, bathroom, wherever you want!
If you are coming from Heidi’s post, thank you! Be sure to check out all the other amazing bloggers in our Cozy Creative Collaborative this month too! This post contains affiliate links. Click here to read my privacy policy.
Coastal Inspiration from The Cozy Creative Collaborative

DIY Beach Keepsake | Nicolle of Our Tiny Nest Blog

How to Make Homemade Candles in Scallop Seashells | Heidi of Eleanor Rose Home

DIY Seashell Wall Decor | Charity of Mornings on Macedonia

How to Set a Casual Coastal Table | Kelly of The Tattered Pew

New England Lobster Cobb Salad | Jennifer of Cottage on Bunkerhill
Materials Needed for Seashell Wall Decor
Seashells
Trim Pieces, optional
Wood Stain, optional
Attach Sea Shells to Canvas
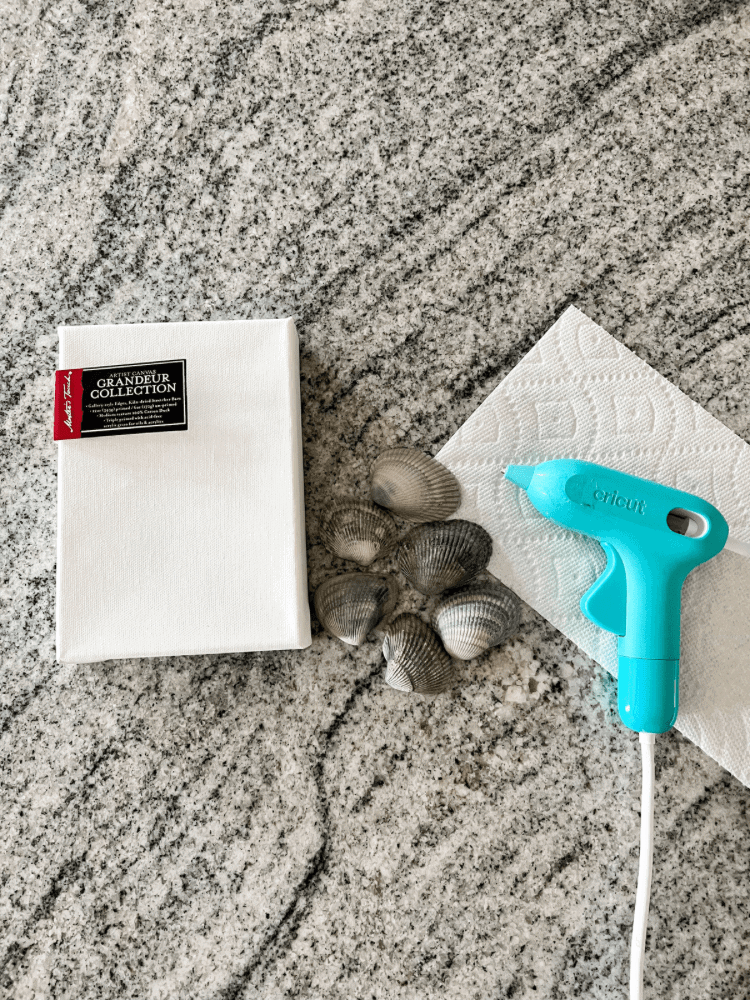
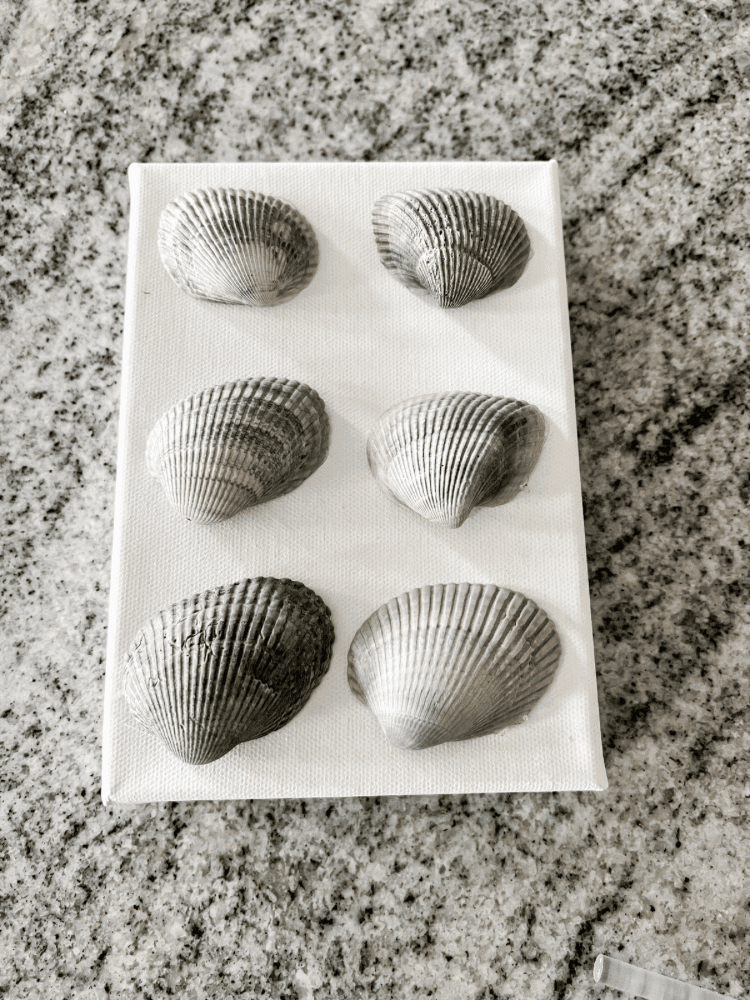
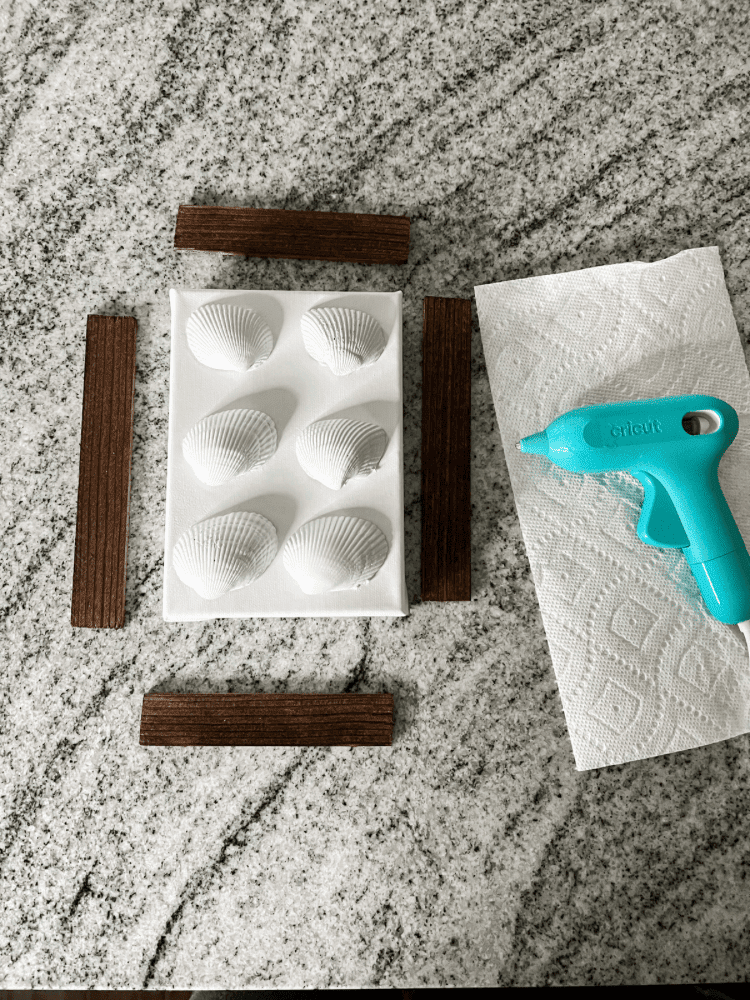
The first step to create this piece is to just attach the sea shells to the canvas. I just picked up a small (5×7) canvas from a local craft store to do this with. To attach the shells, I used a hot glue gun and applied a very thin line around the edge of the shell.
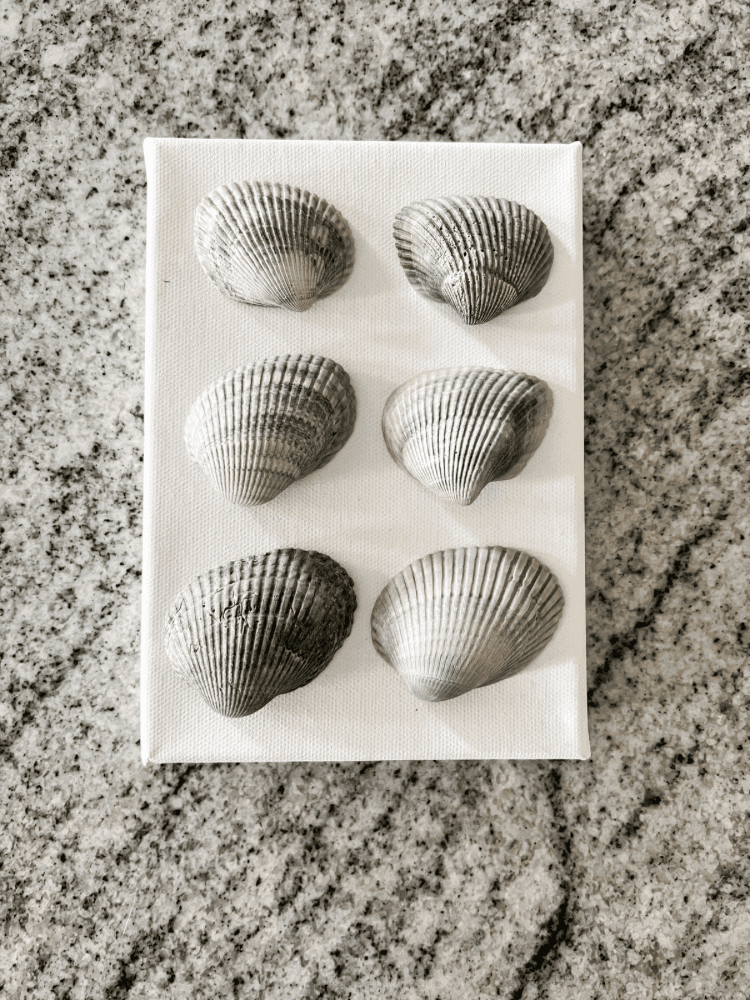
You don’t want to put too much on it, because you don’t want the glue spilling our from the sides onto the canvas. It will be noticeable when we paint it, so try to avoid that as much as possible.
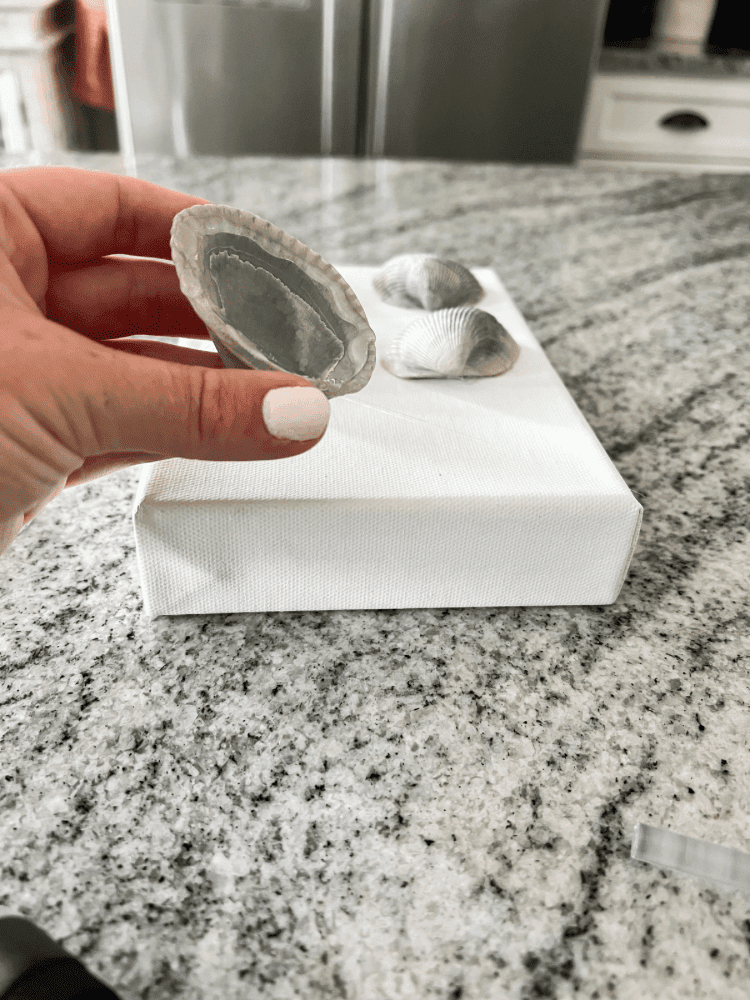
A little glue goes a long way! After I glues them on there, I let it dry for a few minutes. As I mentioned above, you could easily use sand dollars, sea glass, or any of your beach finds instead of just seashells for this part too! Whatever you want to remember or preserve from your trip will work great here!
Spray Paint the Canvas
Now, this part is optional and you don’t have to do it if you don’t want to. If you wanted to leave the shells on the canvas with their natural look, go for it! It looks really pretty that way too.
But, I wanted to create a neutral seashell art piece, so I decided to spray paint the whole piece white. That way it gives it a nice clean and white aesthetic.
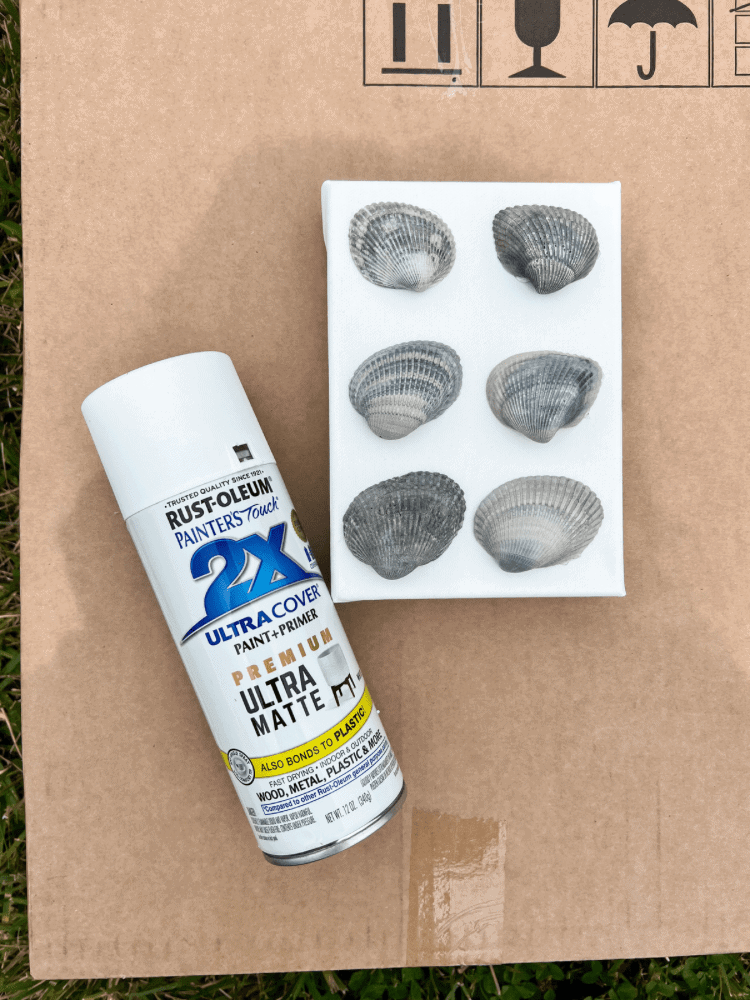
And also, because you are painting the shells, that means you don’t have to be on the hunt for the absolute prettiest shells on the beach! Which is definitely good news. Just find some that are relatively the same size and that’s it! This makes it so much easier in my opinion. Sometimes it can be hard to find a pretty, untouched shell on the beach!
You could also try to find shells in different shapes and create more of an abstract piece too if you didn’t want it to be all symmetrical. After spray painting, I let the seashell wall art piece dry outside for a few hours before moving on to the next step.
Attach a Frame
Now, this part is also optional. You could leave your wall art piece as is and not add a frame. Or you could do like I did and add in a frame. I love the wood and white look together so I though why not?!
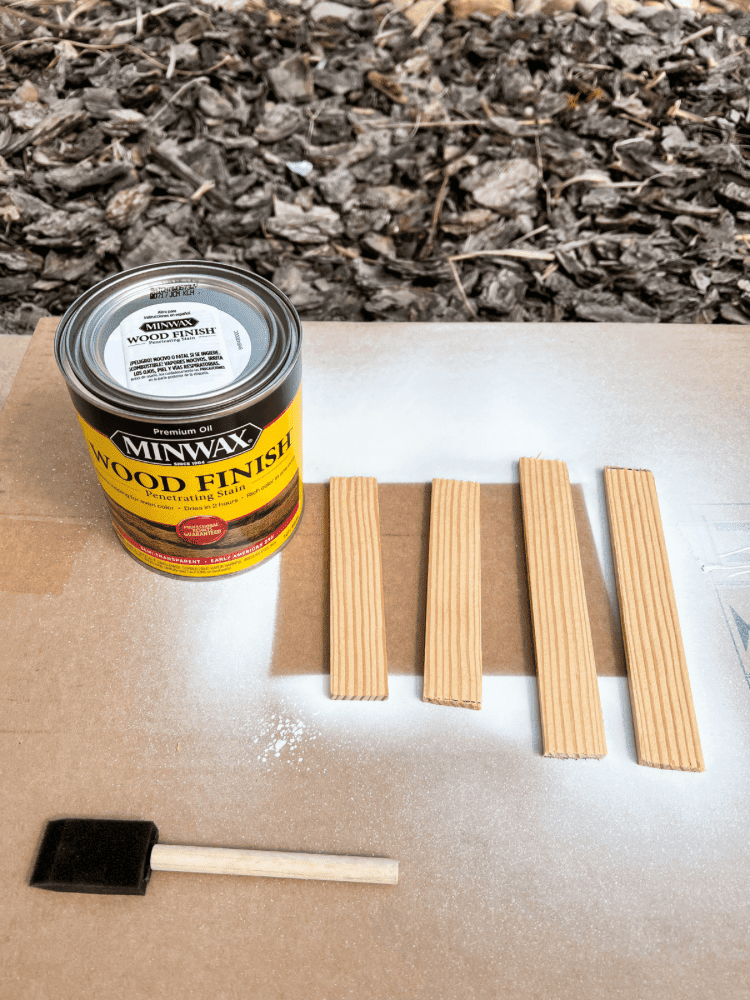
I just had some leftover wood trim pieces from another project I was working on, so I decided to use those pieces. To use them, I just measured around the canvas and then determined how much wood trim I would need. After measuring, I cut them down to the correct size as well. Before attaching them to the canvas, I did end up staining the wood. I used my favorite Minwax Stain in the color Early American.
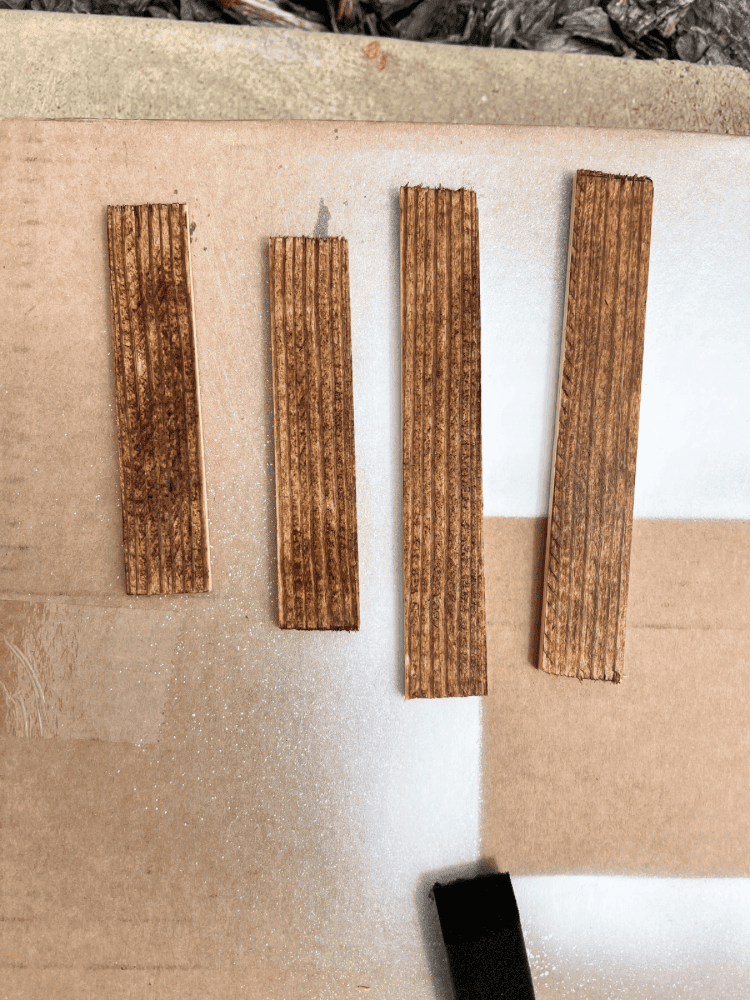
I applied two total coats on each piece and let it fully dry in between. Once dry, they are ready to attach to your canvas. Now, you can be all technical and use a nail gun here to attach the frame to the piece. But, I was lazy and just used hot glue. This isn’t a heavy or big piece so the glue worked just fine adhering the wood to the canvas.
Style Your Seashell Wall Art Piece!
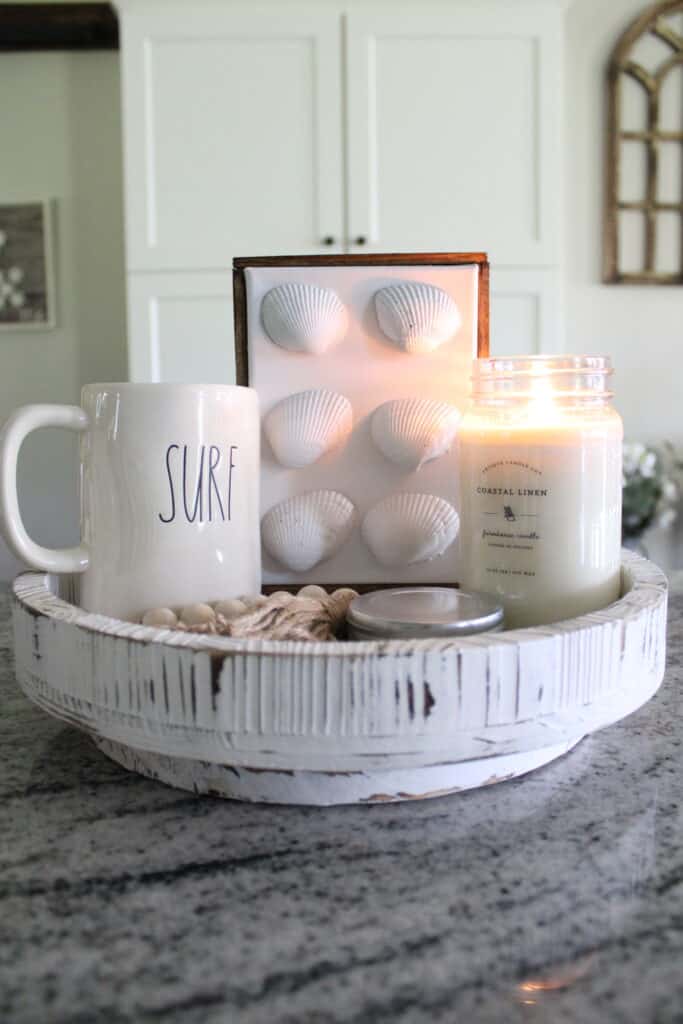
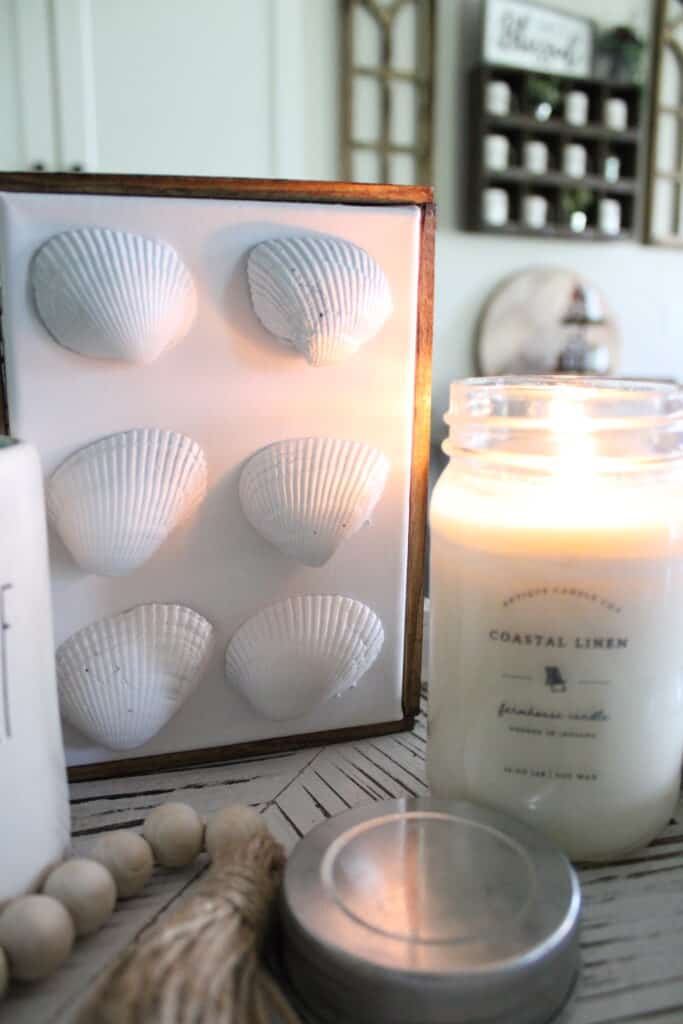
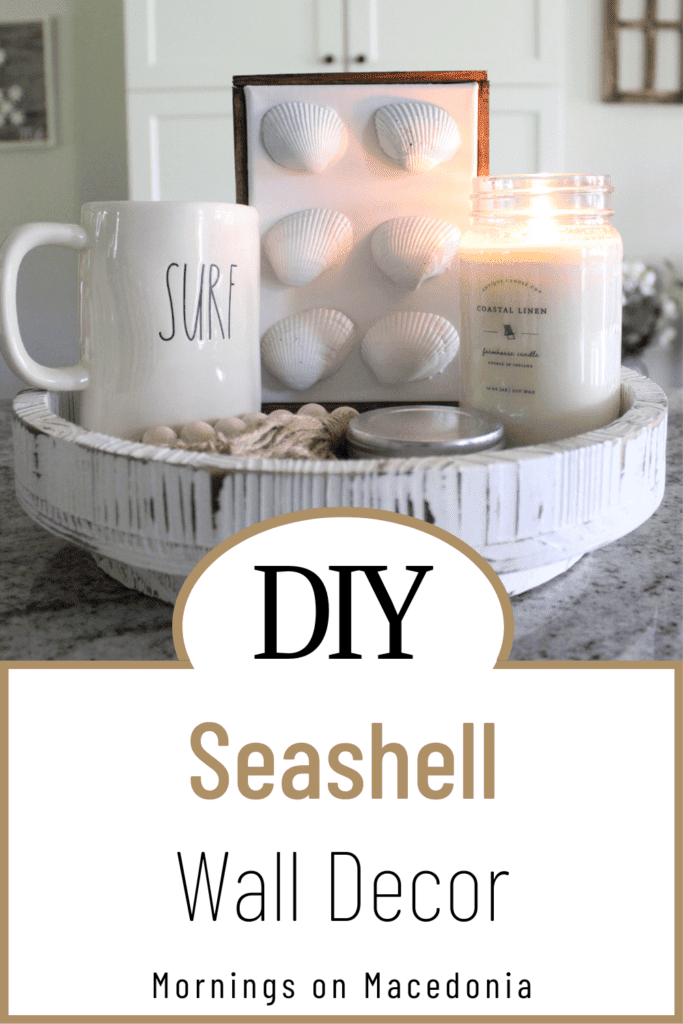
Now of course, you can hang this pretty piece on any wall of your home you choose. But, I decided to just style it in a tray instead. It’s so small, I think it looks really cute styled on a tray. This is such a fun way to remember your trip, and it can look perfect with all your existing home decor since it is such a neutral piece.
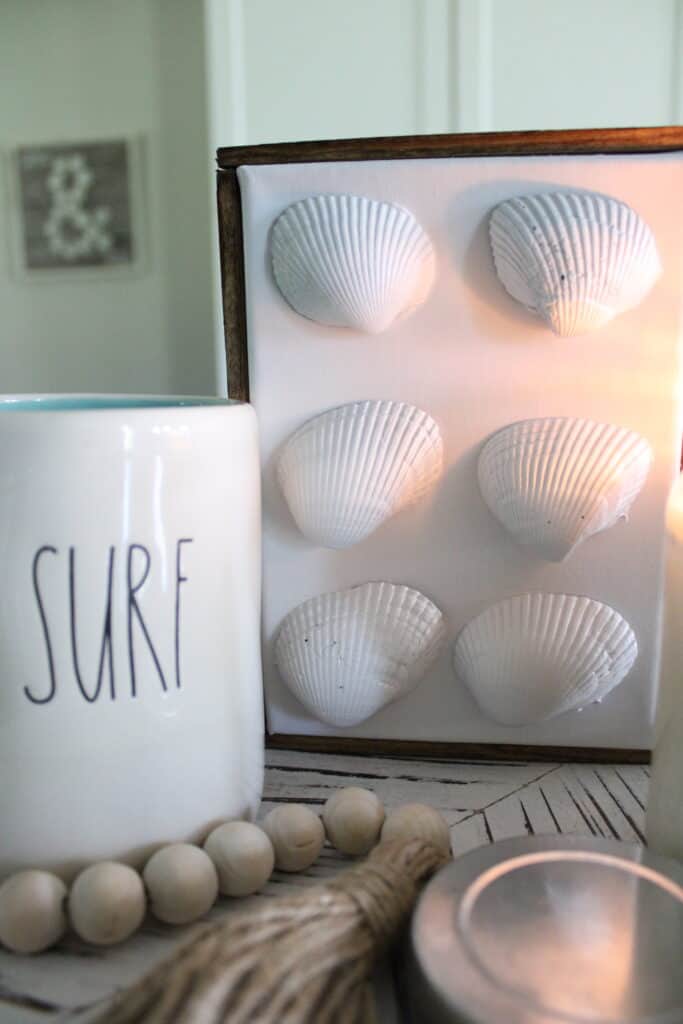
I think it would also look phenomenal in a beach house too. I wish I had one to decorate myself! But, even if you have just a traditional home like me, this piece adds just the right amount of beach vibes to your space. Doesn’t matter that we’re located in the mountains!
I can just look at this art piece and smile, thinking of my absolute favorite place to be- the beach! If you have a collection of seashells that you’re looking for something to do with, I highly recommend that you try this little craft out.
And, be on the lookout for some seashells on your next trip too so you can do it again. How fun would it be to have a whole wall full of seashell wall art made from different beaches and trips you have taken over the years?!
I hope you enjoyed this little tutorial on my DIY Seashell Wall Decor. And I hope you will be able to try it out for yourself sometime too! Do you have any fun beach trips coming up in the future? If so, I would love to hear all about it below!
And be sure to check out Kelly’s post on How to Set a Casual Coastal Tablescape next for some more coastal decor inspo!


Charity this is sooo pretty! We go to the beach in 2 weeks and I’m going to have to make this with some of the shells we get. Also, I’m gonna need that candle, it sounds fabulous!
Yes, you definitely need to do this for your beach trip! And the candle is fabulous, I love it!
Charity I love the simplicity and beauty of this project. So lovely my friend!
Awe thank you so much Kelly. I really appreciate it!
Super cute idea! Love how you made the frame for the canvas. I had something like this on my project list but never got to it this year.
Thank you Jennifer! Maybe you will get to it next year then too! It was fun to make!
This is the cutest idea Charity! Such a great way to use shells found at the beach! I love you could make this artwork as big or as small as you want in just about the same amount of time.
Exactly! I would have made one bigger, but I didn’t bring that many shells home with me so maybe in the future I will plan for that instead!
Love it! Thinking of how to do this w/ my granddaughter. I especially love the candle idea. So unique. Thanks so much for sharing such wonderful ideas.
No problem at all! I am glad you like these ideas too!
I love the seashell wall picture, what a cute decorative piece! x
Lucy | http://www.lucymary.co.uk
Thank you, I love it too!
Love this idea, Charity! I have been living near the beach for the last 3 years – whilst I was at university. I have collected a lot of shells and hope to display them, thank you for the inspiration x
Oh yay! This would be a great way to display them then!
Thanks for sharing, this looks easy to make, and looks lovely 🙂
Thank you so much! It is a great way to preserve some beach memories!