Now that Christmas is over, I haven’t been as crafty here lately. But, I was itching to make some kind of wintery craft, that wasn’t too Christmasy. So I thought I would try out these DIY snowy mason jars.
And I have to say, I am very pleased with the results! It’s the perfect winter craft, and you could technically even do it for Christmas too if you wanted.
But like I mentioned above, I wanted to keep it neutral for winter time so that’s exactly what I did! And the best part is, this craft is super easy and only took a matter of hours to complete.
However, the end result looks like you spent hours on it. Or bought it at a fancy store! So keep on reading to see just how to create this cute winter mason jar yourself too!
This post contains affiliate links. Click here to read my disclosure policy.
What Do You Need to Make Snowy Mason Jars?
- Mason Jars
- Mod Podge
- Foam Brush
- Epsom Salt
- Glitter (White or Clear)
- Flex Seal
- Twine or Ribbon
- Greenery
- Battery Operated Tea Lights
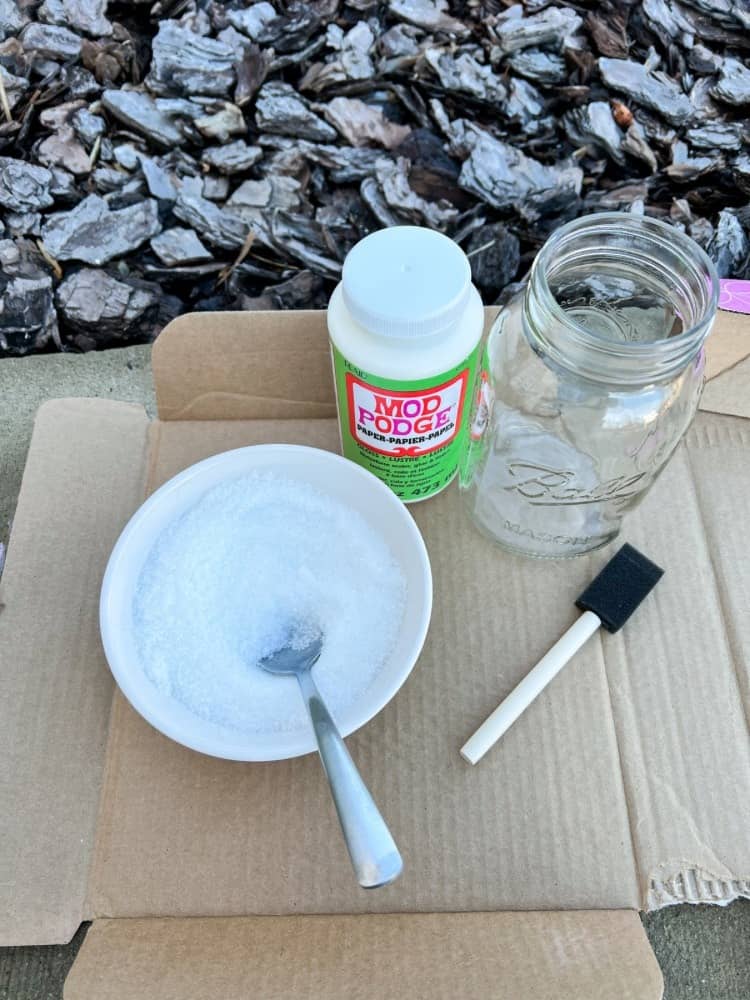
What Can I Use For Fake Snow?
The trick to these snowy mason jars, is to obviously make them look snowy. Which brings the question, what can I use for fake snow? And the answer is really simple!
Just combine a mixture of 1 cup of the epsom salt and 1 tbsp of the glitter together. This mixture definitely creates a beautiful snow effect on glass. I also recommend doing this outside like I did.
Because who wants to be cleaning up glitter for weeks inside your house?? Am I right or am I right? Glitter is literally impossible to clean up!
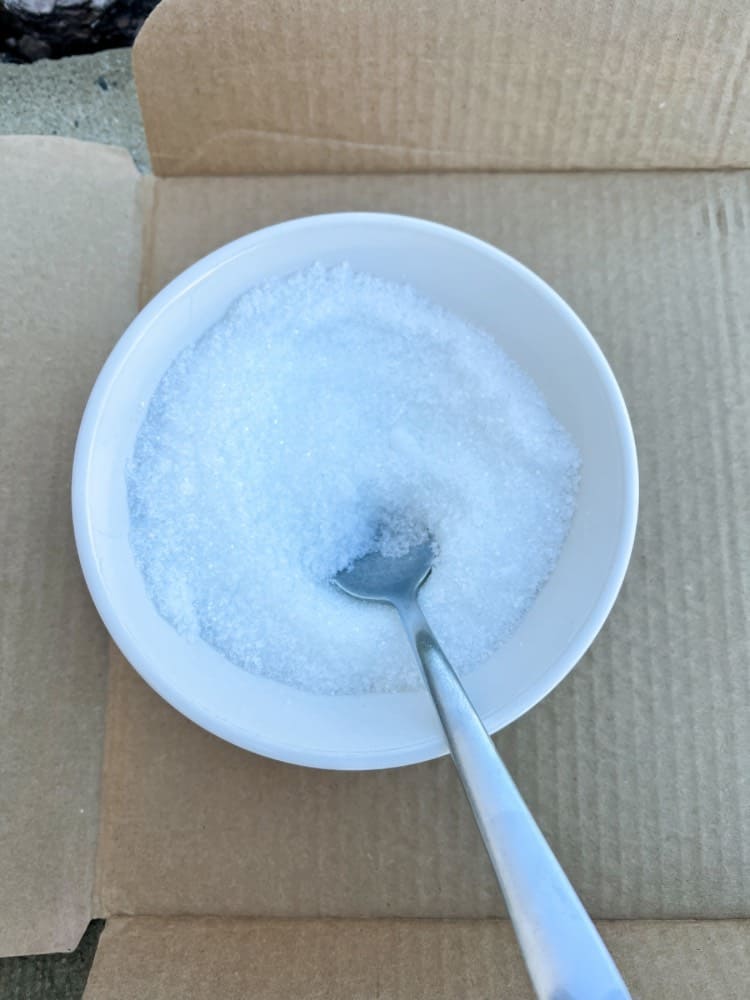
I love the fact that you can use Epsom Salt to create this frosted look. I used the lavender scented one too, so bonus points that it actually smells good as well.
And I am glad I can use the rest for soaking in a nice, hot bath at the end of the day! I am a sucker for epsom salt and any other bath product like that!
Making The Snowy Jars
Once you have your fake snow all mixed up and ready to go, you can now create the jars. All you need to do is apply a very thin layer of Mod Podge to the mason jar using a foam brush.
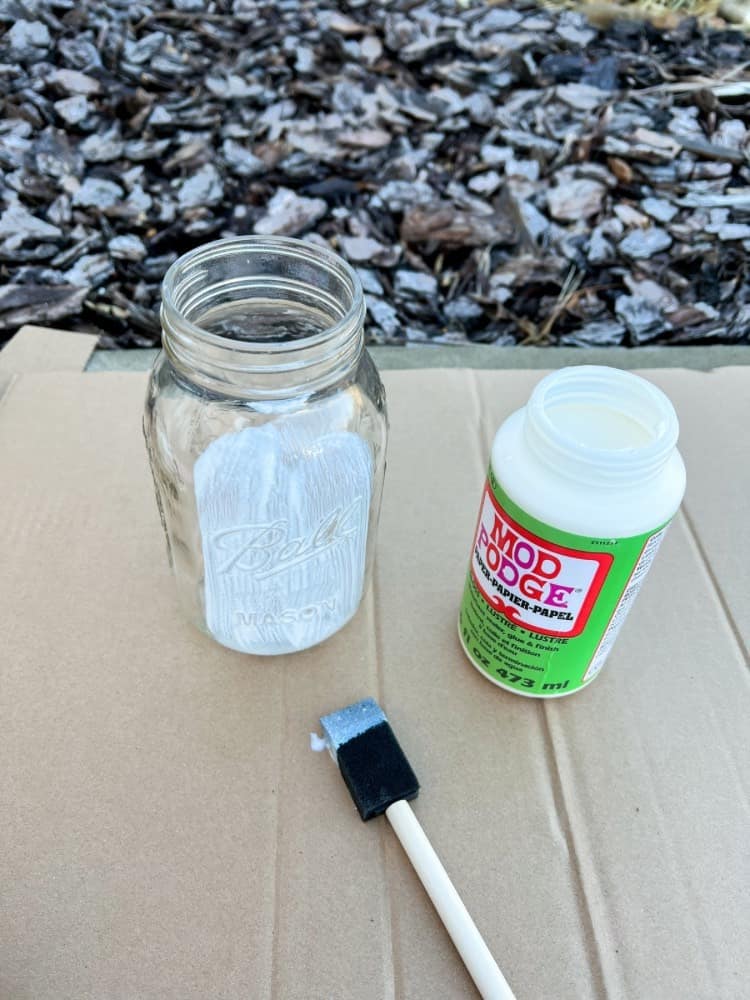
I applied it all of the jar and then I immediately sprinkled some of the fake snow all of the jar too.
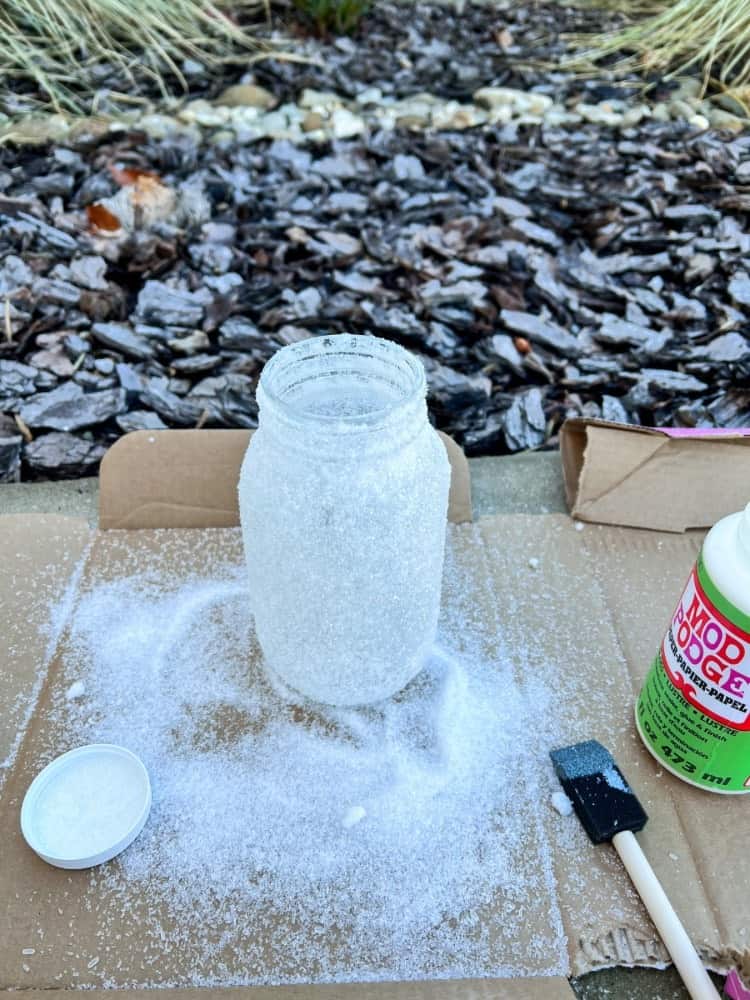
This mixture gave me enough to cover 2 mason jars fully and I didn’t skimp out on the snow. I applied a lot and just let the extra fall down onto the cardboard piece I was using too.
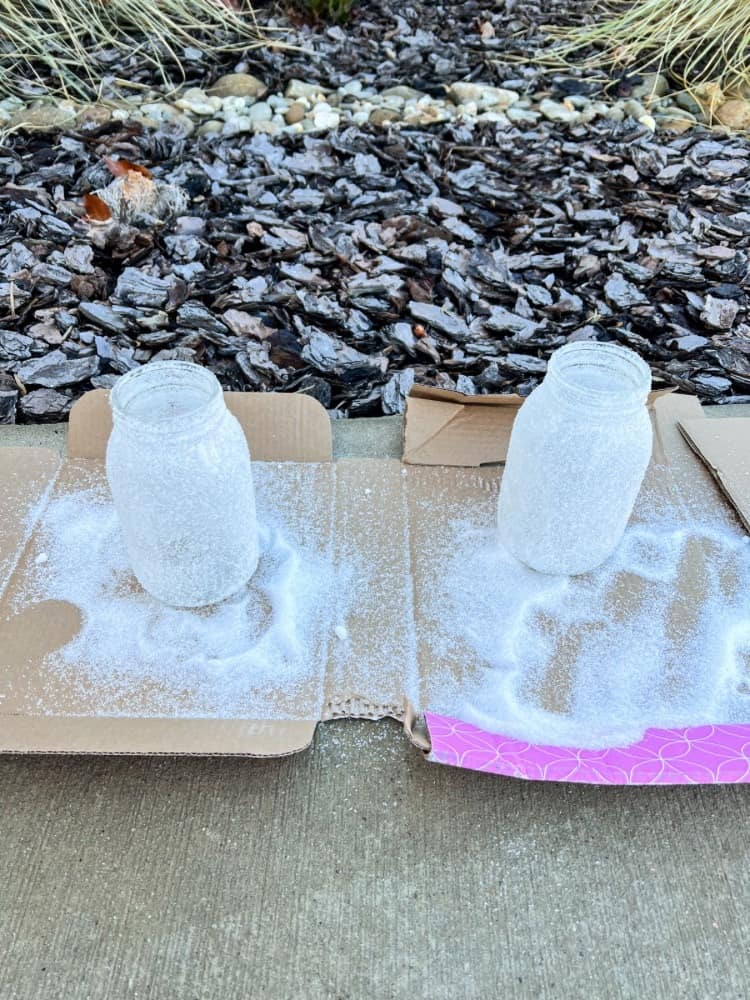
In order to keep the fake snow adhered to the jar and not falling everywhere, I used some Flex Seal. I got to thinking that if I didn’t use it, the glitter and everything would be all in my house anyways, which was what I was trying to avoid to begin with!
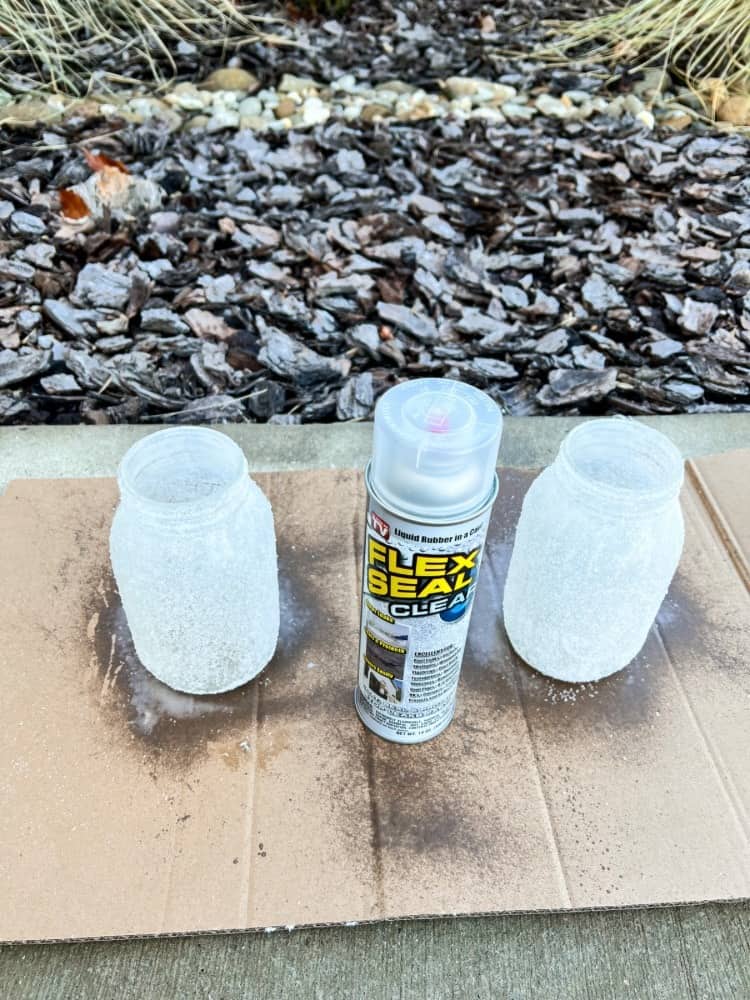
I used the Flex Seal in Clear because I didn’t want it to affect the look of the fake snow. And thankfully, it did not.
It just looked a little wet when I first sprayed it on. But, I let it dry for about an hour or so outside and after that it was completely fine!
Finishing Up The Snowy Mason Jar
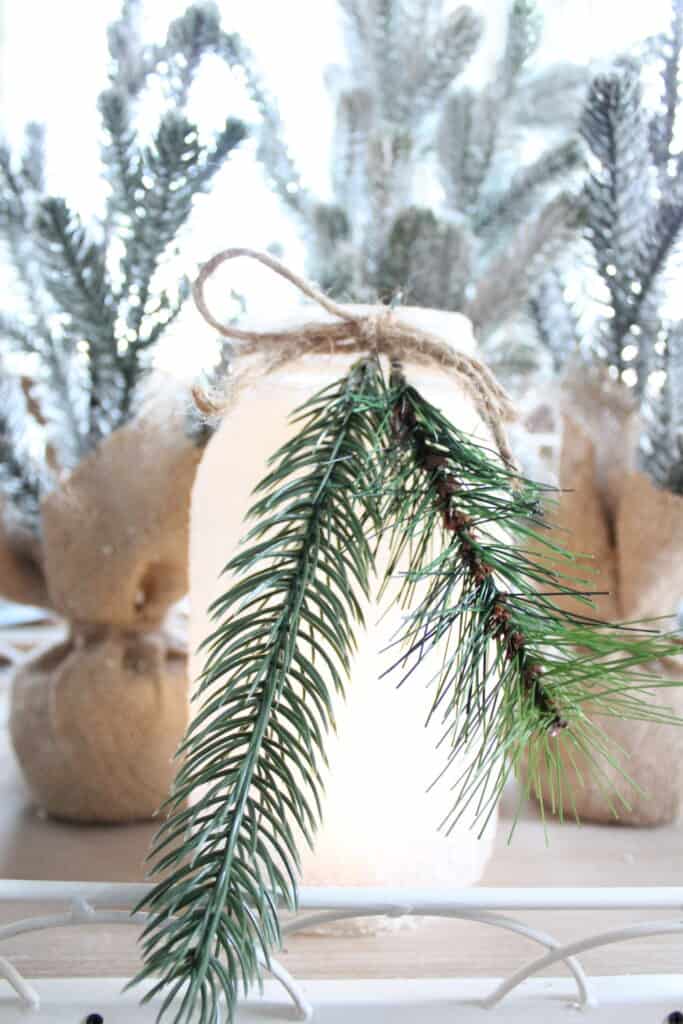
The last step to this incredible easy winter DIY craft, is to add in some twine or ribbon to the top of the jar.
I just used some regular old twine to keep it neutral. But like I was saying above, if you wanted to make this for Christmas, you could definitely use some Christmas ribbon here too!
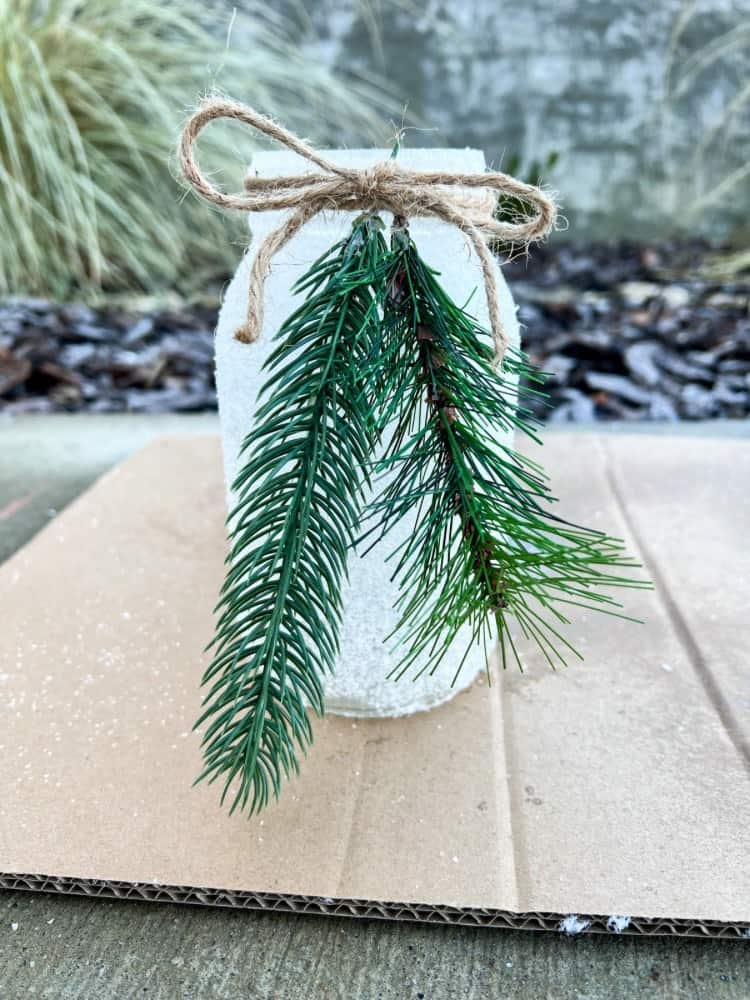
Also, when adding the twine, add a piece of winter greenery too. I actually just found a few pieces from a wreath that fell apart.
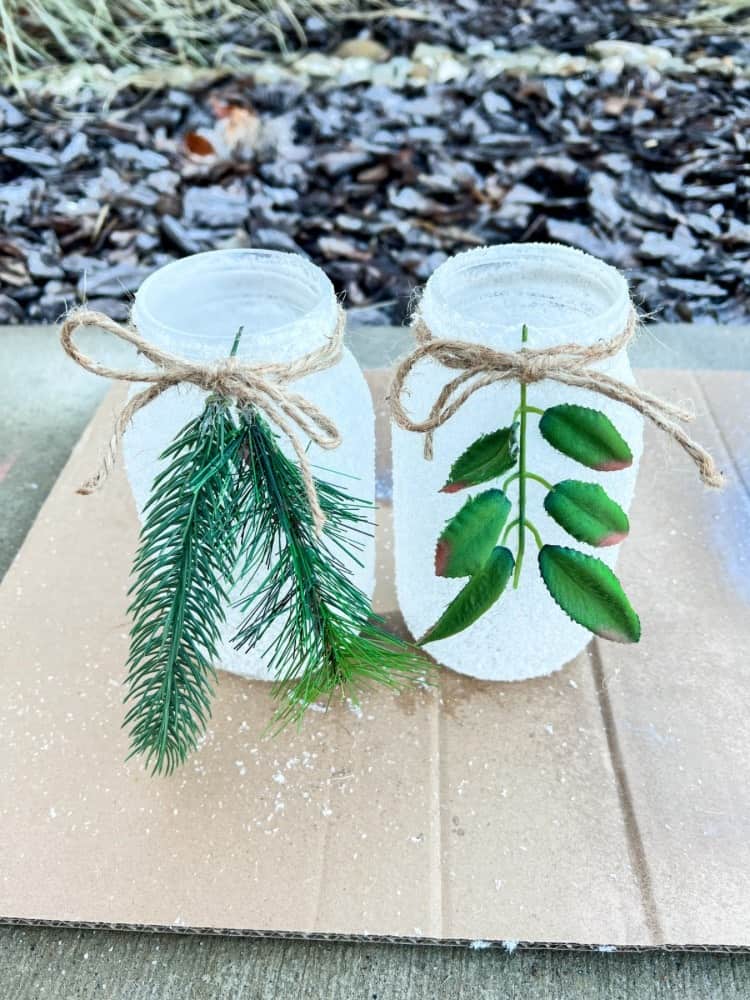
But, you can easily find some greenery pieces in stores or online as well. After that, pop in a little battery operated tea light for a beautiful magical glow!
Enjoy Your Frosted Mason Jar
Well, I hope you all enjoyed this easy tutorial on how to make a snowy mason jar! As you can see, it is so simple and easy to make!
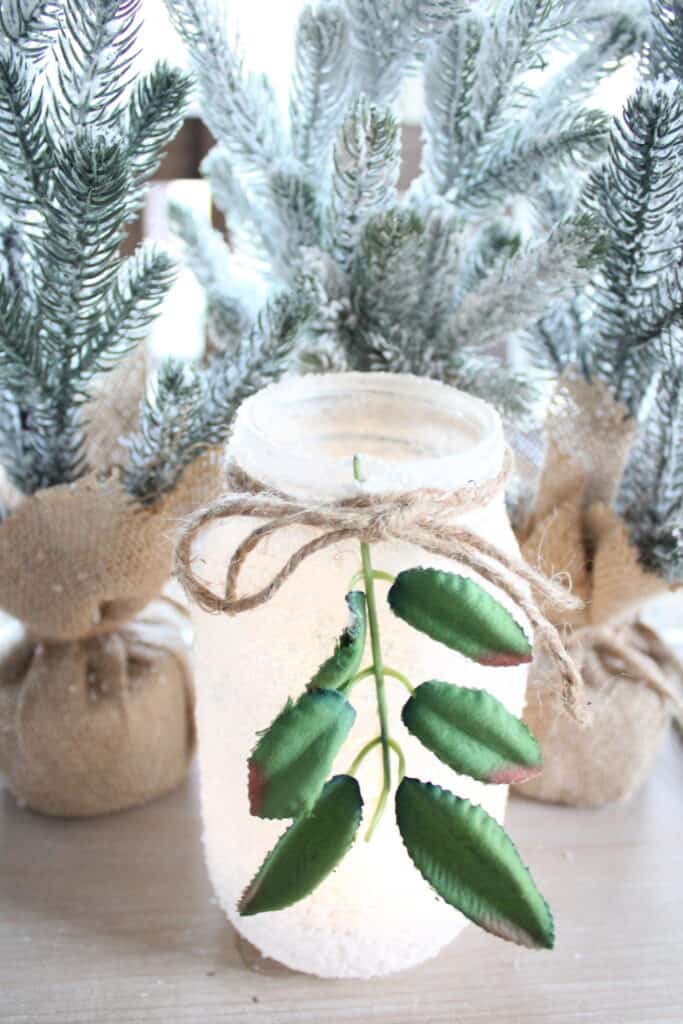
And it makes for the perfect winter centerpiece. Or a beautiful statement piece on a tiered tray. See, you can still have a nice warm and cozy glow in the winter even after Christmas is over!
If you make these too, let me know how they go for you as well! I would love to hear all about it! And if you’re looking for more winter home inspiration, be sure to check out my post all about how to decorate your home for winter too!


These are so cute! They can absolutely be out all winter season rather just over Christmas!
Yes, I think so too! It’s the perfect winter decor!
oh those are so pretty!! love that idea and it looks like it wouldn’t be so hard to do. Thanks for sharing that! 🙂
Oh yes, it was very simple and fun to make!
Such a fun DIY arts and crafts project. Loved the layout and flow of the post. Thanks for sharing!
Thank you so much. I am so glad you enjoyed it as well.
This is such a sweet DIY craft! I really like how the finished product looks, I’ll have to give making this a try later in the year x
Thank you, you definitely should try it out sometime too!
I never knew it was this simple to make such a beautiful jar. I love the wintery feeling, and it would be such a nice DIY project. Thanks for sharing!
Thank you! I am so glad you enjoyed it as well!
I love how these came out! Seems like a stress free DIY project which is super appealing to me. Lol. Thank you for sharing!
Lol yes, I always love a good stress-free project like this!
They look very seasonal. Cool suggestion
Thank you. Glad you like them
These are so cute and love that you’re keeping up the winter decor even though Christmas is over. We forget that Winter is still here!
Thank you! Yes, I like to have something in between Christmas and Spring because it’s way too early for spring decor lol
These snowy Mason jars look so simple to make, and they turned out looking so sparkly. I love the idea of tying a piece of greenery on. Like you, I had a lot of greenery around after I took apart my wreath. Thanks for the clever DIY idea!
No problem at all Lisa. I am glad you enjoyed it!
They look like such a great idea! Shame I didn’t find it before Christmas!
Well I didn’t do it for Christmas. I just made them last weekend for winter decor. They aren’t too Christmassy in my opinion and can be left out for the winter season!
These DIY simple snowy mason jars are adorable. Your project came out perfect and the step-by-step instructions are perfect and easy-to-follow.
Thank you so much Debbie. I am so glad you think so as well!
These are very festive and work not only for Christmas but also for winter decorating!!! I’m going to try this DIY snowy mason jar tutorial with my mother. Thanks so much for sharing your creativity. I would love to see more!
Awe yay! That will be so much fun to do with your mom too! I hope y’all enjoy! And I am constantly sharing little DIY projects like this so be sure to check back often!