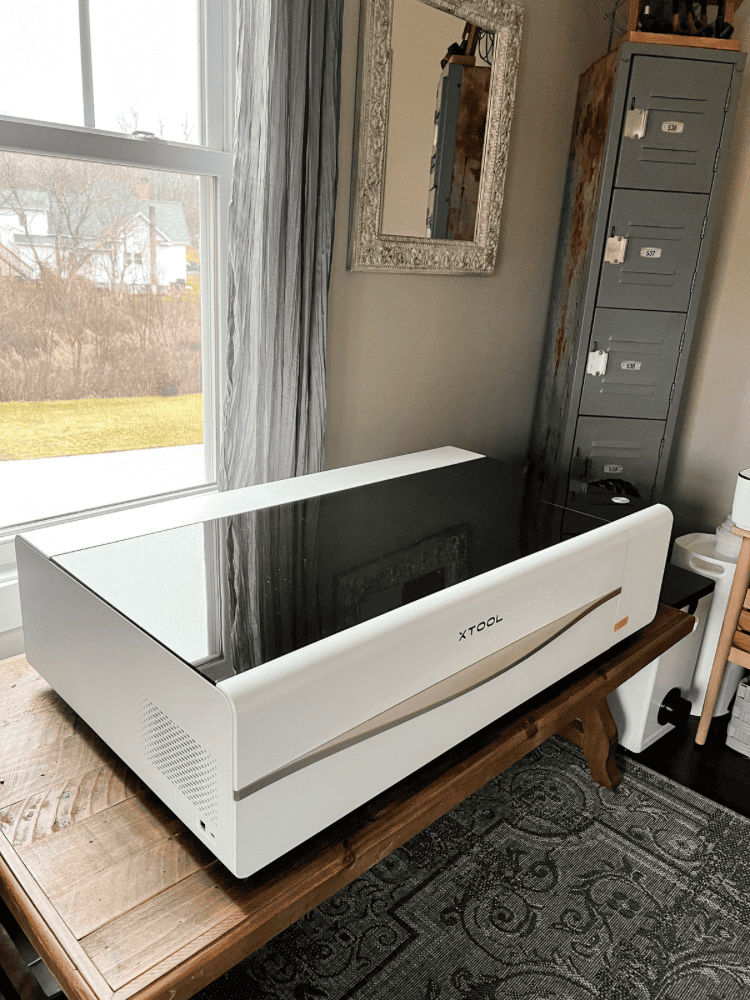
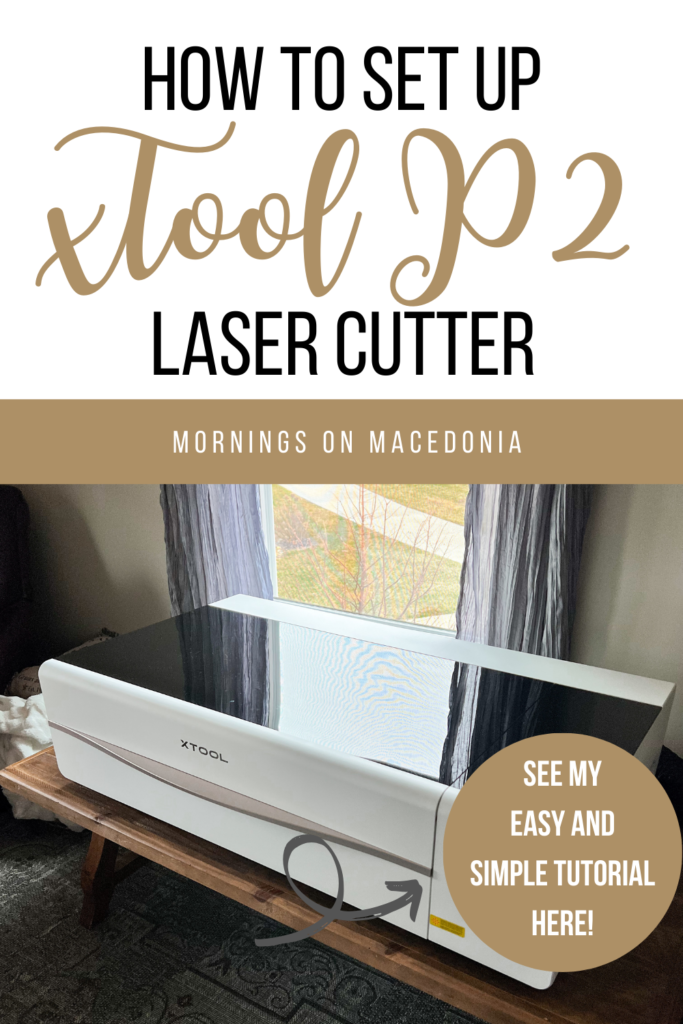
Y’all, I am so excited to share that I got an xTool P2 laser machine. And I got it in the very new pearl white color! So not only is she an amazing machine, but a beauty too!
In full disclosure, I am still very much learning and navigating this brand new laser cutter. But, I thought I would share everything I have learned about it so far. Including how to set up the xTool P2 laser machine as well.
If you’re wanting a laser machine that can handle extra-large materials, then this is the one for you! I am so excited to start playing around with it more and learning all that it can do. But, I am not going to lie, I was super intimidated at first!
This machine is huge and requires a two person set up so I was thankful that my husband could help me. So get ready to learn all that it takes when setting up this unbelievable machine and see all the steps here easily.
I am hoping this will be an easy tutorial for those who just got this machine too. I honestly had a hard time finding good tutorials online when setting mine up, so I hope this helps you out!
This post also contains affiliate links, which means I make a small commission off anything you purchase through here, at no additional cost to you. Please read my full disclosure policy for more details
xTool P2 Features
Before getting into the nitty gritty of how to set up the xTool P2 laser, I thought I would discuss all the new features and benefits to it first instead. That way if you are on the fence about purchasing one, or want more information about it before committing, I have you covered here!
- 600 mm/s maximum engraving speed
- Cuts acrylic in all colors and up to 20 mm acrylic as well. Even clear acrylic!
- 26 x 14 inch large bed size
- Can engrave and cut a wide variety of materials such as wood, coated metal, leather, glass, rock, etc.
- Leading 55W output
- Up to 500% faster cutting materials
- ‘Accurate positioning of tiny objects thanks to the ultra high dual 16 MP cameras
- You can preview your design in realtime creating error-free results
- Engrave on curved surfaces
- Automatic passthrough technology
- Can use a 4-in-1 rotary attachment as well for rotary engraving
- Integrated laser sensing through advance LiDAR technology and Discrete Graphics Processing Unit giving it unparalleled precision
- Batch processing for engraving, perfect for small business needs
- Built-in adjustable air assist
- User-friendly interface with free software, no design experience needed!
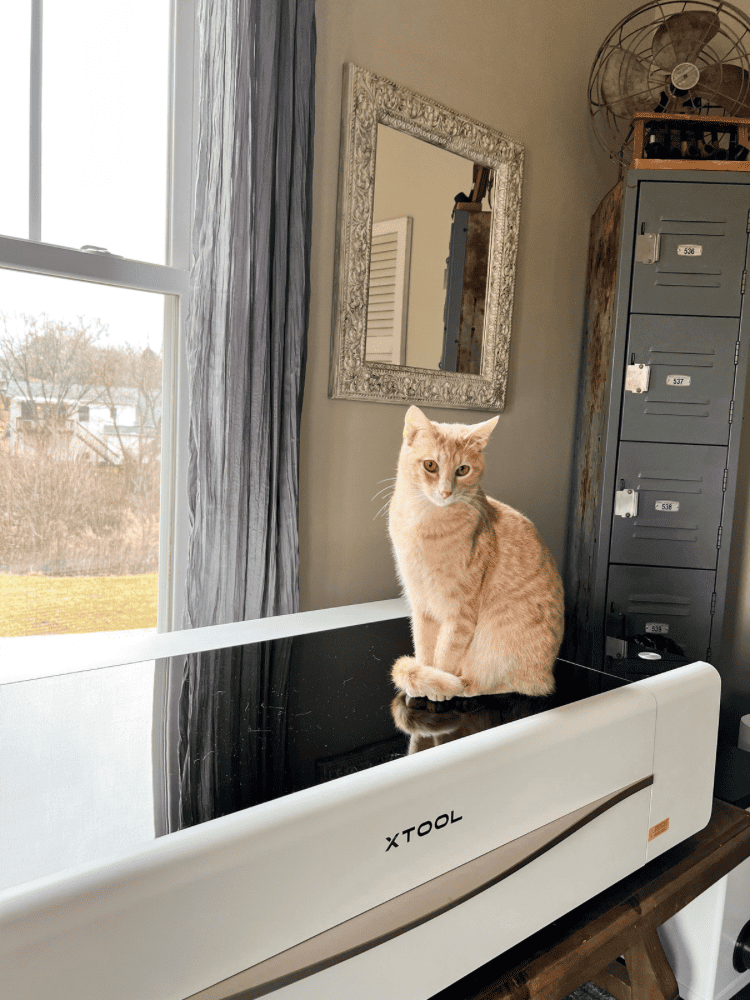
Also, when you purchase an xTool machine, it comes with a 12 month warranty, 30 day price guarantee, and a xTool fire safety set as well. This machine is definitely a significant upgrade to my Glowforge Aura machine. And I have literally just scratched the surface of it. I am so excited to test out all the different materials and see just what this laser cutter can do!
Unboxing the xTool P2
Given the product size, the box it ships in is huge! Like I mentioned above, it is definitely a two person job to unbox the laser and set it up in my opinion. It also comes with a xTool smoke purifier and air purifier that you will need to set up as well.
But, first things first, the box should tell you which direction to keep upright so be sure to follow that closely when unboxing. Then, carefully lift the lid of the box off and inspect your xTool P2 machine while it is still sitting in the foam. Make sure there are no broken parts, pieces, scratches, etc. before you remove it from the box.
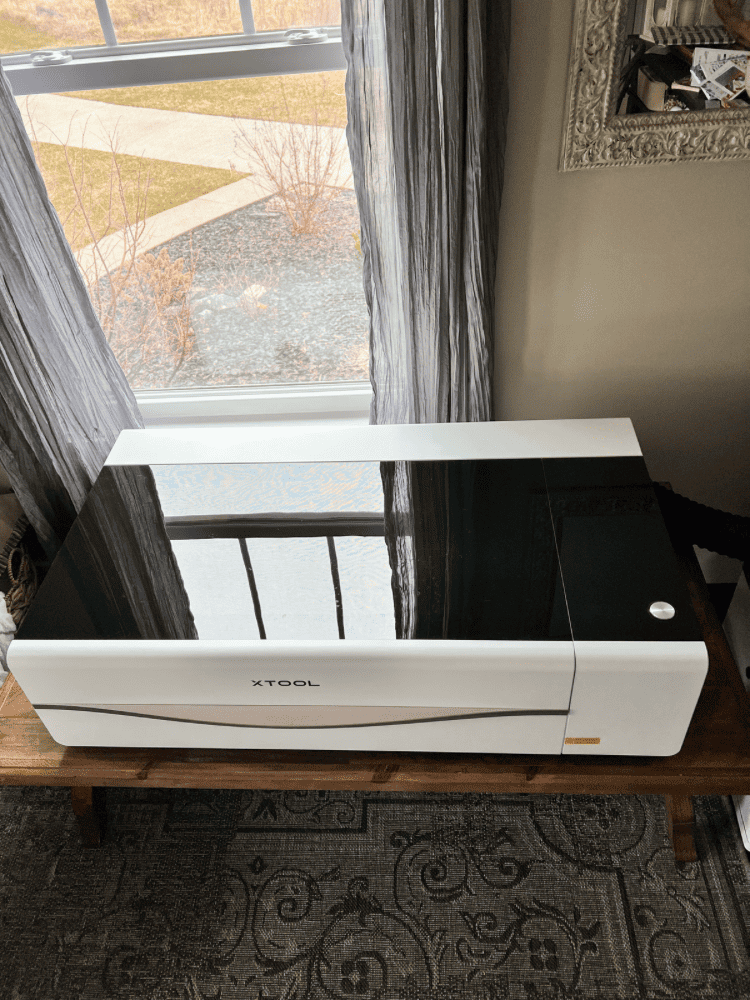
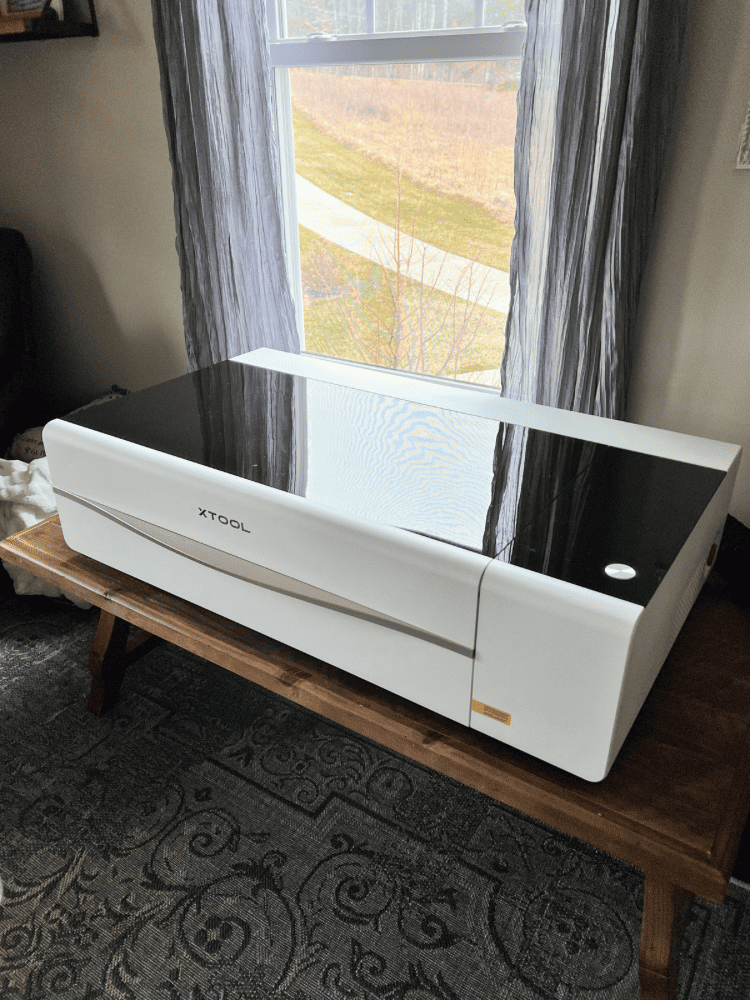
Then, together, lift the machine out of the box and begin to place it where you want it to go. You will definitely need a large workspace to place the machine on! I think I underestimated the overall size of this intelligent laser cutter!
We had to move some things around in my office to get it to fit. I would ultimately love to have a bigger workspace, or craft room, where I could really spread everything out and work in, but for now this will do.
Setting Up The Laser
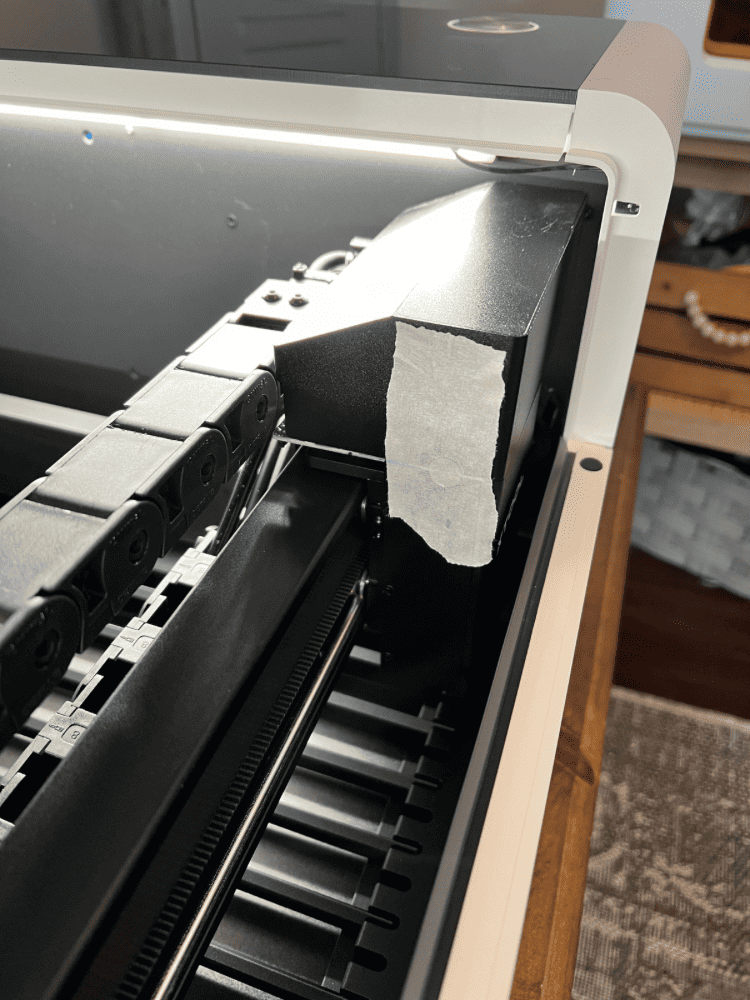
Now that you have unboxed the machine, let’s get to work setting it up! First, you need to open the lid of the machine and take all the items out. Be sure to take out all the brackets and thumb screws that are placed on the x-axis guide rails and remove them.
Fun fact, I did not do this step at first and it literally took my husband and I hours to figure out why the laser wouldn’t move after we set it up. It kept making a grinding gears noise, so definitely be sure to remove these brackets before you begin! Trust me, it will save you a lot of stress when you are trying to run the machine later!
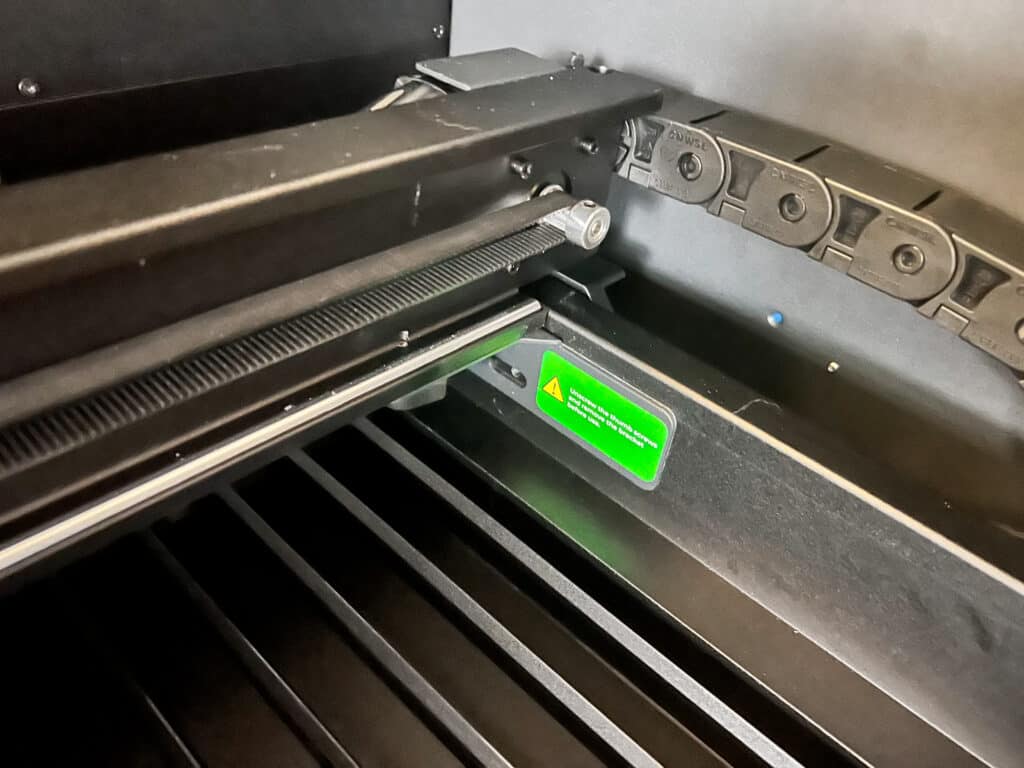
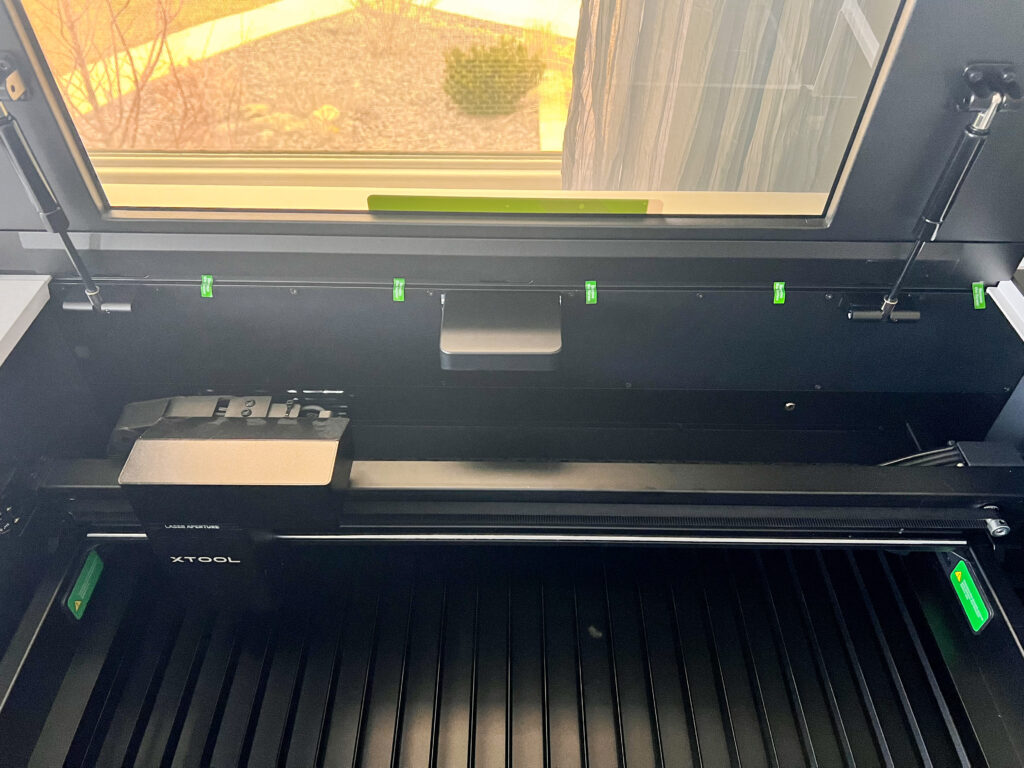
Unscrew the screw that’s holding the baseplate in. All of the screws you need to remove have green tape over them telling you to remove them. So they make it easy for you to find! Take out all the foam and acrylic sheets from the baseplate and place it back into the machine, tightening the screw after.
Remove the sticker that prevents the lid from locking on you and turn the built-in emergency stop button to reset it. Be sure to manually move the laser head around and make sure it can move properly. If not, contact their support team. Also, be sure to check the laser tube itself and make sure it is not cracked or damaged either.
Adding Antifreeze
Next step is to fill up the water tank in the back of the machine with purified water and antifreeze. Not going to lie, I was very worried about this part seeing as how I didn’t have to do this for my Glowforge. But no worries, it isn’t that hard to do!
First, remove all the screws holding the back casing together. Again, these screws have green tape over all of them. But, be sure to keep the screws in a secure place, because you will reattach them at the end as well.
Now, grab some purified water and the antifreeze that comes with the machine. Using a measuring cup, pour the appropriate amount of antifreeze based on your region in. Then, do the same thing with the purified water too. There is a chart in the user manual and online that will help you determine how much to use. You will need to fill the water tank twice, so be sure to read those instructions carefully.
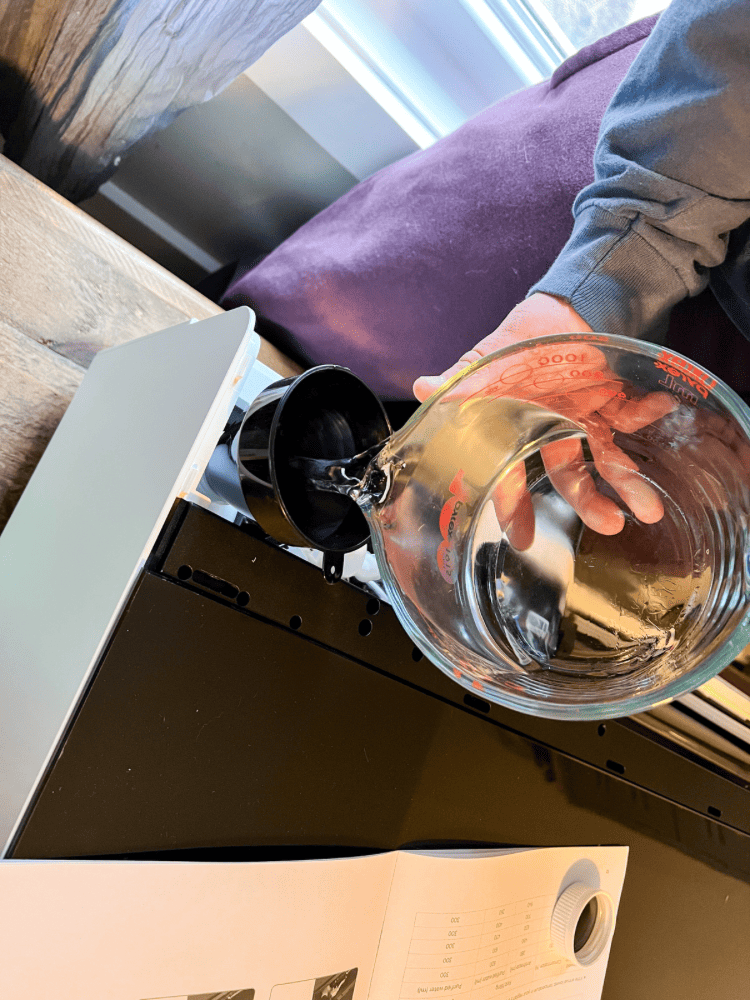
To fill it, open the cap and use the funnel to pour the mixture in. Complete the first filling and turn the machine on. Complete the second filling and wait 30 seconds for water level to descend in the water tank. This is crucial to the proper functioning of the machine. You definitely want to create a safe workspace when working with a laser cutter like this one.
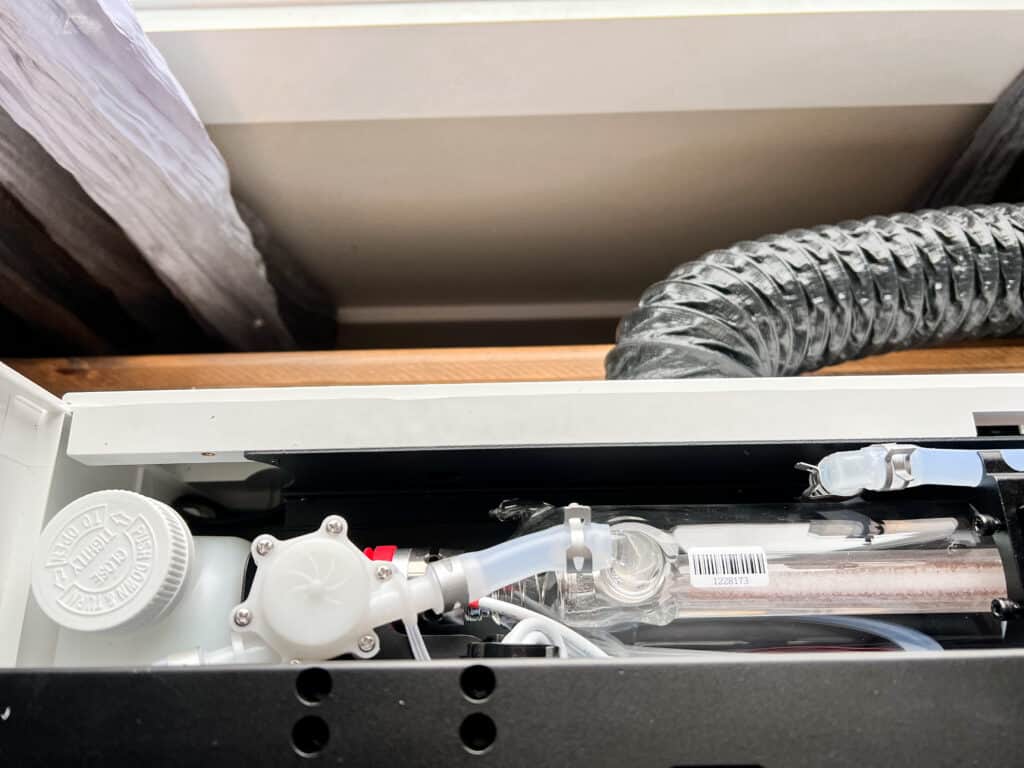
Then, you can place the back casing on the machine again and reattach all the screws. After that, you can now attach the smoke exhaust pipe and xtool smoke purifier. Which is much more easy to set up in my opinion!

What Software Does the xTool P2 Use?
This machine uses the xTool Creative Space (XCS) software. I will say that this is a slight learning curve from the software that I am used to when it comes to my Glowforge machine. But, I think the more I play around with it, the easier it will be.
All you need to do is download the free software here first. Then, to connect the software, use the USB cable to connect to the device. Open the program and click “connect device” and select the P2 option when it loads. You can also set it up via wifi as well which is super nice!
I can’t wait to play around with the software more and get used to it. As I mentioned above, I have literally just scratched the surface of the xTool world so I know I have so much more to learn! This machine has such an impressive level of innovation and a high-quality motor, so I know I can make so many great things with it eventually. Laser cutting is so much fun and if you haven’t tried it before, you are missing out!
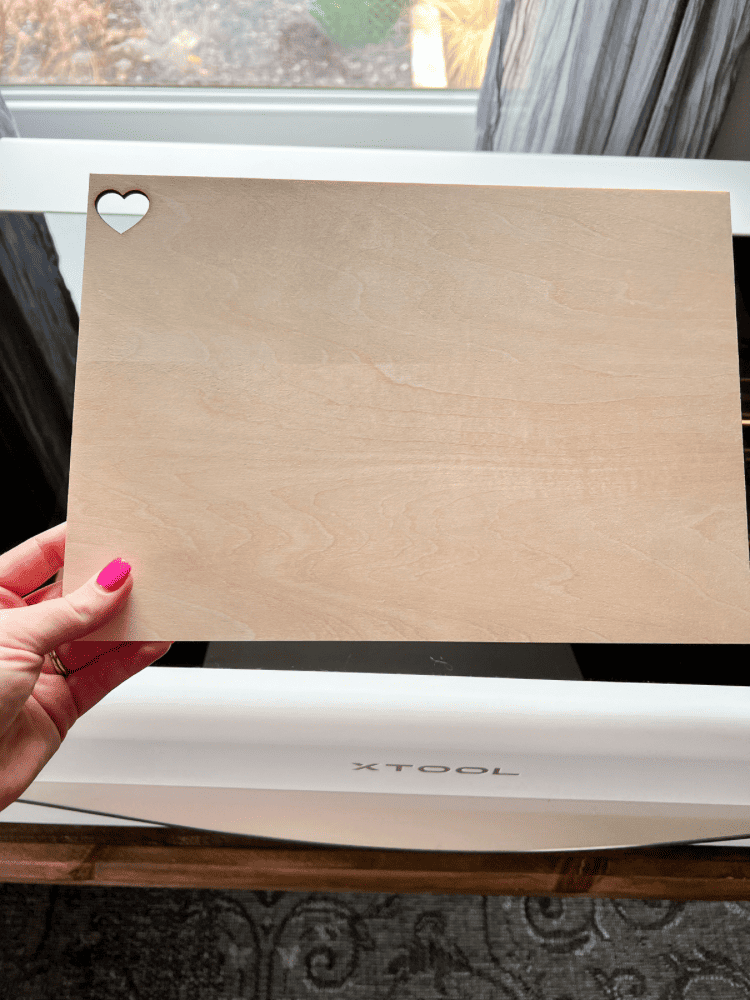
Enjoy Your xTool P2 Laser!
I hope you enjoy this intelligent desktop laser cutter as much as I do. I haven’t even done too much with it yet and I am already in love! If you’re looking for a high quality laser engraver, this is definitely a top contender!
The xTool P2 has had years of development behind it’s belt, so it runs as smooth as silk! I also feel like it is an extremely safe machine to use with all of its built-in safety features. My previous experience with working with my Glowforge Aura Machine definitely helped me to get this laser set up and ready to go as well.
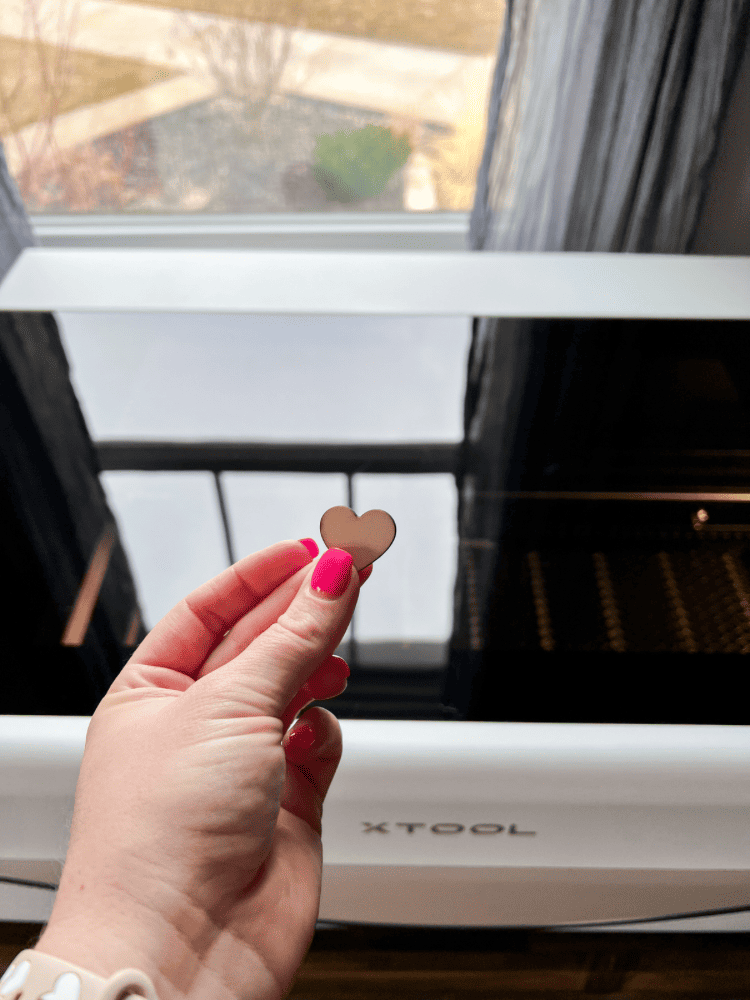
But, as I mentioned above, I am so excited to start working with thicker materials on this high power machine! It’s definitely more of a cutting-edge experience and does great work in my opinion! I will be taking you all along in my P2 journey with me, so be sure to keep checking out my new posts regarding it in the future!




A really interesting post about how to set up this laser machine! x
Lucy | http://www.lucymary.co.uk
Yes, it is such a cool machine! I am loving it!
I have been thinking of getting one. I have two quick questions that I hope you have time to answer. First, using their software, can I design the shape to cut out or must I use pre-loaded fonts and templates? And, if cutting something from wood, do you have to buy wood from them or can you use any proper size/width of wood that you purchase?
You can design your own SVGs to upload to the software. You don’t have to use just pre-loaded images and fonts. And so far, I’ve only used the wood that came with the laser, but you can definitely use whatever wood you prefer. You just have to come up with the right settings for it to cut/engrave/score, so it’s a little bit of a test when you are using different wood. I keep a notebook of what settings have worked well so far and just go from there.