
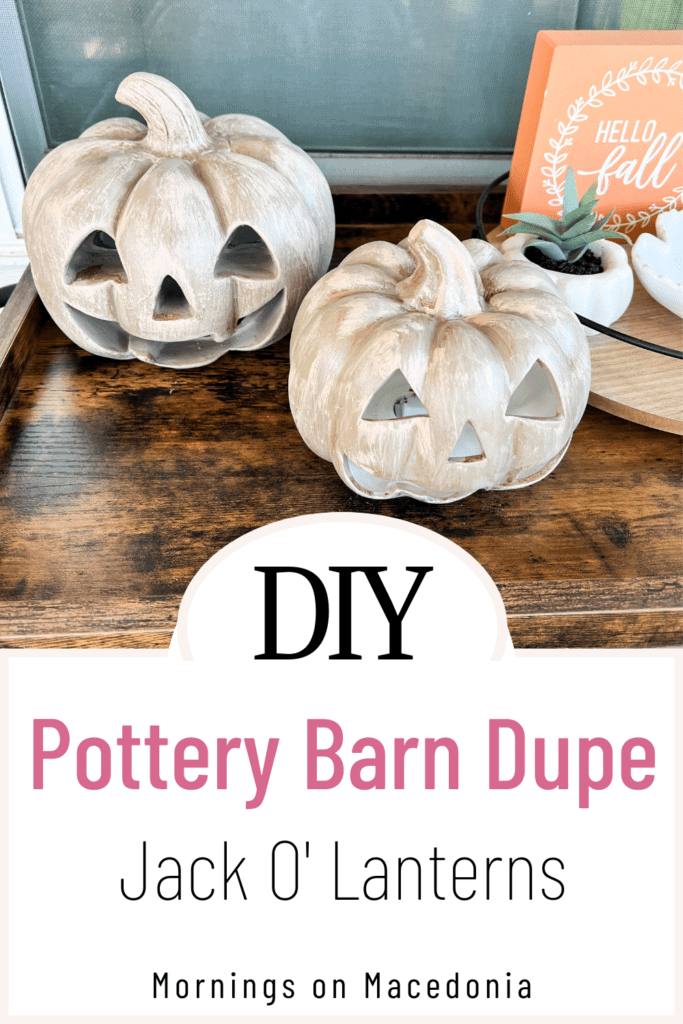
I am sure you all have seen the beautiful handmade terracotta Jack O’ Lanterns that Pottery Barn has to offer this season. And while I love them, I don’t want to spend over $50 for just the smallest one! Not to mention, the largest one costs over $89 too! So I decided to turn on my creative juices and come up with this Pottery Barn Jack O’ Lantern Dupe idea.
I just used a few materials to create them and it only took me a couple of days to complete as well. All in all, my version for 2 Jack O’ Lanterns only cost me around $25 instead. So I would say that is a steal for sure!
This post contain affiliate links. Click here to read my disclosure policy.
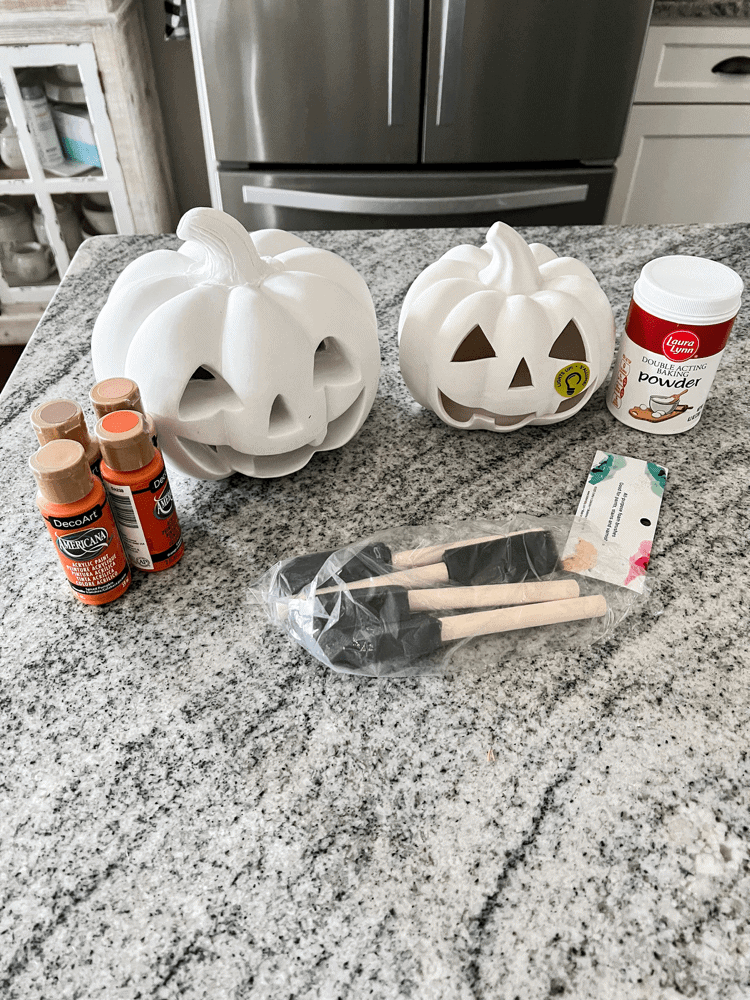
Materials Needed for Pottery Barn Dupes:

DIY Fail
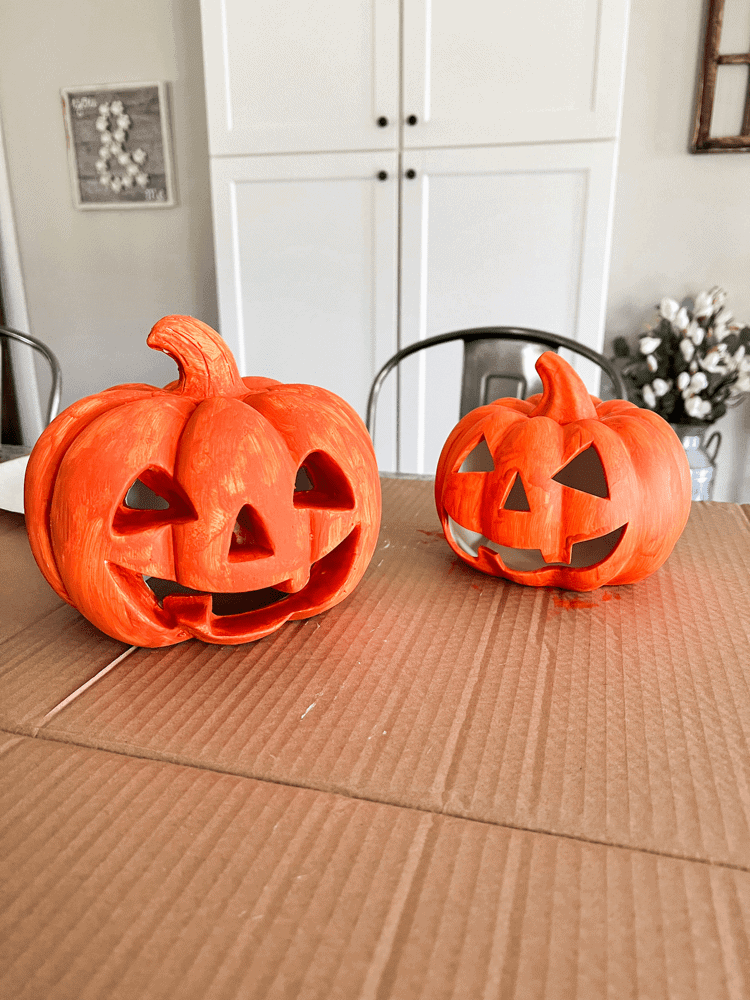
So in the full disclosure of creating the Pottery Barn Jack O’ Lantern dupe, I did have a DIY fail. I was going for more of a terracotta color like the ones pictured on their website. So I tried to pick out some paint colors in store that looked terracotta to me.
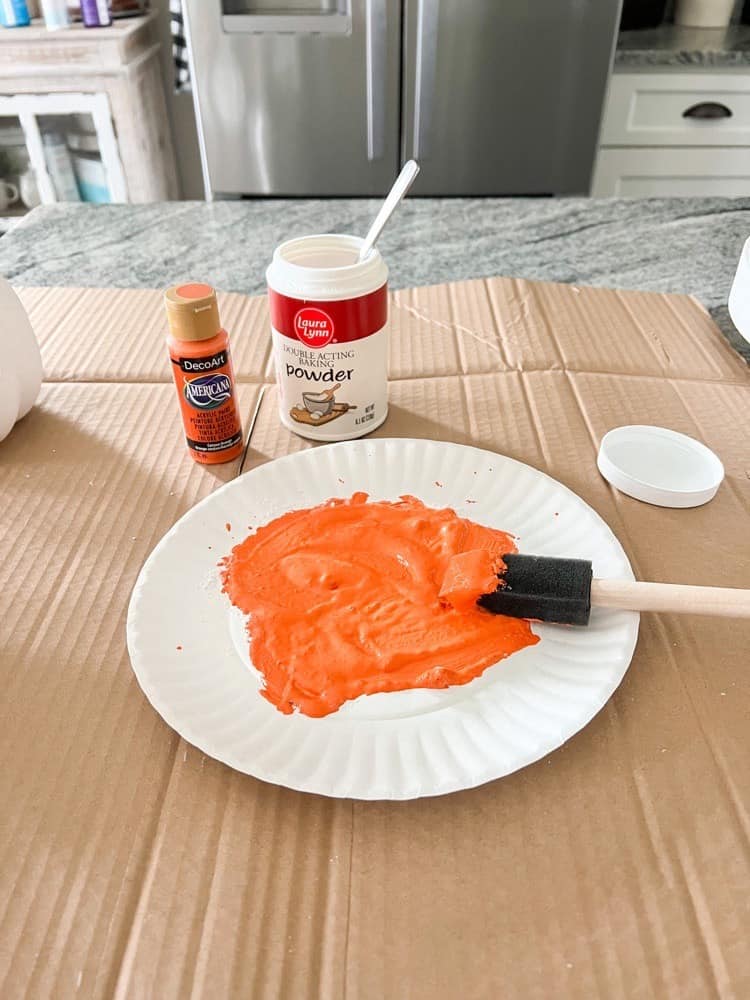
However, I failed miserably as the one I chose came out way too orange. I also had the bright idea to add baking powder to the paint to give it more texture. It is supposed to make the paint puff up a bit too.

I have done this in the past with no issues before. But for some reason, it did not turn out as expected this time around. Maybe I just didn’t add enough baking powder, but it did not give it that texture like normal.
So not only did I mess up on the paint color, but on the texture of it as well. But no worries! Since it is only paint, I can easily paint over it and fix my previous mistakes.
And if you do like this orange color, then you could totally keep them this way. I am just more of a neutral girl at heart and this color was just too overwhelming for me.
Painting the Jack O’ Lanterns
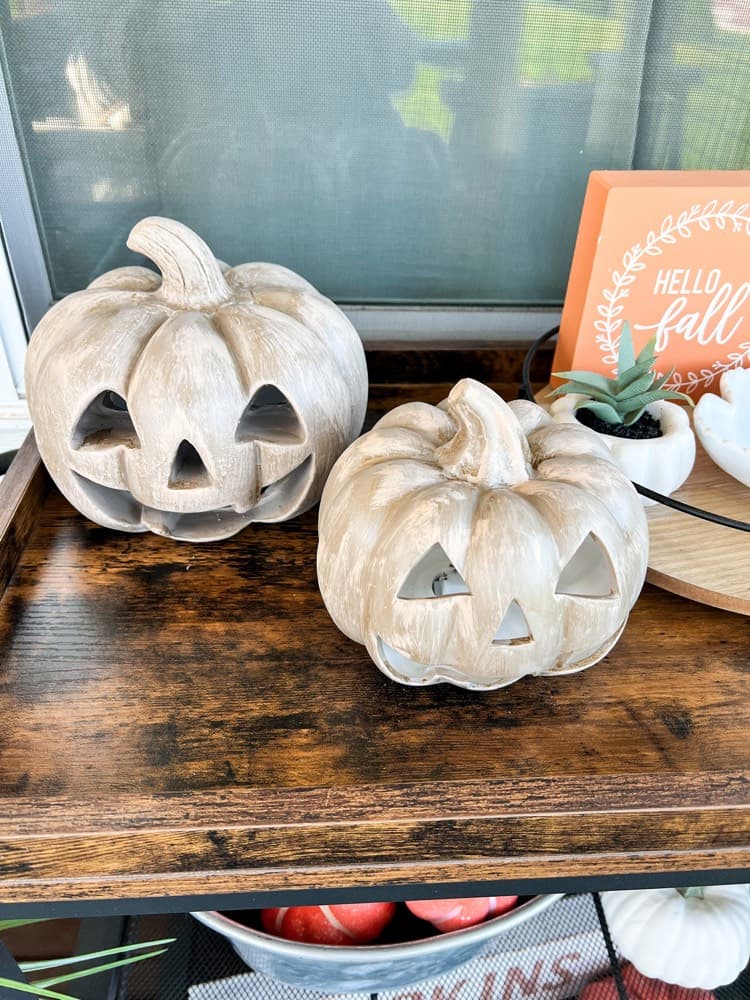
After realizing my mistake, I turned to a more neutral paint color. And of course it was by Fusion Mineral Paint. They haven’t let me down yet! Y’all know I share about them all the time, because I genuinely use them all the time!
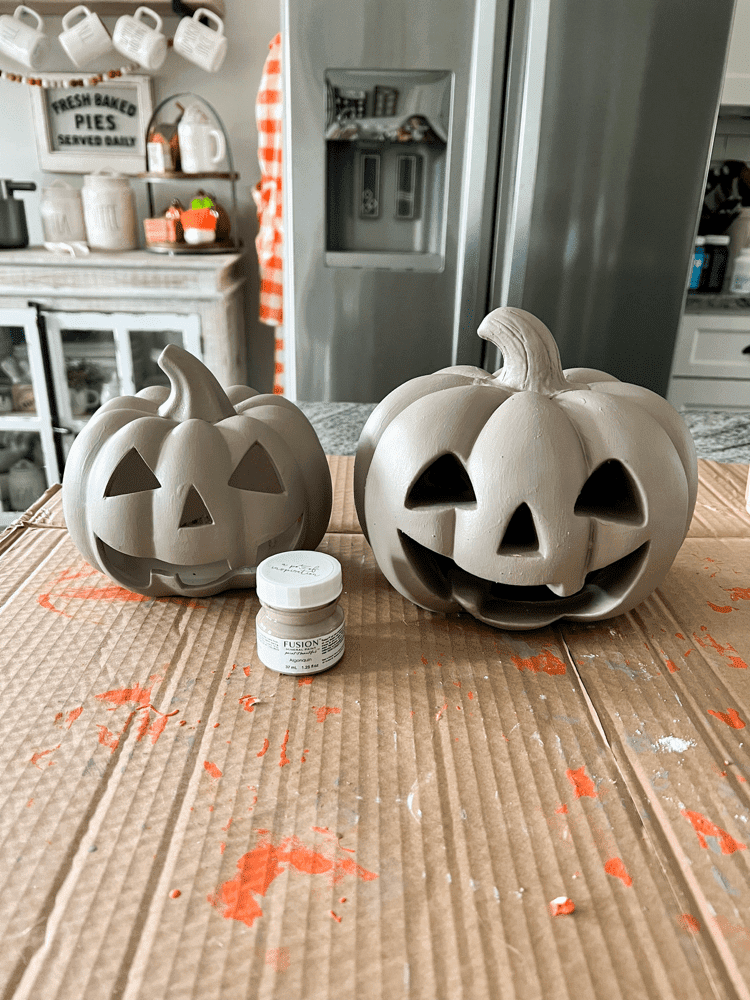
I used the color Algonquin and it has almost like concrete color and feel to it. It’s not exactly terracotta, but it is much closer to the look I was looking for. And plus, I did not want to go back out to the store to find another paint color.
I did a total of two coats of this color and let it dry completely overnight. I would definitely recommend painting with just a cheap foam brush, that way you can really squeeze it in between the cut outs of the Jack O’ Lantern’s face. Otherwise, it would be hard to paint that area with a regular paintbrush.
Adding Antiquing Glaze And Dry Brushing
The next step to this DIY Pottery Barn Jack O’ Lantern Dupe, is to add antiquing glaze once the paint dries. I just used another foam brush to apply it and I focused it heavily in the creases of the pumpkins to give it more dimension.
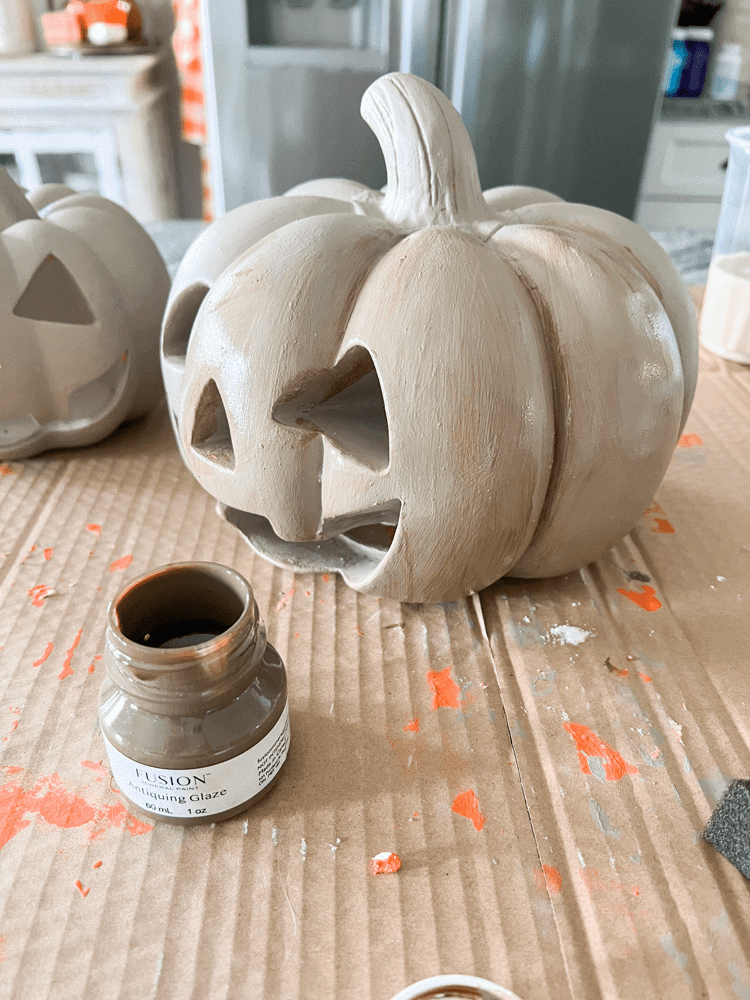
Again, I let the antiquing glaze dry overnight before adding anything else to the Jack O’ Lanterns. This glaze is kinda sticky so you definitely want to give it proper time to dry.
Once the glaze dried, I decided to do my little dry brushing technique. You may remember that from back when I did my DIY Painted Pumpkins as well.
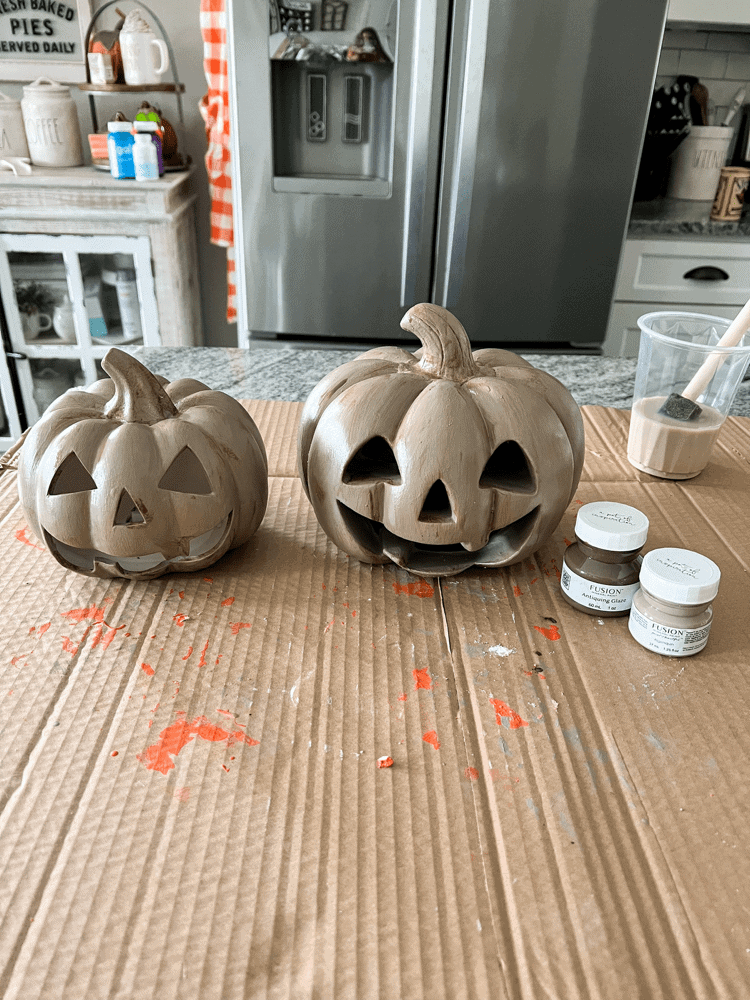
Just get a dry brush and dip it in a little paint. Then rub most of the paint off on a paper plate or cardboard surface. Once you have just a little paint on your brush, you just go around the Jack O’ Lantern and brush it up and down lightly.
This gives it a nice distressing look, without having to actually distress it with sandpaper. I mixed the two colors I had, Warm Beige and Fawn. I also had a damp paper towel with me when I was dry brushing. That way, if I added too much paint to one spot, I could easily wipe it away.
Decorate With Your Pottery Barn Jack O’ Lantern Dupes
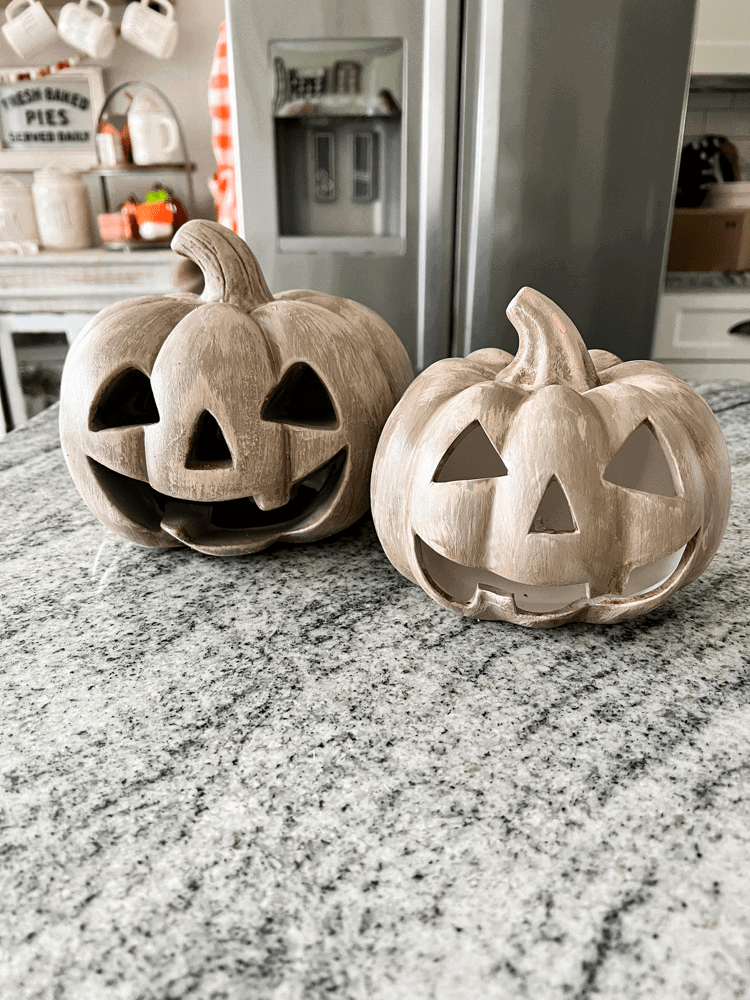
After the paint from dry brushing is all finished and dry, you can now decorate and style your Jack O’ Lanterns however your little heart desires! As you can see, I placed mine on our little bar cart on our screened in porch.
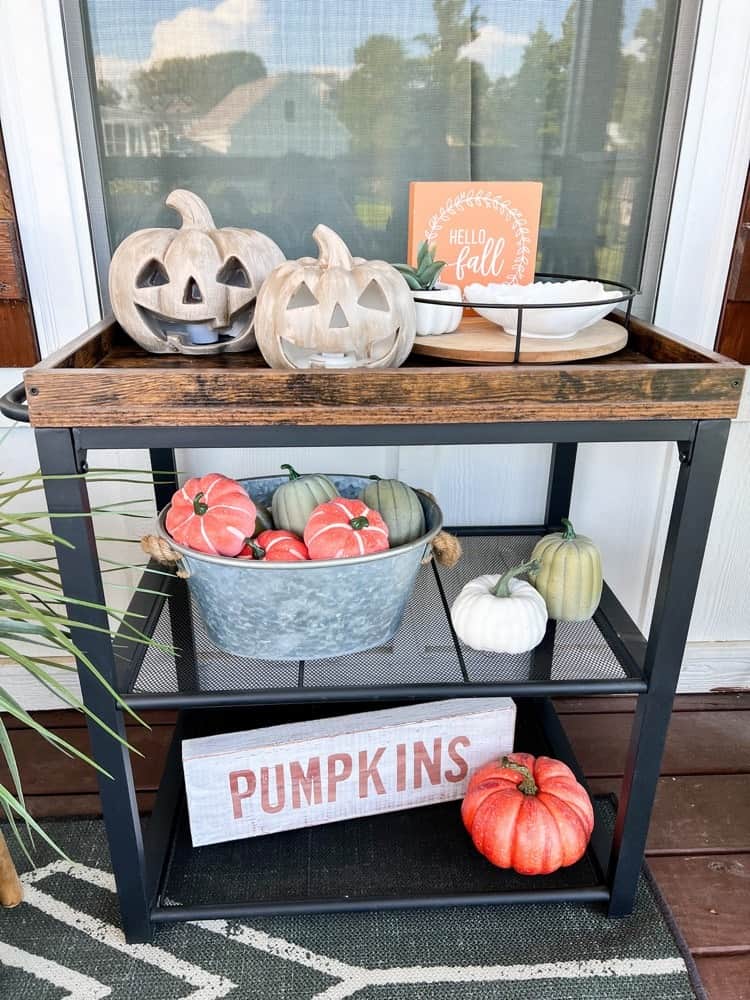
One of the ceramic pumpkins I got already had a battery operated tea light attached to it. But the other one didn’t. It just had a hole underneath for one. So I ordered some extra battery operated tea light candles from Amazon and placed one underneath.
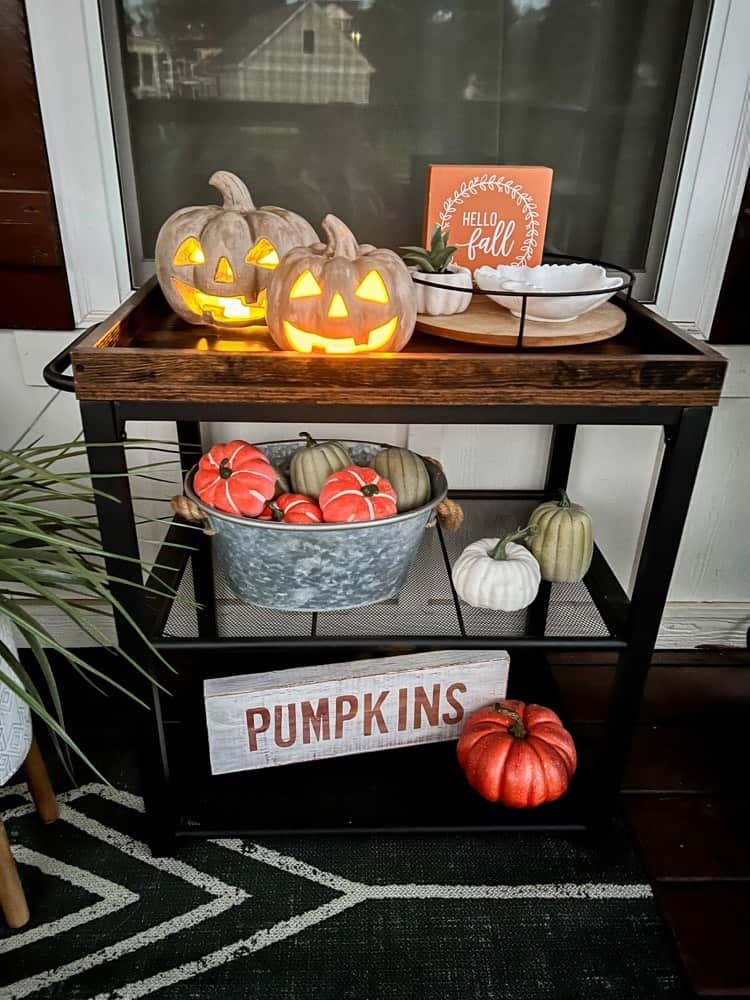
They came in a big 12 pack and I figured I could use the rest for when I decorate my fall front porch. I love giving it a cozy glow and these would be perfect to place around my steps too.
Well, I hope you enjoyed this little tutorial of my take on the Pottery Barn Jack O’ Lantern Dupe. Mine did turn out a little more concrete like than the original terracotta looking ones, but that’s okay! I am loving them just the same!
And I saved a bunch of money by DIYing them too. So I would say I am the real winner here, right?!
Learn more about how to turn your builder grade home into something more with seasonal crafts like this here too!

Wow the pottery barn markup is quite stunning, isn’t it? Your version came out beautifully! The neutral colour works well with your colour palette. I love the glow of these when lit. Thanks for sharing Charity!
Awe thank you so much! I am definitely loving the neutral color scheme to them too!
These are adorable! I might give this a go (DIY are hit or miss for me). With my daughter’s first Halloween approaching, I would like to get into the habit of decorating for the season for some festive spirit. Thank you for sharing!
Awe yes, you should definitely give this a try! You can’t even mess it up! It’s super easy!
Wow! These pumpkins are gorgeous. I love the neutral color on it and the tea lights help to make it glow even brighter.
Thank you! I think it does too!
These are fantastic fall decorations. Absolutely adorable for Halloween! Great job!
Awe thank you so much! I am so glad you think so too!
Those look so pretty. I wish I was craftier. Or I should say, had the patience to try lol. Well done!
Lol thank you so much! Crafting like this relaxing me so I enjoy doing it!
Ahh these look great! I’m so ready for Autumn and all the cute decor like this!
Thank you Jenny. I am so ready for it too!
Love the look of these! I’m not one for neutral colours but these work really great!
Thank you so much! I appreciate it
Ooh I love these! I don’t usually decorate for fall/Halloween but I really want to this year, and I’d love to try this. I think both the bright paint and more neutral version look amazing! Thank you so much for sharing x
Thank you so much. You should definitely try it out, it was super easy to do!
These are fab for Halloween and Autumn, such a lovely creative idea! x
Lucy | http://www.lucymary.co.uk
Thank you so much! I am so glad you think so too!
I really like your version of the Jack O’ Lanterns so much more than the ones from Pottery Barn’s tbh. Your’s have so much life, and are unique, thanks so much for sharing this DIY, because I know I would prefer to make one over buy one. 😀
Awe thank you so much! I am loving them too, and I think I like them more as well. So glad you do too!
I love the look of this 😀 Although we don’t celebrate Halloween or Autumn here, Autumn is my fave season and I love the vibes sooo much. Such a lovely idea x
Thank you. Autumn is my favorite season too. I love the crisp cool weather to it!
Nice! This post has me realizing fall is just around the corner, though, and that gave me quite a jolt!
Love your little autumn-inspired set-up and creative dupe. That mineral paint makes a successful appearance time and time again. 🙂
Thank you so much! Fall really is about to sneak up on us!
This looks pretty and cant wait to have a Halloween decoration. Thank you for sharing this idea!
Thank you. I am so glad you enjoyed it.
These look great! I love the neutral colors, and the price is right. I appreciate how doable it seems to make these even when I’m not super crafty!
Thank you so much. It is totally doable and you don’t need to be super crafty to make these!
Fantastic! Thanks for the detailed instructions!
Thank you so much!
I wish we had a pottery barn near me in the UK. These jack o lanterns look brilliant and I love the colour 😍
Thank you, we actually don’t have one really close to me, but I can order things online if I need to. Or just make my own version of it like I did here too!
What a great idea! They turned out amazing and saved you so much money. I can’t believe how expensive the Pottery Barn ones are, wow! I may have to try this. Thank you!
Thank you! You definitely should try them out sometime. They were a lot of fun to make!
Oh my gosh I love this. They look brilliant. Thank you so much for sharing. 🎃 I can’t wait to see more.
Awe thank you so much. I love doing easy and fun DIYs like this so be sure to stick around!