
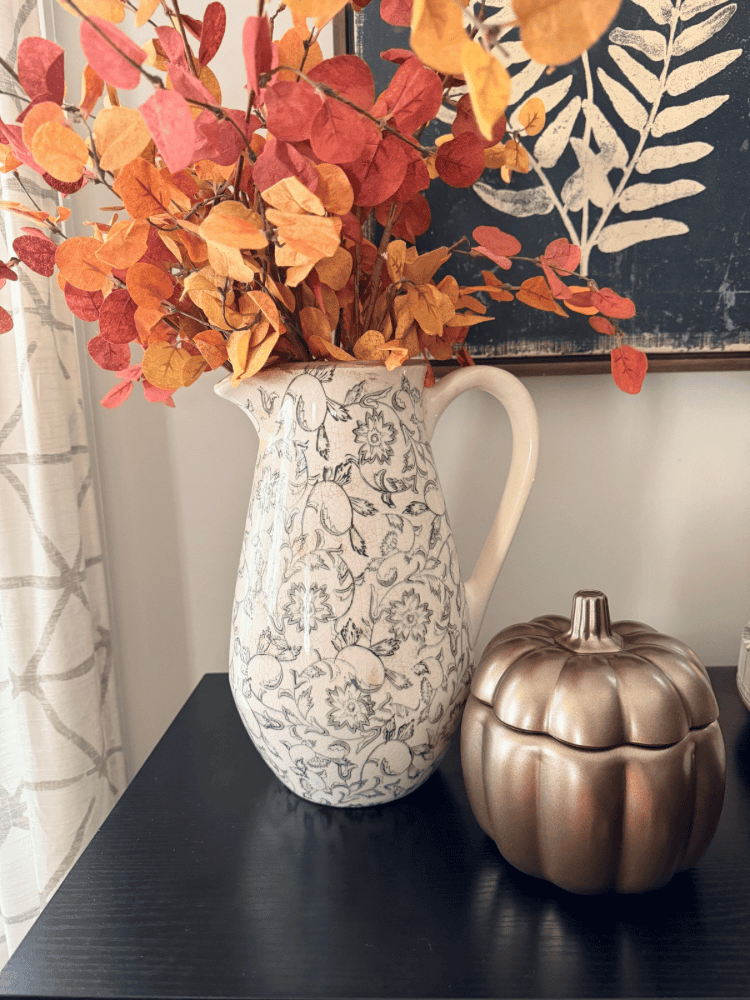
I found the cutest glass pumpkin jar in the Target Dollar Spot for only $3, and while it was already adorable, I knew a little DIY magic could make it look even more high-end. With just a can of spray paint and a few minutes of work, I transformed this inexpensive Target find into a beautiful DIY glass pumpkin jar that looks like something you might find at a much more expensive home decor store.
And I am obsessed with how it turned out!
If you’ve been around here for a while, you know how much I love creating my own seasonal decor—especially when I can take an inexpensive item and make it look much more expensive than it actually was. This easy DIY fall decor project is definitely one of those transformations.
The best part? You really only need one main supply: spray paint!
I’m not even sure this qualifies as a full tutorial because it’s that easy, but I wanted to share the process in case you find one of these glass pumpkin jars at Target, Amazon, a craft store, or even a thrift store this fall.
Keep reading to see how I turned a simple $3 glass pumpkin into beautiful Pottery Barn-inspired fall decor in just a few easy steps!
This post also contains affiliate links, which means I make a small commission off anything you purchase through here, at no additional cost to you. Please read my full privacy policy for more details.
Materials Needed for a DIY Glass Pumpkin Jar
You only need a few supplies to recreate this easy glass pumpkin craft:
- Glass pumpkin jar — I found mine in the Target Dollar Spot for $3, but you can look for similar glass pumpkin containers at craft stores, home decor stores, thrift stores, or Amazon.
- Spray paint — I used COLORSHOT Metallic Bronzer.
- Drop cloth or cardboard to protect your work surface.
- Optional: gloves for spray painting.

One of the things I love about this project is how customizable it is. You can choose a spray paint finish that coordinates with your existing fall decor instead of trying to find a pumpkin that already matches your home.
How to Make a DIY Glass Pumpkin Jar
Okay, are you ready to see just how easy this is?!
Before painting, make sure your glass pumpkin jar is clean and completely dry. Removing any dust, fingerprints, or residue will help the spray paint adhere more evenly.
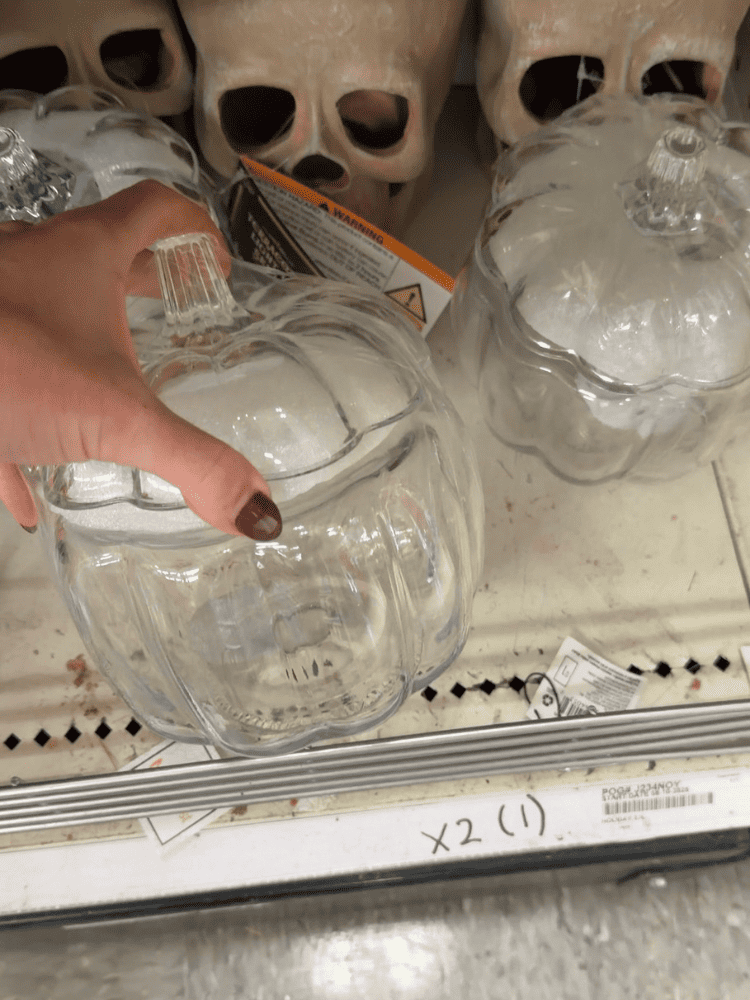
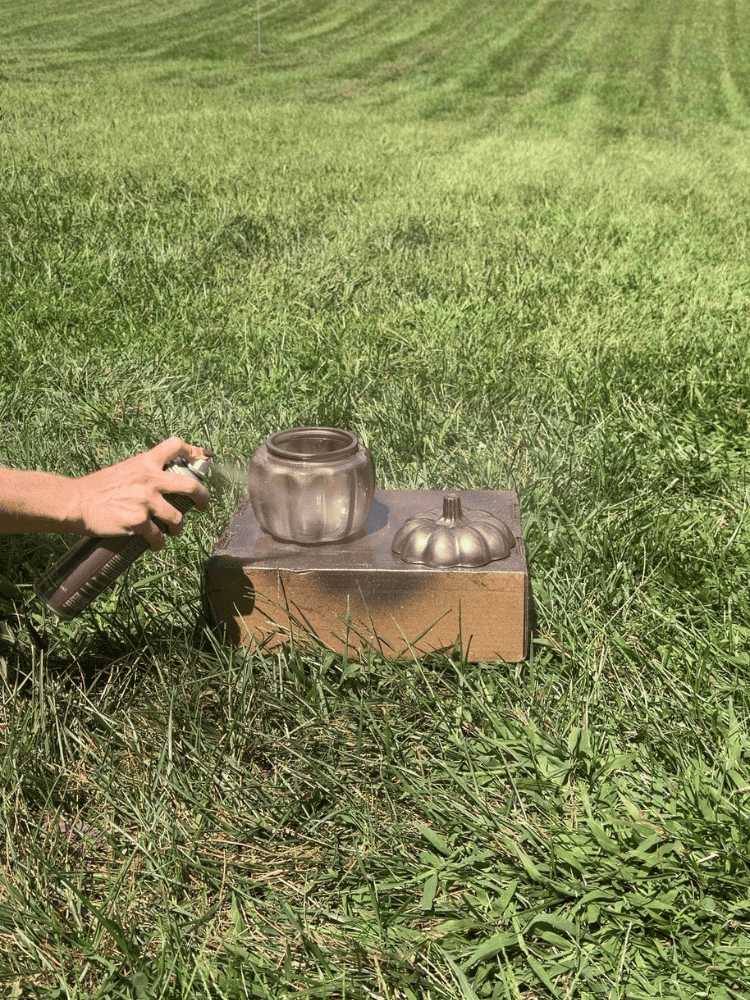
Take your glass pumpkin jar outside or to another well-ventilated area and place it on a protected surface.
Apply a light, even coat of your preferred spray paint to the outside of the pumpkin jar. Allow it to dry according to the directions on your spray paint before applying another coat.
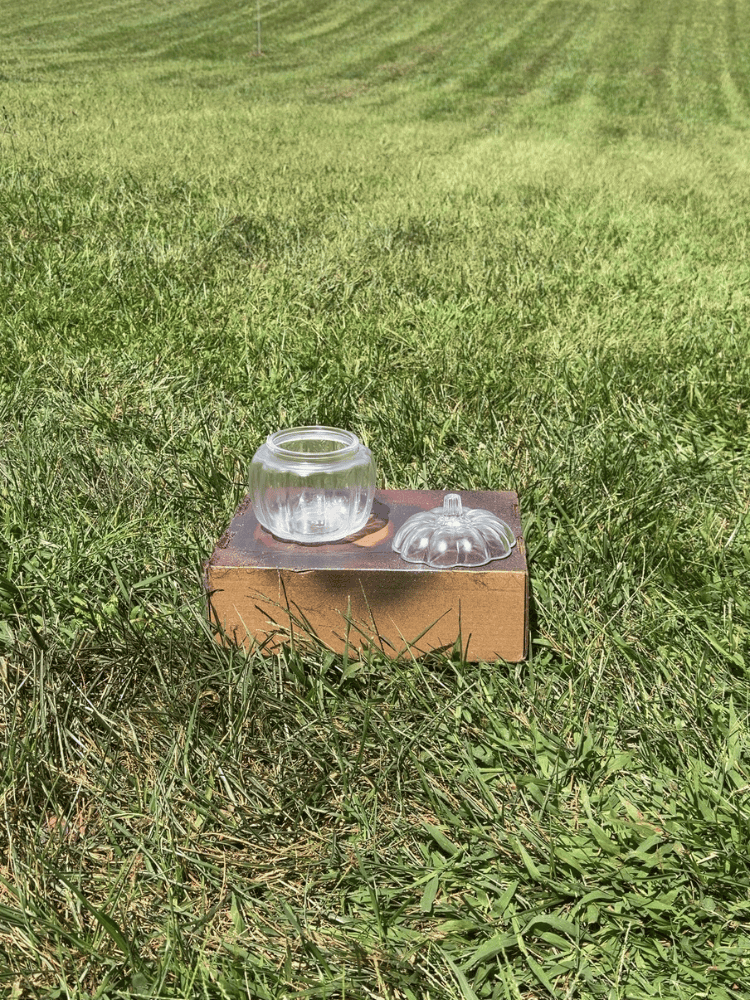
I applied about 2–3 light coats of spray paint until the original glass was completely covered and I was happy with the finish.
Be sure to paint the lid separately so you can easily open and close the jar once everything has dried.
Choose a Textured or Metallic Spray Paint for a High-End Look
My biggest tip for making an inexpensive decor piece look more expensive is choosing the right spray paint finish.
Instead of using a basic glossy paint, I love using metallic or stone-textured spray paint for projects like this. The added dimension can completely change the appearance of an inexpensive glass piece.
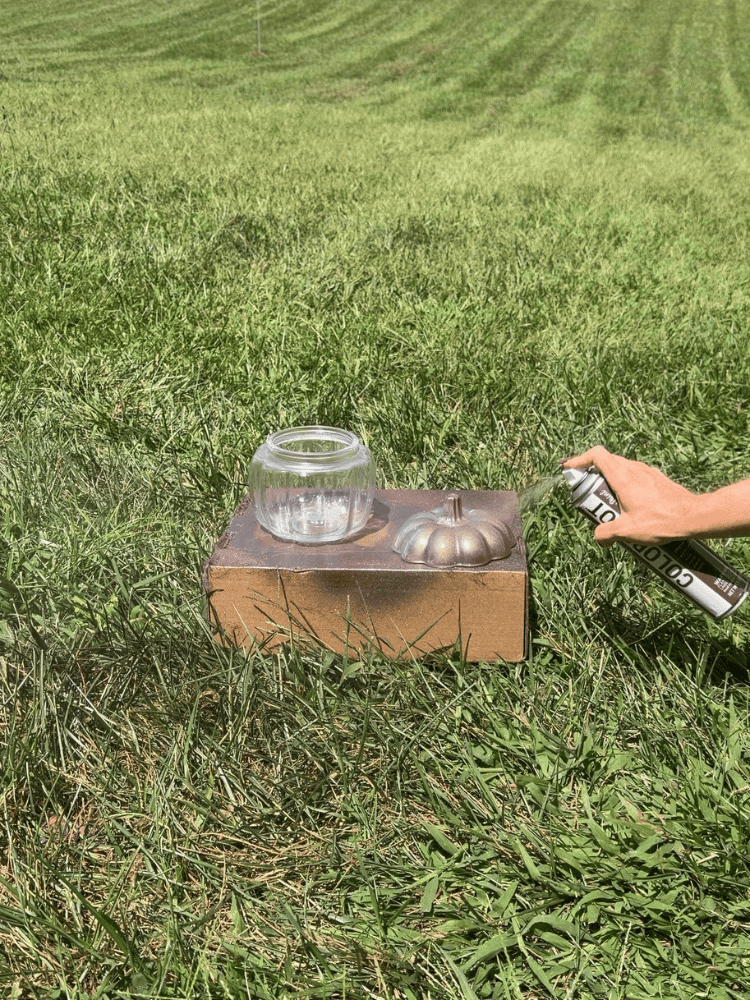
For my pumpkin, I used COLORSHOT Metallic Bronzer, and I love the warm bronze finish for fall. It works beautifully with neutral fall decor, wood tones, amber glass, and other warm autumn colors.
We basically went from Target Dollar Spot to Pottery Barn-inspired fall decor, and I am here for it!
What Color Should You Paint a Glass Pumpkin?
While I chose metallic bronze, there are so many different ways you could customize this DIY glass pumpkin jar.
A few colors that would look beautiful include cream, antique white, matte black, copper, gold, terracotta, warm brown, or even a stone-textured finish.
You could also choose a color based on the style of your home. A matte black pumpkin would be perfect for modern fall decor, while cream or stone would work beautifully with a neutral fall aesthetic.
That’s one of the reasons I love simple DIY projects like this—you can make them completely your own.
How to Style Your DIY Glass Pumpkin Jar
Once your pumpkin is completely dry, it’s time for the fun part: styling it!
I love keeping mine out on a table because it’s such a pretty piece of seasonal decor on its own. You could style your glass pumpkin jar on a coffee table, entryway table, kitchen counter, dining room table, bookshelf, mantel, or fall tray.
And because it’s actually a jar, it can be functional too!
Need somewhere to hide those not-so-pretty things sitting on the coffee table? Toss small items inside the pumpkin and put the lid back on. It’s basically hidden storage disguised as cute fall decor!
You could also use it to hold individually wrapped candy or other small seasonal items.
An Easy Budget-Friendly Fall Decor Idea
See how easy that was?!
This DIY glass pumpkin jar is proof that you don’t have to spend a lot of money to create beautiful seasonal decor. A $3 Target Dollar Spot pumpkin and a little spray paint were all it took to create a piece that looks completely different from how it started.
I especially love projects like this because you can customize them to coordinate with decor you already own instead of buying all-new fall decorations every year.
So, if you spot a glass pumpkin jar during your next Target run, grab it! With a little spray paint, you can easily give it a beautiful high-end makeover for fall.
Would you try this Target Dollar Spot pumpkin DIY in your home? Let me know what color you would paint yours!
For more DIY Fall Decor Ideas be sure to check out:
- DIY Dollar Tree Pumpkin Topiary: Easy Fall Porch Decor
- DIY Mercury Glass Pumpkins
- Pottery Barn Jack O’ Lantern Dupe
- DIY Pottery Barn Dupe Ghosts: Easy Target Dollar Spot Halloween Decor


Leave a Reply