
So if y’all remember from my DIY String Light Refresh post, then you know we bought a camper this summer! We’ve been really enjoying fixing it up and making it more of our style, even though it was pretty much move in ready. The outdoor lot to it was already landscaped beautifully as well, but there were just a few things we wanted to add to it, like this DIY: Trailing Rose Garden Planter!
Keep on reading below to see just how simple and easy it is to add this cute DIY to your garden or patio space as well.
This post contains affiliate links. Click here to read my disclosure policy.
Materials Needed:
- Large bucket or tin
- Rose bush
- Plant Trellis
- Potting soil (lots of it!)

Setting Up The Planter
The first thing to do in this easy trailing rose garden planter DIY is to drill holes in the bottom of your bucket or tin- or basically whatever you are using as a planter.
Just be sure there are enough drainage holes in the bottom to let all the water out when you water your roses!
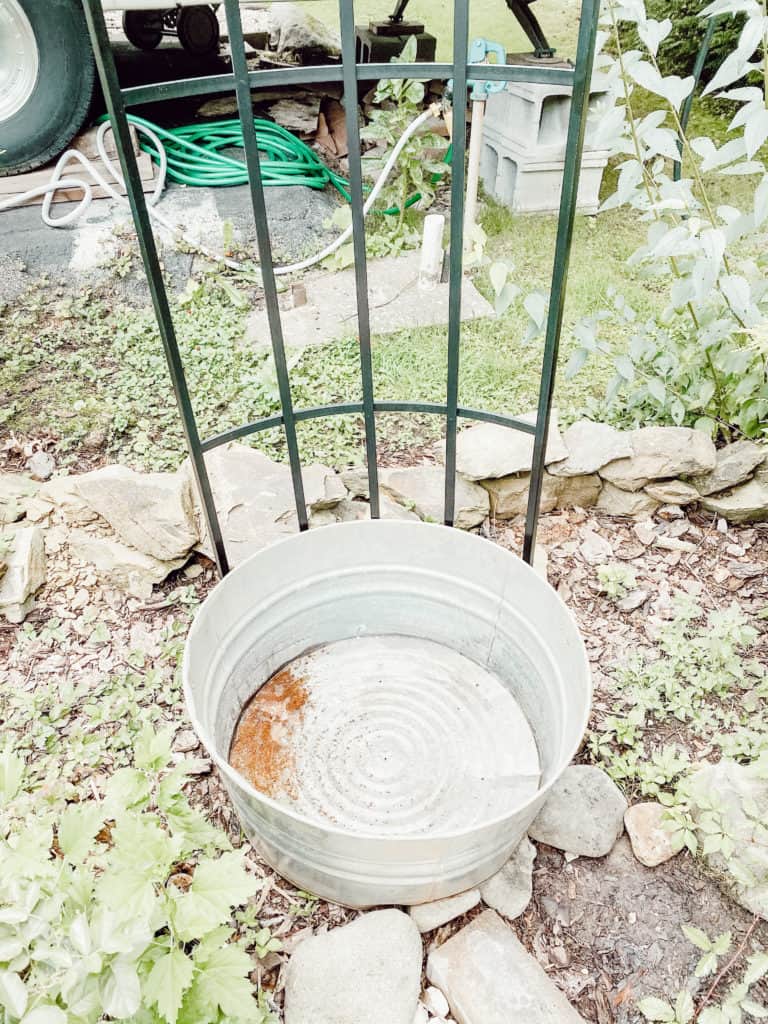
I found this beautiful, rusty, old galvanized tin from a flea market and y’all will not believe the price I got for it! Only $8! What a steal! You definitely couldn’t buy a planter this large for that price.
If you’re looking for a unique tin like this, be sure to check out your local flea markets and thrift stores because you really never know what you can find there!
That’s the fun part of this DIY project. You can use whatever kind of planter you want and whatever speaks to you is best.
Y’all know I love old chippy pieces so when I saw this tin, I knew I had to have it. It’s also very similar to the tin I used for my DIY herb garden project too!

Filling Up The Planter
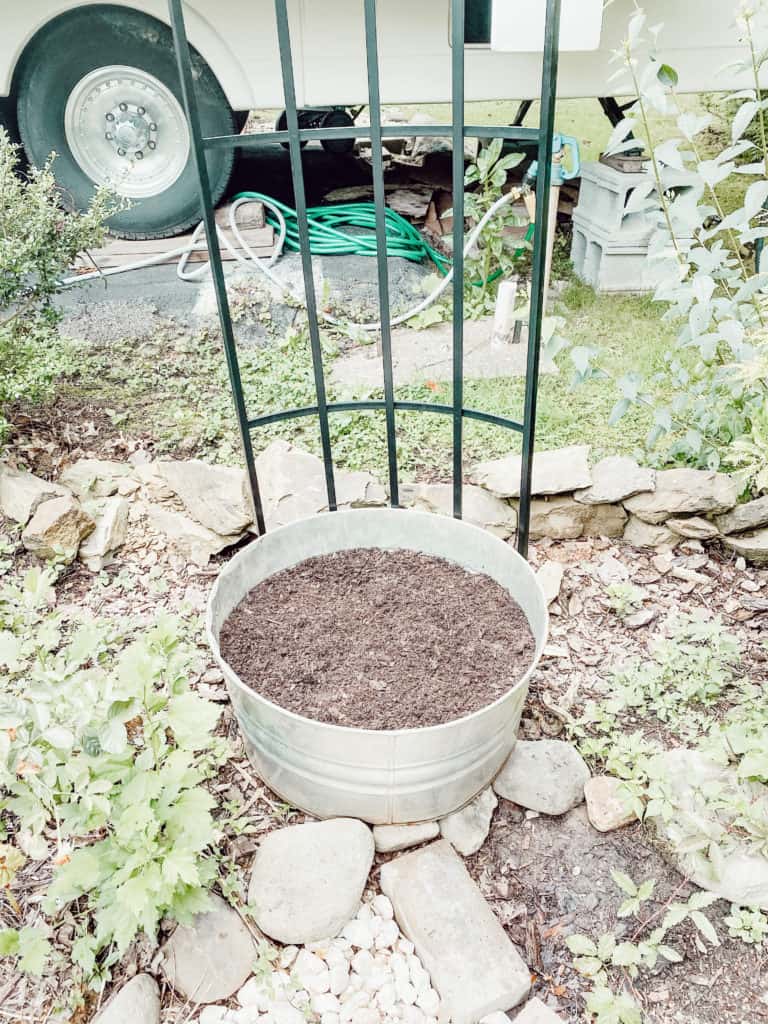
After you drill enough holes in the bottom of your planter, you can now fill it up with potting soil. You will definitely need a lot of it if you have a big tin like I did.
We went through two huge bags and it was barely enough! I would recommend using a high quality brand of potting soil that is best for roses.
Roses can be a little tricky to grow so it’s better to spend a little more money on better quality products to help them thrive.
Planting The Roses
We filled up the tin about halfway full with potting soil and then placed the rose bush inside to plant it. After we got the rose bush in, we filled the rest of it up with the remaining potting soil.
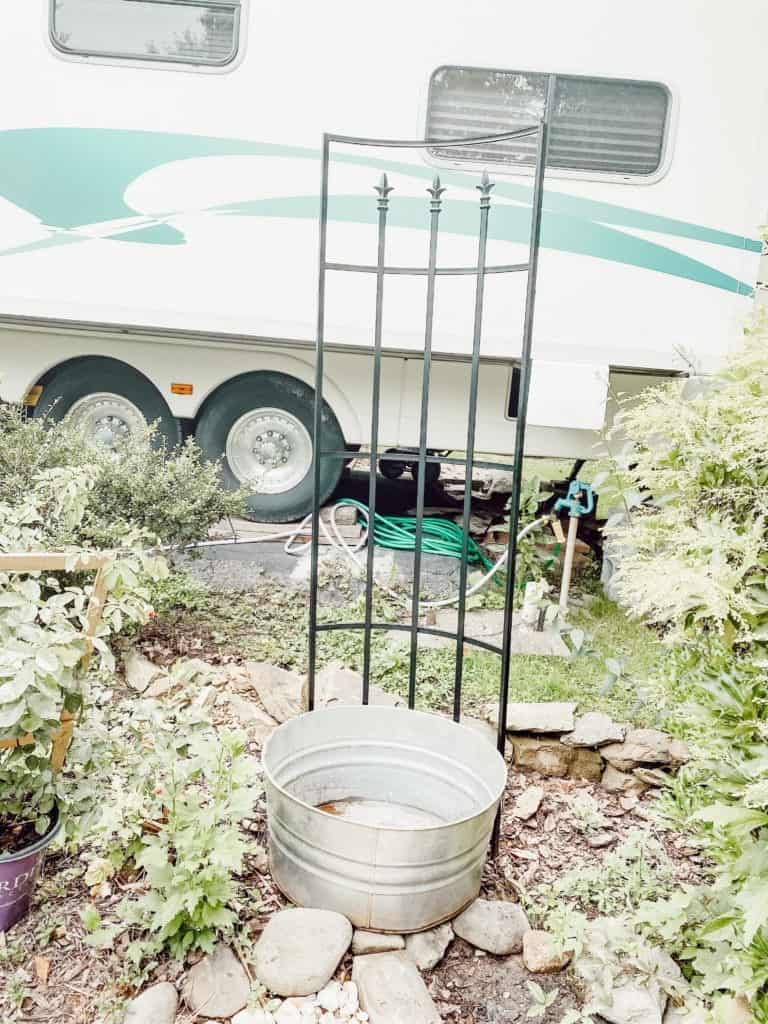
Now, our rose bush already came with a plant trellis so we didn’t have to add that in, but if yours doesn’t come with one, I would recommend getting one so the roses can trail upward when they grow.
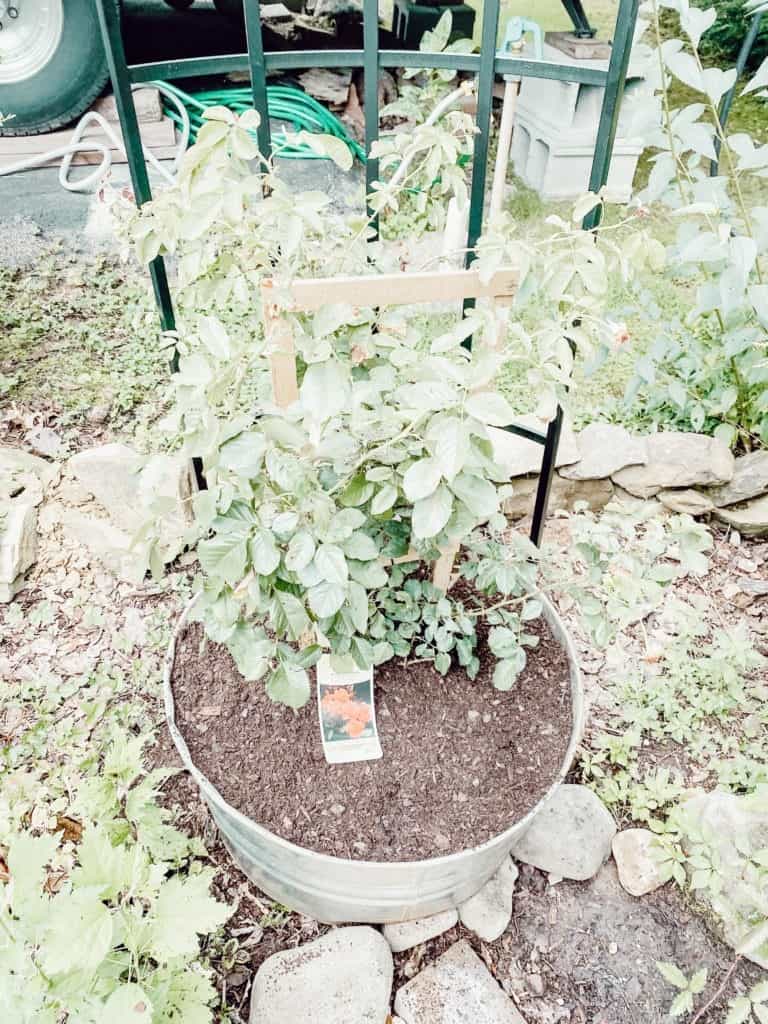
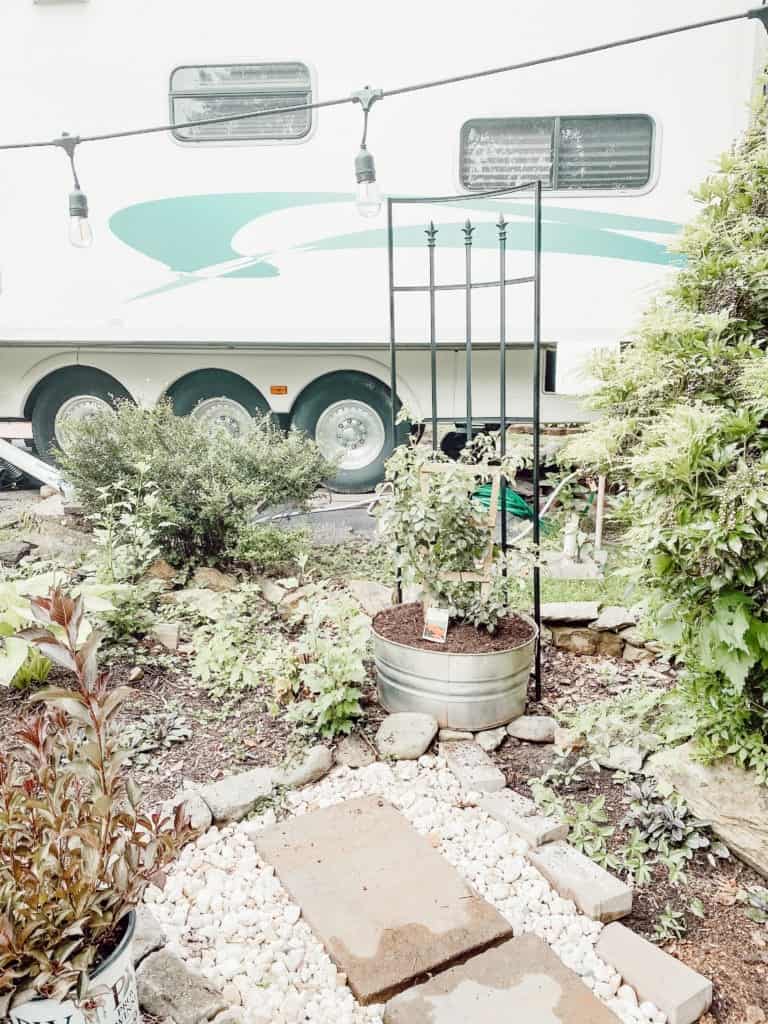
We also have a large plant trellis in the outside of our camper too. So we placed the tin filled with roses right in front of it.
That way when the roses start to trail even higher, they have another trellis to latch onto! I am hoping it will really take off and grow tall here to give us a little more privacy in between our lot and the other camper’s lot beside us.
It looked like the previous owners had planted something there already too, but whatever it was had died and there was a big empty space there that we needed to fill.
Westerland Roses
It’s also important to note the kind of roses we got to plant. We got the Westerland Rose which is a great landscaping rose bush. They bloom in spring, summer, and fall as well.
They also require full direct sun for at least 6 hours a day. So these are all important things to consider when you are trying to decide where to plant the roses at in your yard.
Conclusion
This was such a simple and easy project to do to really help spruce up our landscaping at the camper. I can’t wait to see the pretty blooms the roses produce this year and watch how tall they grow as well.
This is the perfect DIY project to do to help fill in an empty space in your yard or patio. Let me know if you try this out and how it goes for you too!
Every Good garden needs some roses in there. I love the idea with the bucket and trellis, a very different look.
Thank you so much! I always love going for a different and unique look!
Definitely a good idea for filling up some empty space! That’s going to look beautiful when it blooms xxx
Thank you so much! I think so too! I can’t wait for it to bloom!
Love how you decor’ed it with the bucket and trellis
Thank you Lisa. I appreciate it!
I love this idea! I have a small balcony for plants and am always looking for ways to have them grow upwards, and this trellis idea is perfect for something like that. I also love using tins as pots!
Oh yay! This would definitely be perfect for a balcony area! So glad you enjoyed it!
This looks like a great little DIY project. I have been trying to incorporate more flowers into my garden and roses would be nice since they come back every year. It’s a bit too late to plant things where I am now, but I will have to remember this for when spring arrives again so I can add a few nice rose accents to my garden.
Yes! Definitely remember this for next year. It would be perfect!
I love the look of the plant trellis you picked. This is going to look so amazing with the roses in bloom 🙂
Thank you! I think so too!
Love that you made a gorgeous rose planter. It is easy to make and will look worthwhile when the roses bloom!! Love that you are making your area around the camper feel like home. Thanks for sharing this great tutorial!
Nancy ✨ exquisitely.me
Thank you so much! I am definitely enjoying trying to make our camper more cozy and homey!
I had some glad bulbs in a pot and they were flopping all over the place. I’m going to use your trellis idea next spring. Thanks!
–Sue
http://www.susanberkkoch.com/blog
Oh perfect! Glad you could use my idea! I appreciate it!
Love this idea! Might try and give it a go myself when I get the urge to do something green fingered
Thank you! You should definitely try it out sometime!
Roses are gonna be a great addition to any space. Thinking of flowerrs too in our garden.
Thank you. I always think roses are a good addition too!
Hi Charity. Thanks for this great little tutorial – only the other day my wife and I were thinking of getting some containers and trellis for our back garden. My wife doesn’t like roses but I’m sure we can find some substitutes – clematis, perhaps.
Oh yeah! There’s a ton of other options besides roses! Can’t wait to see what y’all decide on! No matter what, it will be beautiful!
Flowers make your garden alive. Thank you sharing this beautiful DIY with me.
Yes I love having fresh flowers!
Thanks for sharing, this looks a lovely way to use up space, plus every garden needs roses in them 🙂
Nic | Nic’s Adventures & Bakes
Thank you! I totally agree!
This is so pretty and simple! I love that galvanized tin; it lends such a classy look. Flea markets are where it is at to find hidden treasures that will last forever. 🙂
Thank you! I love going to flea markets too!
I always love your DIY ideas! And I love roses so I want to try this!
Awe thank you so much! Glad you enjoy them and you should definitely try it out yourself!
This is so simple but looks so nice!
Thank you. It was very simple and easy to do!
I absolutely love the rustic look of this planter! I think something like this will look good for my succulents 🤔
Yes! That would be so perfect for succulents too!
I love the detail on that trellis! It’s gonna look absolutely stunning once the roses grow in!
Thank you so much! I think so too. I can’t wait to see it!
This is so nice! Just think about how gorgeous it’s going to look once the flowers start blossoming.
I know! I cannot wait to see them in bloom!
Love this!! I did lots of DIY in the garden throughout lockdown, I did think of posting about them but not sure if its abit late in the year now. X
Oh yeah that’s true.You could always go ahead and post them though for future reference for next year!
Love this!! I did lots of DIY in the garden throughout lockdown, I did think of posting about them but not sure if its abit late in the year now. X
This is so simple and pretty, I love it! I’ll be saving this for year when spring comes around and need to decorate the garden.
Thanks for sharing!
This is so simple and pretty, I love it! I’ll be saving this for year when spring comes around and need to decorate the garden.
Thanks for sharing!
Loren
Awe thanks Loren! Glad you found it to be inspiring. You should definitely do it next spring for sure!
Nice post. Very easy DIY and really helpful.
Thank you so much. Glad you enjoyed it!
I love this! Especially the planter, it’s so cute! You have the best taste for decorating with anything 🙂
Awe thank you so much for the sweet compliment. I appreciate it!
Awesome post. Definitely gonna try these tips.
Thank you! You definitely should try it out!
This is a great way to add a bit of a personal touch to your space! I love the look of the pail, and the fact that it’s cheaper than a fancy planter is a total win! It’s funny how we can save so much money just by thinking a little outside of the box.
Thank you so much! Yes, I sure do love saving money that way!