I just came up with 3 of the easiest Easter decoration ideas to make this year! Even if you aren’t a super crafty person, these are all something you could easily make as well. They call for minimal supplies, most of which I am sure you already have on hand. And literally only took an afternoon or so to accomplish.
Whether you’re looking for Easter decoration ideas for your table, tiered tray, open shelves, or more, I have plenty of ideas for you. And, you can always expand on these ideas I share and create them even more in your own flair.
If you’re a fan of seasonal DIY decorations, like I am, then you are going to love this post! And some of these would also be a fun craft to make with young children, with parental supervision of course!
Keep on reading below for all my detailed instructions to each Easter craft. That way you can easily make your own Easter decor this year too!
This post contains affiliate links. Click here to read my privacy policy.
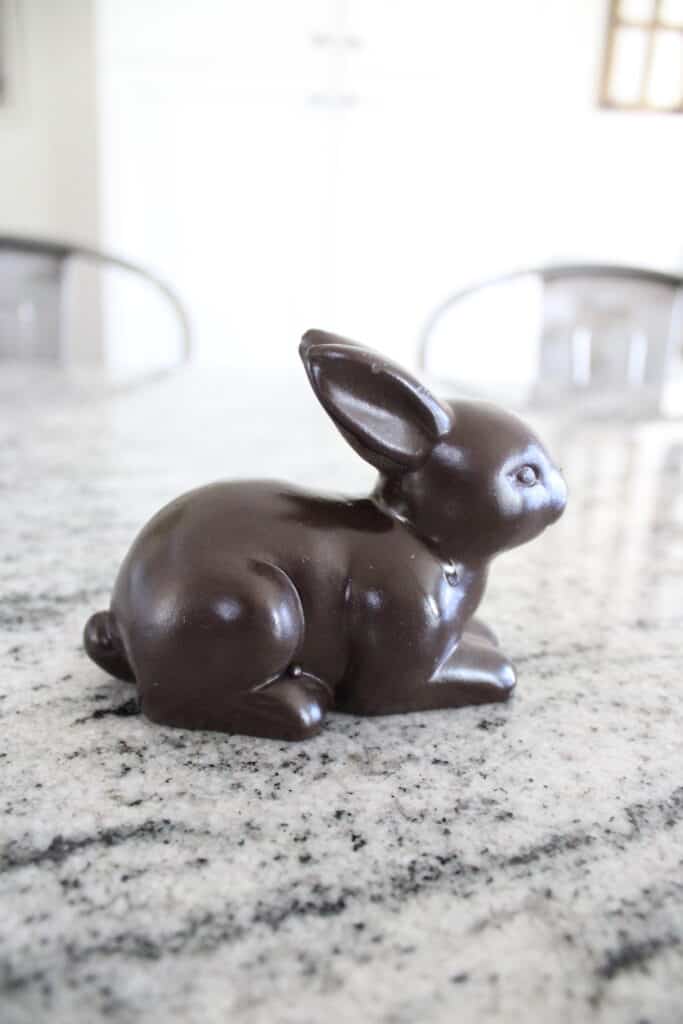
Faux Chocolate Bunny
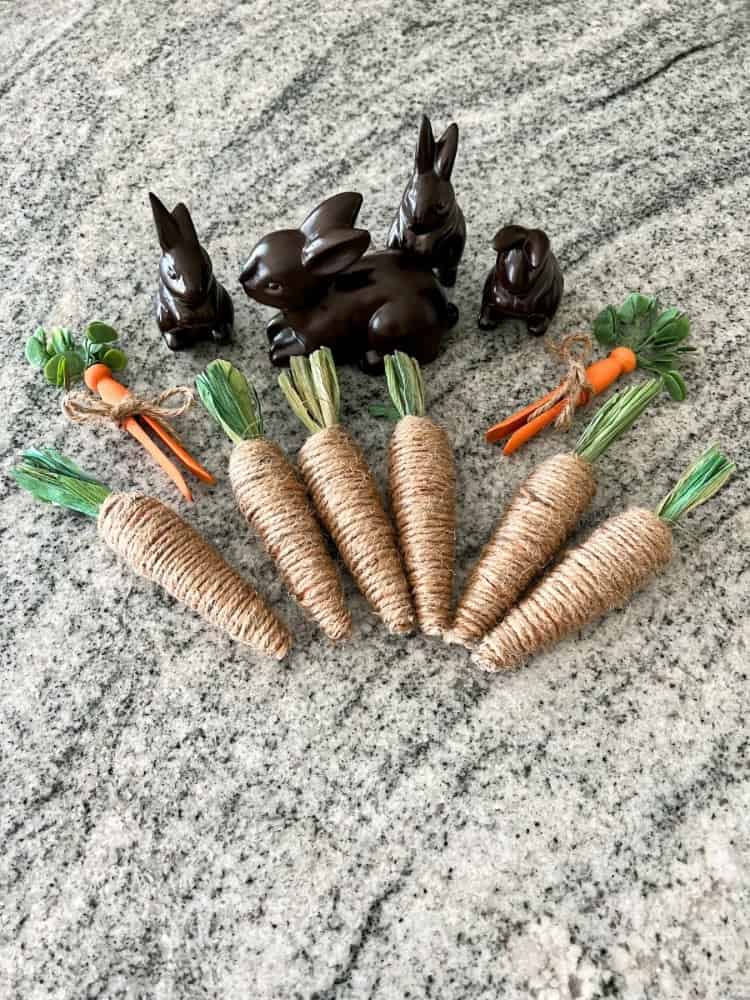
Now, this one is a super easy Easter decoration idea! You only need two materials to make it. That’s it! How easy is that? I found a few bunnies in the Target Dollar Spot this year and thought I could create some kind of easy Easter craft with them.
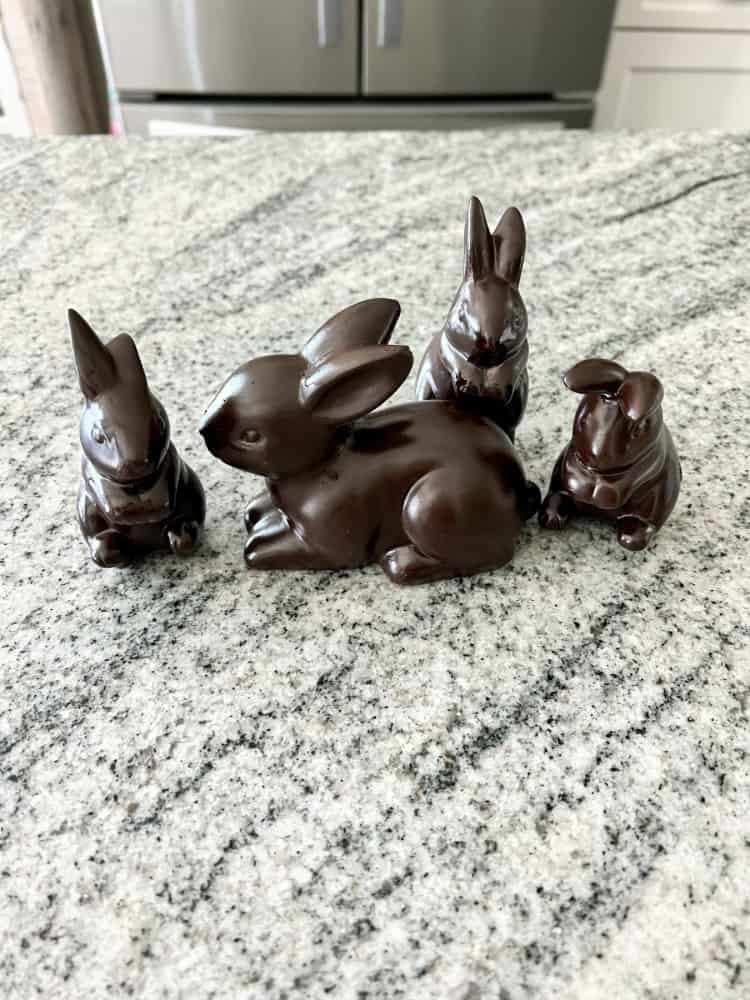
I found a larger Easter bunny and then a set of three smaller Easter bunnies. These were meant to hang off a pot or plant. Which is a super cute idea, although it is still so chilly here, I haven’t planted anything yet.
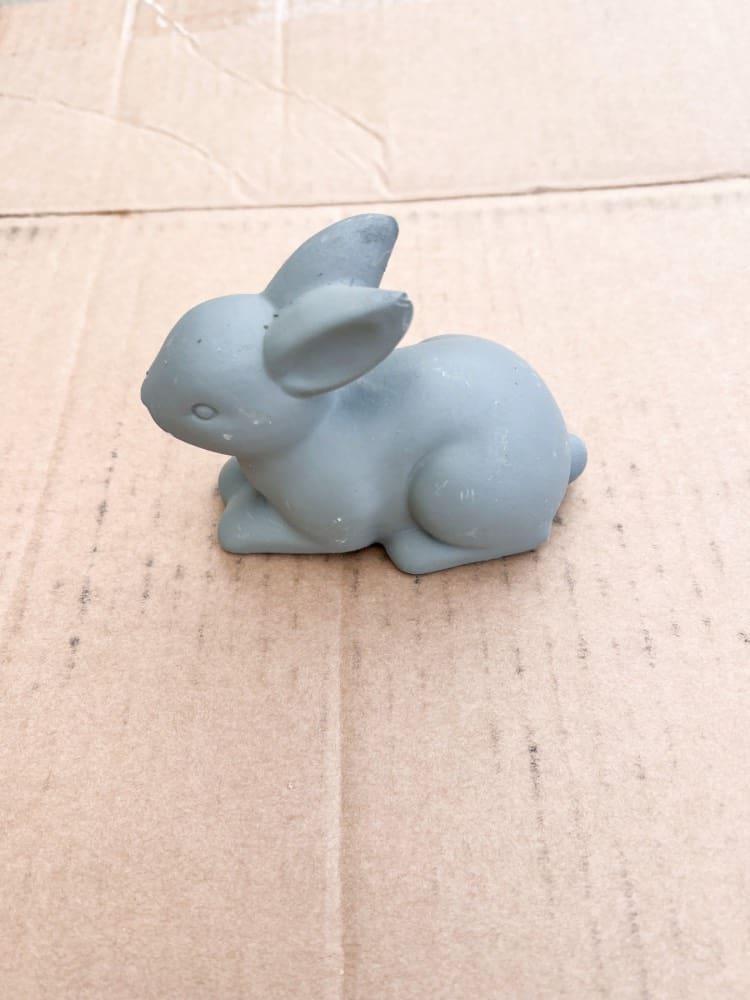
So then I decided I should make some faux chocolate bunnies with them instead! And since the bunnies were in the dollar section, the most expensive part of this project was the spray paint and that was only like $6. Which means this is a very cost effect Easter decoration idea to make!
Bonus points if you already have your own older bunnies that you want to spruce up with this idea too!
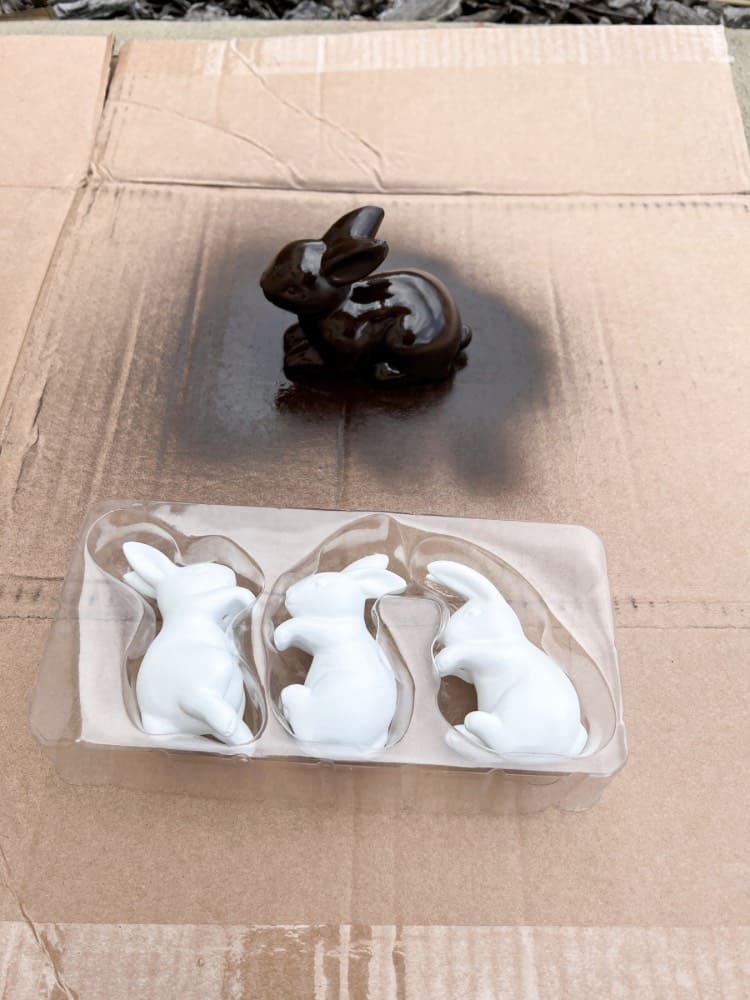
Materials Needed For Faux Chocolate Bunnies:
Spray Paint (I used Rust-O-Luem Satin Espresso for this project)
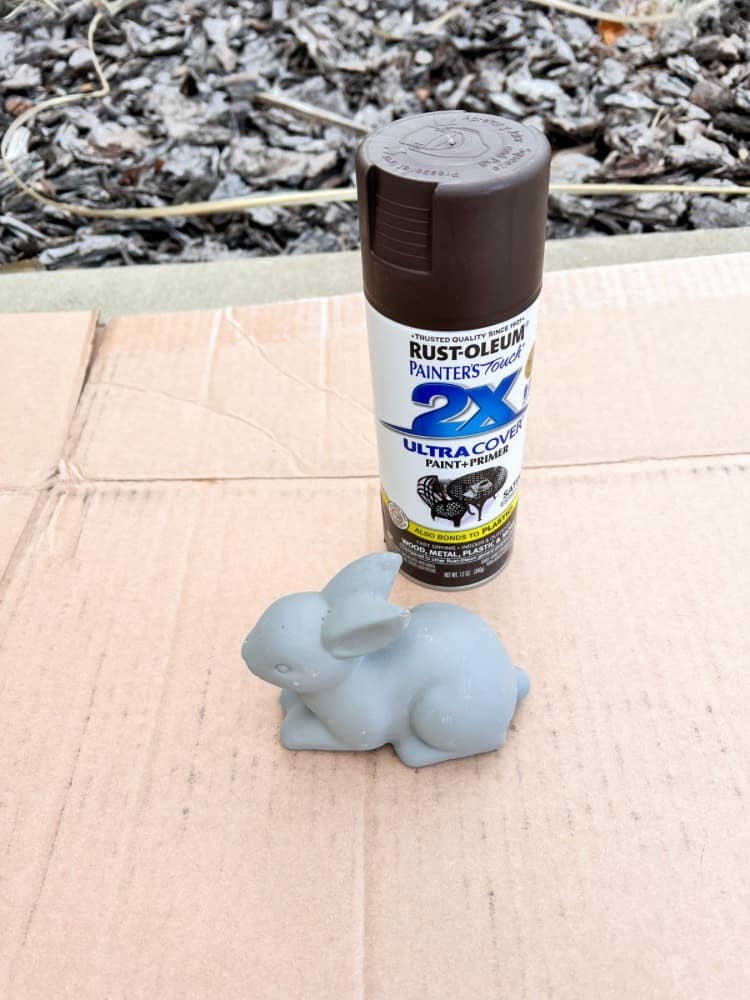
How To Make A Fake Chocolate Bunny
I just flattened out a piece of cardboard and went straight outside with all my materials. I then placed the bunnies on the cardboard and went to town spraying them down with the spray paint. It did take a few coats, especially going around the bunny’s ears and faces.
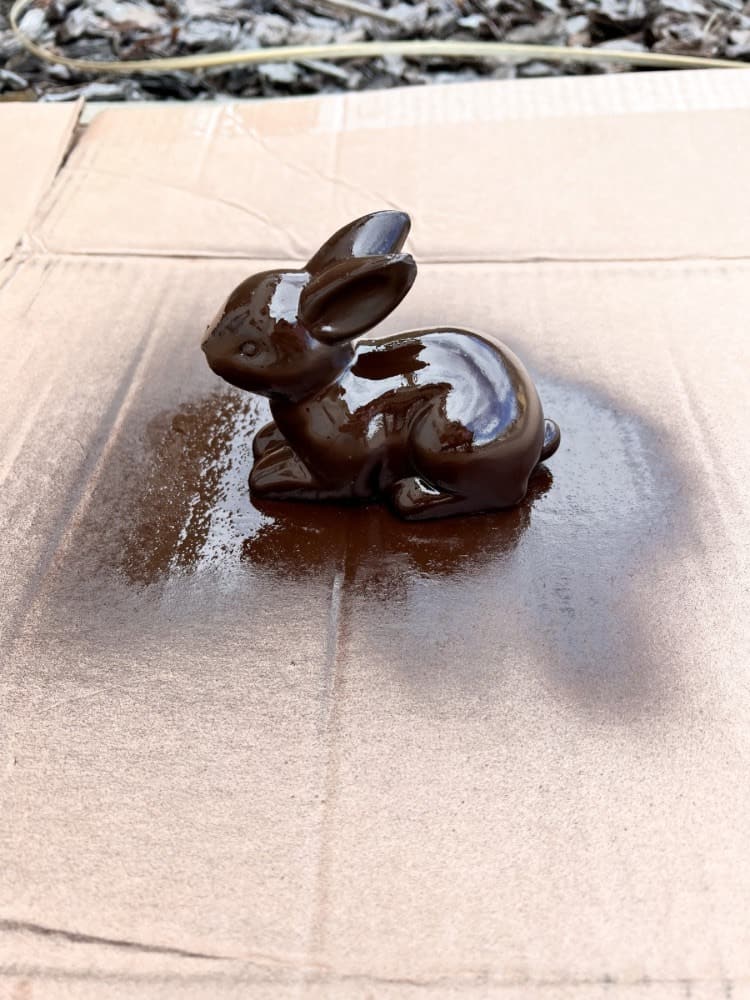
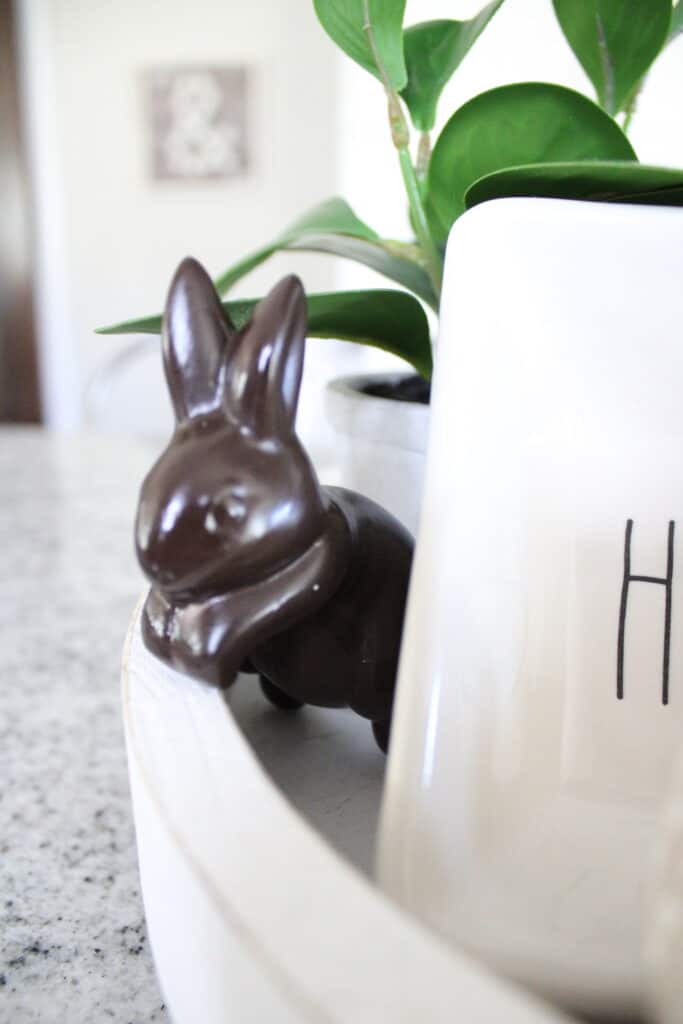
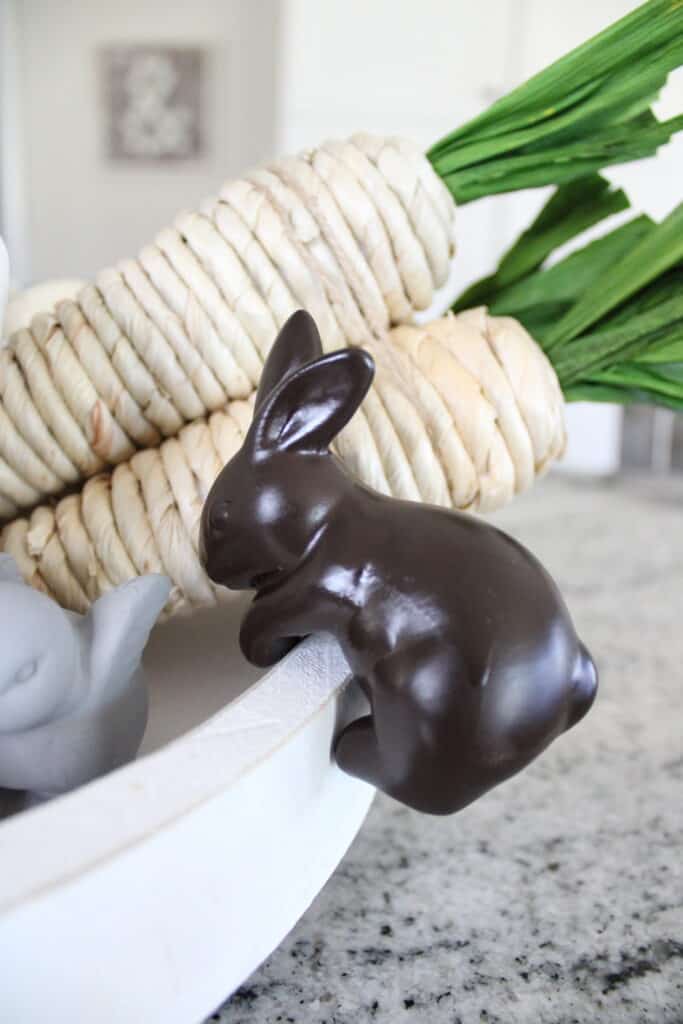
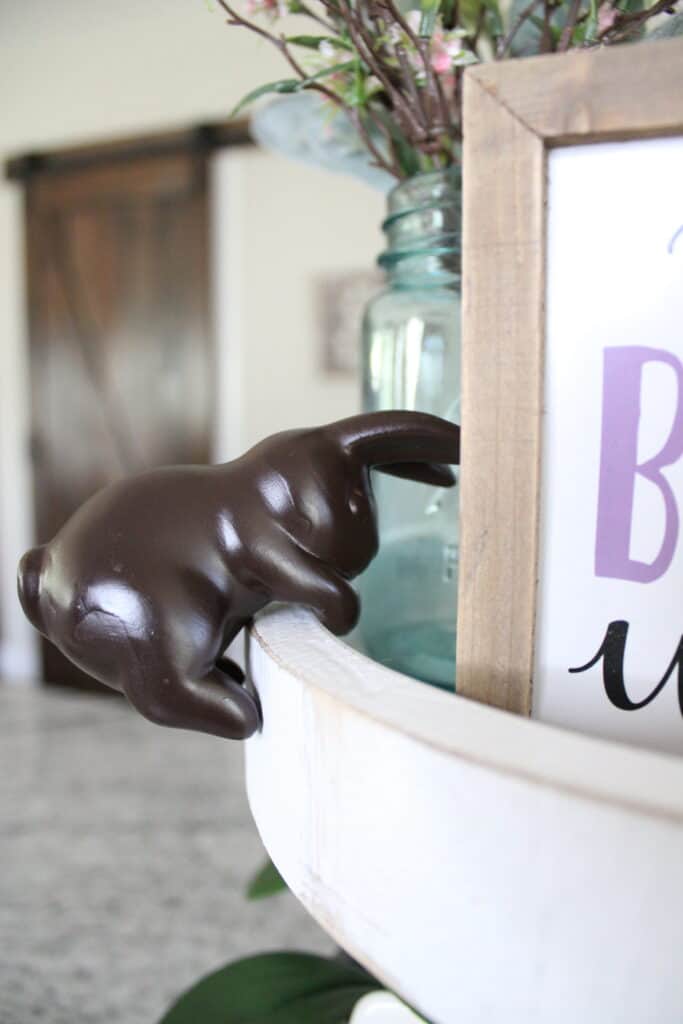
I would let them dry for about an hour and then rotate them around to see where I missed with the spray paint. After a few touch ups, I let them dry completely. And then the final result is a shiny, faux chocolate Easter bunny! It looks good enough to eat!
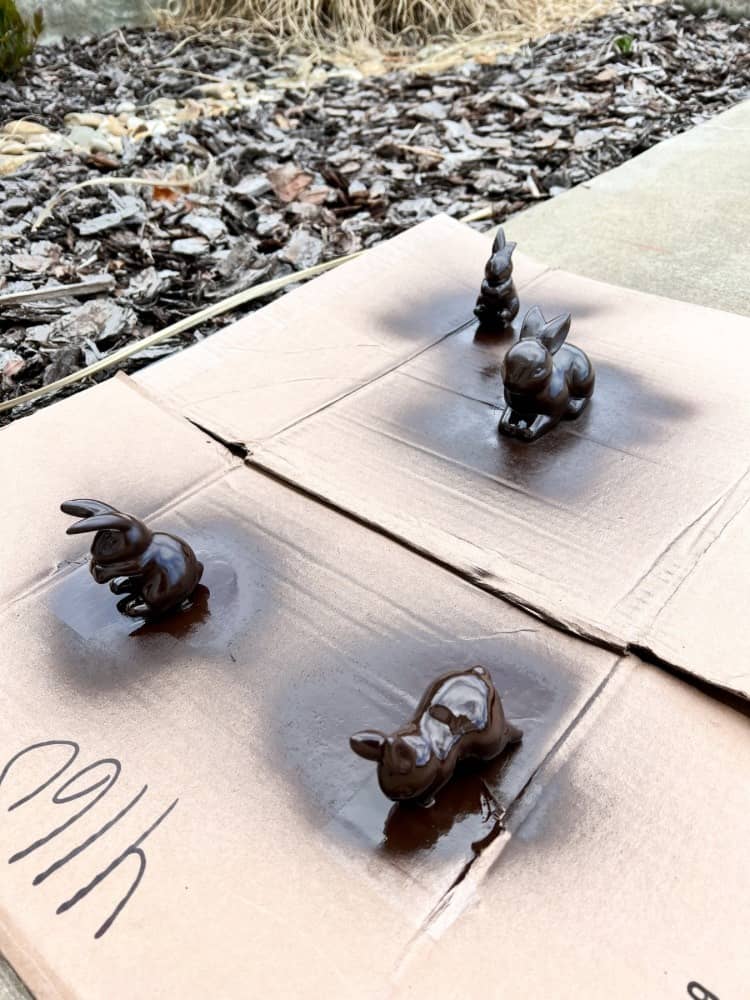
Seriously though, the bigger Easter bunny is like the exact same size as a Lindt Gold Chocolate Easter Bunny. My mom used to give one of those every Easter in my Easter basket so I love the fact that it reminds me of that. One of my favorite Easter memories for sure! Although, it doesn’t really help out my sweet tooth cravings though! Oh well, this craft made for some adorable bunnies, that’s for sure!
Vintage Clothespin Carrots
If you’re looking for more vintage Easter decorating ideas, then this craft is made for you! Y’all know I love me some good vintage holiday decor, and Easter is no exception to that! And I already had a handful of vintage clothespins laying around too.
So even better that I didn’t have to buy any for this project! On top of the clothespins, you only need a handful of other materials to make these carrots with as well.
I only made two because I wasn’t exactly sure where I wanted to put them just yet. However, you could make as much or as little as you wanted to for this easy Easter decoration idea as well!
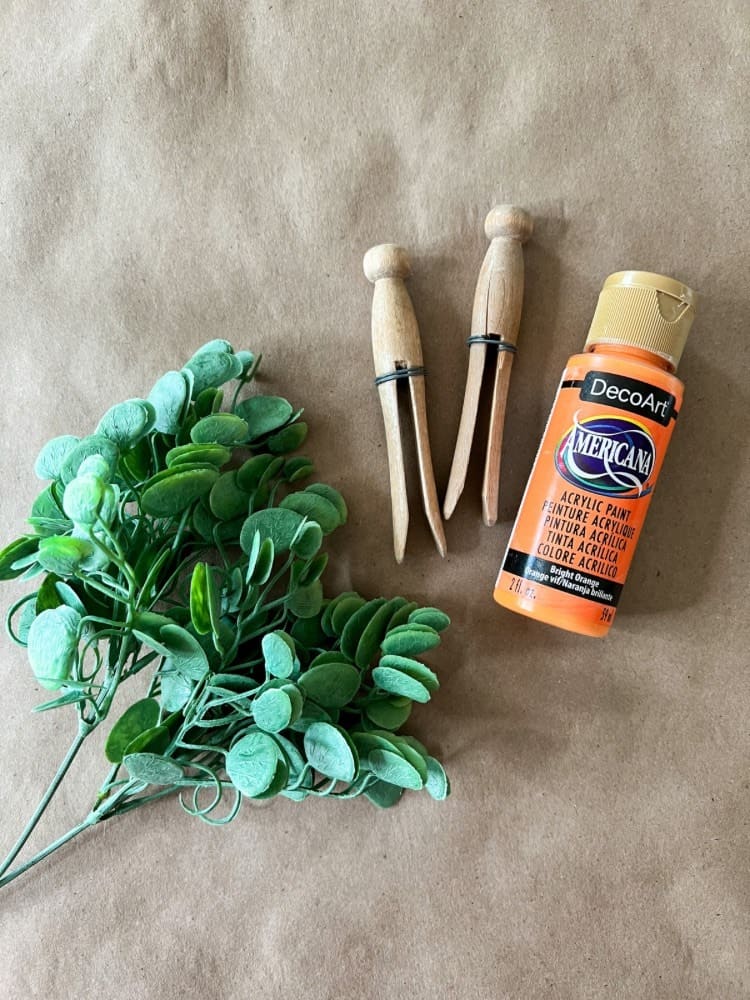
Materials Needed For Vintage Clothespin Carrots:
Faux Greenery Pick (For the Carrot Top!)
How To Make Carrots Out Of Clothespins
The first step is to paint the clothespins. I just got some cheap acrylic paint in orange and painted them with that. Here’s a tip, put some disposal gloves on while painting them. That way, you don’t get it all over your hands when trying to move the clothespin around to paint.
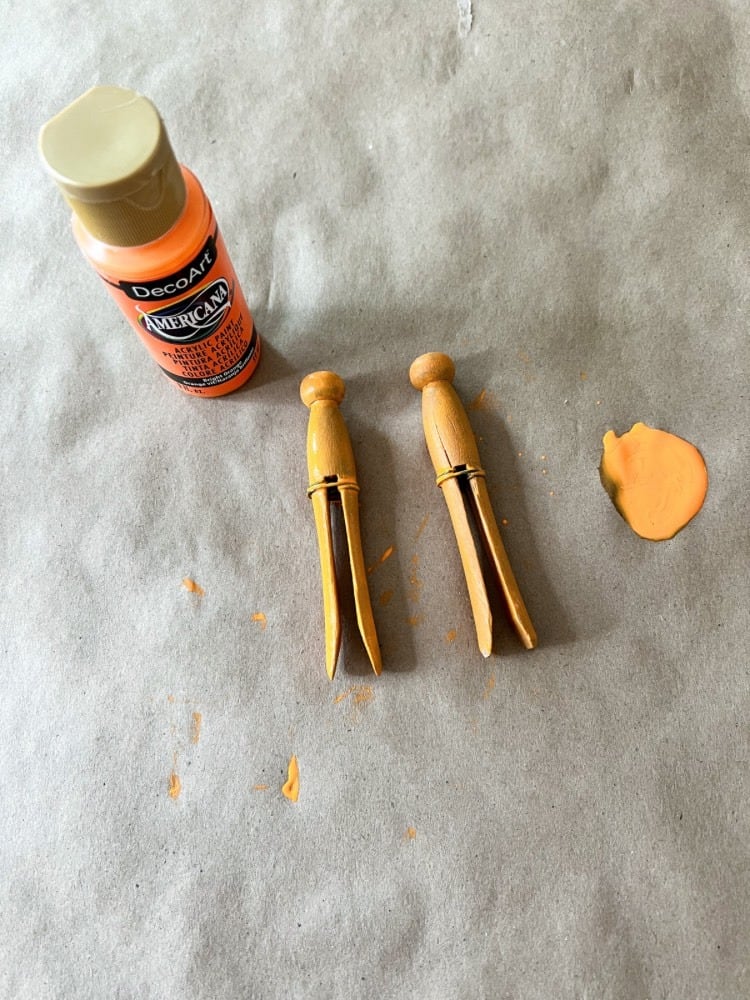
If you wanted to go back and dry brush some white paint on them for more of a distressed, aged look, you definitely could do that as well. I thought about doing that too, but I was going for the easiest way to make these beautiful decorations, so I skipped that part!
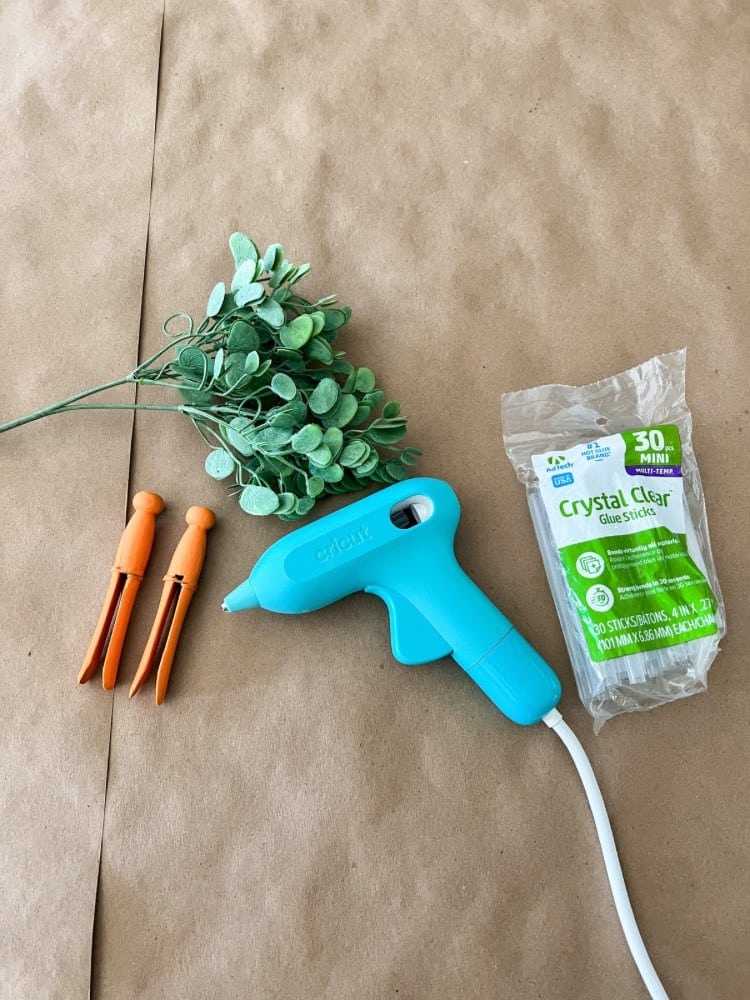
I did a couple of coats and then let them dry completely in between. Once they were completely dry, I stared cutting up the faux greenery pick into smaller pieces. You want enough to be able to use for the carrot top greenery. Then, I used my glue gun to add little dabs of hot glue to the clothespin tops.
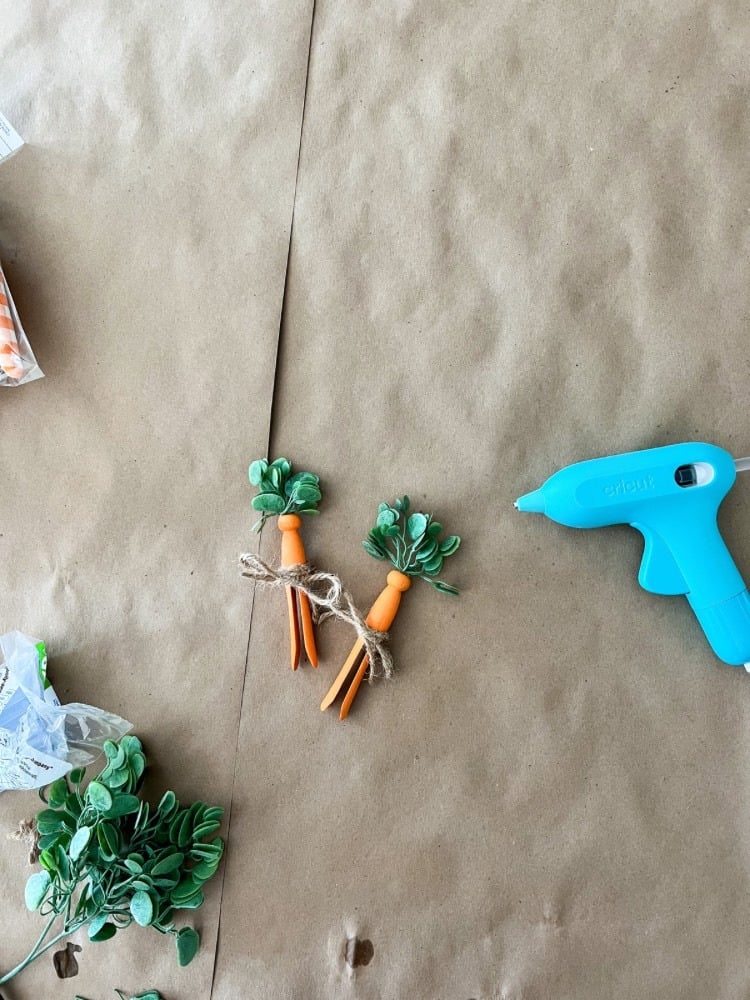
I added pieces of the greenery I just cut up to the dab of glue and held it in place until it was firmly attached. I repeated this process until the top was full of greenery and looked like carrot leaves sprouting from the carrot.
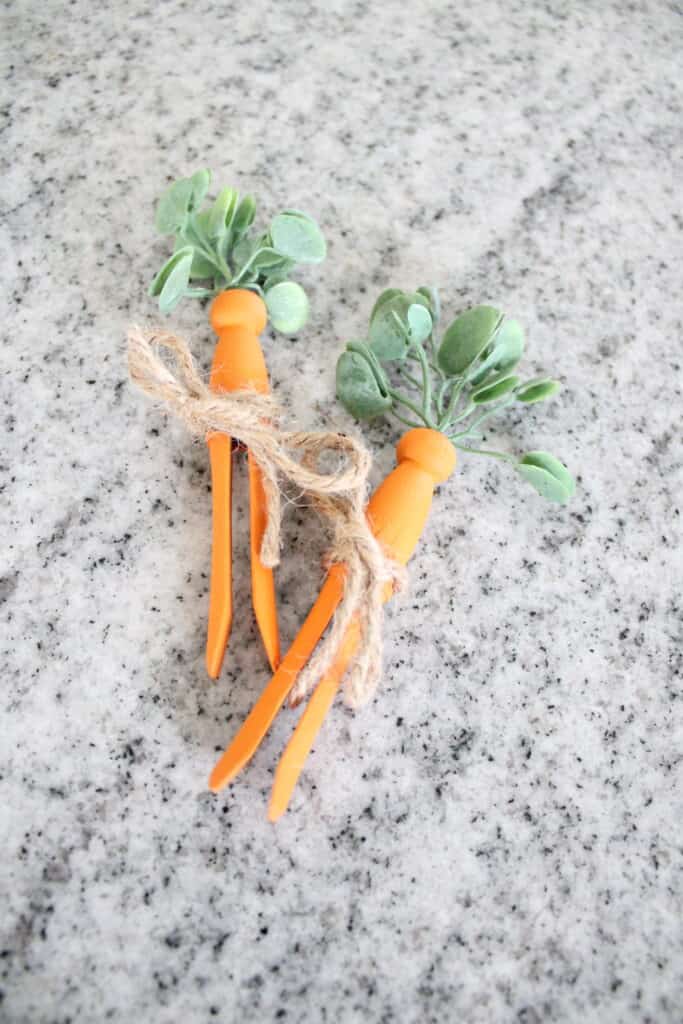
The finishing touch was to tie a pieces of jute string into a bow around the clothespin. I just did this to hide the metal wire that was already wrapped around the clothespin. But, it also made for a great focal point for the vintage clothespin carrots too!
Again, this was another great craft to make for Easter that is both cost effective and easy! And the possibilities are endless as to where to use these carrots too! The best Easter decorations are always versatile like this, that way you have plenty of options to decorate with!
Yarn-Wrapped Carrots
This one may be my favorite Easter decoration idea to make! It’s super easy, but it made a huge difference! If you like the more neutral farmhouse Easter vibe, then you will definitely love this one!
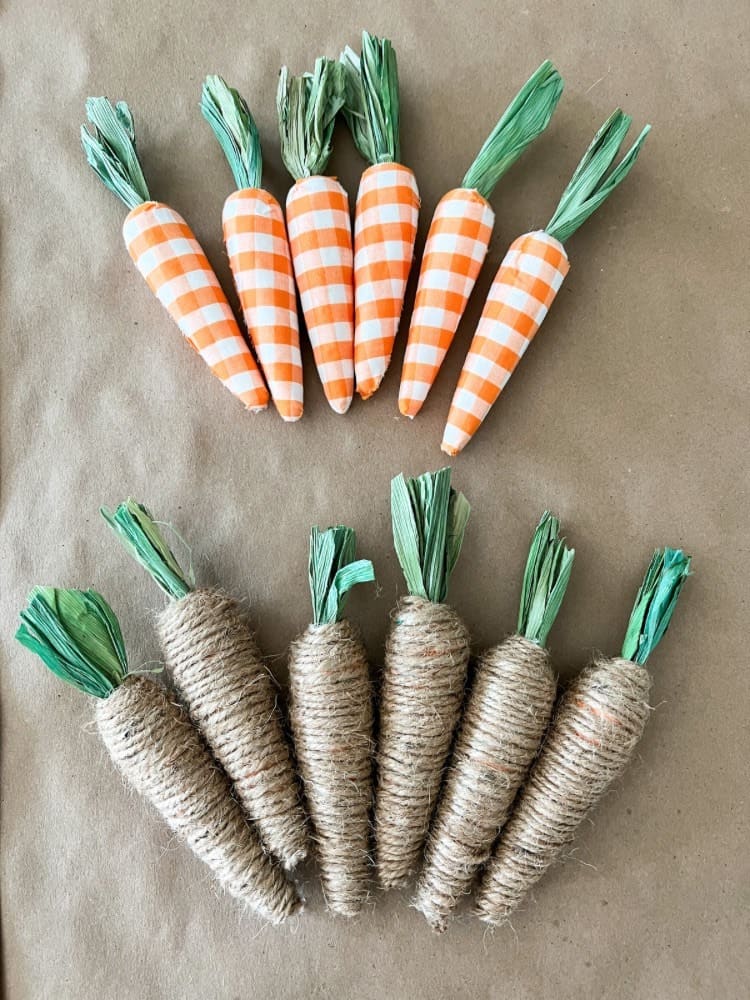
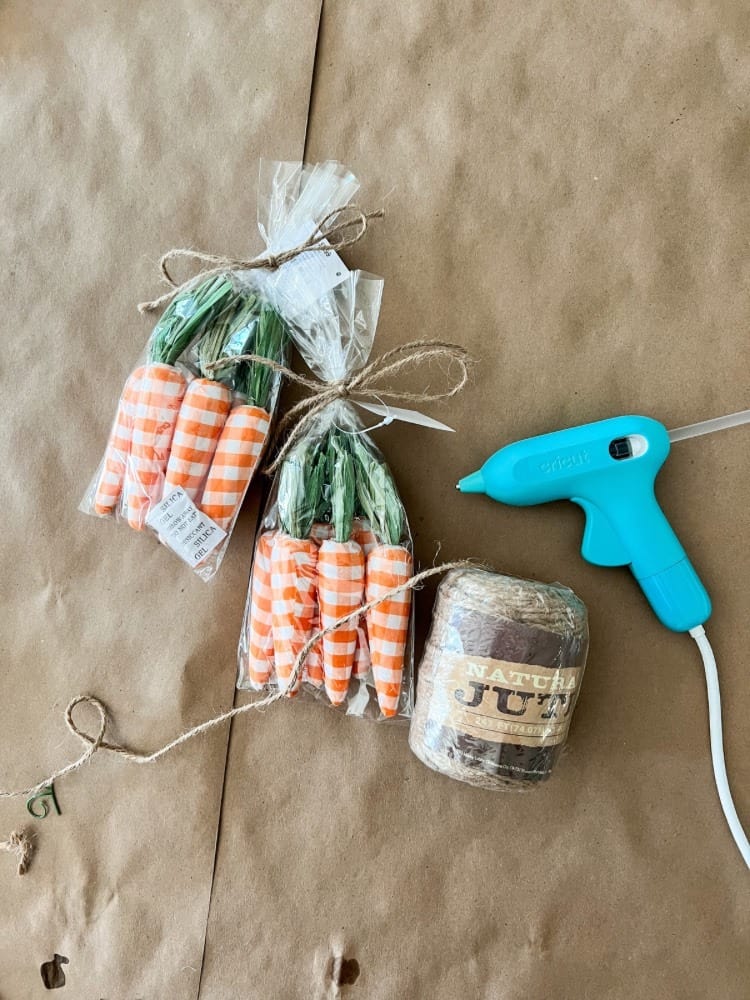
I found these cute orange and white checkered carrots from Hobby Lobby this year. And while they are super cute, I just wasn’t feeling the bright orange color to them. So I thought, why not wrap them up in some yarn for a more neutral look. And boy, did that do the trick!
You could easily find some cheap carrots at your local Dollar Tree as well to keep this project even more cost effective!
Materials Needed for Yarn-Wrapped Carrots:
Yarn, I used Jute String
How Do You Make Carrots Out Of Yarn?
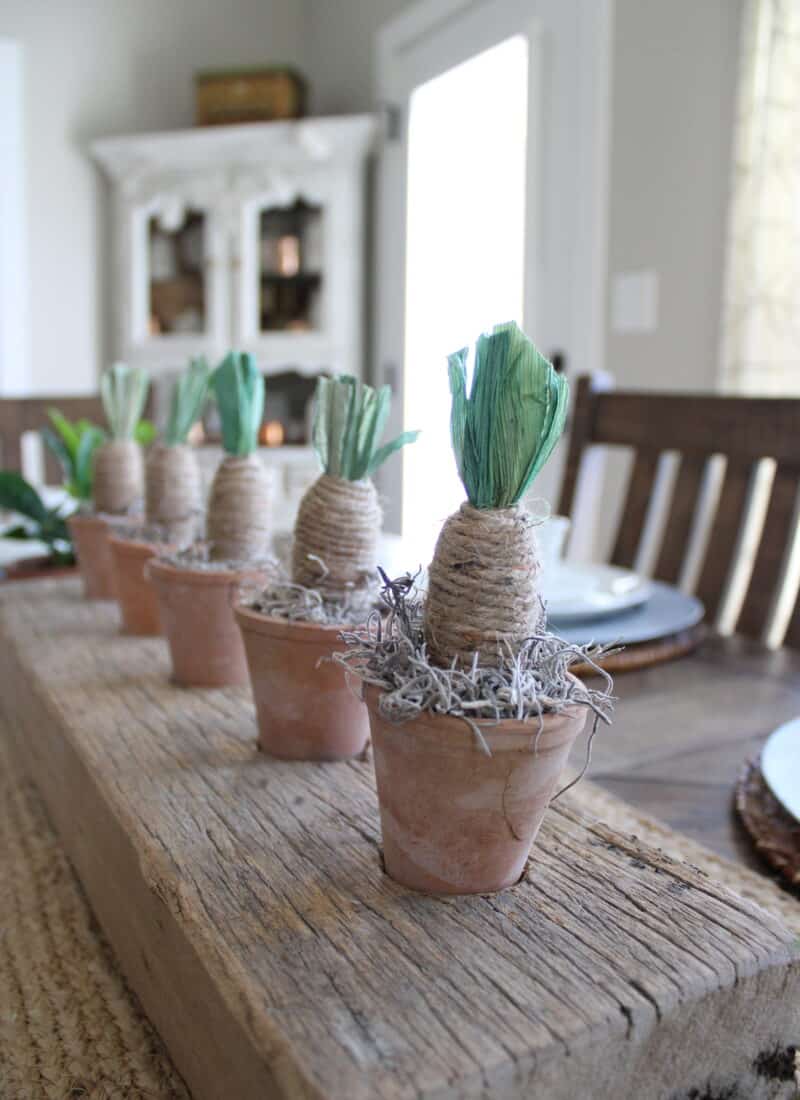
To start this Easter craft, I just applied a small dap of hot glue near the top of the carrot. Then, I placed the end of the jute string down on the hot glue and started wrapping the yarn completely around the carrot.
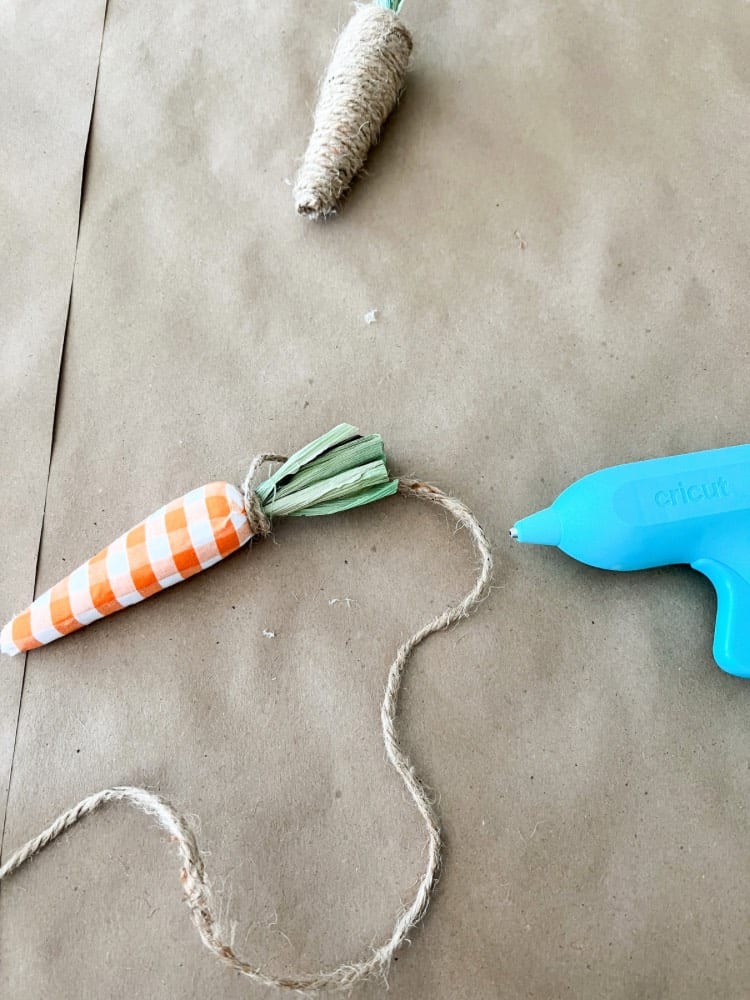
Do this process slowly and carefully so you don’t get any big gaps when wrapping the carrot. Once I reached the end of the carrot, I applied another dab of hot glue and pushed the end of the string down into it.
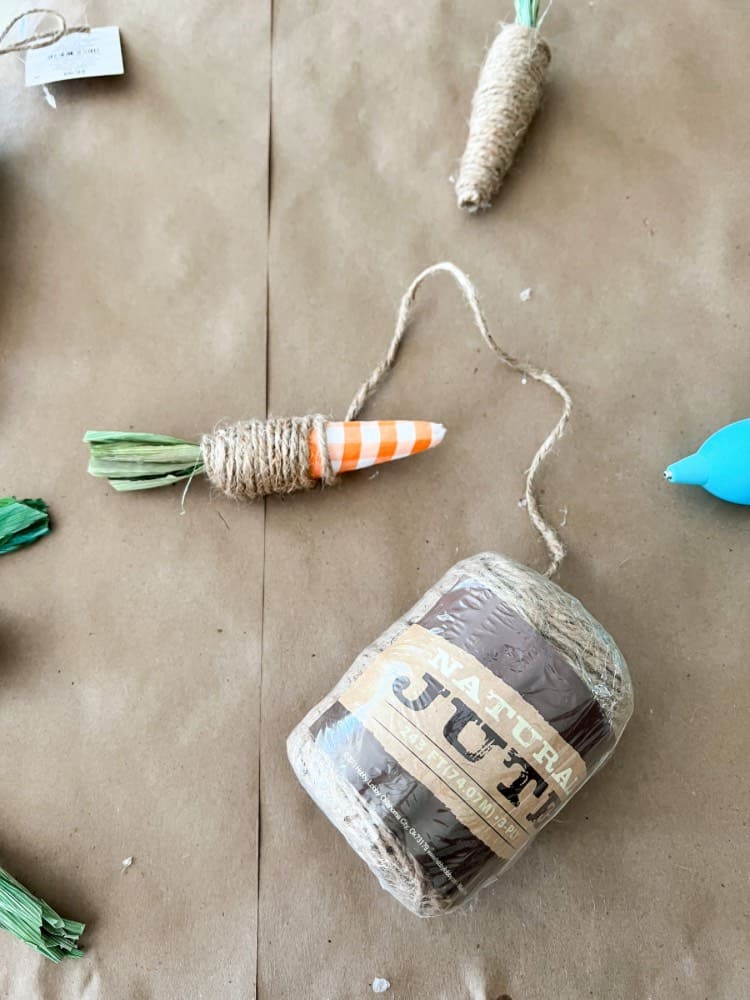
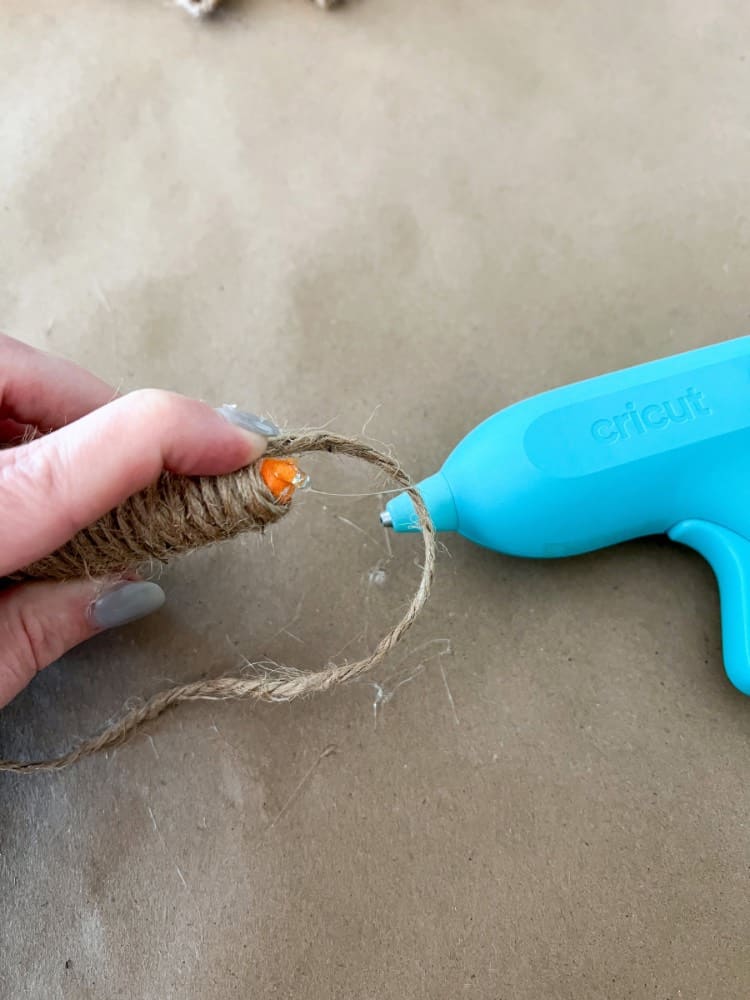
And that’s it! The entire project literally only took a few minutes to make! And you have the most adorable carrot from it!
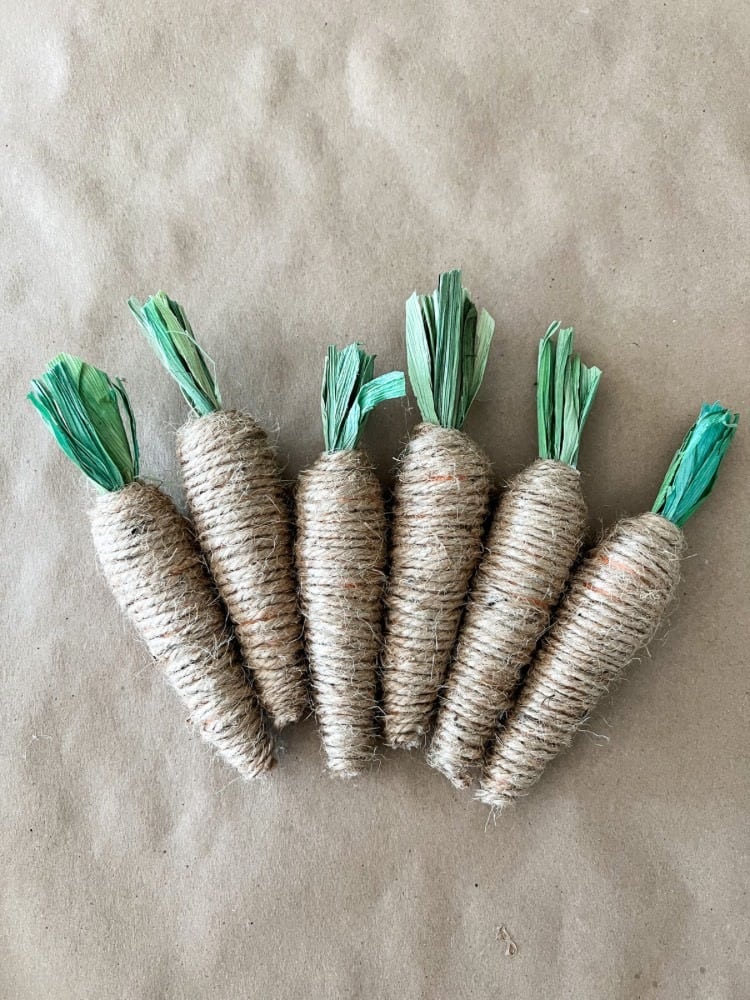
You could put these yarn wrapped carrots into a small bowl for display or in your dining room like I did. For my Easter dinner table, I have this beautiful reclaimed wood piece with terra cotta pots on it.
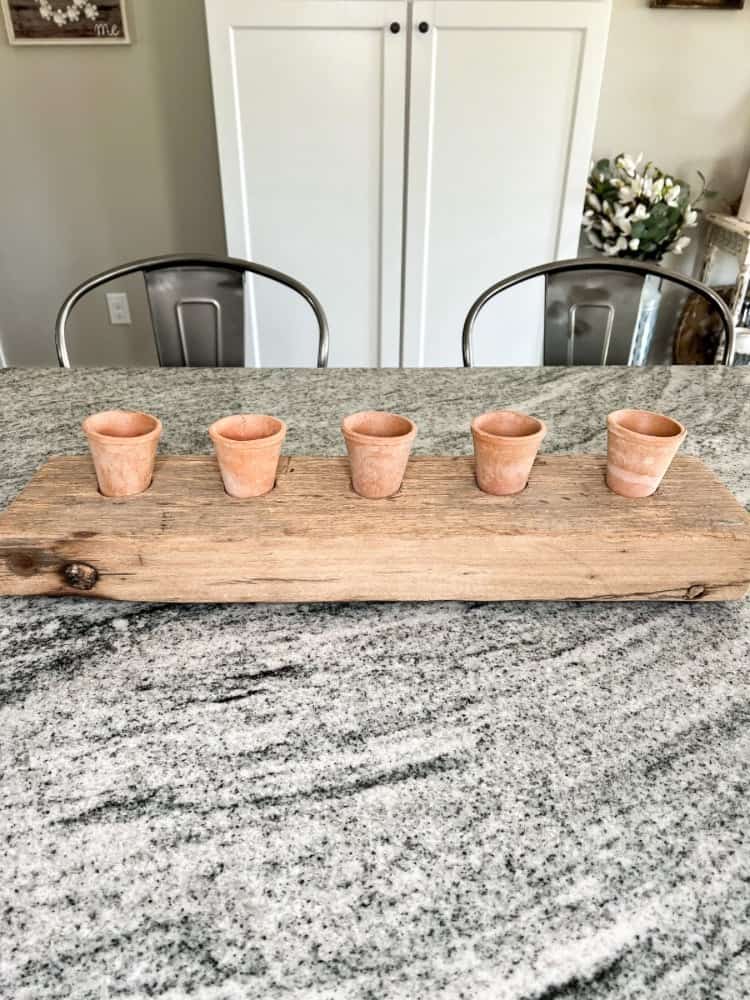
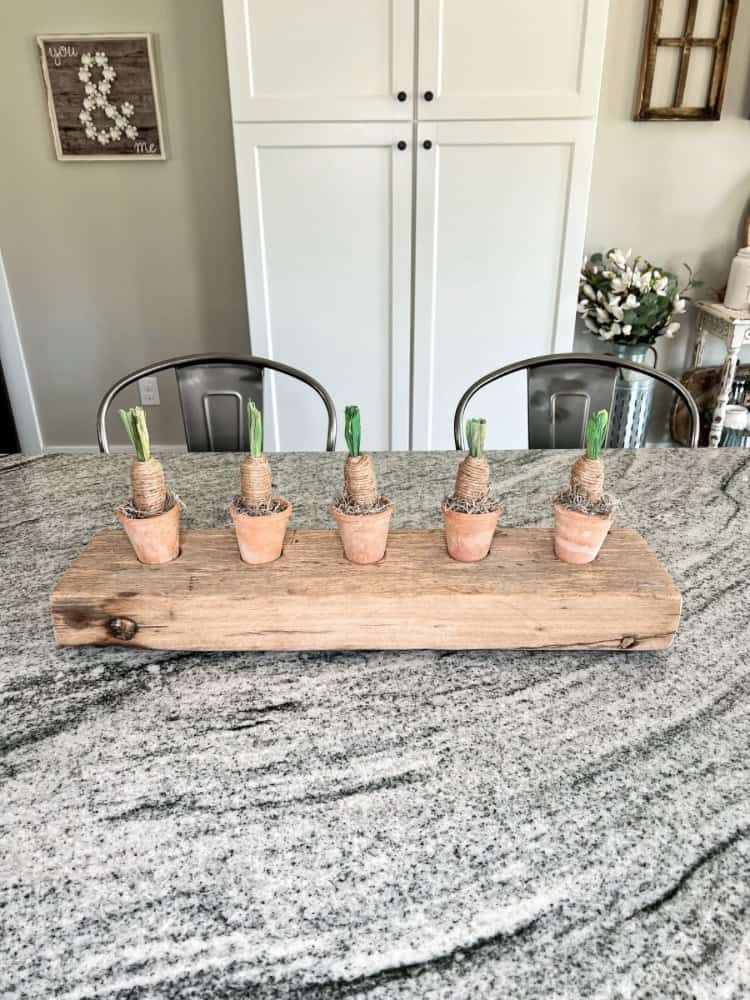
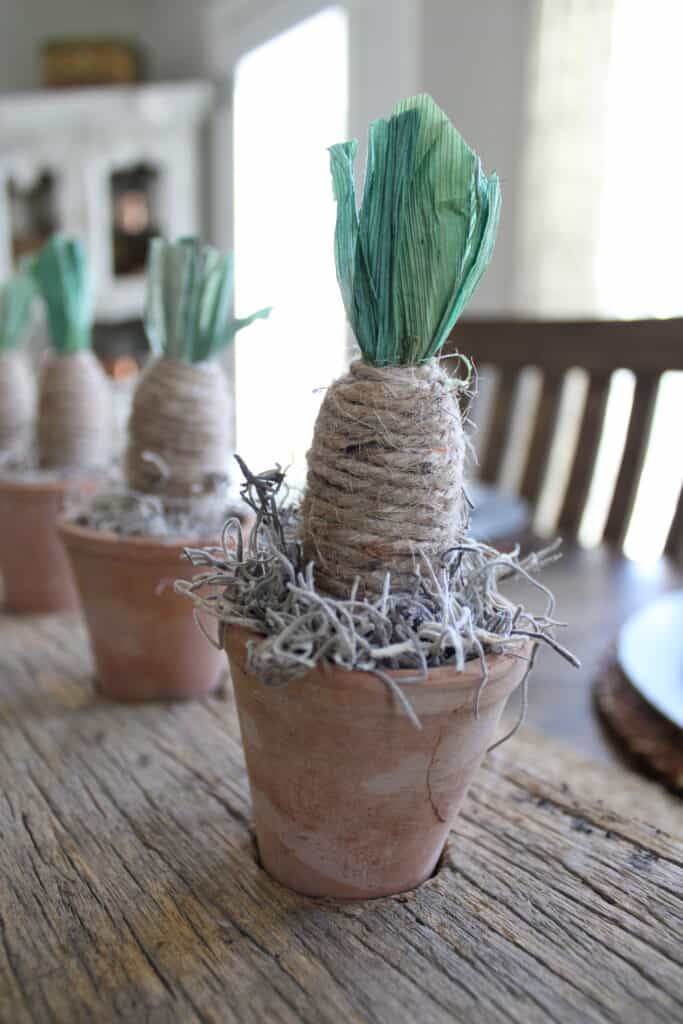
I decided to place each yarn wrapped carrot into the flower pots and then apply Spanish moss around it to give it a fuller look. And it definitely turned into a beautiful display for sure! I love the neutral, vintage vibe it brings to my table!
Enjoy Your Easter Crafts
Wherever you end of placing your Easter crafts, whether it be in Easter baskets for decor, or on display on your coffee table, they will look great there! There are so many possibilities to these versatile Easter decor ideas! I am sure you will find the perfect place in your home for each one.
And if you’re looking for even more Easter decoration ideas to make, then be sure to check out my DIY Easter Wreath I shared a little while back. Or my tutorial on How to Decoupage Easter eggs with Mod Podge and Tissue Paper! Both of which are also an easy DIY project too!
Well, I hope you all enjoyed these Easter craft ideas! And if you make any of the above, let me know how they turned out for you! I’d love to hear all about it! And I wish you all a wonderful Easter Sunday coming up my friends!

They all look super adorable and easy DIY. If I find some ornament bunny I would personally go with pink kinda like those peeps marshmallows.
Oh yes, that would be a great idea too! Love it!
Oh my, faux bunnies is such a brilliant idea. They are adorable!
Thank you! I am loving how they turned out too!
Great job on coming up with such easy and fun Easter decoration ideas! Your creativity and resourcefulness in finding affordable materials make these ideas accessible to everyone. Your detailed instructions are clear and easy to follow, and I appreciate that you even included a shopping list to help readers gather the necessary supplies. Your Faux Chocolate Bunny idea is especially clever and looks so realistic! Thank you for sharing your talent and inspiring us to get creative this Easter season.
Awe thank you so much Julie! That means a lot to me and I really appreciate it!
I’m really impressed with how easy these can be! Thank you for sharing these ideas with us. Love them all, sooo cute x
Yes, they are all super simple, but came out so cute! Thank you!
The Easter bunnies are a very good idea! And before reading I actually thought you had created them in a bunny mould with chocolate!
Awe thank you! I know, they really do look like a chocolate bunny, don’t they?!
The carrots are so cute!
Thank you! I love them too!
Those pegs are super cute and such a creative idea! I love all the other Easter decorations you have here too x
Lucy | http://www.lucymary.co.uk
Thank you Lucy. I appreciate it!
Those faux chocolate bunnies are adorable. Thank you for sharing!
No problem at all! Glad you enjoyed them too!
The faux chocolate bunnies are so cute! I absolutely adore that idea but I’d be worried my little boy – and my partner – would think it was real and try to eat them lol!
I have some paper mache eggs coming today for my little boy to paint, can’t wait to see how he decorates them.
Saph x
http://www.simplysaph.co.uk
Awe that sounds like so much fun! I am sure he will love that!
I love these ideas; I can really get behind this for some Easter decor in my apartment! You’re so creative and share so many cute ideas!
Awe thanks so much Molly! I really appreciate that!
These are all so cute! I’m so excited to start decorating for Easter! I’m loving the faux chocolate bunnies! Thanks so much for sharing!
No problem at all. Glad you enjoyed it! I love all the faux chocolate bunnies too!
For a non-DIYer, like myself, I like how easy to make, and fun these decorations are! My favorite is the clothespin carrots- so creative and simple!
Thank you so much! Yes, these projects are super easy and simple and do not require much effort at all!
These are creative ideas to make your own Easter decorations. I really like the chocolate bunny decoration.
Thank you! I love that one too!
Another great post! Love these DIY projects you share.
Awe thanks my friend. I really appreciate that!
So many awesome ideas to be able to decorate your home with. The bunnies are so cute! Thank you for sharing your craft ideas!
Lauren – bournemouthgirl
No problem at all Lauren. Glad you enjoyed them too!
I love the faux chocolate bunnies in particular and that added nostalgia to the craft!
Thank you! I think they do too!
Thanks for sharing, these look great to make and easy to follow instructions too, the carrots look great, and I have lots of shop bought decorations 🙂
Thank you so much! I appreciate it