
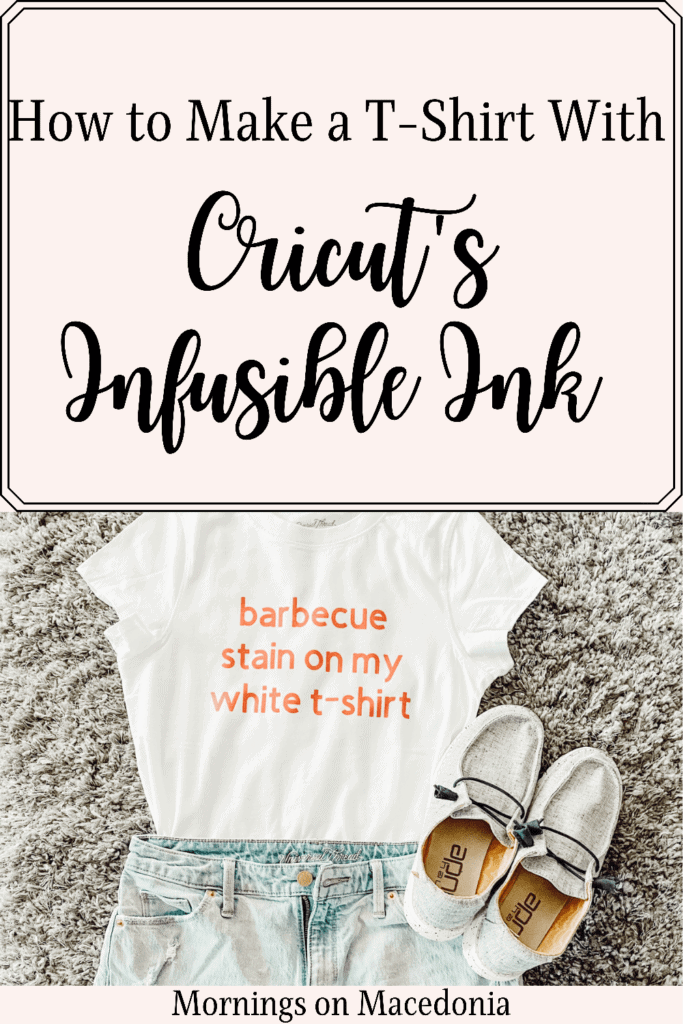
So y’all know that here recently I got a Cricut machine. I shared all about it in my DIY Plant Labels before. But I also got the Cricut Heat Press 2 and I haven’t really used it until recently. And let me tell y’all, it is a game changer. I am having so much fun using it and learning from it. I just recently made a shirt and it turned out so cute. So I thought I would share with you today how to make a t-shirt with Cricut’s infusible ink.
Their infusible ink is a cool product because unlike vinyl, it actually infuses into the material of the t-shirt. So it’s not like ironing on vinyl to a shirt. It literally becomes a part of the shirt so I love that!
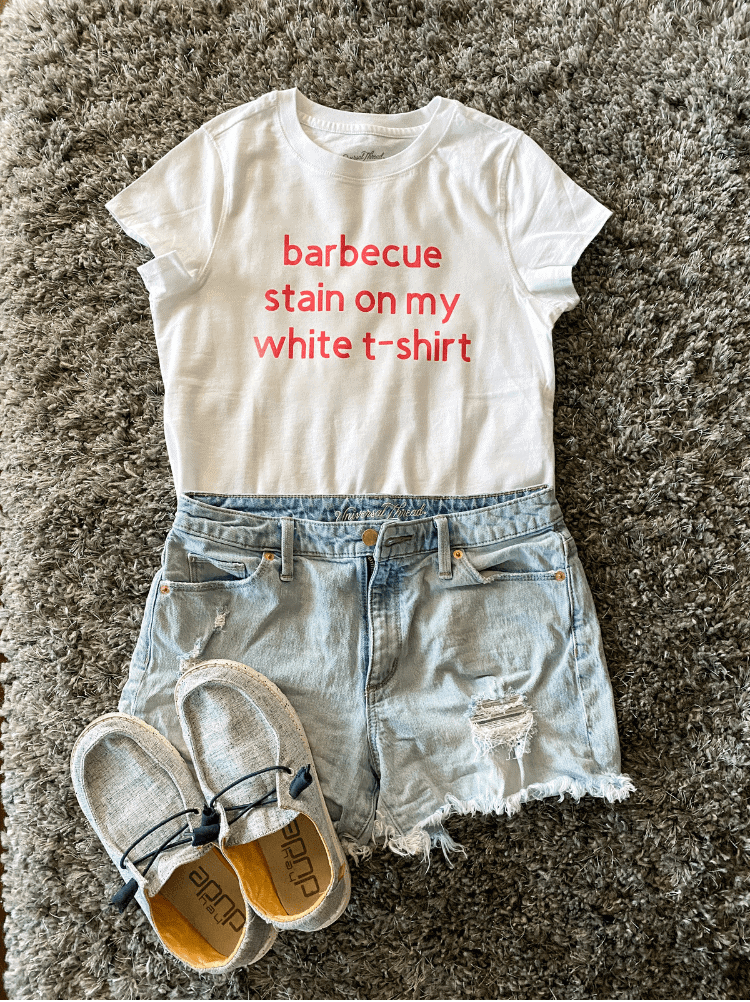
I decided to make a cute July 4th themed shirt since it is coming up so soon. Keep on reading to see just how easy it is to make!
This post contain affiliate links. Click here to read my disclosure policy.
Materials Needed:
- Cricut Easy Press 2 Machine
- Infusible Ink Sheet (I used the color Cherry Red for this project)
- Cricut Explore Air 2 Machine
- Cricut Standard Grip Mat
- White Butcher Paper
- A blank t-shirt
- Hydrogen Peroxide
- Spray bottle
- Lint Roller

Design Your T-Shirt
The first step is to design whatever you want your shirt to say in Cricut design space. Like I said above I wanted to do a cute Fourth of July shirt for our family cookout coming up.
I decided to use the phrase “barbecue stain on my white t-shirt”. Because if you don’t know, it is a classic line from a popular Tim McGraw song, Something Like That.
And I figured it’s just perfect for summer too. Because I know even after Fourth of July we love to have a good barbecue too! Basically, you can get as creative as you want here to do this.
I just typed it into design space using the font “Cricut Sans”. They also have already made designs and sayings that you can choose from too, if you want it to be even easier!
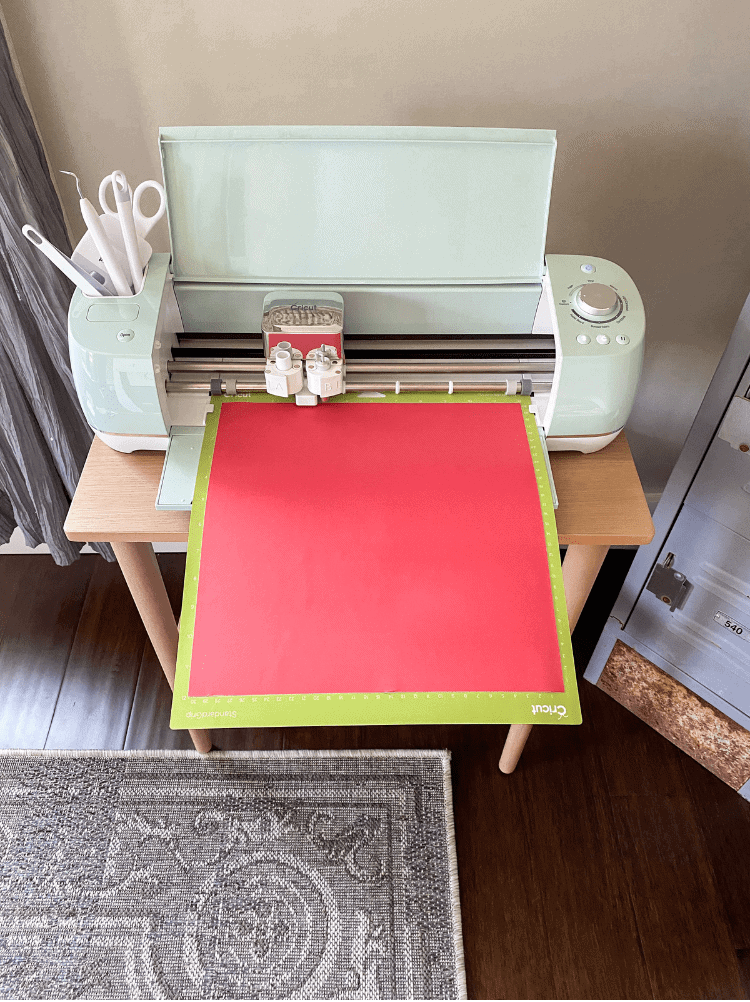
After you have completed your design on design space, you can now print it out with your Cricut machine. I have the Explore Air 2 machine and love it.
But even if you have an older printer model, it should work just fine to print out your design. Simply place your infusible ink sheet on the standard grip mat and load it into the machine.
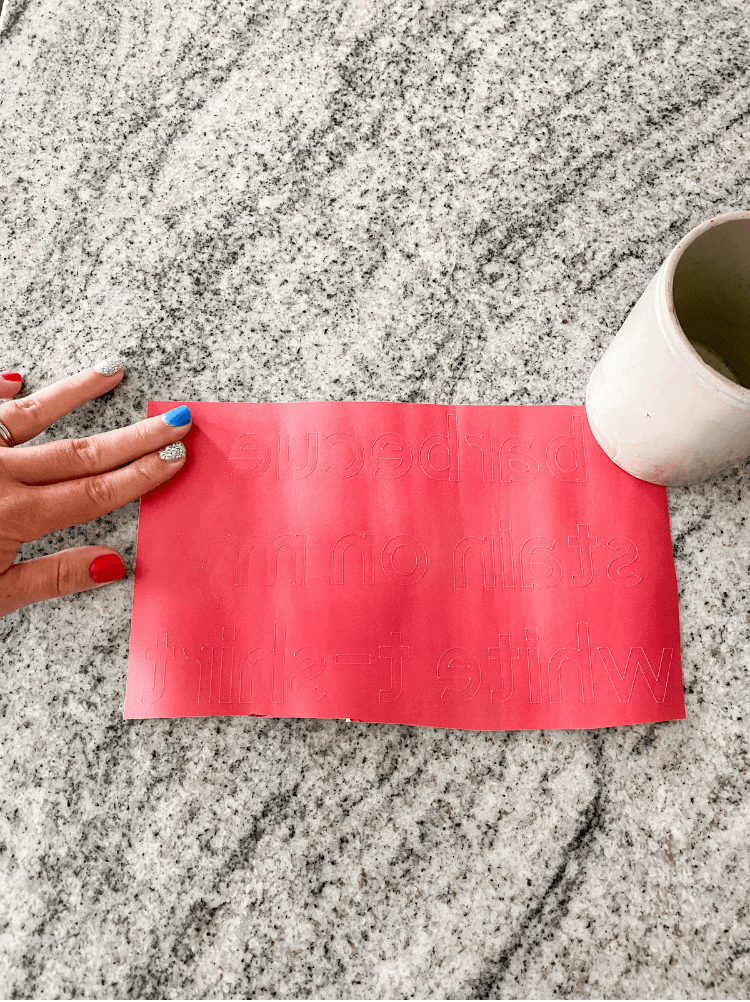
Now this is real important- when you go to print your design in design space, MAKE SURE YOU HAVE THE MIRROR OPTION TURNED ON.
It needs to be backwards when you print it out, otherwise it will print backwards on your shirt when you apply the heat press.
Also, have the dial turned to “custom” and then choose the infusible ink sheet option on design space before printing.
Get The Infusible Ink Sheet Ready For The Heat Press
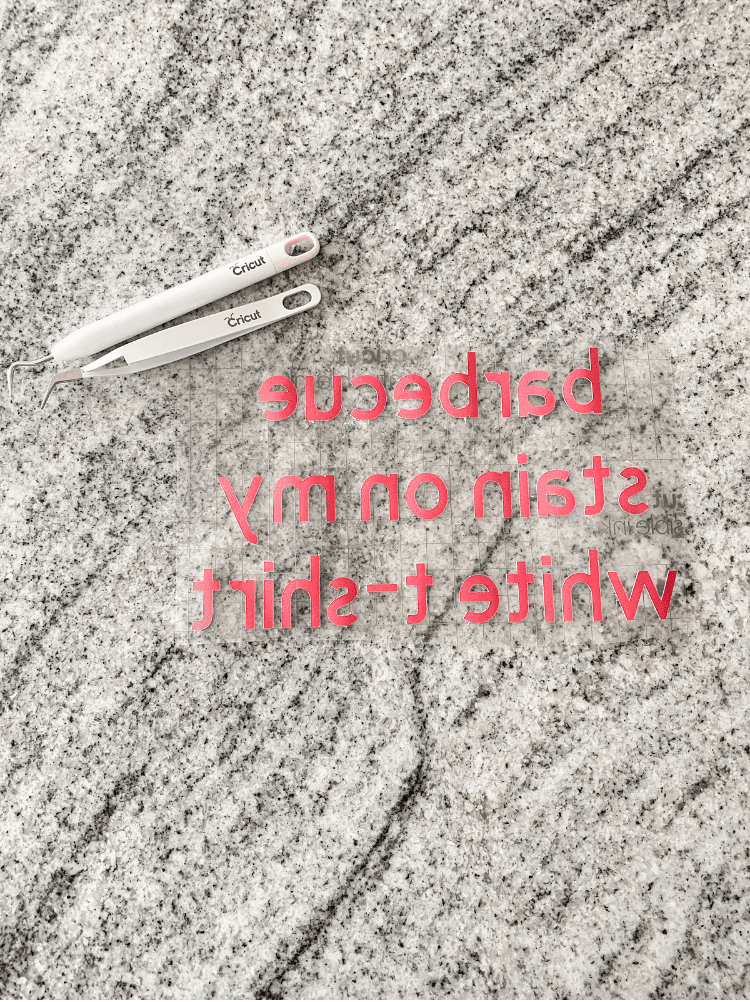
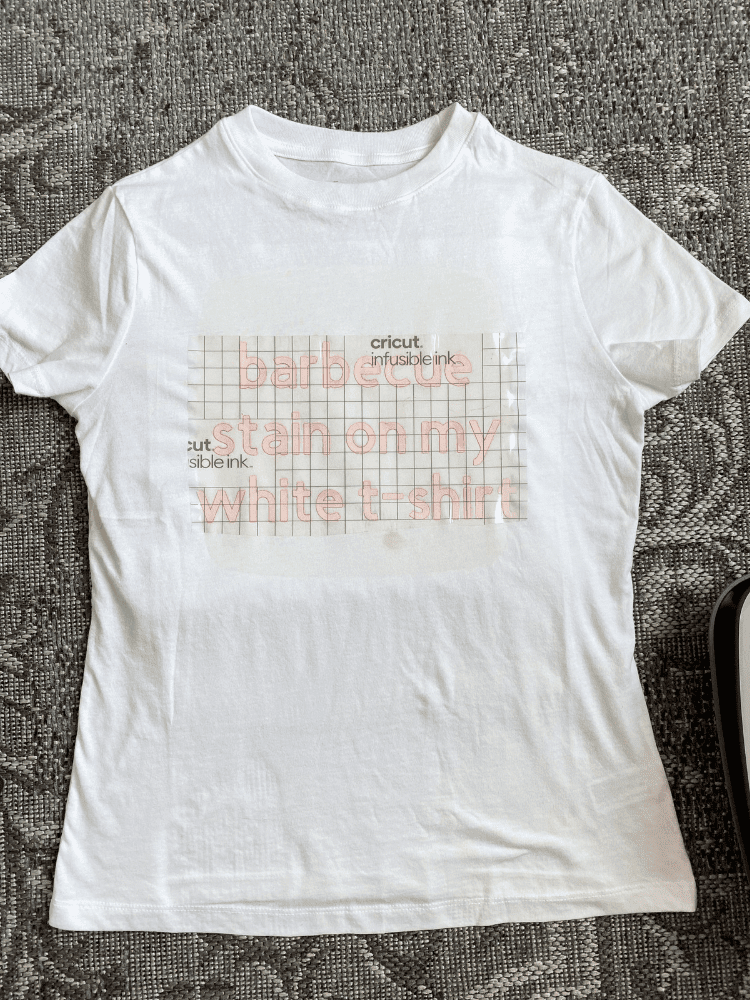
The next step in How To Make a T-Shirt With Cricut’s Infusible Ink, is to carefully peel off the sheet from the standard grip mat. Then, using scissors cut around the design.
You can use the excess paper for another project! Once you have it cut down to size, remove the backing from the text.
It can be a little time consuming to remove the backing and try to work carefully so you don’t tear your text or design.
But, after I have done this a few times, it becomes easier and easier to do. Just work slowly at first until you get the hang of it!
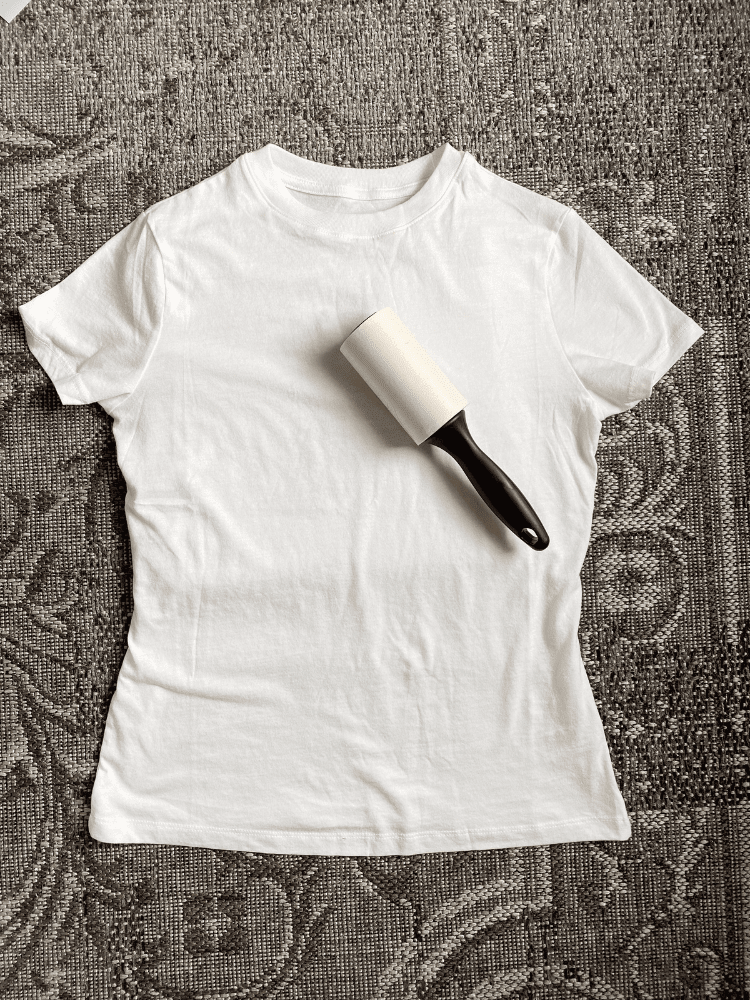
Prepare the T-Shirt for the Easy Press
Now that your design is all ready to go, you need to prepare your t-shirt. You need to use a lint roller on it to remove any loose debris or fibers.
Skipping this step is not ideal because if there are any loose fibers on the shirt, they can burn and/or turn a different color when using the heat press.
After lint rolling, you need to add in a piece of butcher paper under the shirt. Then place the shirt on the Easy Press mat that comes with your Cricut.
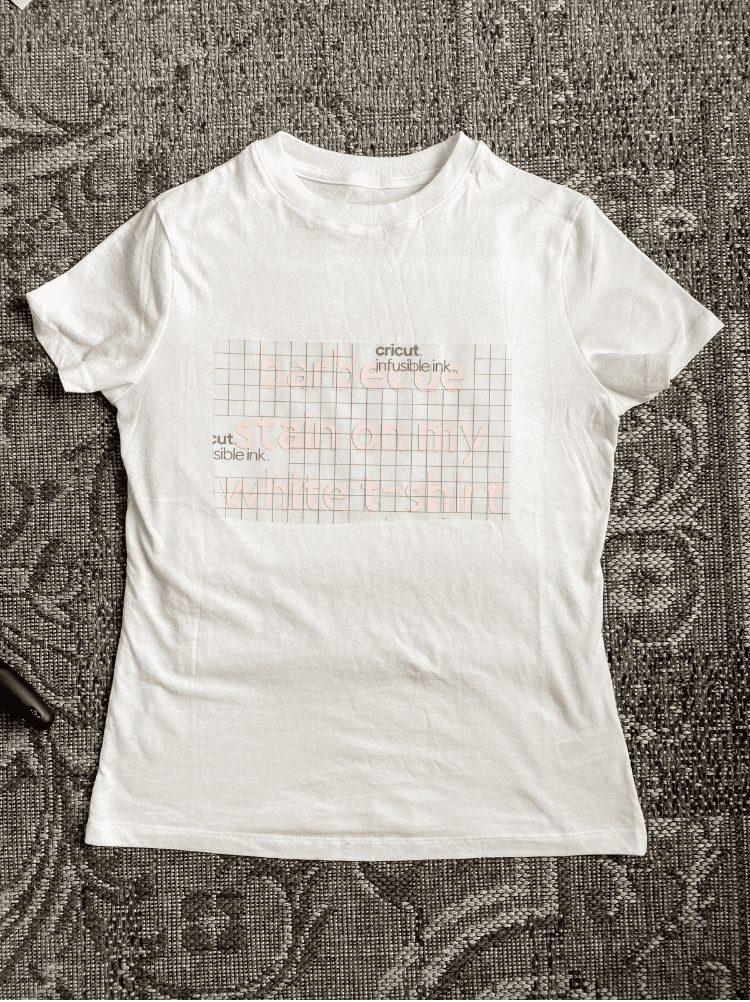
Make sure the mat is right under where you are going to be applying heat. Once you have the shirt all set up, apply the infusible ink sheet design on there.
Now once you stick it on the shirt, you should see it is no longer backwards. The backing of the infusible ink shirt is sticky so it should stick just fine on your shirt.
However, you can also use heat resistant fabric tape too for an extra secure stick if you want.
Use the Cricut Heat Press on Your T-Shirt
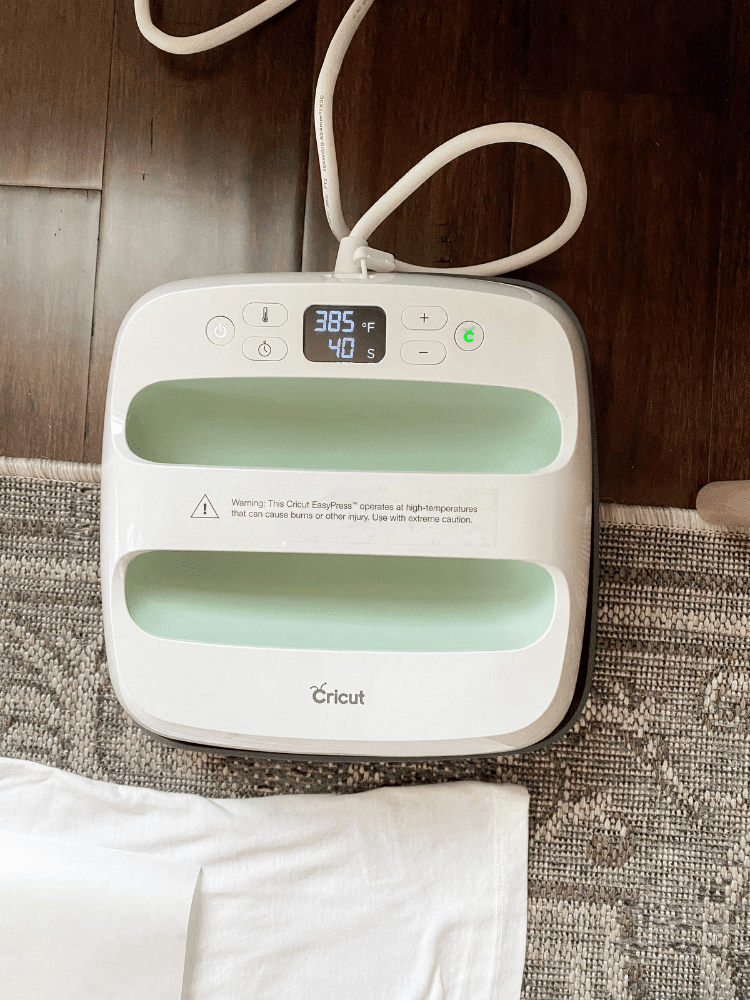
Now for the fun part on How To Make a T-Shirt With Cricut’s Infusible Ink! You are ready to use the heat press machine! Be sure to preheat your machine before using it.
I did it on the standard setting, 385 degrees for 40 seconds. It should light up red while preheating and then turn green and chirp when it is ready to go.
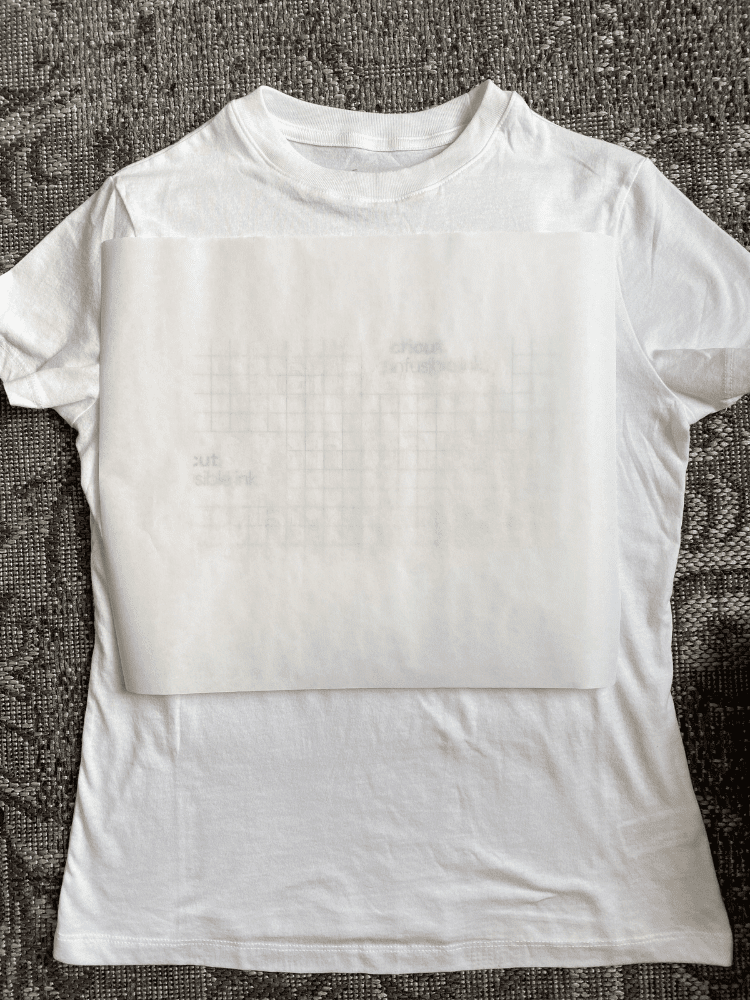
Be sure to also put another sheet of butcher paper on top of your t-shirt. This helps prevent it from scorching the fabric too much.
After you have the butcher paper on the shirt and the machine pre-heated, you are ready to go! Just place the Easy Press machine right down on top of your design.
Press the start button and then use firm pressure for the full 40 seconds. Then, remove the Easy Press and let the shirt cool down.
Finish Up Your T-Shirt
Be sure to let the shirt cool completely before handling it, it will be hot to touch! Then, you can remove the butcher paper and carefully peel of the sticky part of the infusible ink sheet.
Be sure to remove it slowly and carefully because you don’t want to have the infusible ink accidentally touch another surface on the shirt. It could stain it if so.
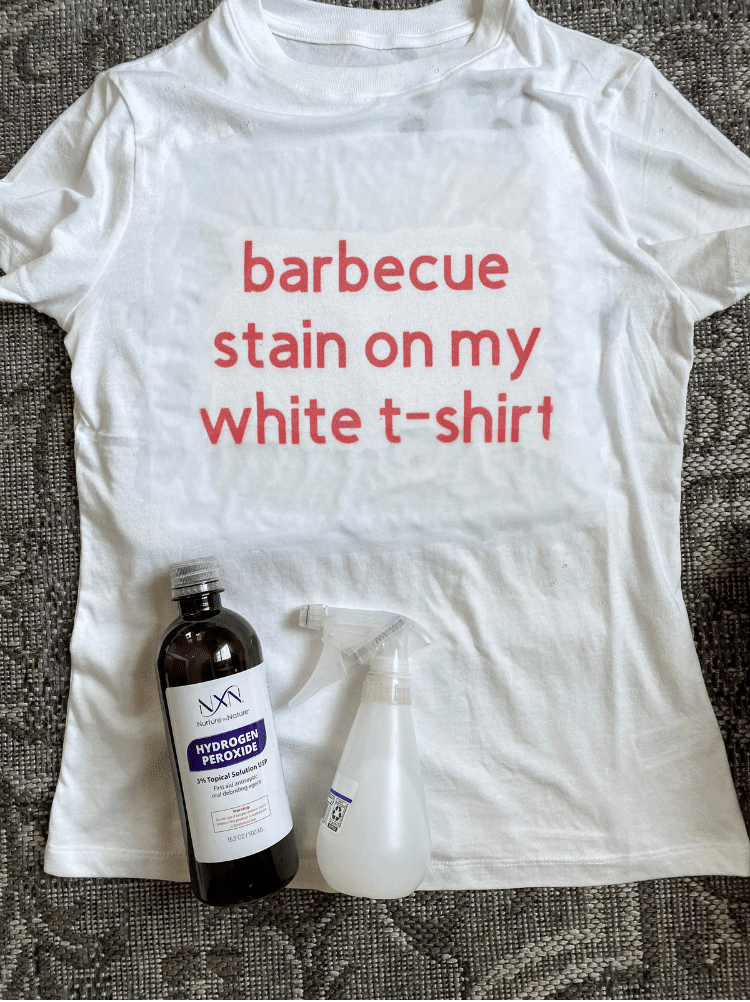
As you can see above, there are some scorch marks present from the Easy Press machine. No worries! I have a simple fix for this! I used hydrogen peroxide and poured it into a spray bottle.
Then, I just went around the shirt where the burn marks where present and sprayed them down. I let it sit awhile and then placed it in the wash.
Simply turn the shirt inside out and wash it in cold water and it will be just fine! You will notice when you do this more and more, that some shirts will scorch and others won’t.
It just depends on what fabric the shirts are made of really. But as you can see, you don’t need to fret if they do scorch a little!
Conclusion
Well I hope I answered all your questions in How To Make a T-Shirt With Cricut’s Infusible Ink. As you can see, it is a pretty fun process once you get the hang of it!
And the possibilities for shirt making are endless once you have everything you need. If you are a creative person like myself, then you definitely need to think about investing in some Cricut products!
I have really been loving all of them so far and enjoy crafting so much more now. Have you ever tried out Cricut’s Infusible Ink? If so, I would love to know! Tell me all about it below!
This is so cool! That’s a little business you can start right there!
Thank you, maybe so if I can get good and quicker at it! Lol
I am amazed at how vibrant the ink is and how it has kept its color! While I do not have a cricut machine, but I love the idea of being able to custom-quote plain white shirts.
Thanks for sharing!
No problem at all. I am pretty impressed with how it turned out as well!
This is a great idea Charity! x
Lucy | http://www.lucymary.co.uk
Thank you so much Lucy, I appreciate it!
Really a superb idea
Thank you so much
This is such a cool thing to be able to do! I love the quote too 🤣
Thank you! I do too lol
This is such a great idea! The end product looks fab – you could make so many great tops using this! Thanks for sharing.
Thank you! I am so glad you think so too!
Oh I just love DIY ideas, especially when it comes to clothing! Thank you for sharing this idea, it turned out amazing!
xoxo Olivia | https://www.oliviaandbeauty.com
Thank you my friend. I am so glad you thought so too
OMG it is so cute! I love it! I can’t believe how much you can do with a Cricut. Thanks for sharing!
Thank you! It sure is amazing that you can do so much with such a small machine!
This is such a cute fit. Can’t believe you can make the cutest customs now!
Thank you! It sure is fun to do!
Wow… this is a great way to print on shirts. I’m just hearing of something called cricut. Really nice
Thank you, it is a pretty cool machine!
That is one of my favorite songs! Your shirt turned out cute. I got a Silhouette Cameo and a heat press over a year ago. I rarely use it but maybe I should so I can make cool shirts like yours! 🙂
Thank you! I love this song too. You should definitely bring it on out and try to make some shirts with it!
Oh wow I love this. I’m going to look into this more to see how easy it is to make t shirts for my hen party!
Rosie
Thank you, you definitely should. It is so worth it!
Wow this is so cool! I love it when you can customise clothes and make them all your own 🙂
Thank you. I love that too!
This looks amazing and quite an easy DIY to make! I have been eyeing one of these machines for a bit and love all the DIY you showed with it! x
Thank you so much. It is an easy DIY for sure and these machines are amazing and can do so much!
This shirt is so cute & I love that there’s so much you can do with the cricut machine!
Thank you! There really is so much you can do with a Cricut machine!
I did a lot of copywriting work a while ago about cricut machines and learned so much about them – they’re so cool! You can do so much and this is such a cool idea! x
Thank you so much! There is so much you can do with them for sure! I love them!
I love Cricuts – they’re so handy for all tasks! This looks super cute and you did a great job! I love the quote you chose.
Thank you so much! I love the quote too!
Great post! The t-shirt looks really good and this is a really good step-by-step guide! It’s such a cool idea to make your own custom t-shirts and I would love to try it!
Thank you, you should definitely try it out sometime!
I’m obsessed with caption tees so I’d absolutely love to make one of these!
Thank you, I am obsessed with caption tees too. I need to make more now lol
Your shirt is so pretty! Thank you for sharing a step-by-step guide as it’s always fun to make custom clothes. I’d would love to try this DIY for my friends and family x
Thank you so much! You should definitely try it out sometime!
This is awesome! I’ve been dying to get a cricut and now even more so. I’ll definitely have to save this for when I finally get it! 😄
You definitely should get one! I am loving it so far!
This is a very cool DIY. I used to loved designing T-shirts. Reading your post makes me want to do T-shirt designs again. But first, I need to know where can I get that machine in Malaysia. Hehehe.
Lol I hope you can find one or something similar then!
I’ve just started my crafting journey and have considered getting myself a circuit cutter. Having the room to use it is the only issue, though, as I have limited space!
You should definitely get one! I was worried about space too, but I got a little table that has a bottom shelf too and I place the explore machine on top and the heat press on the shelf and it works pretty well for storage and it looks cute too!
This project is so cute! I love that you’ve taken the lyrics from a song and replicated them on your design. Also, I love your nails! Thanks for sharing.
Thank you so much my friend. I appreciate it
I actually have been wanting to design my own shirt but never knew how to do it. This tutorial is great and makes it look so easy. Definitely will have to try it out.
hank you, you should definitely try it out sometime for sure!
This t-shirt is so cute to wear for the summer. Thank you for sharing how to make this with the Cricut.
Thank you so much. I love my Cricut machine for sure!
Oh wow! DIY clothes! That’s really neat. I never really figured to use cricut for anything other than making stickers, but this is cool! I don’t own a machine, but it’s definitely interesting!
Oh yes, you can do so much more than just stickers with a Cricut machine!
So cute! I love it and I love the saying on the shirt, one of my fav songs! Thanks for sharing 🙂
No problem at all. Glad you enjoyed it as well.