I recently discovered the fact that you can now make your own easy Cricut stickers! And it is not as hard as you might think. So I thought I would share my guide on how to easily make stickers with Cricut for beginners.
You just need a few supplies and you don’t even need to design your own stickers- unless you want to! I am keeping this real basic and showing you how you can make stickers just from using Cricut’s Design Space’s library.
You can definitely design and make your own as well, but first I figured it is important to have a basic understanding of just how to make a Cricut sticker first!
This post contains affiliate links. Click here to read my disclosure policy.
What Do You Need To Make Stickers With Cricut?
If you already have a Cricut Explore Air machine and an inkjet printer, you are halfway there to making easy Cricut stickers!
It’s important to note that the Cricut Joy machine doesn’t have the “print then cut” feature, which is essential for sticker making. So therefore, if you just have that machine, you will unfortunately not be able to make stickers with it.
I have a the Cricut Explore Air 2 machine and a standard inkjet printer, nothing fancy. And it worked just fine for me. Aside from that, you just need some sticker paper.
What Kind Of Paper Do You Use to Make Stickers With Cricut?
I have tried a few different sticker paper to make Cricut stickers with. And while I love the look of a glossy sticker, the glossy sticker paper I have tried in the past, did not work for this project.
I am not sure if it was just the wrong type of sticker paper or what, but when I printed my design on the paper, it smeared and rubbed off right away. And even if I let it dry overnight before cutting it, it still smeared.
So, for this project, I used Cricut’s own brand of sticker paper. Even though it is matte and not glossy, I like how it turned out better. There was definitely no smearing ink going on with it! I would recommend sticking with their name brand products since I haven’t had any issues before with them.
How to Make Stickers With Cricut
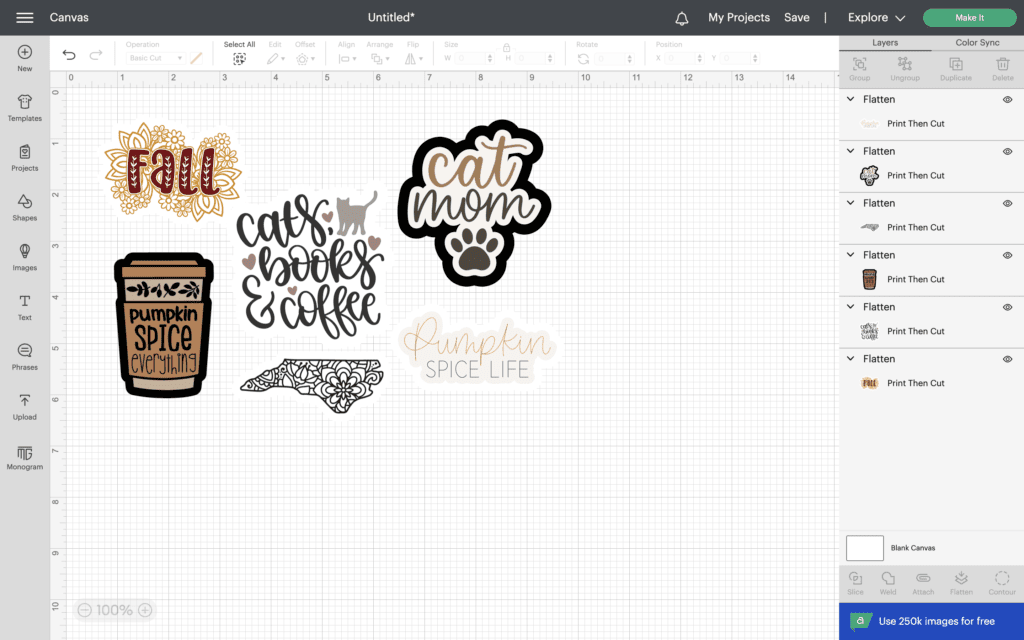
Now that you have the supplies and some knowledge on how to make these easy Cricut stickers, let’s get started! First, go into Cricut Design Space and pick out some designs.
Like I said earlier, I just went in and chose some free designs they already had uploaded on there. I chose some of my favorite things- cats, fall, and books!
So you can easily go in there too and search for pretty much anything and find something you like.
Add The Offset
After you have all your sticker designs chosen, you need to add the offset to them. This is what gives you a polished sticker look!
You can customize the width of the offset, as well as the color. It automatically defaults to a dark gray color, which I left on some. But I also changed some to white as well.
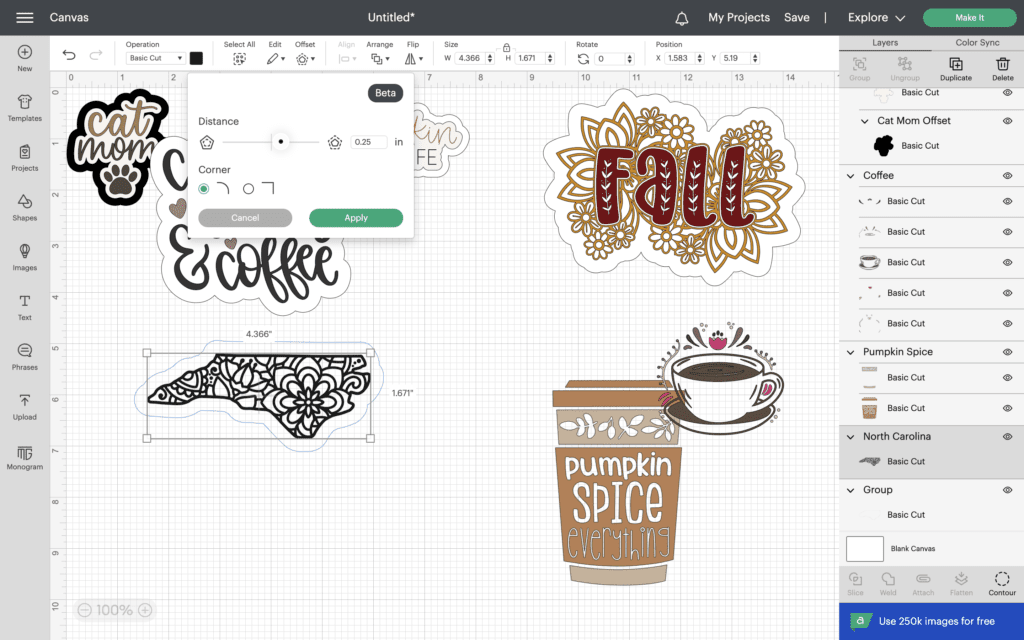
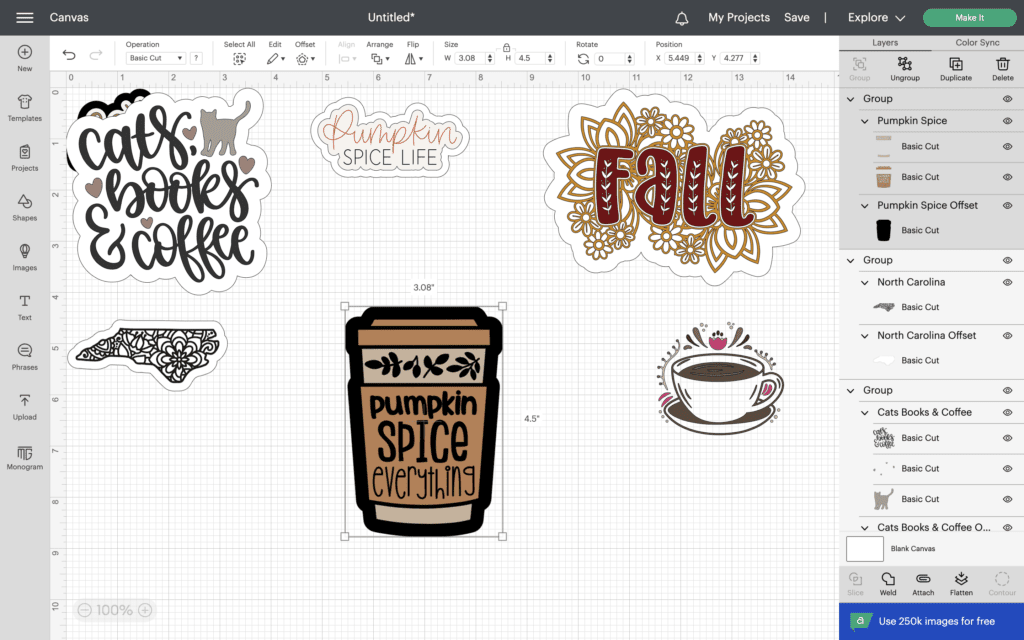
The next step is to group the offset and design together and then “flatten” it. You can find the flatten button on the right had side menu down towards the bottom in Cricut design space.
Flattening items in Cricut design Space merges them all into one layer, but don’t worry. You can easily “unflatten” a design too if you need to.
Print Then Cut Feature
Once you’ve done that, you can now move around your stickers and place them how you want them to be printed out. If you arrange them all and press “Attach” they won’t rearrange on you when you go to actually print it.
It is also important to note that Cricut’s maximum printing area for stickers is 9.25″ x 6.75″. So be sure not to go over this size when arranging stickers to be printed out.
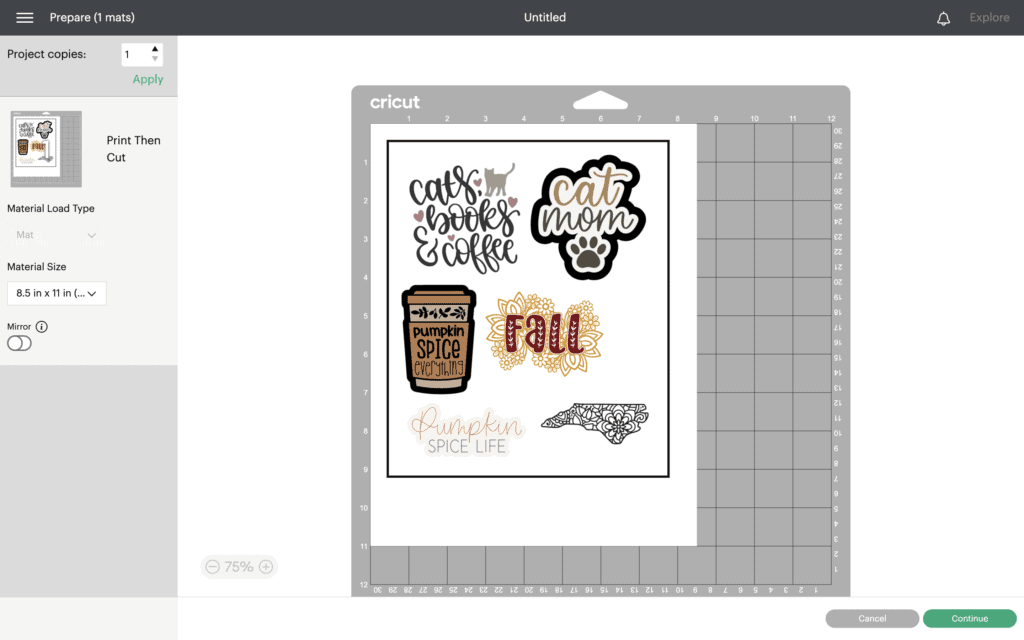
After everything is arranged the way you want it, use the “print then cut” feature in the print preview. This will send the design straight to your printer first. So be sure you have your sticker paper in there ready to go.
I put the sticker side down for my printer, but be sure to double check to see how your printer will print them out.
Cutting the Stickers Out Using the Cricut Machine
The final step in these easy Cricut stickers is to just use your Cricut machine to cut them out! Apply the printed sticker paper onto your standard grip mat and hit print!
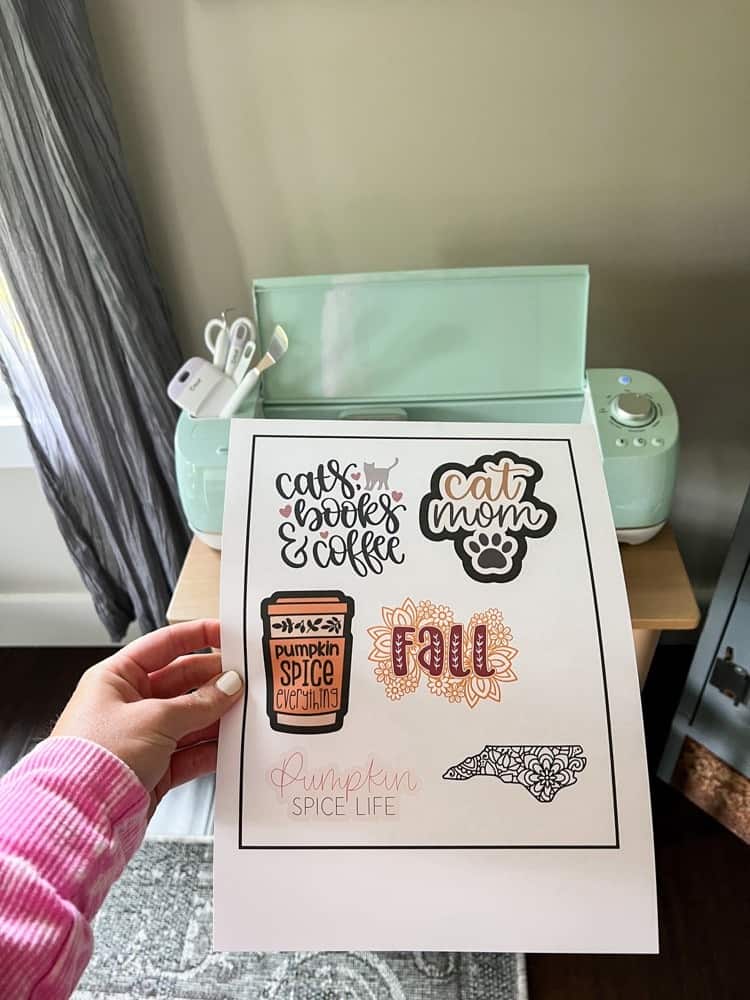
One thing to note though, be sure to change your Cricut settings to “Custom” and change it to sticker paper. They have white or clear options so choose the one you are using accordingly.
The first time I tried to cut my stickers out, I used the vinyl setting without realizing it and it did not cut the stickers all the way through. Oops!
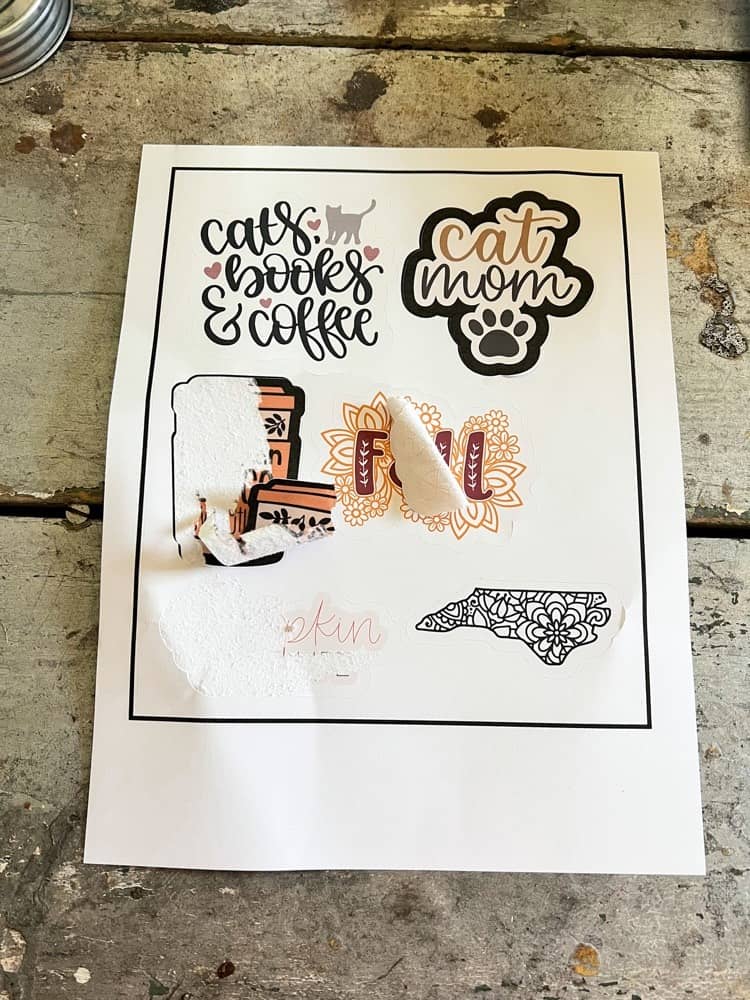
And that’s all there is to it my friends! Easy peesy and you can now make your own high quality custom Cricut stickers whenever you want! How much fun, right??
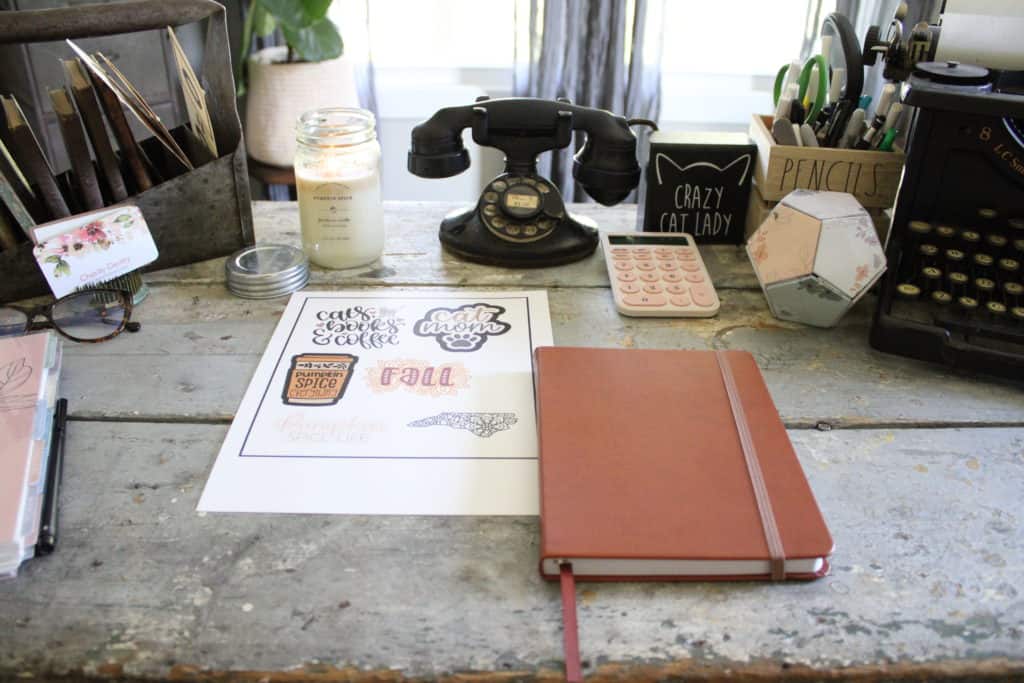
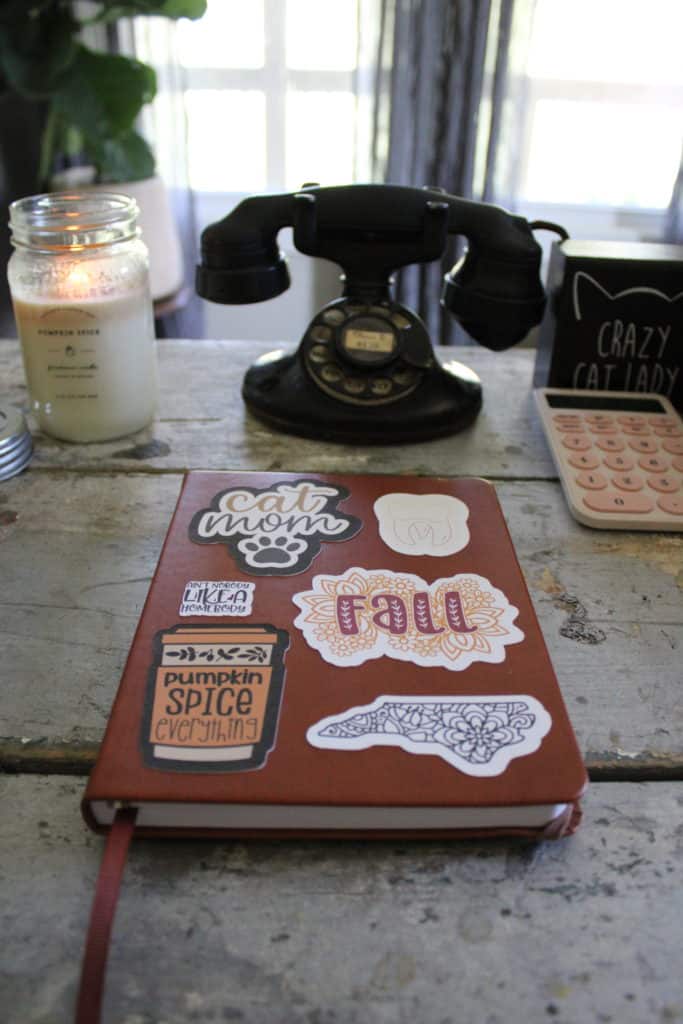
I decided to decorate a plain ol journal I had laying around with these stickers too. My finished sticker choices included cats (of course), books, coffee, anything pumpkin related (tis’ the season, right?), and my home state of North Carolina.
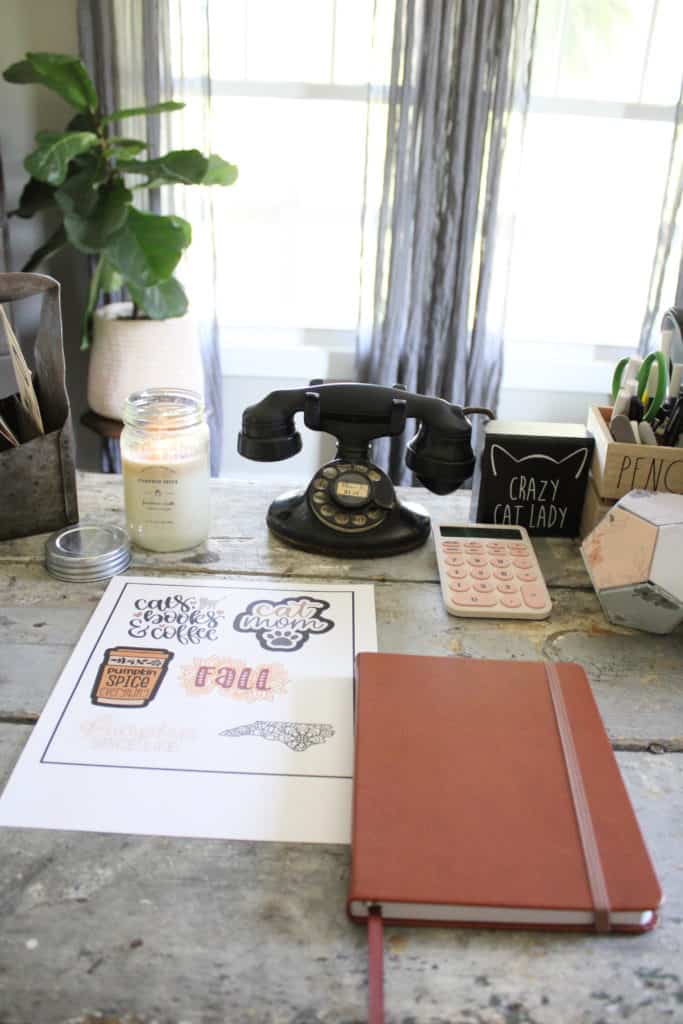
After adding a few of these to the journal (front and back), I realized I needed a few more to finish and make it look complete. So I added a homebody one (because I am a total homebody) and a tooth one.
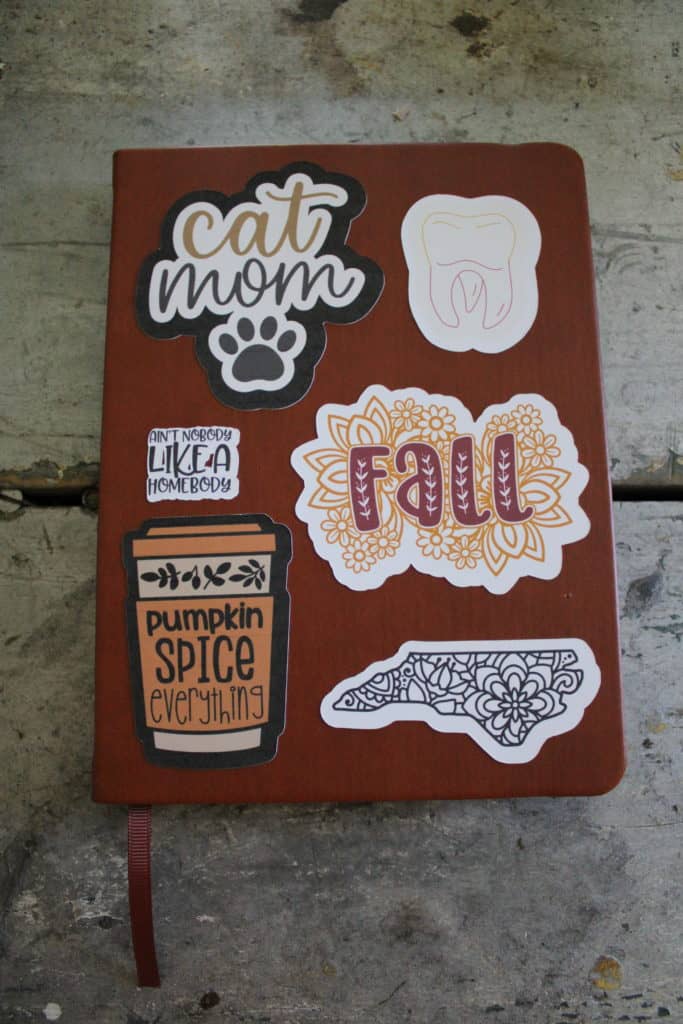
Why, you may ask? Because I am actually a full time dental hygienist and blogging is just my side hobby, for now anyways!
Well, I hope you enjoyed this fun and easy tutorial of how to make stickers with a Cricut machine. And please let me know if you ever try it out yourself. I would love to know what you think too.
Also, be sure to check out all my other Cricut projects below here too. If you’ve been thinking about getting one, I highly recommend it, seeing as how you can make so much with them!
- DIY Fall Cutting Board
- How to Make Coasters
- How to Make a T-Shirt with Infusible Ink
- DIY Garden Markers
- Funny Planter Label
- Wind Chime Refresh
- How to Make a Christmas Sign
- DIY Ice Cream Labels
- DIY Vintage Advertising Jar
- Easy Plant Labels
And be sure to follow me on Pinterest and save this idea pin for future reference as well!

Thank you for sharing these amazing tips and the whole process. I would love to make some stickers!
Thank you, it was a lot of fun to make for sure!
I have been longing for a cricut for ages. Thanks for the detailed post. Saving this post for the day I get mine!
Awe yay! I hope you get one soon, you will love it!
My mum has a one and I keep meaning to try it out, as I really want to make my own stickers for my happy planner. Thank you for this helpful blog post.
Lauren.
Thank you! You definitely should try it out and make your own sometime too!
This is such a cool way to create stickers! I would love to make some stickers for myself! x
Lucy | http://www.lucymary.co.uk
Thank you, it was a lot of fun to make!
Thanks for sharing this. I have been considering getting a circut but have been hestitant, this is very helpful. I will bookmark this for sure!
Thank you! You definitely should consider getting one, they are awesome and you can do so much with them!
What a cool idea! I have never thought of making these myself. Thanks for sharing!! 🙂
I’ve been wanting a circuit cutter for years but just don’t have the time / room! I have a sewing machine I’m still trying to learn how to use, so maybe I’ll learn that before moving else where.
I love making stickers. Thank you for sharing this cool DIY.
Stickers are something so expensive, especially if you’re looking for specific rare ones. Thanks for sharing this tutorial, and introducing crickut. I’ve heard of them, but this in-depth tutorial was really nice.
sejal | thelazygal.com
Thank you, I am so glad you thought so too!
This is actually lucrative business. These stickers are very cute to put on almost anywhere. I wish I knew how to make these…
lifebeginsattwenty.com
Thank you, yes I suppose if I could get really good at making them, I could sell them too!