If you remember, I shared my blog post, Christmas Vacation Sign Using a Circut Machine, a few weeks ago. And that was definitely so much fun to make! So today, I thought I would expand on that and share how to make DIY Christmas ornaments with a Circut machine. These ornaments would make great gifts for the whole family because you could easily personalize each one.
For this project, I am going to focus more on the book loving family member or loved one. But these steps can easily be applied for any kind of Cricut Christmas ornaments you want to make as well.
And the best part is, even if you don’t have a Cricut machine, you could still make these adorable ornaments. I am sharing the Cricut part of the tutorial towards the end so just skip that step and you can still have a perfect gift for a book lover too! Keep on reading for the full tutorial and all my tips and tricks on how to create these cute ornaments.

This post contains affiliate links. Click here to read my privacy policy.
Materials Needed for DIY Christmas Ornaments:
- Clear, glass ball ornaments
- Shredded book pages
- Ribbon
- Button
- Hot glue gun
- Cricut Explore Air 2 or Cricut Joy machine
- Adhesive vinyl
- Piece of transfer tape
- Cricut weeding tool
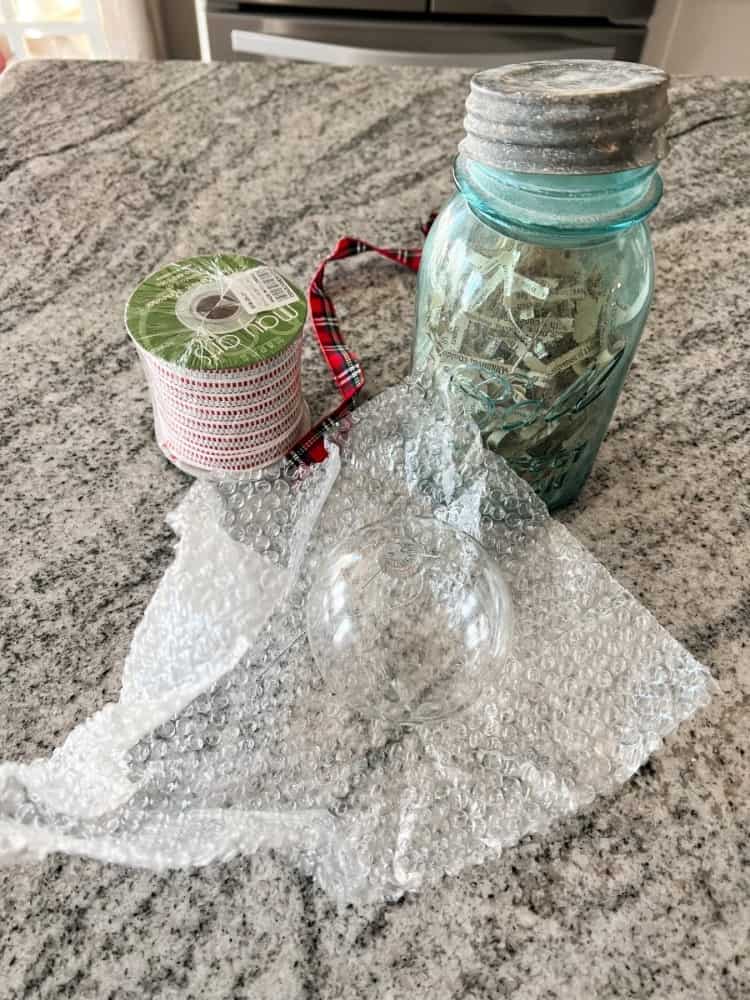
Filling the Christmas Ornament
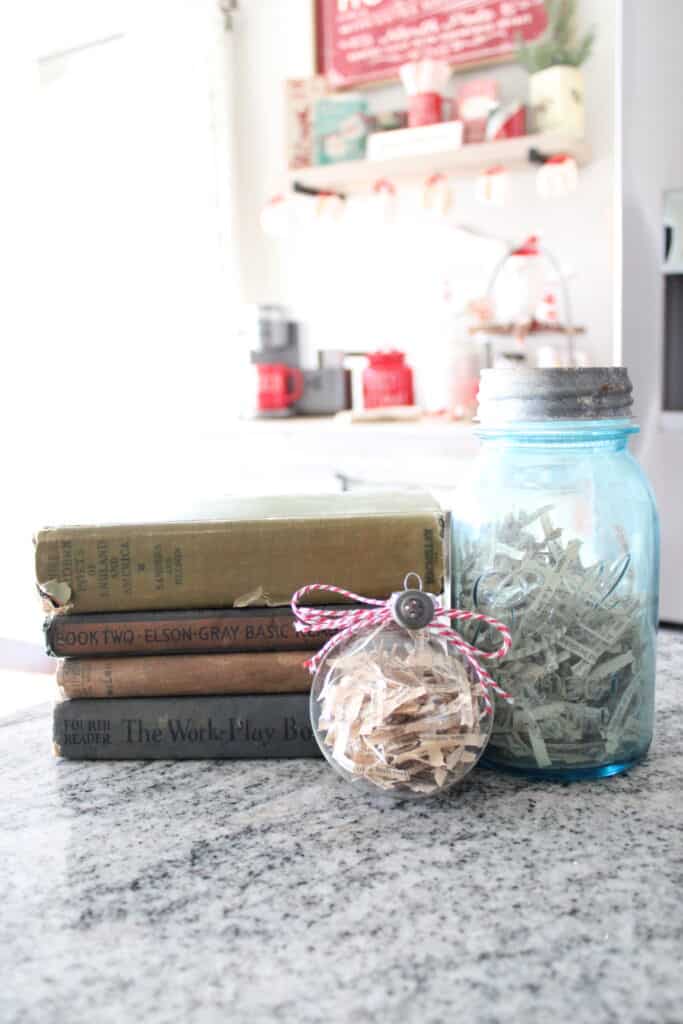
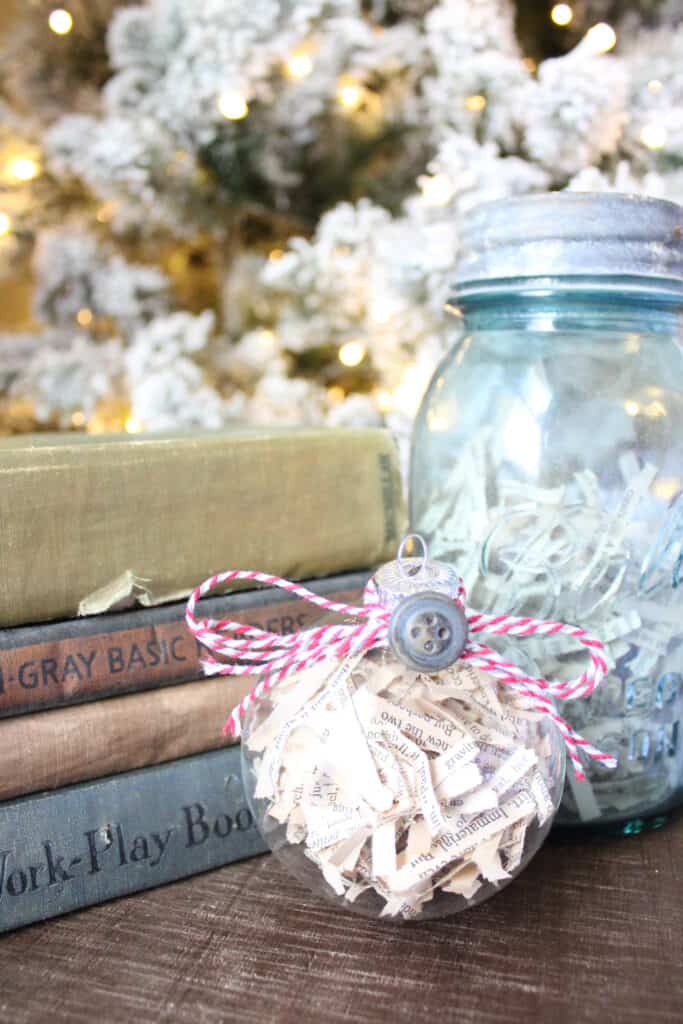
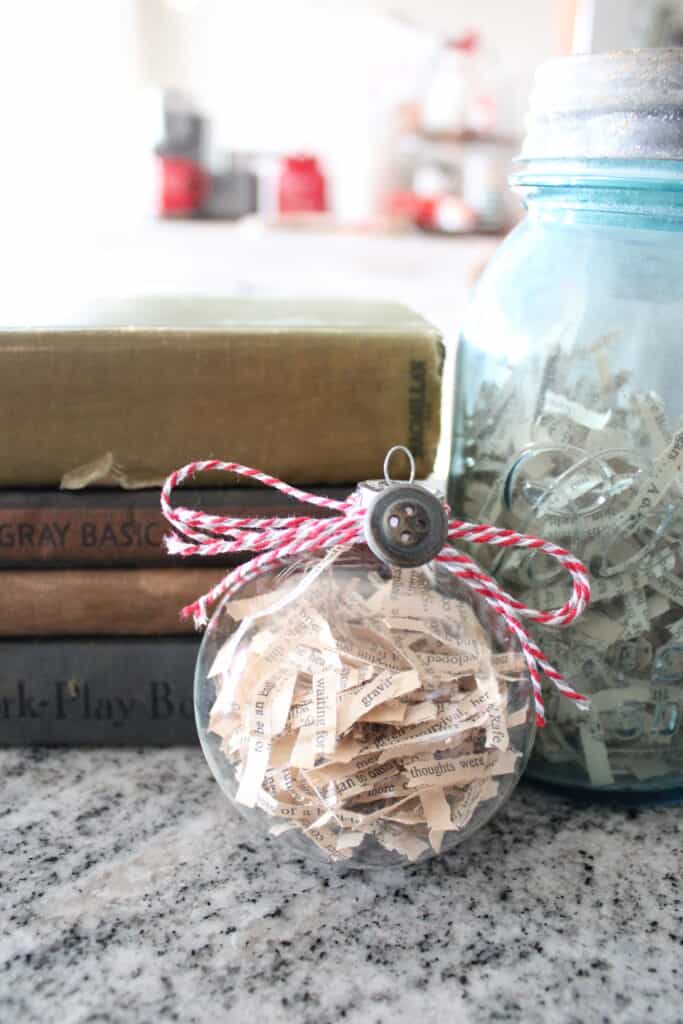
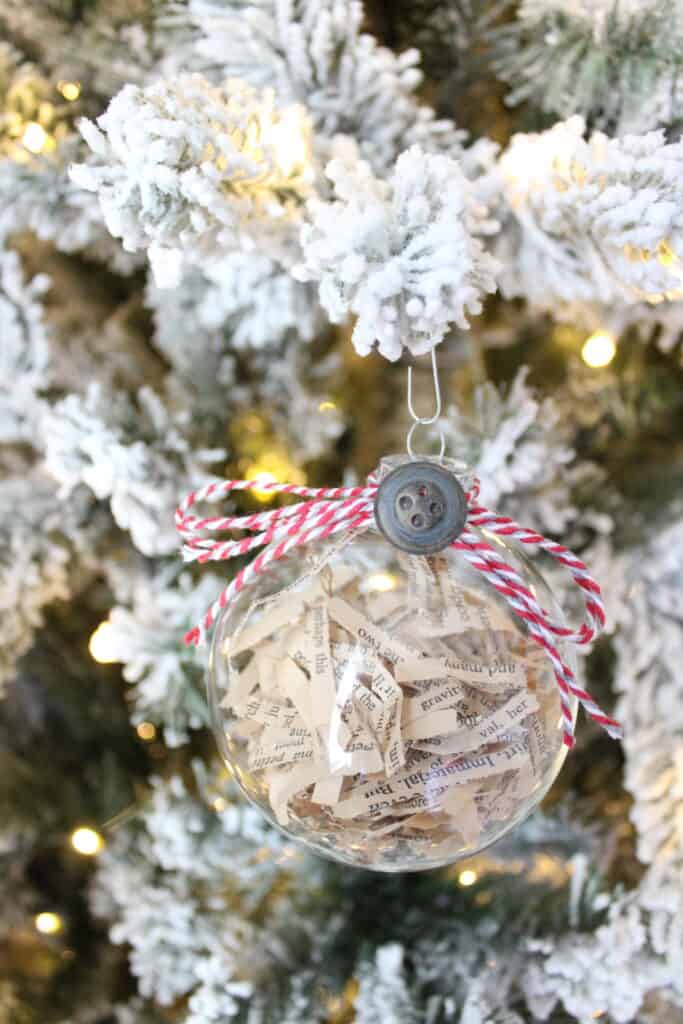
Like I mentioned above, I wanted this specific ornament to be geared towards a book nerd. So I decided to fill my large glass ornament ball with some shredded book pages. I happened to have a large mason jar full of shredded book pages that I got from an antique store many years ago.

So I simply just dumped some of that out and used it to fill the ornament with. But, you could easily make your own too if you don’t have any laying around conveniently like I did. I shared a few years ago on how to stain book pages, so I would recommend doing that first to give them an old and aged look.
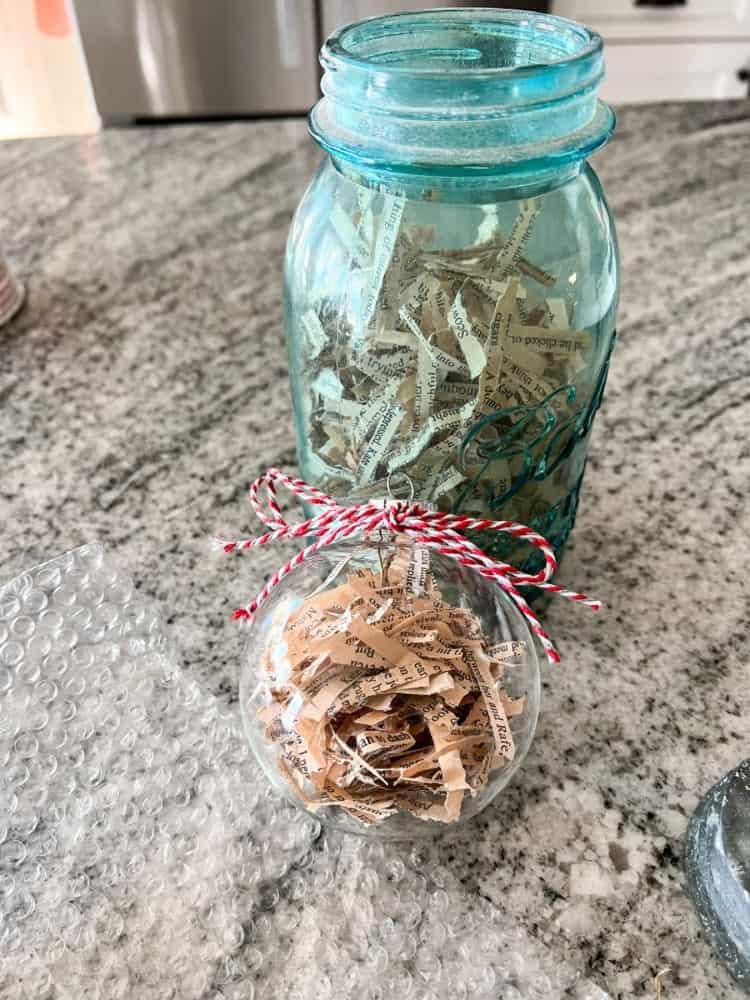
After the book pages are done drying, you can then shred them or cut them into little pieces that can easily fit inside the ornament. A little goes a long way here so you don’t have to shred too much.
Adding the Extras
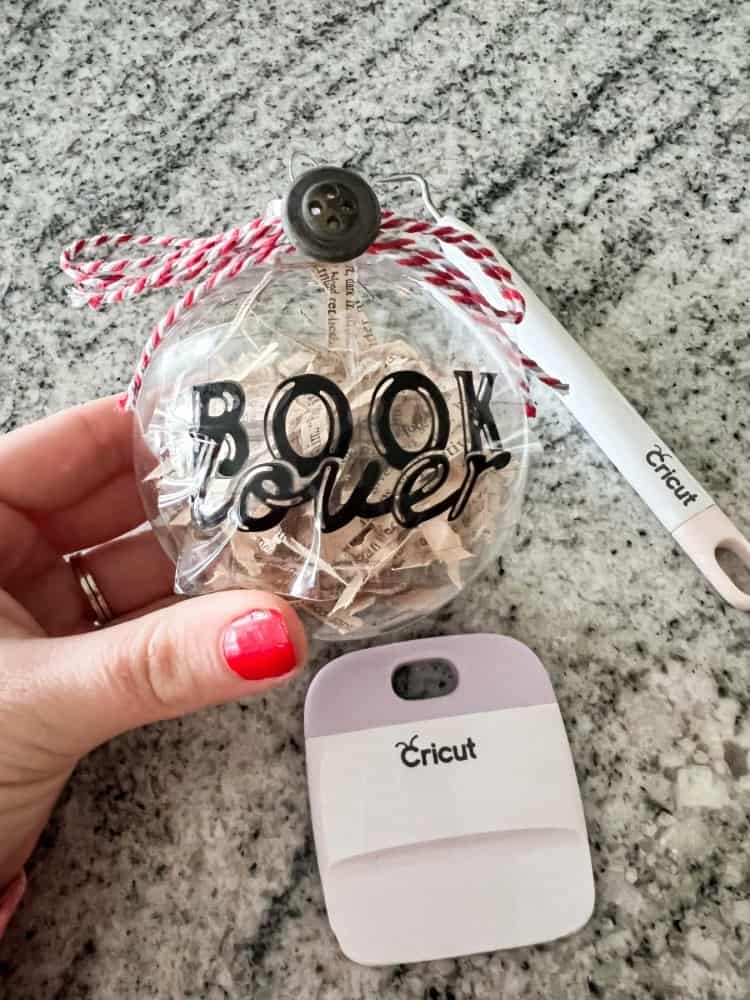
After filling, place the top of the ornament back on. And then using a thin piece of ribbon or twine, tie a bow around it. It doesn’t have to be perfect, remember we are going for the handmade ornaments vibe here.
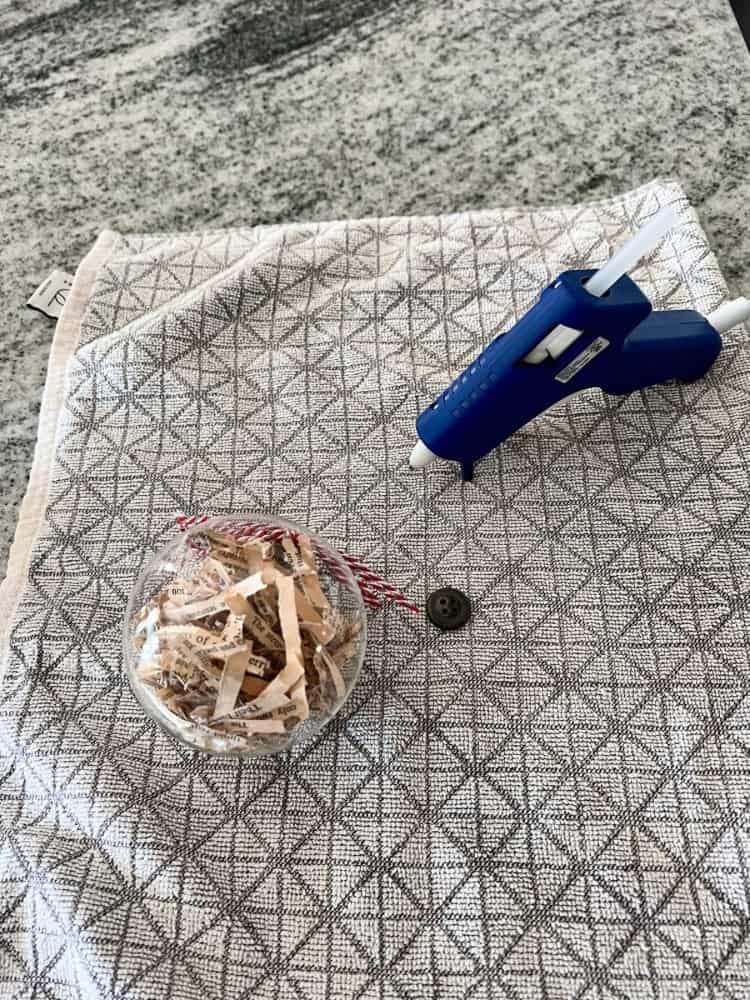
Then, heat up your hot glue gun. While that’s heating up, find an old, antique button for the center of the bow. You can then attach the antique button with a small dollop of hot glue. Let it dry for a few seconds and then that’s it!
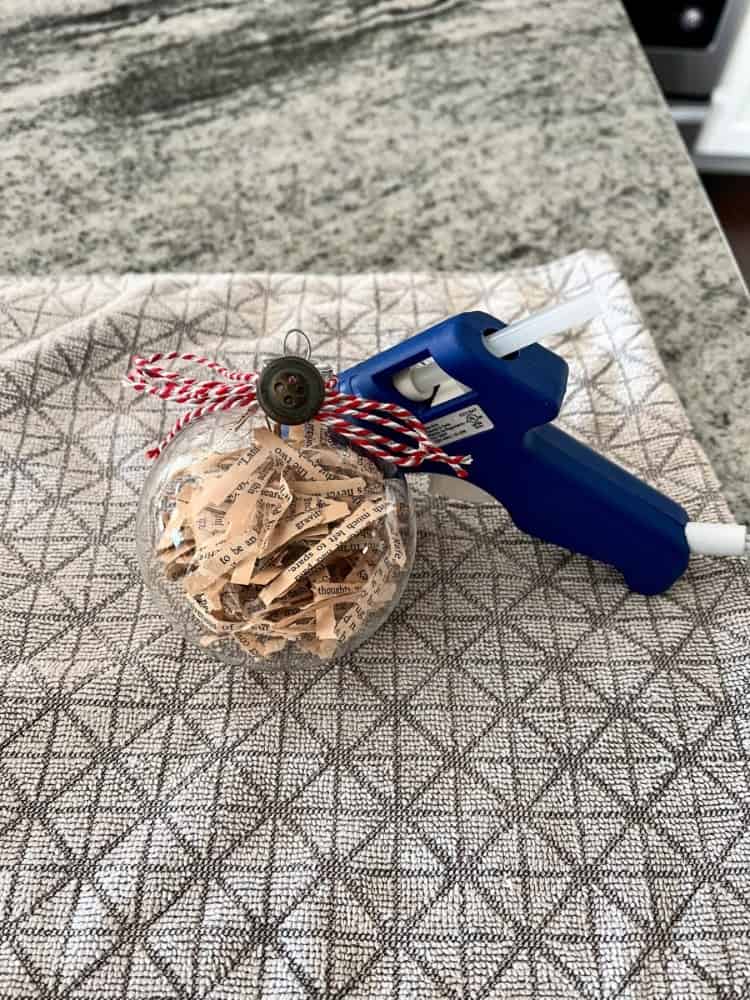
If you don’t have a Cricut maker, you could stop here and have the most adorable ornament for the holiday season. You could also either gift it or keep it yourself. It’s always so much fun to create your own Christmas decor.
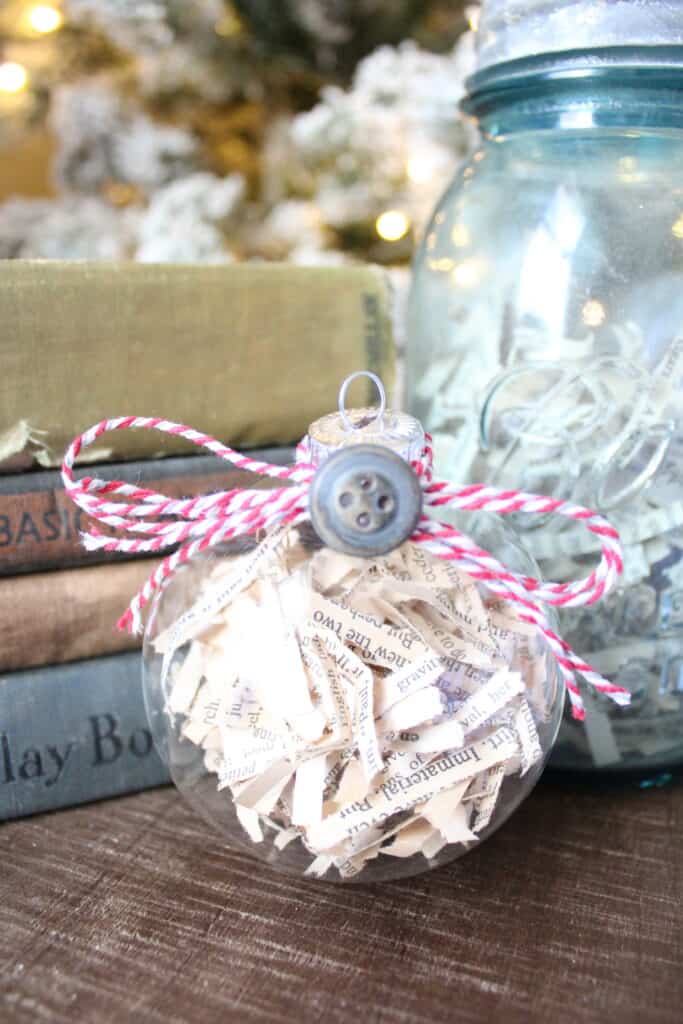
And the best part about these clear glass ornaments, is that you could fill them with anything. I’ve even seen where people fill them with a hot cocoa or cookie mix too. Now, those are definitely some creative ideas for handmade gifts in my opinion! So let your creative juices flow and figure out what DIY Christmas ornament would work best for you!
Creating the DIY Vinyl Christmas Ornaments
Now, here is the part for you Cricut lovers out there! I love how using vinyl can create a personal touch to each ornament. And I am sure you do too! Sticking with the book lovers theme, I simply searched for that in Cricut Design Space.
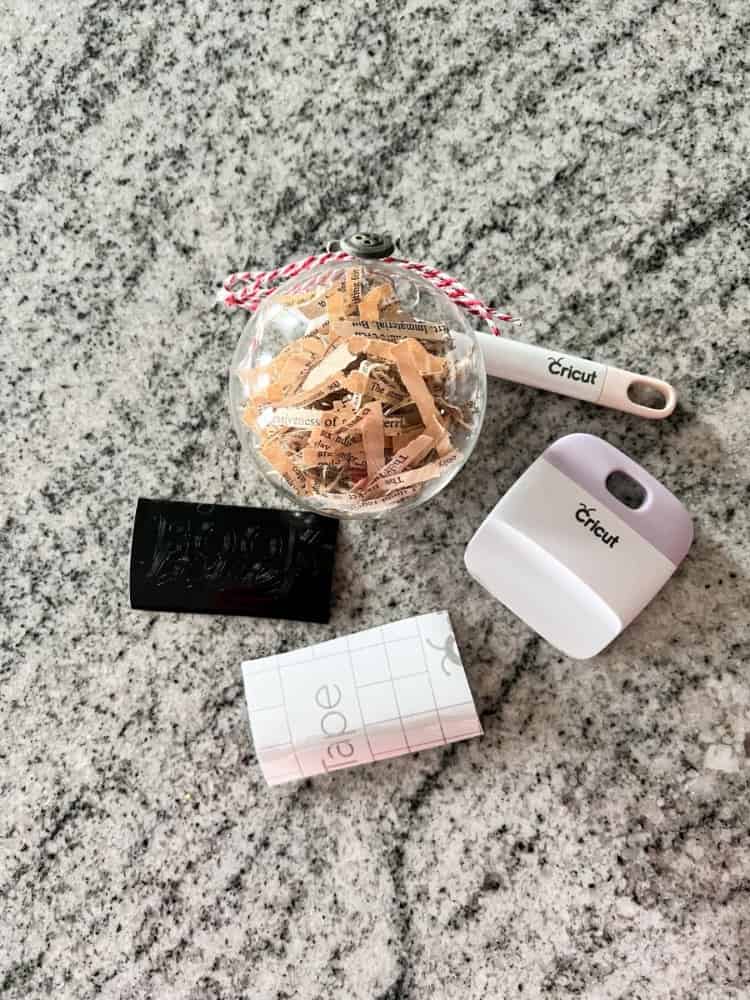
Once I found a design I liked, I printed it out on my Cricut Explore Air 2 machine using the vinyl setting. I just used black vinyl because I thought that would show up a little better on the ornament. But since the vinyl comes in a variety of colors, you could use whatever color would work best for your project.
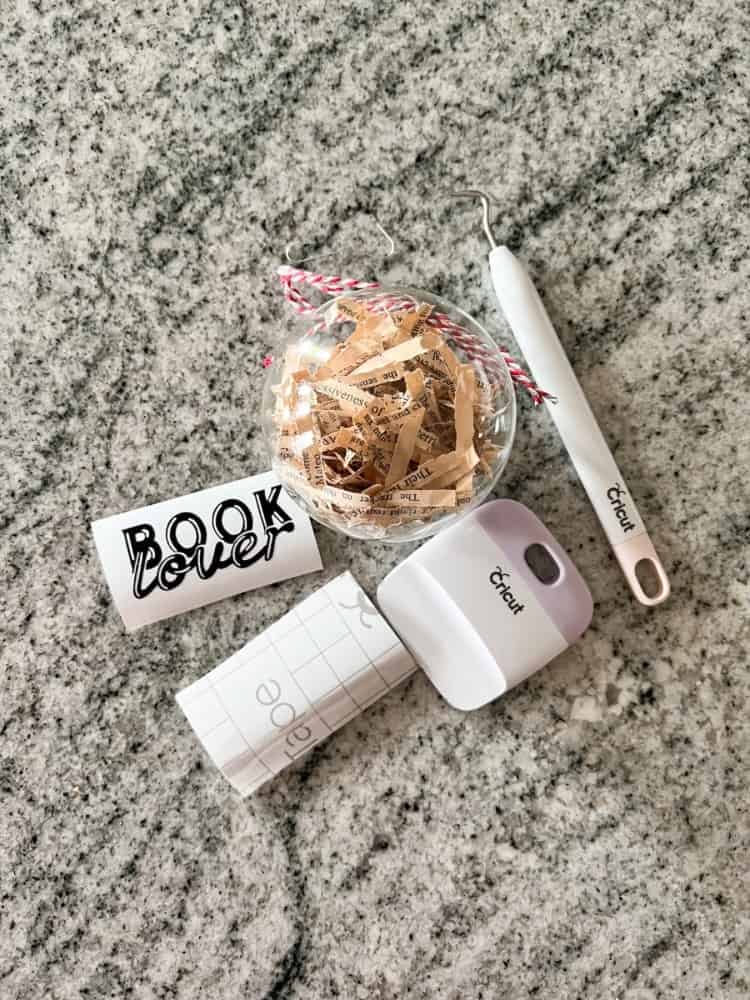
After printing, I used the weeder tool to remove all the excess vinyl. And then, cutting out a piece of transfer tape slightly bigger than the vinyl piece, I stuck it on top. I used the scraper tool to make the vinyl stick to the transfer tape. As I mentioned before, if you don’t have a scraper tool, a credit card works just fine too!
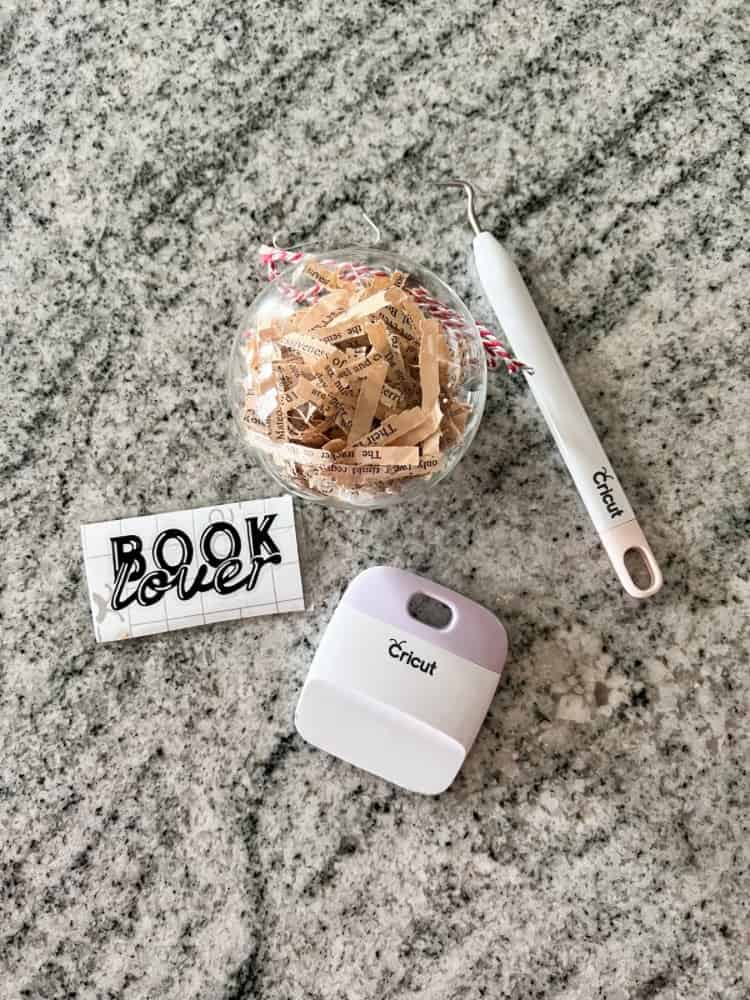
Then, carefully peel the transfer tape off of the vinyl backing. I used a slow, diagonal motion for this. You want to make sure that all of the vinyl is coming off as well from the backing and sticking right onto the transfer tape too. Once you have it on the transfer tape, carefully apply it onto the glass ornament.
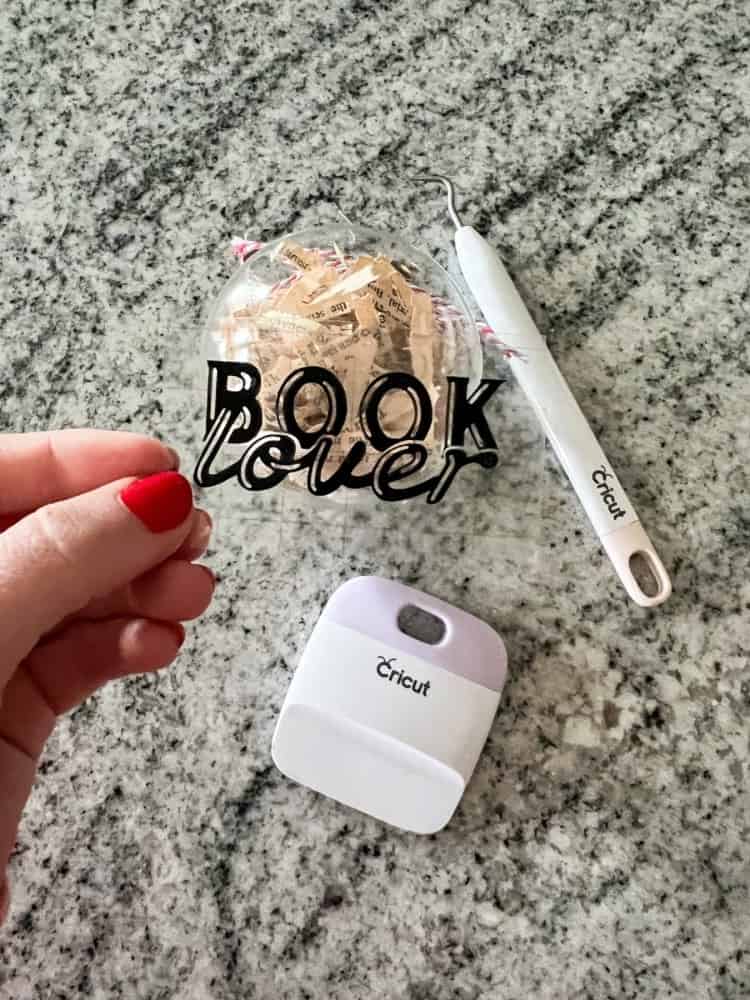
Using careful but firm pressure, rub the transfer tape down onto the ornament. I didn’t have to use the scraper tool here, just my fingers. Once the vinyl has been applied to the ornament, carefully peel the transfer tape off. And viola! You have a final product perfect for a book lover in your life!
Styling the Ornament
I absolutely love making handmade Christmas gifts and this is another great project to add onto my handmade gifts library. It’s nice to be able to make gifts in your own home just using a bare minimum of craft supplies. And it’s even more special than just buying something from a big box store. This would also be a fun activity to do with kids too!
I hope you enjoyed this step-by-step tutorial on how to make Cricut ornaments too. And you can see how there are so many different ways to make them as well. If you try this out, I would love to know what kind of Christmas ornament you created! Let me know below and I hope you all enjoy the most wonderful time of the year like I am!!



I love the concept of this blog series! The breakdown was beautifully done, and it read smoothly. Thanks for sharing!
What a fun and creative way to make a lasting memory. Might have to pull this one out on those “what do you wanna do?” “Idk what do you wanna do” nights haha.
Wow this step by step is so thorough! This will help anyone feel super confident in trying this out! And I love the filling idea. Thank you for sharing this and I’ll be sure to share too!
This is the first time I heard of a Cricut machine and I can already thing of a few people who would love this. The Christmas ornaments you are making look lovely. I’m sure my parents would have them hanging in their tree.
That is so cute! I have a similar ornament that I made by cutting our wedding invitation up into strips and putting it into an ornament. Each year when we pull it out and put it on the tree, it makes me smile and think back to that special day.
Awe that is such a great idea! I love that! I wish I had done that too!
These are adorable! I’ve been wanting a circuit for years but I have no room or time to use it!
Lol it does take up some room, but I do love all the things you can do with them!
This is a great way to make Christmas ornaments yourself! x
Lucy | http://www.lucymary.co.uk
Thank you Lucy. I think so too.
What a creative idea for repurposing an old book. I love it! Thanks for sharing.
Thank you, I am so glad you enjoyed it as well!
Both of these are so cute. I love the Clark side you did such a great job. The ornament is cool too. I like the book shred. They’re actually really good idea to give away for Christmas. Thank you for sharing.
Thank you, I am glad you enjoyed it too
I really love this idea. It seems easy to make and is lovely. Thank you so much for sharing this wonderful ornament idea. 🤗
Pastor Natalie (ExamineThisMoment)
Letstakeamoment.com
Thank you, I am glad you enjoyed it as well