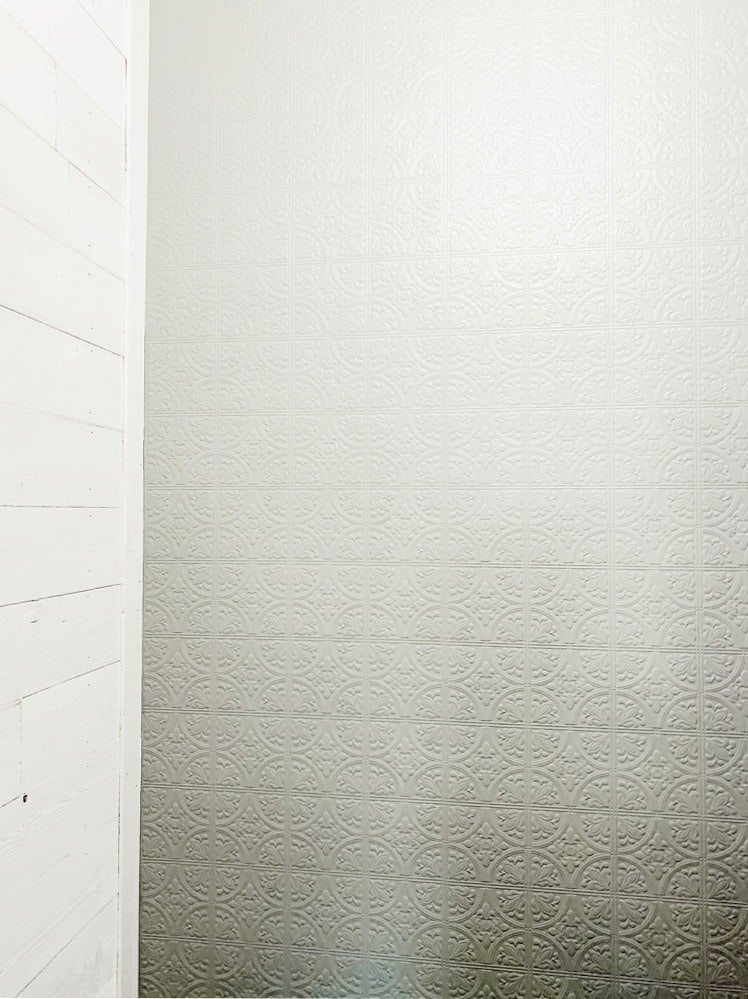
If you remember from my last post, I shared all about the DIY Shiplap Wall we did for Toby’s room. So now I am going to share with you all about my first time using wallpaper.
We decided that next to the shiplap wall, we wanted to do something fun and different there.
At the time, wallpaper seemed like a good idea. But y’all, I gotta tell you, this was probably the hardest project we have ever done together! Wallpaper is no joke!
I think it may be because we ended up getting the pre-pasted kind and not the peel and stick kind. But more on that later. At least the end result turned out okay!
I figured it would be fun to share the process with you and go more in depth with everything. In case you are thinking about using wallpaper for the first time too!
This post contains affiliate links. Click here to read my disclosure policy.
Supplies Needed:
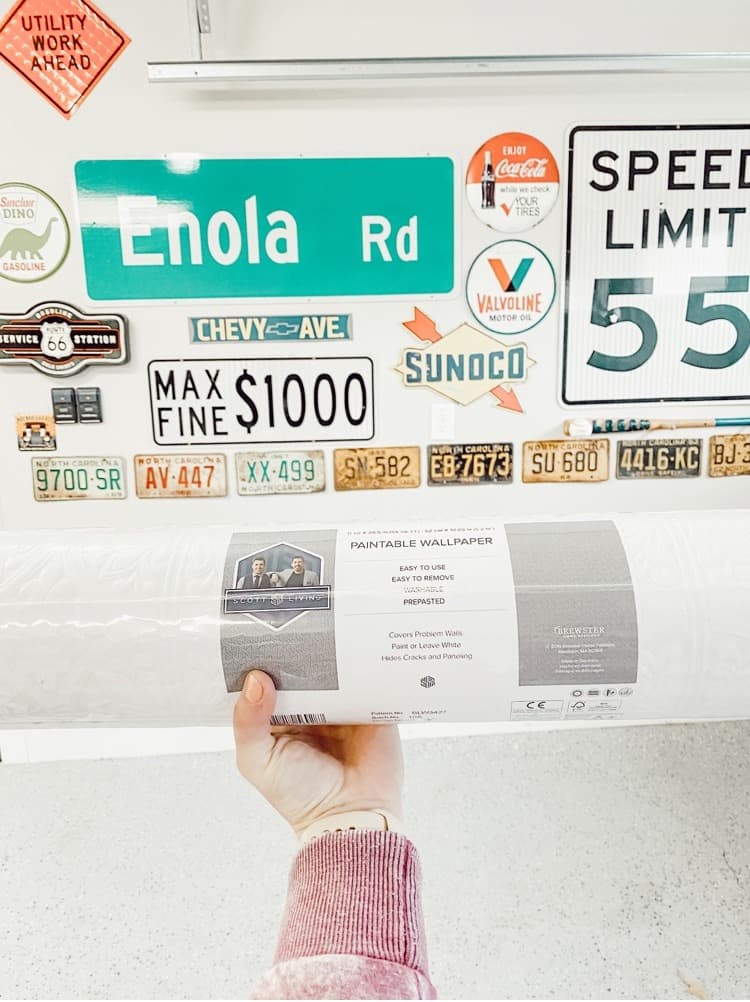
- Wallpaper (I used a textured, paintable wallpaper option)
- Sharp knife to cut wallpaper
- Sponge for applying water to the back of the wallpaper
- Spray bottle to wet the wall before applying wallpaper
Measure and Cut
Once you have gathered all your supplies, now’s the time to measure the wall and begin to cut out the wallpaper.
We used a tape measure to get the right height for the wall. Then we placed the tap measure right onto the wallpaper and traced a line on the back so we knew where to cut it.
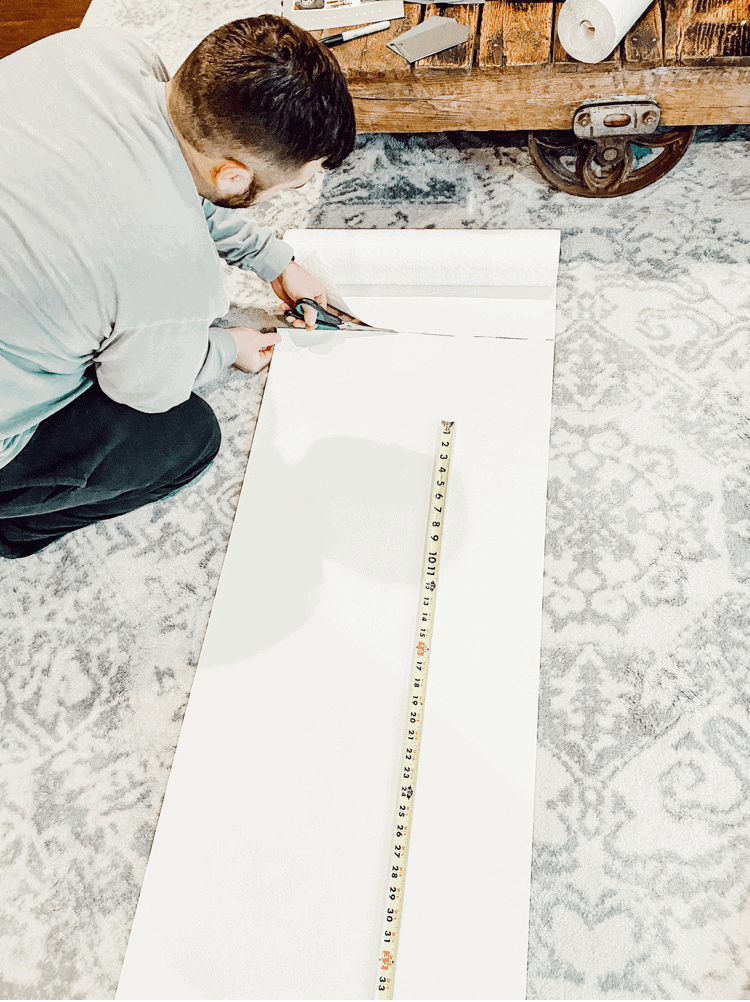
You definitely want to overbuy on your wallpaper. We ended up getting plenty of extra rolls just in case we had some mess ups.
Especially, since this was our first time using wallpaper. And boy, did we have some mess ups during this process!
But thankfully, we still had two full rolls leftover and we were able to return them and get some money back too which is always nice!

Applying the Wallpaper to the Wall
So the cutting and measuring was super simple and easy compared to this next part. We ended up trying two different methods of applying the wallpaper to the wall.
Both weren’t exactly easy, but we ended up figuring it out enough to make it work.
I will go in to the pros and cons for each method below that way you can decide what you would want to do in this situation.

As I mentioned earlier, this wallpaper was pre-pasted. That means you have to apply water to the back of the paper to activate the paste.
As you can imagine, this is messy and tedious. I believe with peel and stick wallpaper, you do not have to do this.
Although, I cannot say for sure because again, this is my first time using wallpaper of any kind. But, from what I’ve seen, I think peel and stick may be an easier option for sure.

Method 1: Activate Wallpaper Paste With Sponge
With this method, we ended up getting a bucket full of water and a sponge. Then, we would lay out our already measured strips of wallpaper and activate the paste by using the wet sponge on the back.
This was messy and time consuming, but it seemed to work out okay. Before we would attach it to the wall, we also sprayed down the wall with water as well.
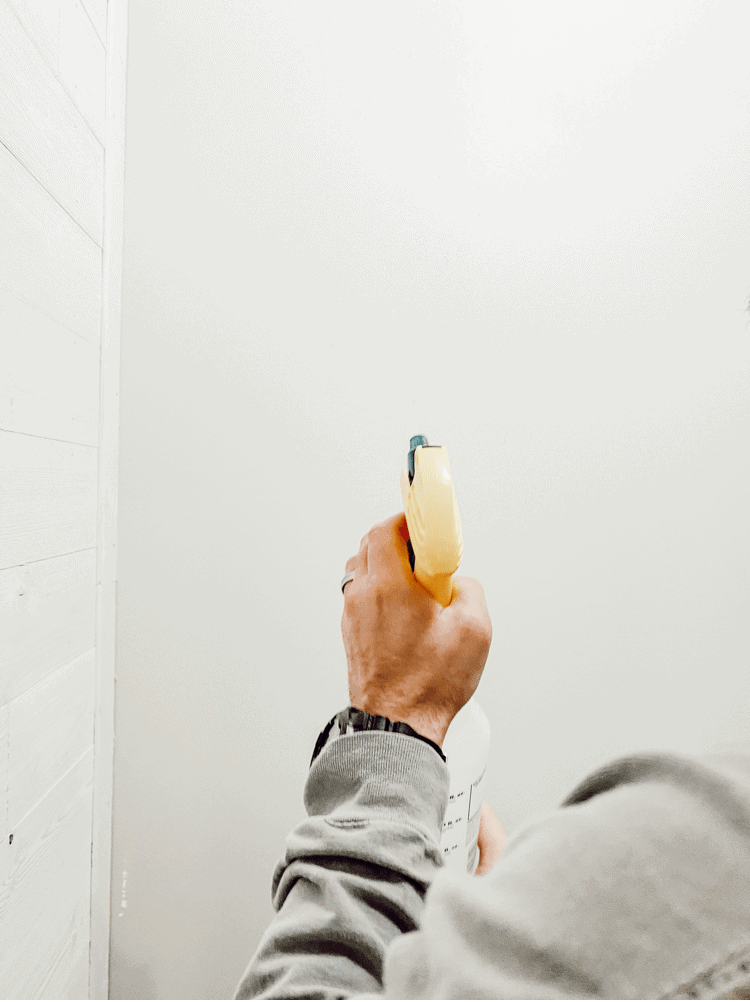
I will say by doing this method, it didn’t seem to really activate the paste all the way. I felt like we couldn’t get it wet enough and therefore it wasn’t really sticky enough to adhere perfectly to the wall.
We noticed a few bubbles even after smoothing the wallpaper down.
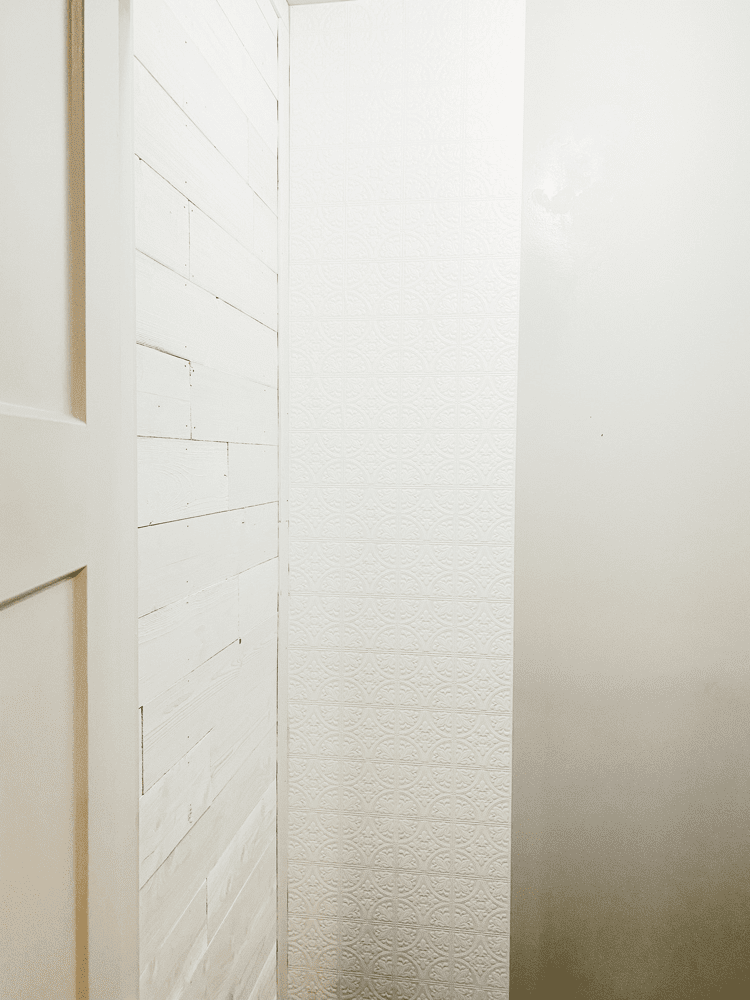
Method 2: Soak Wallpaper in Bin to Activate Paste
I feel like we had the least success with this other method that we tried. We thought since it wasn’t getting wet enough from the sponge, that maybe we should just soak it for a few minutes.
I got a big storage container and filled it with water. Then, we placed a strip of wallpaper in it until it was fully submerged.
We let it soak for about 5 minutes and then pulled it out. Now, if you thought the other method was messy, this was way worse!
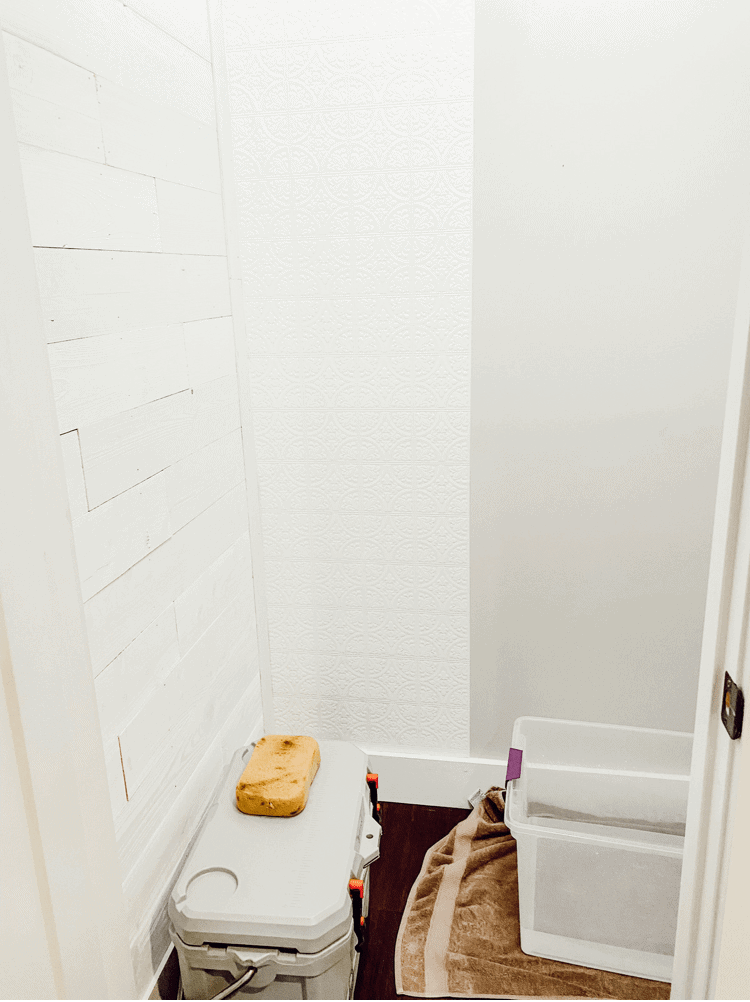
By doing it this way, we ended up losing a few strips of wallpaper too. It got too wet and then when we would try to adhere it to the wall, it would rip.
I think we only got one strip on after doing it this way. And then after two more failed attempts, we ditched this method and went back to the first one.

Tips and Tricks for Your First Time Using Wallpaper
As I mentioned above, we ended up going back to the first method we tried. It worked for the rest of the wall but here are some things I wish that I knew beforehand:
- Really get the back of the wallpaper wet with the sponge. Don’t be afraid to get it too wet with this method. I think that’s where we went wrong the first couple of times since we didn’t get it wet enough.
- Also, really wet the wall good too. The spray bottle wasn’t really enough, so we ended up using the sponge to wet the wall too before applying the wallpaper.
- Cut the strips a little longer than you actually need them for. Because when you line them up on the wall, you want them to match up. You can always use a knife to trim off the excess as well.
- Take a break when you need to and be patient. This process was pretty difficult for us to do. It was honestly probably one of the harder DIYs we have tackled. So obviously, we got a little frustrated and confused since we have never done this before. When you are feeling overwhelmed, it’s important to take a step back and relax!
- When smoothing the wallpaper out, use medium pressure. If you’re too aggressive with it, the wallpaper could tear or rip. And not putting enough pressure on it will cause it not to adhere well to the wall. We ended up using the wet sponge again too to help smooth everything out and make it stick a little better.
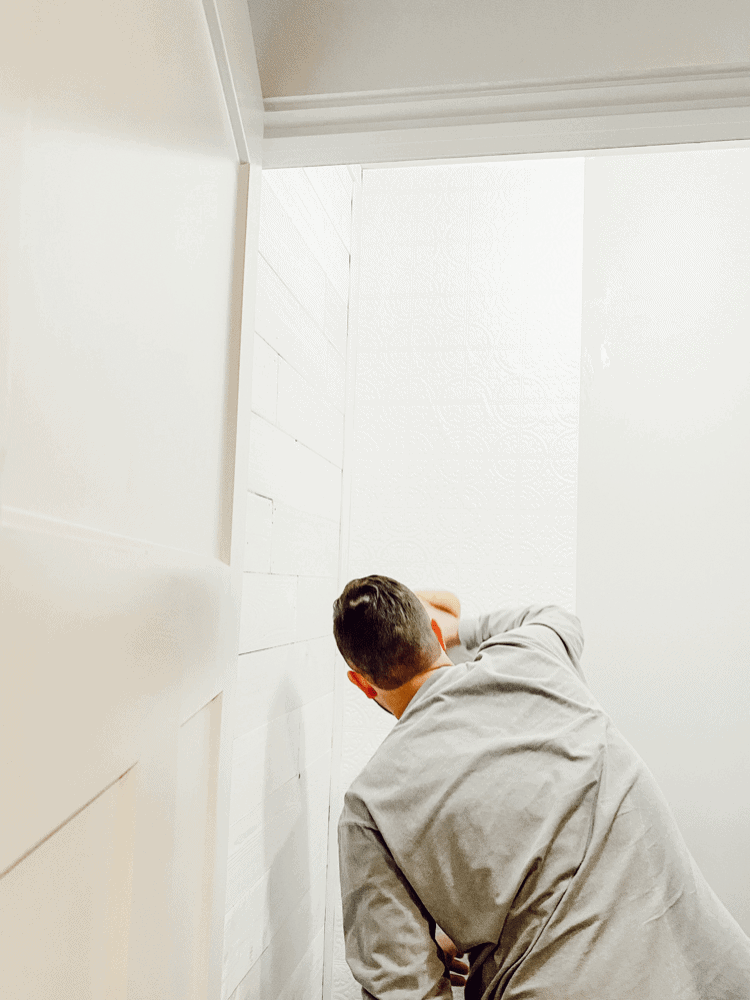
- Also, don’t worry if your wallpaper doesn’t match up perfectly on the top or bottom. As you can see in the picture below, it’s definitely not centered on the top. But, we ended up adding some trim to it and now you can’t even tell. Plus, the trim really made the wallpaper pop!
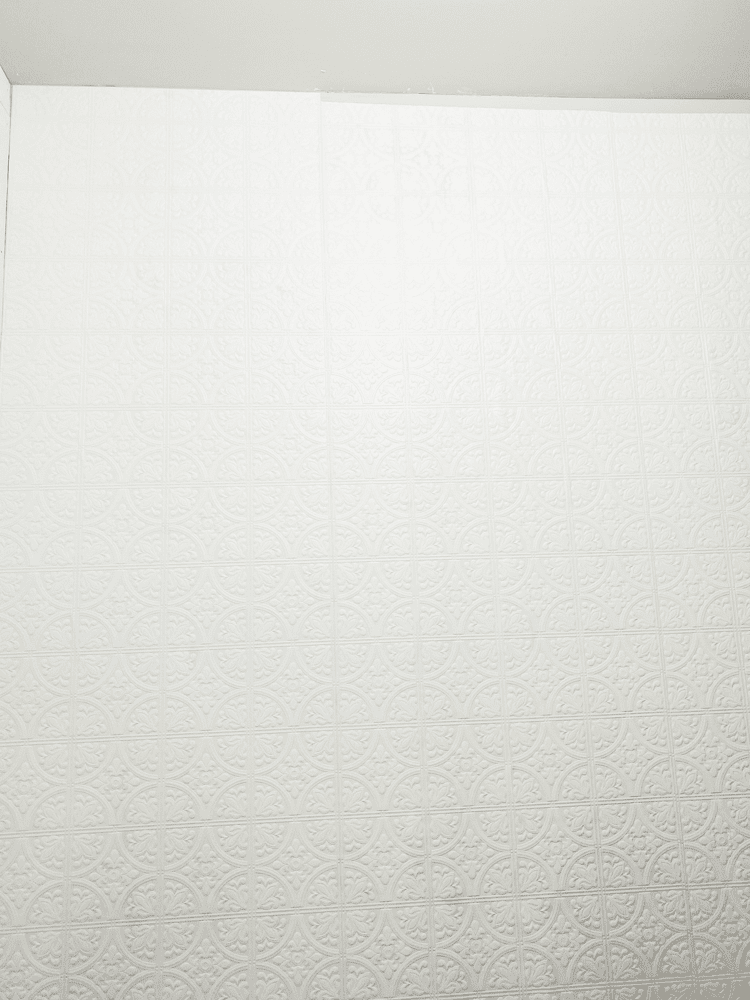
Paint the Wallpaper
Now, this part is totally optional. And especially if you are using a peel and stick kind of wallpaper, you probably don’t need to paint it.
This wallpaper is paintable and I knew that going into it. I thought it would be fun to paint it once it was all done. Again, I was wrong!
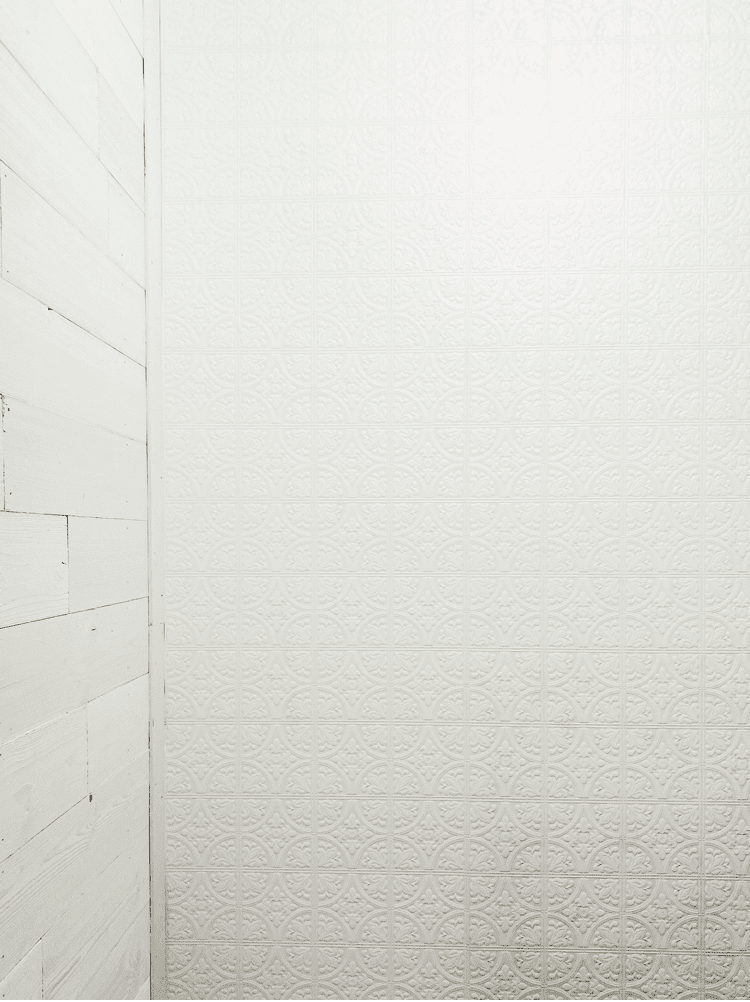
I probably would have kept it the original white if it wasn’t beside the white shiplap wall. But I wanted a contrast so I decided to go ahead and paint it.
The only problem with painting this wallpaper was that you couldn’t use a roller. It’s textured and 3D so I had to use a paintbrush and really get into all the nooks and crannies of the wallpaper.
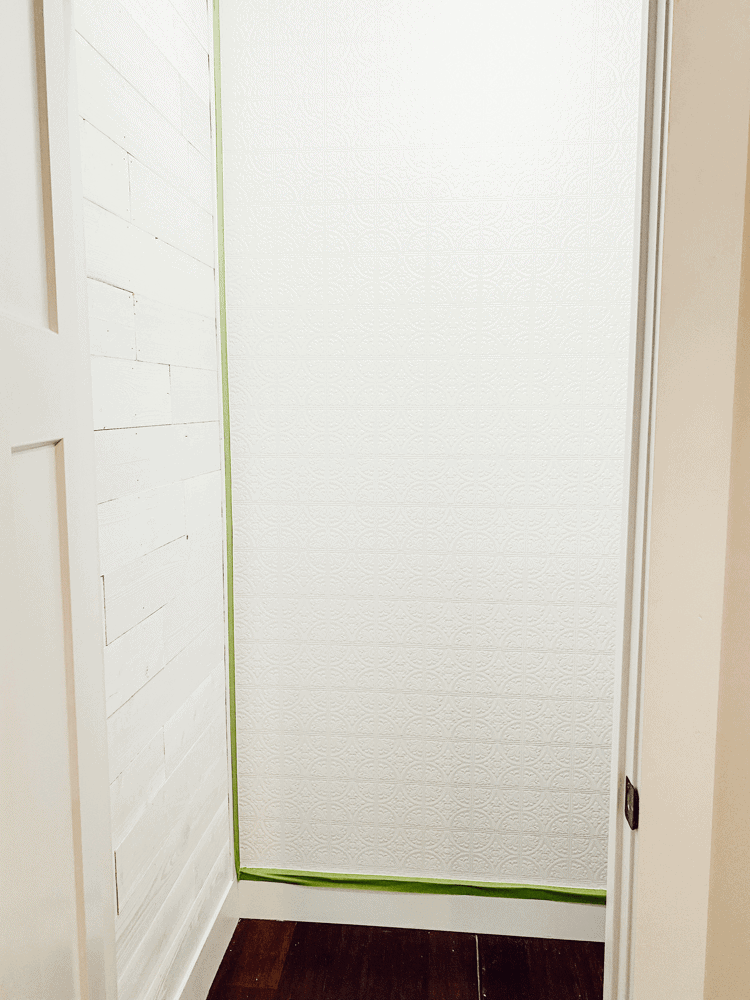
My first thought about color was to paint it black to make it really stand out against the shiplap wall. Although I was worried that it would be too dark and really make the space feel small.
And this is already such a small space, I didn’t want that. I ended up having some leftover wallpaper and I decided to cut out a few squares of it to test paint on.
I had some leftover paint already too and wanted to use what I had on hand to keep cost down.
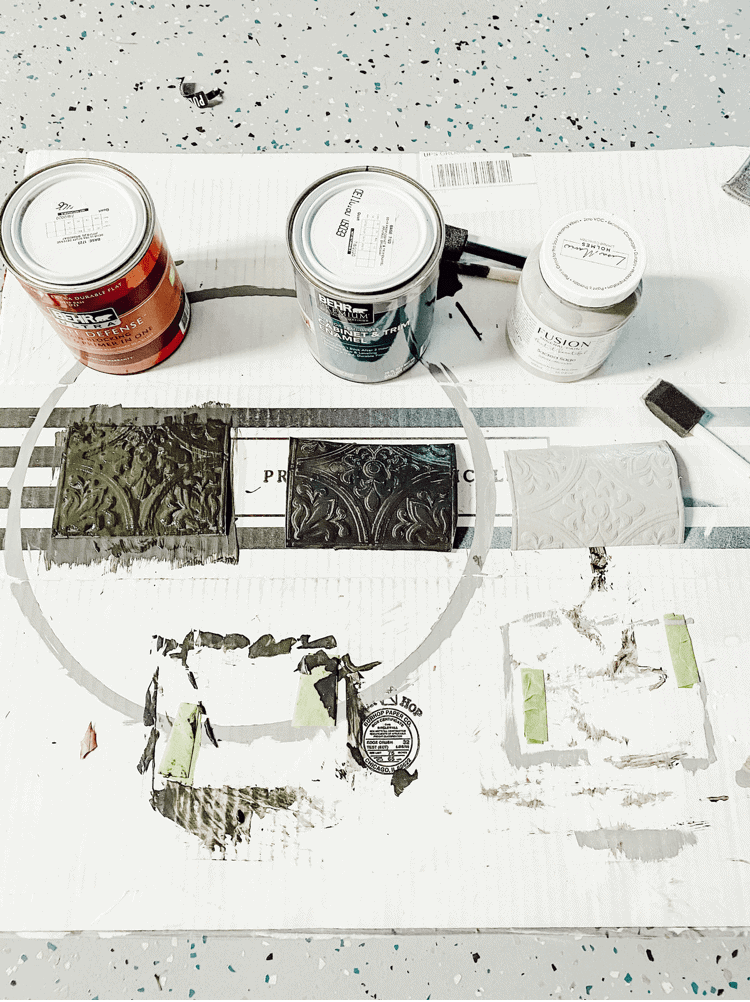
I ended up liking Fusion Mineral Paint in Sacred Sage the best. If you remember, I shared all about Fusion Mineral Paint last year and even re-did a mirror with it as well too.
It’s honestly one of the better paint brands in my opinion and goes on so smooth! But for this wall, with all of the texture, it ended up taking me a total of three coats to fully finish it.
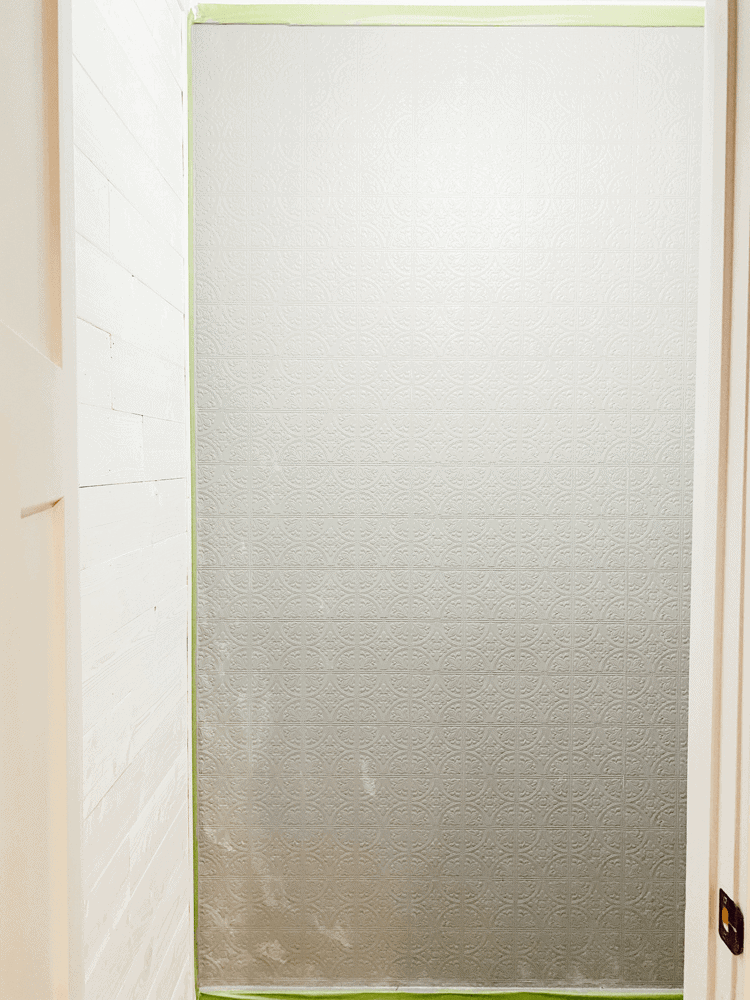
First Time Painting Wallpaper Tips:
- When we placed the wallpaper on the wall, we noticed there were a few spots of bubbling. We didn’t think too much of it because it was past the door where you didn’t see it much. However, after I painted it and let it fully dry, the bubbles went away! I don’t really have the answer as to why it did this, but I was so relieved. I did notice that the bubbles got worse as I painted over them, but then when it dried overnight, they were all gone!
- If you do end up getting a few air bubbles and they don’t come out after painting them, don’t fret! You can order a wallpaper repair kit from Amazon. That’s what we did at first too, but ended up sending it back after we realized the bubbling had disappeared.
- To repair it, all you would need to do is get some wallpaper seam glue and some syringes. You would then fill the syringes up with glue and poke it into the bubbled area and release the glue. Then you would just smooth it out. There are several Youtube videos on this too that you can reference. I will link what we ordered though in case you’re curious too:
Conclusion
Well, I hope you enjoyed this post about my first time using wallpaper. I am glad we did it to say that we did it, but will we ever do it again? If I am being honest, probably not.
At least not the pre-pasted kind. I would be interested in trying the peel and stick kind to see how that differs. But that one was more expensive too so that’s another reason why we chose pre-pasted for this project. I am also very glad we did it in a small space and not some huge wall.
I would definitely recommend starting in a smaller space too if it is your first time using wallpaper as well.

All in all, I am happy that this part of the project is complete. And now we are one step closer to finishing Toby’s room! I don’t think he cares though about all the hard work that we have put into it so far!
Have y’all ever tried out wallpaper before? If so, what was your experience like? Did you love it or hate it? Let me know, I’m dying to hear!


This looks so cool! I’ve personally not painted on wallpaper before so it was so interesting to read about! Thanks for sharing x
Thank you! I am so glad you thought so too!
I love how this came out and I think that this wall changed the look of the room! I have never applied wallpaper but had quite. a lot of experience in taking it off when we moved with my family years ago and it’s no fun! Thank you for sharing x
Lol yeah I bet. I have no plans on removing this anytime soon!
You’re brave! Your end result is lovely, too.
I haven’t ever put up wallpaper, but I did take it down, twice. It was such an experience that I wrote about it on my blog! (It was my second ever post!) I’ll include the link here, but it may scare people away from giving this a try…
–Sue
https://susanberkkoch.com/blog/sue-against-glue/
Thank you so much! I am happy with how it turned out as well!
It takes a lot of skill to put up wallpaper without it falling back down again and you did amazing! This is a lovely wallpaper pattern x
Lucy | http://www.lucymary.co.uk
Thank you so much Lucy! It was a laborious process for sure, but I am so happy with the end result!
Wow! That looks great! When I was young, everyone wallpapered. It would usually take a couple tries to get the paper on straight and line up the pattern. Then painting walls became all the rage and we had to strip all the wallpaper off.
I have to say though, the wallpaper from when I was young was not as nice as this and it definitely wasn’t paintable. I love it!
Lol yes it has changed a lot for sure! I love that it’s paintable too because you can really customize it that way!
Beautiful decor, looks so elegant..
Thank you so much
That looks really good!! I’ve been wanting to try wallpaper but I was worried it would be difficult. I didn’t even know you could get paintable wallpaper, either! Thanks for sharing. 🙂
Yes I didn’t know you could get it either until I saw it in store! I love that you can paint it and customize it that way!
Between the shiplap and the wallpaper, your cat’s little room is going to be the loveliest palace a kitty has ever had! I’m glad you have a space to use for “test runs” so to speak. You did a great job with the wallpaper!
Awe thank you so much! He definitely will have such a lovely kitty room! And I am definitely so happy to have had this room as a test run too! It was very helpful!
That wallpaper is awesome. I used to have that exact paper in my office on the ceiling. (It’s a law office). It was painted with a faux paint texhnique to look like a tin ceiling. I have had hundreds of clients comment on it and everyone thought it was a real tin ceiling. Great job on your first time using it!
Oh my gosh, we were just talking about how good this paper would look on our ceiling downstairs too! We would love to have like a tin ceiling like that too!
Wow, this looks like a big project. Thank you for taking the time to share these tips. 😊
No problem at all! It was a big project but I am very happy with how it turned out!
I’ve never personally used wallpaper, but I do love the effect it adds to a room- almost an old-fashioned look! Thank you for sharing these tips to approaching wallpaper for the first time x
Thank you so much! I am happy with how it turned out, it was just kinda difficult to do lol
I always thought wallpaper was easy to do, but I can see how using the pre-pasted wallpaper was challenging because it was either not enough wet enough or too wet. It’s great you bought extra & figured out what worked.
I think it turned out great after you painted it, but I imagine it would take a LONG time to do a regular size room with this wallpaper.
Thank you so much! Yes, it would take a VERY LONG time for a regular sized room. So I am so glad we decided to test it out first in a smaller space!
Using wallpaper to decorate your house is so cool. It gives an image to your house. Thank you for sharing this.
Thank you. I love how it gave some texture to this wall too!
This looks so cool. I really love how it came out. We have been trying to renovate our home and we decided to get wallpapers for the wall. We haven’t gotten the wall papers yet but this post has definitely given me an insight on how to go about applying the wallpaper. By the way, the wallpaper you got looks so good.
Thank you so much Ruth! It was a labor of love, but I am so happy with the finished product!
Wallpaper is great but almost forgotten. As you point out, it does require work but the result is fabulous with texture, patterns and color. It really can add a lot to a room as it did in your case. Thanks for the post,
Thank you so much! Yes, I think it was worth the work because it definitely made this space look amazing afterward!
Wow can’t believe this was your first time using wallpaper! We’ve always used wallpaper although I don’t have wallpaper in any of my rooms (bedroom and office) now. It can certainly be tricky and glad the bubbles went away! It looks fab 🙂 xxx
Thank you so much Jenny. I have always been too scared to try it out! I am glad I finally did it though
These are the projects that really test a marriage! I love your finished result and I love when issues like bubbles resolve themselves. Thanks for sharing.
Lol they sure do! And we did this on Valentine’s Day weekend which probably wasn’t the best idea! But it all turned out just fine in the end!
So much of detailing. I am definitely going to try this out.
Thanks 😊
Thank you! You definitely should!
Thanks for detailed article. I have been thinking to do it for quite a long time. Got the courage after reading your article.
Thanks for sharing
I am so glad this gave you some courage then!
I’m about to order some wallpaper for our spare room so I’m so glad I stumbled across this! Definitely bookmarking to read again before we put it up!
Katy | http://www.katystephenson.com | http://www.thegrownupsclub.com
Yay! So glad this could be so helpful to you then!
Thanks for sharing your experience in details. We opted for wallpaper. We only had to select and the rest was done by professionals.
But wallpapers do give something afresh feeling, that is our experience.
Thanks again.
Yes, if I ever do it again, I think I will hire professionals too! That’s definitely the way to go!
Woo boy, you went in and you learned, and at least you had fun! The finished wall looks lovely and I love the print you chose; beside the shiplap wall it provides a welcome contrast.
Thanks for sharing what you learned! If you are driven enough to do something the end result usually turns out satisfactorily. 🙂
Thank you so much! That is very true! I am glad we stuck with it and it ended up being perfect!
It is great that you got to use wallpaper for the first time. Big plus when it is easy to apply – with just soaking the water. I never thought about painting wallpaper. Learned so much from this post!
Nancy ✨ mdrnminimalists.com
Thank you so much Nancy! I am so glad you learned something from it too!
I’m full of admiration for you for having a go with wallpaper. I’ve lived in my house over 20 years and still haven’t found the courage or patience to give it a go! It looks great by the way!
Lol thank you so much! It does take a lot of work so it isn’t an easy feat at all! But I am so happy with how it turned out thankfully!
This is a great post. It been so long since I did wallpaper, it has just been painting the walls.
Thanks so much. It was fun to do something different!
Haha in my family we say that if you can put wallpaper on properly with your partner without fighting, your relationship can handle anything 😂 we’ve actually stopped with wallpaper because of all the annoying things of it not sticking and bubbles and everything. However, it looks like you did a good job in the end 😁
Lol that is so very true. It is a marriage test for sure! And thank you so much. I am so happy it turned out okay in the end!
My husband and I did an accent wall with wall paper as well and my gosh was it ever a task! Ours wasn’t activated by water but we had to roll on the actual glue. We 100% had our moments of frustration lol, wall paper is no joke. Needless to say we probably will never do wall paper again unless its the peel n stick kind, lol. Yours turned our beautiful though, love the paint colour you chose!
Oh my gosh that sounds terrible too. I totally agree. We are not planning on doing anymore wallpaper anytime soon lol
I’ve not used wallpaper before but this is a great and helpful post for newbies like me! Thank you for sharing – the wall looks fab x
Thank you so much! So glad you found it to be helpful
Wallpaper is intimidating to me, like many, so this helped me learn more about using it! Turned out great, amazing job!
Thank you so much. It was super intimidating for me at first too!
Love how this came out! Definitely need to try painting on wallpaper!
Thank you! It was a lot of fun
You are so brave to try wallpaper! I think it was smart to do it in a small space and I love that you were so honest about your experience. I especially like how you said to take a break if you get frustrated. That is so important. I think it looks wonderful and I’m sure Toby absolutely loves his room now! 😉 Cats are the best!
Thank you so much. Cats definitely are the best! And I’m glad we started small in a little space too first!
Bless your heart! I admire you for jumping in and learning. Next time will be easier!! I’m 72 years old & have wallpapered many times. I love wallpaper!! I have one pattern that I loved so much that I bought extra rolls and have used it on at least one wall in my bedroom in every house we’ve lived in!😂. One suggestion; Even if the paper is pre-pasted, always use wallpaper paste!! Set up 2 sawhorses with a board or piece of plywood longer than the height of your wall and a little wider than your paper. Brush paste on the entire back. One smooth coat will do and be sure to cover edges. “Book” the paper by folding one short side up to the other short side. Smooth the paper together with your hand, but DON’T crease your paper in the middle! After about 3-5 min. Unfold and hang. Use a brayer (roller) to be sure paper is smooth, then go over with a damp sponge from middle to outside edges to remove any bubbles & remove any paste that may have gotten on the front of your paper. I’d also suggest you drop a plumb line (google how to) an inch or two shorter than the width of your paper, from the corner of your wall. Start your 1st paper on the plumb line then trim excess in the corner with a sharp exacto (or other) knife. Hope these “tried & true”, old-time suggestions help!!
Thank you so much! I will have to try out these tried and true suggestions if I ever attempt to do wallpaper again!
I said more bad words putting up peel& stick wallpaper than I ever did with pre-pasted. You can slide the wallpaper around a bit to get it just where it needs to be, I was working with 8′ lengths of peel&stick and it was a nightmare. Yes, wallpapering is messy but can be beautiful when done. I have never done the paintable kind, but with “regular” wallpaper you want to make sure you are getting good quality vinyl coated paper and it does not tear when it is wet. Unfortunately I had experience with cheap wallpaper back in the day and learned my lesson.
Lol yes it can be such a nightmare! And that is some great info! Thanks so much for sharing those tips!