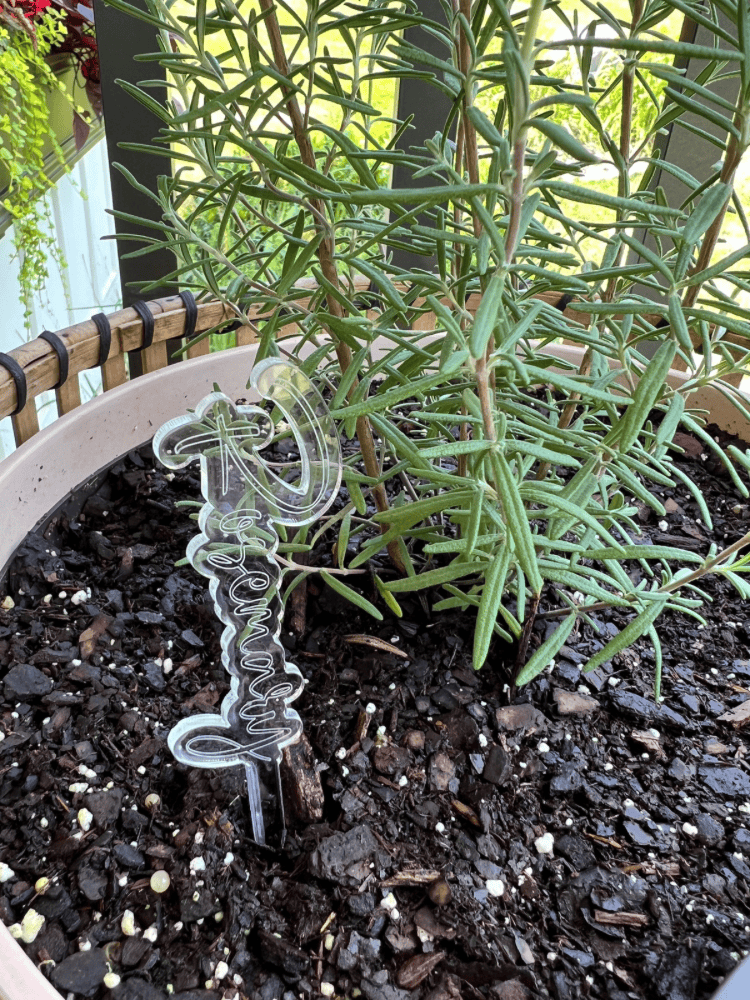
Y’all know I love my DIY herb garden! I plant one every year and even freeze the herbs to use during the wintertime too. And I always love to make my own DIY plant labels. So this year, I thought I would use my brand new xTool P2 machine and create some herb garden markers DIY.
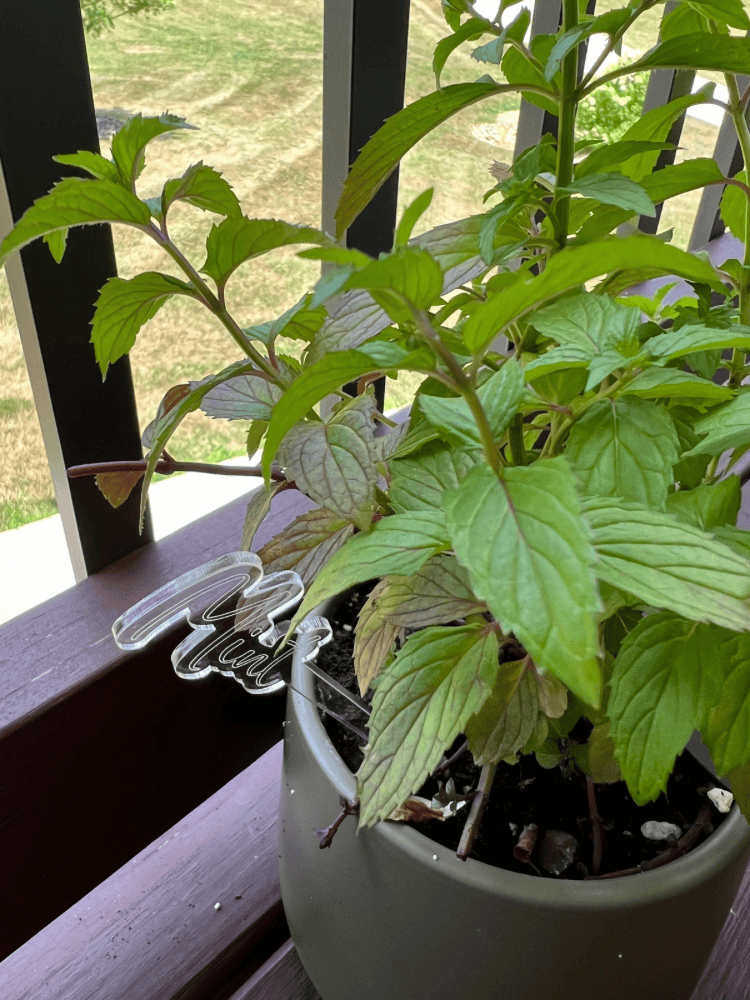
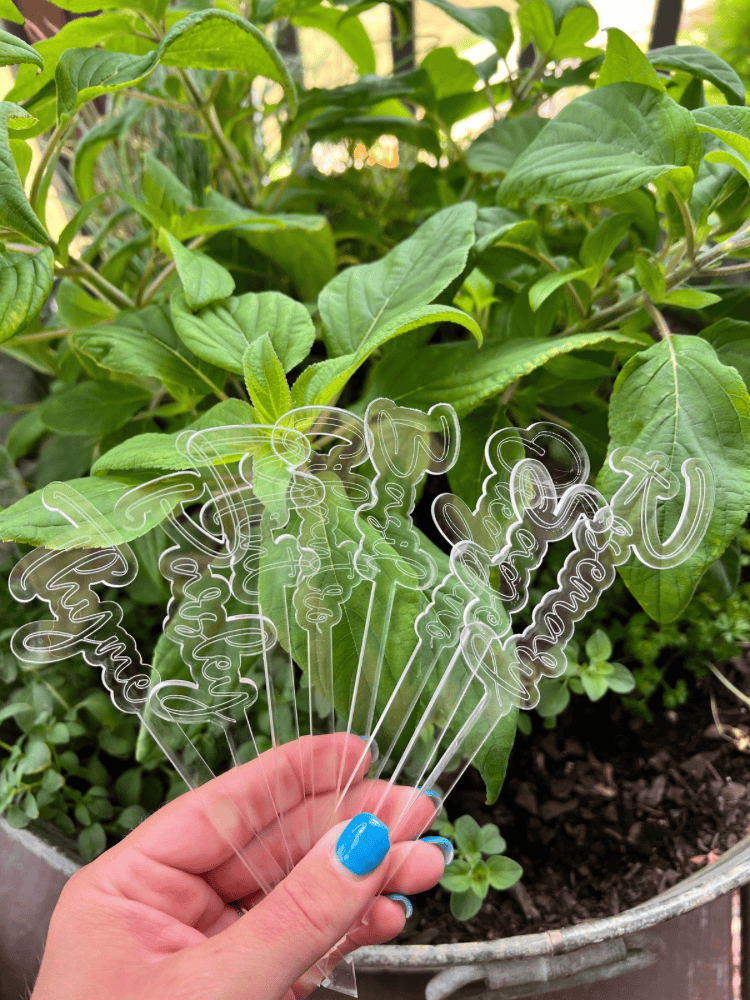
And they turned out so cute! This is a great way to keep your herbs organized. Especially if you plant most of them altogether like I do. And there are so many different and creative ways to make them as well.
I always like to switch it up year after year, but I think this year’s DIY plant markers are my favorite so far! So if you’re looking for a fun way to spruce up your flower garden or veggie gardens, be sure to check out this blog post below!
I will walk you through everything I did to create these cute little markers. As well as share alternative DIY garden markers too. Hopefully something here will give you the inspiration you needed to get started too!
This post also contains affiliate links, which means I make a small commission off anything you purchase through here, at no additional cost to you. Please read my full disclosure policy for more details.
Materials Needed for Herb Garden Markers DIY:
3 mm Acrylic Sheet (I used clear for this project, but you could use whatever color you wanted! You could even use a scrap piece of wood to make wooden plant markers instead too.)
Cutting Out Your Own DIY Garden Markers
To make these, first you need an SVG file. As you know, I love to reference Etsy for this. I will link the exact file I used below here too. I know I could just make my own, but honestly the files on Etsy are cheap and it saves me the headache of trying to figure that out!
Plus, you can find so many different and cute garden markers on there too. Maybe one day I will, but I just haven’t mastered that art of laser cutting yet!
Once you have a file you like, now’s the time to cut it out on your machine. Like I mentioned above I used transparent acrylic for this project. And this was actually my very first time cutting out acrylic with my xTool machine.
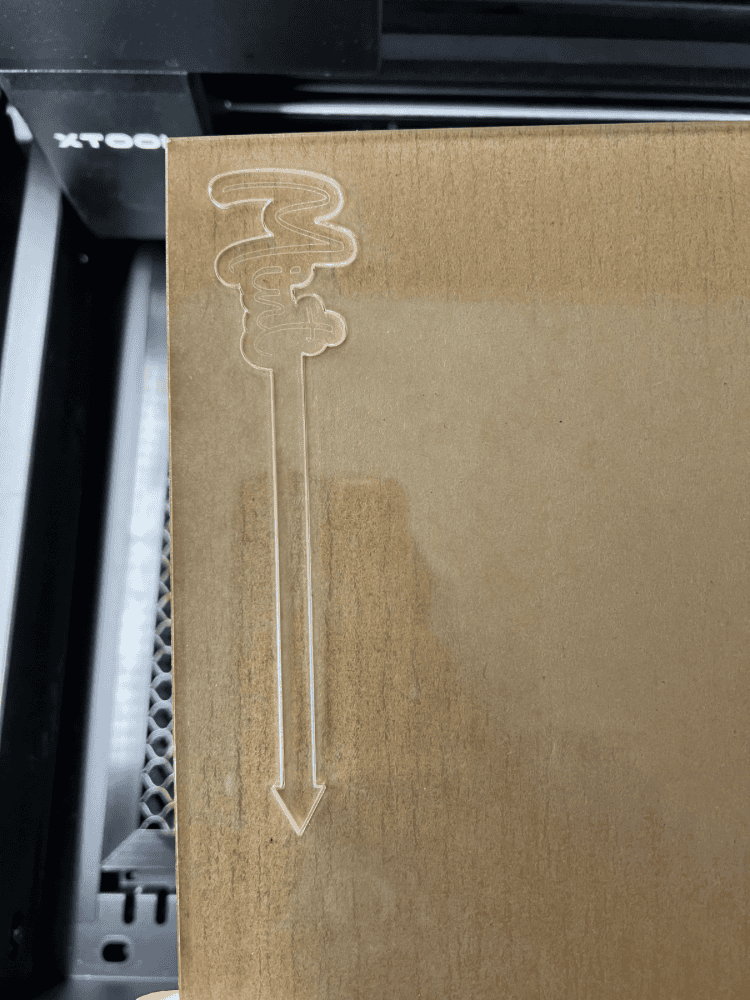
So I was a little nervous with how it would do. Especially since my Glowforge Aura is sometimes tricky when cutting acrylic. I’m happy to report that it’s a fairly easy process, with a few hiccups along the way.
It’s actually very similar to cutting acrylic on my Glowforge so at least it wasn’t anything too crazy and different.
Tips and Tricks
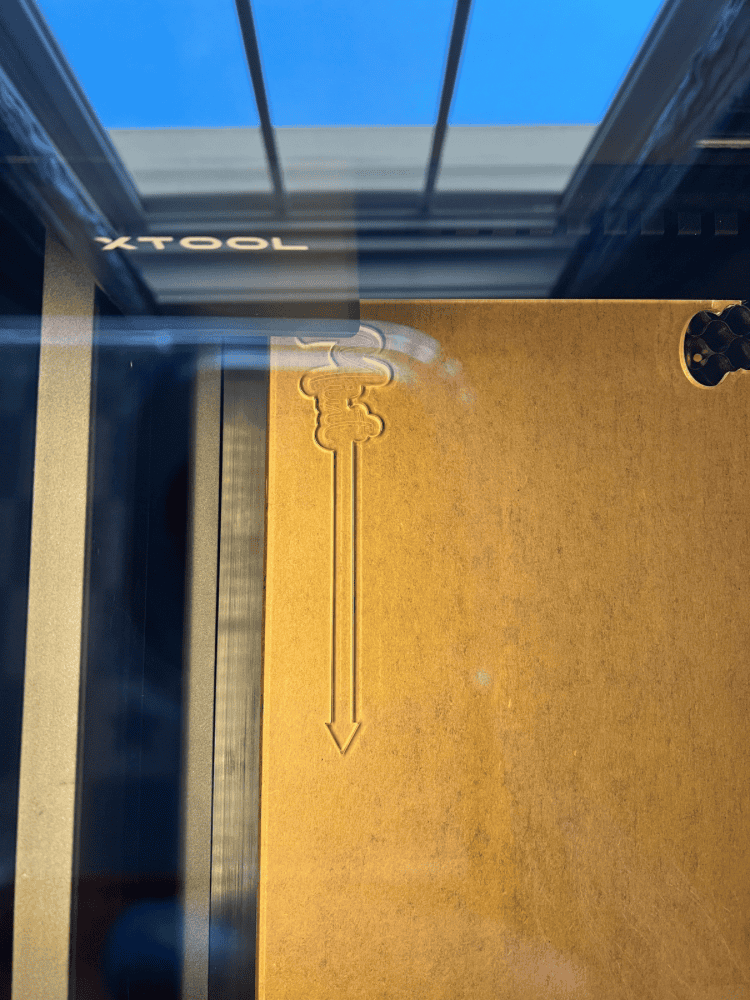
I always recommend just cutting out something small first when working with a new material on your laser. You don’t want to go ahead and cut out the whole project without testing the settings first.
Because most of the time, you’ll end up wasting material because something didn’t go right. So save yourself the heartache and always do a test cut first! The sheet I used had a coating on both the front and the back of it.
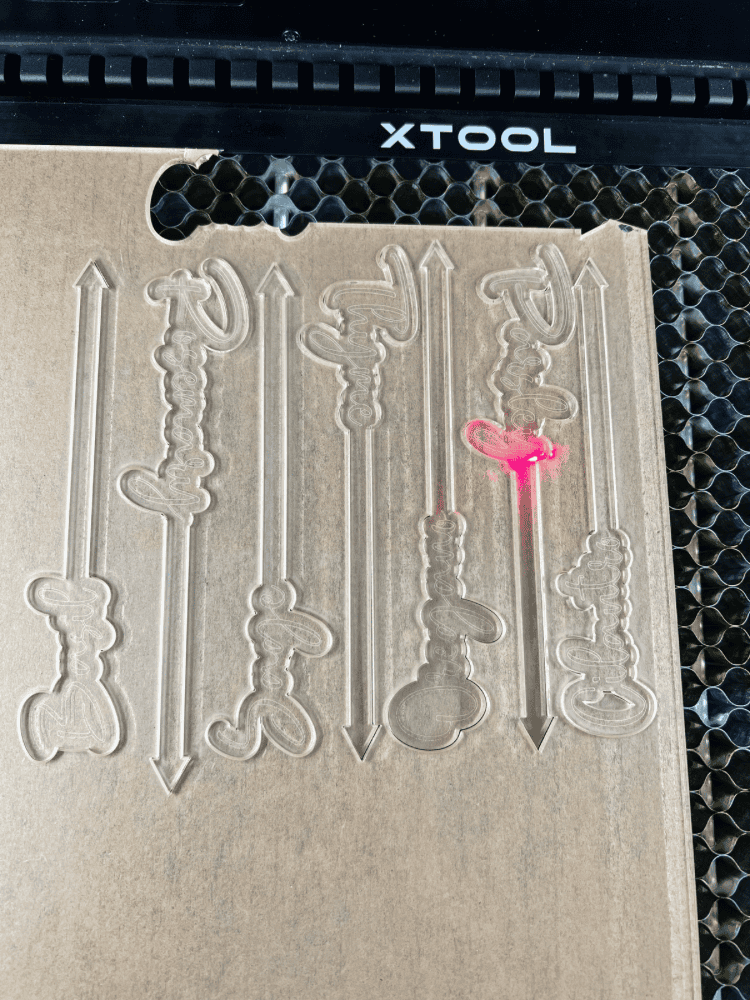
I found that by leaving the coating, the scoring wasn’t getting through enough on the labels. It would cut through fine, but basically just score the coating and not the actual acrylic. I had to place the marker back inside the machine without the coating to actually score it correctly.
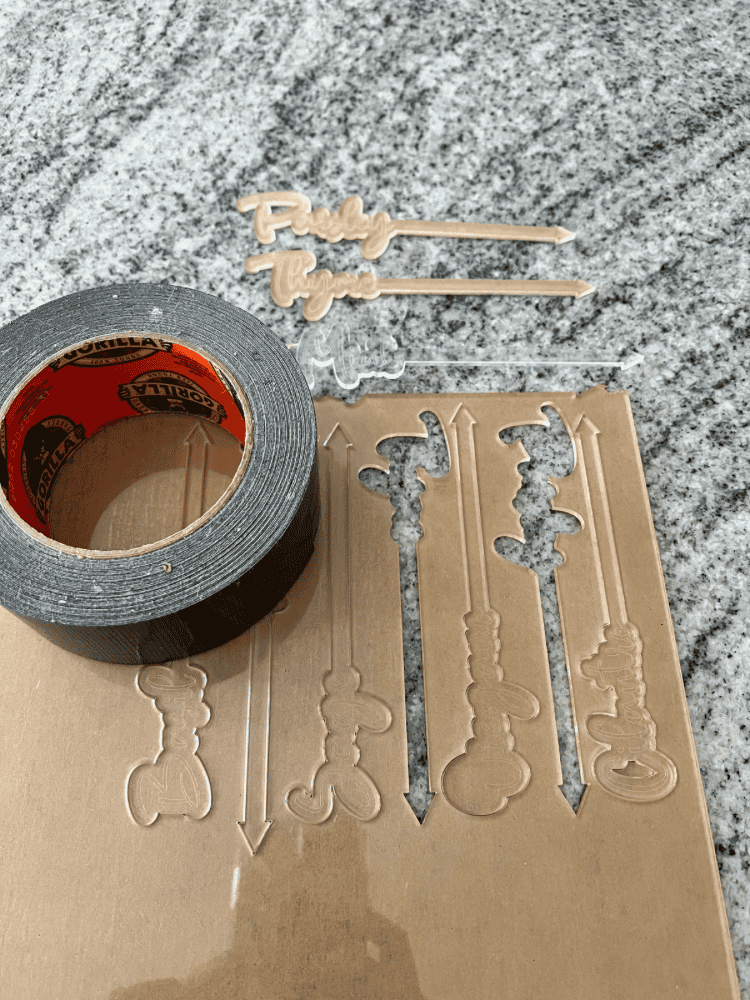
So I decided to remove the top coating, that way it could easily score and cut it at the same time. After that, it worked pretty well. To remove the coating, I used Gorilla Tape. This is my favorite way to remove coating or tape from materials after laser cutting them.
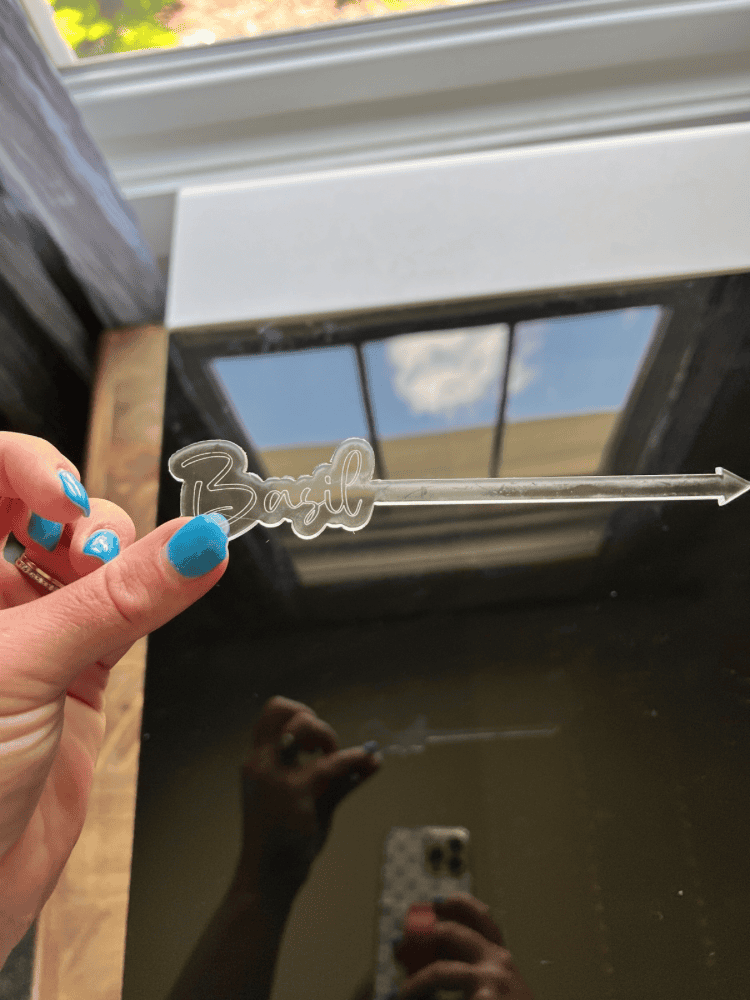
Again, there were a few that I had to pry out of the sheet because the laser didn’t cut it through all the way, so some didn’t have a nice smooth edge. But for the most part, they turned out super cute. And it didn’t take me too long to cut and score everything either!
I know I could have techincally engraved the lettering instead of scoring it, but scoring it also saves you a lot of time. Whereas engraving takes a lot longer too.
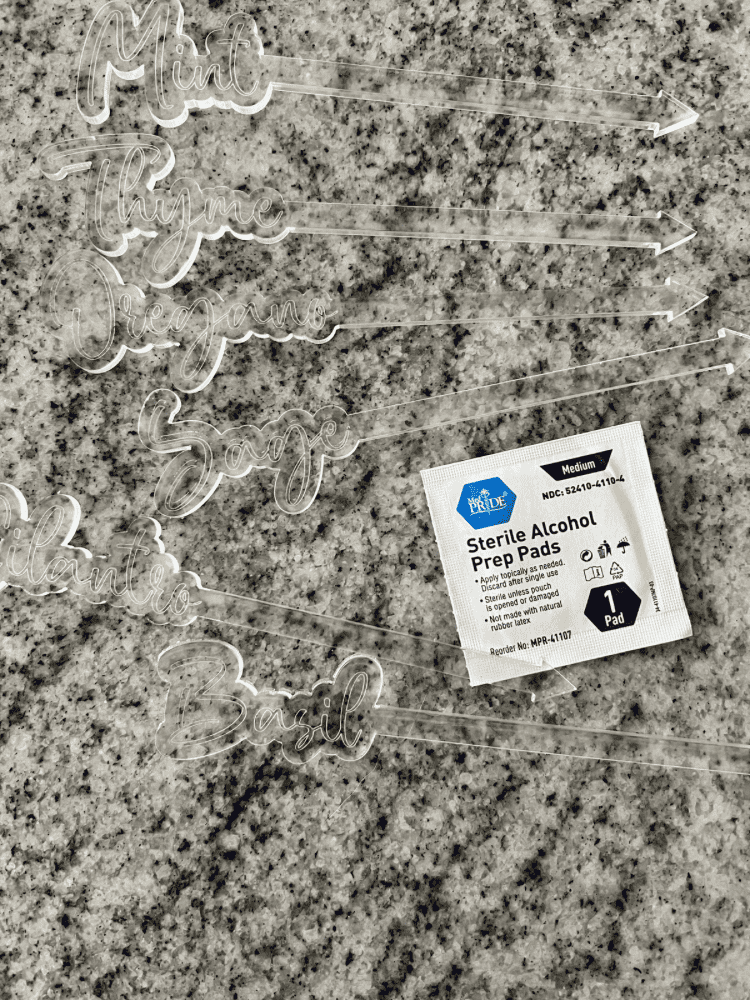
Another tip I have when making these little markers, is use some alcohol wipes to clean them off after cutting. You may notice a little cloudiness around the marker or the scored lettering. But, once I wiped it down, it went away easily.
You could also use paint pens or paint sticks to go over the lettering too if you wanted it to stand out more. But, I kind of liked the neutral look to them.

Variations of Herb Garden Markers DIY
If you’ve been around here long enough, then you know I have made several different homemade plant markers over the years. And each with a different machine or different materials. So if you’re looking more inspiration and more fun ideas on how you can make your own garden markers too, then check out all these below!
I made these adorable copper markers for our raised garden bed we did last year and I love how they turned out. They really held up well being in the sunshine all day long. In my personal experience, the copper markers actually held up better than the plants because at least the deer didn’t eat all them too!
Another year, I created vinyl labels using my Cricut machine too. I think these were my very first herb garden markers I ever made so it was a nice and easy project! If you have a Cricut machine too, then you can easily create all kinds of vinyl labels with it!
You could also just used everyday items and turn them into garden markers too. For example, you could take some old spoons and turn them into spoon garden markers. You could even use wooden spoons and just write the plant name on there too. Super easy!
Or you could make your own clay plant markers using some polymer clay. Take some alphabet stamps and press into the clay the names of the plants before letting it dry. You don’t need a fancy laser cutting machine to make your own labels.
You can just use minimal supplies and some creativity and that’s all you really need! There are so many wonderful ways to make DIY plant labels with using inexpensive supplies!
Enjoy Your Herb Garden Markers
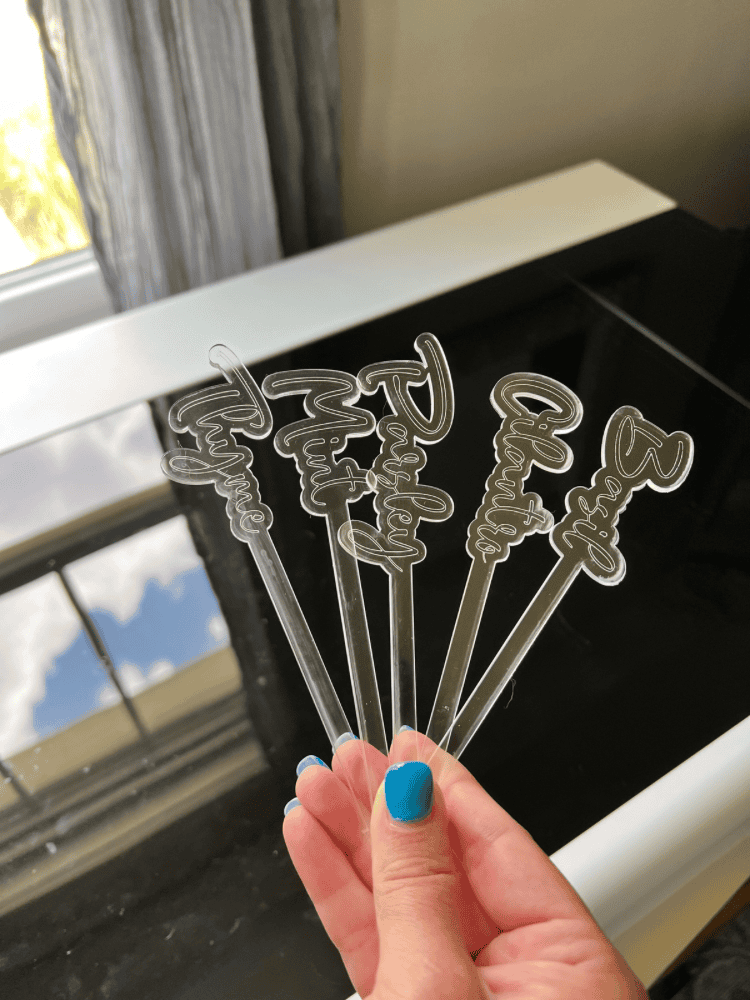
Well, I hope you love these new garden markers just as much as I do! It was such an easy DIY project, and it really elevated my herb garden! I like the classy look of the clear acrylic too.
And with these markers, I easily have plant identification during this growing season! I know these herbs grow so fast and so big sometimes that I forget where I planted everything at.
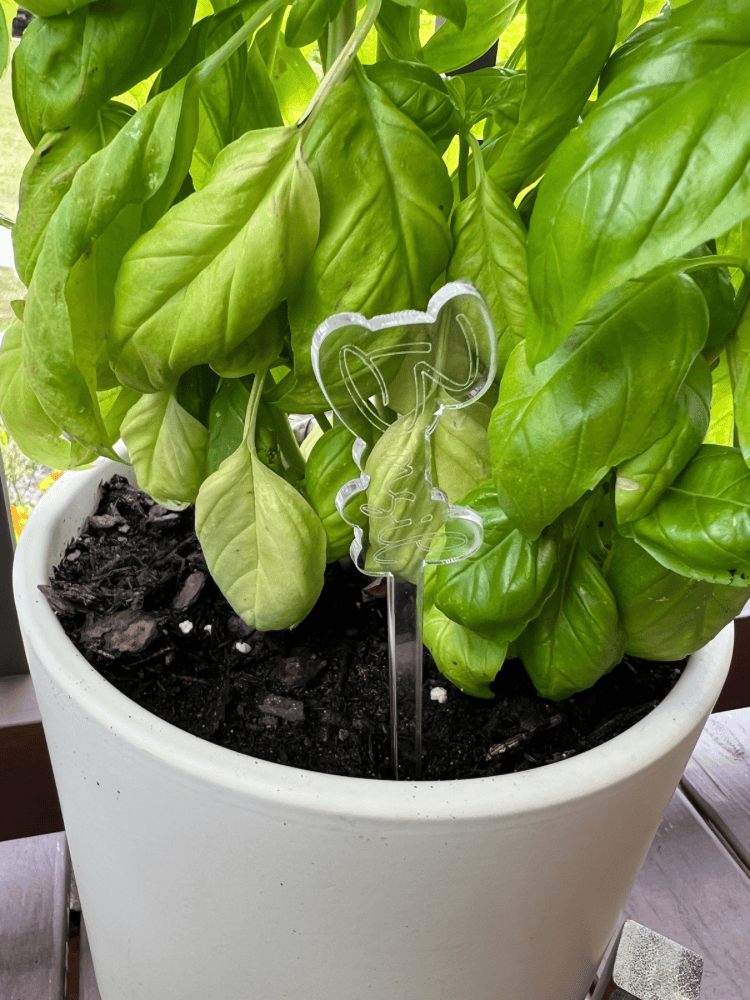
So it’s nice to have that reminder. And if you have vegetable garden beds, making veggie garden markers would be so fun for that too!
Do you have your own herb garden too!? And if so, do you like creating garden markers for it just as much as I do?! Let me know below!
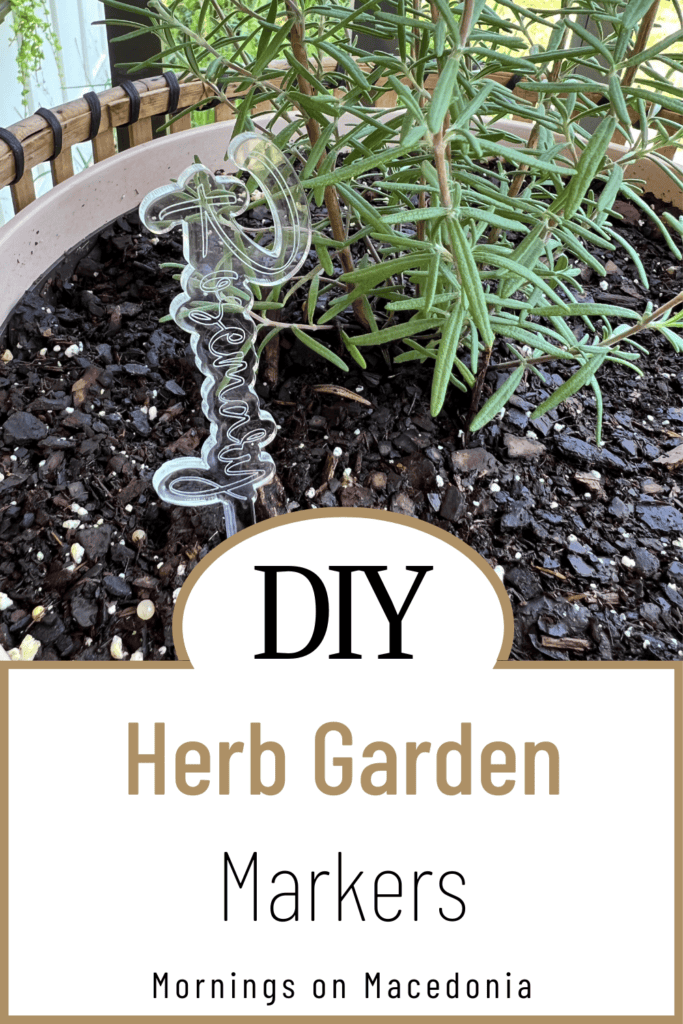


These markers are such a good idea, and so cute! I like how the design is simple and durable—very nice!
Thank you so much!