Y’all know I love my Cricut machine! I have shared several posts in the past with all the fun projects you can do with them! And today, I thought it would be good to share all about the best Cricut materials for beginners.
That way, if you’re new to the Cricut game, I got you covered. I am going to be talking about all the easiest materials to work with first. This way, you don’t get overwhelmed and try out a more complicated project!
I made plenty of mistakes when first learning how to use my Cricut, so I am going to try to keep this tutorial super simple for you!
This post contains affiliate links and is sponsored by Cricut. However, all thoughts and opinions are my own. Click here to read my disclosure policy.
What is Cricut?
In case you haven’t heard of the brand before, Cricut has streamlined the electronic cutting machine device. There’s literally nothing Cricut hasn’t thought of when it comes to their products.
All of their materials are carefully and thoroughly designed to work flawlessly with your Cricut maker machine. They go through a rigorous testing process to ensure long lasting results. Both materials and machines are pre-calibrated for compatibility and tested for performance and durability.
They even have smart materials that are designed for extra long cuts (up to 12 feet long!). All of their materials are safe to use with all applicable regulations for manufacturing operations.
They currently offer a vast collection of materials and are always adding to an ever growing list of more innovative products! I have always been impressed with all their materials, but as I stated above, this post is specifically geared towards the best Cricut materials for beginners.
What is the Best Cricut Machine?
I have the Explore Air 2 Cricut machine and love it! You can do so many things with it. I also love the pretty mint green color to it as well.
I also have the Cricut EasyPress 2 machine, but I think that one is a little more complicated to learn on. So for this tutorial, we are keeping it basic and I am using my Cricut Explore Air 2 machine instead.
The Cricut Joy machine is smaller than the Explore one, which is nice if you’re a little tight on space. However, it doesn’t have the same functions as the Explore either. Once you find the right Cricut machine for you, you will love using their materials and products!
Also, you could always look for an older model that is a little cheaper to try out Cricut for the first time. That way, you don’t invest a ton in it right away. But I’m telling you, once you start, you will be hooked, just like I was!
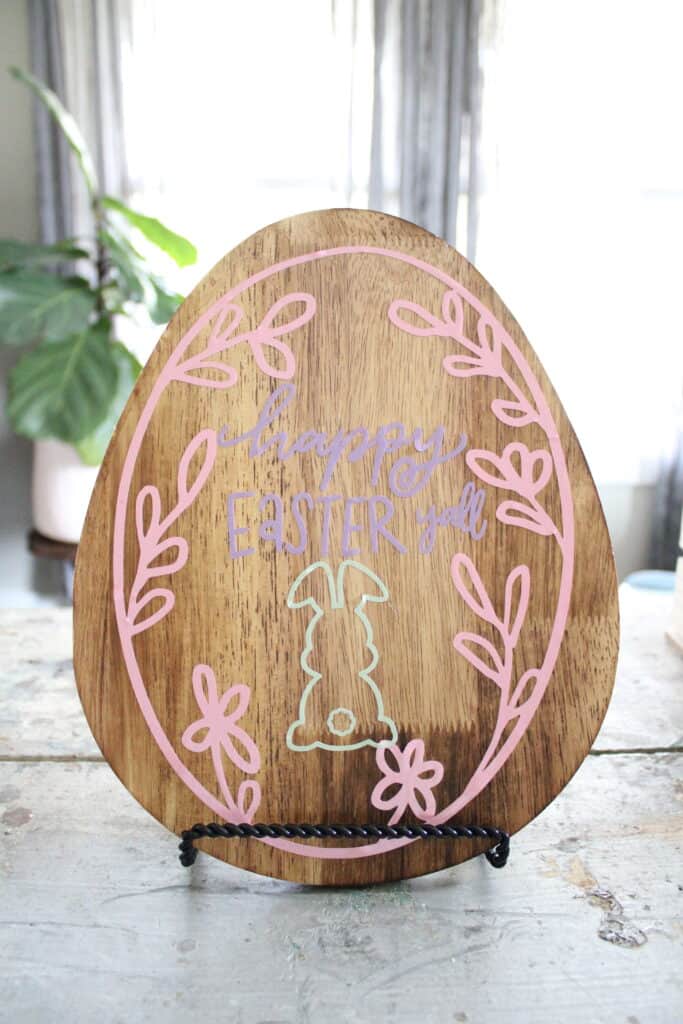
You can use several, different materials with this machine and make a ton of various crafts with it. From tote bags, greeting cards, car decals, and more! You can even create coffee mugs with a Cricut mug press too! For this project, we are going to create a DIY Cricut Easter Sign!
What are the Best Cricut Materials to Use For Beginners?
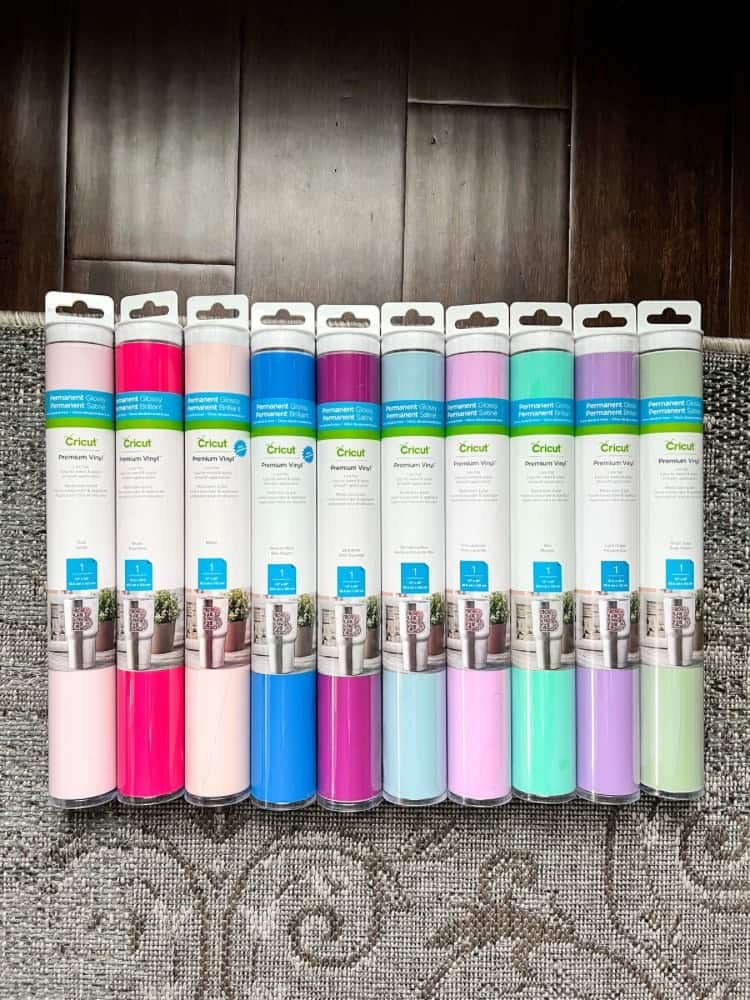
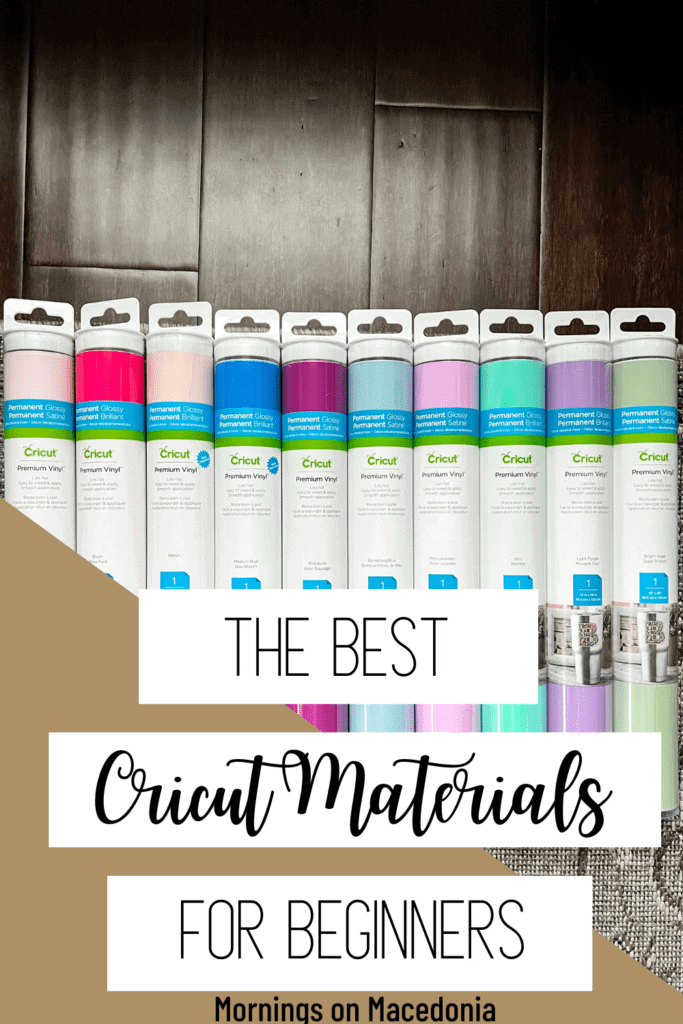
I will be using permanent adhesive vinyl for this project. I have found that vinyl is the best Cricut material to work with. Especially if you are a newbie. It just seems a lot easier to get the hang of. And once you have it down, there is no limit to the amount of projects you can create with it!
The permanent vinyl seems to be the best vinyl to work with in my opinion too. I have used the iron-on vinyl and removable adhesive vinyl in the past before too, but I prefer the permanent adhesive vinyl. If you look back at some of my other Cricut projects, you will see that this is always my go-to material.
I also always get the Cricut brand vinyl. As I mentioned above, you just can’t beat the quality of their materials. Knock off materials just do not work as well, and will not turn out the way you want them to.
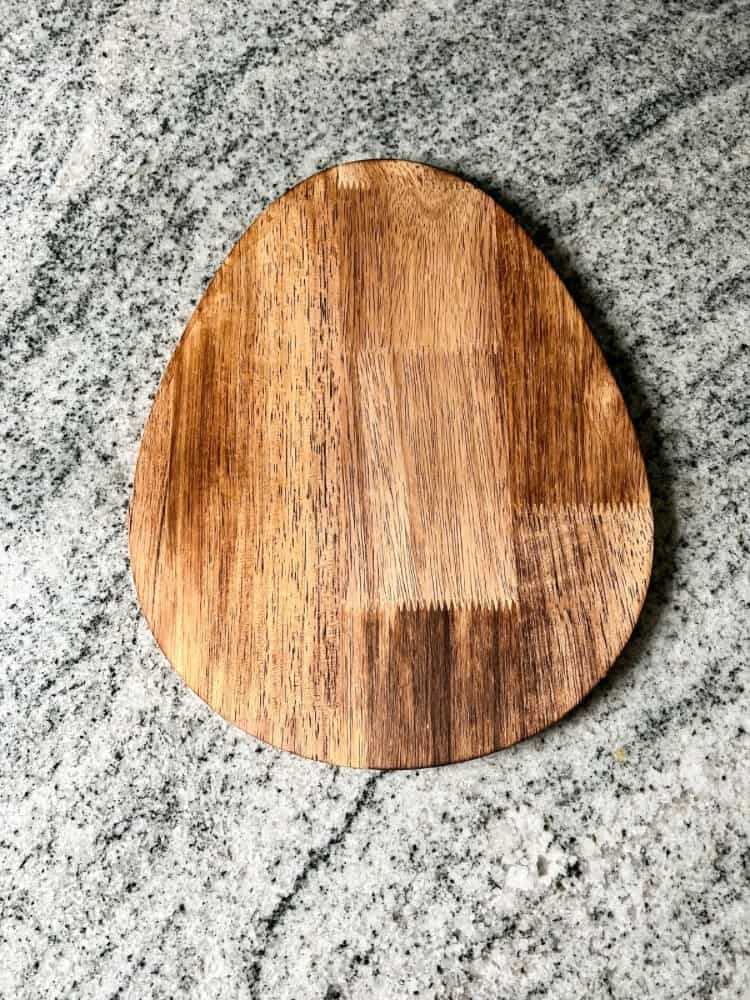
It’s fast, easy, and effective. And you can transform just about anything with it! For this specific project, I found a plain egg board in the Target Dollar Spot a few days ago. And I thought, how fun would it be to add in a few Easter touches to it?
Hence, where the vinyl comes into play. I will be showing you just how to design an image in Cricut Design Space, cut it out, and then apply it to the board. Ultimately resulting in a personalized Easter sign!
DIY Cricut Easter Sign Materials
Here are the materials needed to create this easy DIY Cricut Easter Sign. All of these are the best Cricut materials for beginners and should boost your Cricut confidence and knowledge after using them!
Wooden Egg (Or Plain Wooden Sign)
Design Image in Cricut Design Space
The first step to this project is to design an image in Cricut design space software. There are plenty of options in here to create a beautiful design. Most of them being free too! Which is always a plus. You can also upgrade your Cricut Access Membership where you get tons of more options in Design Space if you want for an additional cost. Which would be a good option to do if you are planning on using the machine a lot!
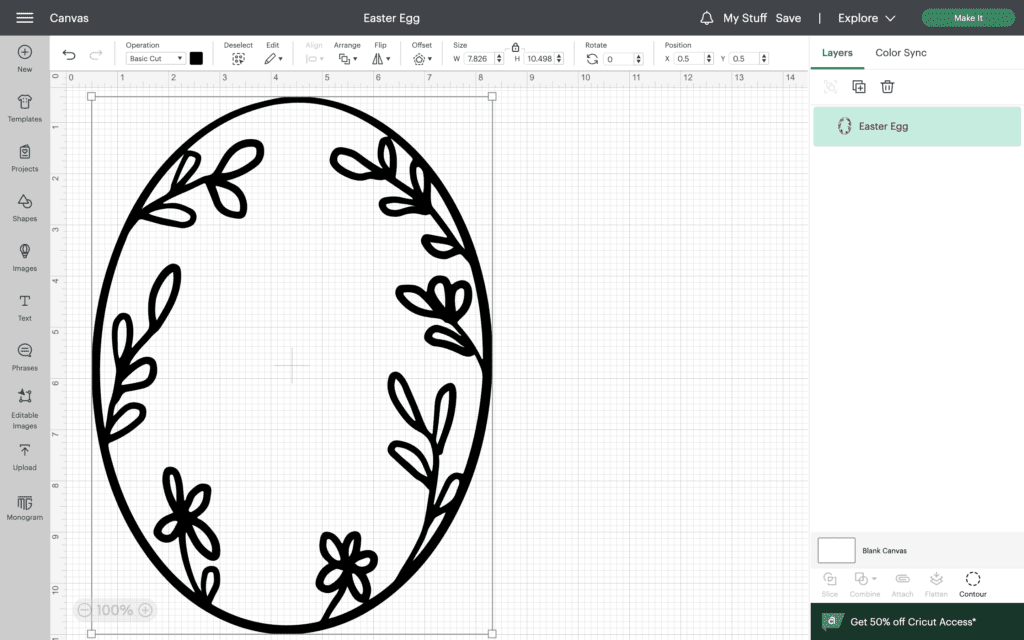
I just searched for an Easter egg design since my board was in the shape of an egg. I wanted a cute outlined design and then I wanted to be able to put a happy Easter saying in the middle of it.
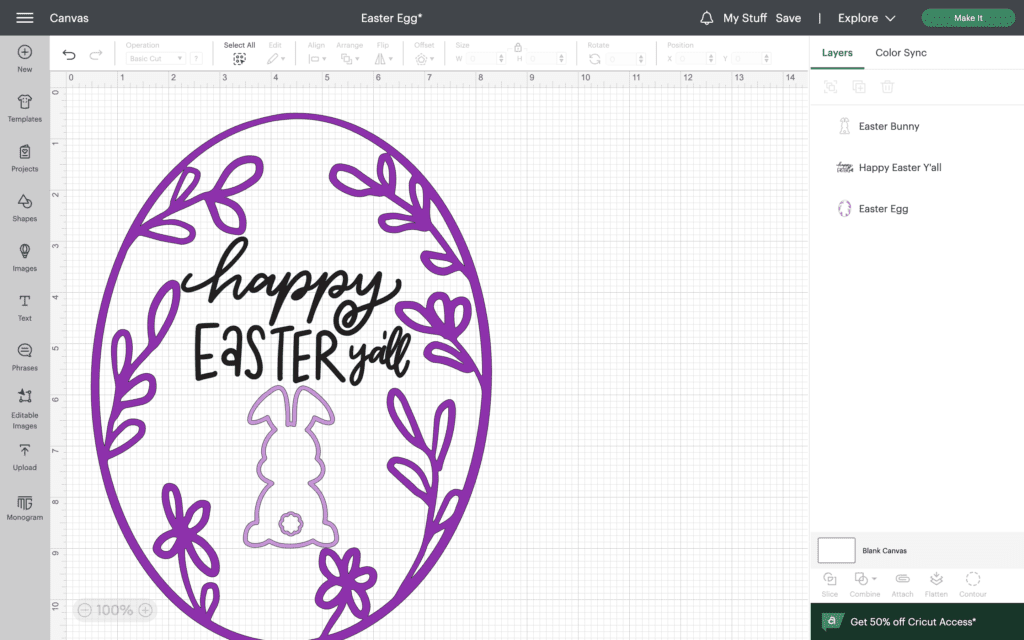
I found a pretty floral outline of an Easter egg and decided to go with that one. Also, be sure to measure your board’s dimensions before printing out your design. You don’t want it to be too big or too small. Trust me, I have had to throw many vinyl designs away because I skipped this step and tried to eyeball it instead. Not worth it.
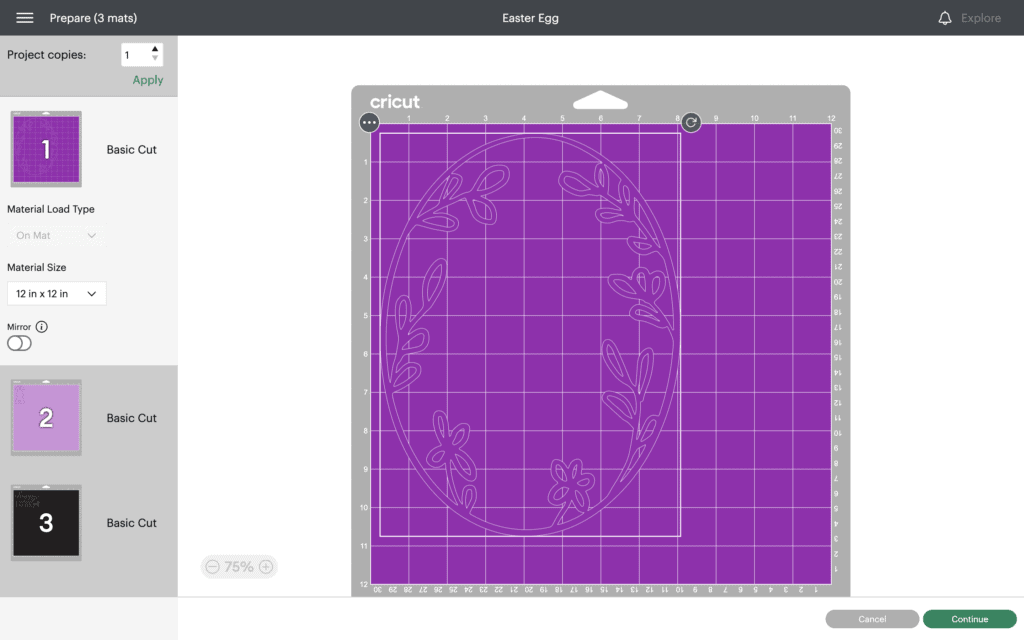
You can adjust the size in design space before cutting it out. I got the size where I wanted it, and then found a cute Happy Easter Y’all saying to add on it as well. There was also an adorable little bunny image I decided to add to the bottom of it as well.
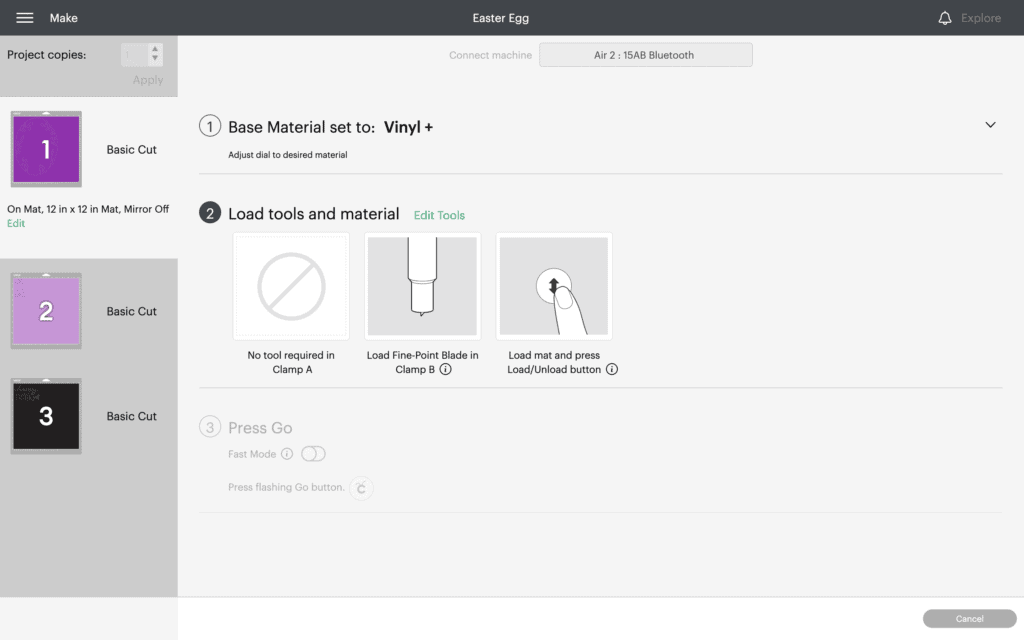
Preview the design and make sure it all looks good before cutting. Also, make sure your dial on your Explore Air 2 machine is set to vinyl. You don’t want it on the infusible ink to any other kind of setting because that tells the machine how to cut the material best.
Cutting Out The Image
It’s important to keep in mind that intricate designs and thicker materials will take a long time to cut. So the ideal choice here when starting for beginners is to use something simple. There is also an option to cut in fast mode, but I hardly ever use it. Most of my vinyl projects do not take too long to cut.
I’m telling y’all, these explore machines are fast and effective! Since I did three different designs, it will cut them out one after another. Which is good because I wanted to use three different colors for this project too.
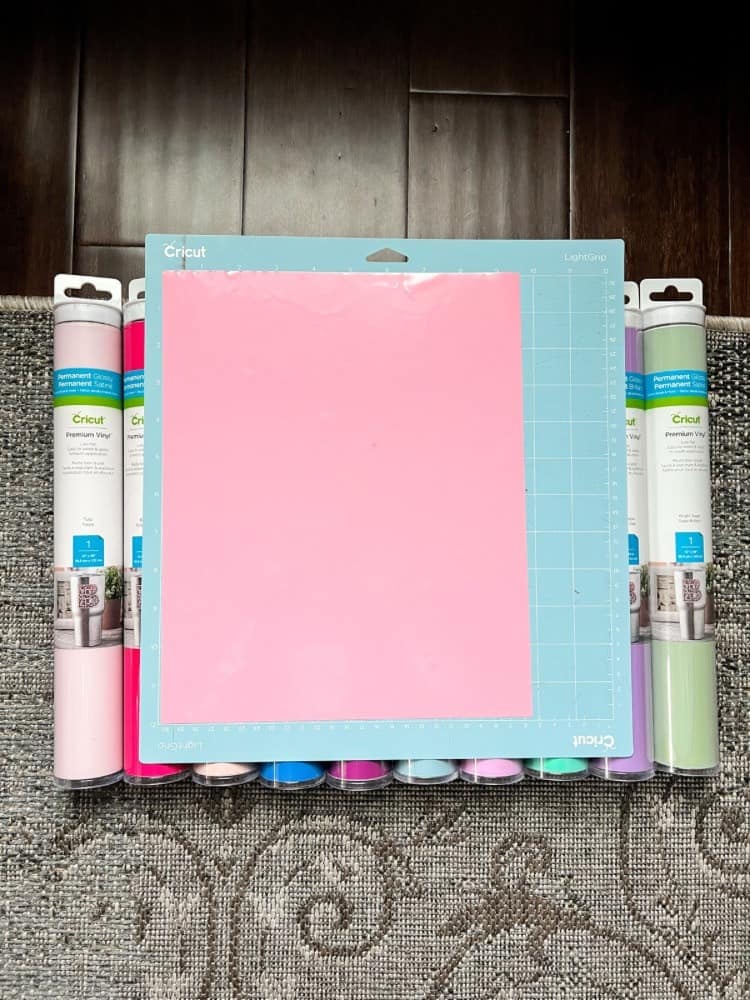
I used pink, green, and purple Cricut vinyl as I thought they were the perfect Easter combo of colors. I placed a sheet of vinyl down on the standard grip mat (this mat is sticky so it adheres easily) and then loaded it into the Cricut machine.
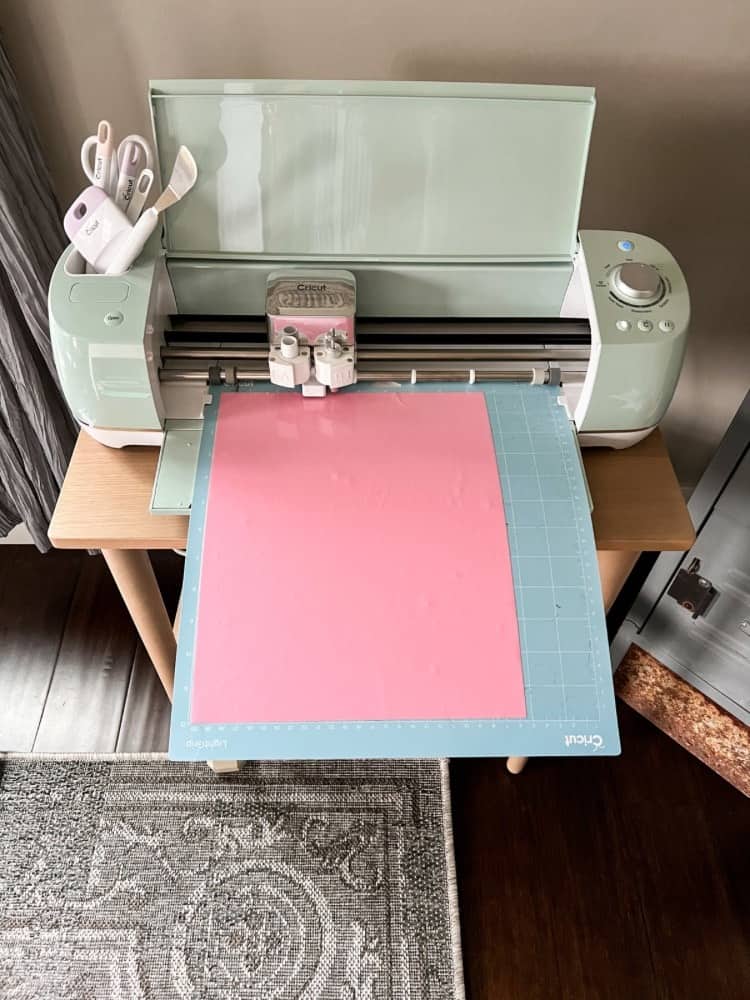
It started cutting the Easter egg outline first, then the bunny, and then the Easter saying. Make sure you have a good internet connection when you are cutting out your designs too. That way, nothing interrupts the process!
Preparing the Vinyl
Once you have your vinyl designs all cut out, you can now get started! You’re going to want to use the Cricut Weeder Tool to remove all the excess vinyl around the image. As I’ve stated, I feel like this really is the best Cricut materials to use when first starting out. Because the vinyl removes very easily and the weeder tool does a fabulous job assisting with the removal process.
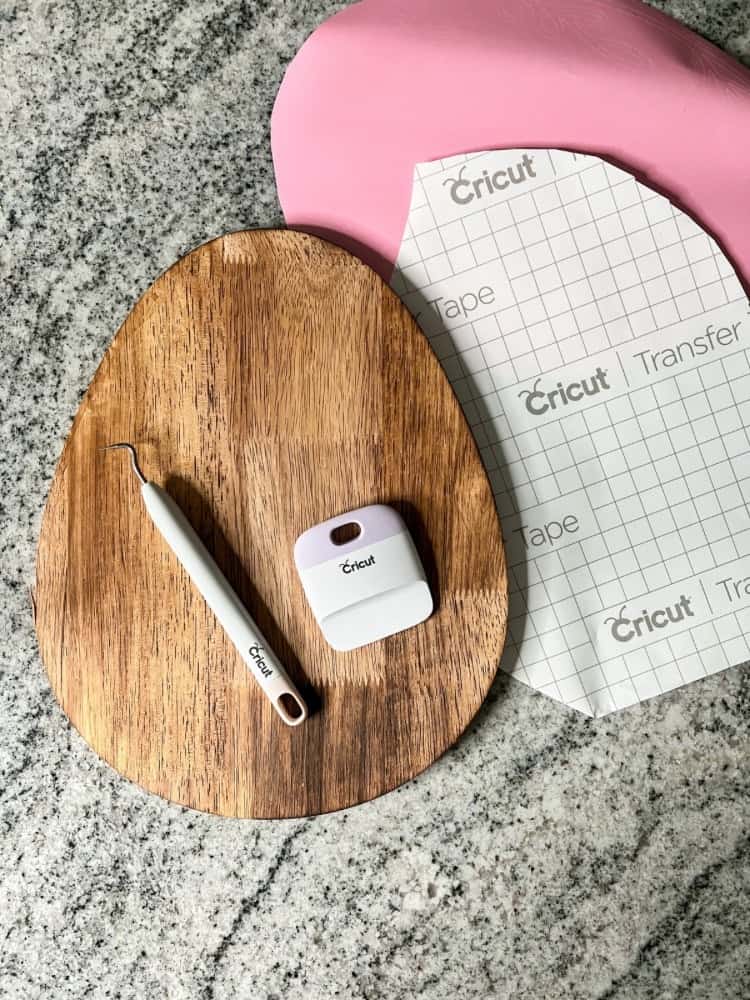
After you have all the excess vinyl discarded and removed, cut out a piece of transfer tape slightly larger than your vinyl design. Peel off the backing to the transfer tape and stick on top of the vinyl.
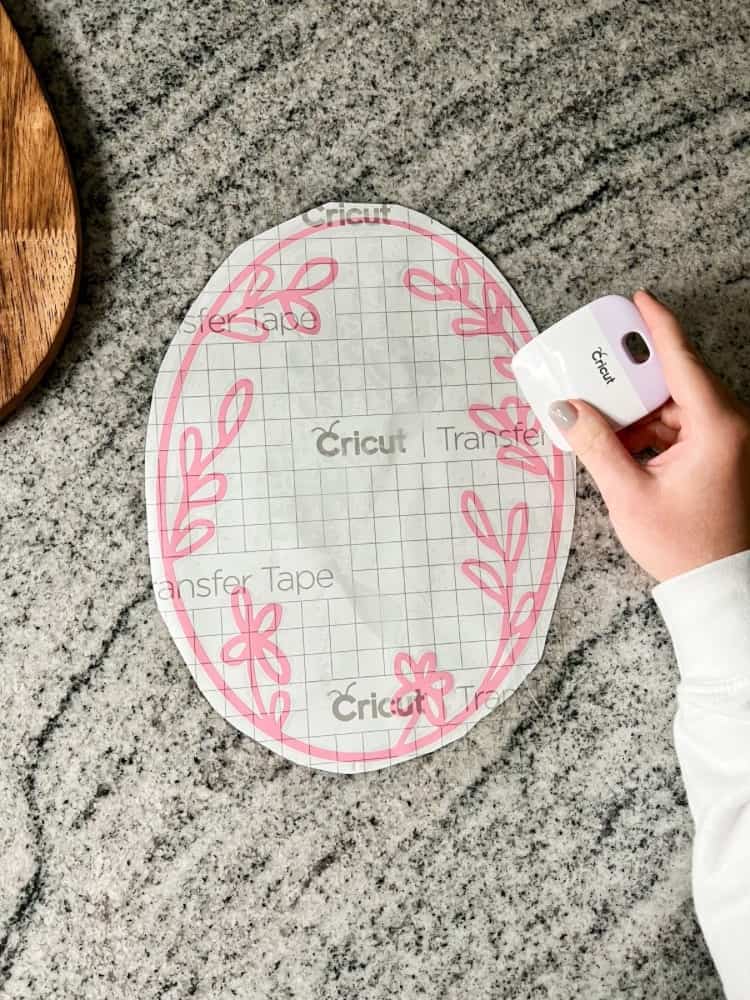
Now, apply pressure and use the Cricut scraper tool to firmly adhere the vinyl to the tape. If you don’t have a scraper tool, a credit card will work just fine for this process too.
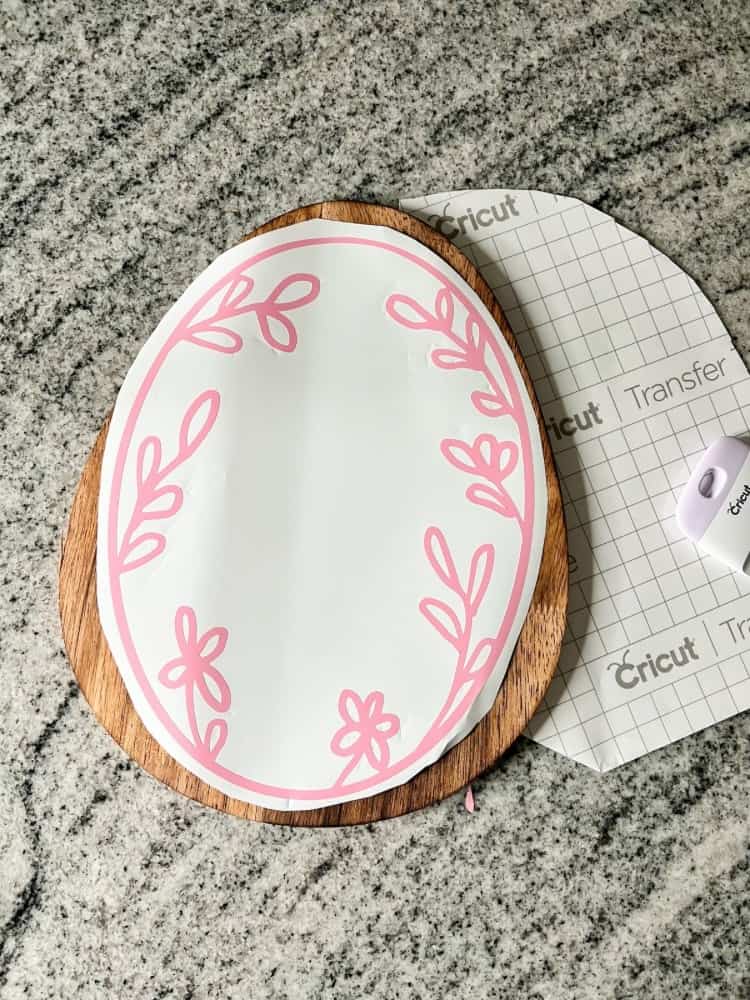
For best results, in a diagonal motion, slowly peel off the backing to the vinyl. The vinyl should all be sticking to the transfer tape. If some of it is not sticking, simply place the transfer tape back down, and rub vigorously again until it does. This is why you want to go slow and make sure everything is sticking before peeling the whole backing off.
Adhering the Permanent Vinyl to the Sign
Once you have the design on the transfer tape, you can now adhere to your sign or board. You are going to do the same process as mentioned above. Use the Cricut scraper tool to firmly apply the vinyl on the sign.
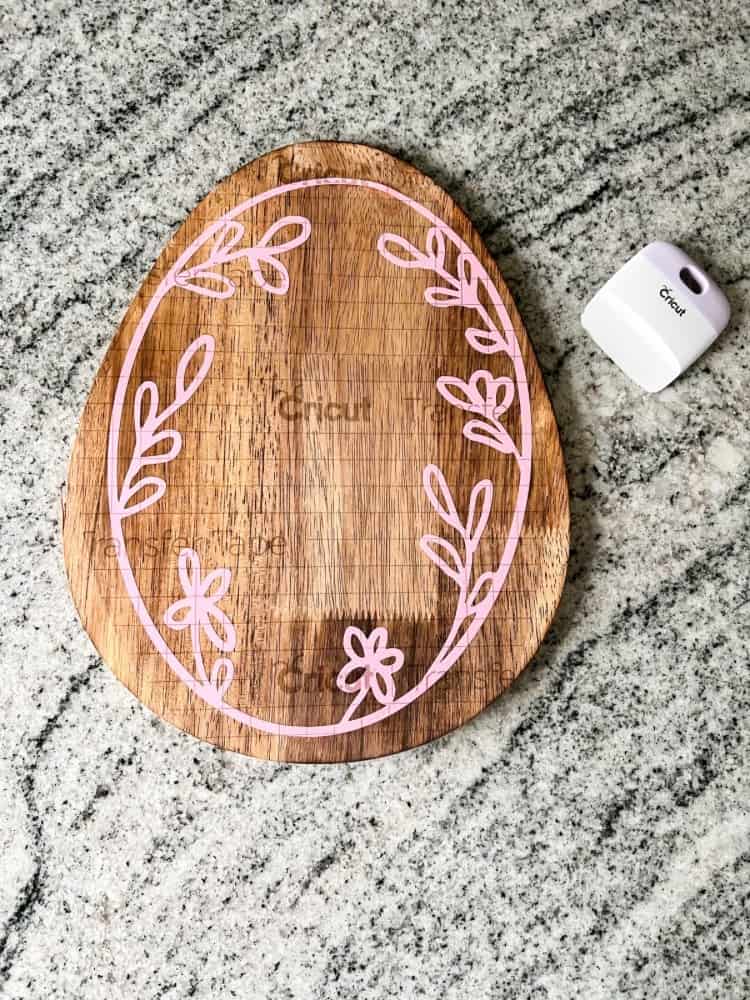
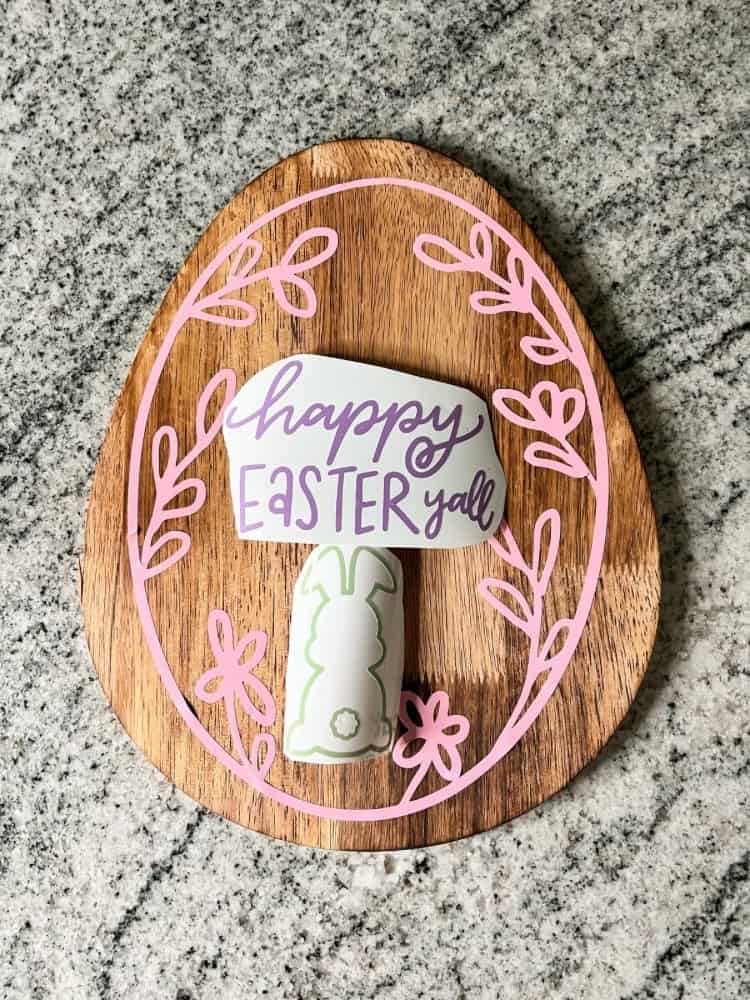
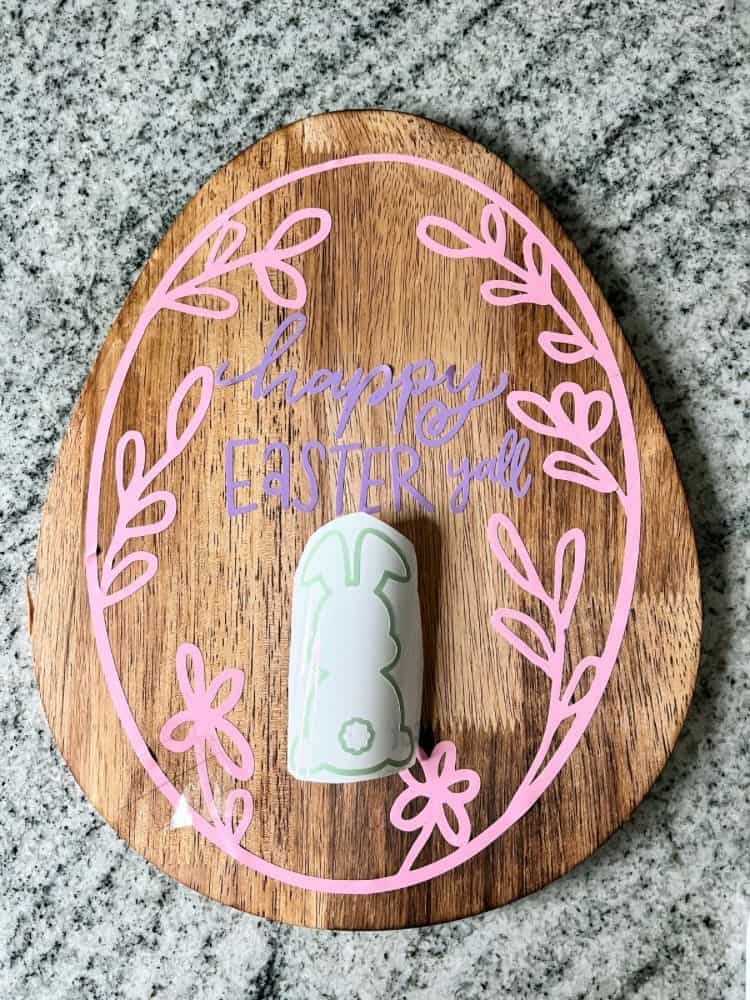
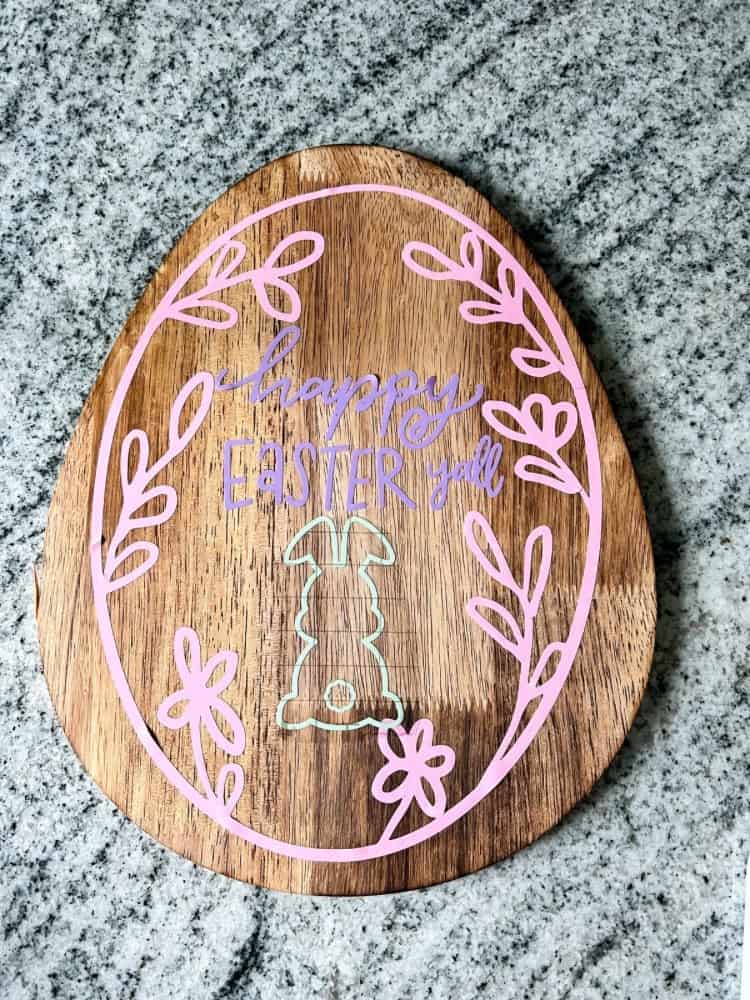
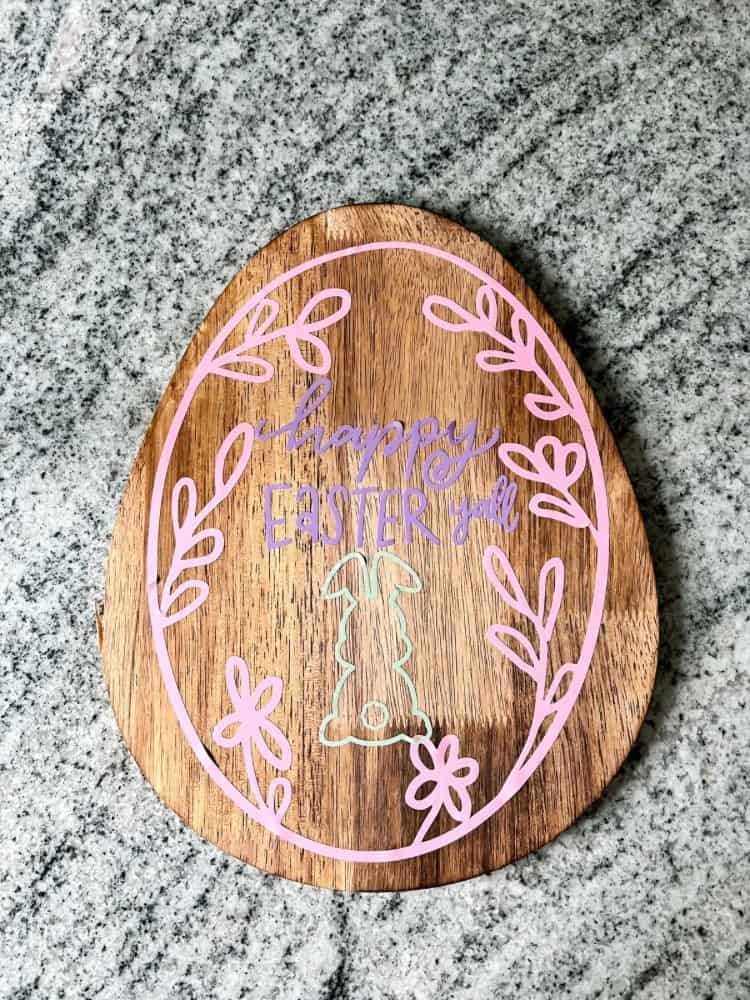
And again, in a diagonal motion, slowly peel the transfer tape away, making sure the vinyl is sticking to the board. I did this with the Easter egg outline first, then the Happy Easter saying, and lastly the Easter bunny.
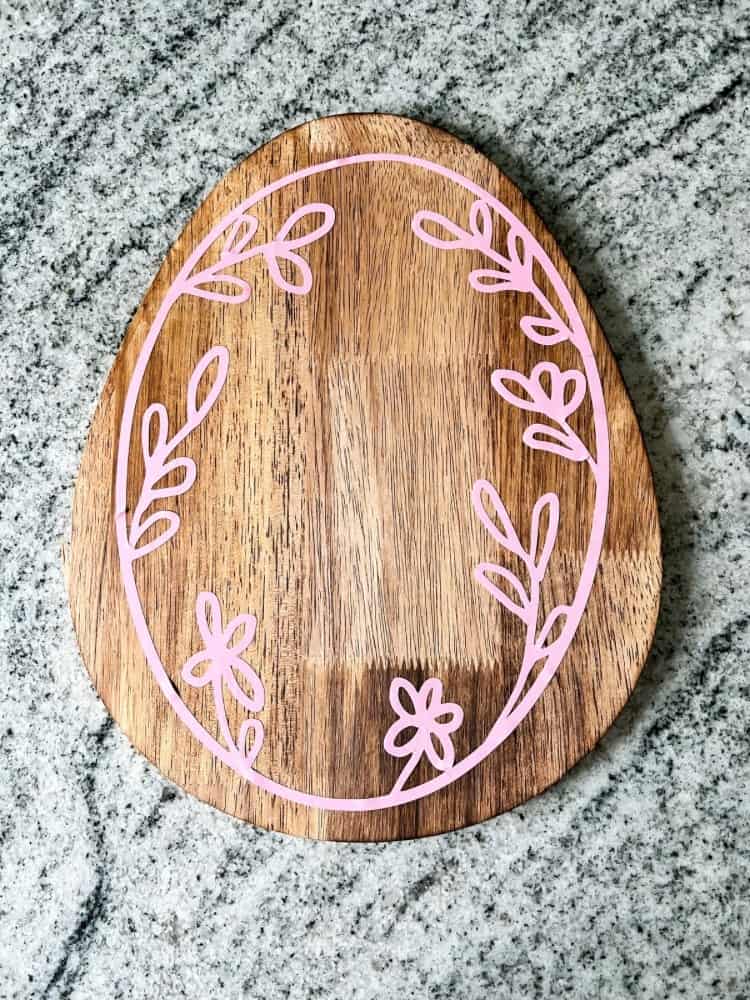
And ta-da! You have a cute and personalized DIY Easter Sign thanks to your Cricut machine!
Conclusion
Well, as you can see there are various materials that can be used with your Cricut machine. However, I hope this post showed you the best Cricut materials for beginners instead! You can always binge watch youtube videos for other Cricut projects or how to use other materials too.
I definitely did that when I first got my machine and I learned a lot from doing that as well. But, I hope you enjoyed this post all about the best cutting machine and all the fun, small projects you can create with it.
Just do your research to determine the perfect choice of machine for you and all the different types of vinyl and materials you can use as well. I’m telling you, the possibilities are endless when it comes to Cricut Creations!
And if you want to check out some more of my Cricut vinyl creations, please do so below:
DIY Fall Cutting Board Using a Cricut Machine
How to make DIY Christmas Ornaments Using a Cricut Machine
Christmas Vacation Sign Using a Cricut Machine


I don’t have a Cricut yet, but it would be nice to have one, and it was helpful reading about the materials you recommend using. Also, the sign is cute with the Easter designs!
Thank you so much! You should definitely get one if you get the chance! They are awesome!
I do not have a Cricut, mainly because it has always seemed too complicated. Your tutorial makes it look easy, though. Maybe I’ll change my mind! Thank you for the clear instructions, tips, and encouragement.
Thank you Lisa! Yes, you should definitely get one, it isn’t too complicated once you learn how to use it!
Perfect post on the best Cricut materials for beginners. I recently purchased my first Cricut and your post is so helpful. Thank you for the great tutorial!
Awe yay Debbie! I am so glad you found it to be helpful then!
I had never heard of a Cricut device before, but I like how creative you can be when using it! x
Lucy | http://www.lucymary.co.uk
Thank you Lucy. They are pretty fun and can make and do a lot of different things!
You’re DIY breakdowns are amazing! Sharing this with my girlfriend. She’ll enjoy this. Thanks for sharing!
Awe yay I am so glad! Thank you!
I will have to pass this post on to my mum as she has recently bought her self a circut machine and what a brilliant idea!
Awe thank you so much! So glad you think so too!
Well that’s cool!! I was today years old when I learned what a Cricut was! 😀 This looks really interesting and I can imagine you can make some really cool crafts. I will check this out thanks for starting with something beginner friendly just in time for Easter :).
Thank you! Yes, you can definitely make some pretty cool projects with it for sure!
Thank you for breaking the process down a little bit. People make it seem so complicated.
Yes, it really isn’t so complicated once you learn how to use it!
Absolutely beautiful! It’s awesome that you went through every step of the process. I get tripped up doing things like this sometimes and your instructions are so thorough. I would be able to do this craft with very little difficulty. Thank you for sharing!
Awe thank you so much, so glad you thought so too!
I have never heard of a Cricut but you made it sound like it’s not too difficult. This is lovely when it’s completed. Thank you for sharing 😊
Pastor Natalie (Examine This Moment)
Letstakeamoment.com
Thank you. Cricuts are pretty cool and can be used for so many different things!