
My sweet in-laws recently gifted me a nice, wooden dining set that they no longer wanted. I was so excited because my first thought was to immediately put it out on our screened in porch. We don’t have a good area to eat out there, so this would be perfect. However, I wasn’t a fan of the wooden tone. It was a little too orangey for me. So I decided I should sand it down and then paint it of course! And while I was at it, I took a few pictures along the way. That way I can show you just how to refinish a dining set.
This was a lot easier said than done, unfortunately. It took a lot of sweat and grit to get it done! But, I am so happy with how it turned out!
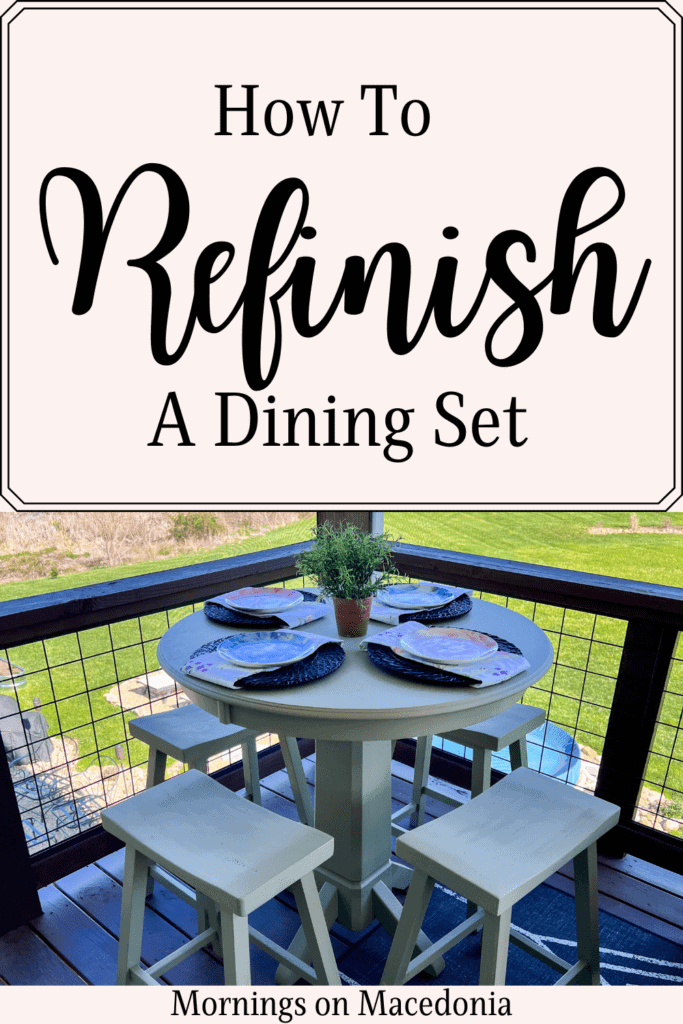
Keep on reading to see just how I transformed this beautiful set!


This post contains affiliate links. Click here to read my disclosure policy.
Sand The Dining Set Down
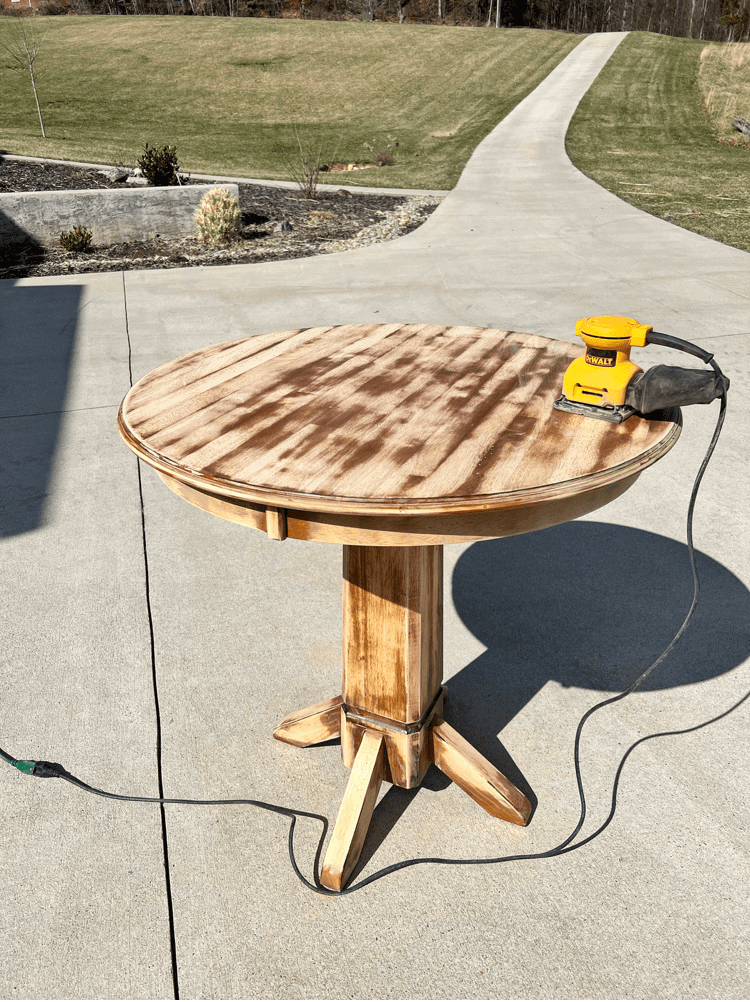
In order to refinish the dining set, you need to first sand it down. And this was where a majority of the work was. To get rid of that orangey color in the wood, I needed A LOT of sandpaper.
I used an electric sander. Which worked for the most part. But these pieces had a lot of spaces that I couldn’t get the sander down into well.
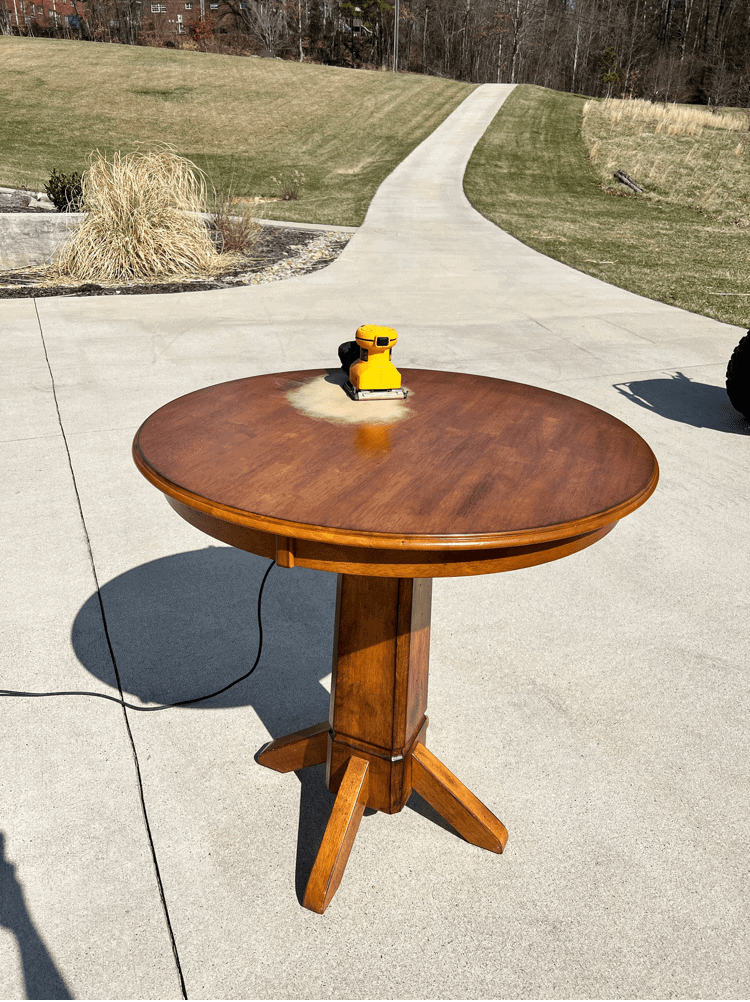
It worked great for the tops of the stools and table. But at the bottom of the legs, it was more challenging.
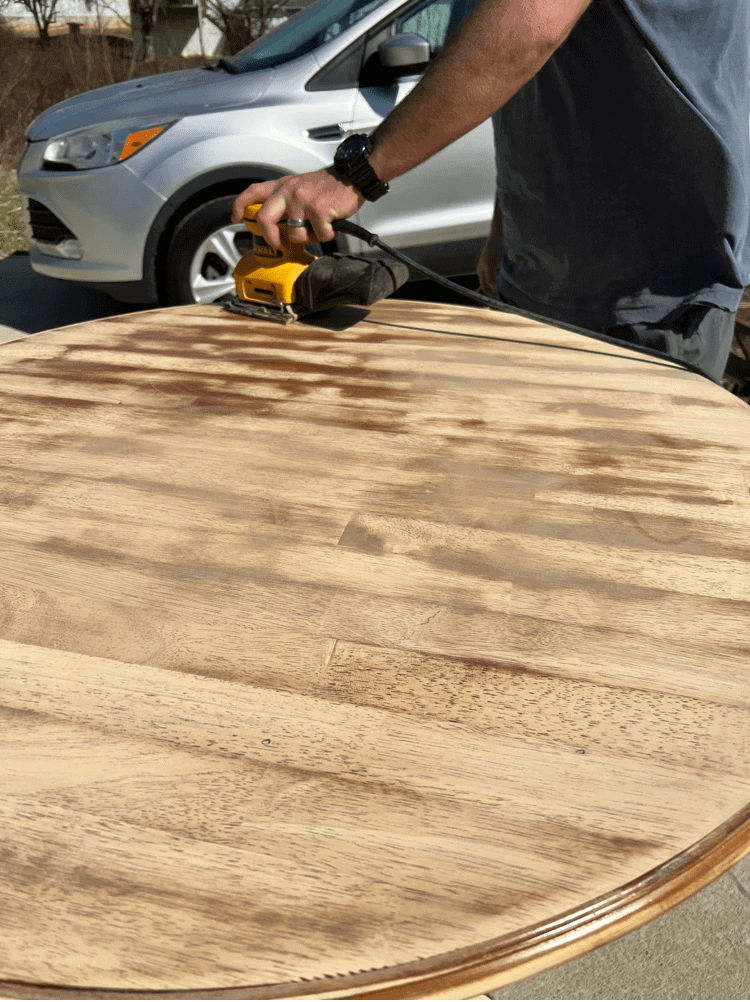
I tried to use the electric sander as much as I could though to spare me on manually labor. However, it was inevitable that I would also have to go back and use manual sandpaper.

I used some sandpaper sponges. Which were a lot easier to grip than just a traditional piece of sandpaper. But I did have to scrub very hard to get it right.
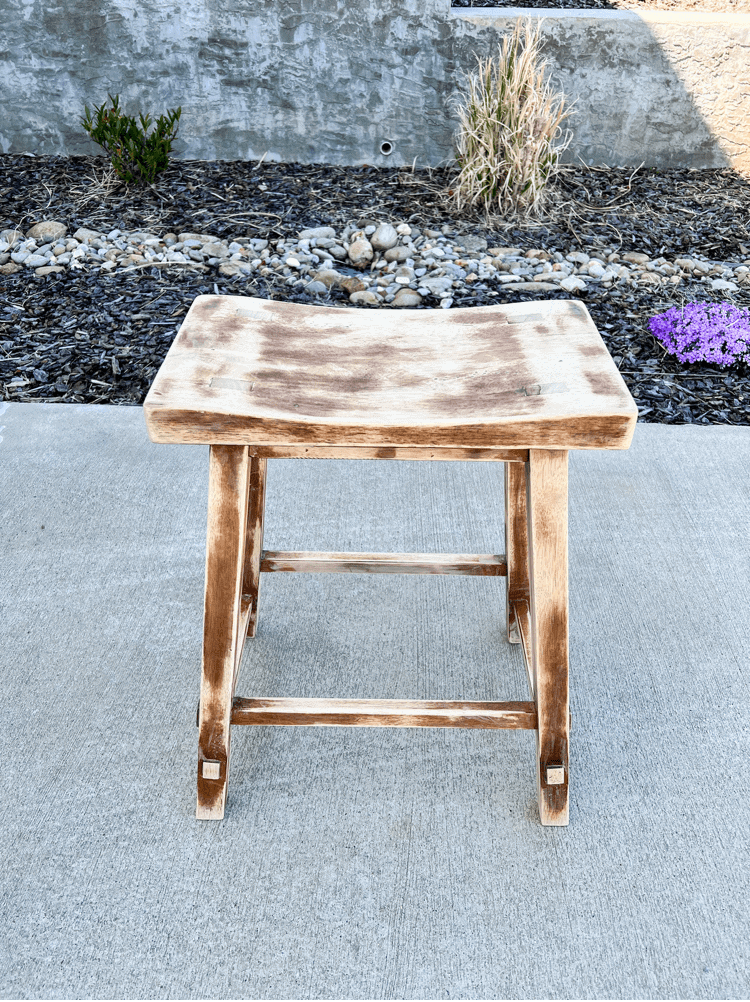
I wasn’t too worried about removing all of the previous stain on the wood, since I was planning on painting it anyway.
I just needed to get enough of it off the surface so that the paint would actually adhere to the wood.
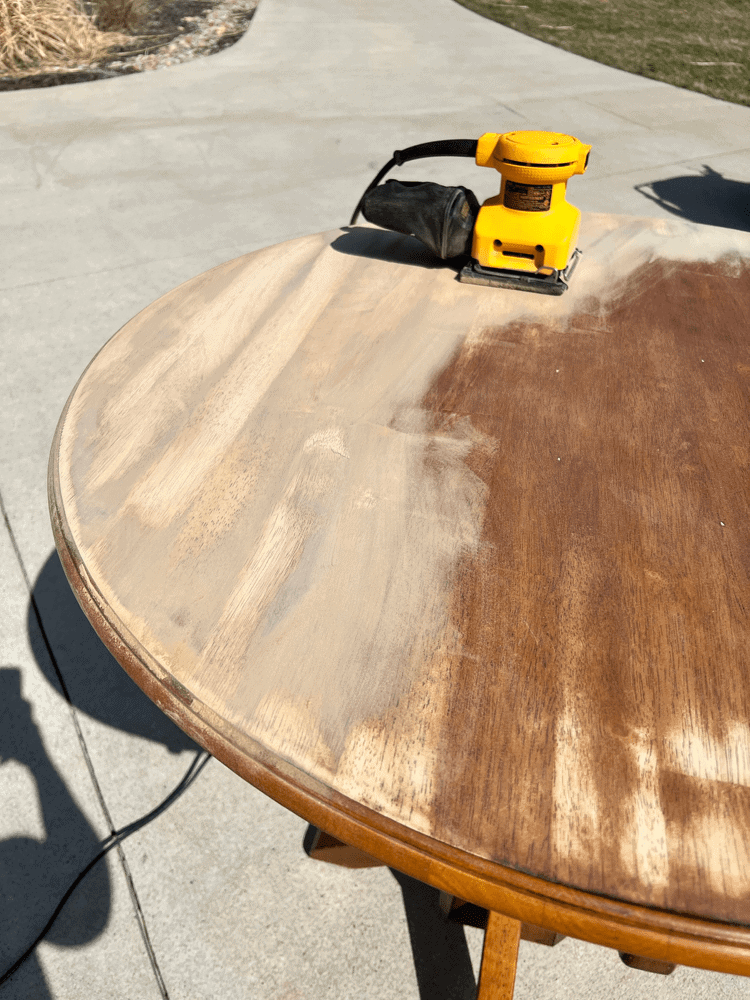
So you will notice in these pictures that there are some darker spots still visible on the pieces. I would have tried to get them all off if I was going for that natural wood tone look.
Which is super pretty too, but it would have made this project much more challenging as well to try to get rid of it all.
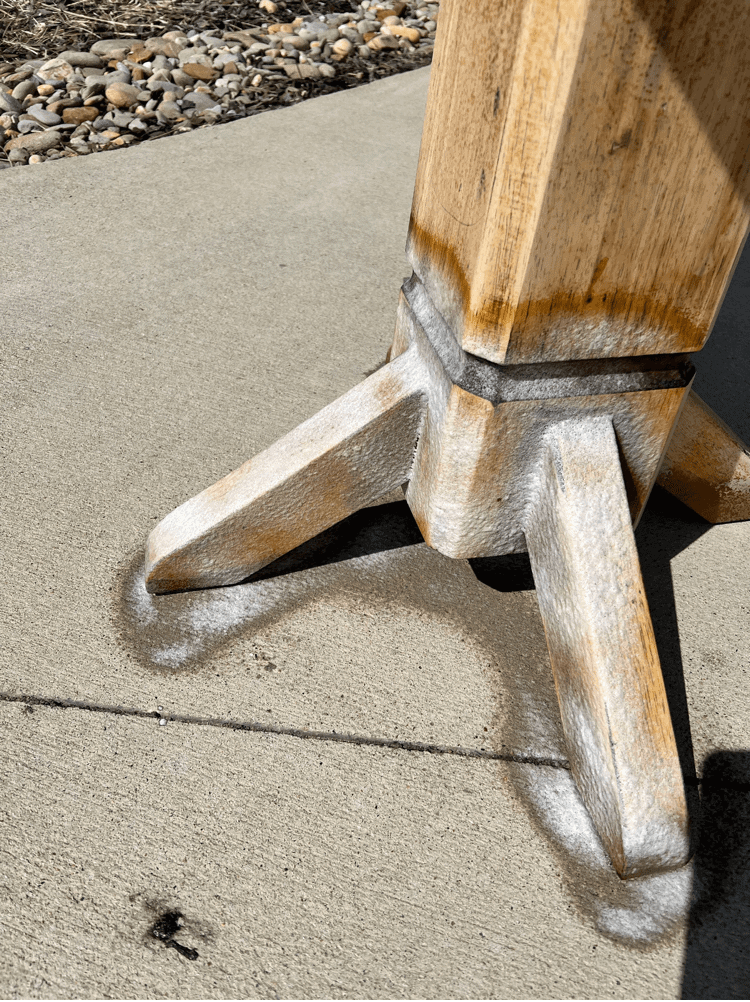
Easy Off Oven Cleaner Furniture Hack
I was intrigued to try the Easy Off oven cleaner furniture hack from Vintage Porch on these pieces as well. Basically, she sprays this Easy Off onto a wooden piece and lets it sit for 20 minutes.
And then she wipes it away with a brush and a little bit of water and dish soap. I will say that it did work, but it would need A LOT more oven cleaner to complete the whole piece.
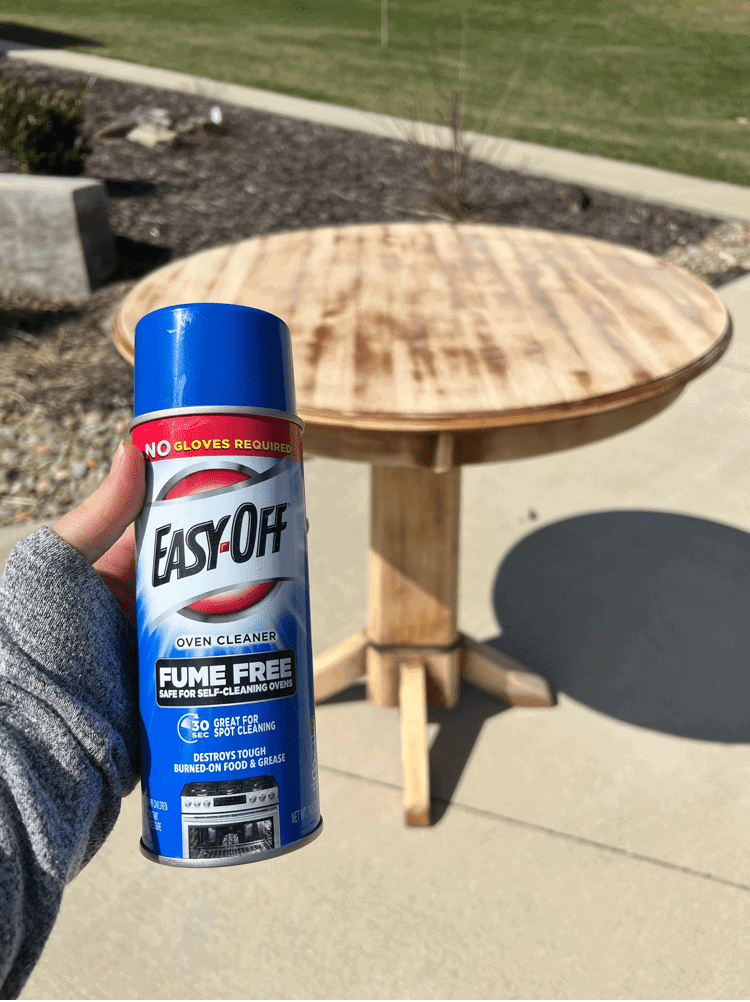
In her experiment, she did it on a smaller wooden mirror. So I think it is perfect for something like that. But on a big dining set like this, you would probably go through 5-10 cans alone on it.
Which makes me unsure if it is worth doing or not. Not sure if it would be any easier than just manually sanding the whole thing down.
Painting the Furniture Set
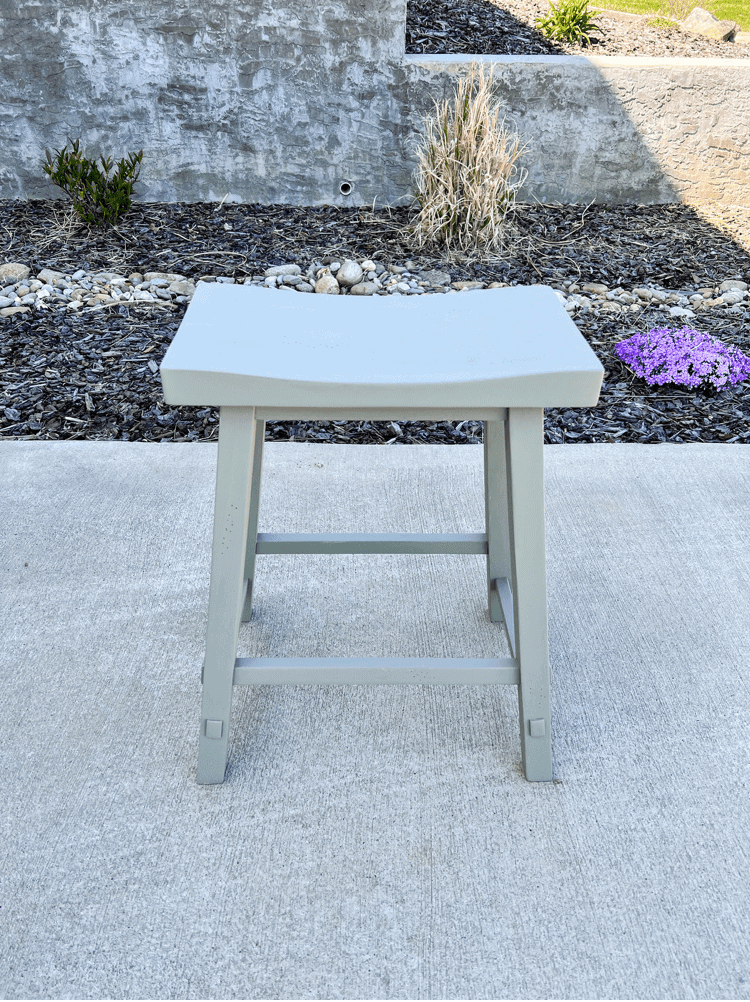
Now, here is my favorite part! Painting the furniture set! I much prefer painting over sanding any day! I decided to go with Lichen by Fusion Mineral Paint for this set.
It is a beautiful neutral sage green color with light gray undertones.
And if you have never heard of Fusion Mineral Paint before, I shared a whole review about the paint here. Basically, it’s hands down my favorite paint.
I have used it in many home projects before (such as when I painted and distressed an antique mirror frame and even for Toby’s Cat Room).
But, I am always amazed with how smooth and even the coverage is. I honestly didn’t have to sand down this furniture set as much as I did because the paint covered so much of it already.
And I only used one bottle to do the whole set, and still had some leftover!
Finishing Up The Dining Set
The last step in learning how to refinish a dining set, is to get it all ready to enjoy for dinners on the porch!
After letting the pieces dry overnight, which honestly it doesn’t take the paint that long to dry, we moved them up to the back screened in porch.
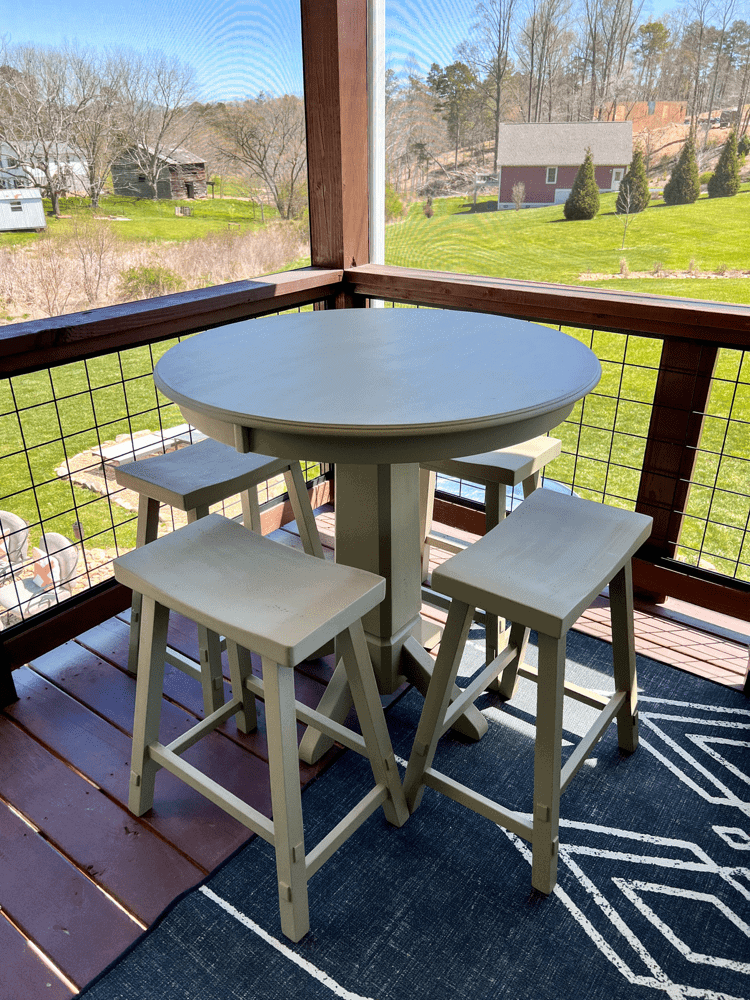
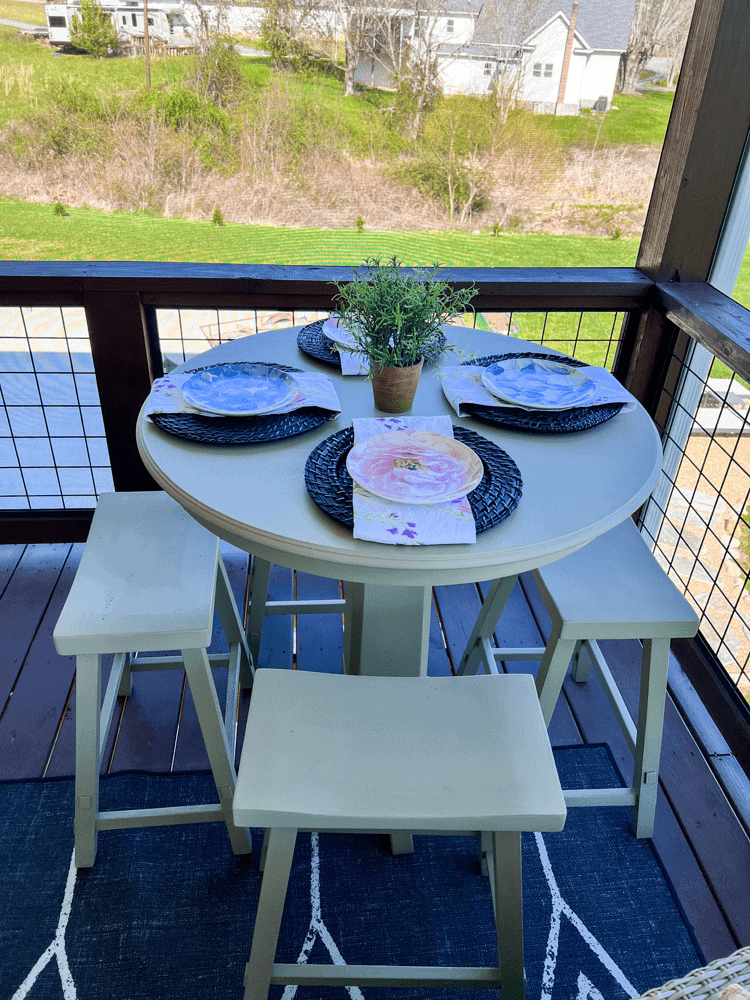
Then, with me being extra, I had to style up a quick little place setting on the table! I just used some extra plates and chargers I had leftover from when I styled our old camper with them.
It’s so nice to be able to just shop your home and not have to buy anything new!
I did end up adding a tough coat on top of the dining set eventually too. That way, it will help prevent it from future wear and tear as well since it is outside.
Well, I hope you enjoyed this little tutorial of how I refinished a dining set. I think it turned out much better than before, don’t you?!
We have already been loving eating out here so much. And I can’t wait to continue it into the summer months as well!
Wow this looks absolutely amazing! It looks like a lot of hard work but you really transformed it – I love that mint/sage green colour. Thank you so much for sharing x
Thank you, I am loving the new color too!
I LOVE this!! The after pics are amazing! I want to start doing this as well! Thanks so much for sharing!
Awe thank you so much! I am loving it too. I am so happy with how it turned out!
How awesome is this! I agree that the before table just is not the right color for an outdoor table, but your finished product looks brand new. 🙂
Awe thank you. I am so happy with the transformation!
This looks absolutely beautiful and I love the design and finish on the table set! x
Lucy | http://www.lucymary.co.uk
Thanks girl! I am loving it too!
Beautiful, as always! The sanding part doesn’t sound like very much fun, but it seems to be worth it with those results! The oven cleaner hack is interesting, but I don’t know if it would be worth it for a large piece, like you said. Thanks for sharing!
Thank you! It was a lot of work for sure, but definitely worth it in the end!
I love it, it turned out great. The color is perfect too.
Thank you! I do love the new color too!
Wow! What a lot of effort you put in – but the end result was so worth it. I love projects like this but, as you say, it’s the sanding that makes everything such a chore. What you have achieved is a massive transformation. May you and your family enjoy using the dining set for years to come.
Awe thanks so much! We have already been enjoying it and can’t wait for more to come as well!
You make it look so easy. Cool dining set.
Thank you so much! I am loving how it turned out
I LOVE bit of DIY. This looks very similar to the dining table I also done up and was such a fun project and looked great. Keeps things from landfill so it’s awesome.
Yes it sure is! I love to epicycle things when I have the chance to!
You have done an awesome job! I love the finished result, it looks so different. I love seeing diy activities like these. Thank you for sharing.
Lauren
Awe thank you. I am glad you enjoyed it!
This is a good way to reinvent old furnitures. Thank you for sharing.
Thank you so much. Glad you think so!
What an amazing finished result! It looks absolutely brand new and goes so well in your porch 🙂
Awe thank you! I love it too and I think it is the perfect porch addition as well
What a great idea! It seems so simple too as you don’t need highly specialized skills to give it a go!
Thank you. It is very simple to do!
It turned out really nice! Good job x
Thank you so much!
Thanks for sharing, it looks great what you have done 🙂
Nic | Nic’s Adventures
Thank you, I am glad you think so!
This looks beautiful! What a great transformation. You did an incredible job! 🙂
Awe thank you so much!
Great tips, and we definitely understand the need to sand the dining set first. The wood-finish veneer gets in the way. Thank you for sharing.
Thank you so much!
I have a table just like this! I’d love to restore it for the summer!
I just want to say I love the appearance of your site – its lovely xxx
Awe thank you so much. I really appreciate that sweet compliment!
That color is so much better! The darker wood style was definitely dated and definitely need a change of color. It’s amazing how simple it looks to do, but I’m sure it took a good amount of work! We have a dining table that is similar in color that we’ve considered getting rid of…now I’m thinking maybe we can do something like this!
Thank you so much! I am definitely loving the new color too!
Why do I love this so much!? It turned out so beautiful! You did very well.
Awe thank you! I appreciate that!
Wow, you made it look way better. We have old stuff that can be redesigned and fixed like this.
Thank you so much